Tuesday Night Print Club saw us look into the magical world of Silk Screen Printing. Laura showed us around the Screen Printing area and helped us make sense of the overwhelming nature of everything in there.
We were introduced to the equipment, processes, waste handling and just how messy it can get.
Intro
Screen printing was first carried out in 900 AD China with the screens made of human hair.
In the 17th Century it was refined by using silk as the material for the screen. In the few days leading up to this Print Club I watched several videos created by Andy, the Screen Printing technician who demonstrated how a screen is prepared, coated, exposed, used, and then cleaned.
Process
First step is to degrease the screen. The screen consists of a metal frame, feels like aluminium box section to me as it’s quite light, with a screen of material stretched across it. The screen is made of thousands of fibres of silk all woven together in a tight mesh which allows the ink to be squeezed through to the printing surface or paper. Degrease it uses a detergent and wiping over the screen with this before a rinse off and a dry in the dryer. The screens lay flat in the dryer for a short period to eradicate all of the water.
Once dry, a light sensitive emulsion is applied to the screen, twice on the front on once on the rear using a cool tray that the emulsion sits in and is placed against the screen before being pulled upwards in one smooth motion to leave behind a thin coating. this is done several times. It is light sensitive but this step can be carried out in a lit room, as the UV light required to develop the image is powerful.
Once the emulsion has been applied and dried it can now be exposed to the UV light. A transparency mask is prepared digitally or even using manual materials that prevents UV light getting to the emulsion in the areas you want ink to pass through later. This is much the same as how the Masters work in Riso printing, discussed in this earlier post.
If you want separate layers for multiple colours then these all need to be put on transparencies too to allow different parts of the screen to be opened up for each particular colour. The transparency is placed on top of the huge UV light table then the screen placed above it in a contact printing style affair. The light from the UV lamp heads upwards, passes through transparent parts and cooks the emulsion it can see, and doesn’t affect the parts that are blocked out by the mask. The lid of the UV light table consists of a rubber sheet and is pulled down by a vacuum pump to keep the silk screen pressed to the mask, to the glass of the table so that no movement is seen. The UV light, according to Andy’s demo video should be on for 25 Light Units and from my understanding of his video the time it takes for a light unit to be produced is dependent on the age and efficiency of the UV bulb. This means the countdown on the display is Light Units and not seconds. It knows how many light units it’s produced by monitoring inside the device using special sensors.
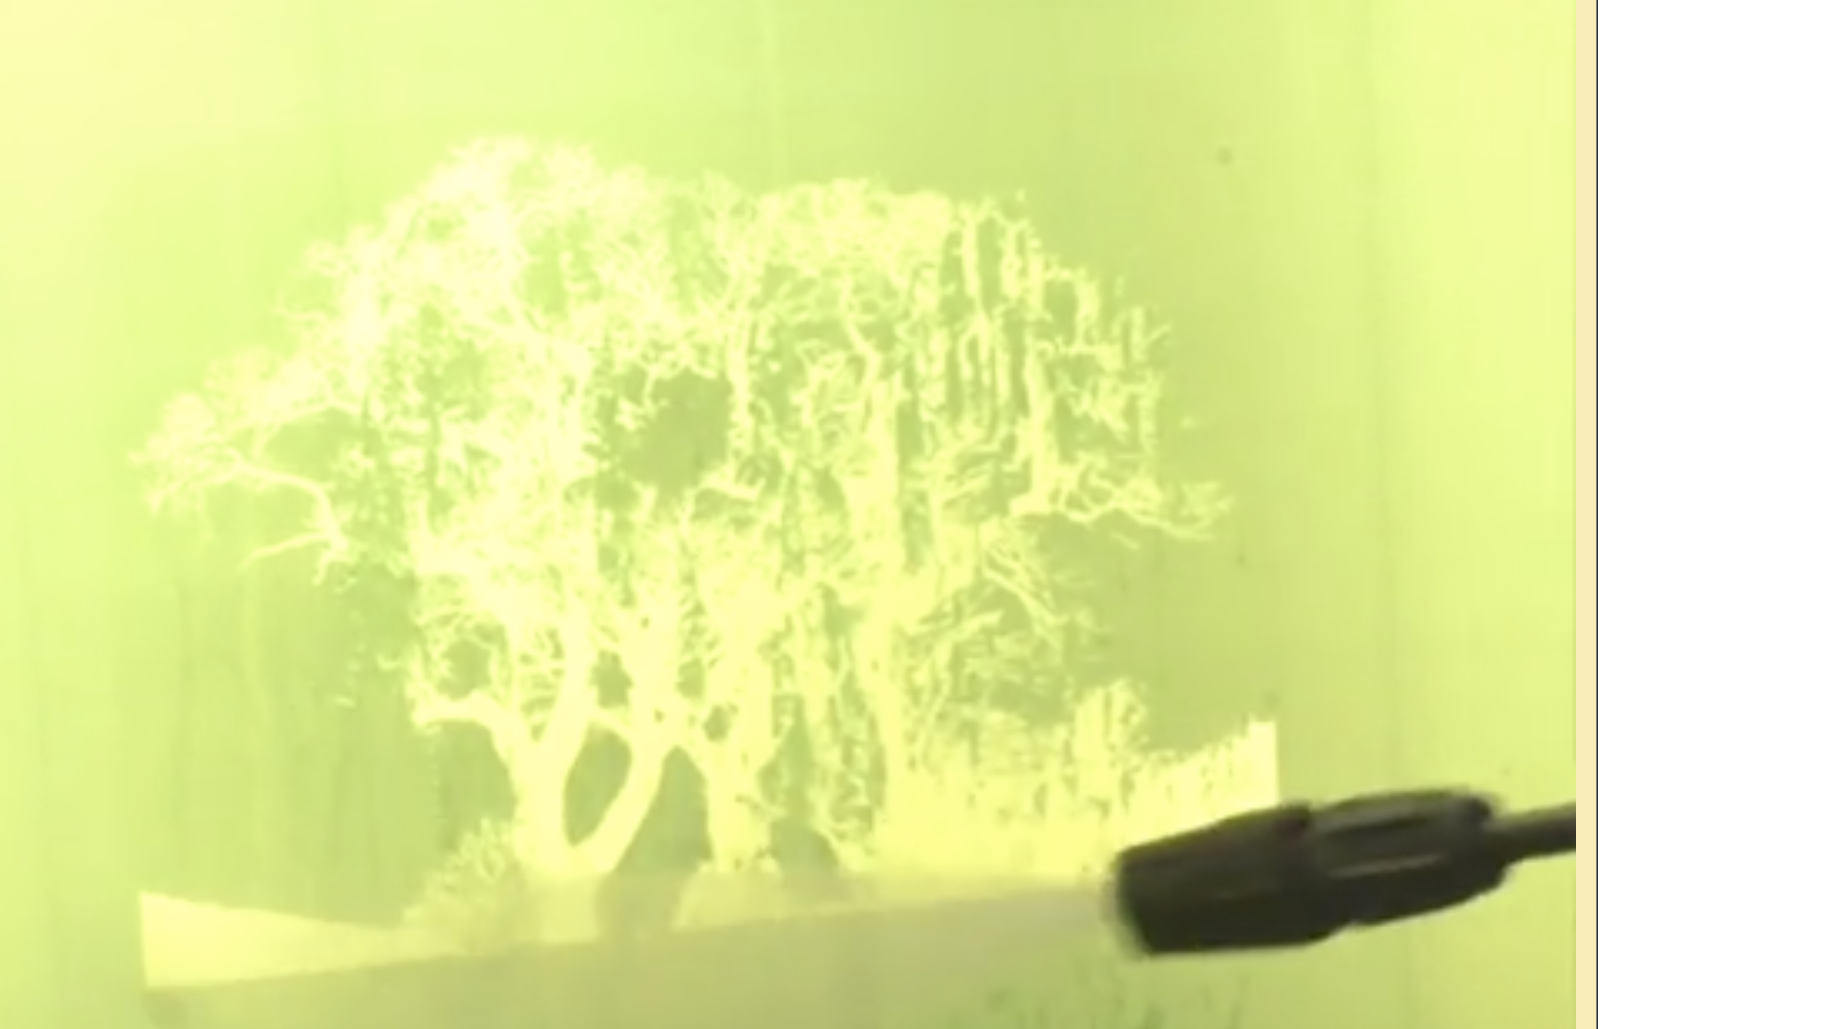
Once the exposure to the UV is complete, light turned off and screen removed from the light table it is moved into the wash area for a spray with the jet wash, this removes any emulsion that hasn’t been impacted by the UV light, leaving the channels open in the screen. The remainder of the emulsion goes off and prevents any ink from getting through. Washing needs to be done carefully so as not to damage the screen and being extra cautious that you don’t splash other peoples screens or work in the process.
Once dried again this screen is now ready for use and this is where we pick up the story of the Print Club night.
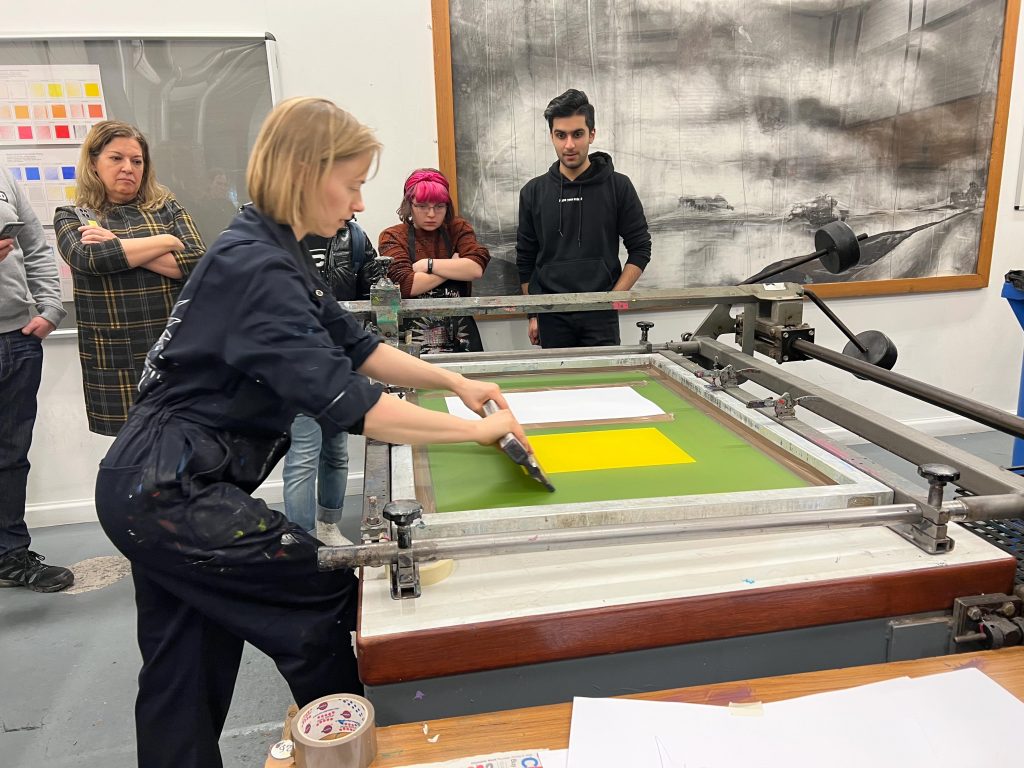
Demonstration
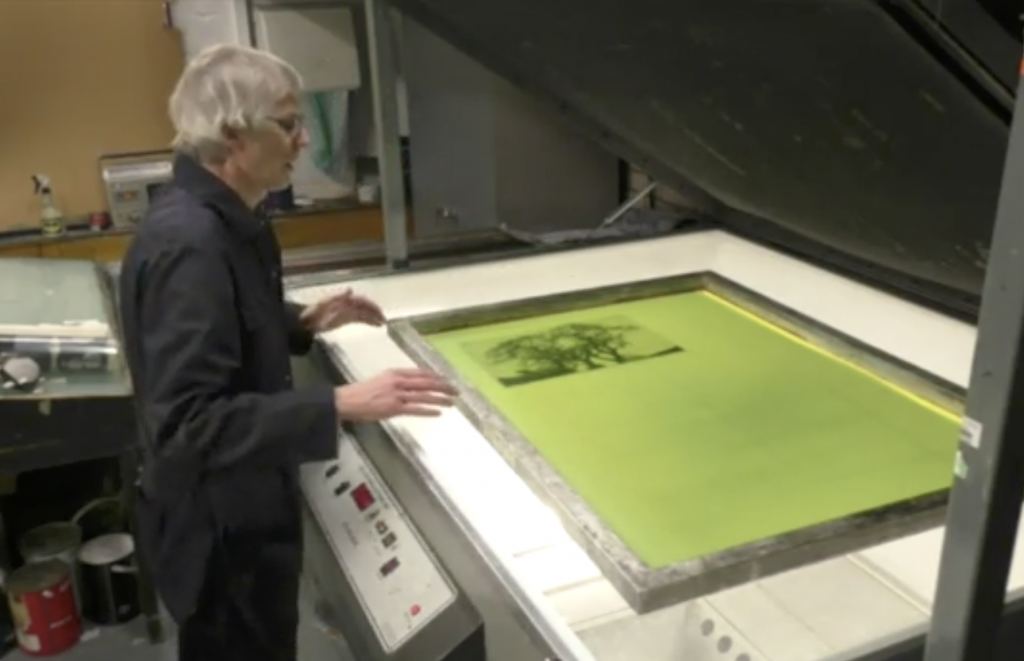
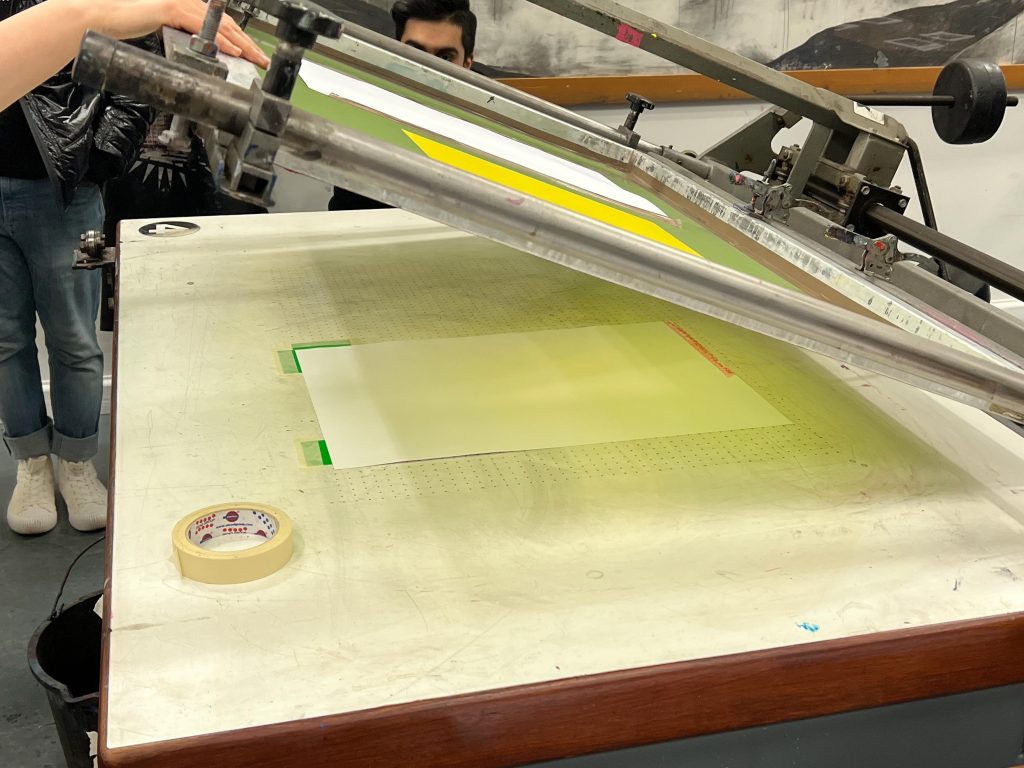
Laura stated that screen printing is instinctual and creative so we’ll be given an “open box” screen to try out the process. An open box is where a piece of card or paper is used to block the exposure to UV and allow a big rectangle of opened screen so that background effects or other experimental processes can be used. On the demo screen Laura used there was a portrait so she covered over this with a piece of paper to prevent any ink getting into it and blocking any part of it.
We learnt that it’s a Subtractive process using CMYK to build up colours into a Black and we will use acrylic paints mixed with acrylic medium to print.
Acrylic paint and medium are mixed at 50/50 and this prevents it drying too quickly and makes it easier to use on the screen. If it was purely the acrylic paint it might dry in the channels of the screen and prevent ink transfer leaving to non-covered areas.
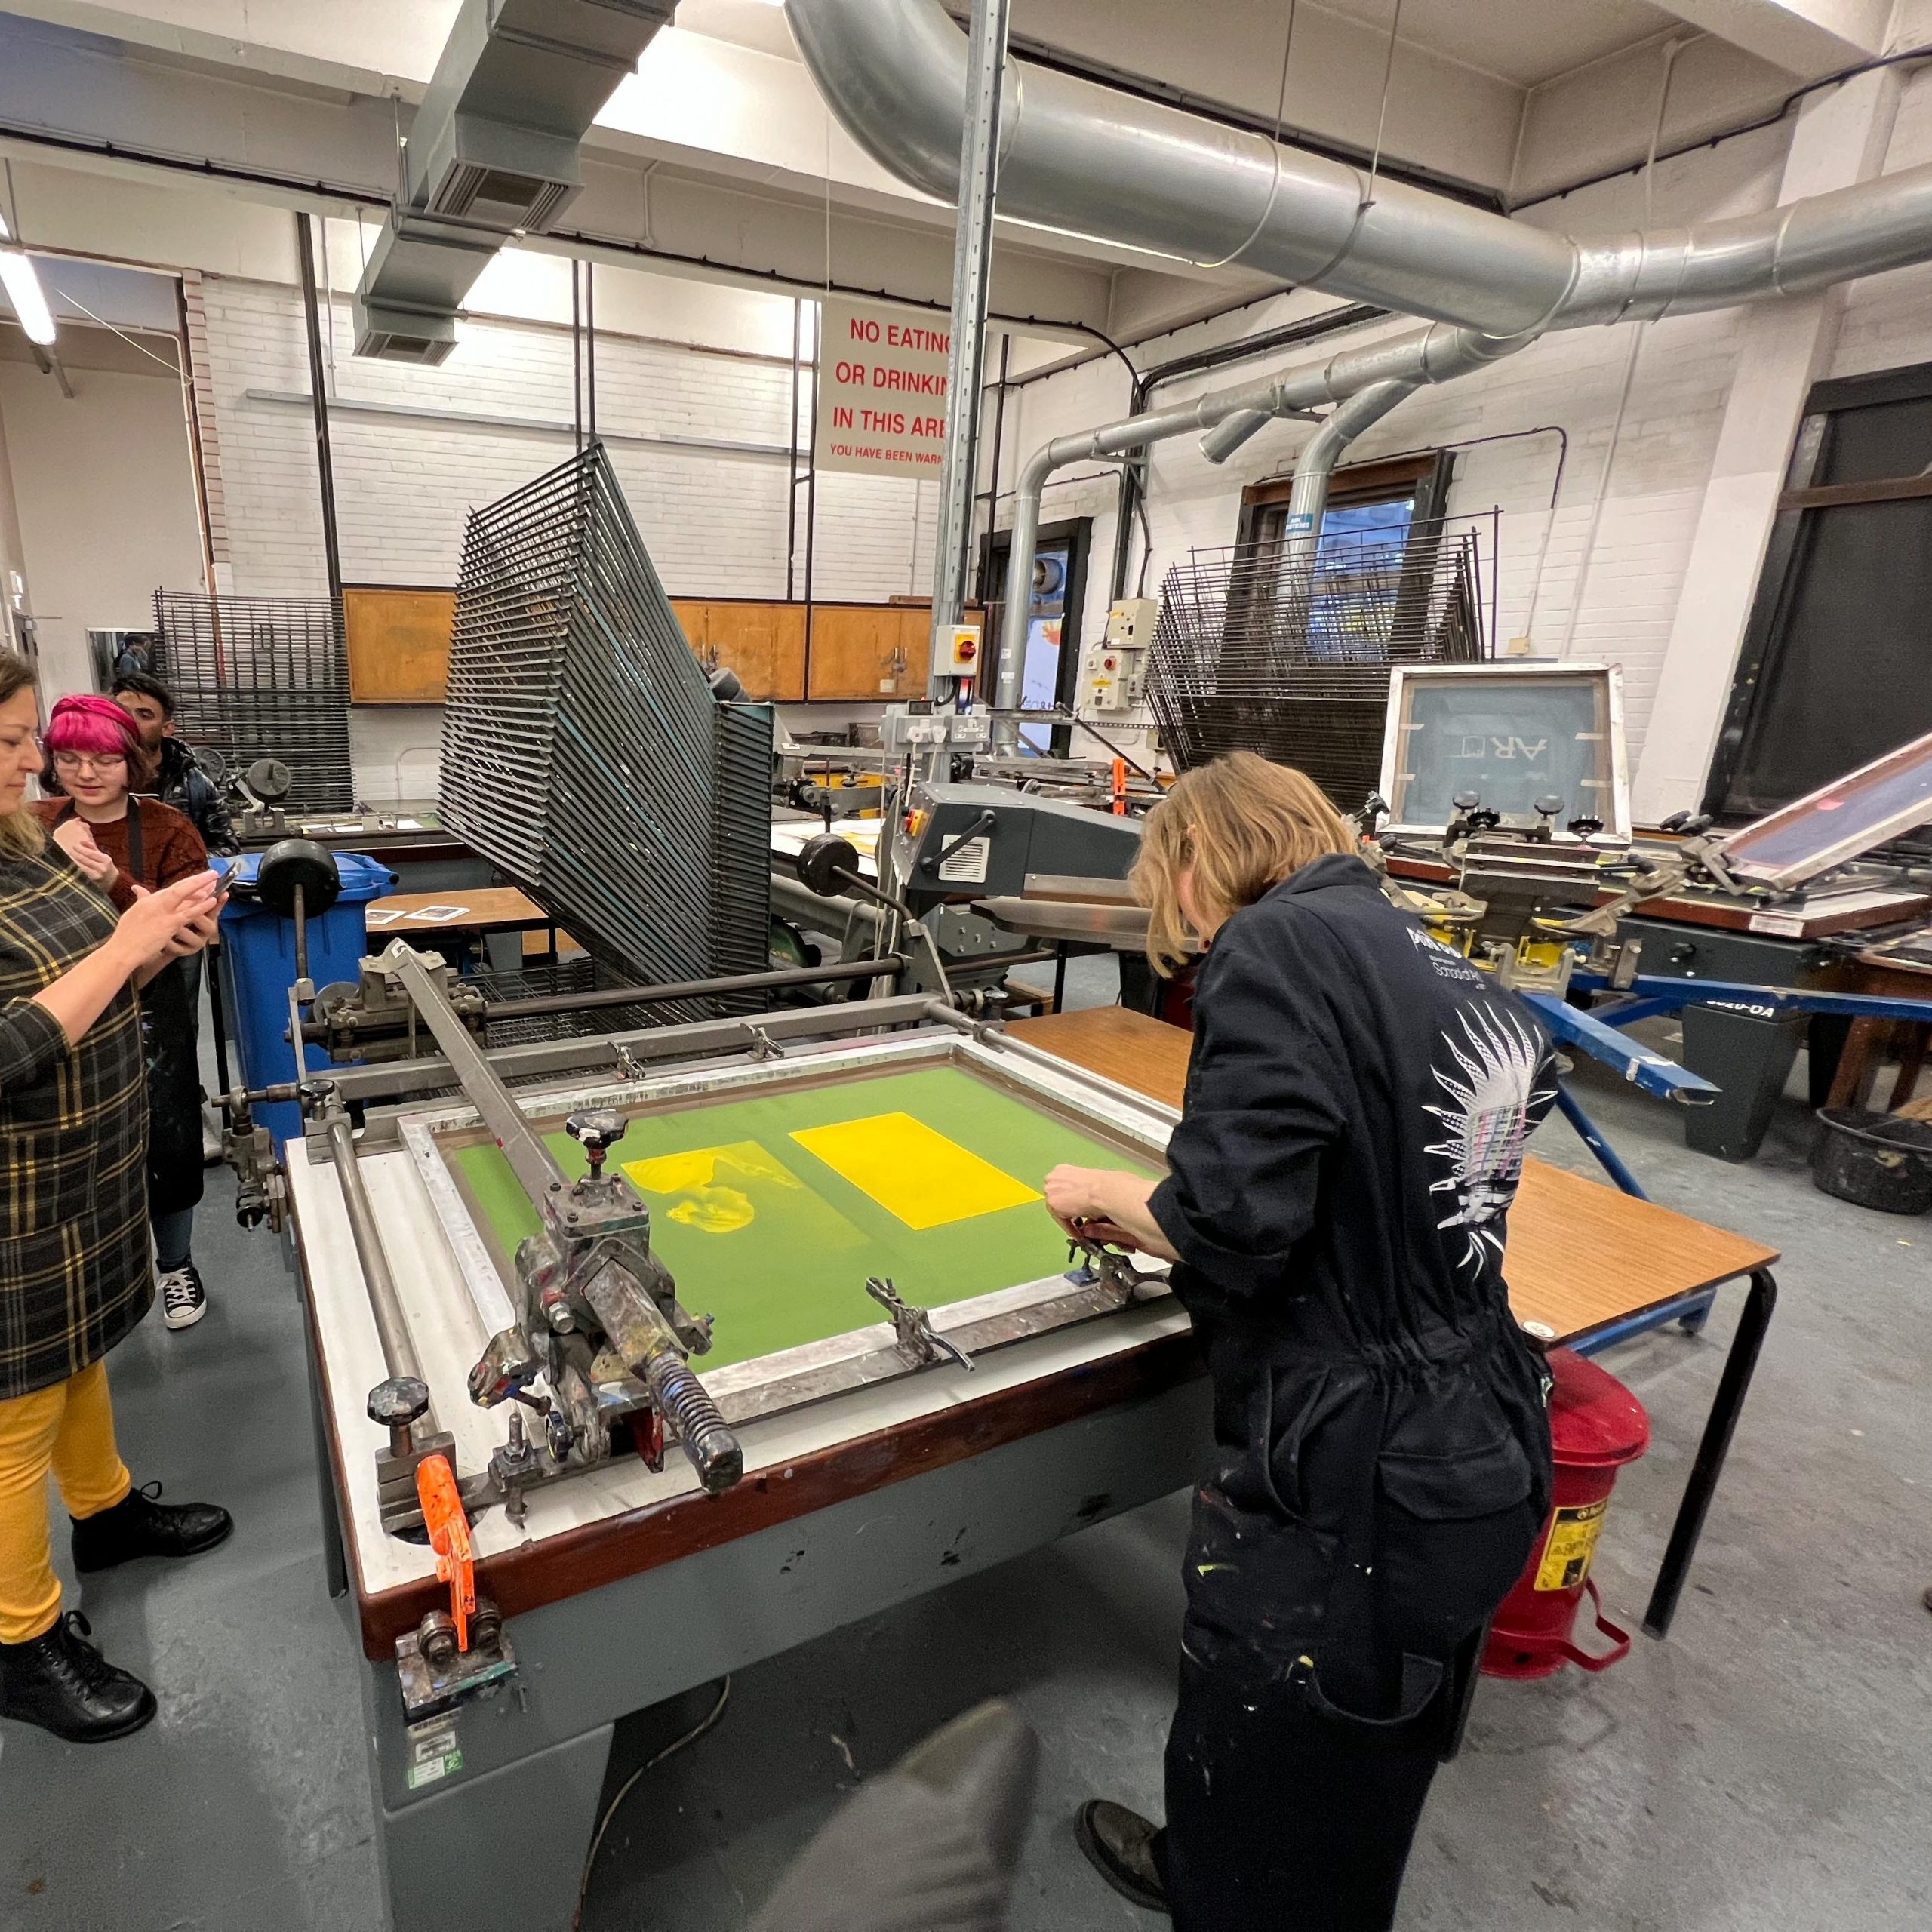
Registration is the first step to ensure that paper on the table aligns with the print area on the screen above. We used a sheet of paper to align and then mark the front two corners with marker plates taped to the table so that paper can be placed against markers in a consistent location. When the table is switched on and the screen is lowered into place a vacuum fan comes on which holds the paper flat to the table and prevents it from moving when using the squeegee on the screen above it.
The pre-mixed ink (acrylic paint & medium) is spread out across the rear width of the print area in the screen then pulled to the front without any real pressure with the screen lifted slightly. This is called Flooding the screen. Due to it being the first time the screen was used it’s done twice to properly flood it. The ink is then pushed back to the rear of the screen/table ready for the screen to be lowered and the print carried out.
The squeegee is held in both hands at an angle of 45 degrees and is used to pull towards you so ink goes through open areas of the screen onto the paper.
The squeegee is then jumped over the ink, the screen lifted a little, and then the ink pushed back to the rear of the screen, thus re-flooding the screen ready for the next print.
The pressure needed on the squeegee is required to push down through the snap, this is the gap between the screen and the table/paper.
Put It Into Practice
Ieva and I were able to use a spare table and we created some prints using the previously demoed prints that Laura made. They didn’t take long to dry so we were able to select other print colours to add.
We started with Green and Black paints using pieces of torn newspaper to create random patterns on the paper as the ink getting through the screen wouldn’t pass the news paper onto the white paper. This is the equivalent of some emulsion blocking the holes so you could use a physical stencil under an open box to make a print, but it’s not as crisp as the stencil being made into the screen itself.
We had it where some of the paint hadn’t mixed well enough or wa a bit old, it dried on the screen and prevented us from printing through that area.
Once we were done we filled a bucket up with water from the Intaglio room and then used the sponge and cloths to ensure the screen was clean and dry. Whilst doing this step we put newspaper over the table to prevent excess water going inside the vacuum holes and messing up the insides of the table.
Once all was tidied up and cleaned we could then turn our attention to ourselves and use soap and hot water to remove the acrylic paints. I was wearing an old pair of work overalls as I’ve see the aprons and they are a bit sketchy on tying up around my considerable frame. The overalls came in hand to prevent any paint getting on my nice jeans..
The images that came from this session can be seen in this gallery.

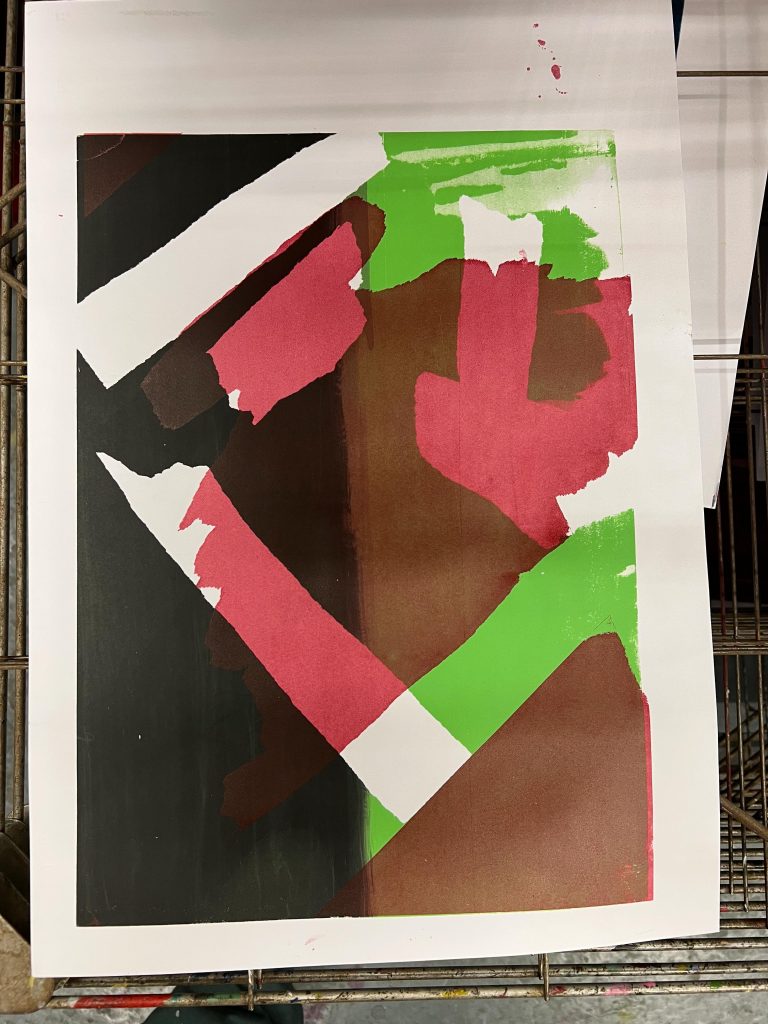
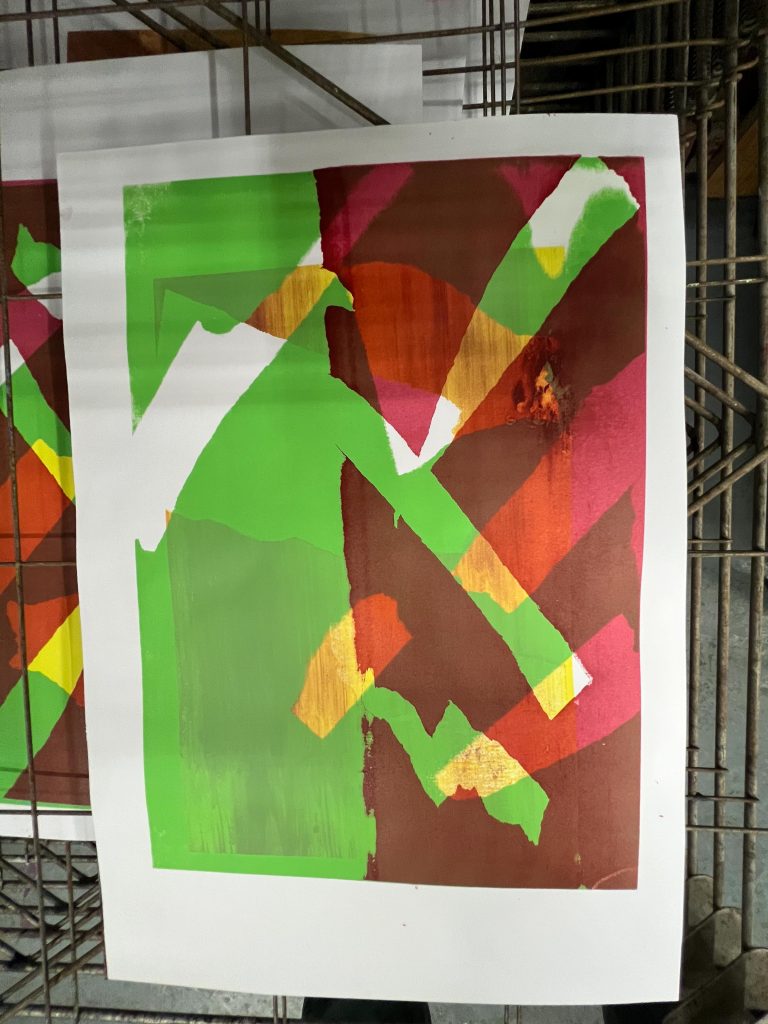
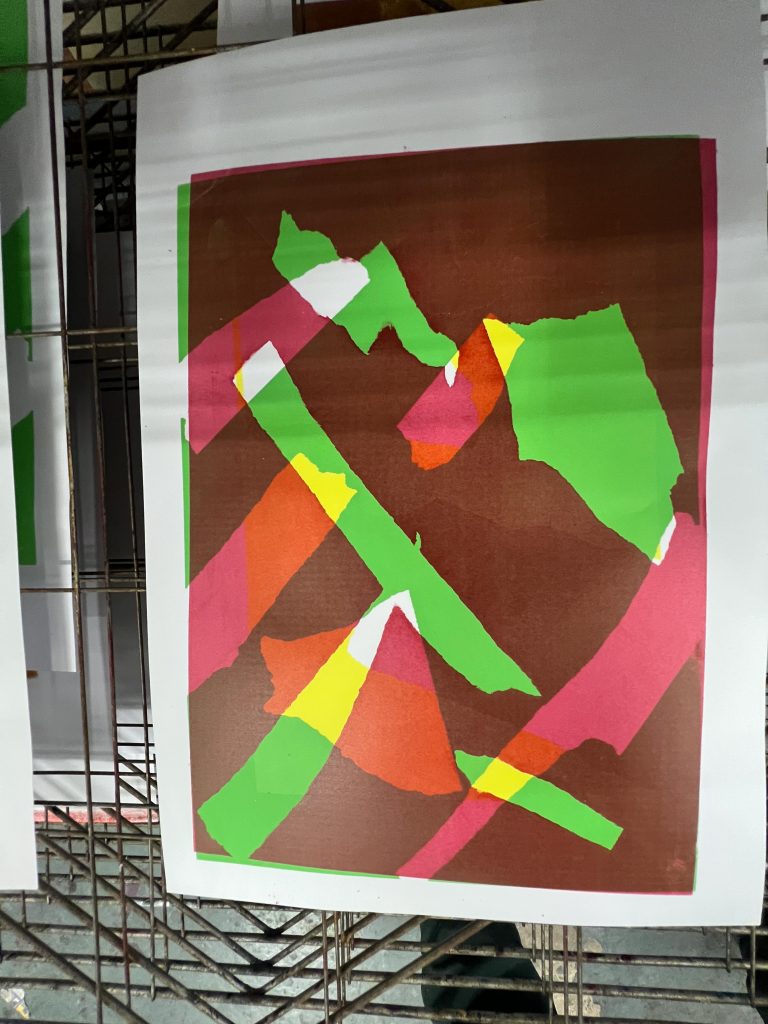
You can see the images on the drying rack for the photographs and each is an overlay of multiple colours, the white parts are where ink hasn’t made it through the screen or torn newsprint. It’s interesting to see the way that the colours have mixed with each other and produced some colours like orange and brown that we didn’t use.
Moving Forward With Screen Printing
I think if I am to experiment with this technique I’d need to have a solid composition to put on the screen or even just create some stencils to place on the paper like we did with the torn news paper. For our last pass we did a half and half pass where we dragged colour across the length of the painting but only over half the width of it.
Some famous users of Screen Printing are Andy Warhol and Roy Lichtenstein who were massive in the pop-art era . The latter started screen printing in 1950 and made over 300 prints using this method. Corita Kent and Salvador Dali also were known for using Screen printing in their practices.
Some of my architectural compositions such as Barbican, or other concrete structures might be especially good for screen printing I think I may try this if we get the time over the next few weeks. I think it may be off this Tuesday though as the lecturers may be on strike owing to them having to fight for better pay and conditions. I don’t begrudge them doing this as I’m certain they don’t want to be doing it either. They’re just left with no other choice.
[…] Monotype Intaglio Printing using the Roller Press and the second week Laura showed us how to create Silk Screen Prints using an open box screen. Last week was a strike week so staff were thin on the ground so I left at […]