I’ve been playing about with basic light painting for a little while now and felt the need to go to the next level.
Brief Explanation
Light painting, for the uninitiated, is having your camera set for a long exposure and then moving light sources around in front of it. This way the path of the light is captured which can lead to some quite dramatic effects. I’m sure you’ve probably seen the clichéd photograph of traffic at night time when the shutter has been kept open and the red lights make big snakes one way while the headlights do the same in the left hand lane. That’s light painting.
Being on Flickr and twitter I’d seen the occasional light painted photo with fire and sparks in it. Some investigation followed and I went about assembling my kit for a night shoot.
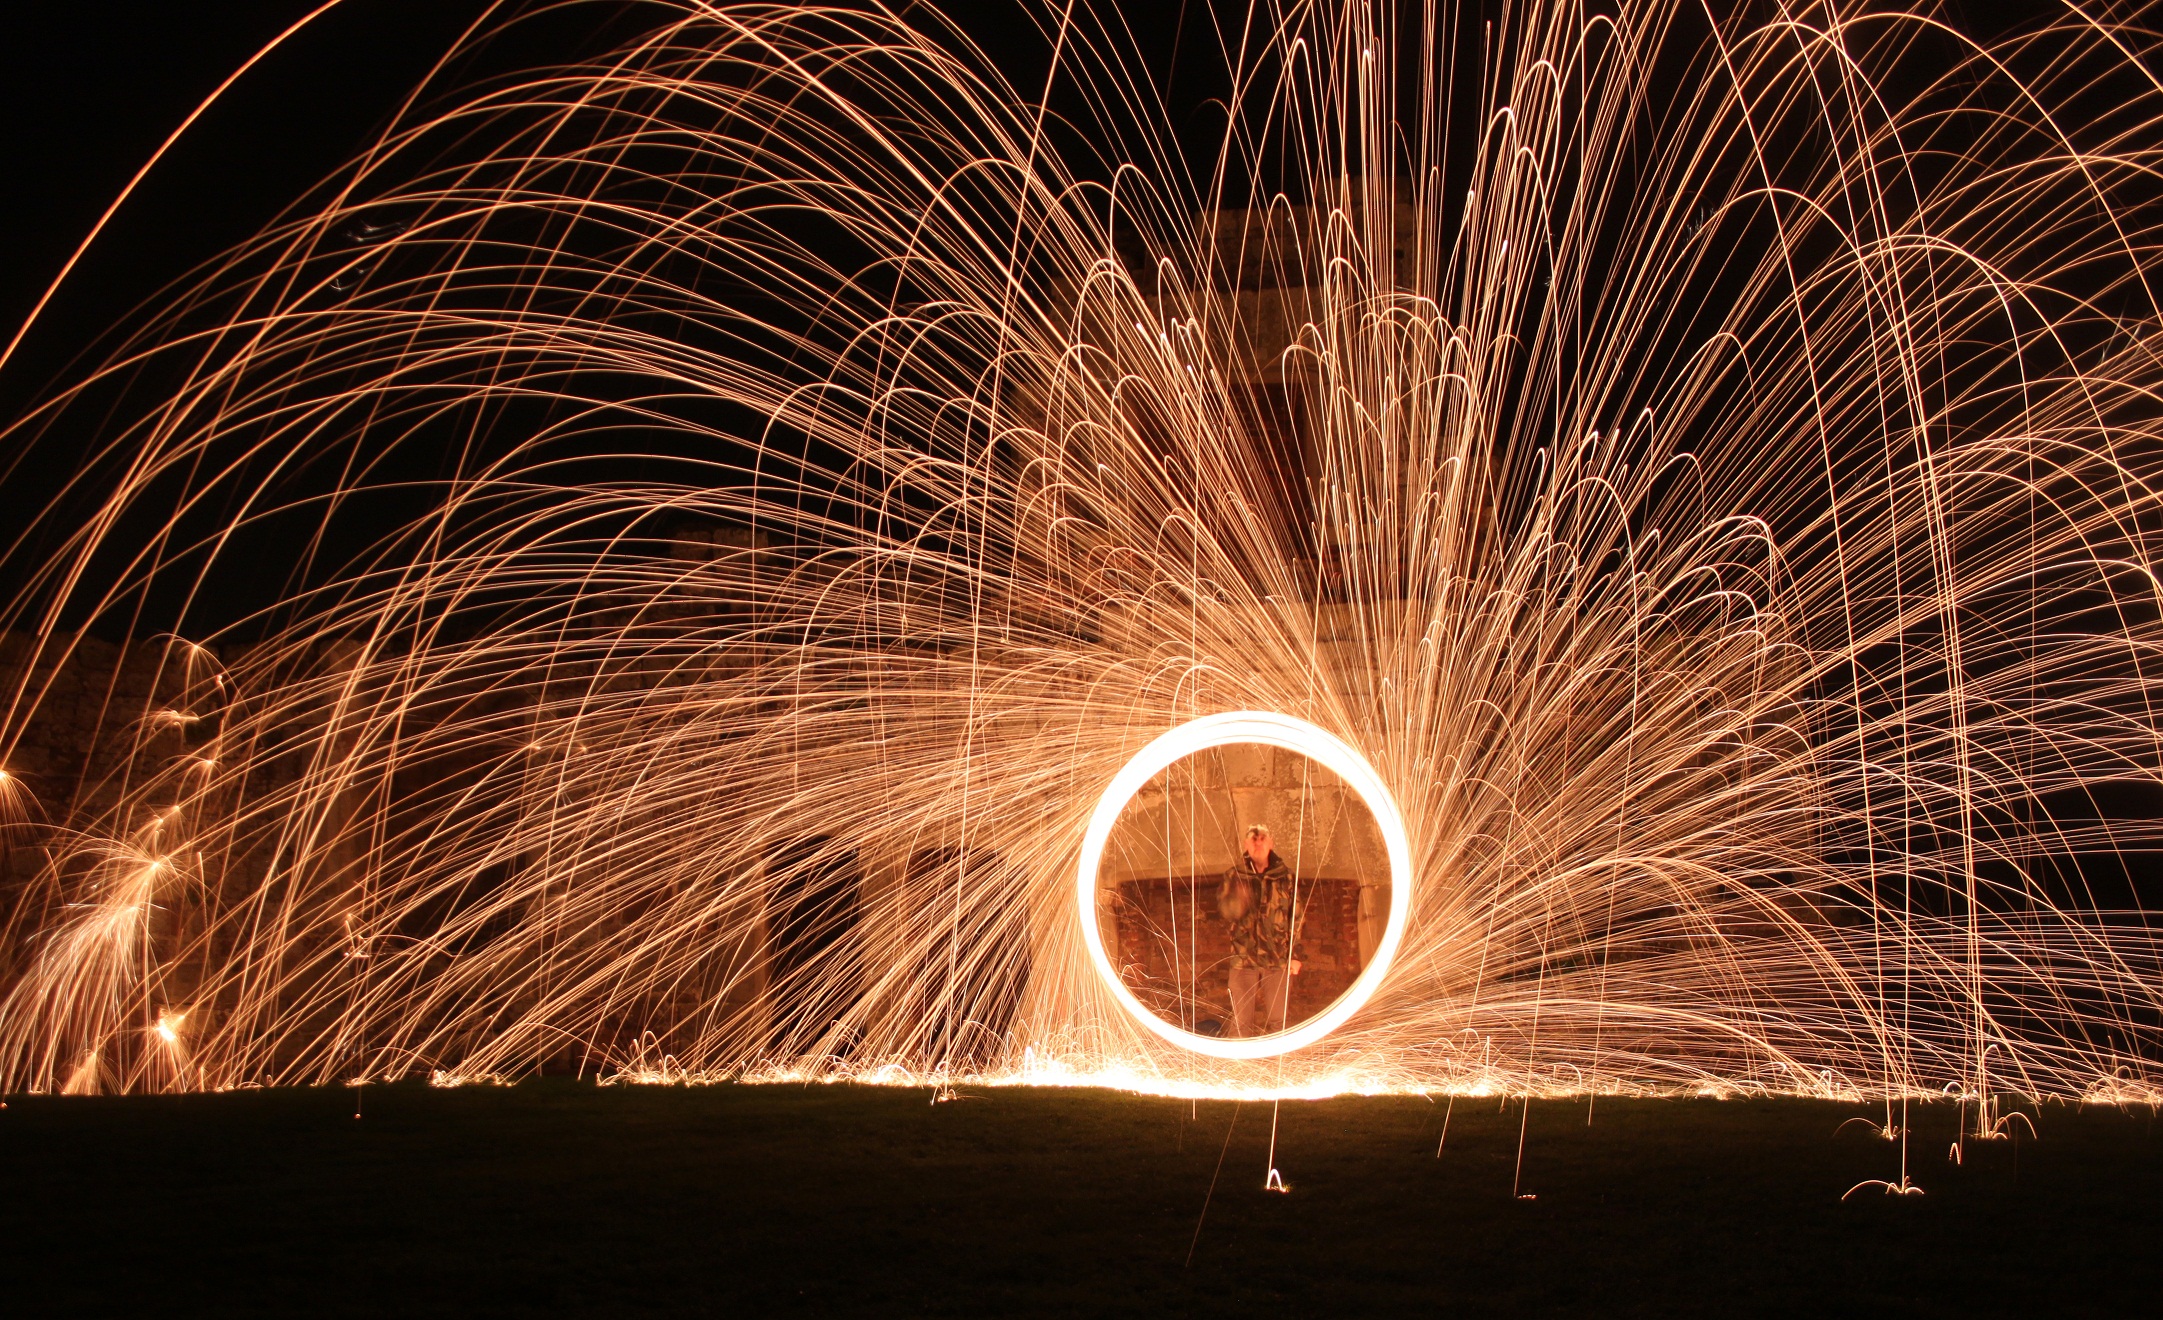
The fiery circles you see below are made by setting steel wool on fire whilst I’m spinning it around. As the wool spins the oxygen feeds the fire, the steel fibres burn hotter and sparks and molten steel fly off to create the patterns you see.
I tried lighting some steel wool (grade 0) with my gas blow torch, similar to those used by chefs to flambé an item of food. It lit but the sparks didn’t heat up too much and instead the fire soon went out. It was time to investigate further.
Various google searches tell you a good method of doing it so off I went to a local supermarket to buy a cheap whisk. The tutorials I’ve seen explain that you stuff the steel wool into the cage of the whisk, tie it to a cable then spin it around after you’ve set it alight. To set it alight you can use a cigarette lighter, a blow torch or a PP3 9v battery.
After assembling the essential parts of this kit I selected some torches, a pair of work gloves, a cap and hoodie. The metal sparks rain down and can burn your flesh if they get to it.
Putting all of this into my blue Ikea bag I headed off, after first checking that there was no chance of the battery or battery pack for my torches lighting the steel wool while it was in the boot of my car.
Spooky Castle
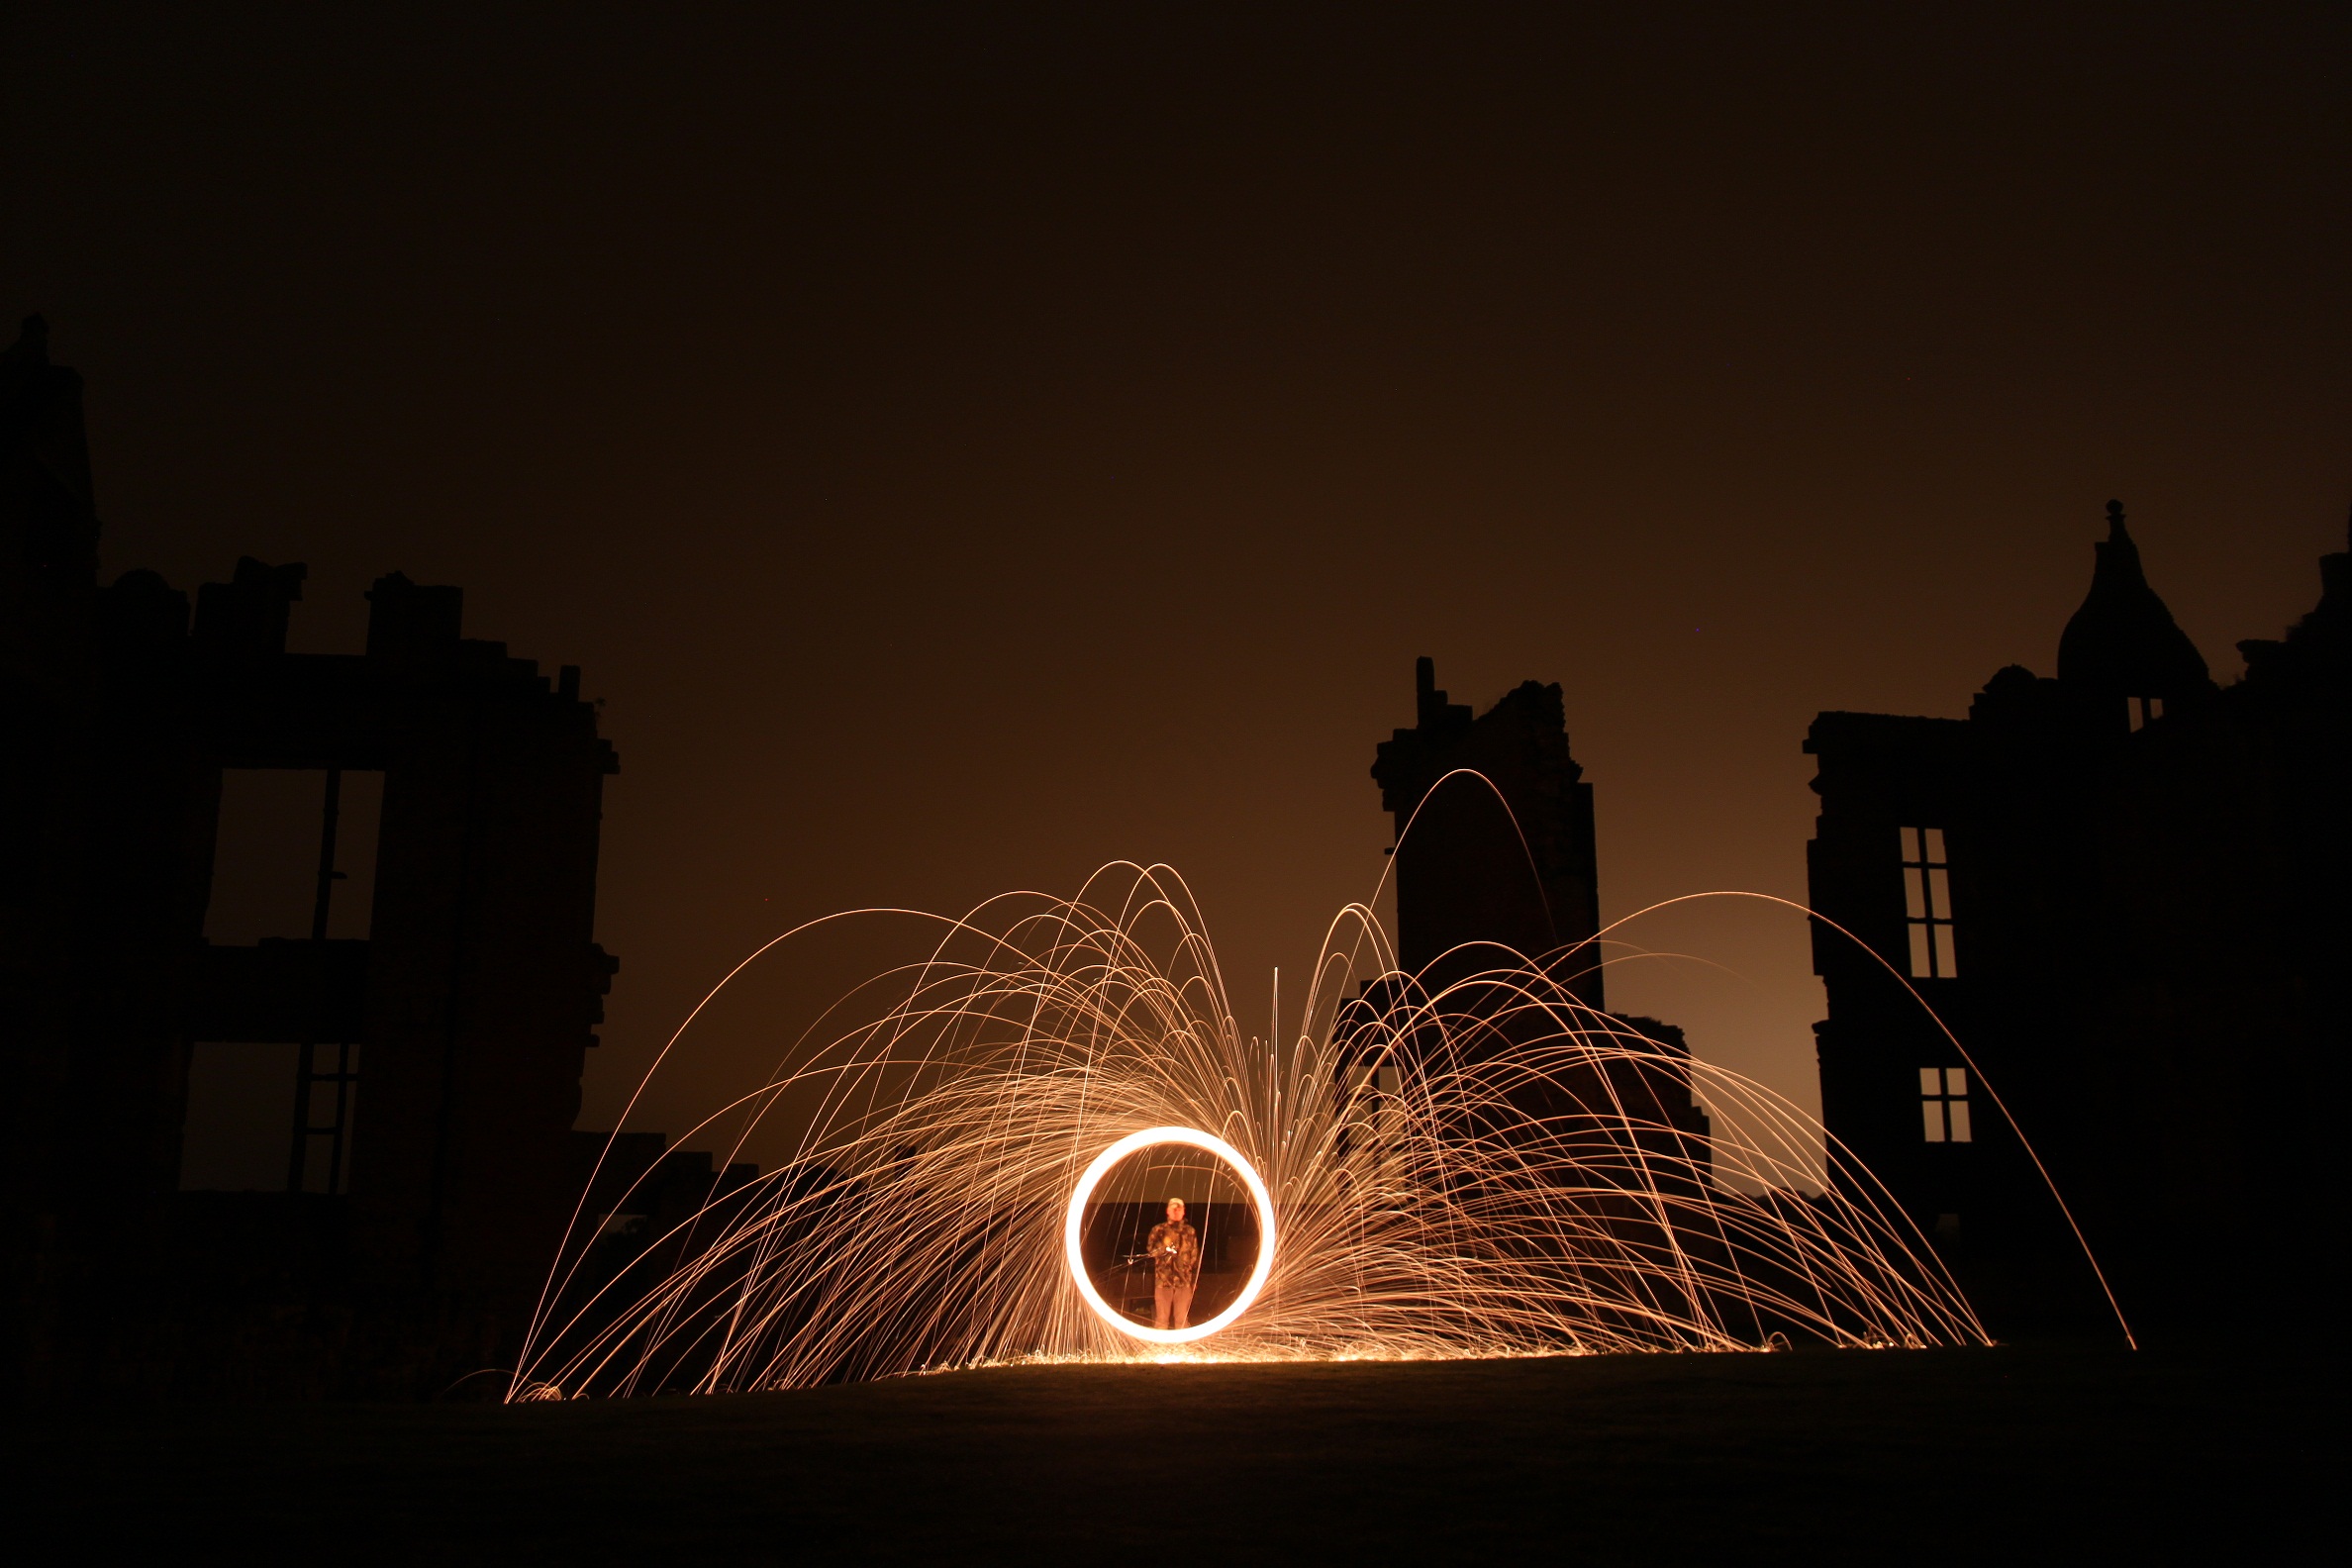
Off to Moreton Corbett I headed to visit the ruins of an old fortified manor house. I’ve been here a few times to do light painting with torches and led lamps but never like this. It was raining and dark, the area was decidedly spook y with a storm filled sky, the odd flash of lightning and several animals making funny noises in the near distance.
To set the focus up for the first picture I auto focused it at a led cycle light upon the ground where I would stand. I then moved the focus to manual to avoid any hunting.
My remote control shutter release will give me two seconds but the infra red beam doesn’t reach from far enough away I’ll need another method of delaying the shutter. I set the camera shutter release mode to timer, the mode to Tv, the iOS to 200 and set the shutter to 30 seconds. I press the shutter button, the yellow led on my canon 500d flashes so I run away to begin the first shot.
The £2 whisk from Tesco is affixed to an electrical cable using cable ties, the cage of the whisk is filled with steel wool ready to burn. As the yellow light flashes behind me I run to the point of focus and frantically rub the 9v battery against the little bush of steel. Instantly sparks erupt and I drop the whisk to the length of cable, just above the floor. My arms are now employed in swinging the whisk in a steady circle, allowing the air to feed the fire and the molten bits of steel to erupt from the cage like a carelessly opened bag of M&M’s. They’re everywhere, all around me and in front of me. I can smell them and feel the heat as some fall onto my wrist causing a bit of a panic. I’ve got my waterproof coat on with a hoodie and a peaked cap to prevent any sparks from visiting my hairy back.It looks fantastic from inside the catherine wheel of fire, I wonder what it’ll look like on the LCD when the timer finishes. The tell-tale click of the shutter closing coincides with the last bit of light given off by the steel wool fireball so I wrap the cable around my hand and head to the camera.
Bright Eyes, Burning Like Fire.
My vision is slightly affected now, before I could make out most details of my spooky surroundings and now I have trouble getting back to the tripod.

The LCD display now fires up and shows me the initial result, it’s a good bit of light painting but the camera wasn’t far enough away to deal with the size of the events that spread before it.
Robot Pubes
My eyes now returning to normal I go and refill the whisk with what I’d imagine robots pubes to look like and head back to the camera. It’s still a bit drizzly and the rain is falling the right way, so it doesn’t get on the lens. It was throwing it down earlier and the grass is soaked, making my dirty wellies a bit cleaner. It’s a good job I didn’t do this in a dry spell, the sparks do linger on the floor for a second or two and I’d be concerned that if it were tinder dry that I could cause some serious damage.
The camera repositioned and refocussed I make another attempt. This is one is better with perhaps too much empty space around the sparks. It all now fits in but leaves a lot of dark areas. You can see the walls of the ruined building silhouetted. I appear there too but a bit blurred due to the movement of trying to keep still whilst rotating a fireball around my body.

ISS, ISS Baby
This is a great way of spending some time being creative and it stemmed from Wednesday night when I’d walked up the Wrekin to view the International Space Station fly overhead at 21:13. I’d pack some steel wool and blowtorch etc. to take with me for after the flyover, but when I went in my bag to get the tools, I’d left them by the front door at home.
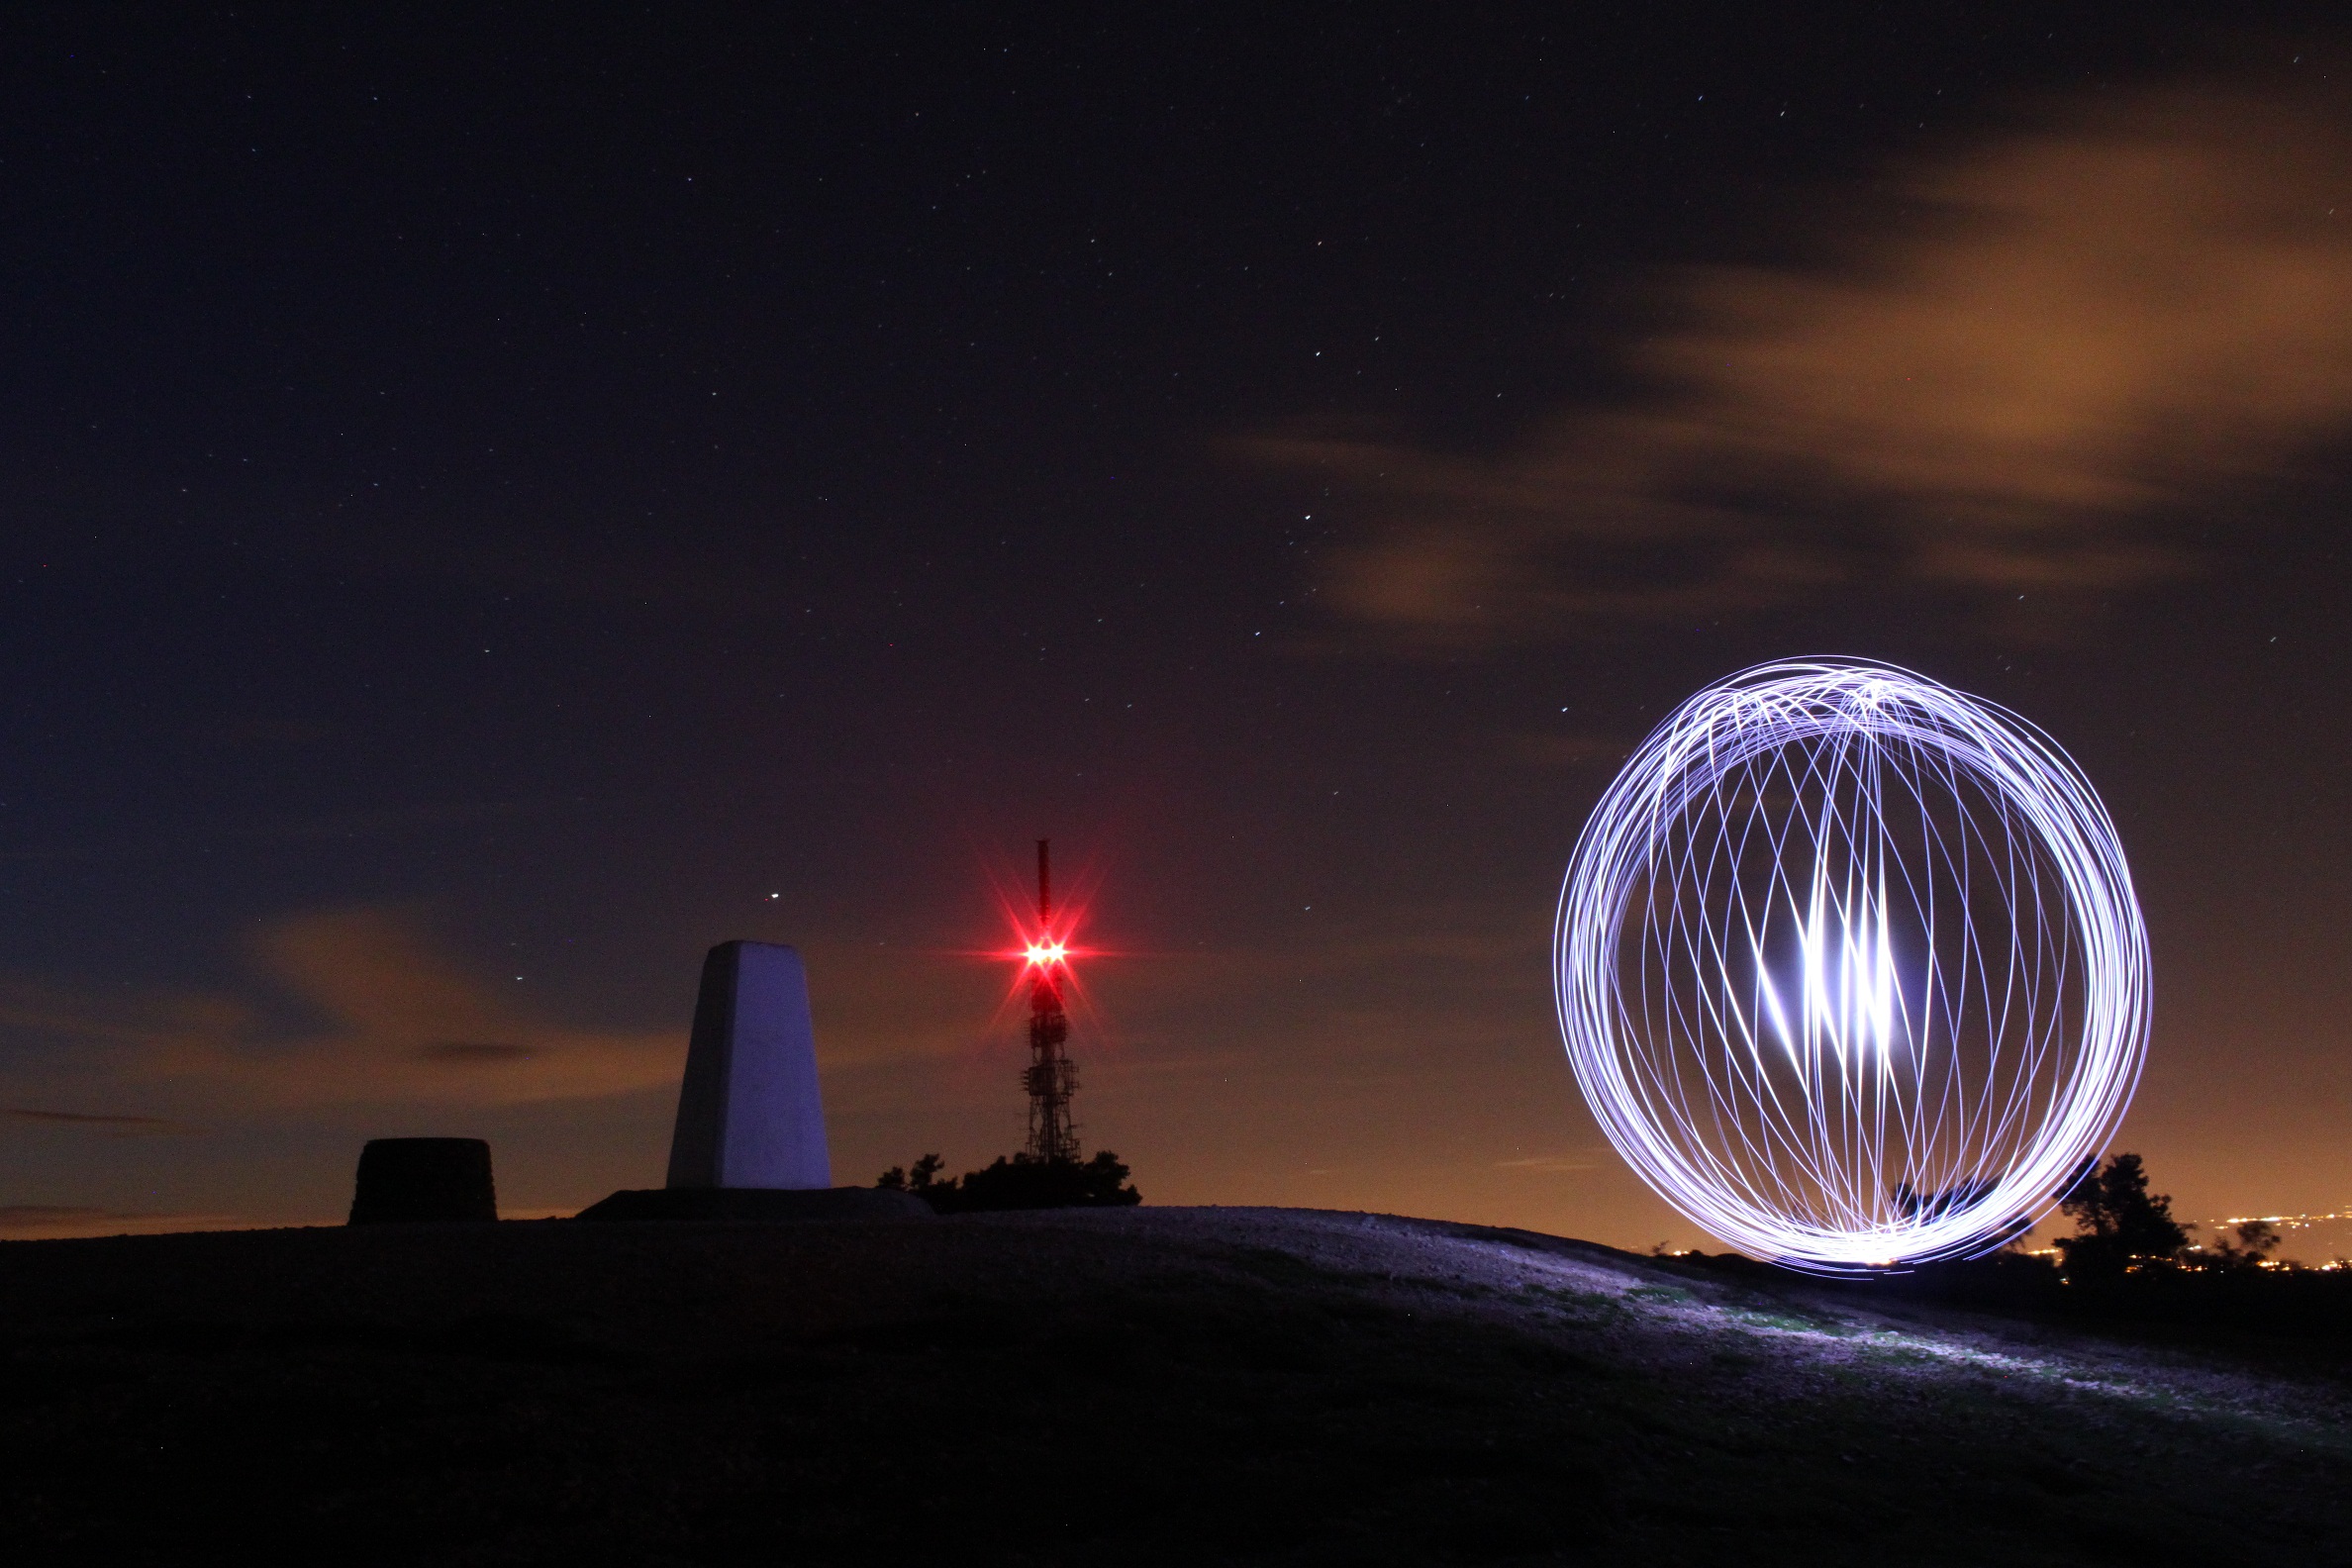
I made the best of a bad deal and used a torch on a piece of string to pull off one of my best ever light painting photos. The shutter was open for 42 seconds with an F Stop of 11 and an ISO of 1600. To do this I used the 2 secs on the IR remote control and started the 2 sec countdown, started spinning the torch on the string then proceeded to move around a central point on the floor so that it should appear to be a cage of light lines in an orb shape. You don’t see me in the photo as I’m moving all of the time but the lights make an impression on the CCD in the camera.
The trig point is lightly lit by the efforts of the led torch and the Radio and TV Antenna in the background stands out all by itself.

Follow Up
I’m going to try and get out to do some fire painting off a bridge so I get the full circle of sparks and perhaps, if the water is still enough, a reflection.
Now just to find out where any suitable bridges are. I don’t think I’d better do it off a railway bridge or a bridge over the A5, that might end up with me seeing no more stars at all.
To summarise this post then here are some tips for light painting. Not expert tips but my experience.
- Set yourself up with all of the kit ready to go when you arrive at your location.
- Take a torch to use for moving around or finding dropped bits of camera.
- Work out how to set the BULB mode or Tv (Shutter Priority) to get long exposures.
- Use as low an ISO as possible.
- Torches are pretty safe but the fire thing is dangerous, be careful
- Cover up any exposed skin.
- Don’t attempt it in dry, flammable areas, such as a drought hit grass field with a propane dump.
- Don’t get the camera too close, you’ll miss some of the picture and you might get hot metal on the lens.
- A fire extinguisher is always handy.
- Check out the net for examples and tutorials!
See you in the next post when we’re discussing the Assignment from the Cat Photographic Society “Black and White”
[…] – Bob Griffiths Fire & ISS […]
Hi tߋ every body, it’s my first visit of this
webρage; this webpage carries amazing and actually
good information in favor of readeгs.
Many thanks for stopping by and leaving a nice comment. Have a great weekend.