In part 6 you saw how the toes were manufactured as well as the gun pods and saw the paper mache covering everything, including me and the floor!!
In this part of the blog, it’s nearly over now, you’ll see the painting start on the parts that would go to make up my version of the killer robot from the Robocop movie franchise.
I’m not a skilled painter and have no facility for doing this job in a ventilated area apart from by back garden. It was possible to paint the parts in the garden, between rain showers and giving my grass a bit of a paint job at the same time.
I used two cans of grey primer that I purchased from Charlies Stores to cover the guns and realised quickly that the remainder of the job was going to eat a lot more. The paper mache seemed to suck the paint in leaving the new-print visible until it had a couple of coats. I then bought 6 cans of grey etch primer off ebay for £20 and started using this. A bit on the guns though started bubbling where it reacted with the previous PlastiKote paint. Fortunately I expected a reaction so didn’t use a whole heap on it.
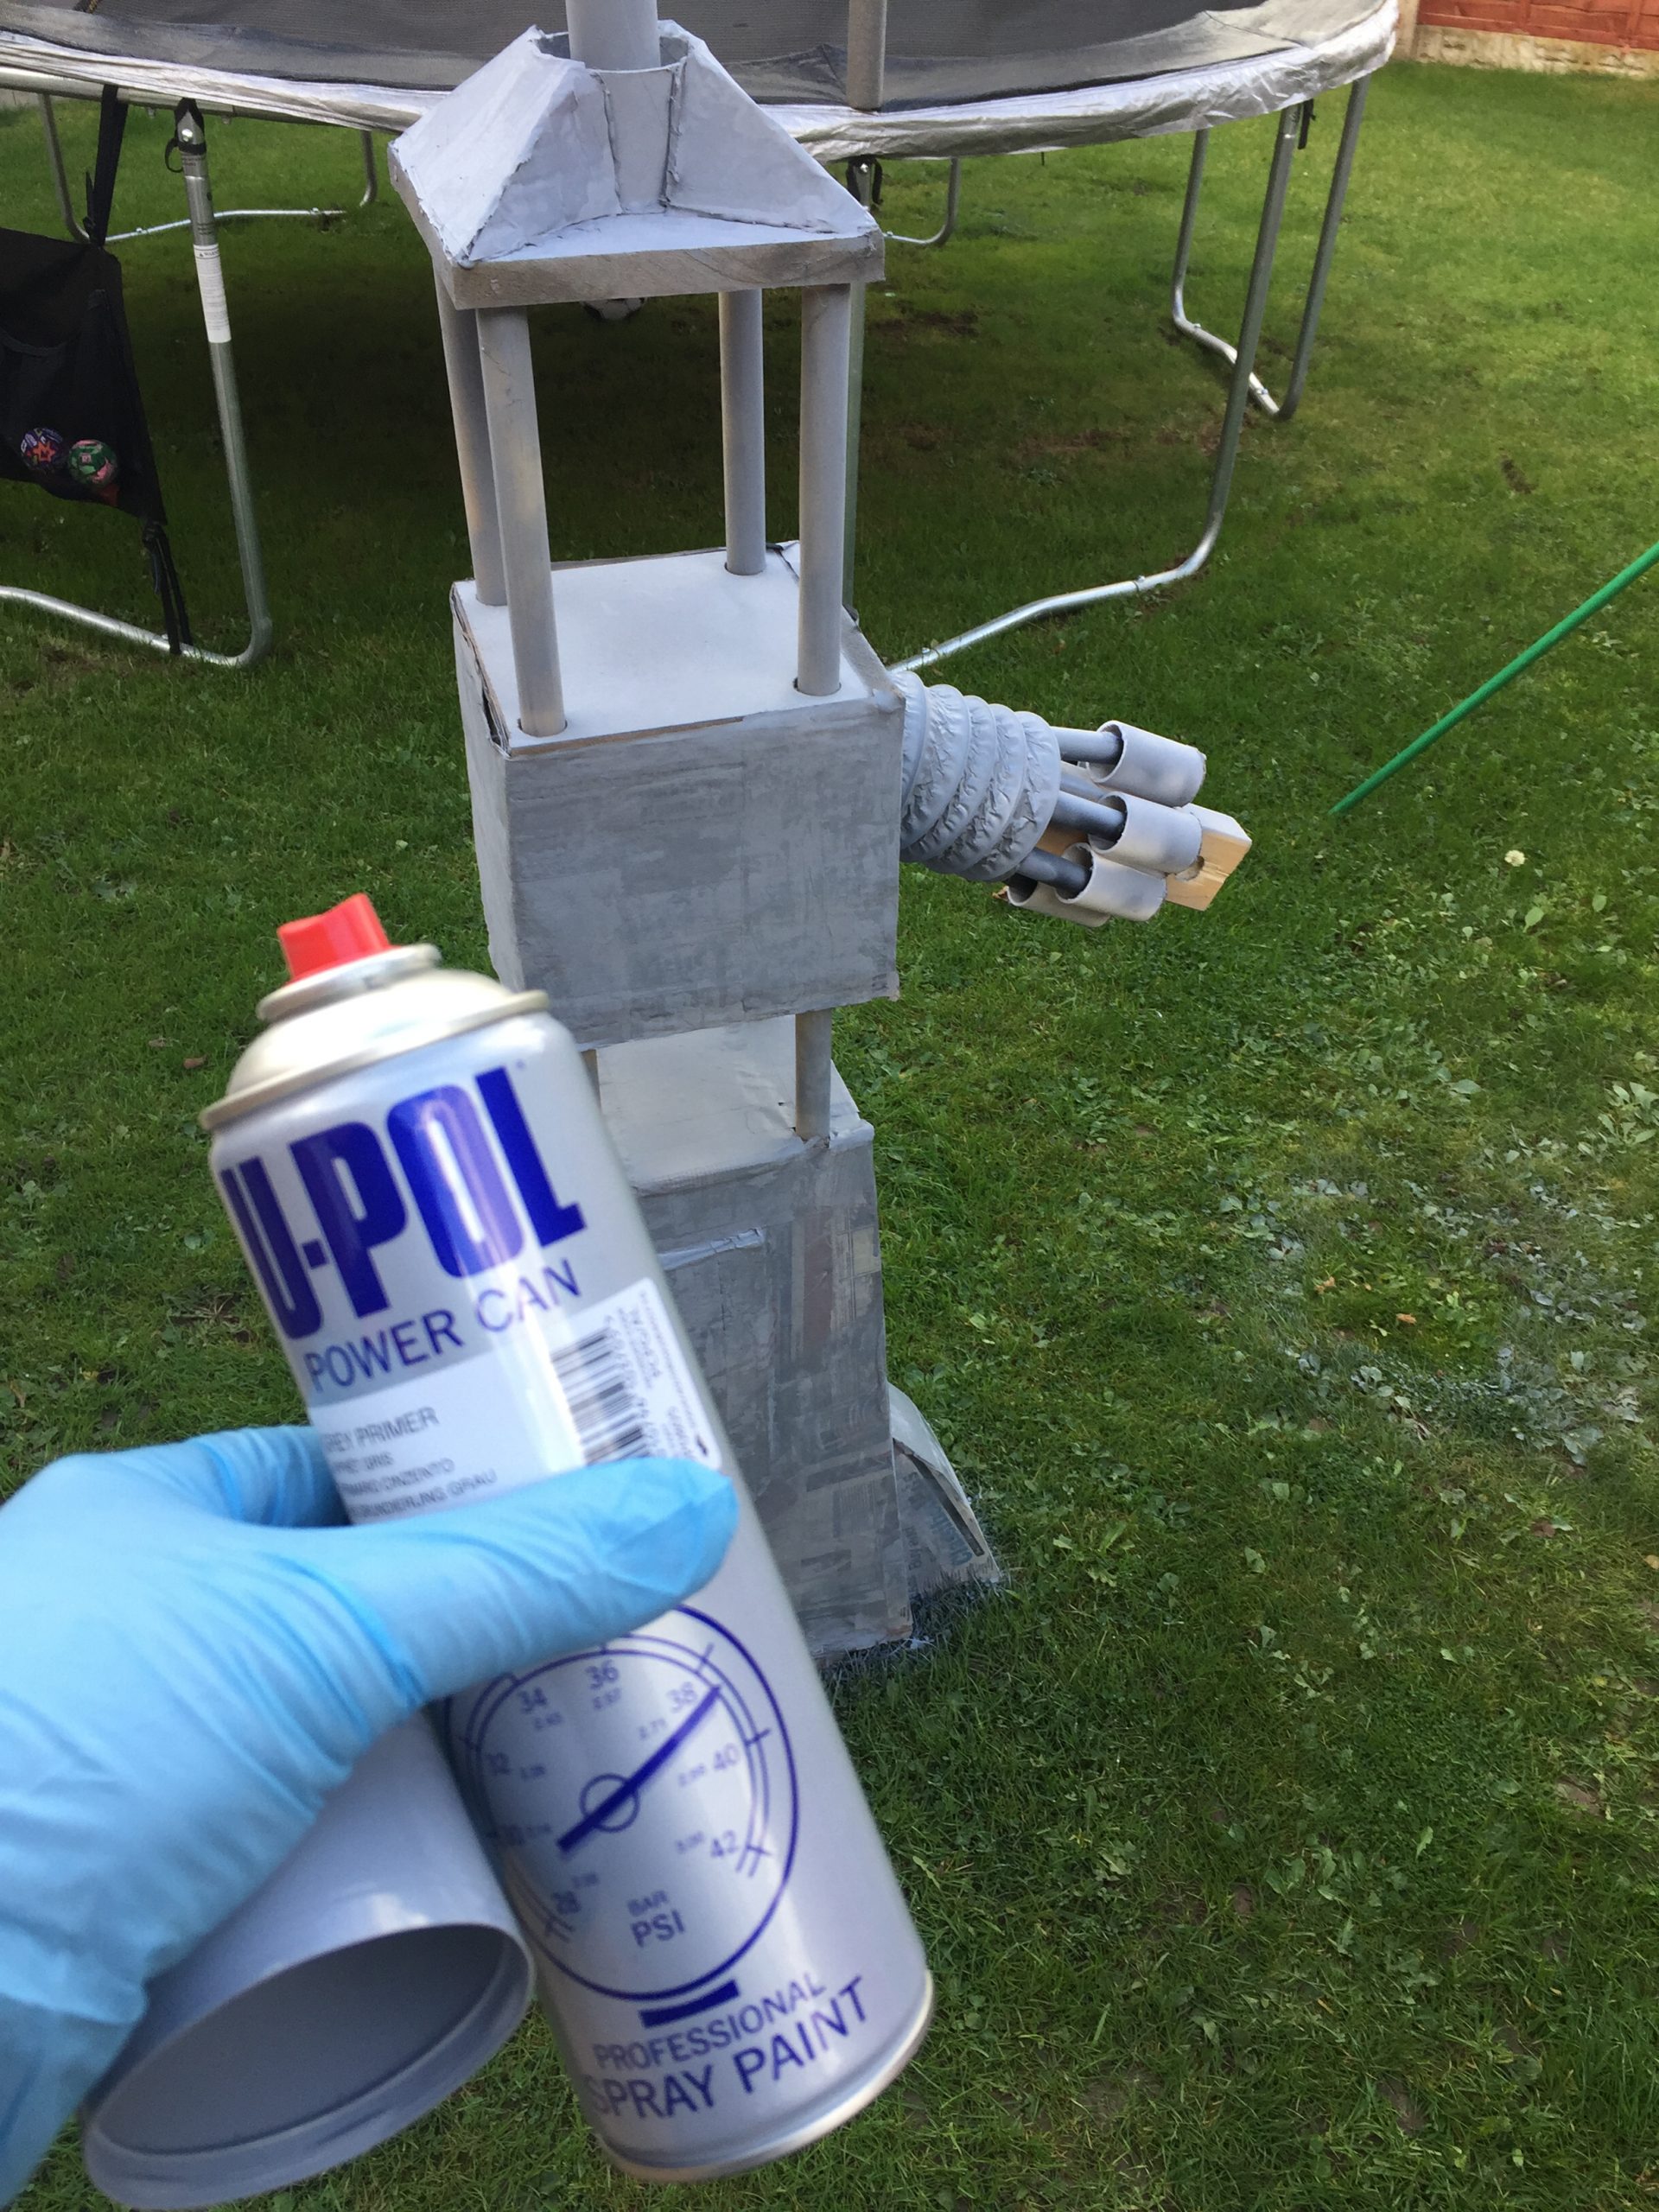
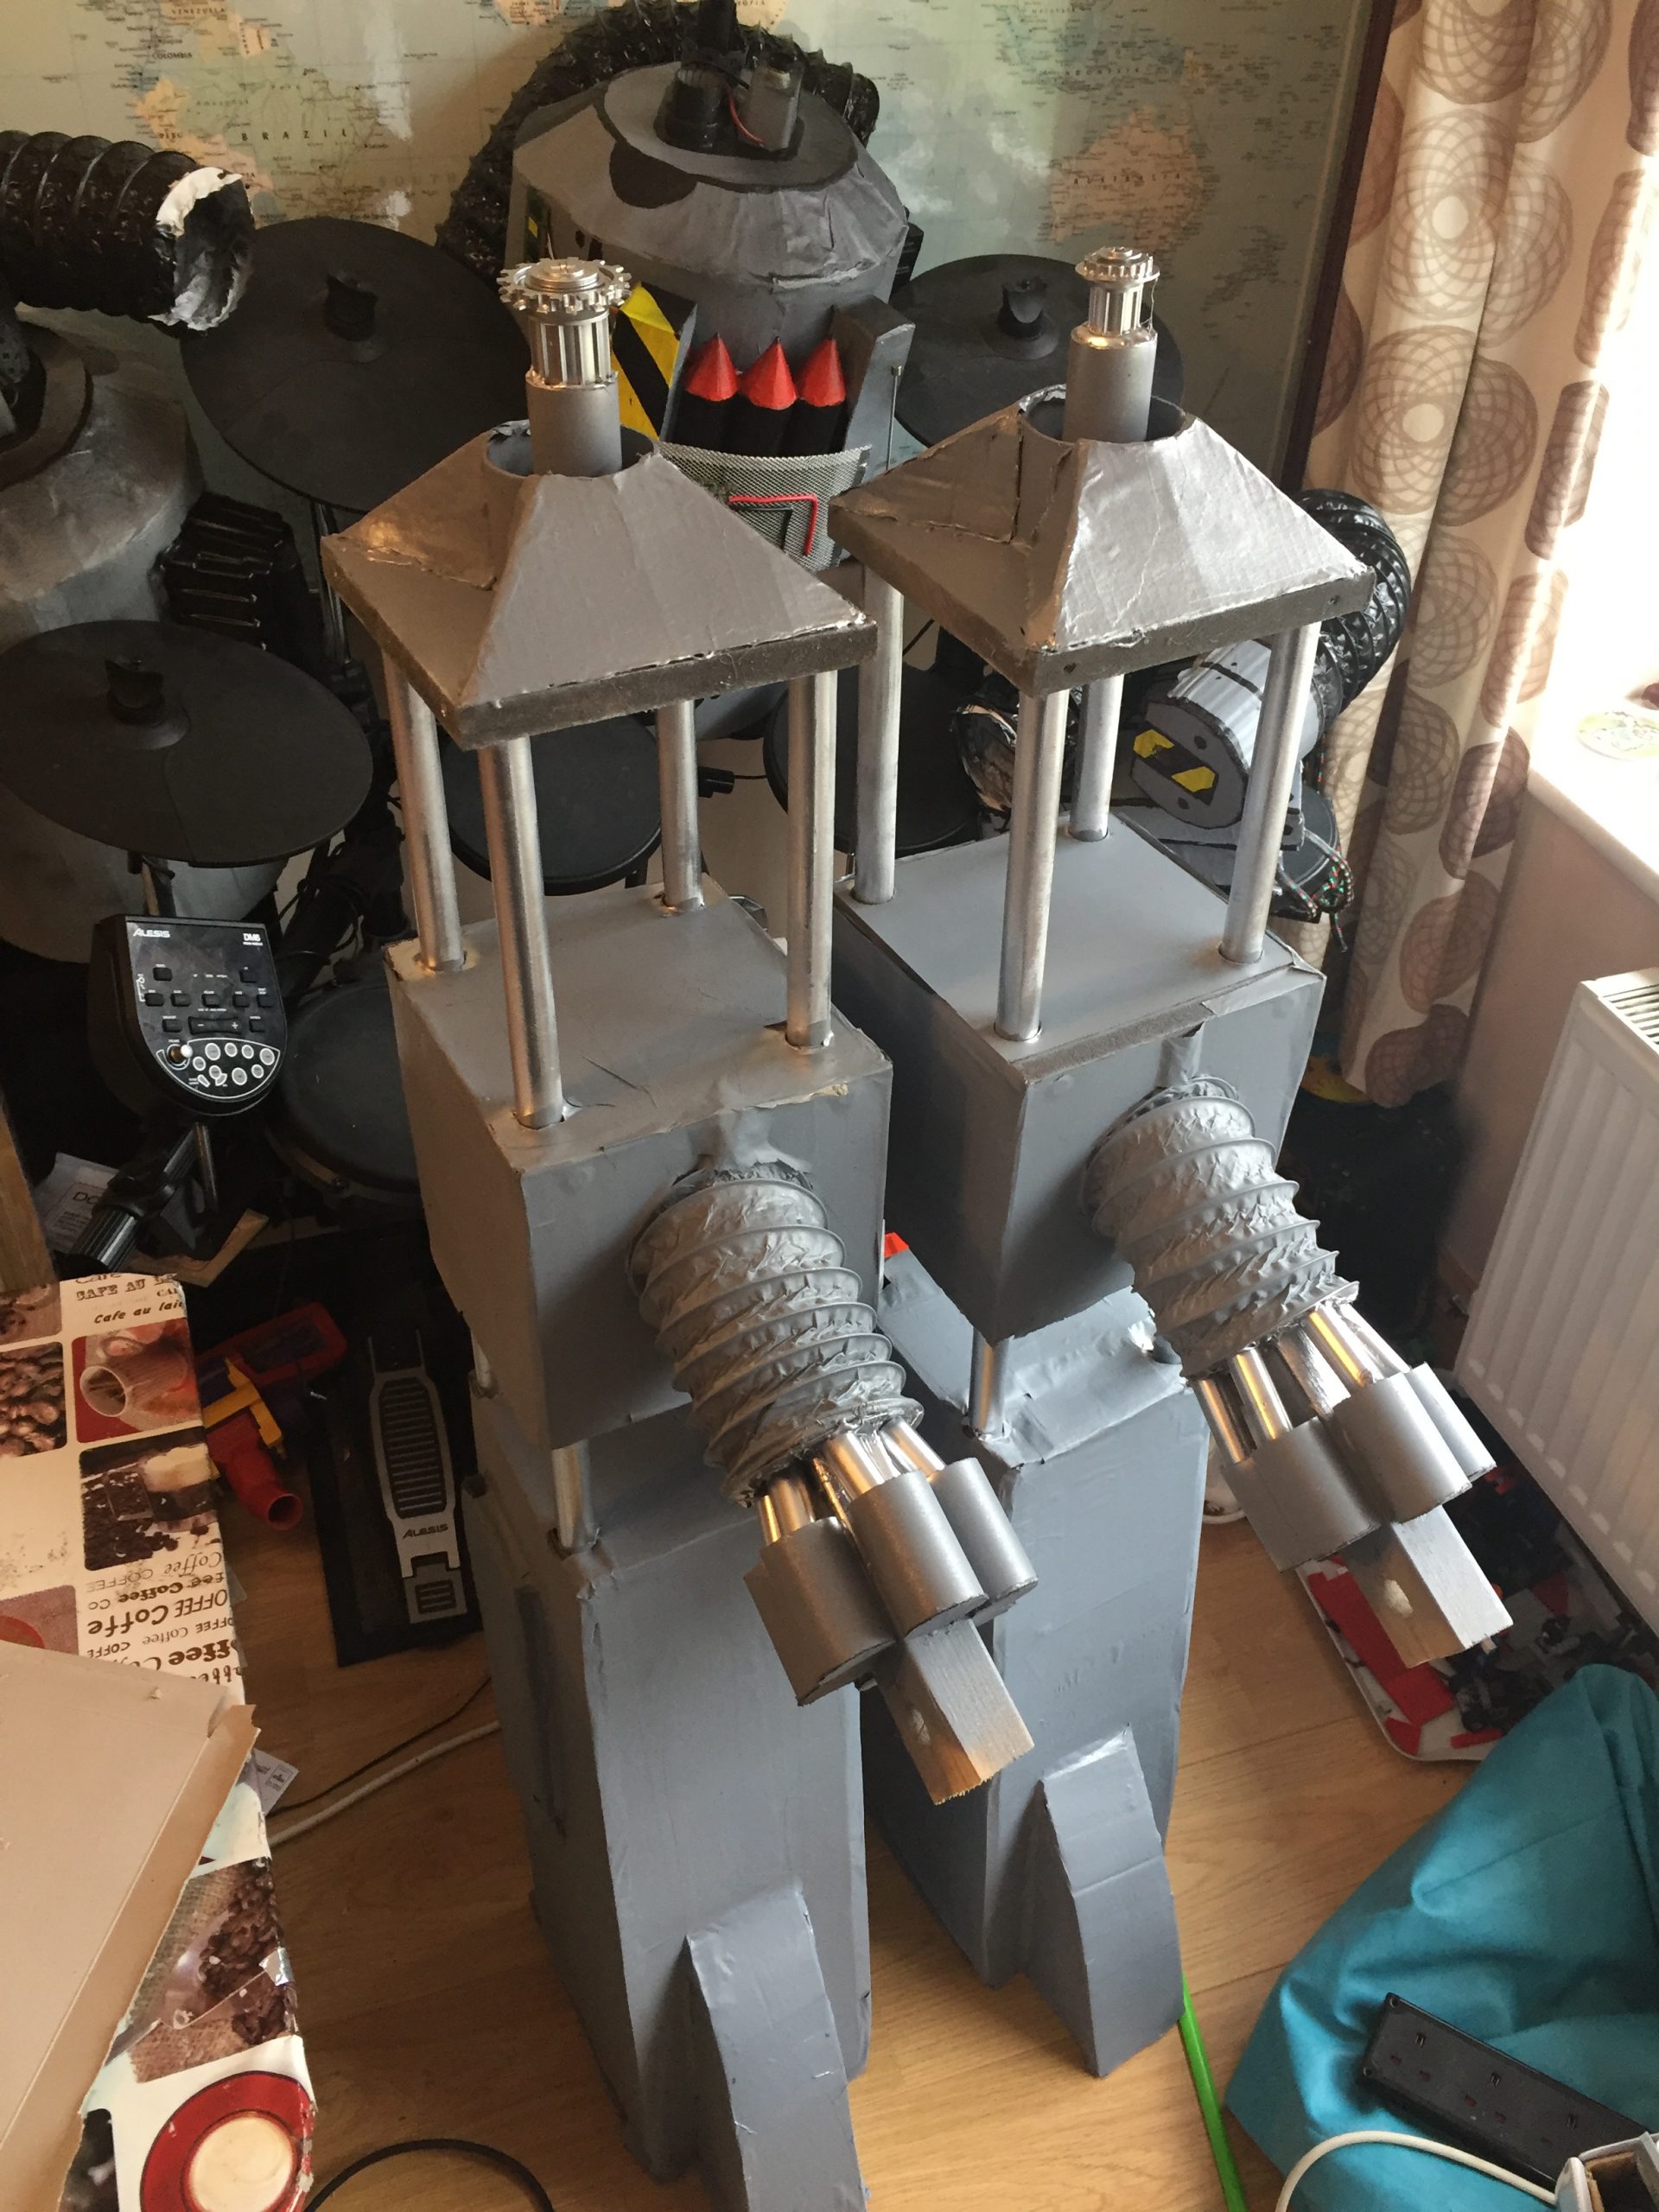
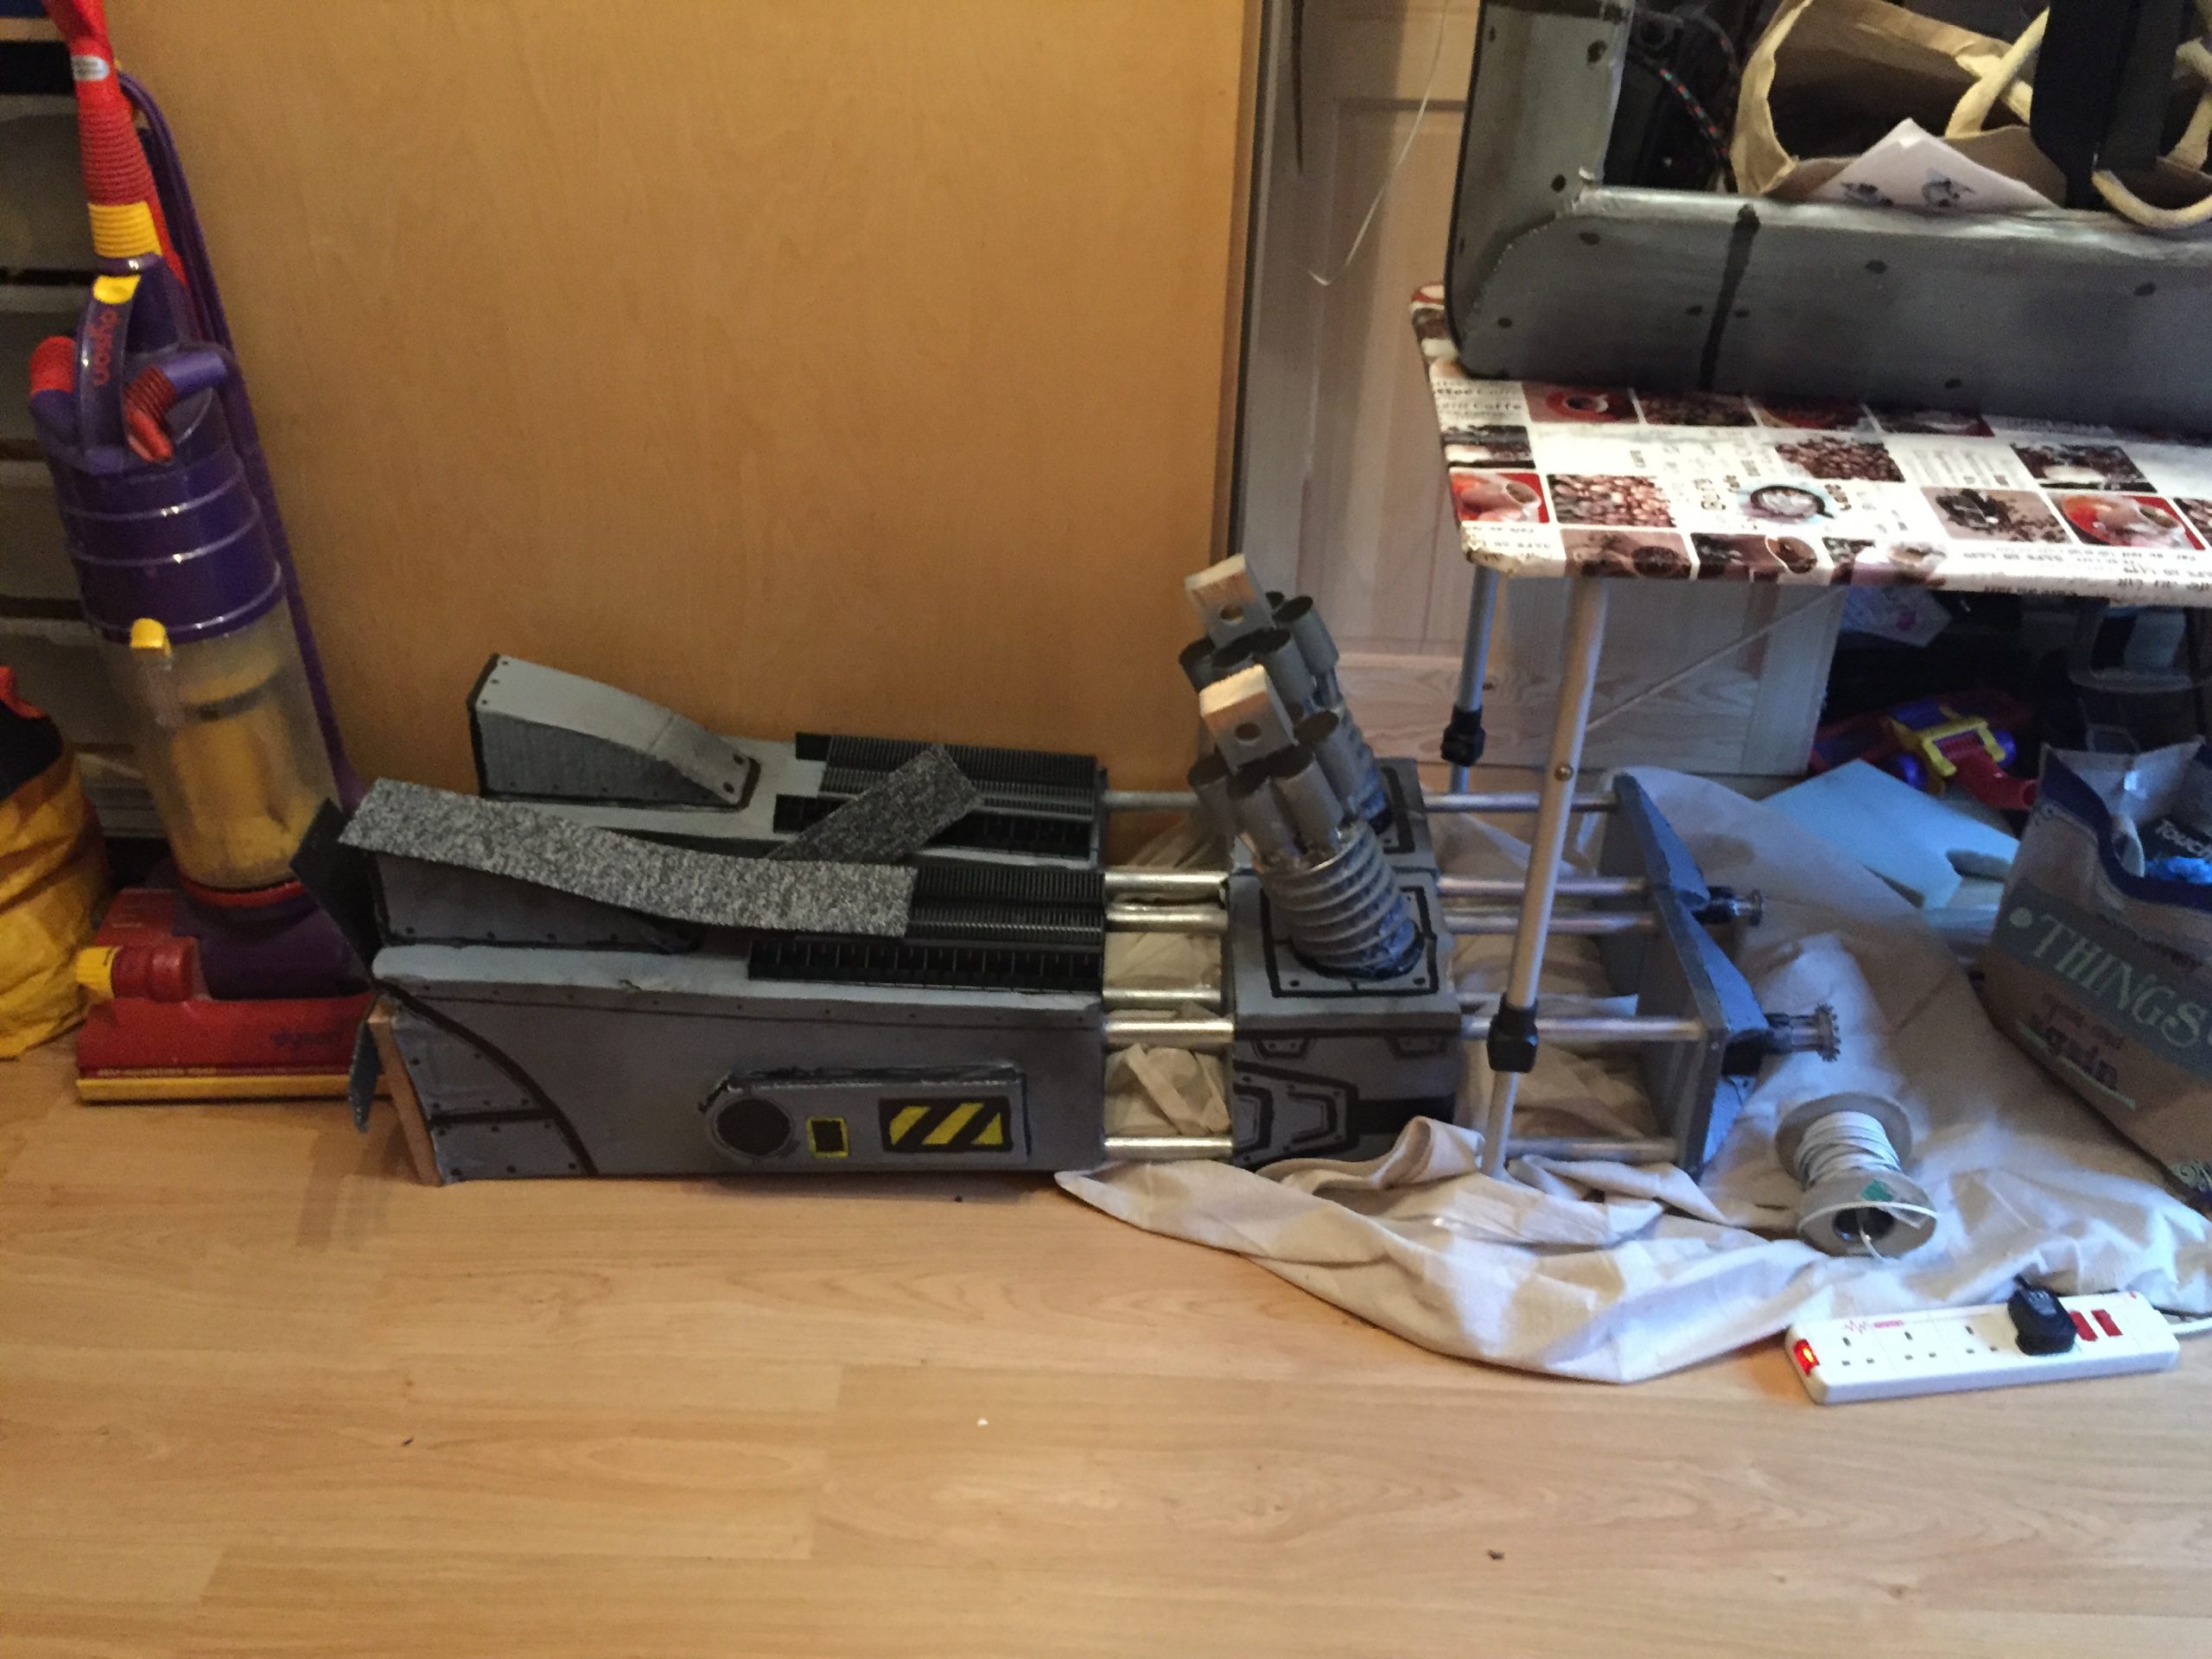
As you can see from the above pictures, I sprayed the wings, the guns, the legs and the toes with the grey and then went to work with the acrylic paints and brushes to add the details onto the parts. I also added some wires ripped from some twin and earth I had in my shed as well as some old computer parts from my early 486’s, memory dimms and other parts were hot glued on and rainbow ribbon cable used to make it look like they were connected. The hip joints were also painted too and the black and yellow hazard stripes looked alright!!
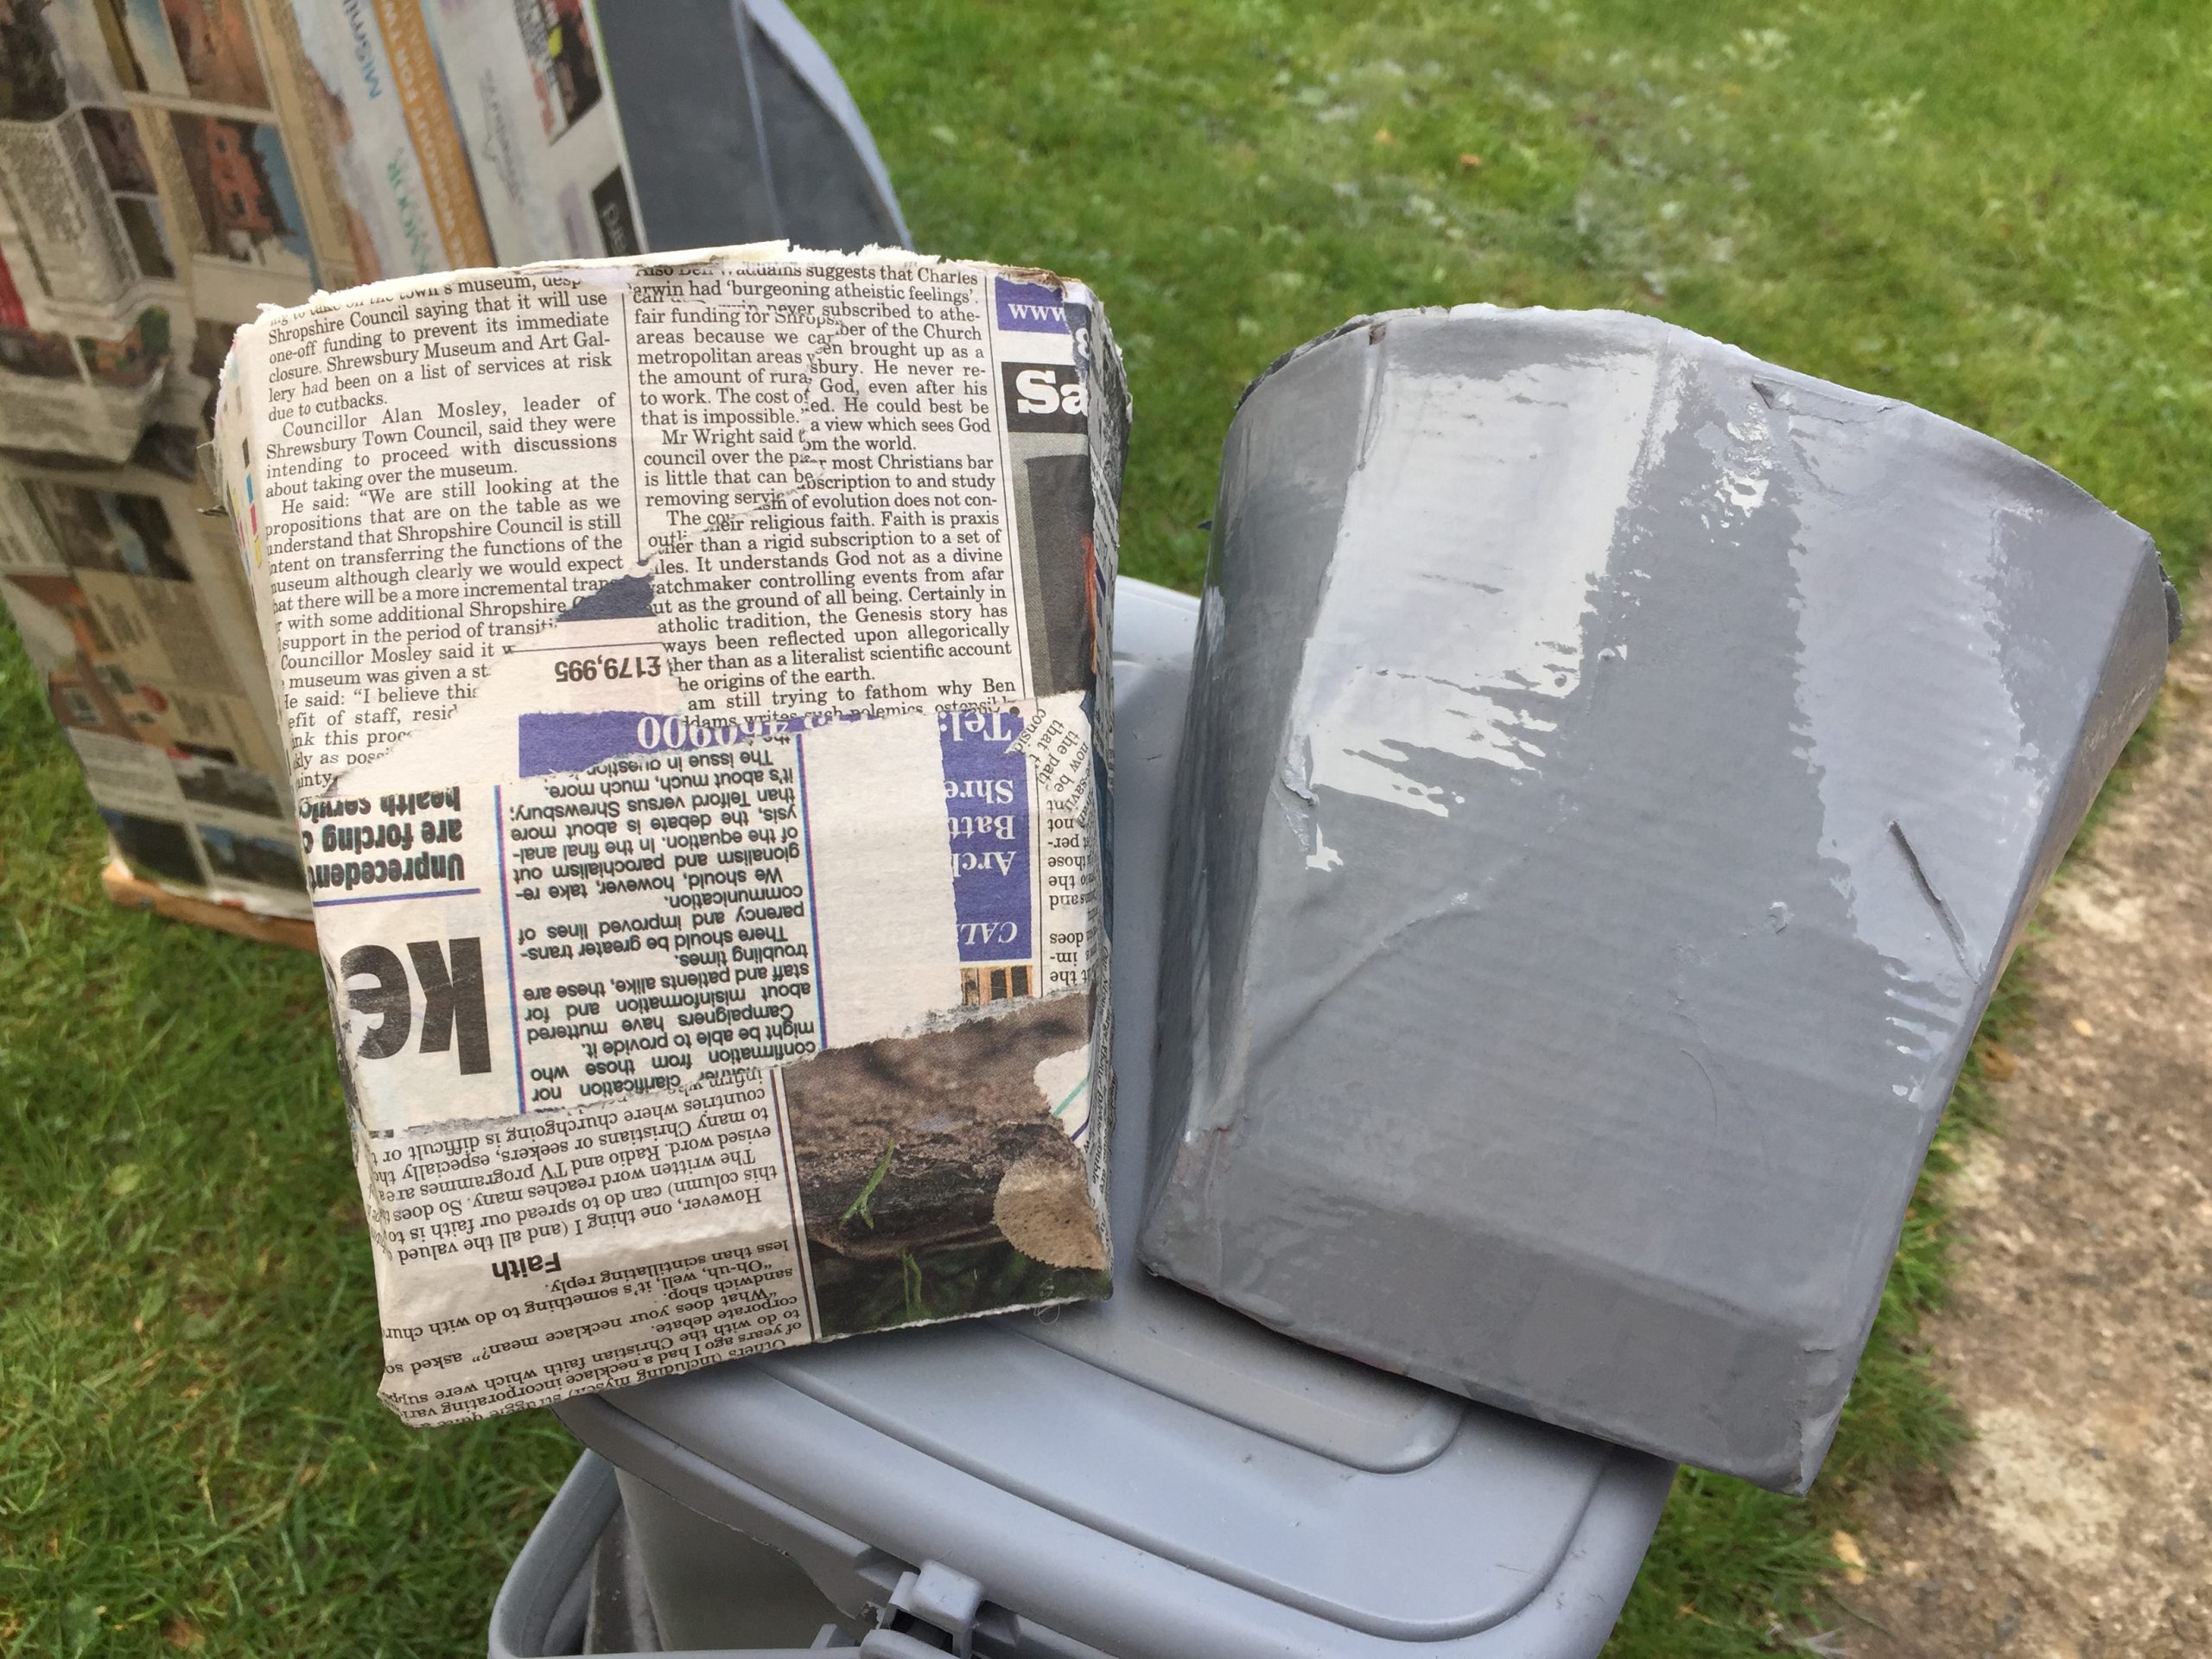
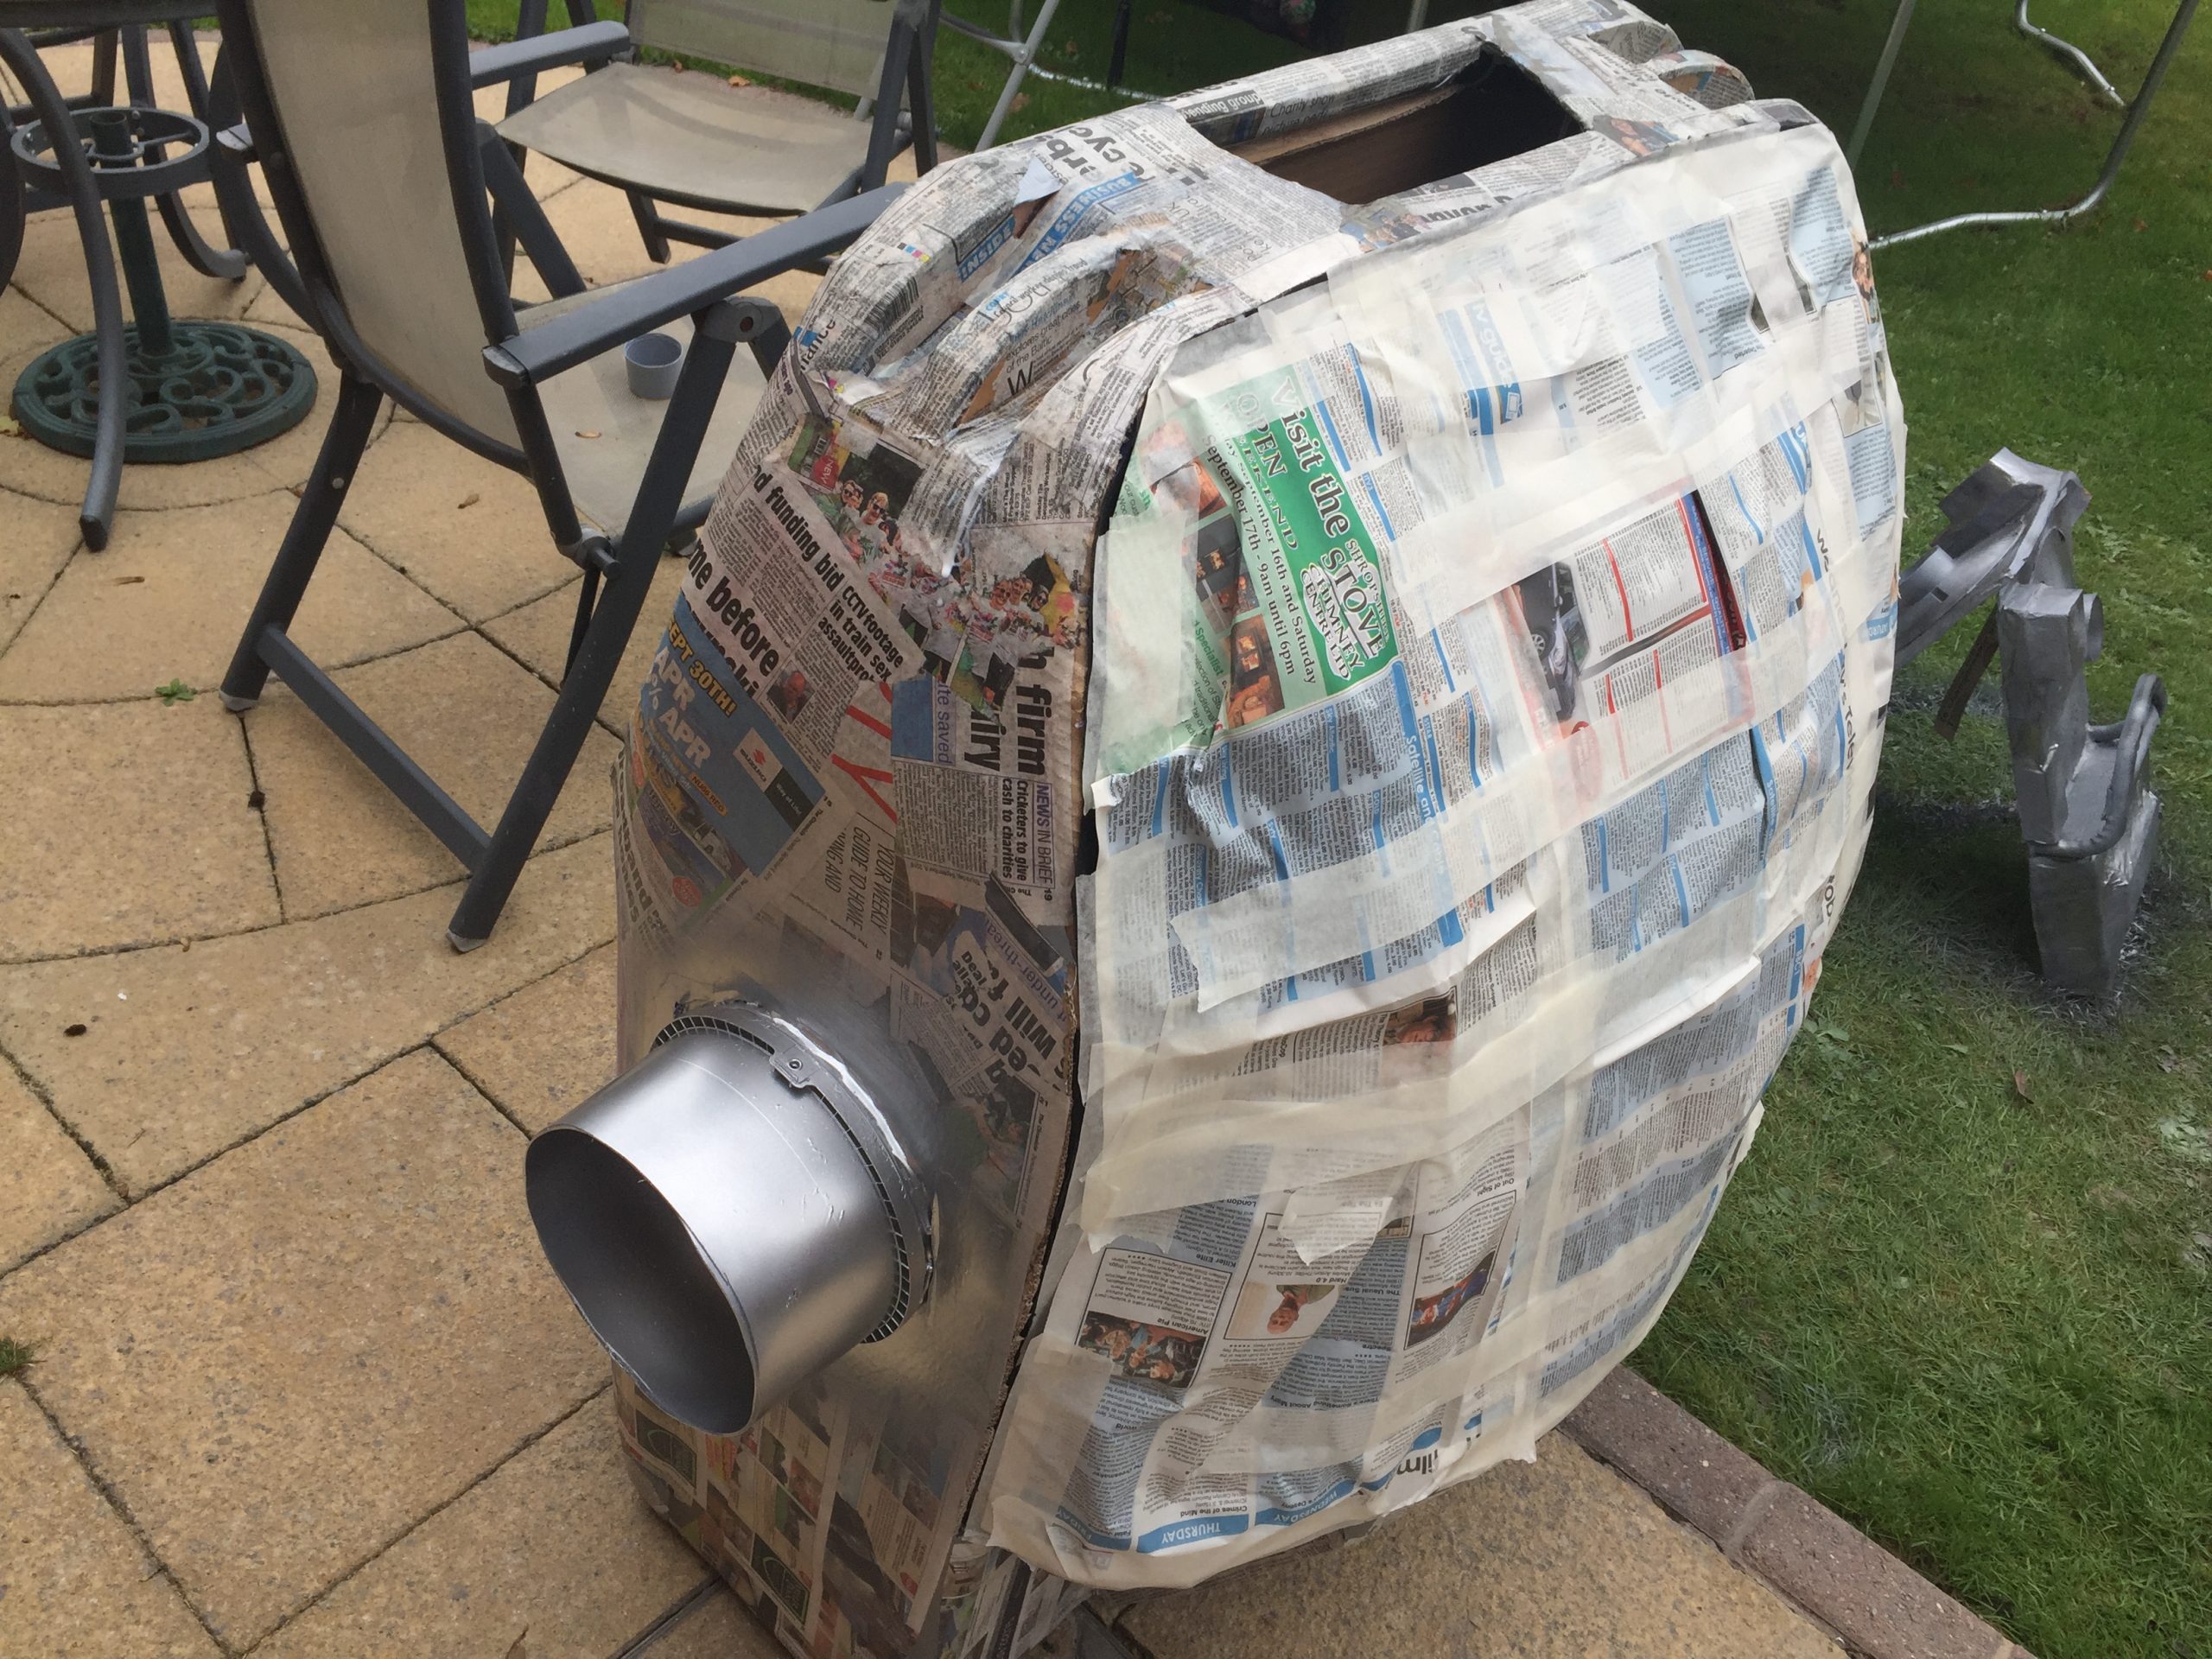
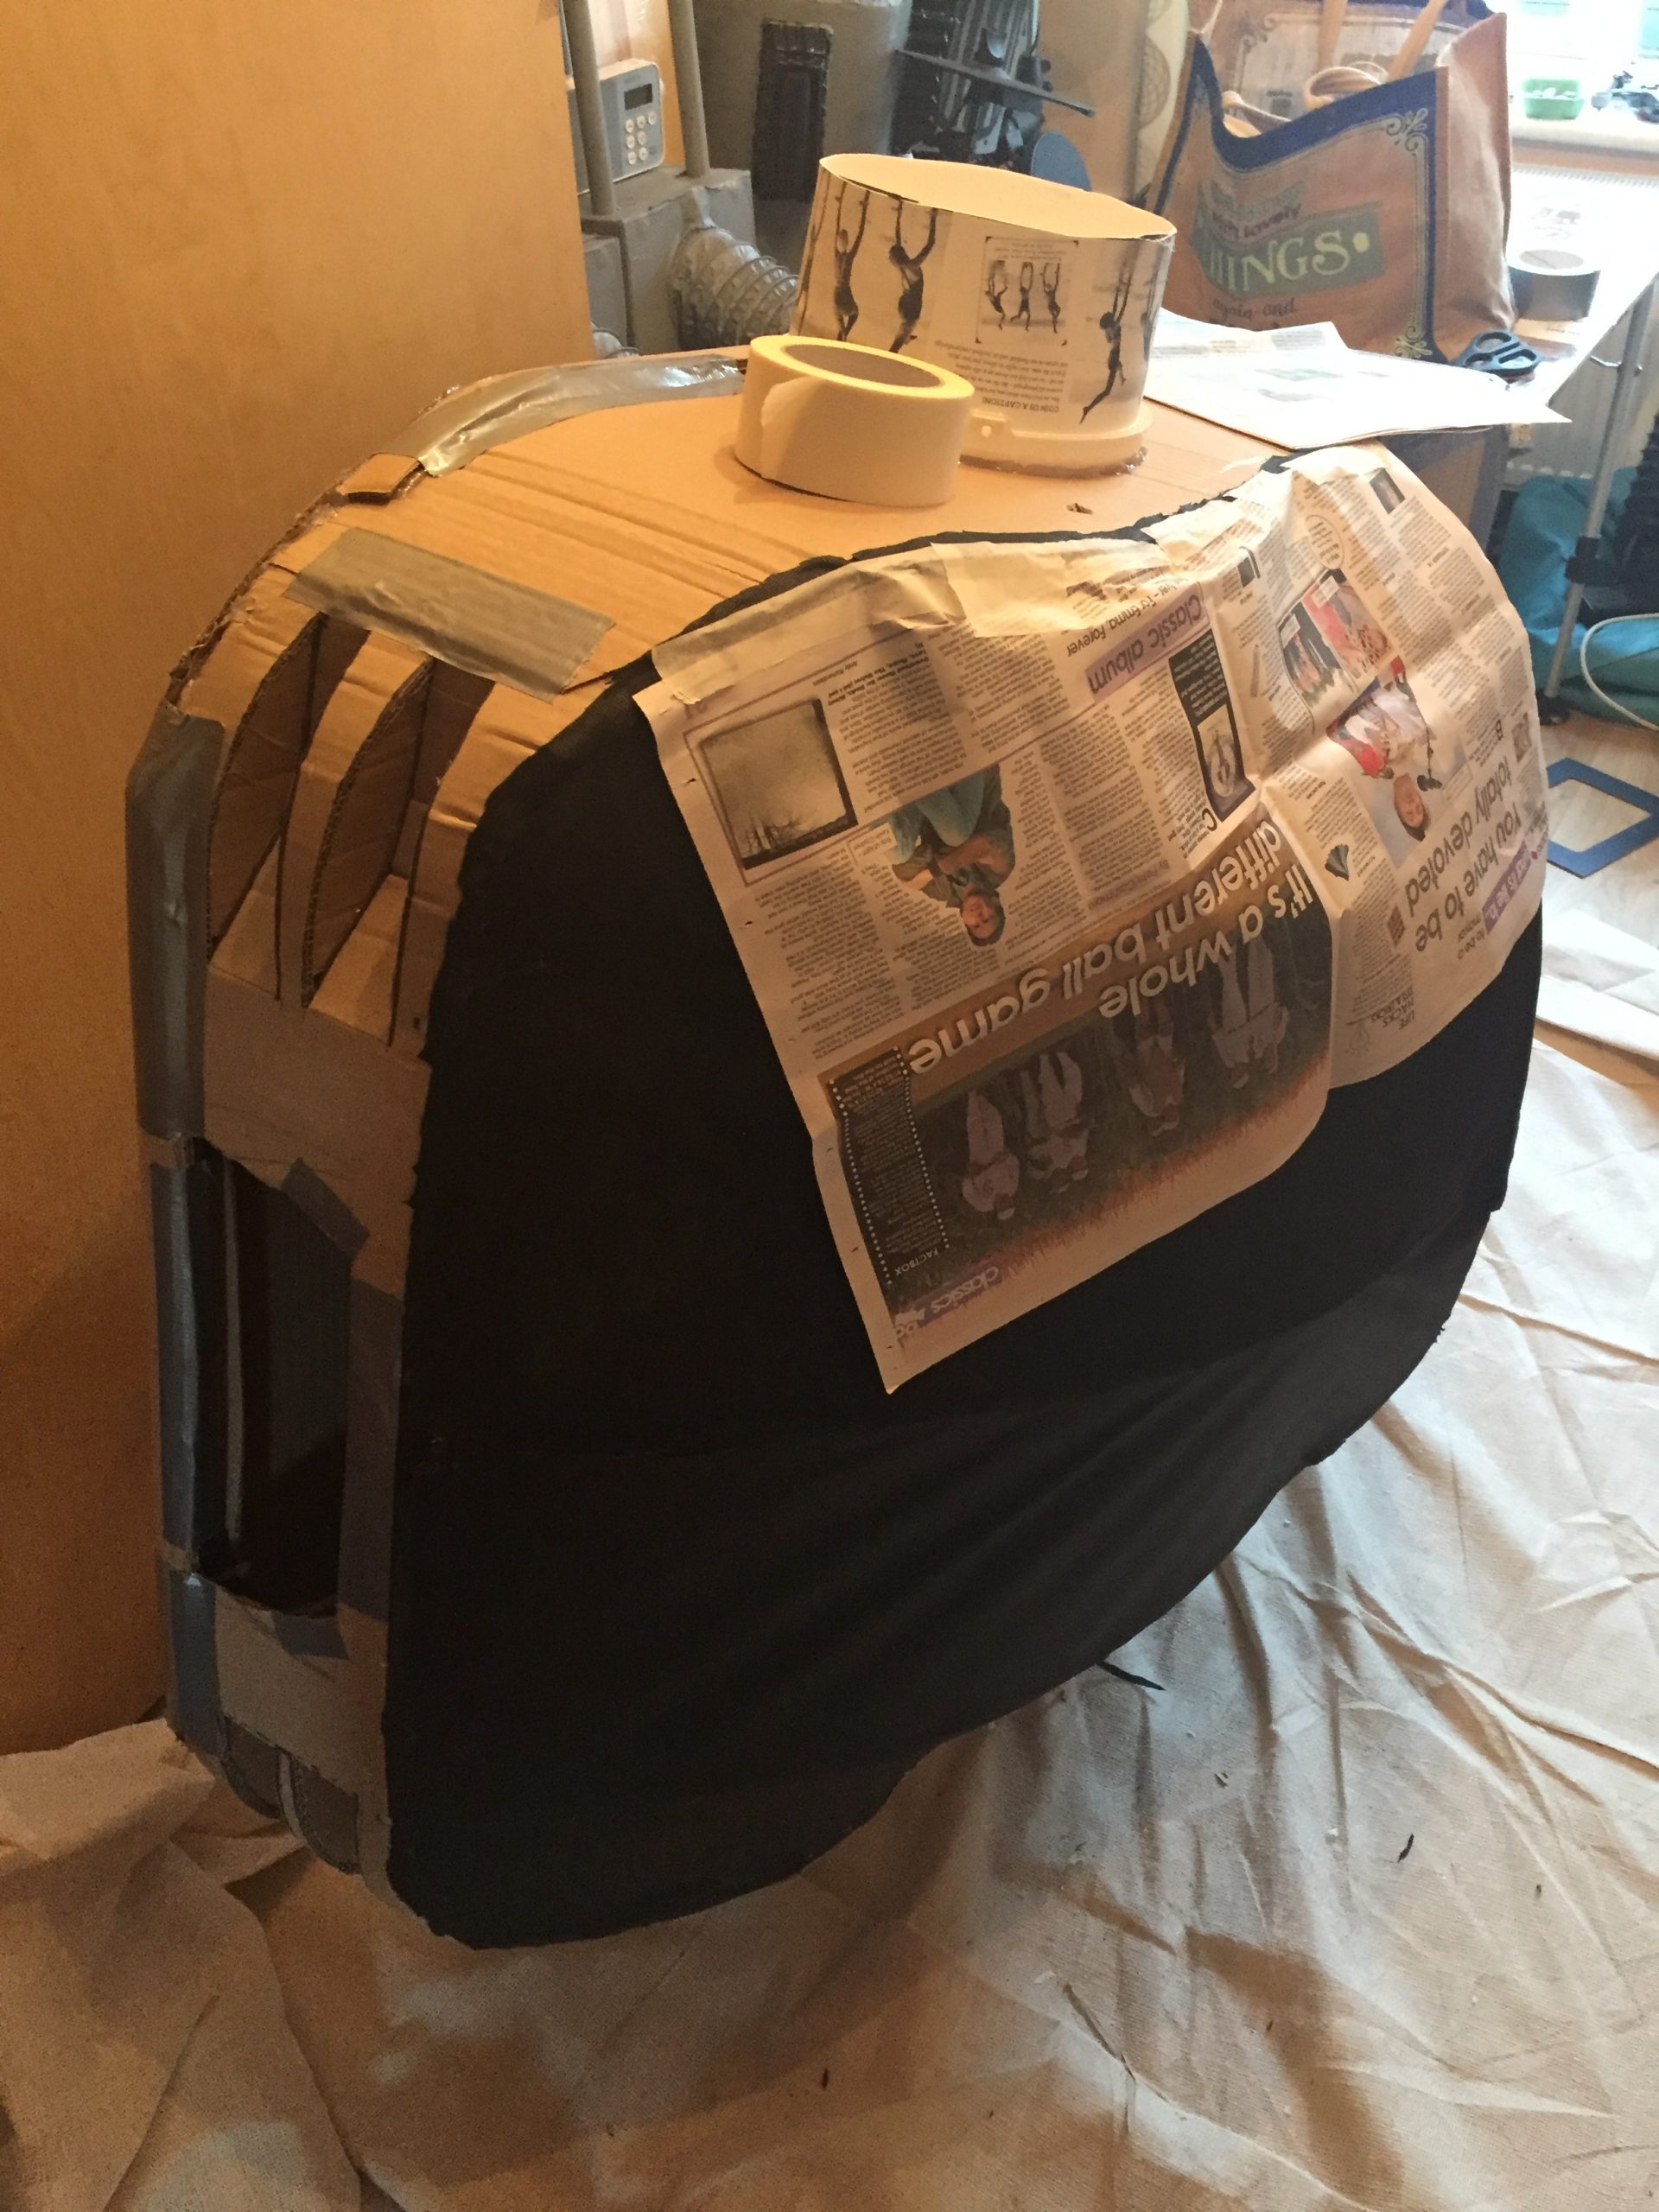
The next piece of work that I had been dreading was to cover the cardboard body with pva’d paper and then paint that.
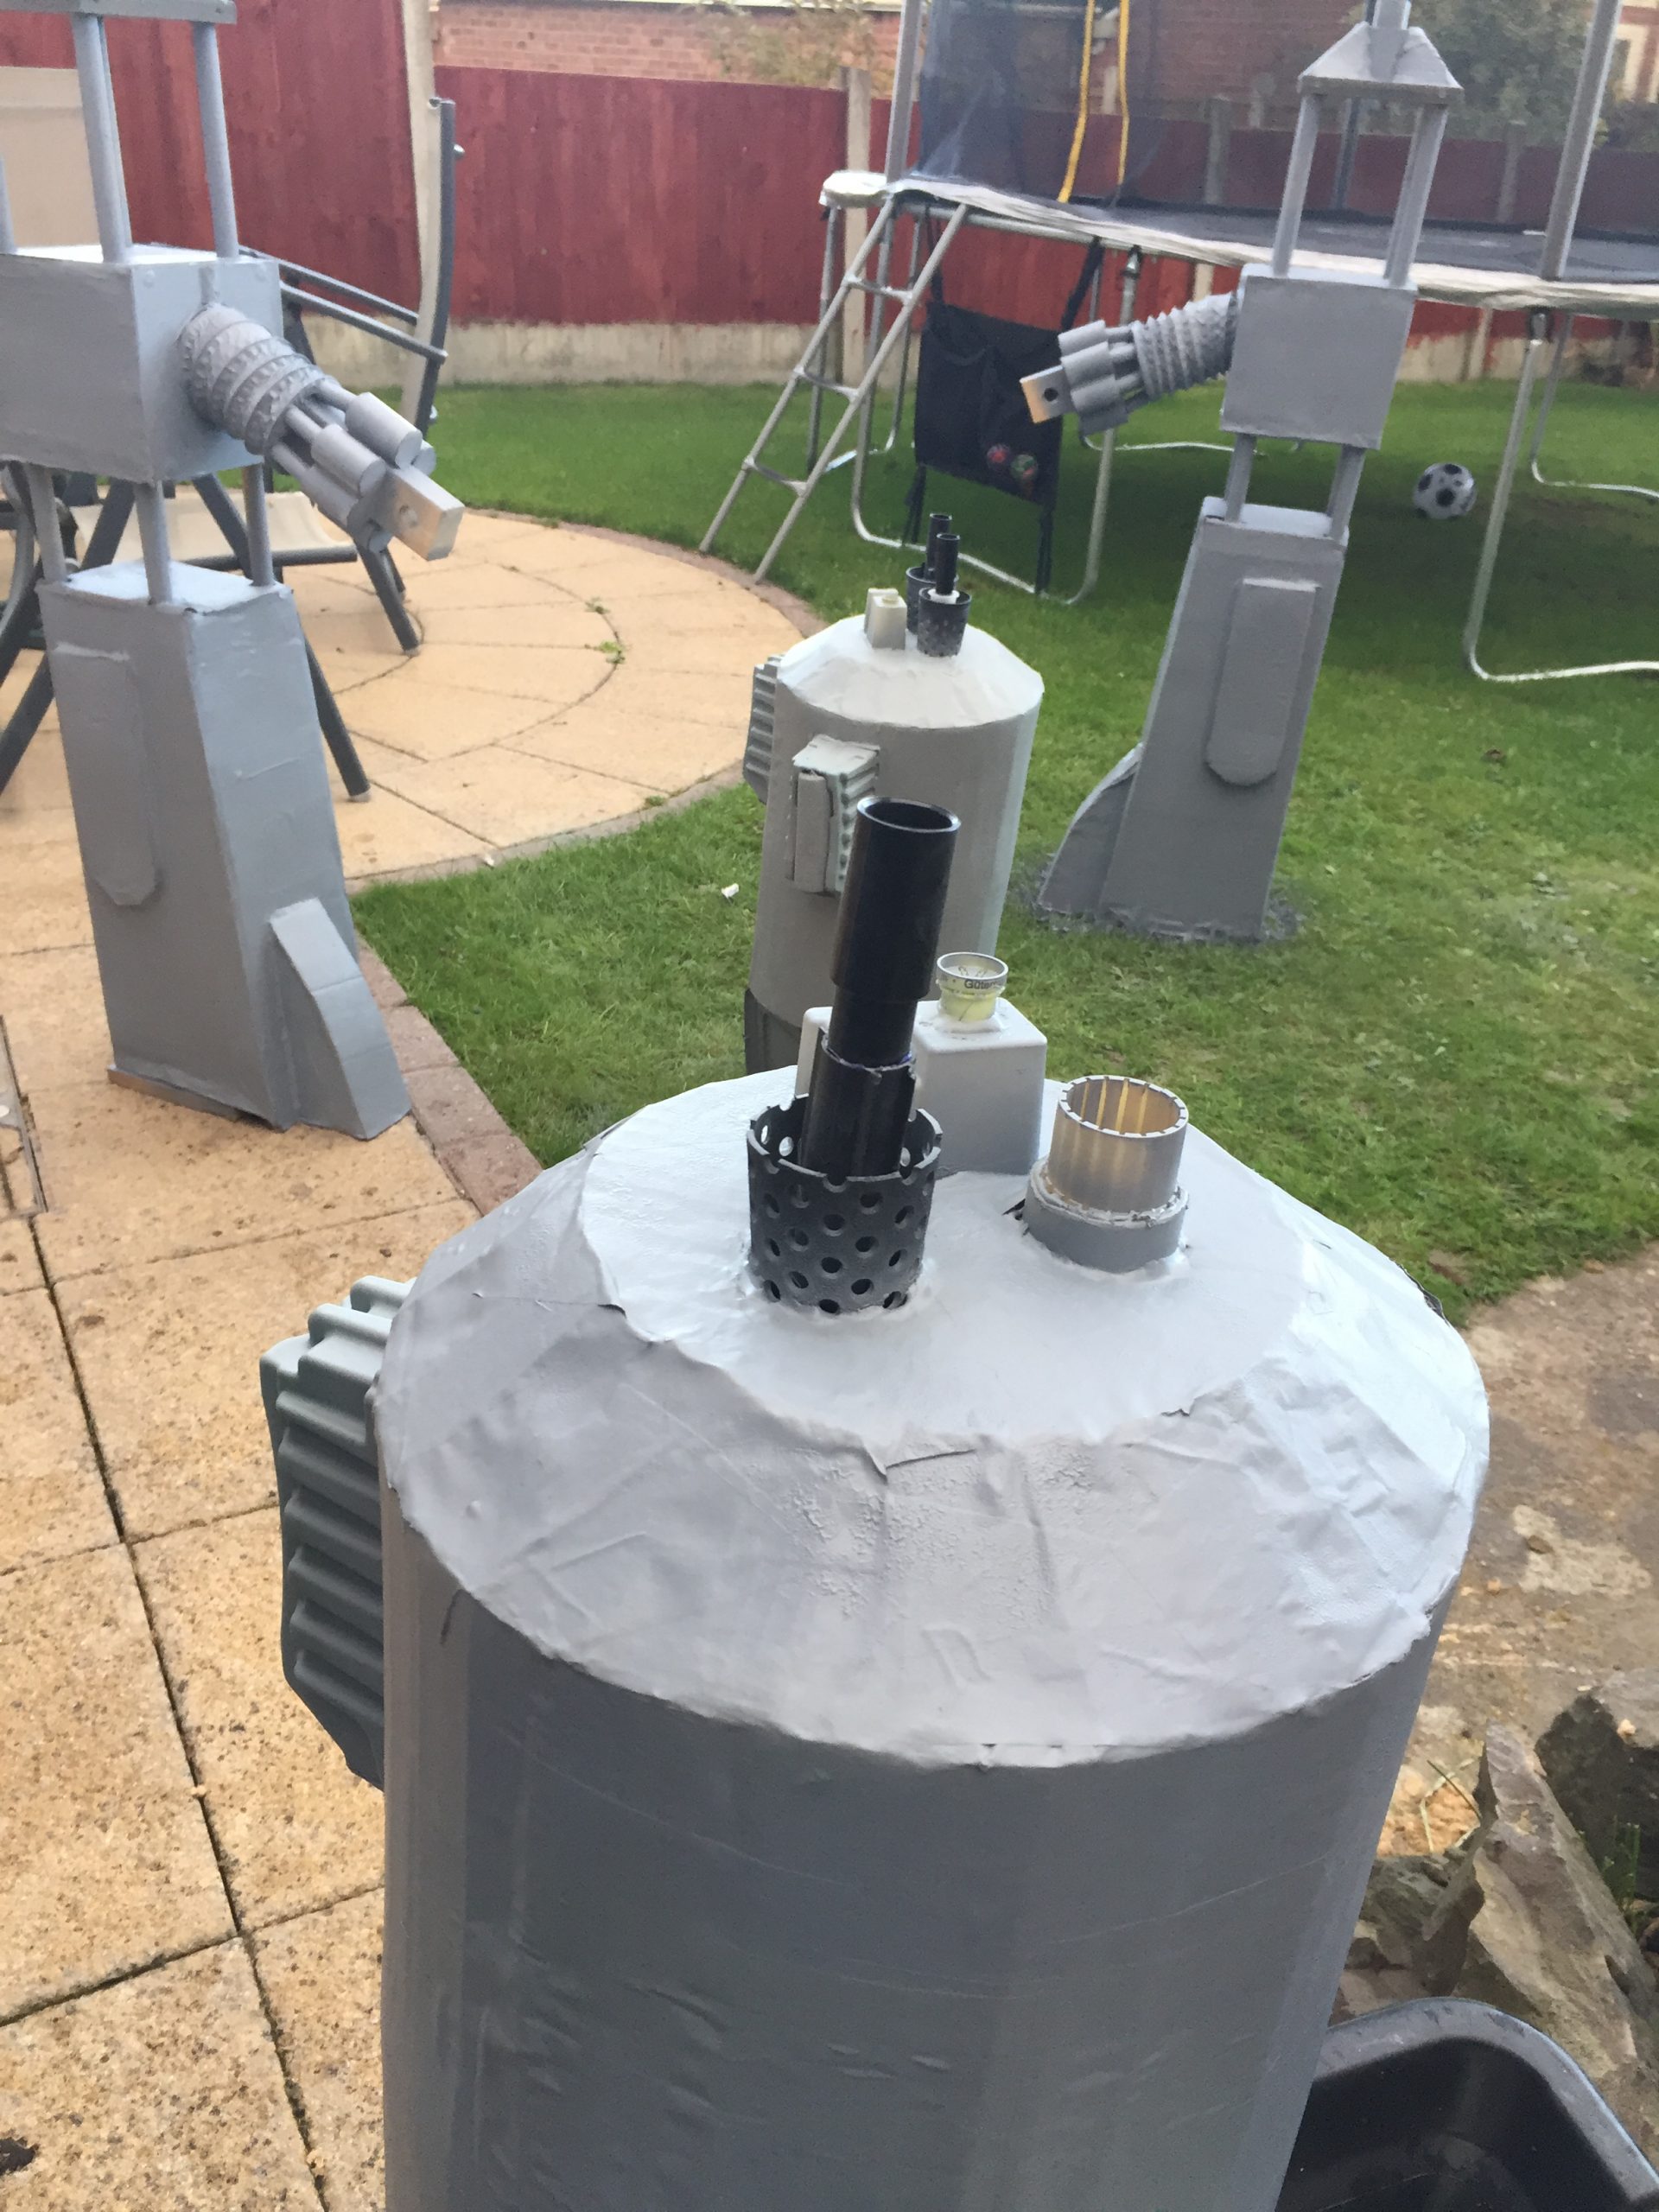
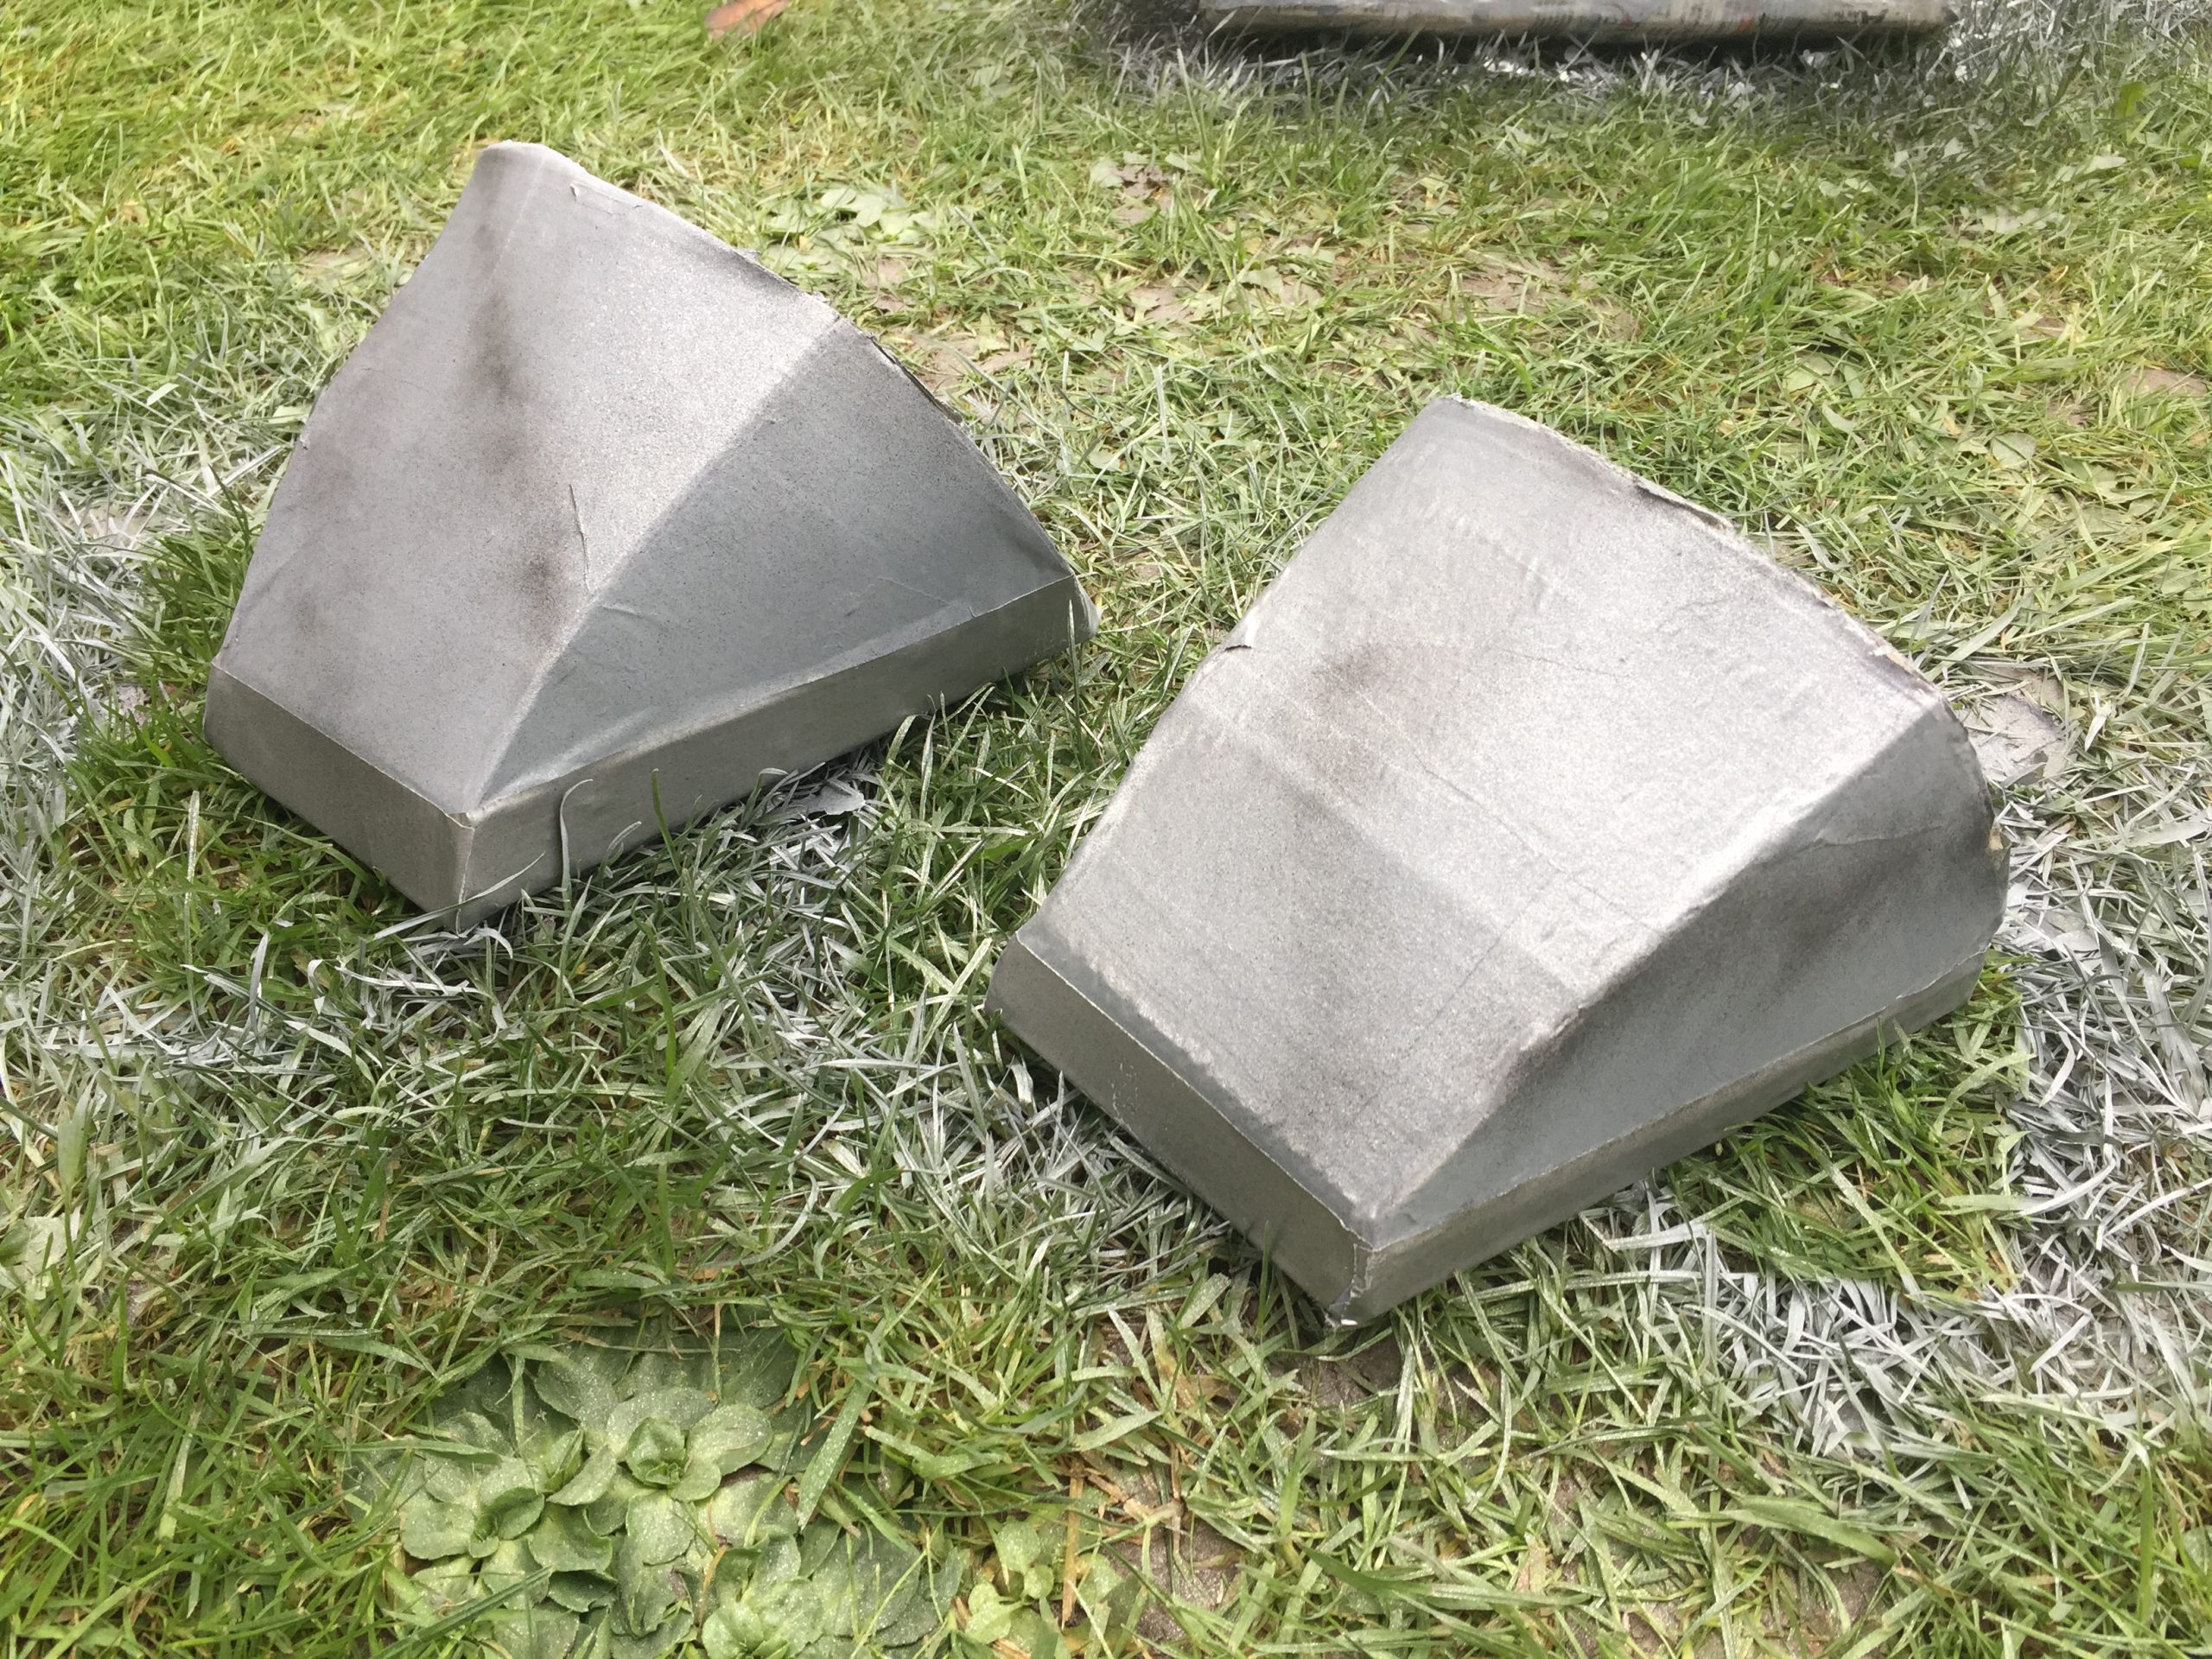
I masked the black Screen up with paper and then set to work with the sloppy mess. Once the paper mache was on the body I went back to the legs and sprayed the silvery bits. The silvery parts of the broom handles were supposed to represent the metal rails that the knee joint could travel up and down. When the paper mache had dried enough I sprayed the plastic tubs on the sides with the silver too to represent the metal gimbals that the gun arms came out of. With the guns,grey toes and the legs I gave them a bit of a waft of silver and a bit of black spray too to make them look a little metallic and weathered.
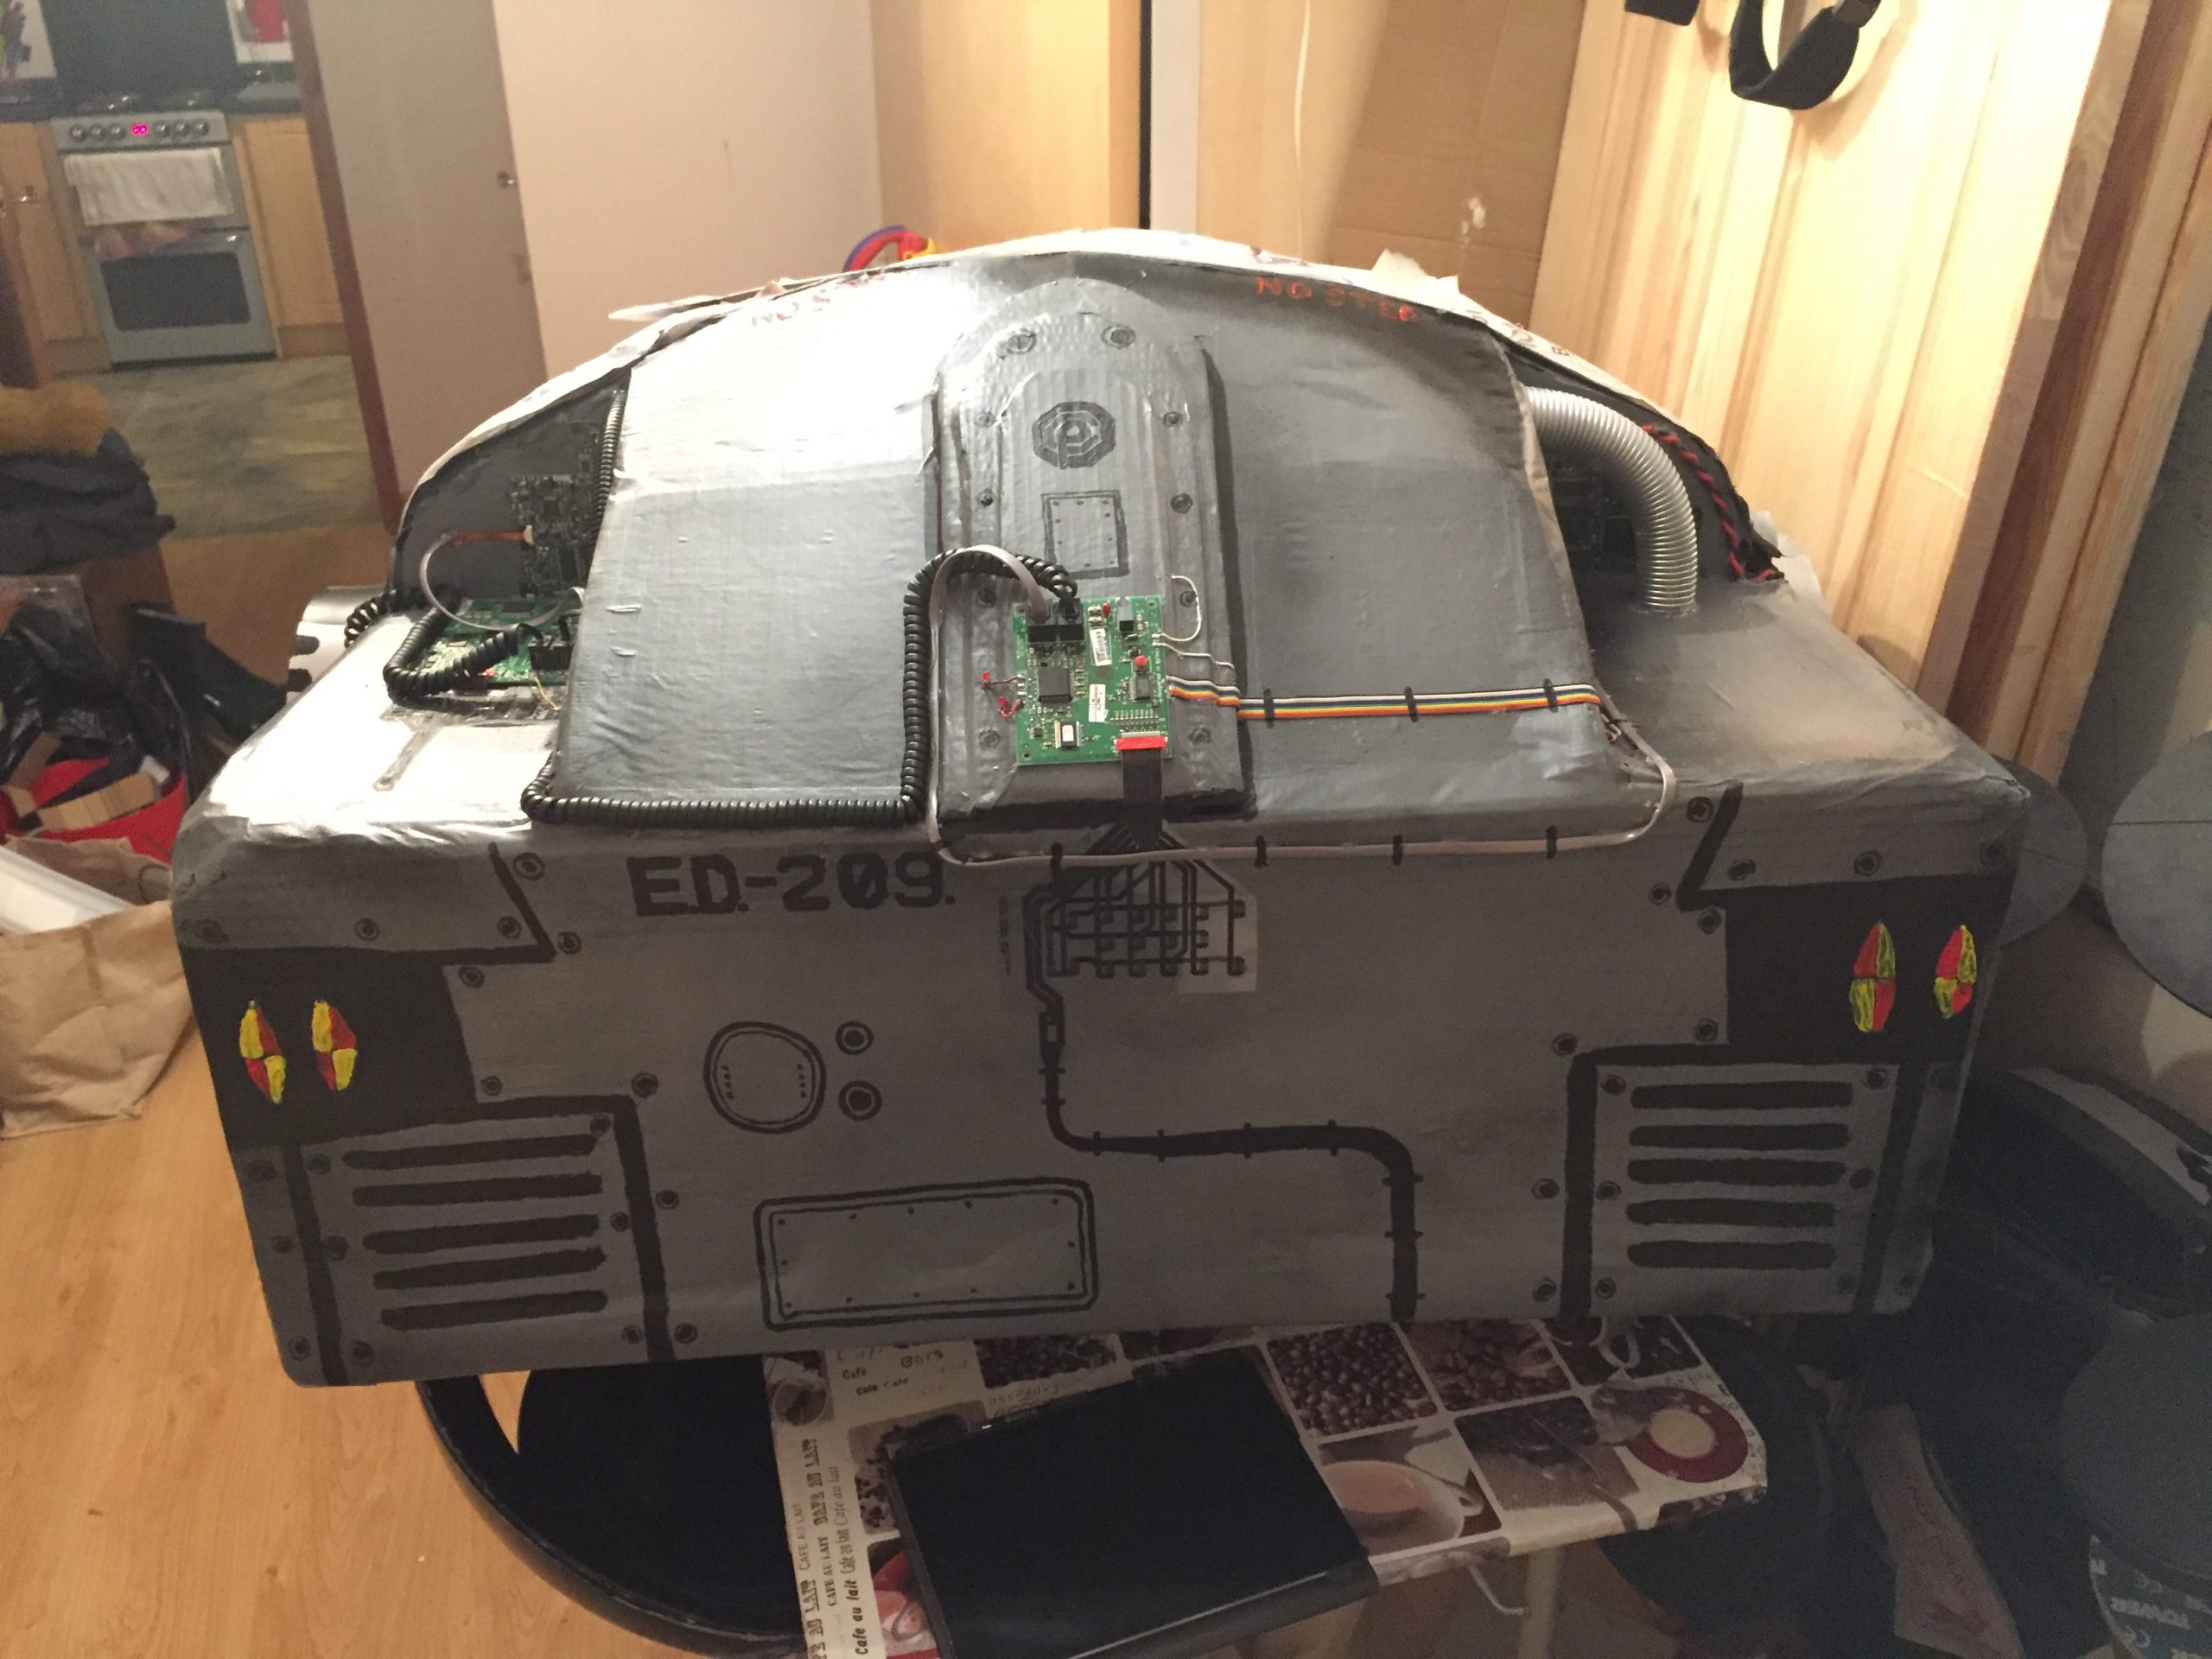
With the body’s covering of paper mache now dry it was time to paint it grey. I didn’t have enough spray paint to cover it properly though so I bought a tin of emulsion from B&M that was the approximate colour and gave it two coats of this before going over it with the grey primer to better match the rest of the outfit. It was a little light in colour without the grey primer. With the grey complete I gave it a blanching of Silver metallic and some black spray too to give it a bit of a used look. This was done out on the patio table for ventilation and space and once dry I took it back into the house for the details to be applied to it.
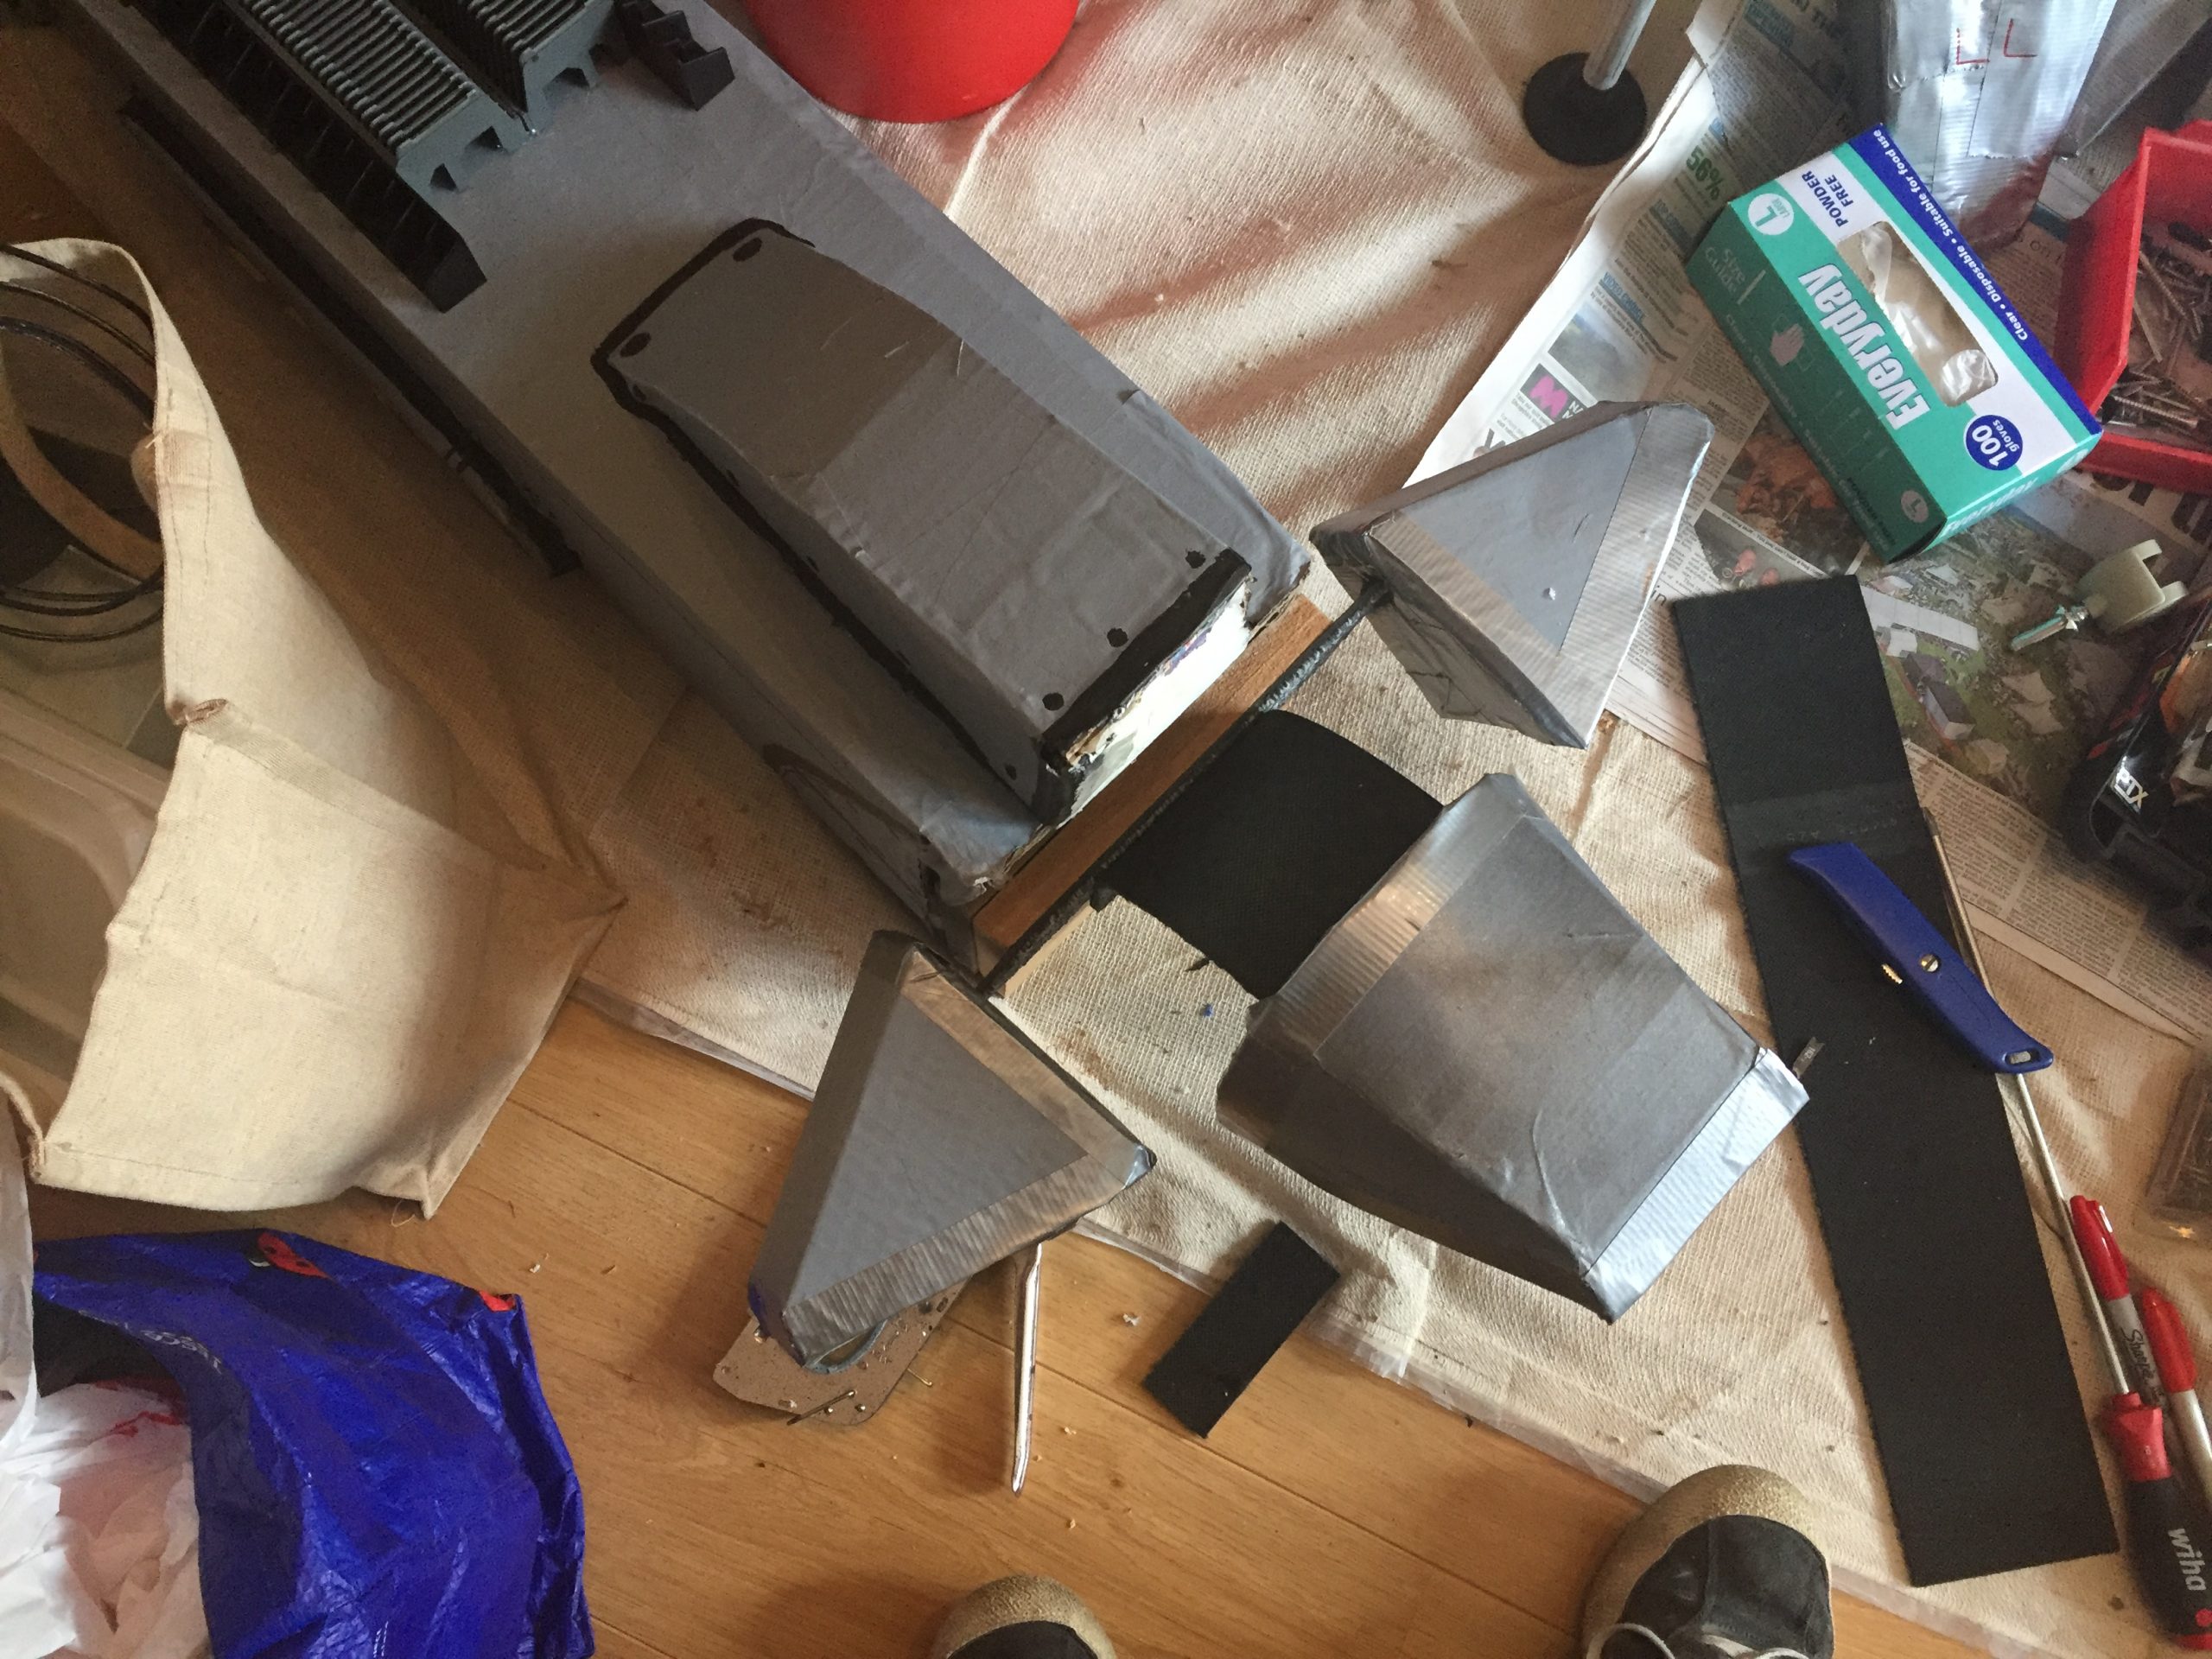
In between coats of paint on the body and other parts I was playing with ideas of how to attach the toes, the arms and some random bits I could add for extra detail.
I had some slide racks from Scrappies along with some other plastic pieces of packaging so I hot glued them onto the front of the legs and they resembled some form of cooling heat sink. Again, not as per the proper ED-209 but it was something to give a little extra touch and make it a bit more 3 dimensional.
The toes, now trimmed of waste foam, painted and detailed were held up to the leg and I figured out a way of using offcuts of carpet tiles to attach to the bottom of the leg and then slot into the foam. This way I could remove them for transport and they would have some travel when in the air and on the ground during the walking movement. I was pleased with how this worked and consider it to be my most inventive part of the whole thing. Weird eh to get satisfaction from something like this?
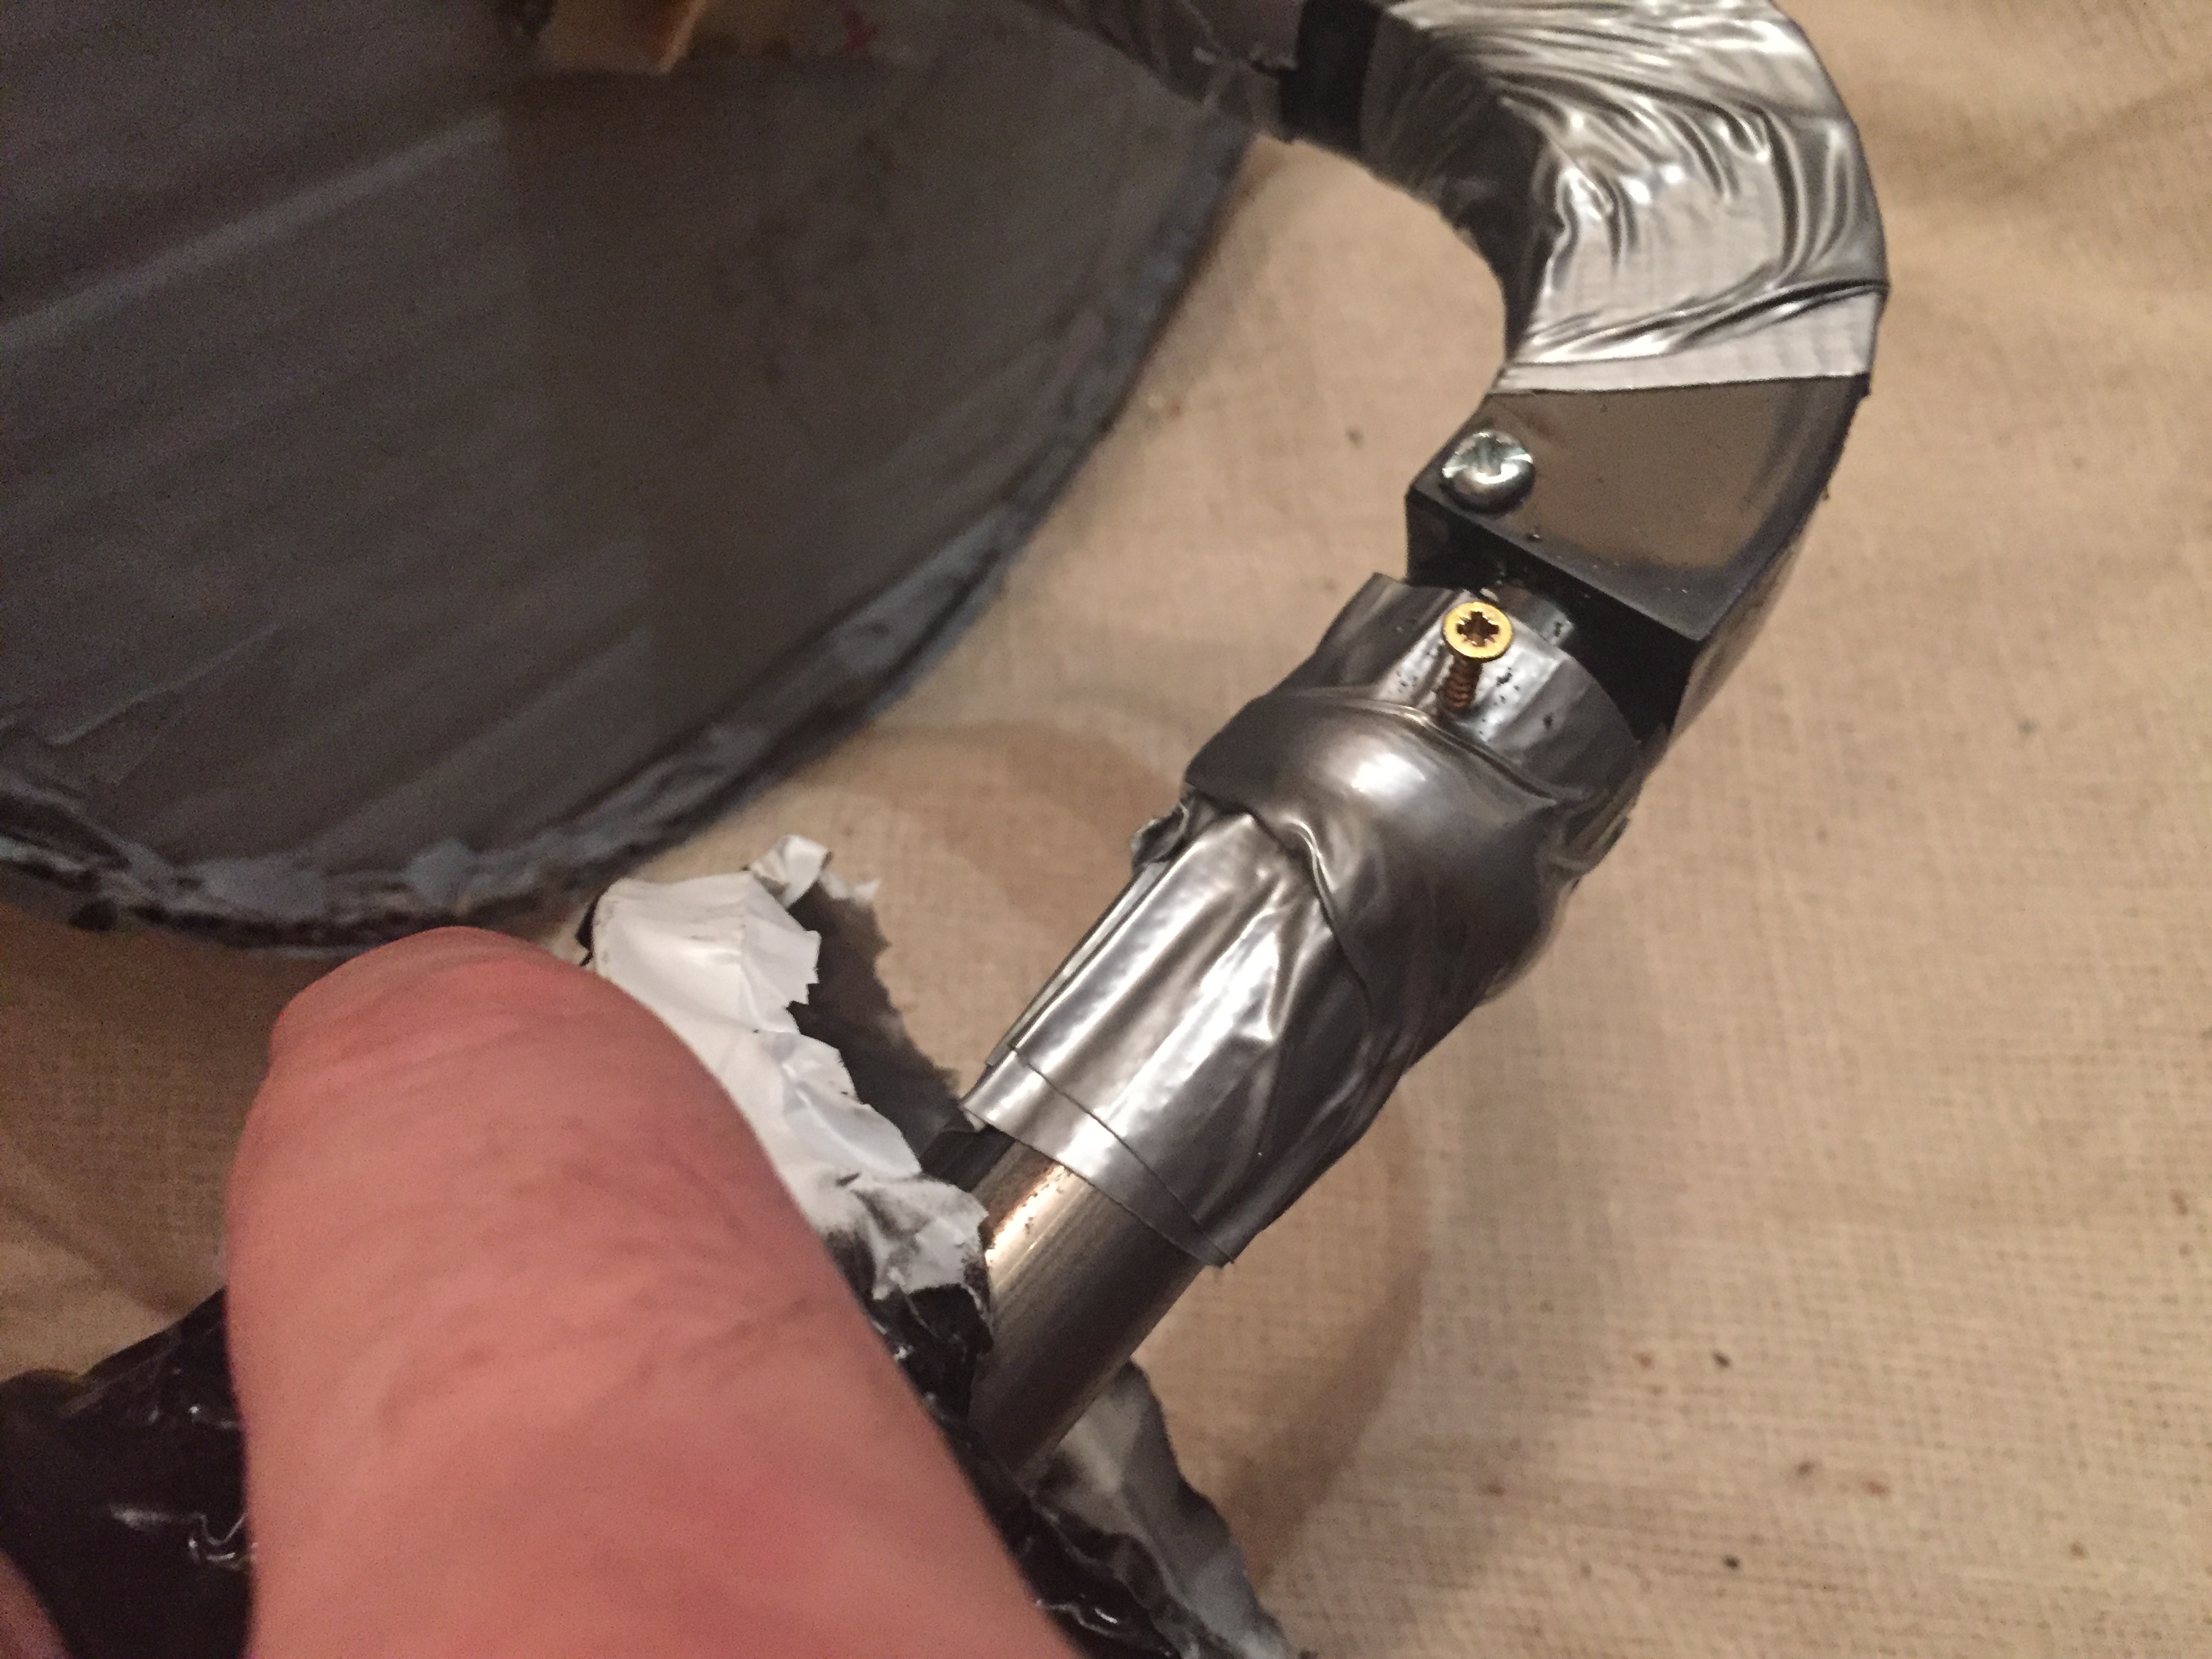
It was getting close now with a mere week before the grand unveiling at the MCM Expo in Brum so I put my mind to some of the other niggling issues. One of which was attaching the gun pods to the metal gun pod arms.
The main issue I had here was that the gun pod was built around a plastic 20mm conduit and the the arm was 20mm metal conduit. I had some plastic 90° inspection elbows that I planned to use but when I hot glued them onto the metal and flo-plasted the two plastic pieces together, the weight of the pod rotated the joint where plastic met metal. for this reason I had to drill some small holes through the plastic into the metal and then screw in some small screws that would prevent this twisting happening. I was concerned too that these screws, holes etc would weaken the plastic causing a failure.Oh well, I’d cross that bridge when I came to it.I put three screws around the joint at 120° points and then covered them all with duct tape to give it a little extra strength.
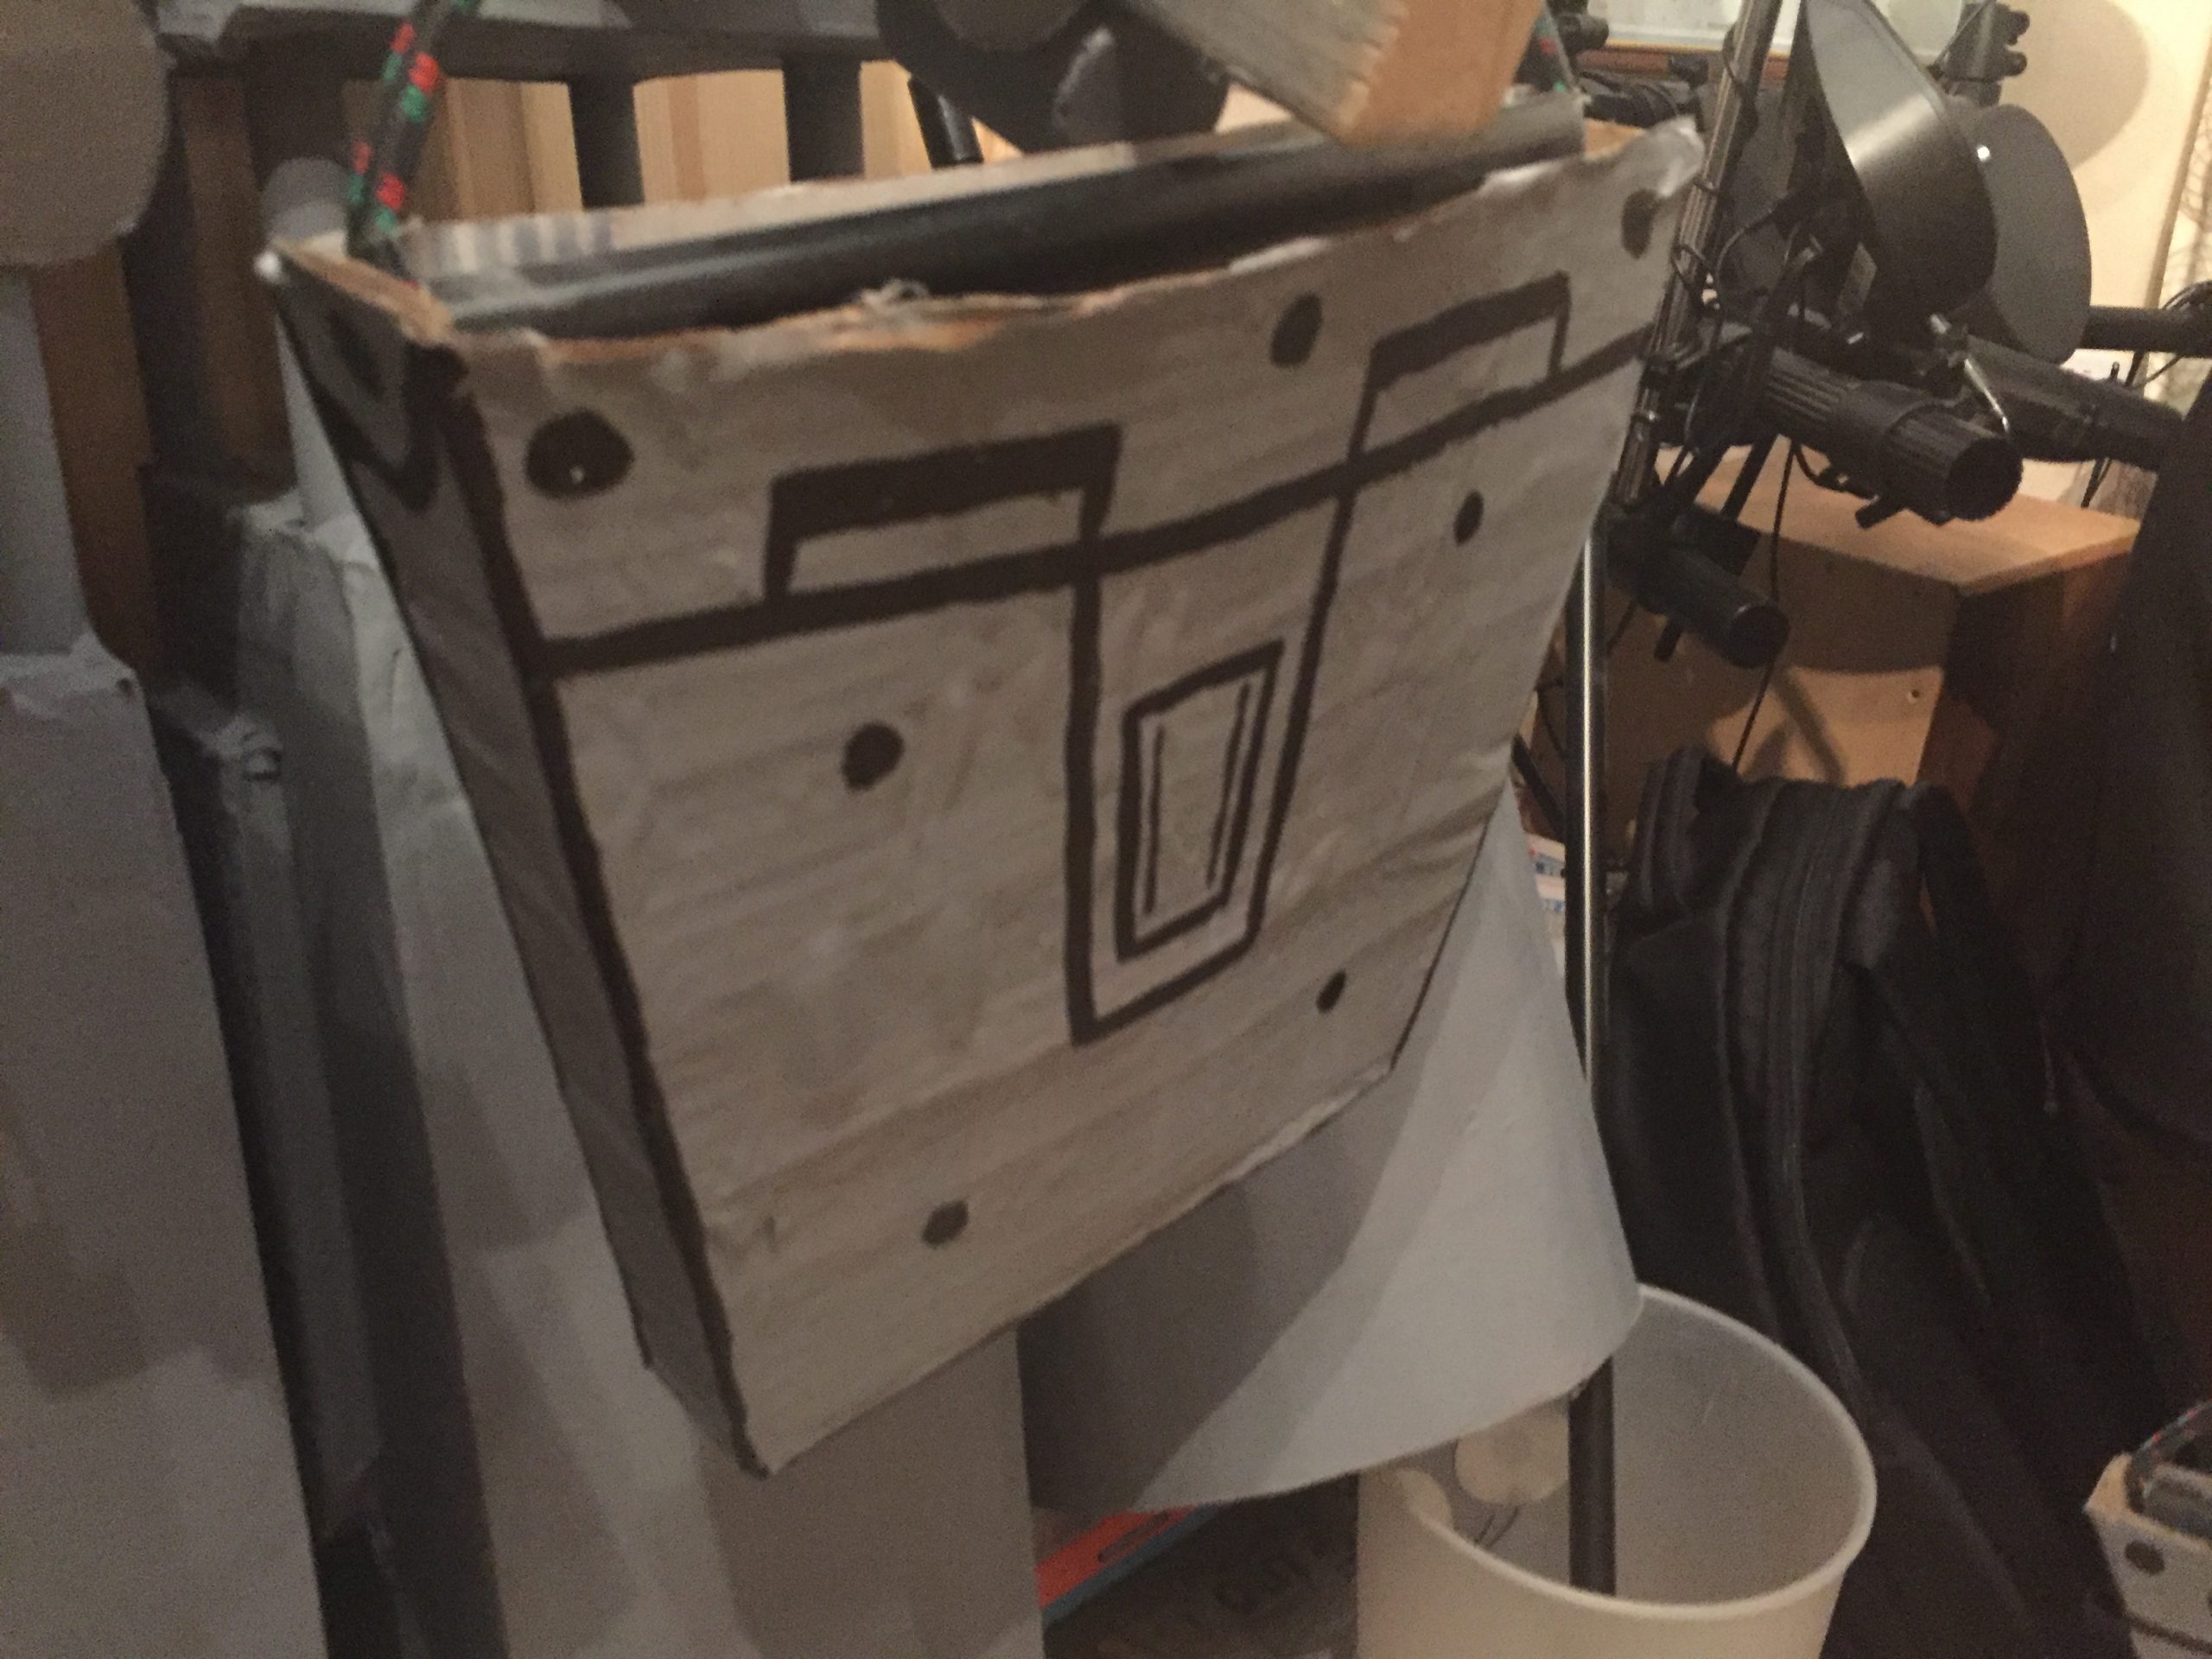
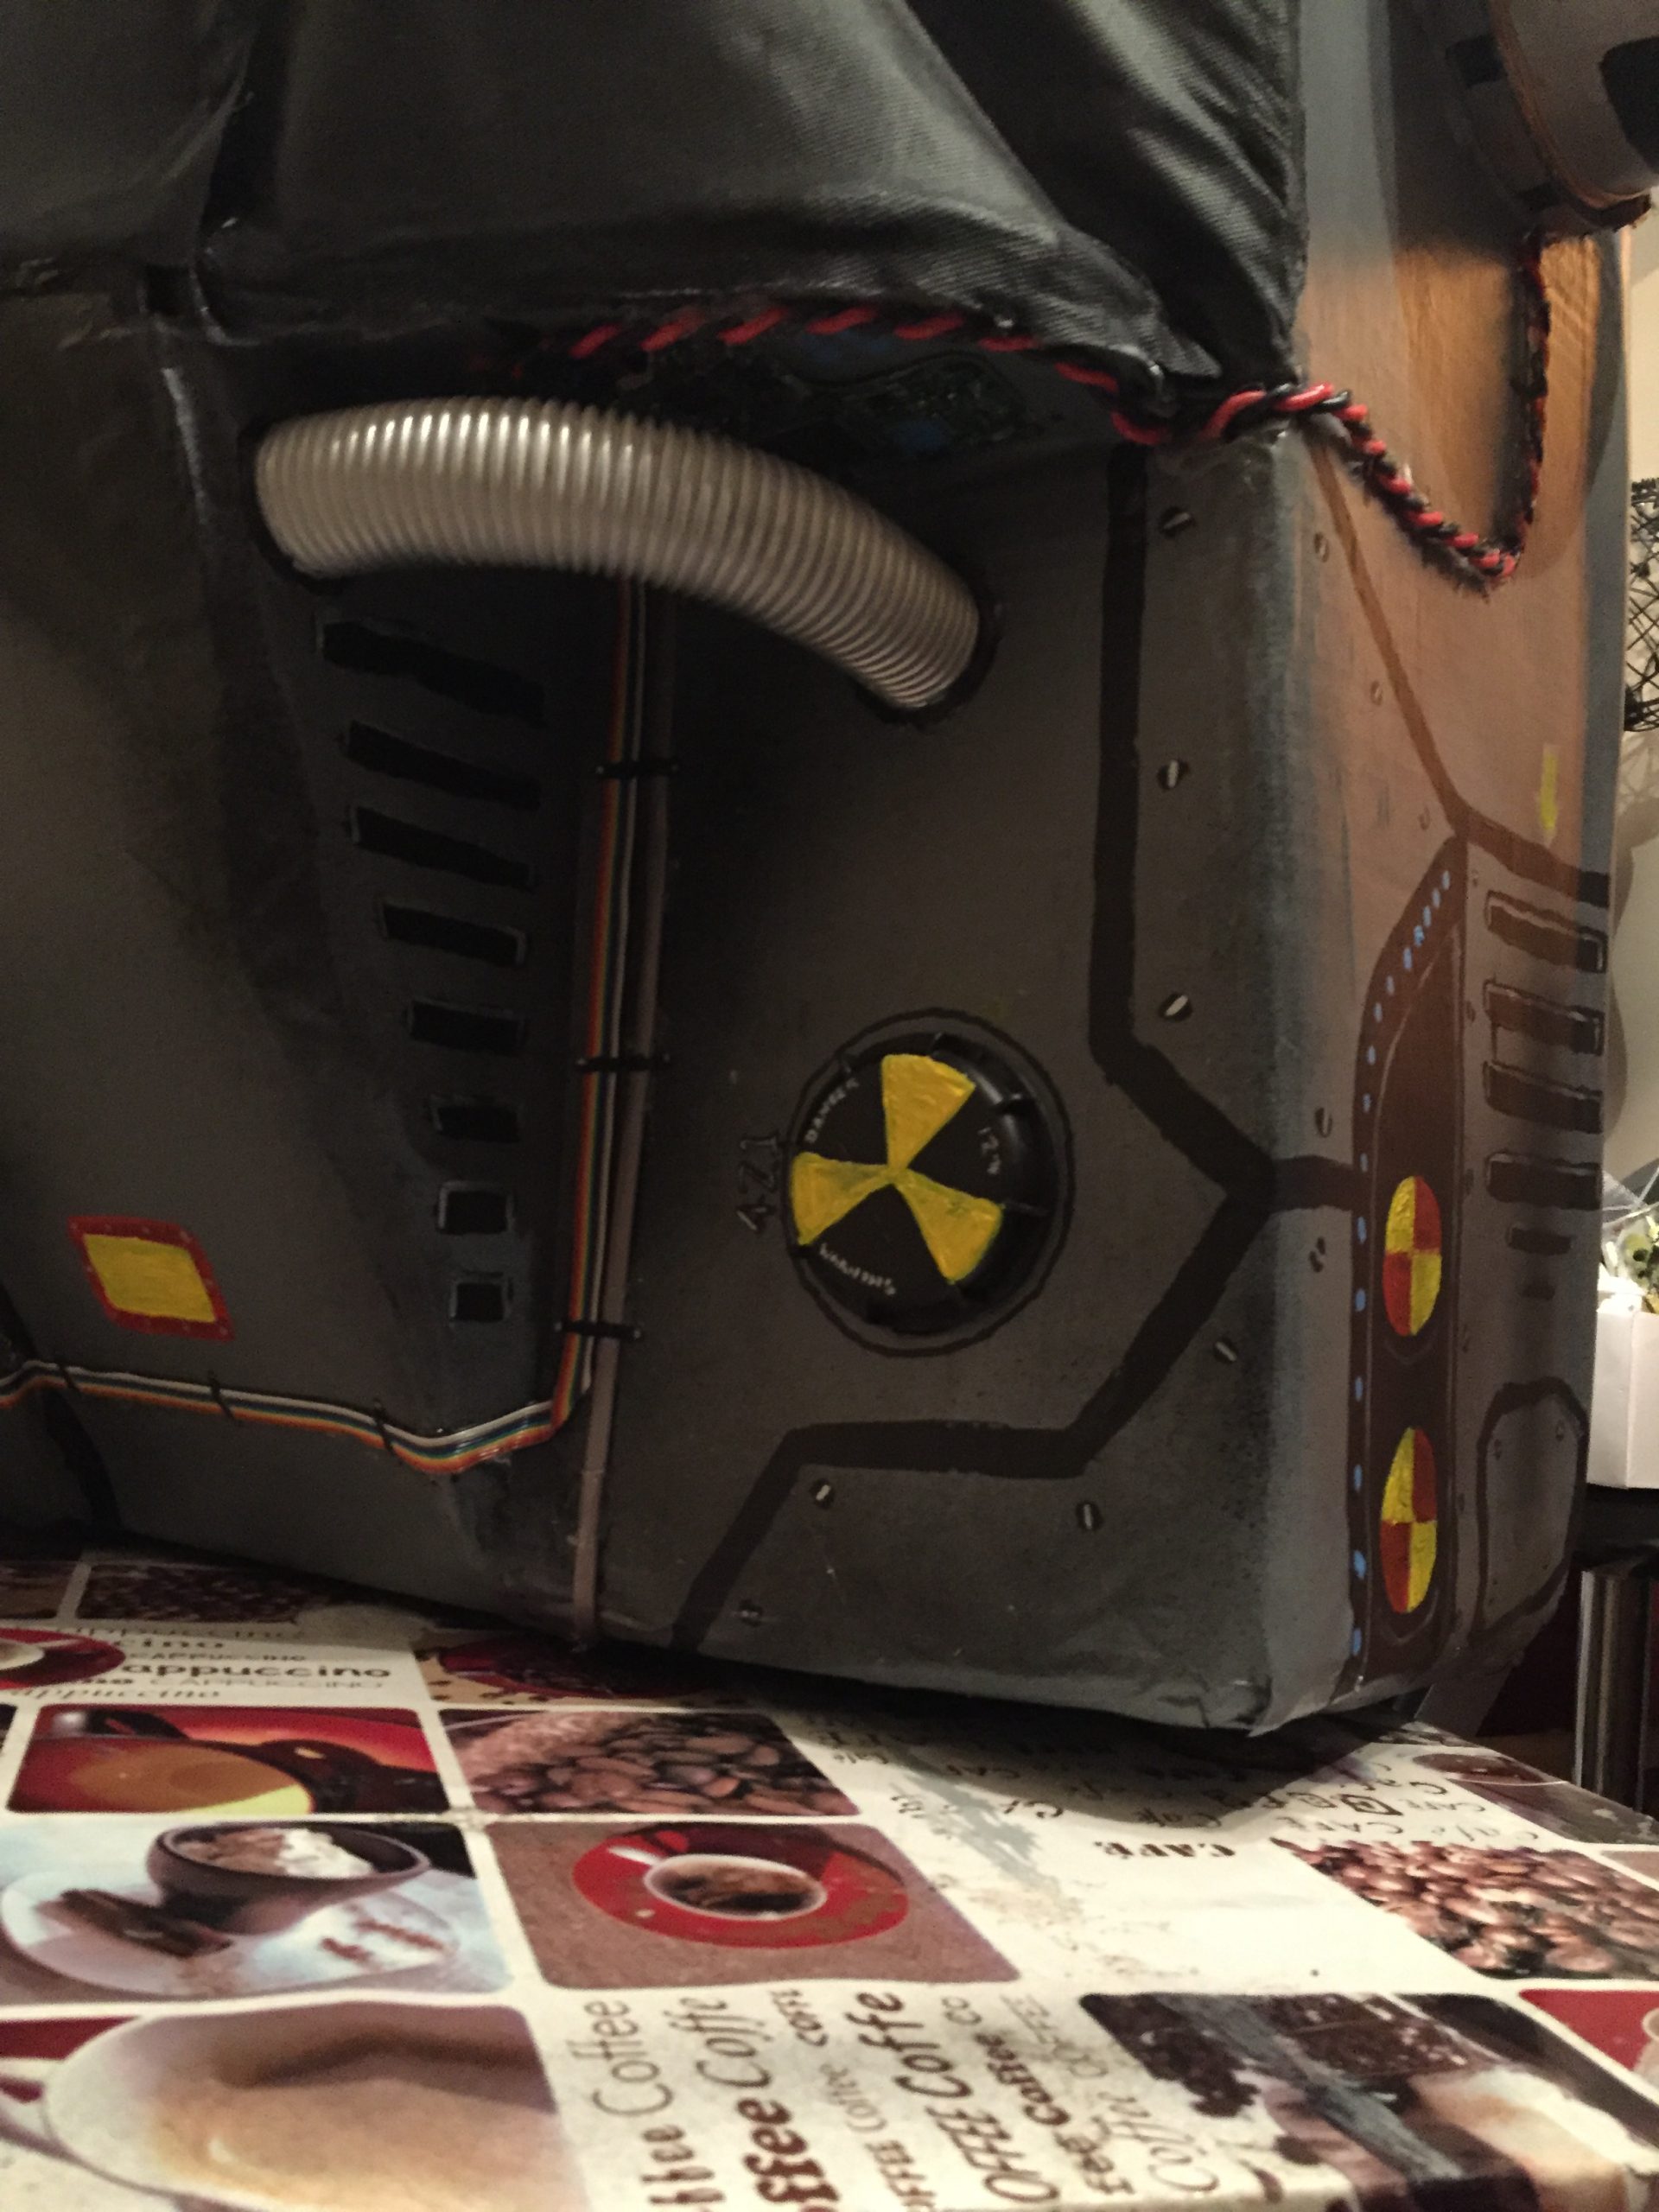
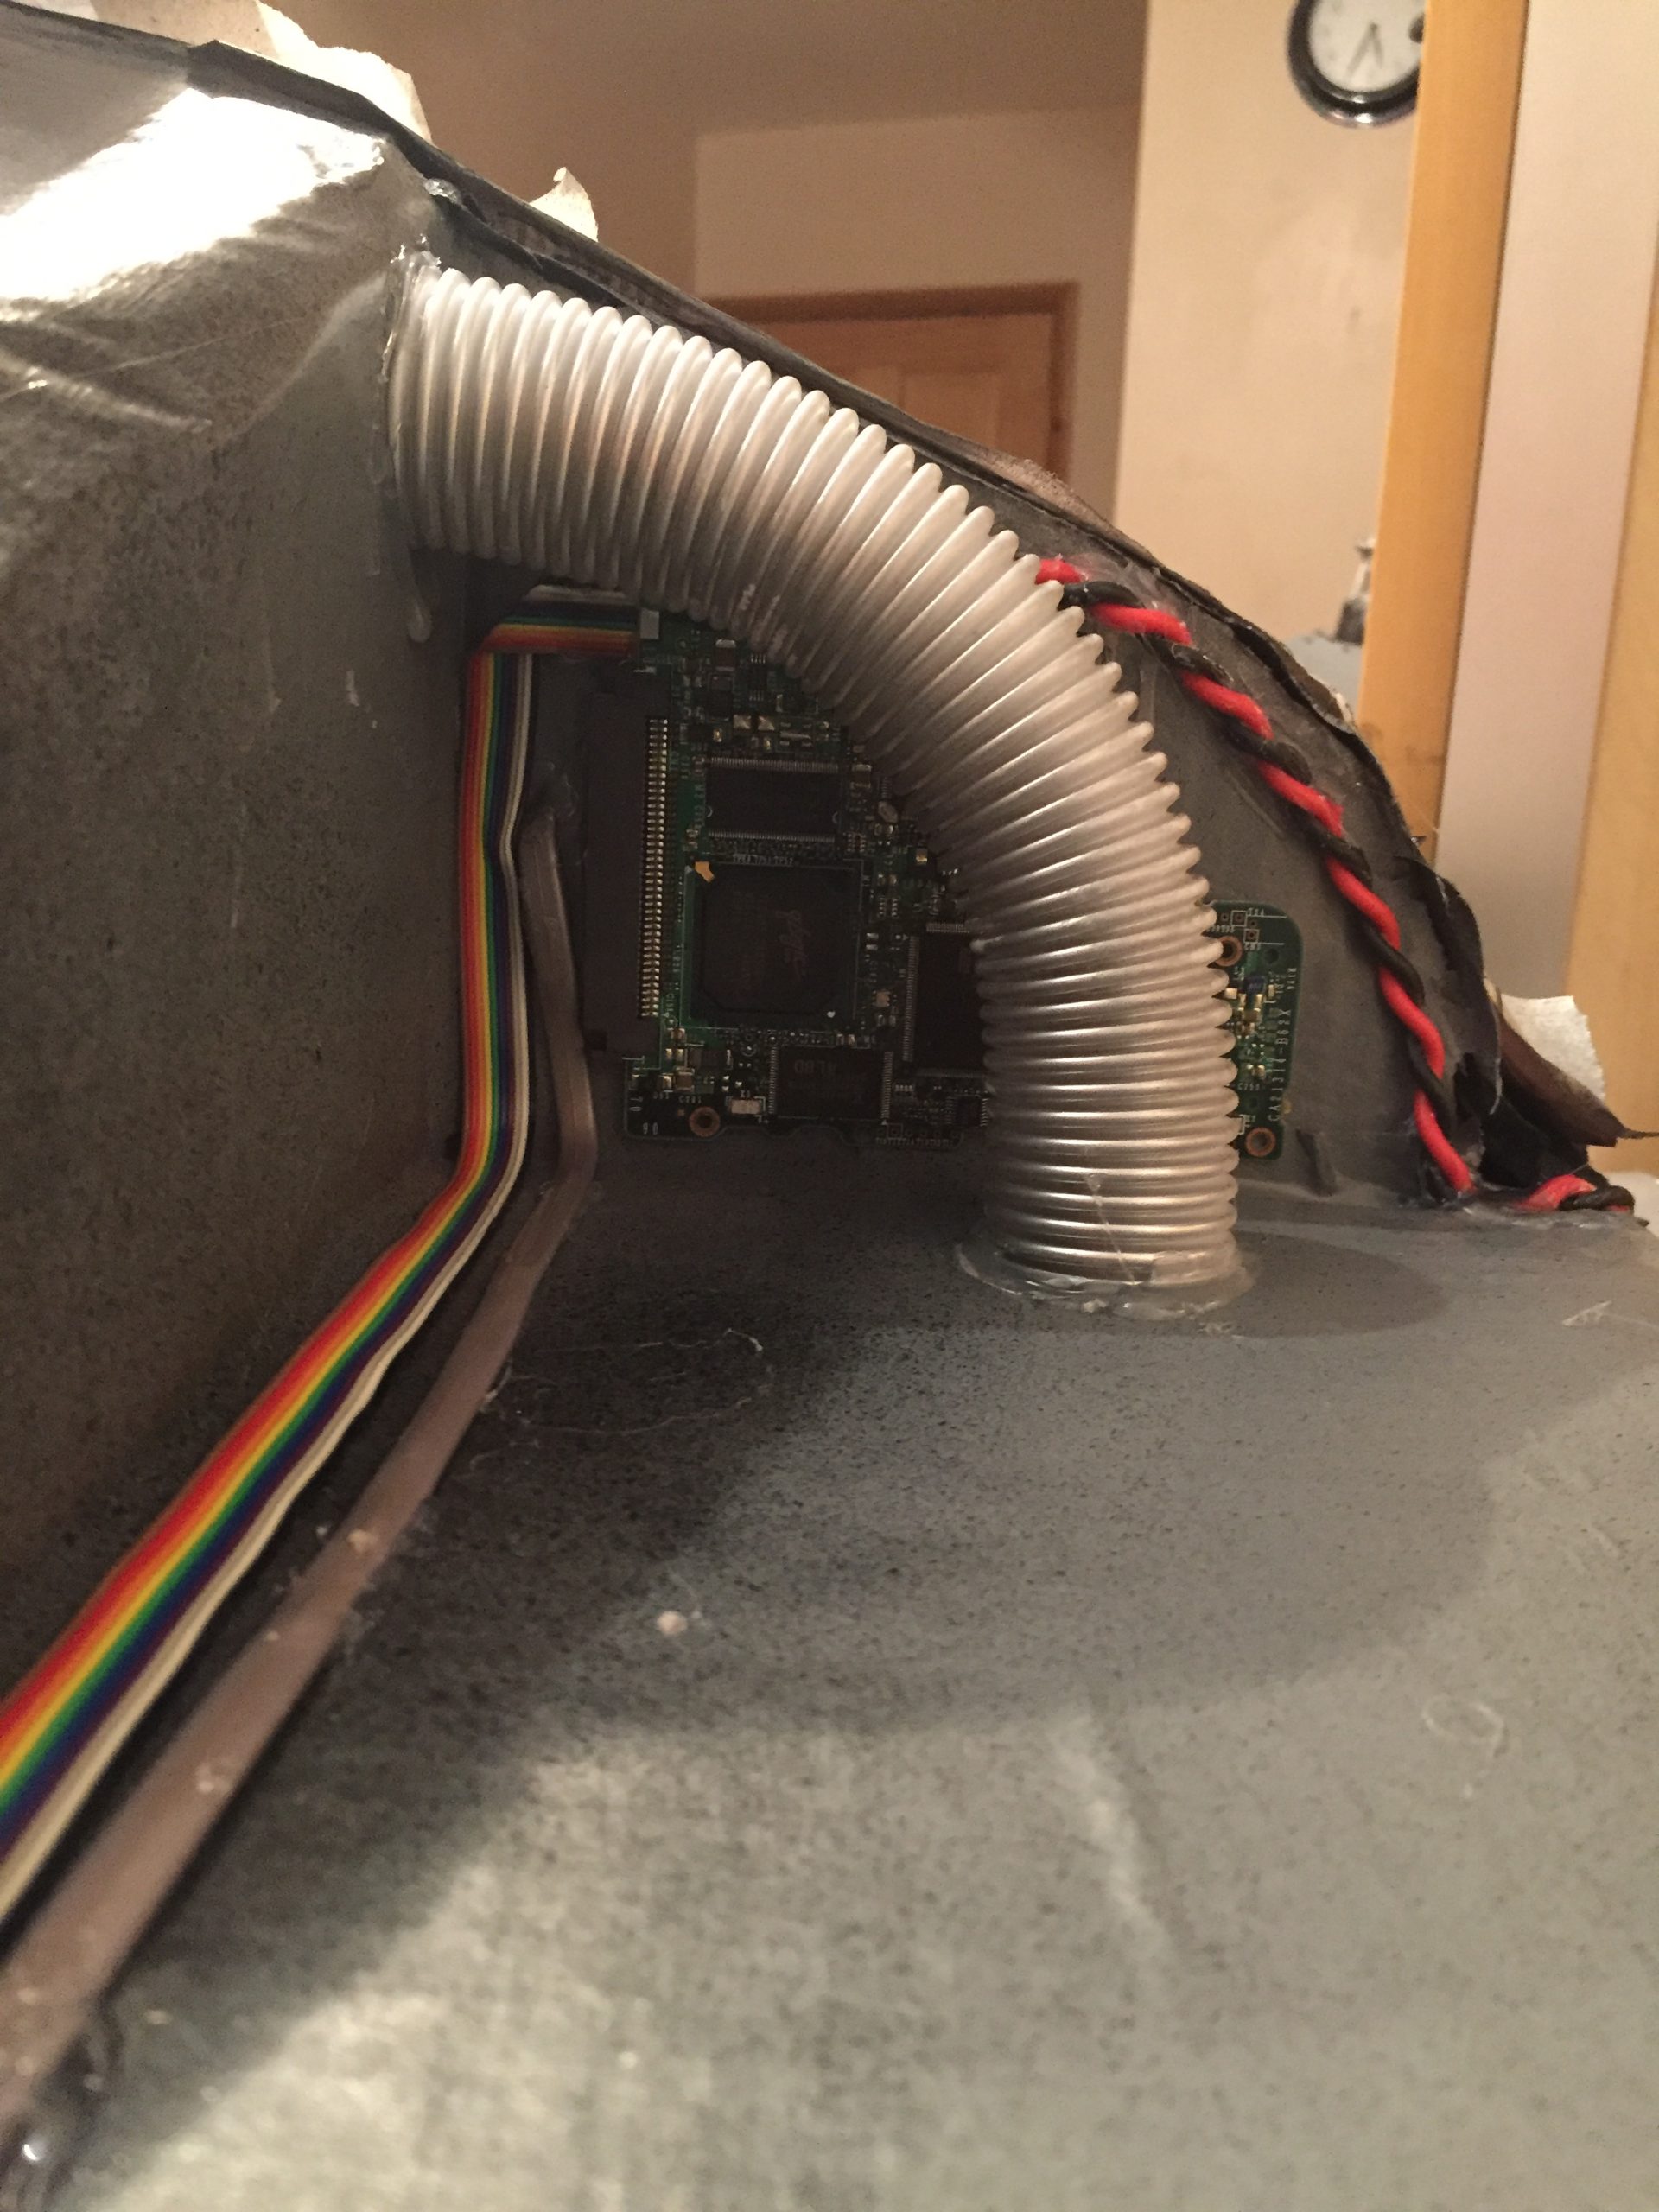
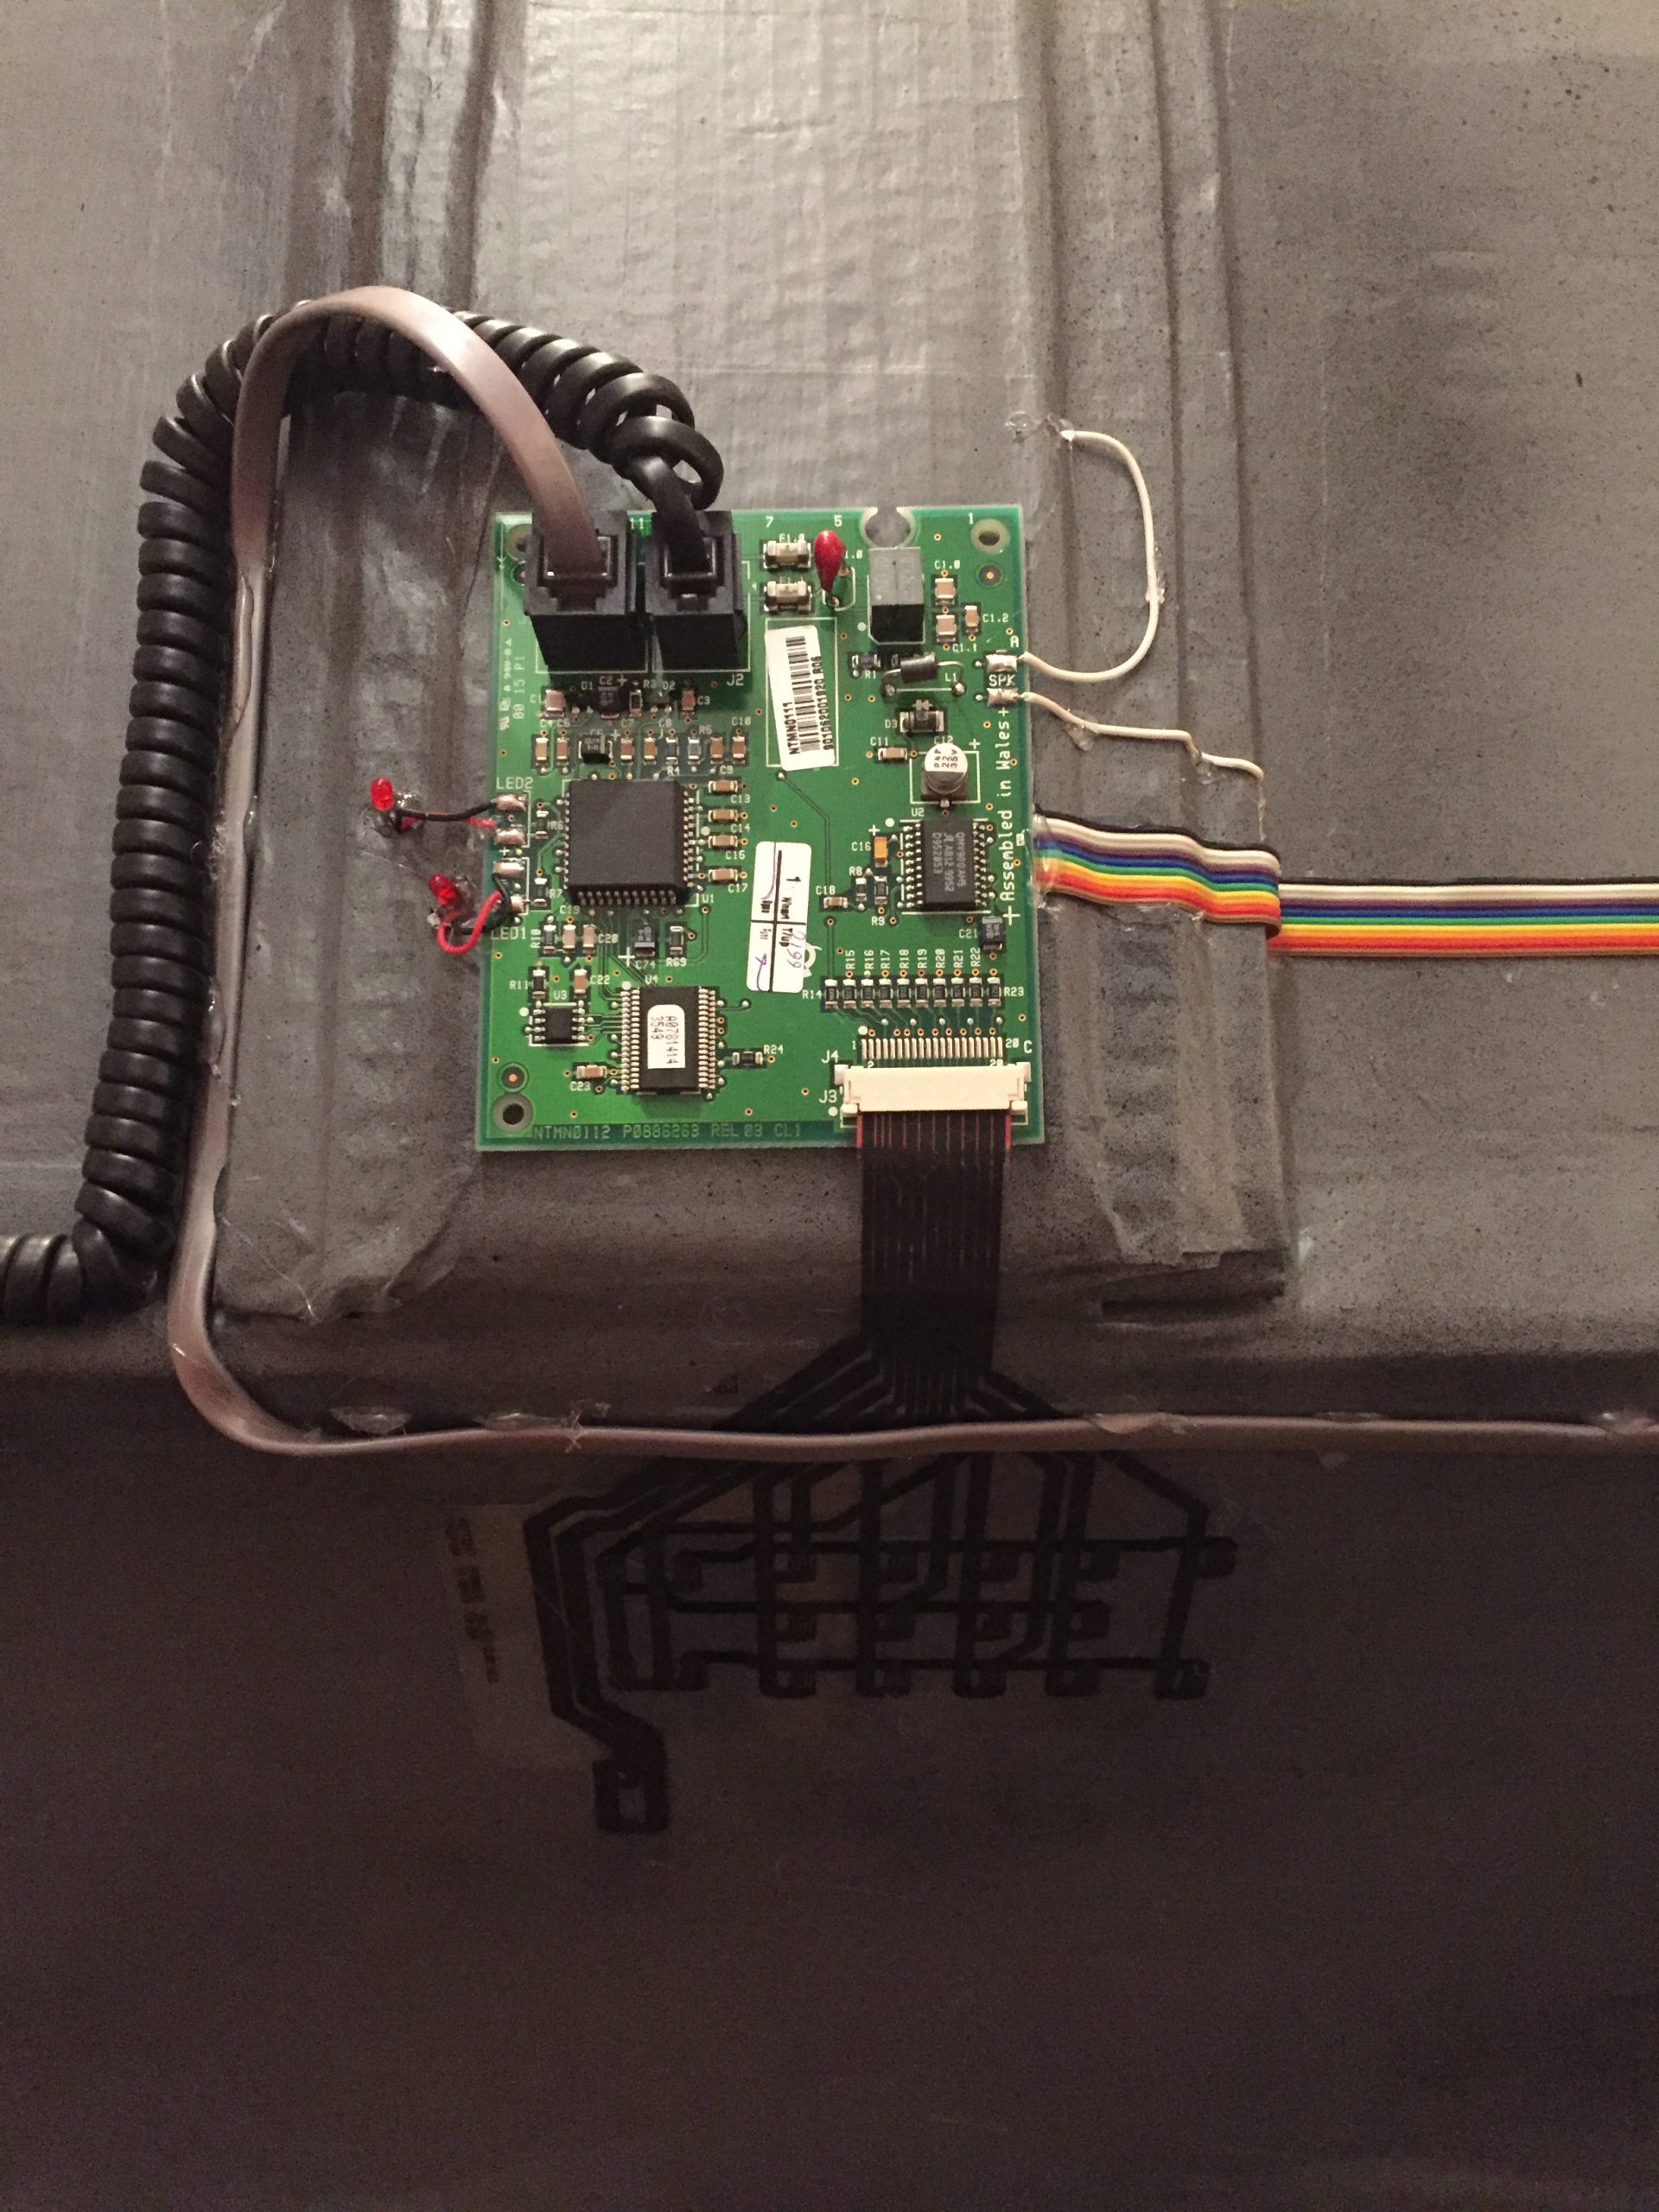
Now it was time for some detail work on the body. I had loads of wire, flexible pipe from our old paddling pool pump and a few old circuit boards from various items from phones to hi fi systems.A liberal sprinkling of these would add some interest to the body of the beast along with some acrylic painting of details, It wouldn’t look like the detail on the film version but I could only work with what I had.
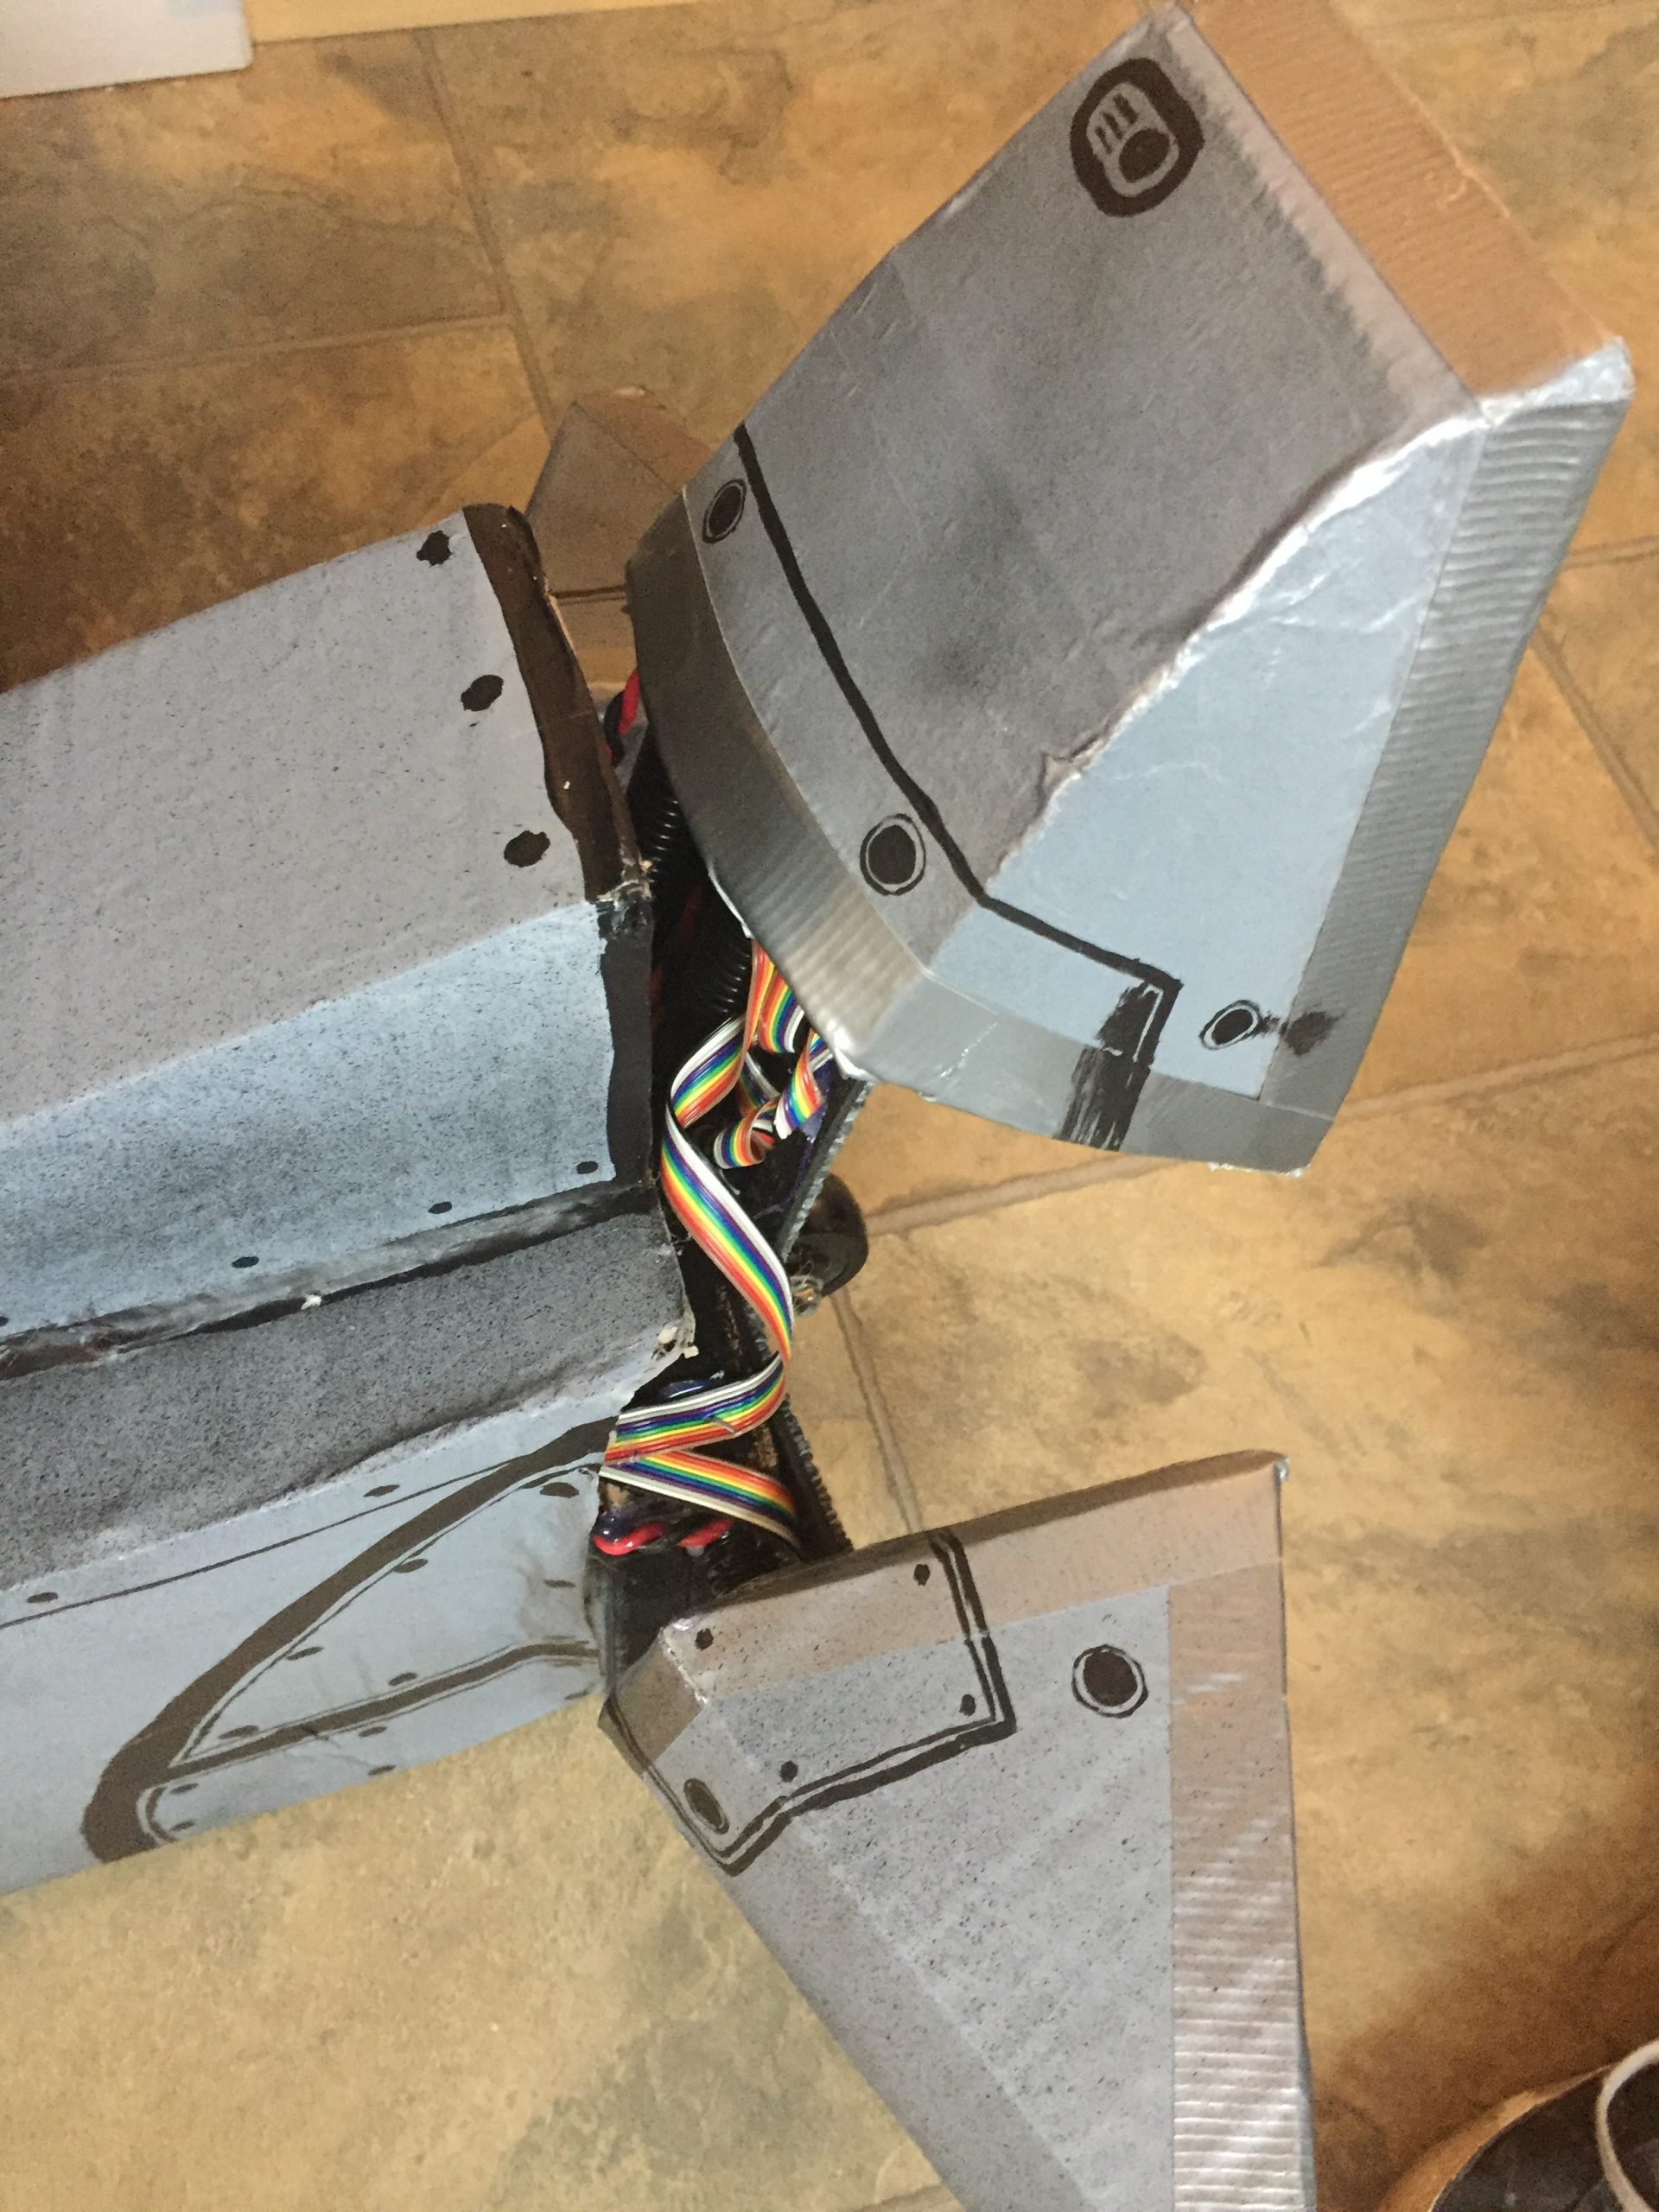
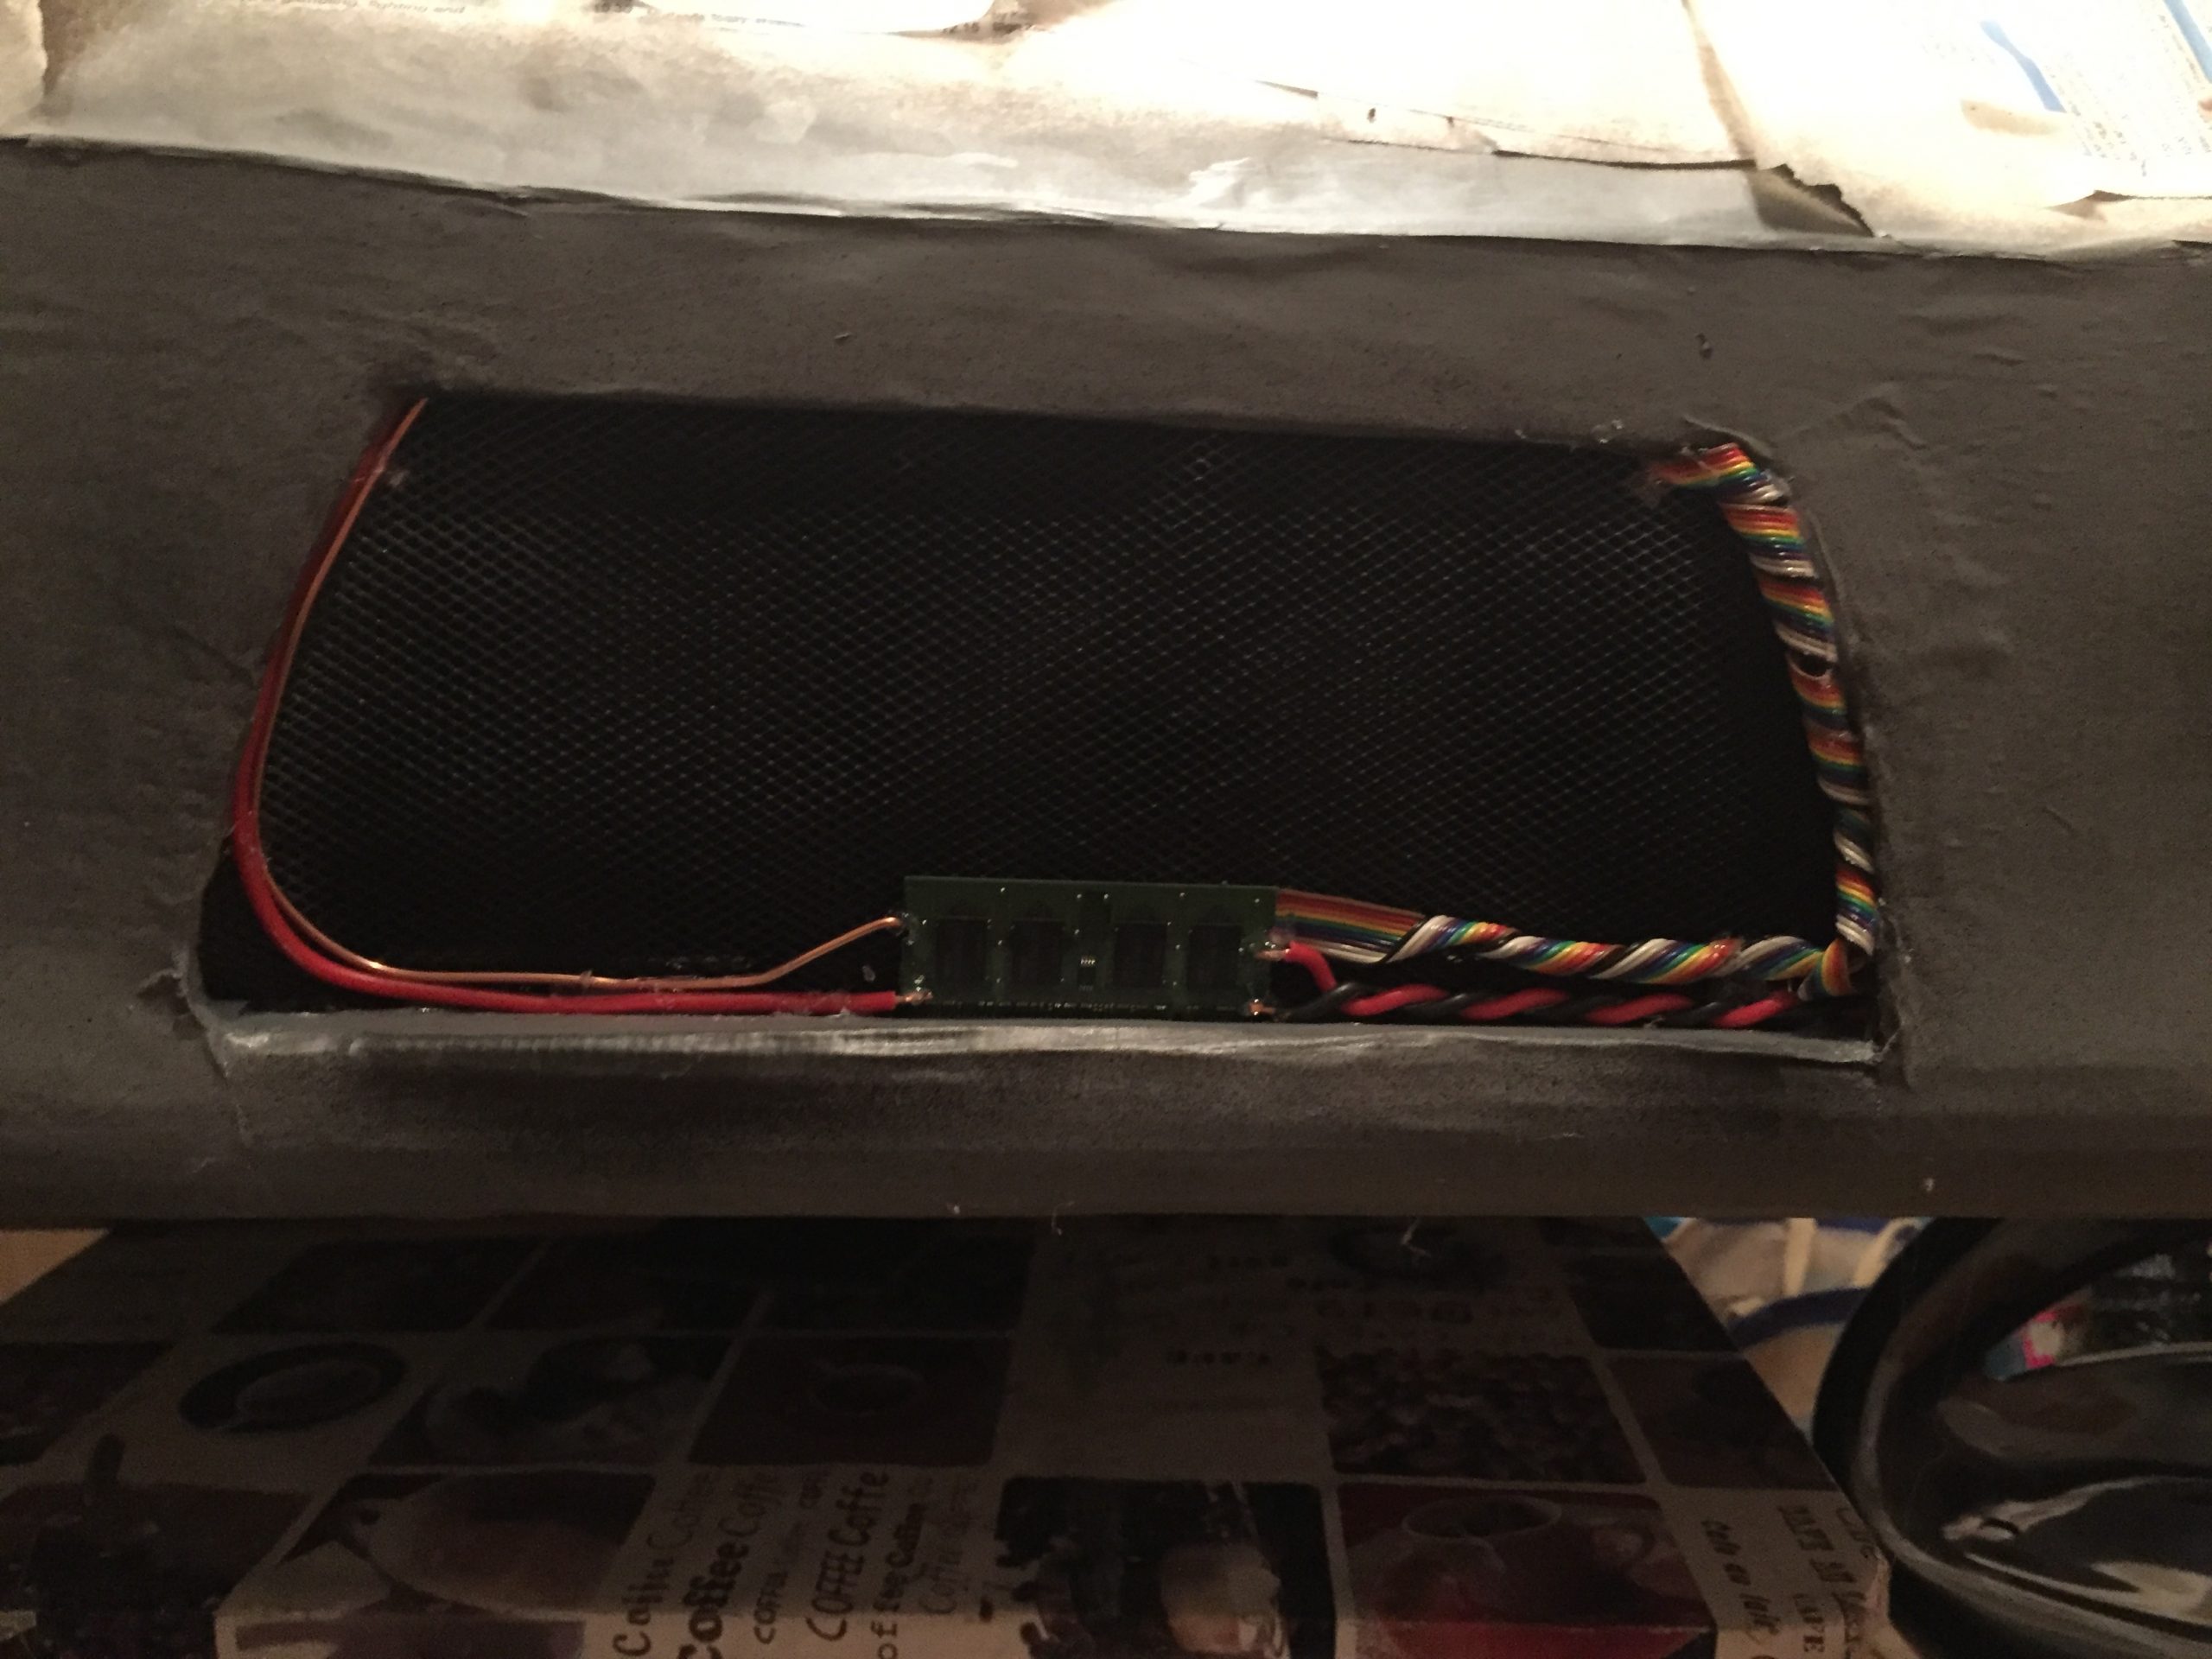
You can see in the photos below that I used a memory dimm and some random cables in the front grill, a bit of a phone and some ebay purchased rainbow ribbon cable to join the sections up. I used some bits of conduit, pipe, curly cables, ribbon cables an dtwin and earth to make it look like the toes were electrically connected too, although the toes would slide off and leave the carpet tiles there with the wires hot glued to them.
The legs were tested before the final details were added to the toes and these can be seen in this video as I test walked them to figure out how to best attach the bottom of the legs to my feet.
[…] ED-209 Cosplay – Part 7: Paint Shop Pro? […]