In part 5 you saw how the sum of all the parts ended up looking very scary in my kitchen!! The post contained info on the knee joints, the wings and the black material being fitted over the screen.
In this part we’ll take a look at the manufacture of the gun pods on each side of the ED-209.
As you’ll see in this tableau of photos I started with the gun pods and the smaller disk on the front. I checked out film footage to determine the guns sticking out of both pods, as they’re not identical. On the right gun pod there is only one machine gun and a set of rockets, on the left pod there are two machine guns and no rockets.
The materials you can see in these images were all purchased from Scrappies shop in Church Stretton. They basically collect lots of random things that would normally be disposed of and keep them for children to use in craft projects. Well, not just children, big kids are catered for too. We had a huge bag full of tat for £7 and this was used in my ED-209 and my daughter’s Ghostbusters proton pack.
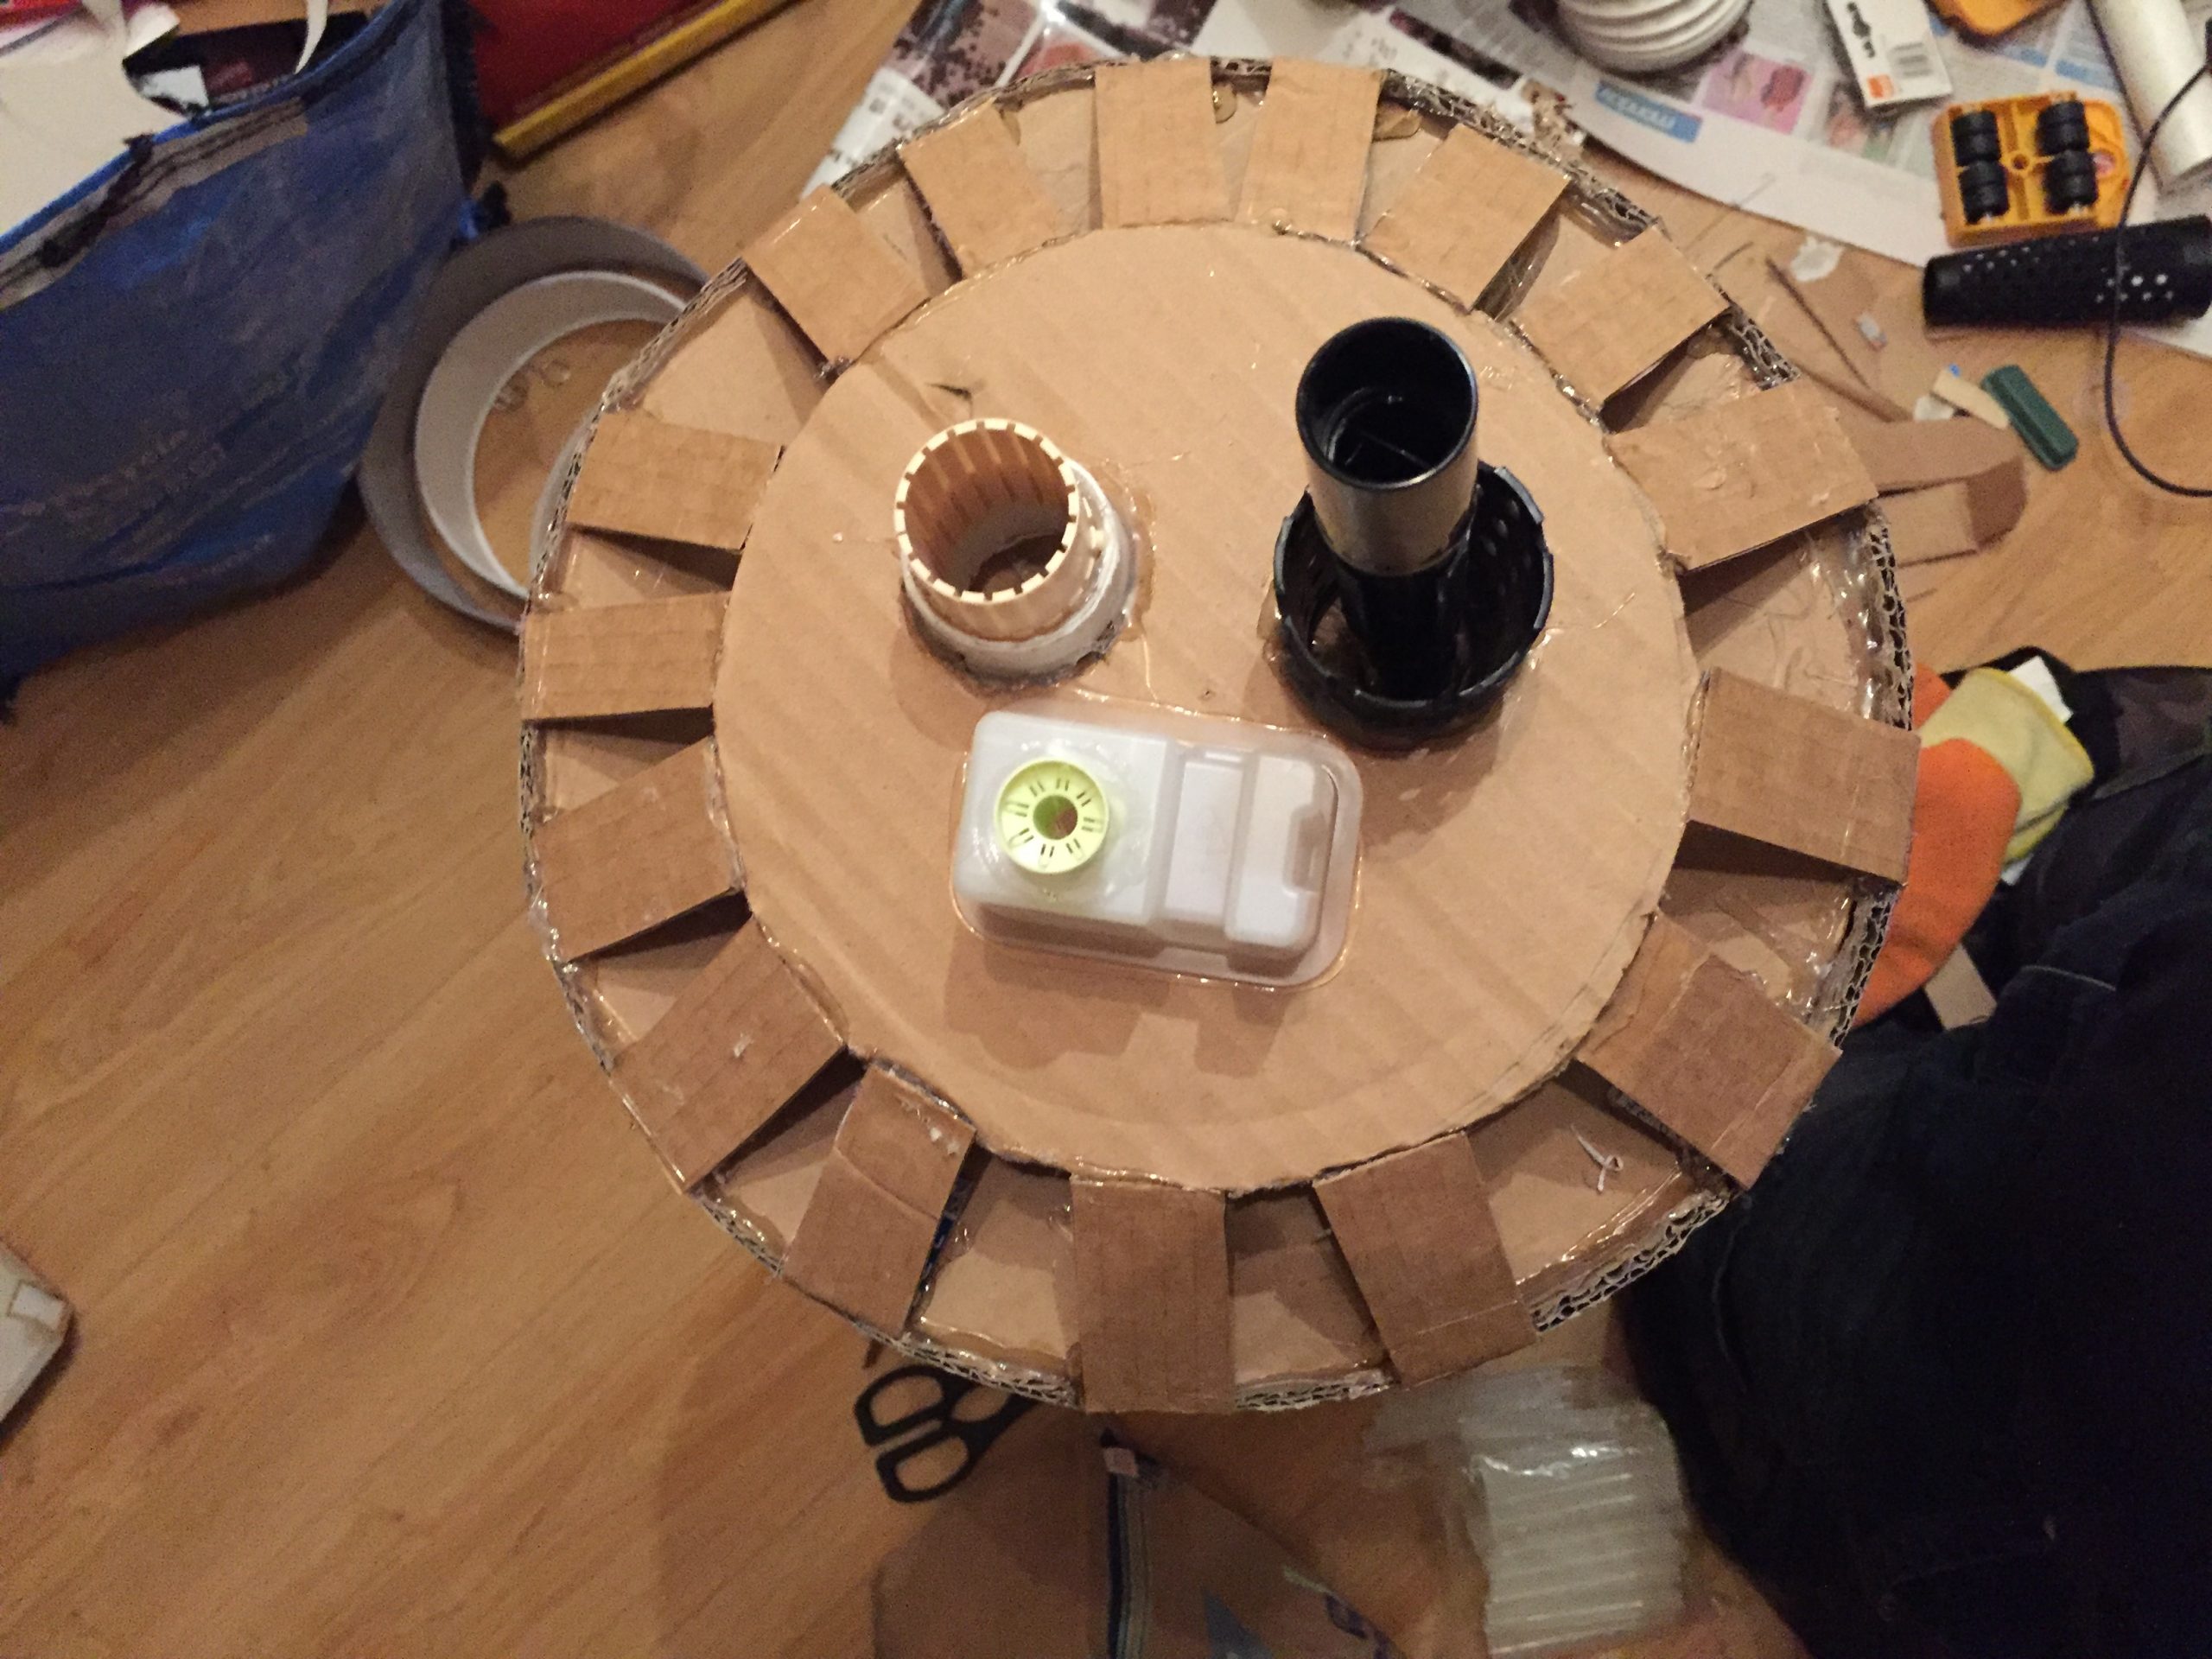
The machine guns were made of plastic pipe, conduit and random things from Scrappies. The holed plastic cones are the centres of bobbins from sewing machines and I thought they’d look alright on the guns. The little white blocks glues onto the front are a mystery to me and the big green plastic things that I would cut up and hot glue onto the pods were laptop packaging.
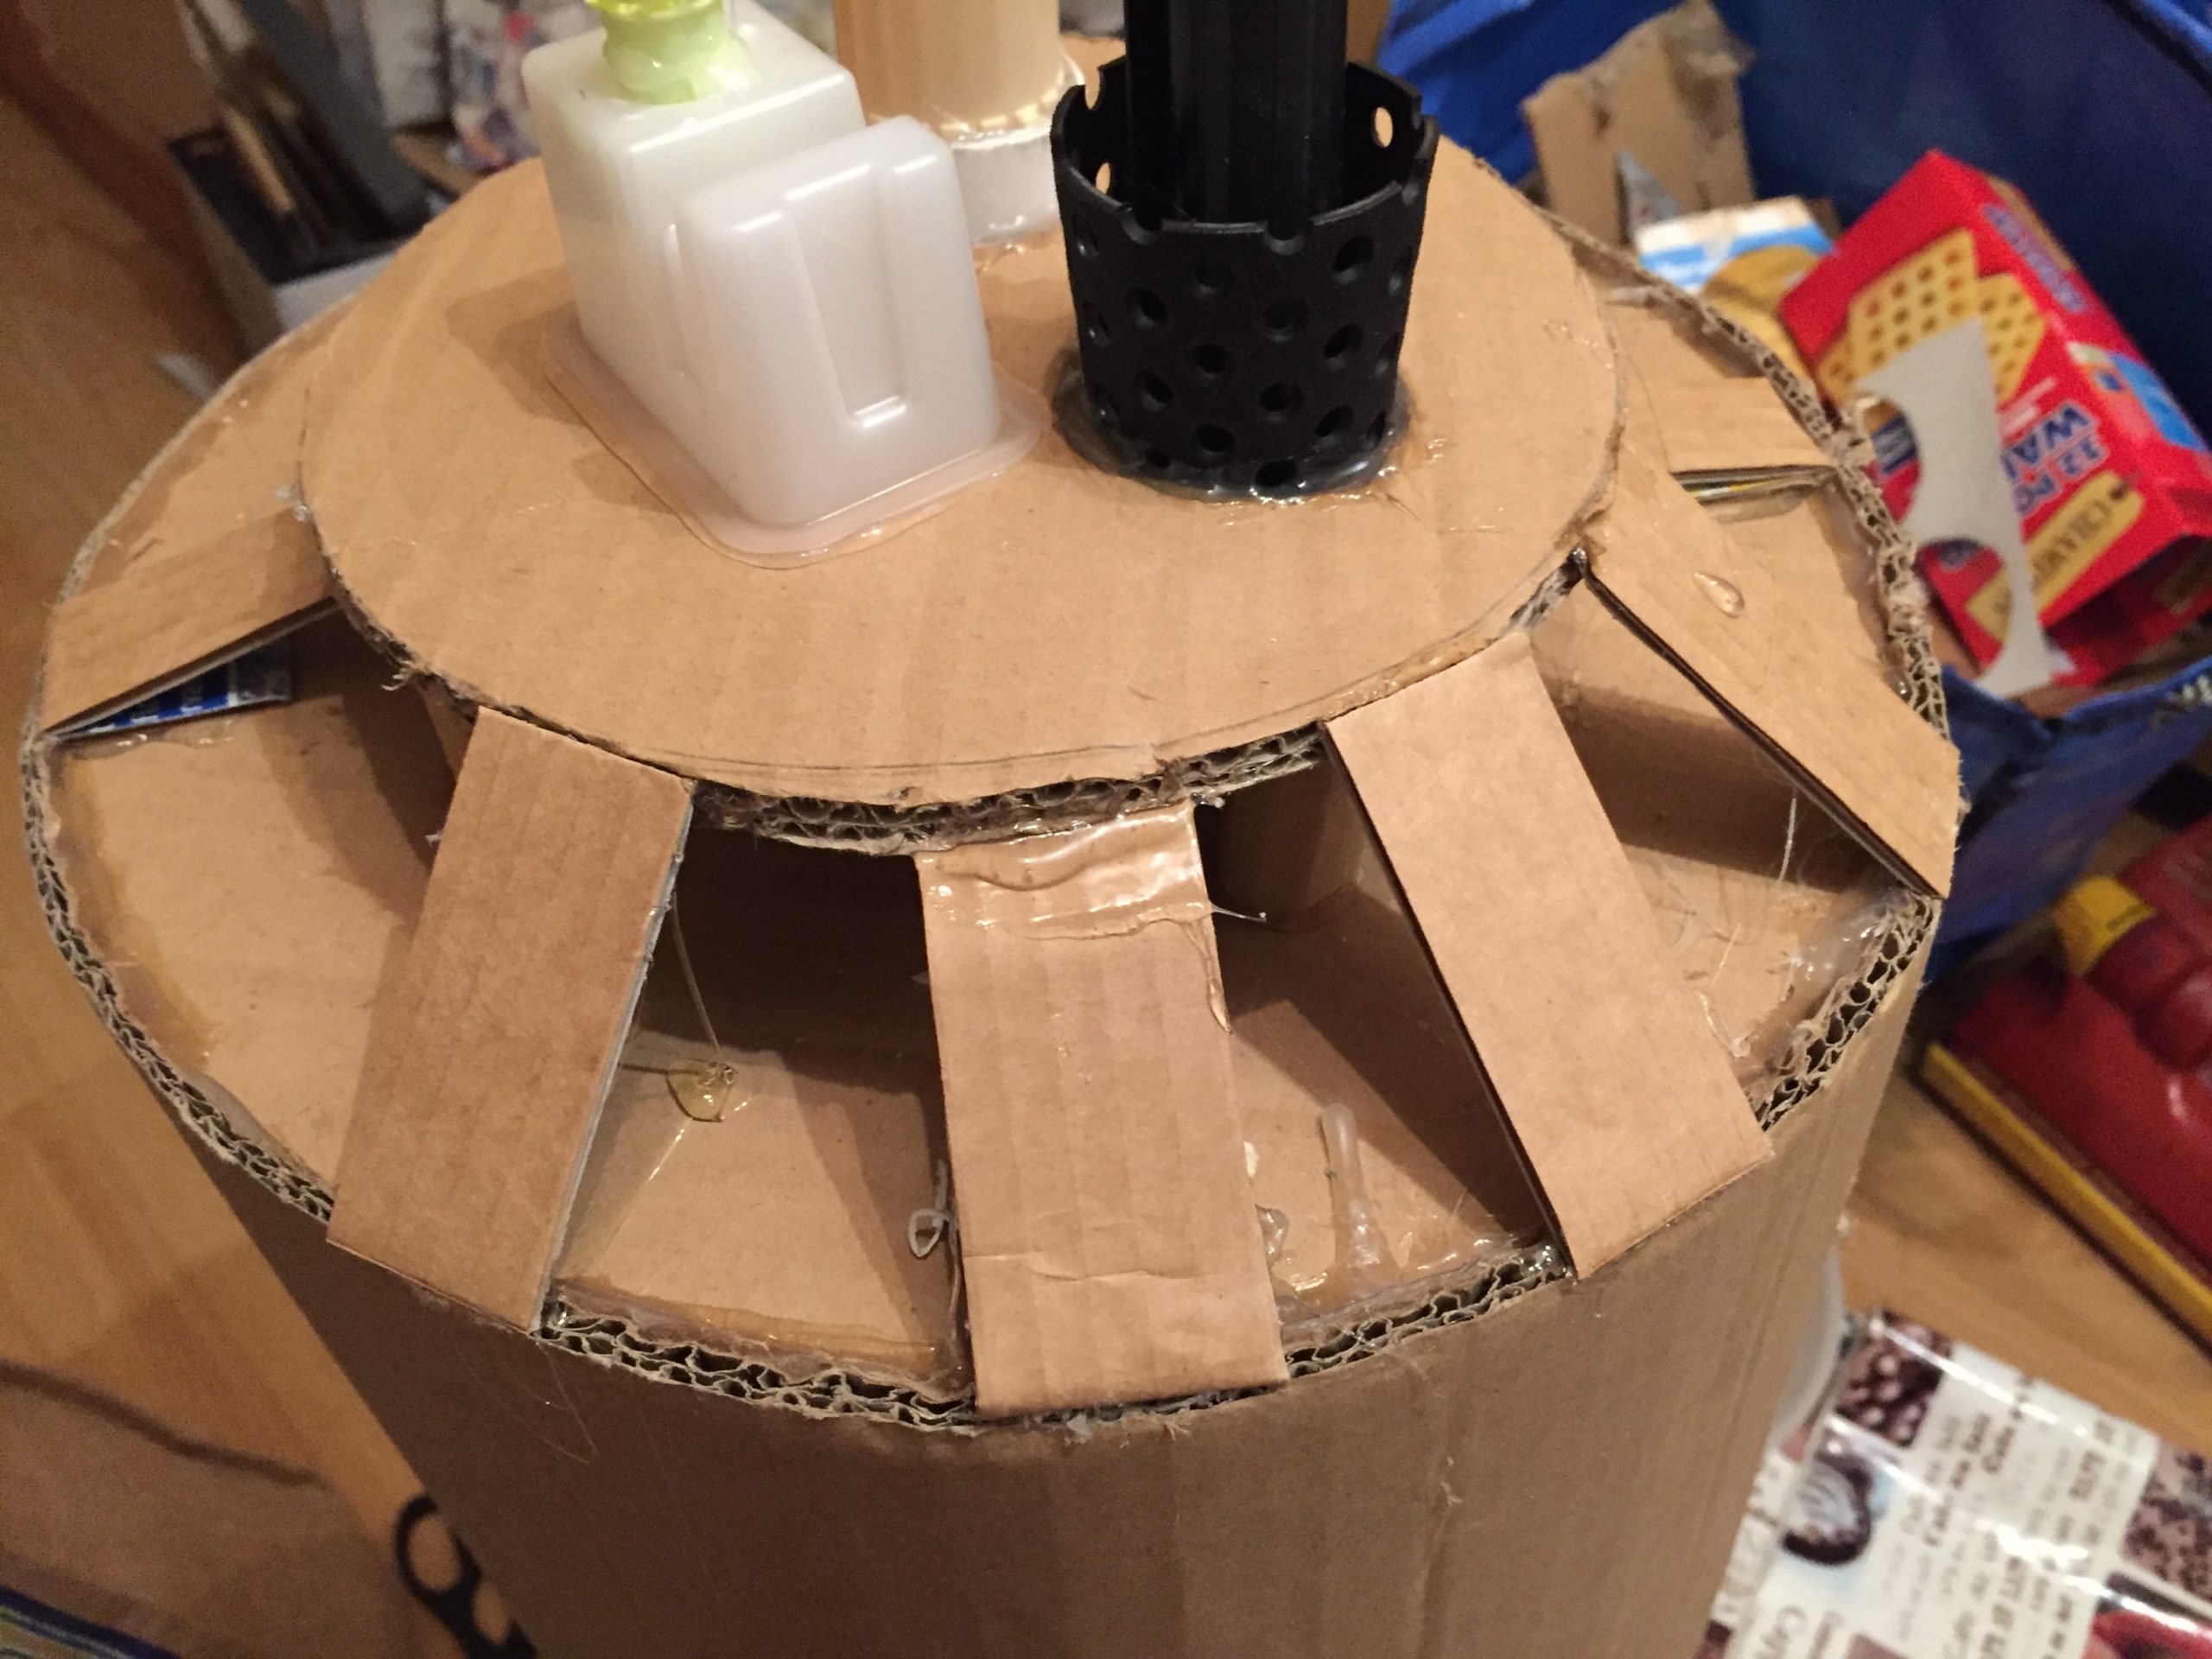
The guns were fed into holes in the front and the second disk to provide some stability before gluing into place. The green plastic “magazines” would need the back end covered over with bits of card to hide their hollowness. Although these wouldn’t look screen accurate or anywhere near that it would still provide an approximation of the guns and mags that ED-209 had on his gun pods.
In this group of photos you can see how I hot glued pieces of cardboard from the edges of the front disk to the second disk which would later be paper mached to cover the fact that there was no real structure behind it. The plastic of the gun barrels would be covered with a bit of spray paint in a short while.
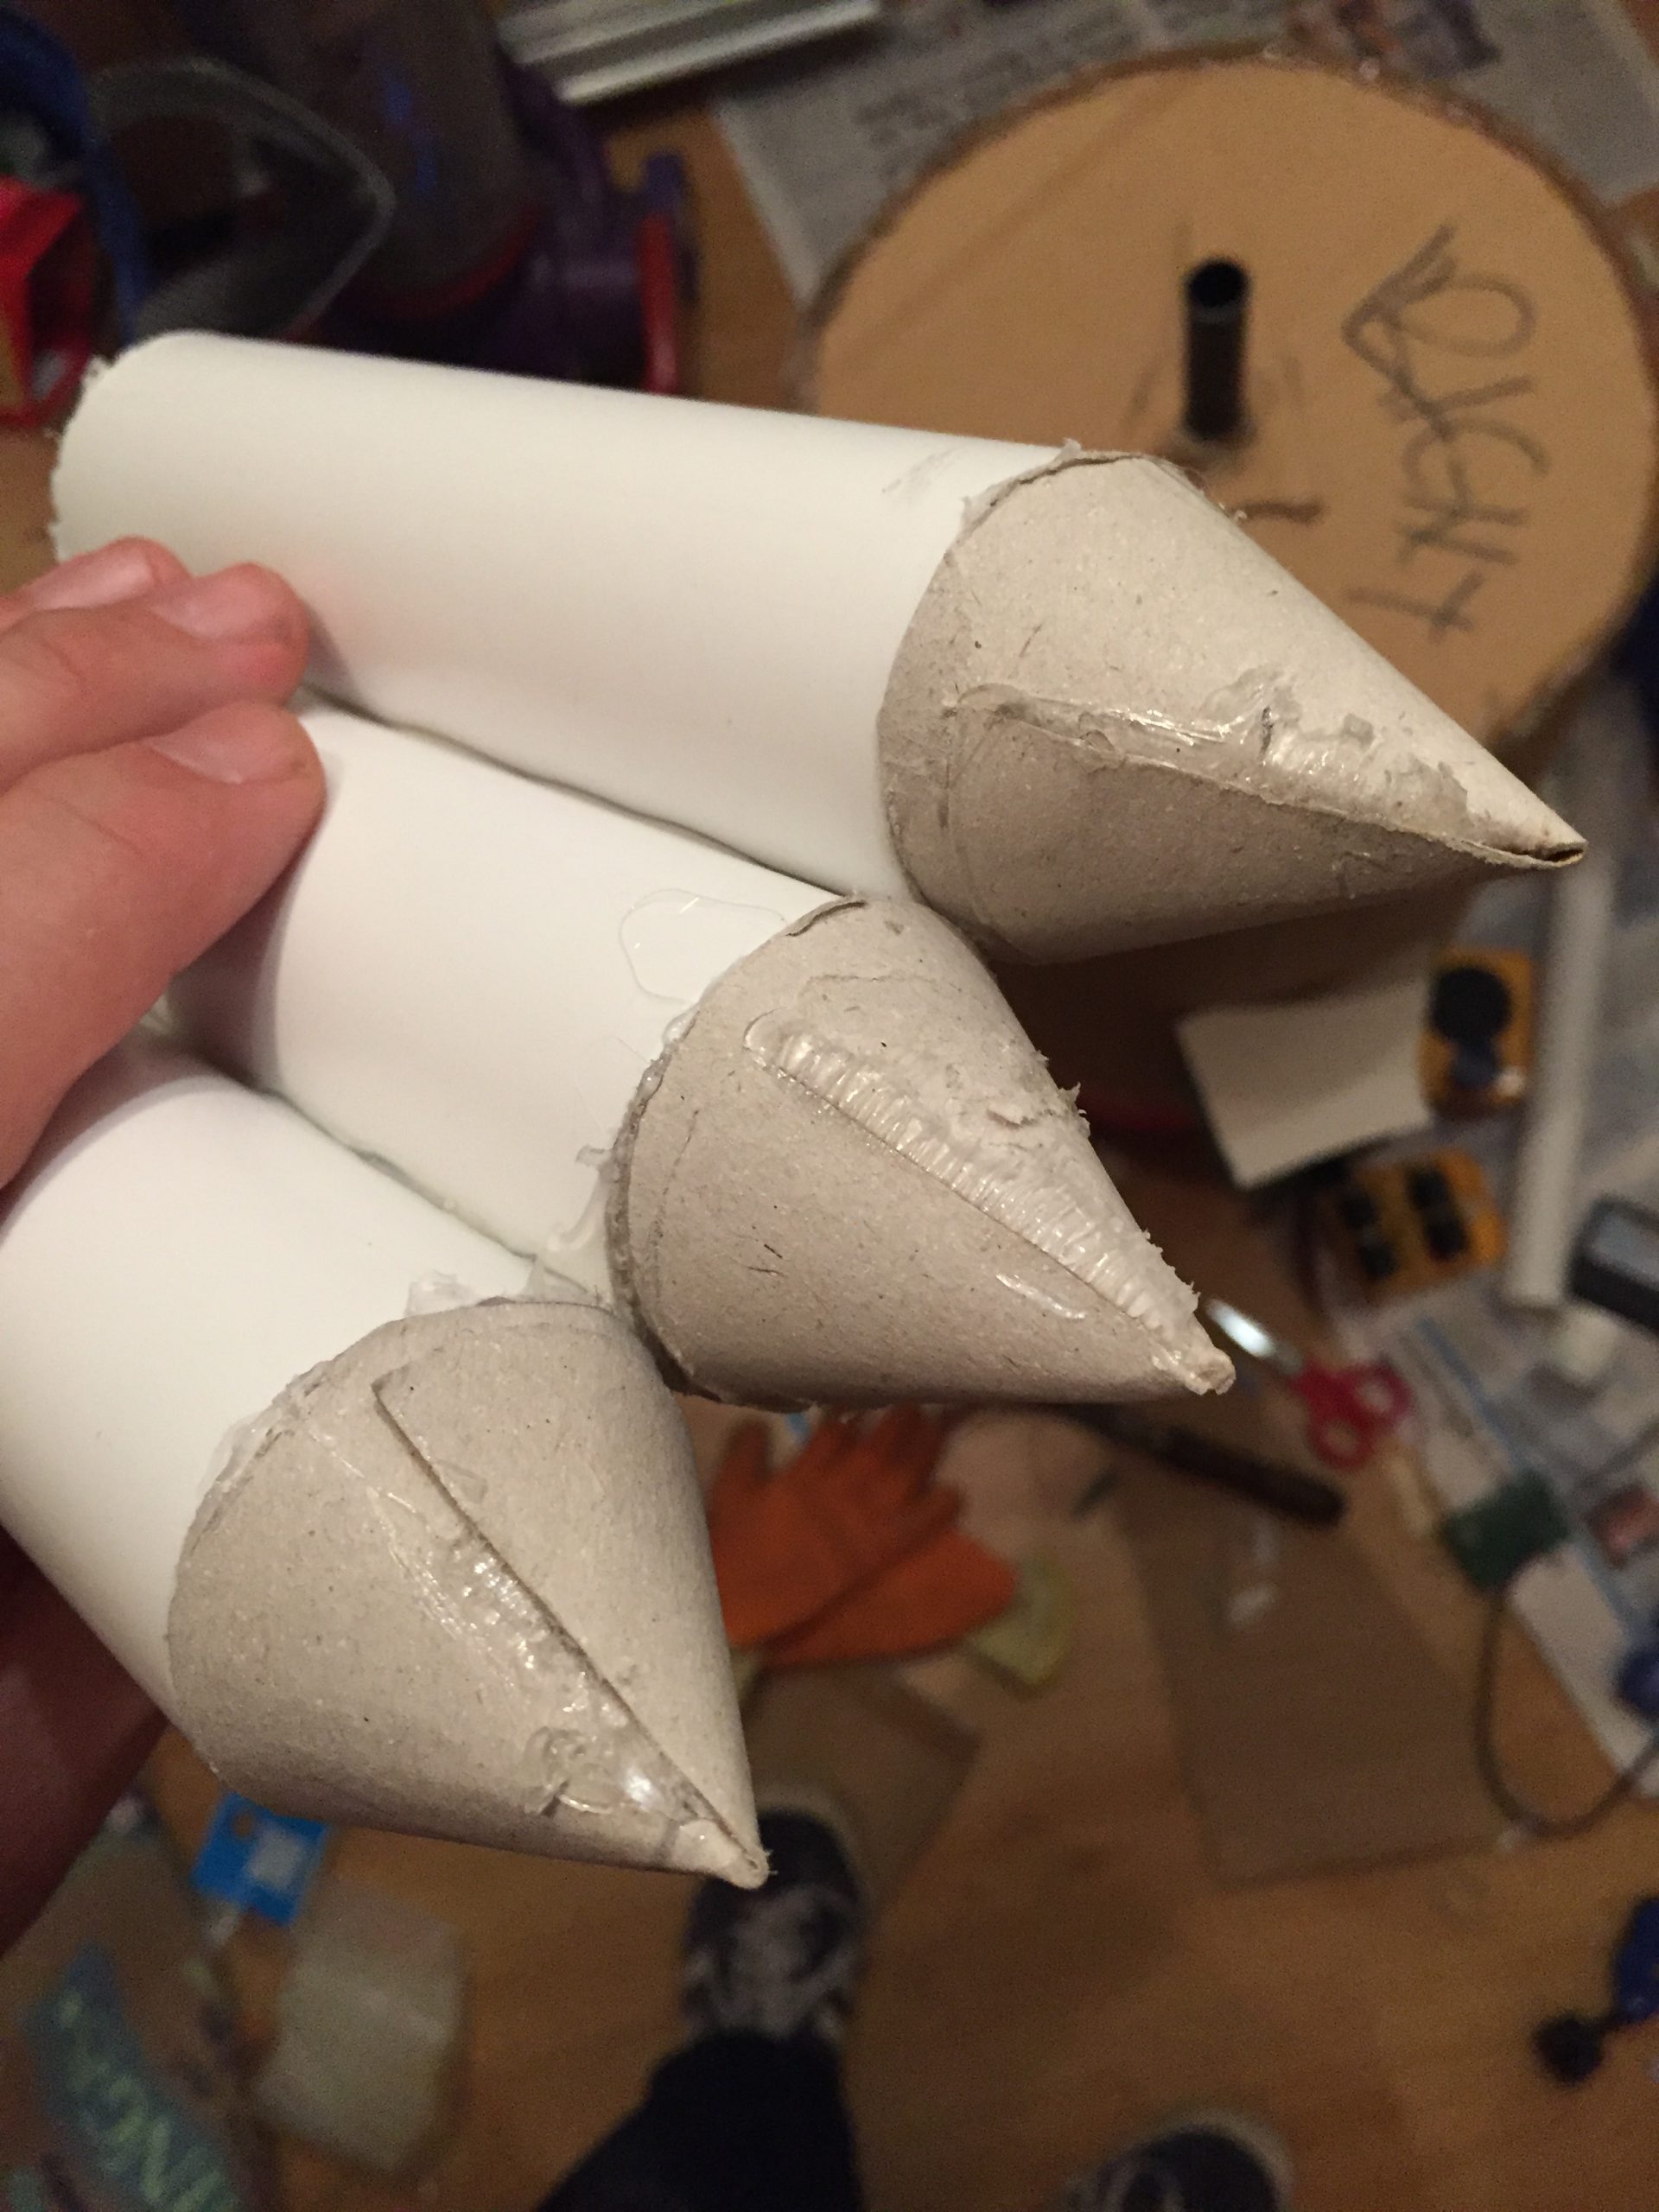
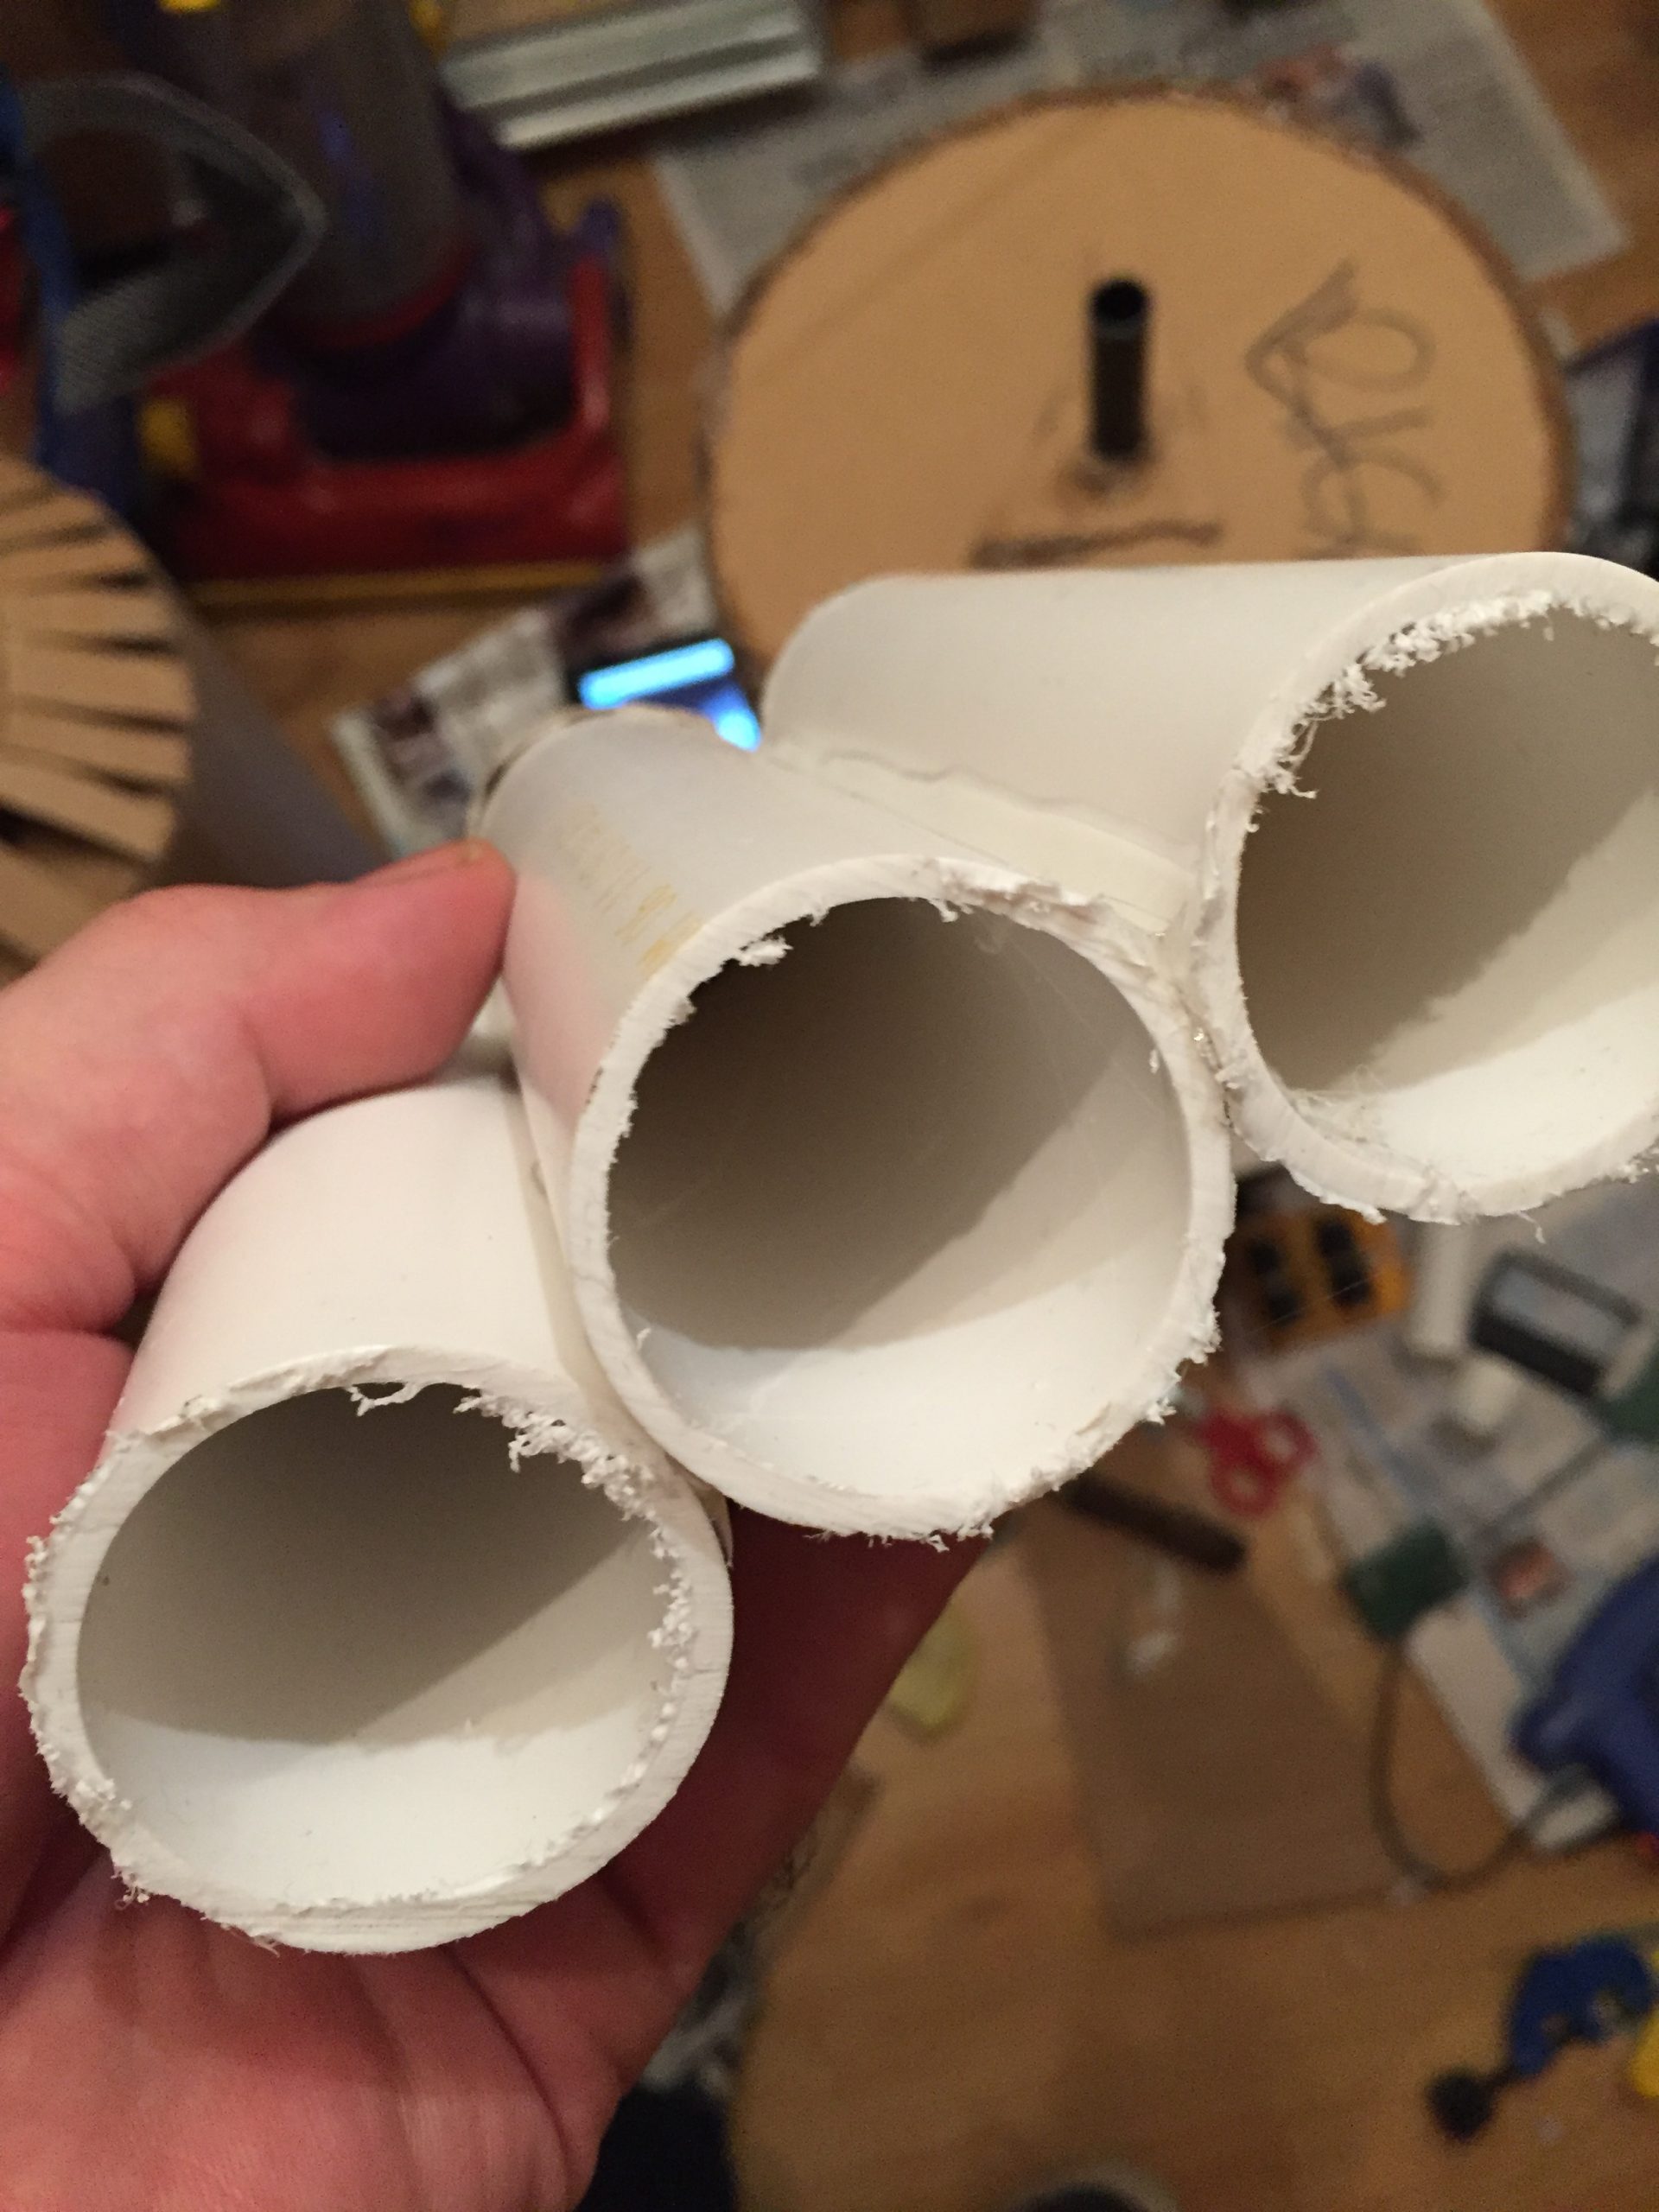
The time had come to try and recreate the array of rockets on the side of the gun pod and I measured up some of my diminishing plastic pipe glued and them together while placed on the gun pod, to get the curve right. I chopped up a scrap cling film box and glued half on either end of these rockets whilst my son made three cardboard cones using his knowledge of maths that were then hot glued into place. They would be decorated with spray and a bit of acrylic paint later on. The rocket module would be painted before being fixed properly to the pod but you can see it taking shape here.
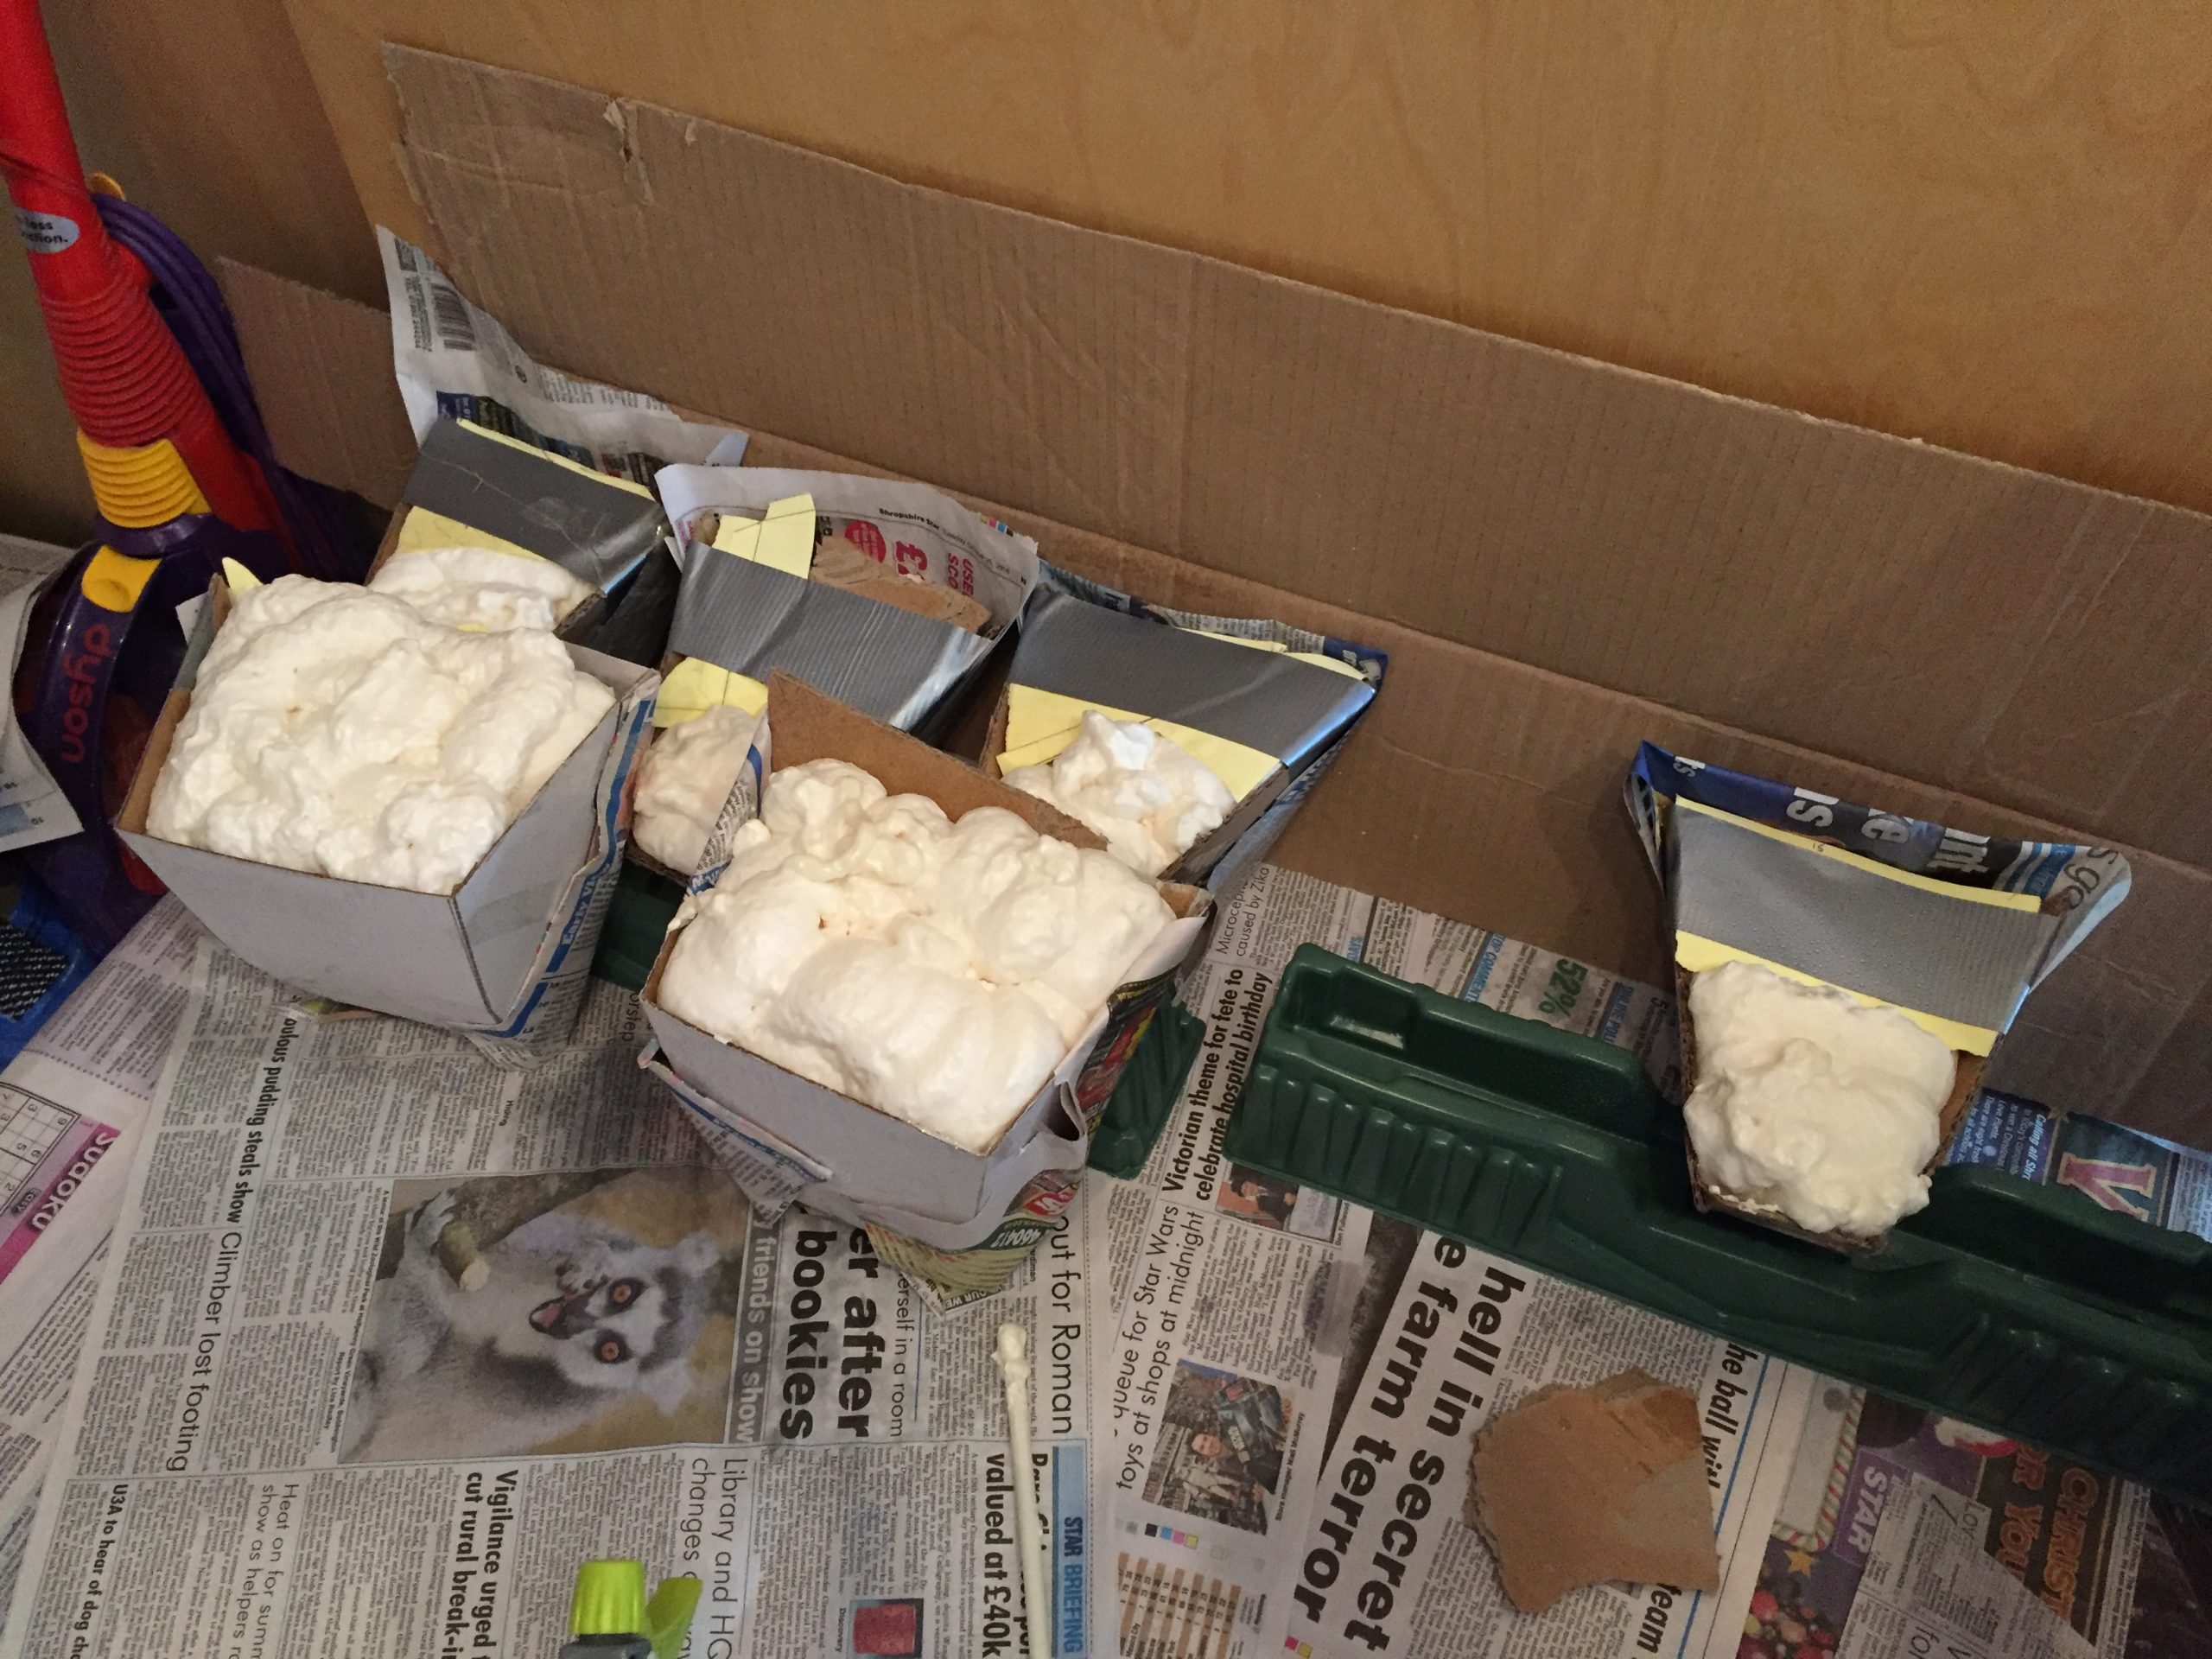
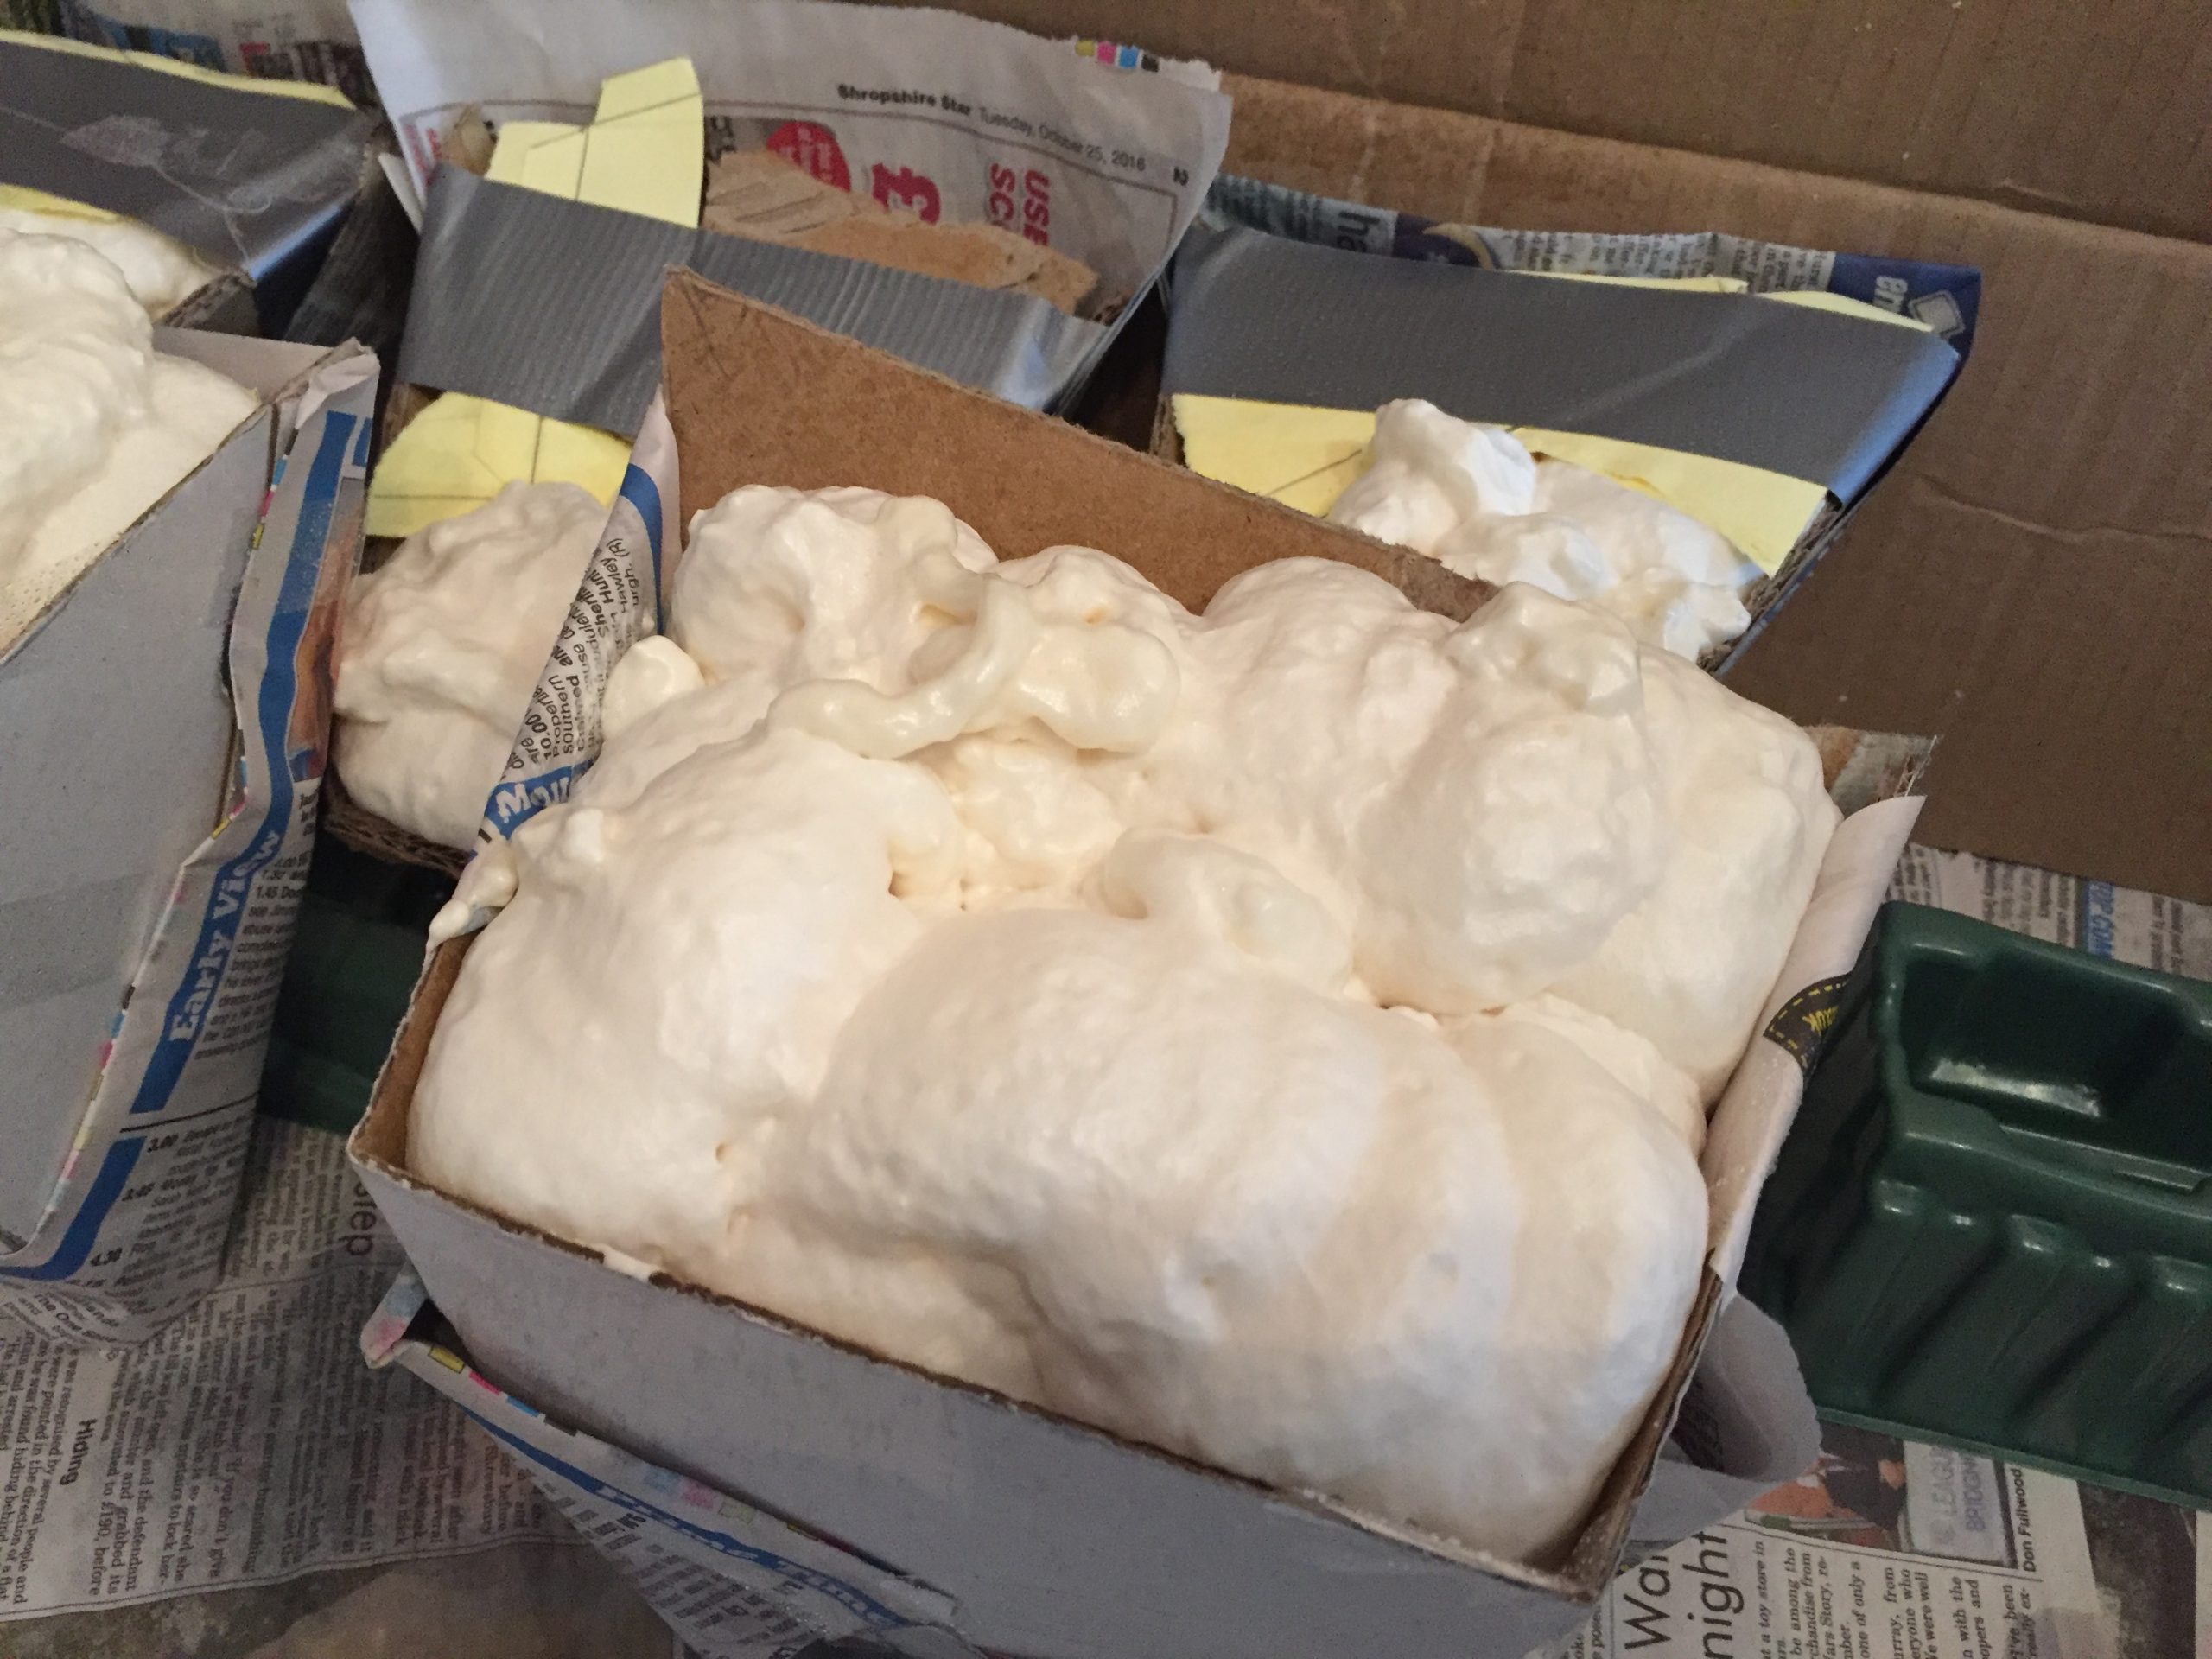
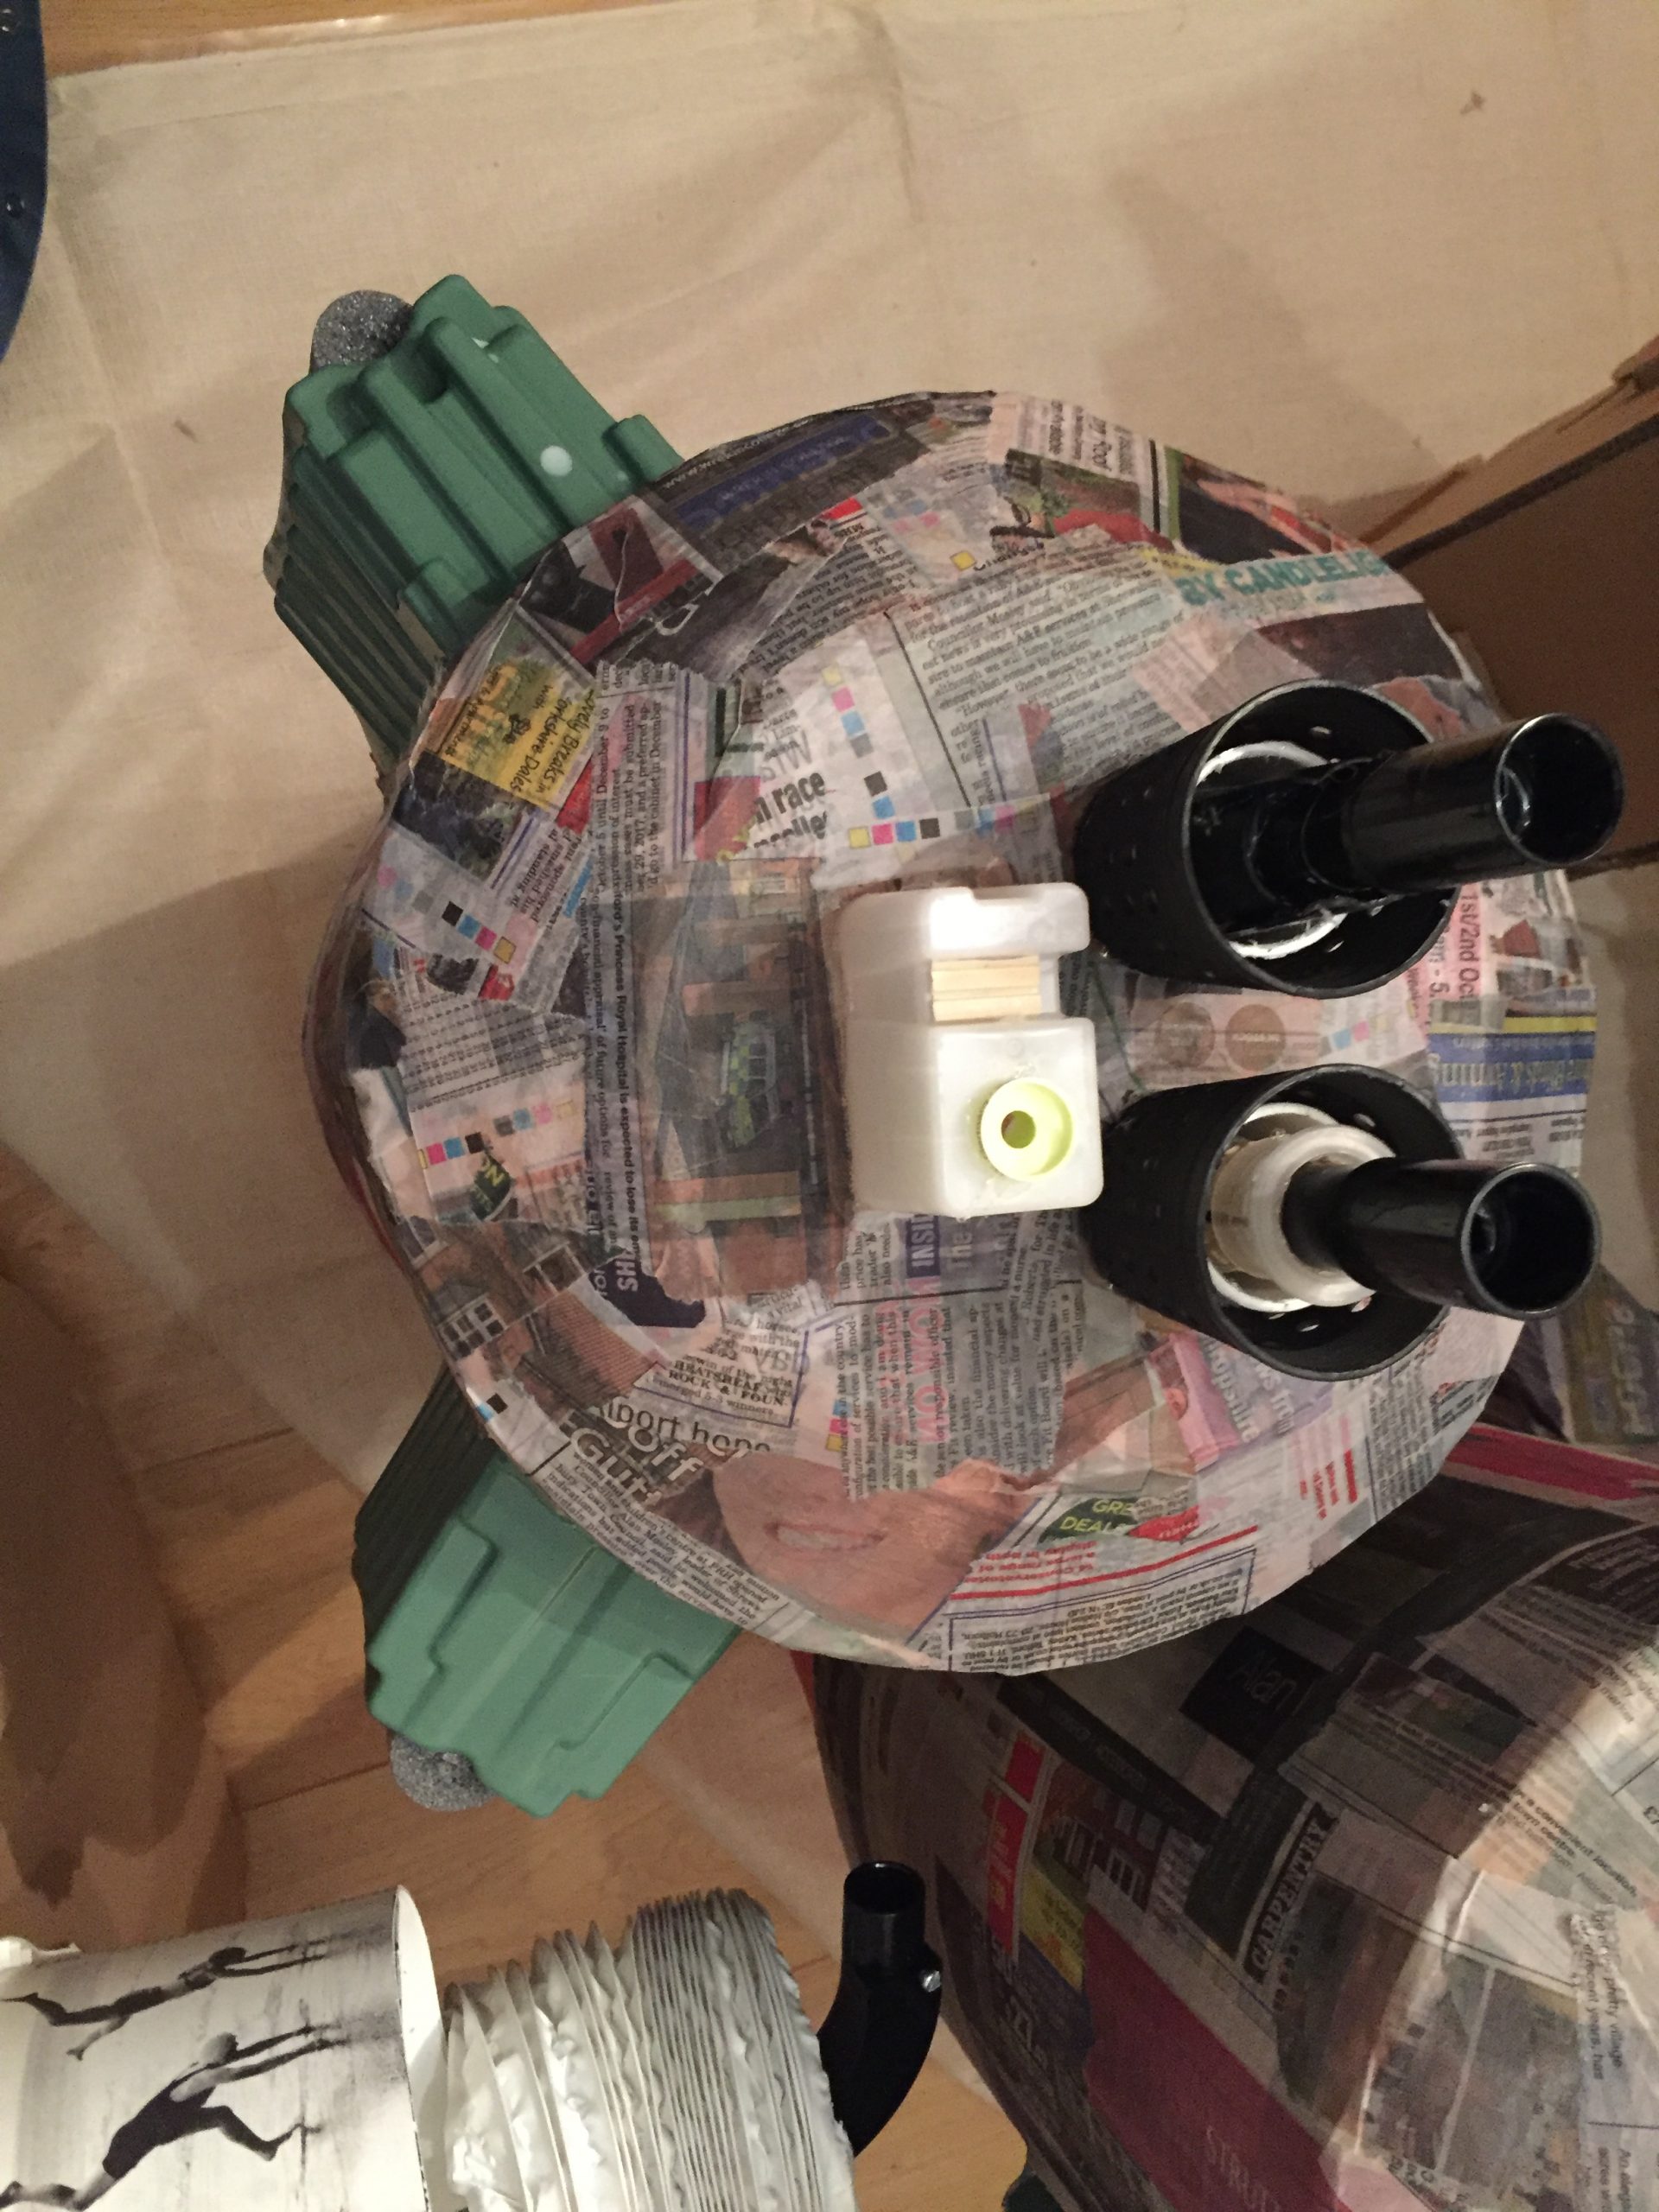
Time for the toes to get a filling of expanding foam and I could let them dry while I started to paper mache the gun pods. I’d read online and watched plenty of videos on how you can use this expanding foam to good effect when modelling like this and thought I’d nail it easily. To make sure the foam stayed in the toes I covered the open ends with newspaper to retain it and left the top open.I balanced them on a table ready for the squirtage and shook the can as prescribed. I gave each of the toes a squirt to fill them about half way as the instructions said on the tin but a few minutes later the foam hadn’t expanded as much as I wanted. So, I gave it some more. Mistake that…
I put some foam up the shins on the front of the lower leg too to offer some strength in the event it had a knock. It would be super light so I wasn’t worried about the weight of it at all.
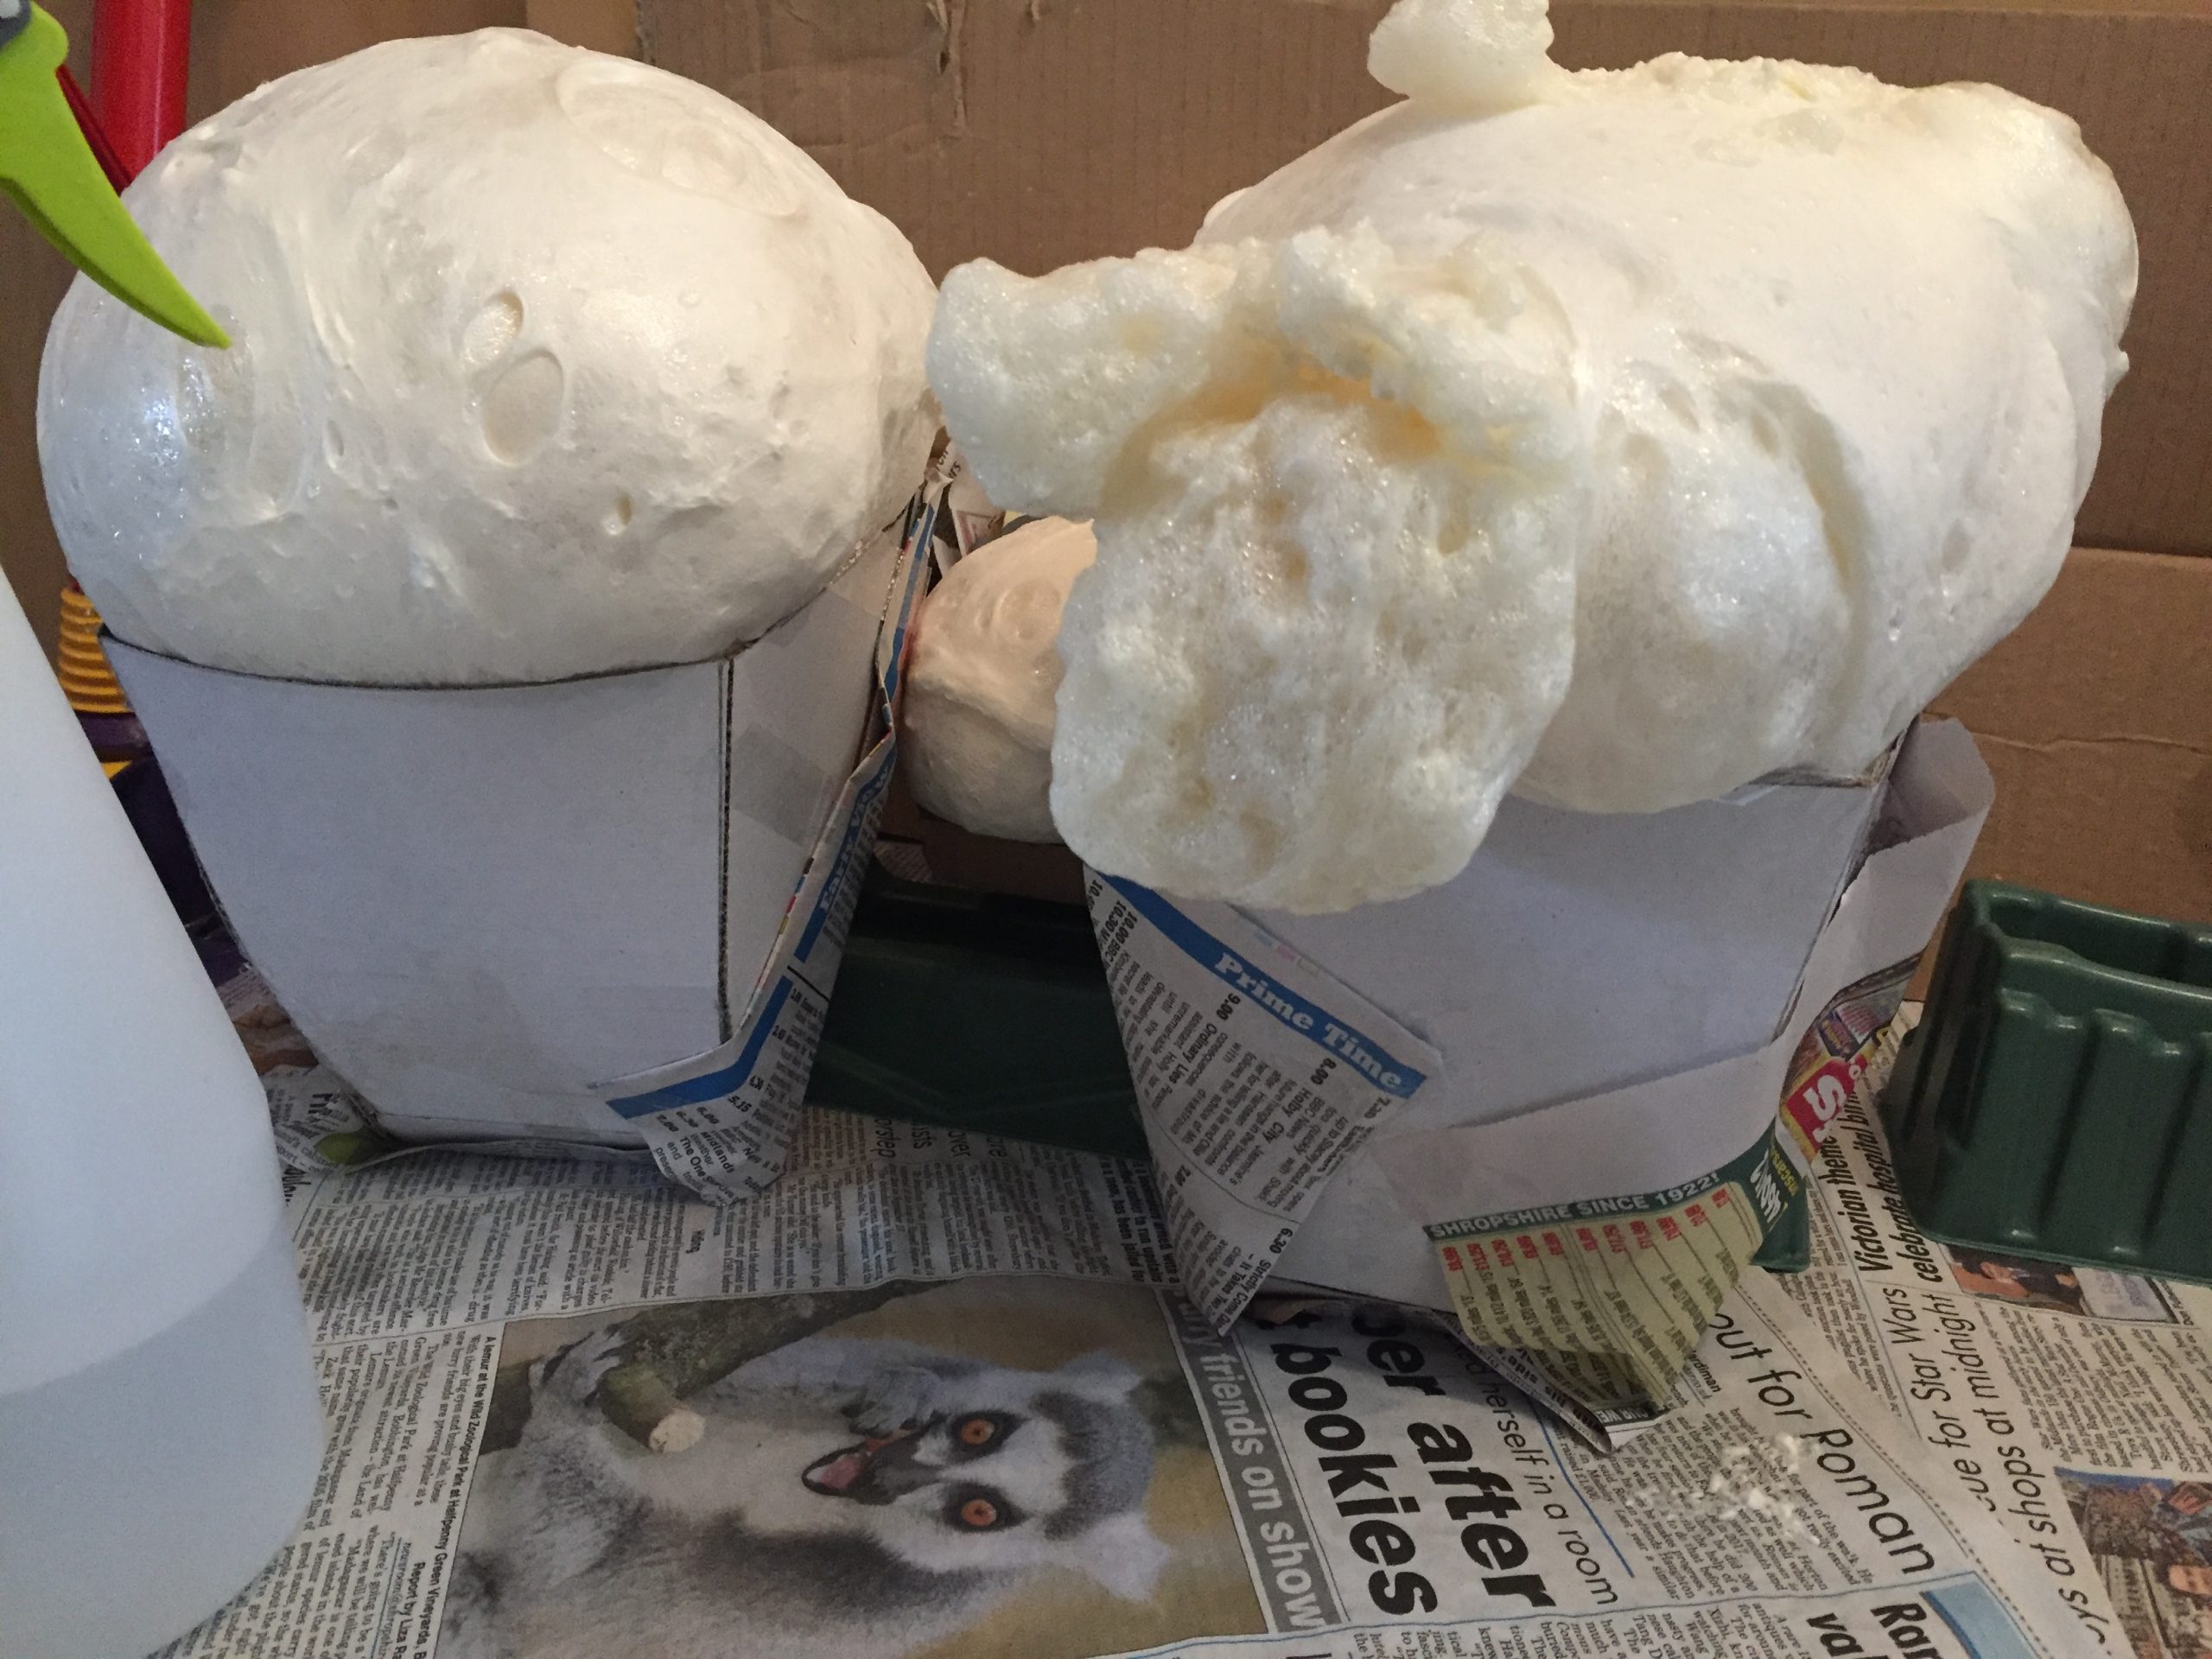
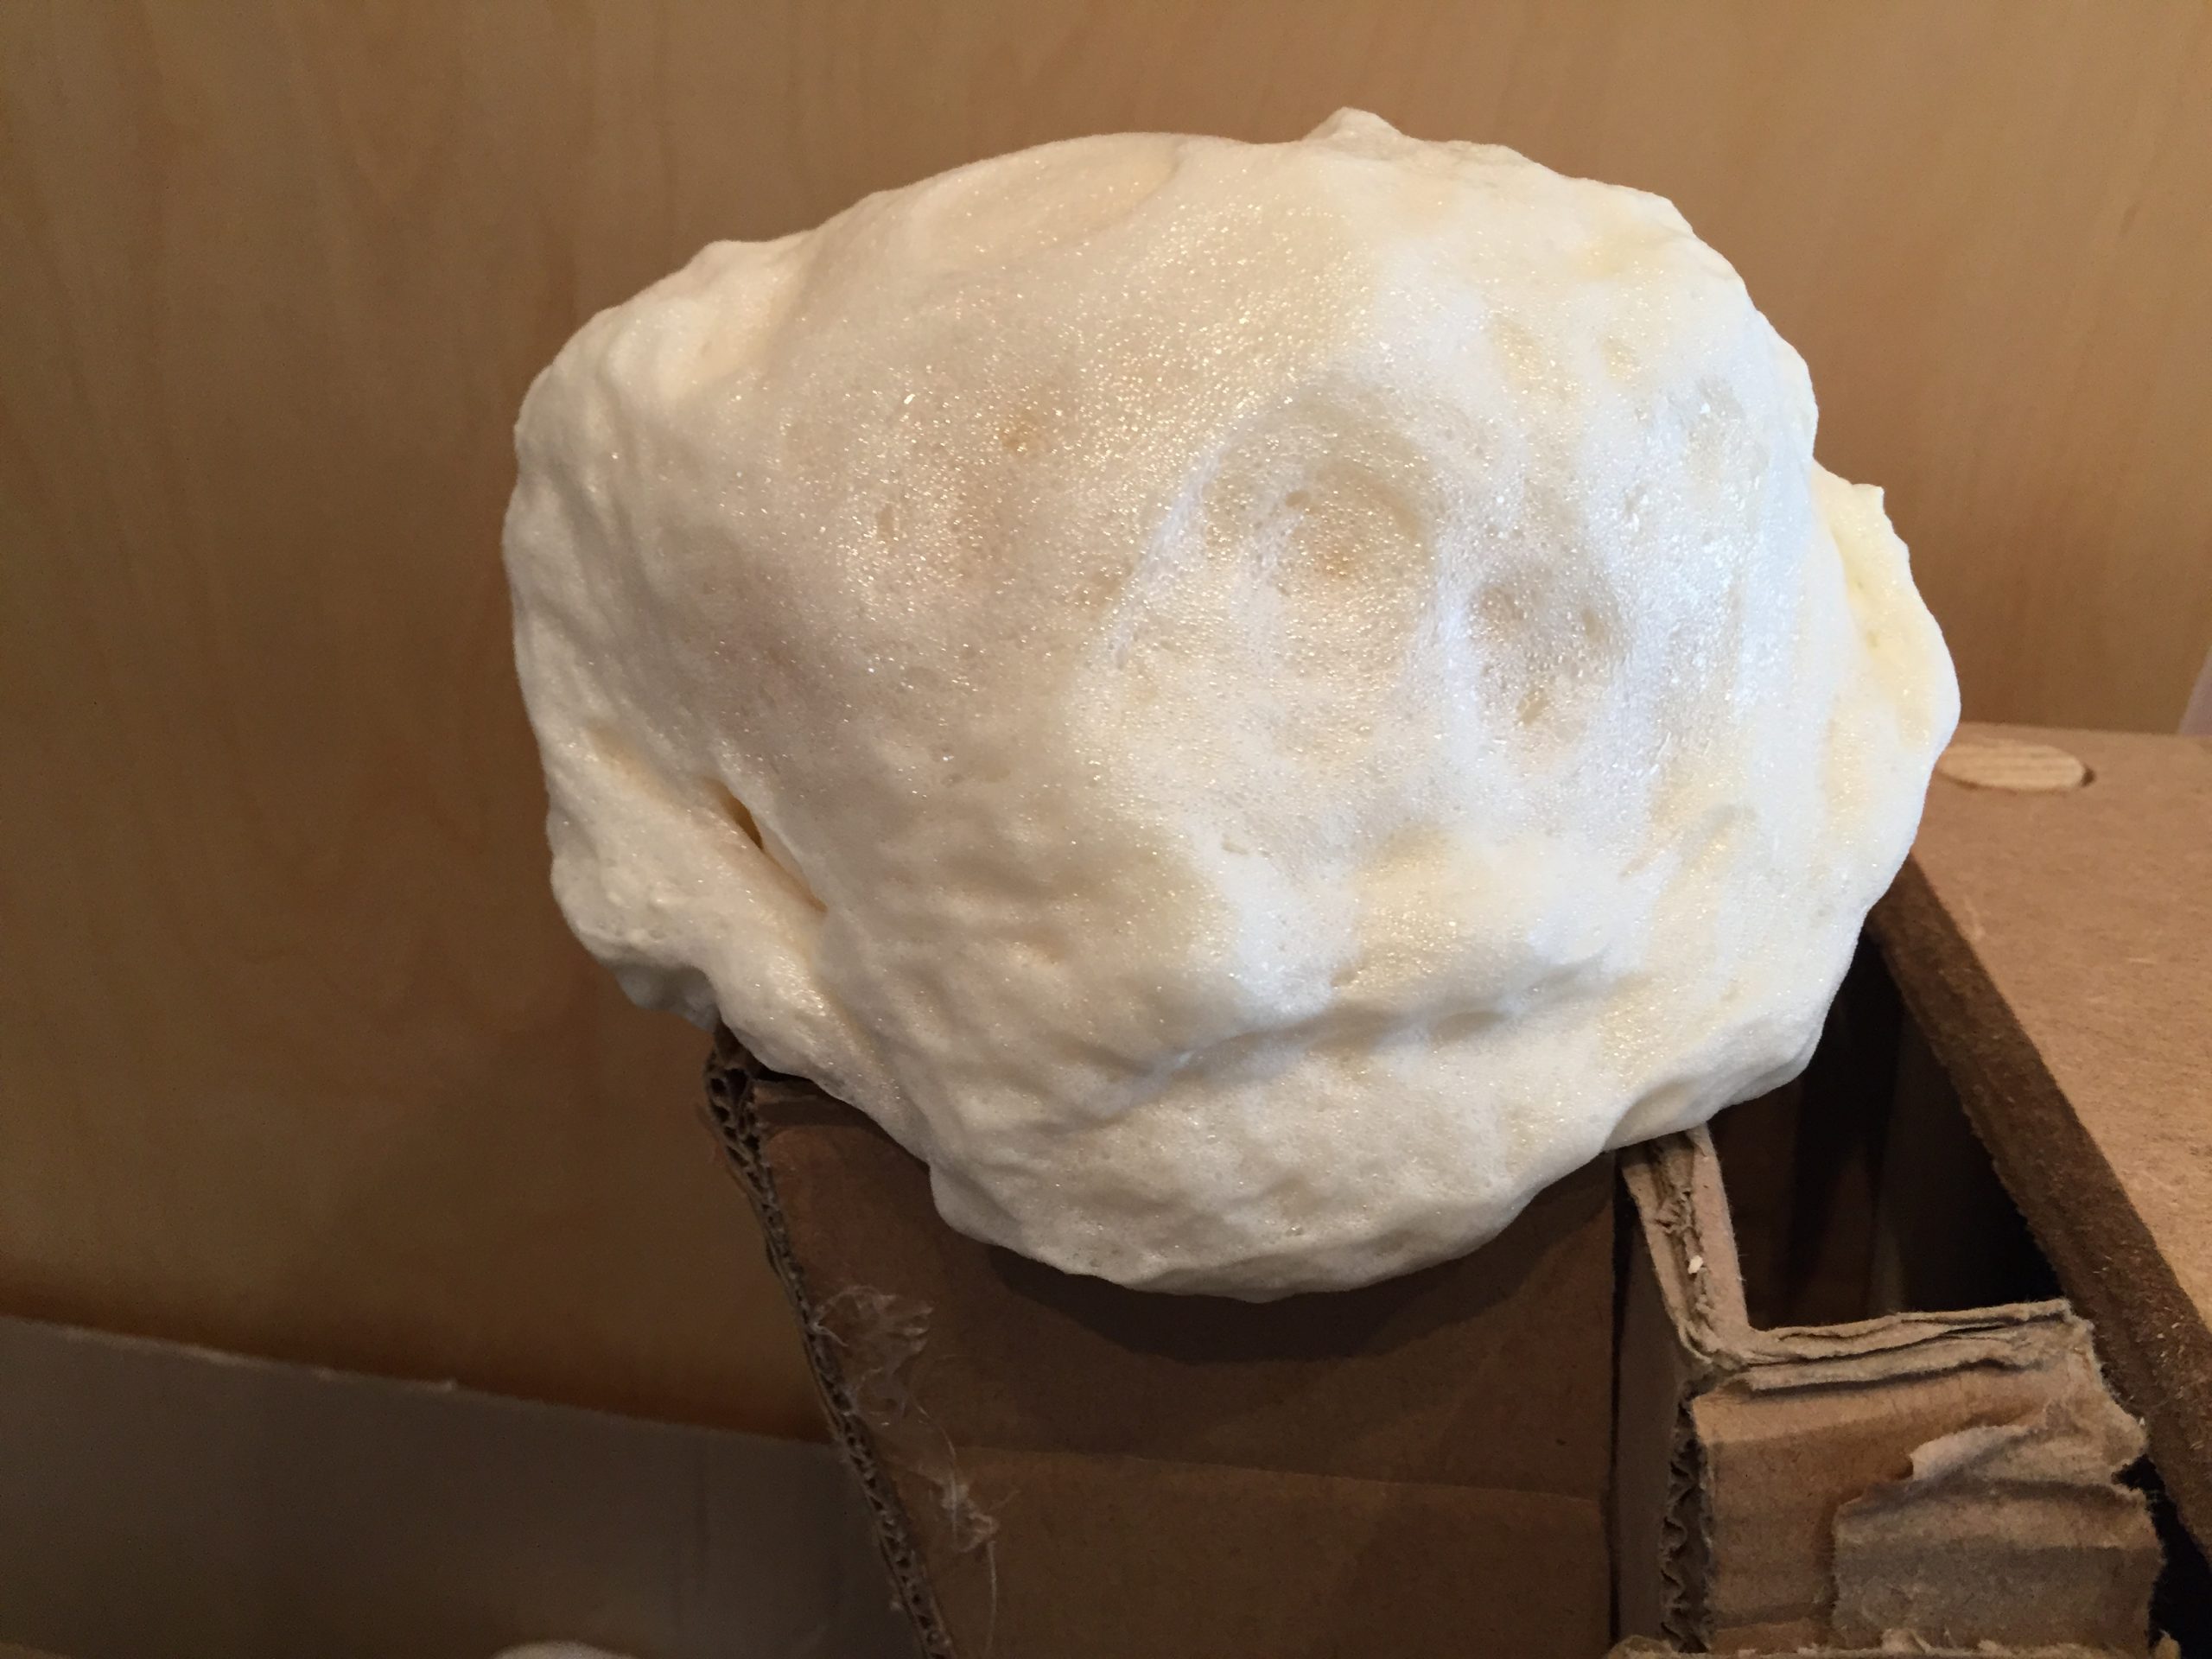
As you can see from the pictures below the foam did it’s job and some! You can see in the later images just how much the foam had increased in volume and the fact that it had stretched the cardboard on the toes was annoying but I thought that I could get away with it. I’d wait for it to properly dry before trimming off the waste.
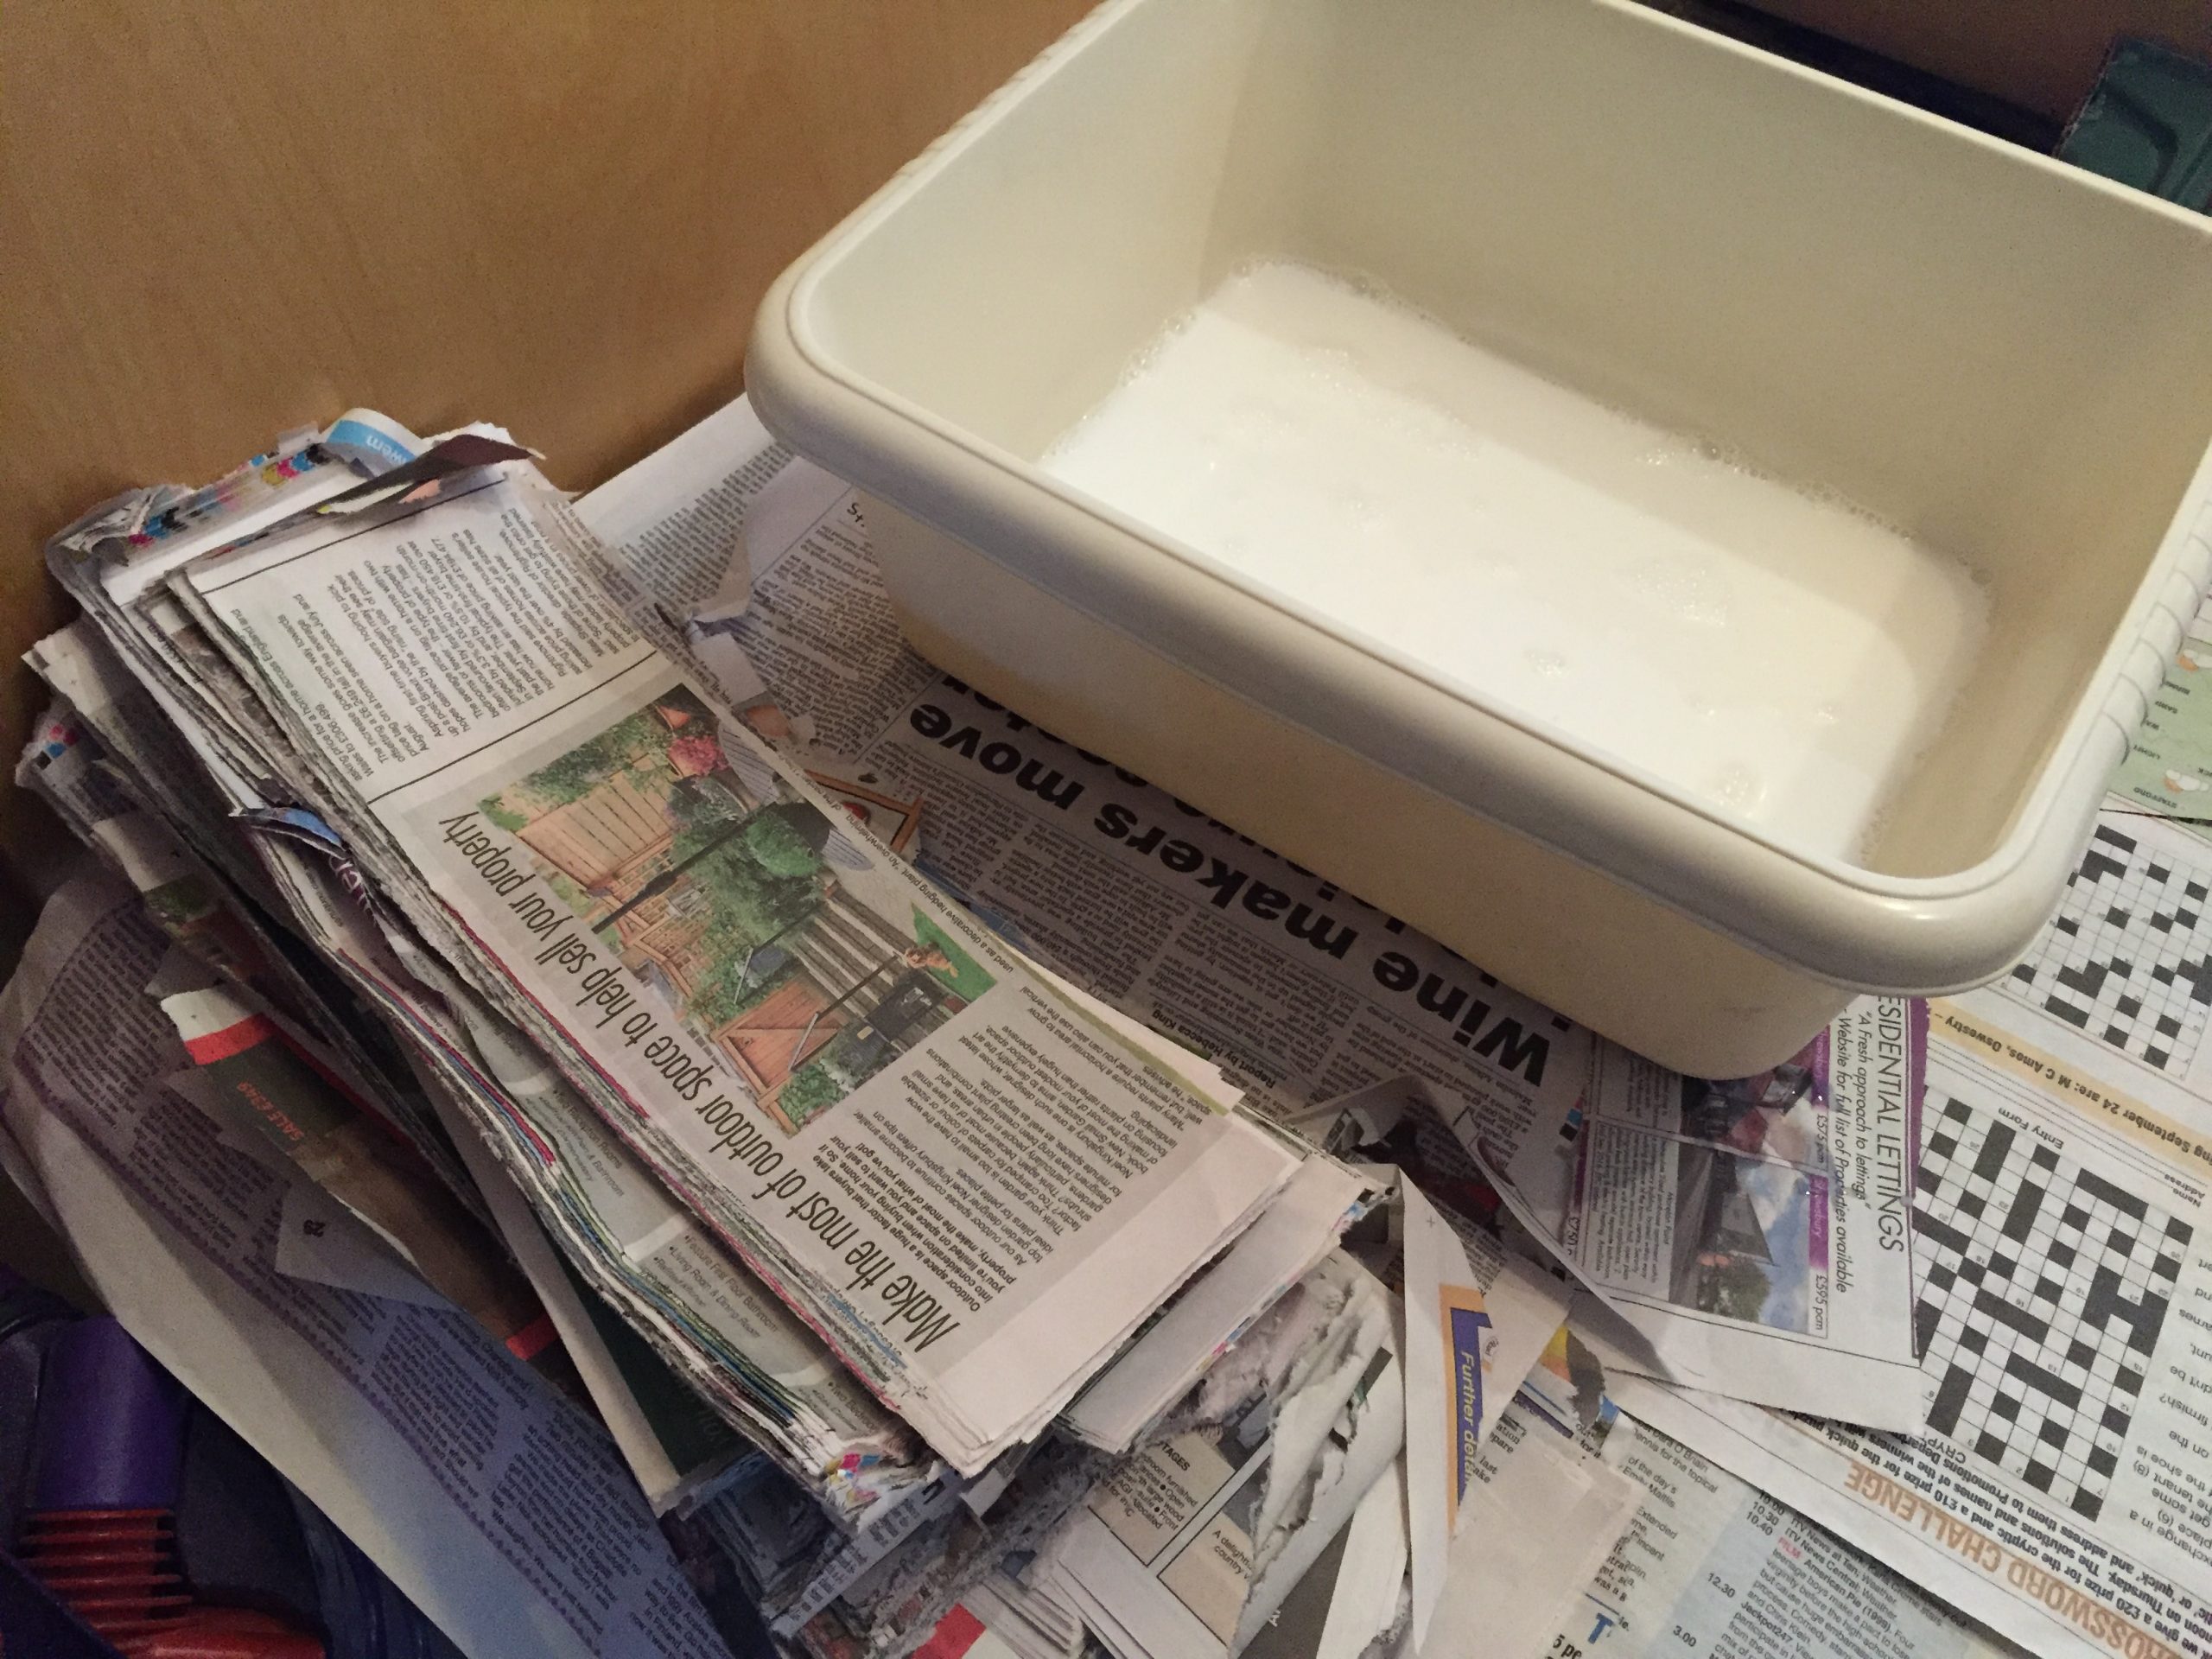
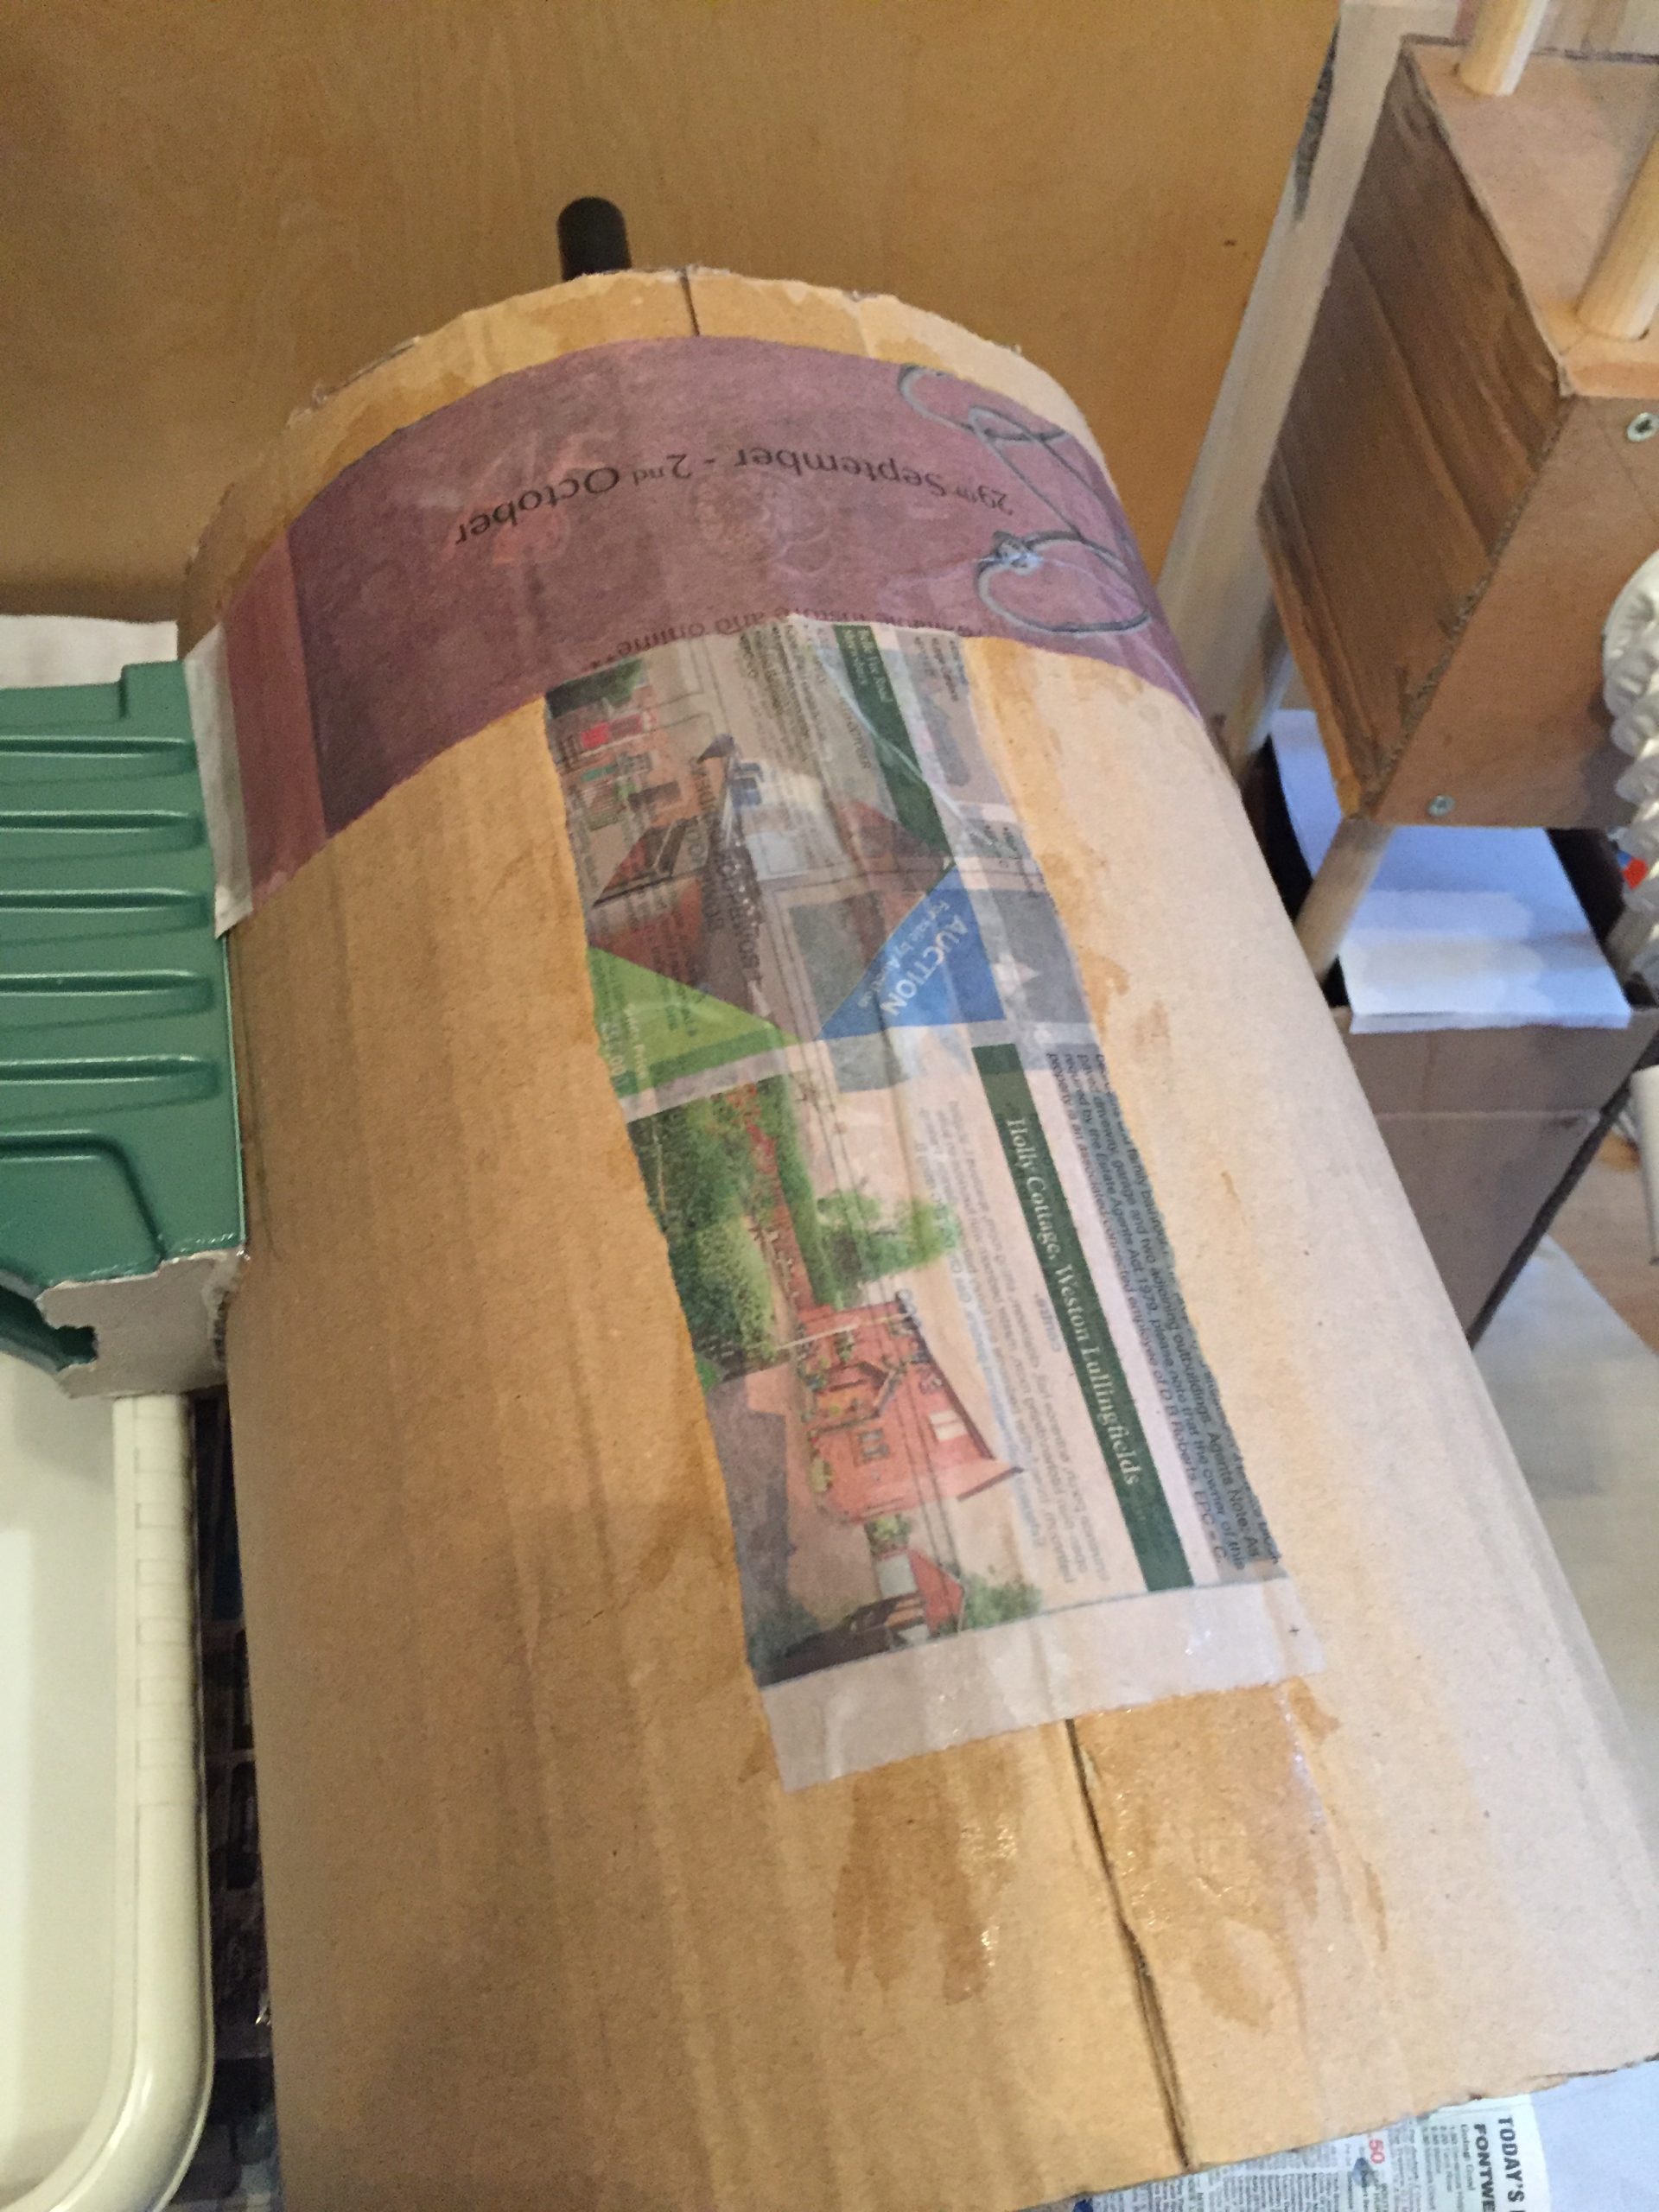
The paper mache (or papier mache) was made from a collection of local newspapers and a tub of PVA glue. I prefer to use PVA for this sort of thing as using a flour and water mix leaves a lot of powdery flour about when it’s dried. The PVA gives a good coverage that enables a shiny like appearance without a lot of effort.
I ripped the papers into strips, dipped them into the 2:1 Water:PVA mix, removed excess and then popped it onto the areas to be covered. It took a good while to dry and it was now the beginning of November, only twenty days to go until the Sunday visit to the MCM Expo at Birmingham NEC.
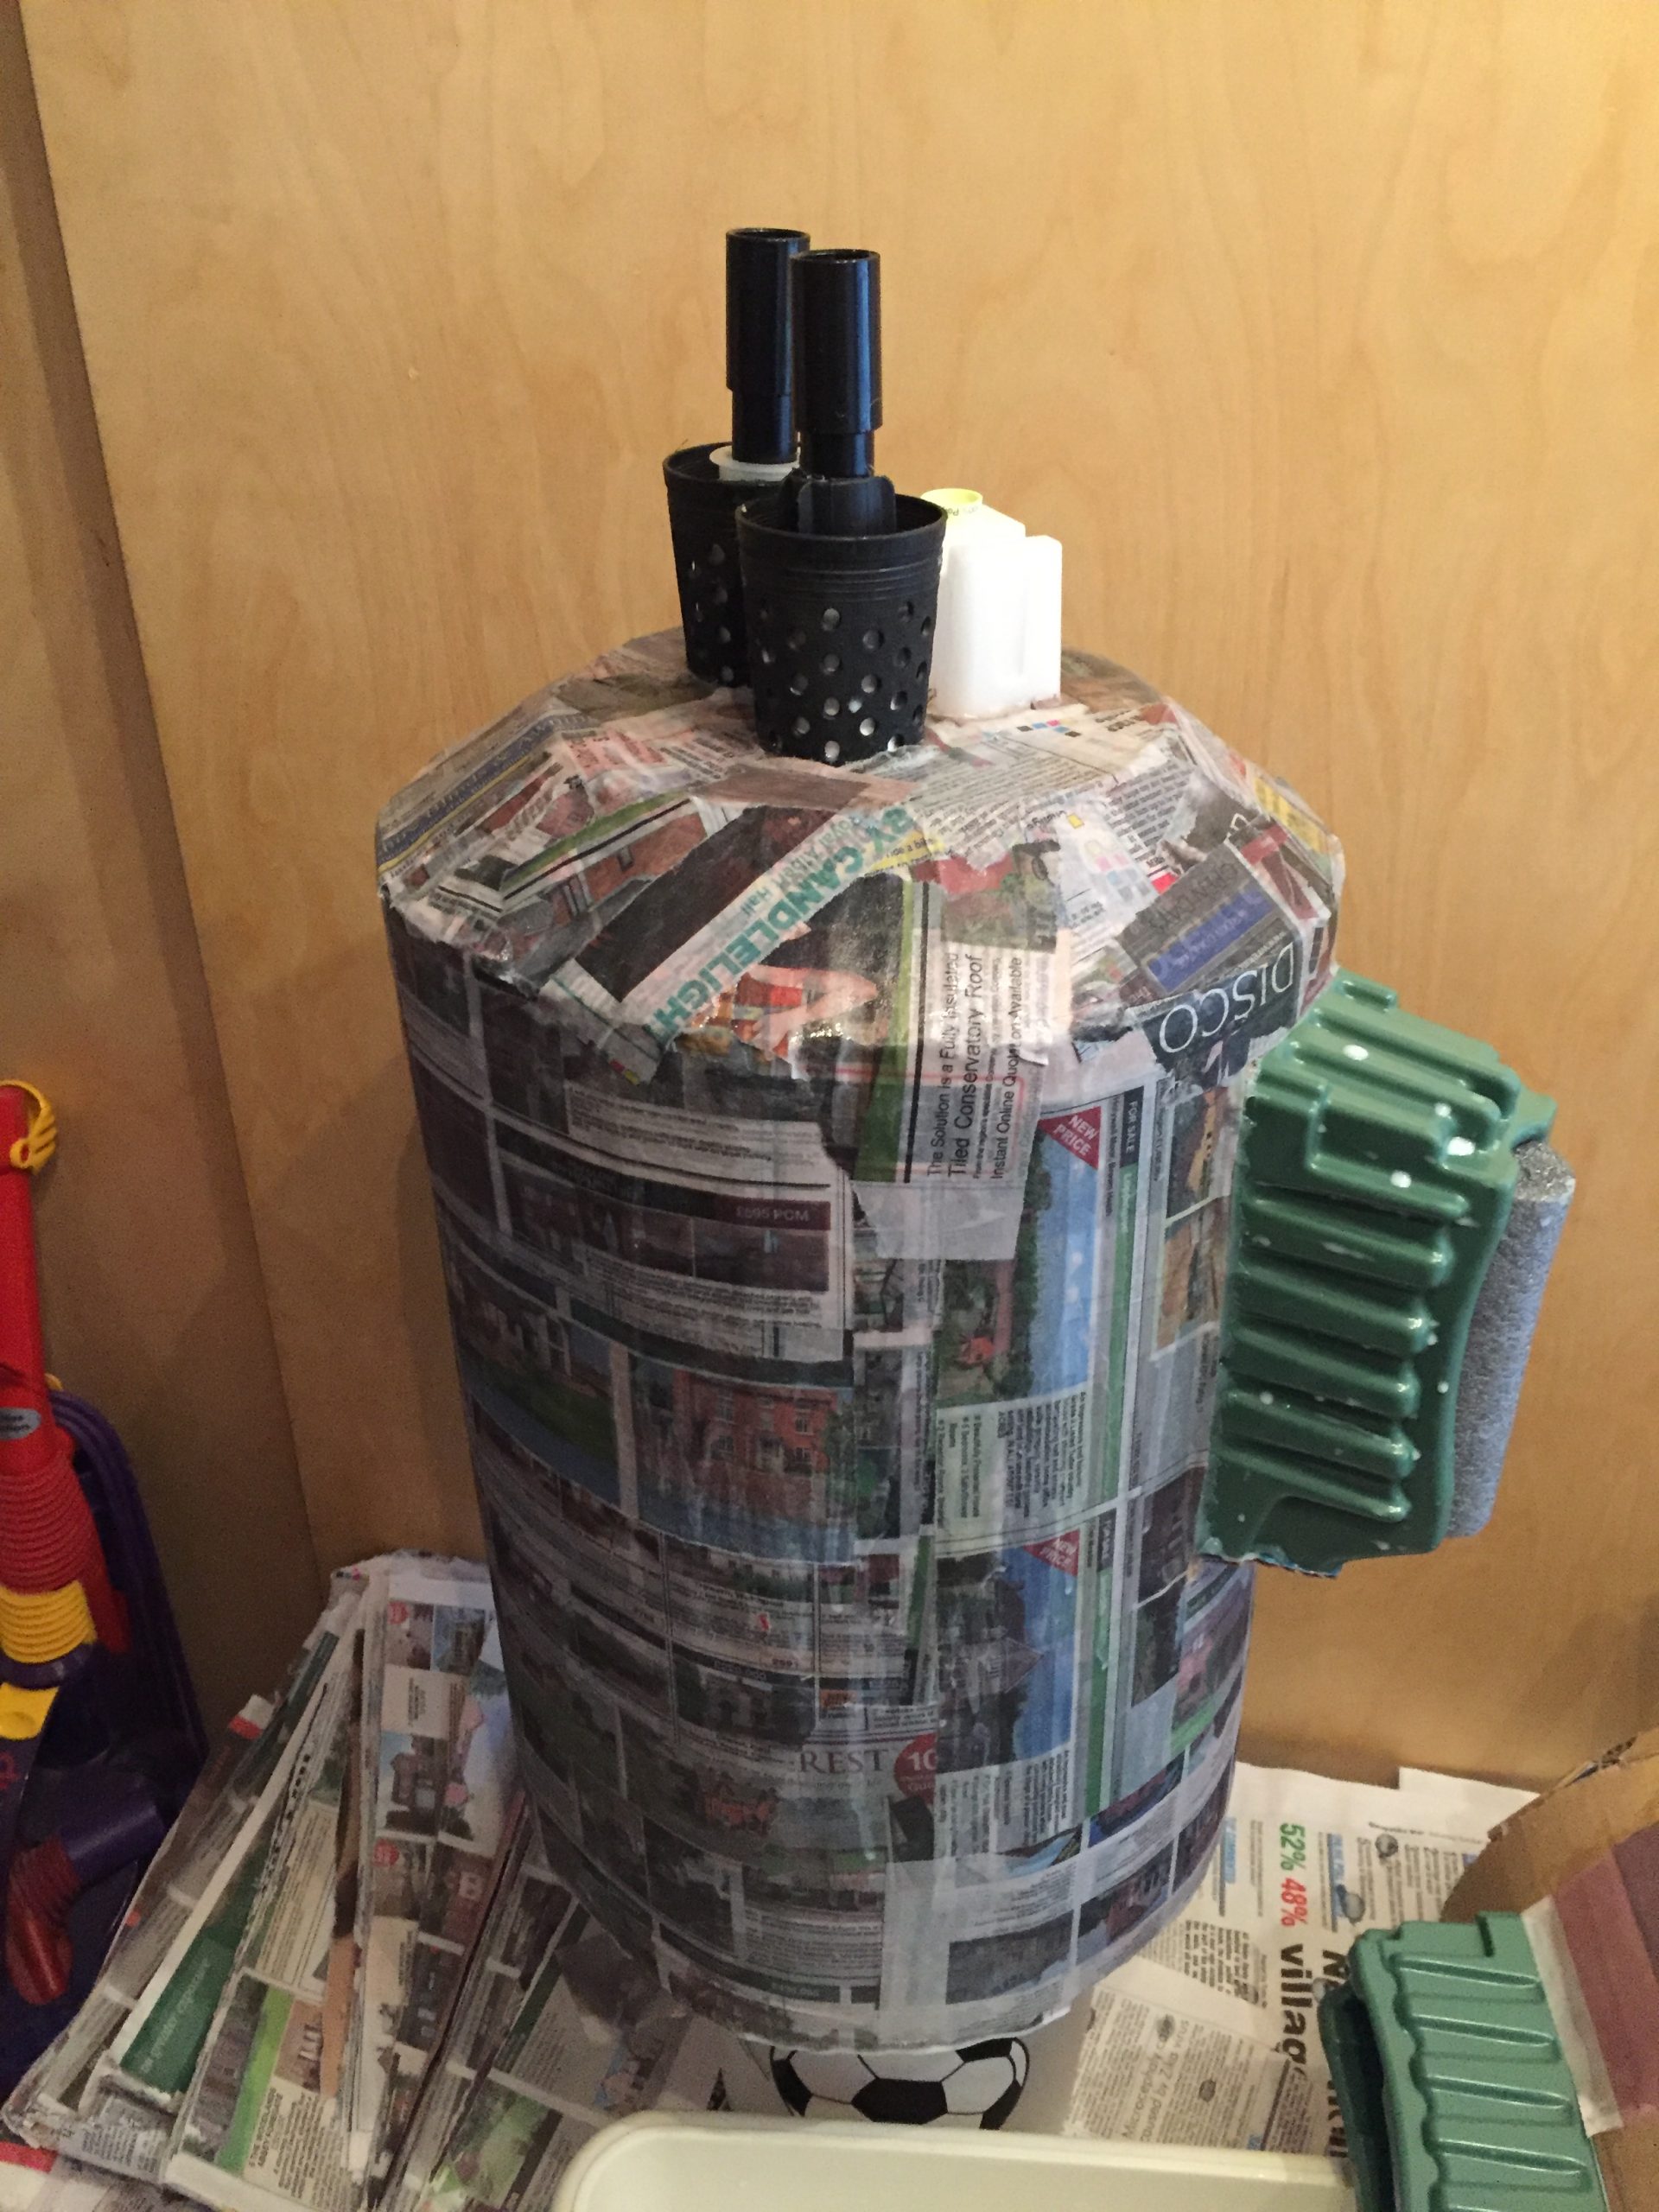
Before I paper mached the legs I decided that I wanted some form on the top of each. In the movie, there’s a screw and a rotating mechanism on there but I was just happy to add some card with hot-glue and then cover it. There were also some weird bobbin type things that looked like they had gear teeth on so I glued these on there too.
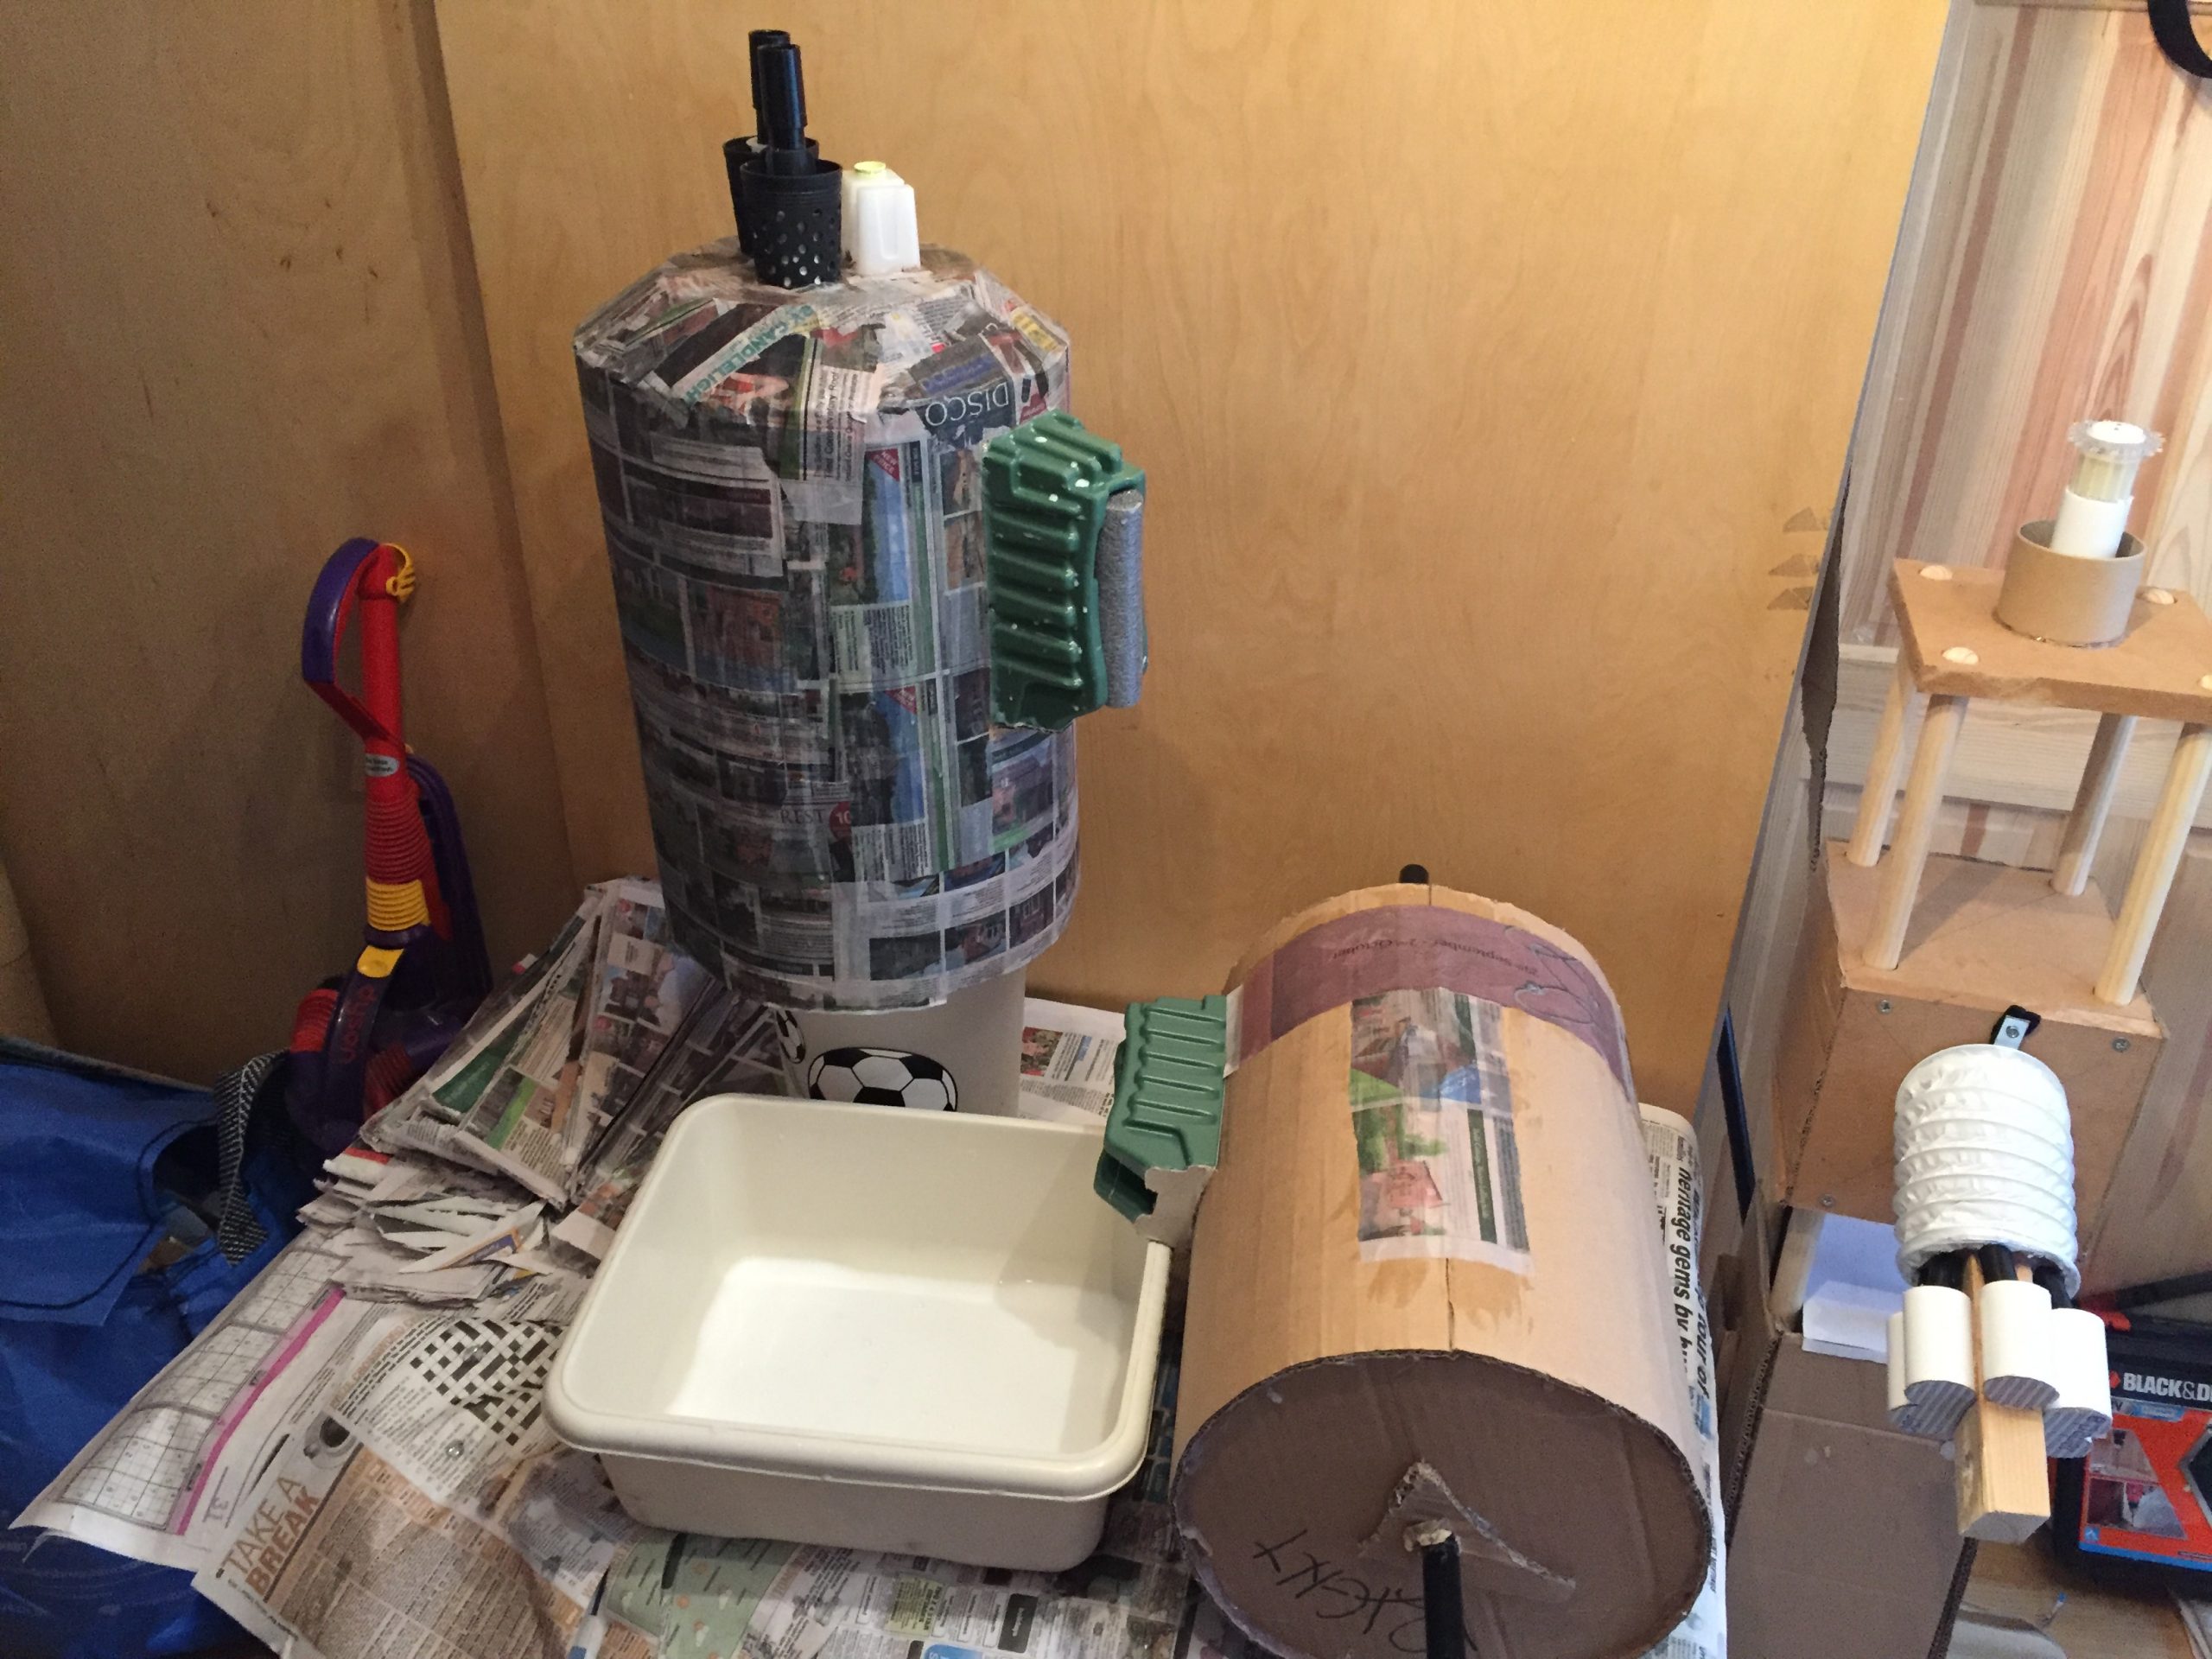
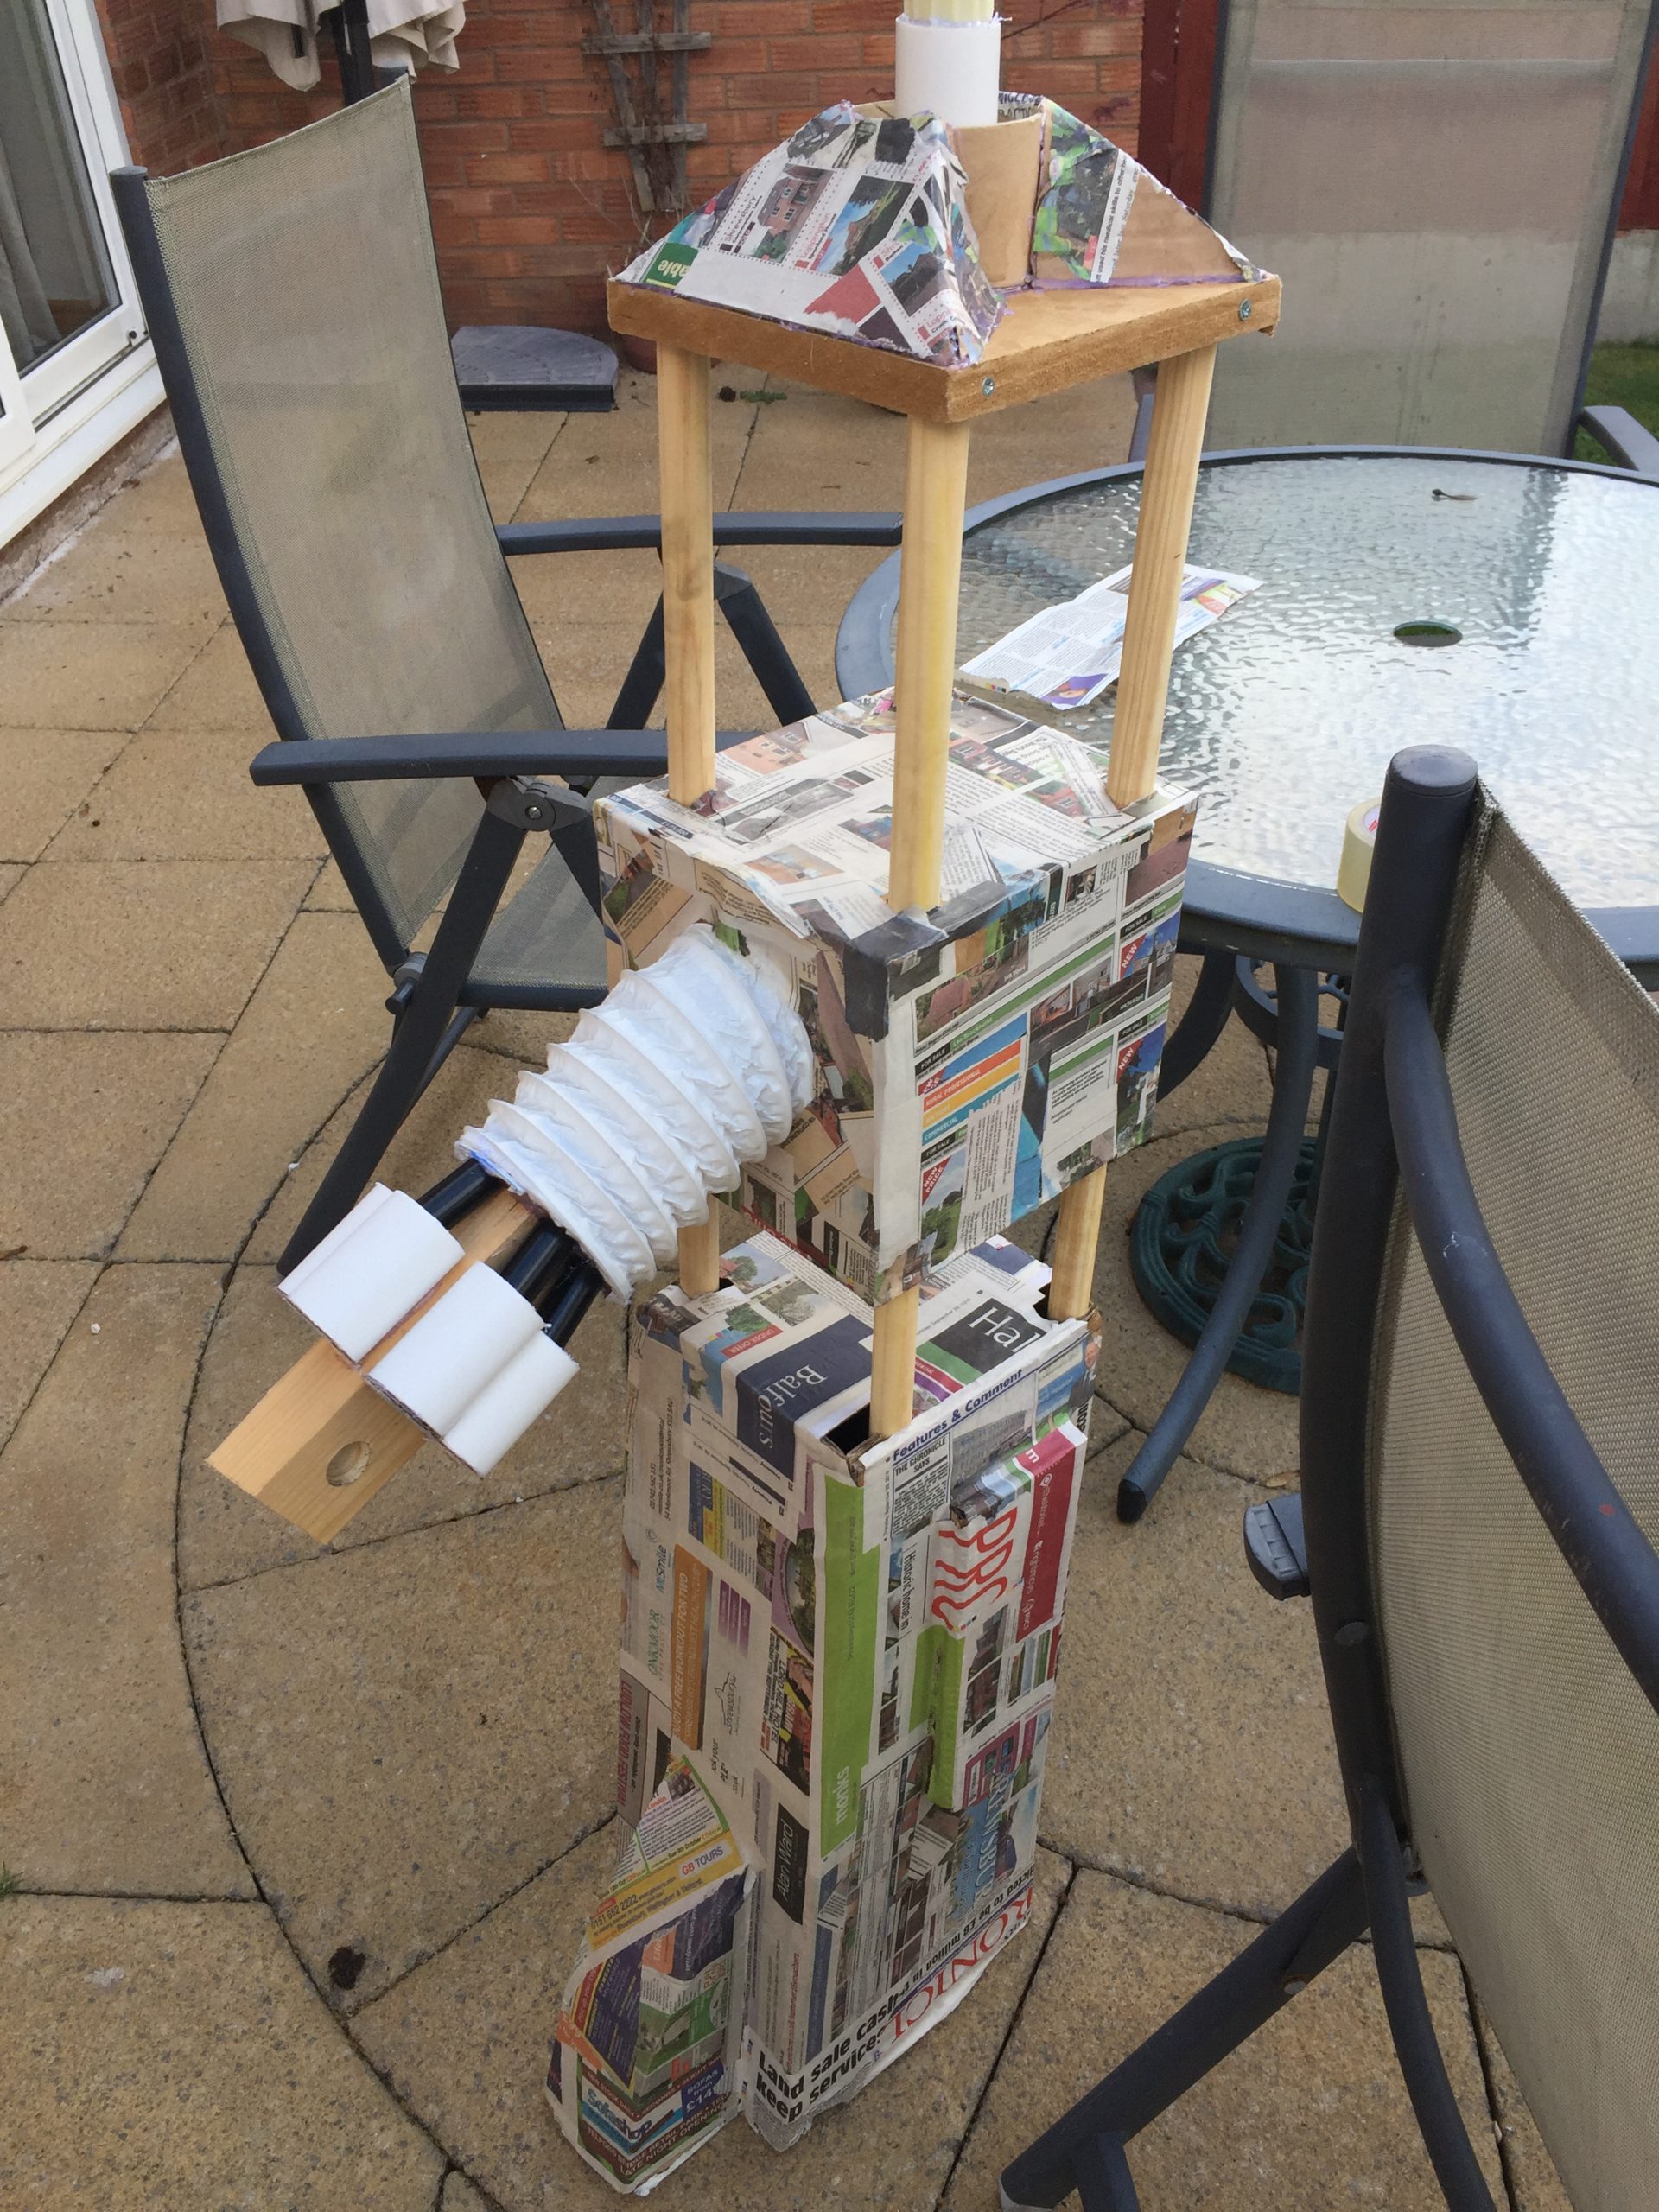
The gun pods, the wings, the legs and the rocket pod assembly all had a covering of paper and pva before they progressed to the paint shop.. I say paint shop but I mean back garden. The body was still naked cardboard at this point and would need paper mache treatment too before the trip up the M6 motorway.
You can read about the painting and details in part 7.
[…] ED-209 Cosplay – Part 6: Ooh, Guns Guns Guns!! […]