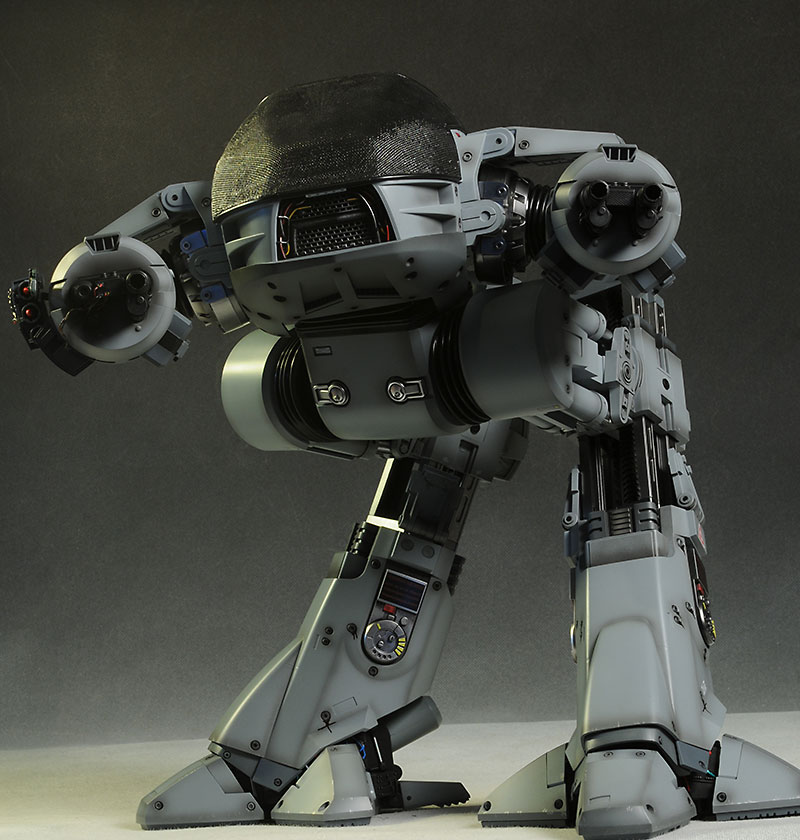
As mentioned in the previous two parts, it was September and I was planning on heading to the Comic Con in Birmingham on November 20th as Robocop villain ED-209.
I’ve got the idea for legs taped and it’s time to get to work on the body that will hide my human form. If indeed my form is that of a human…
The frame was made from the 20mm Plastic conduit and all fixed ready for covering around the outside edges and over the top.
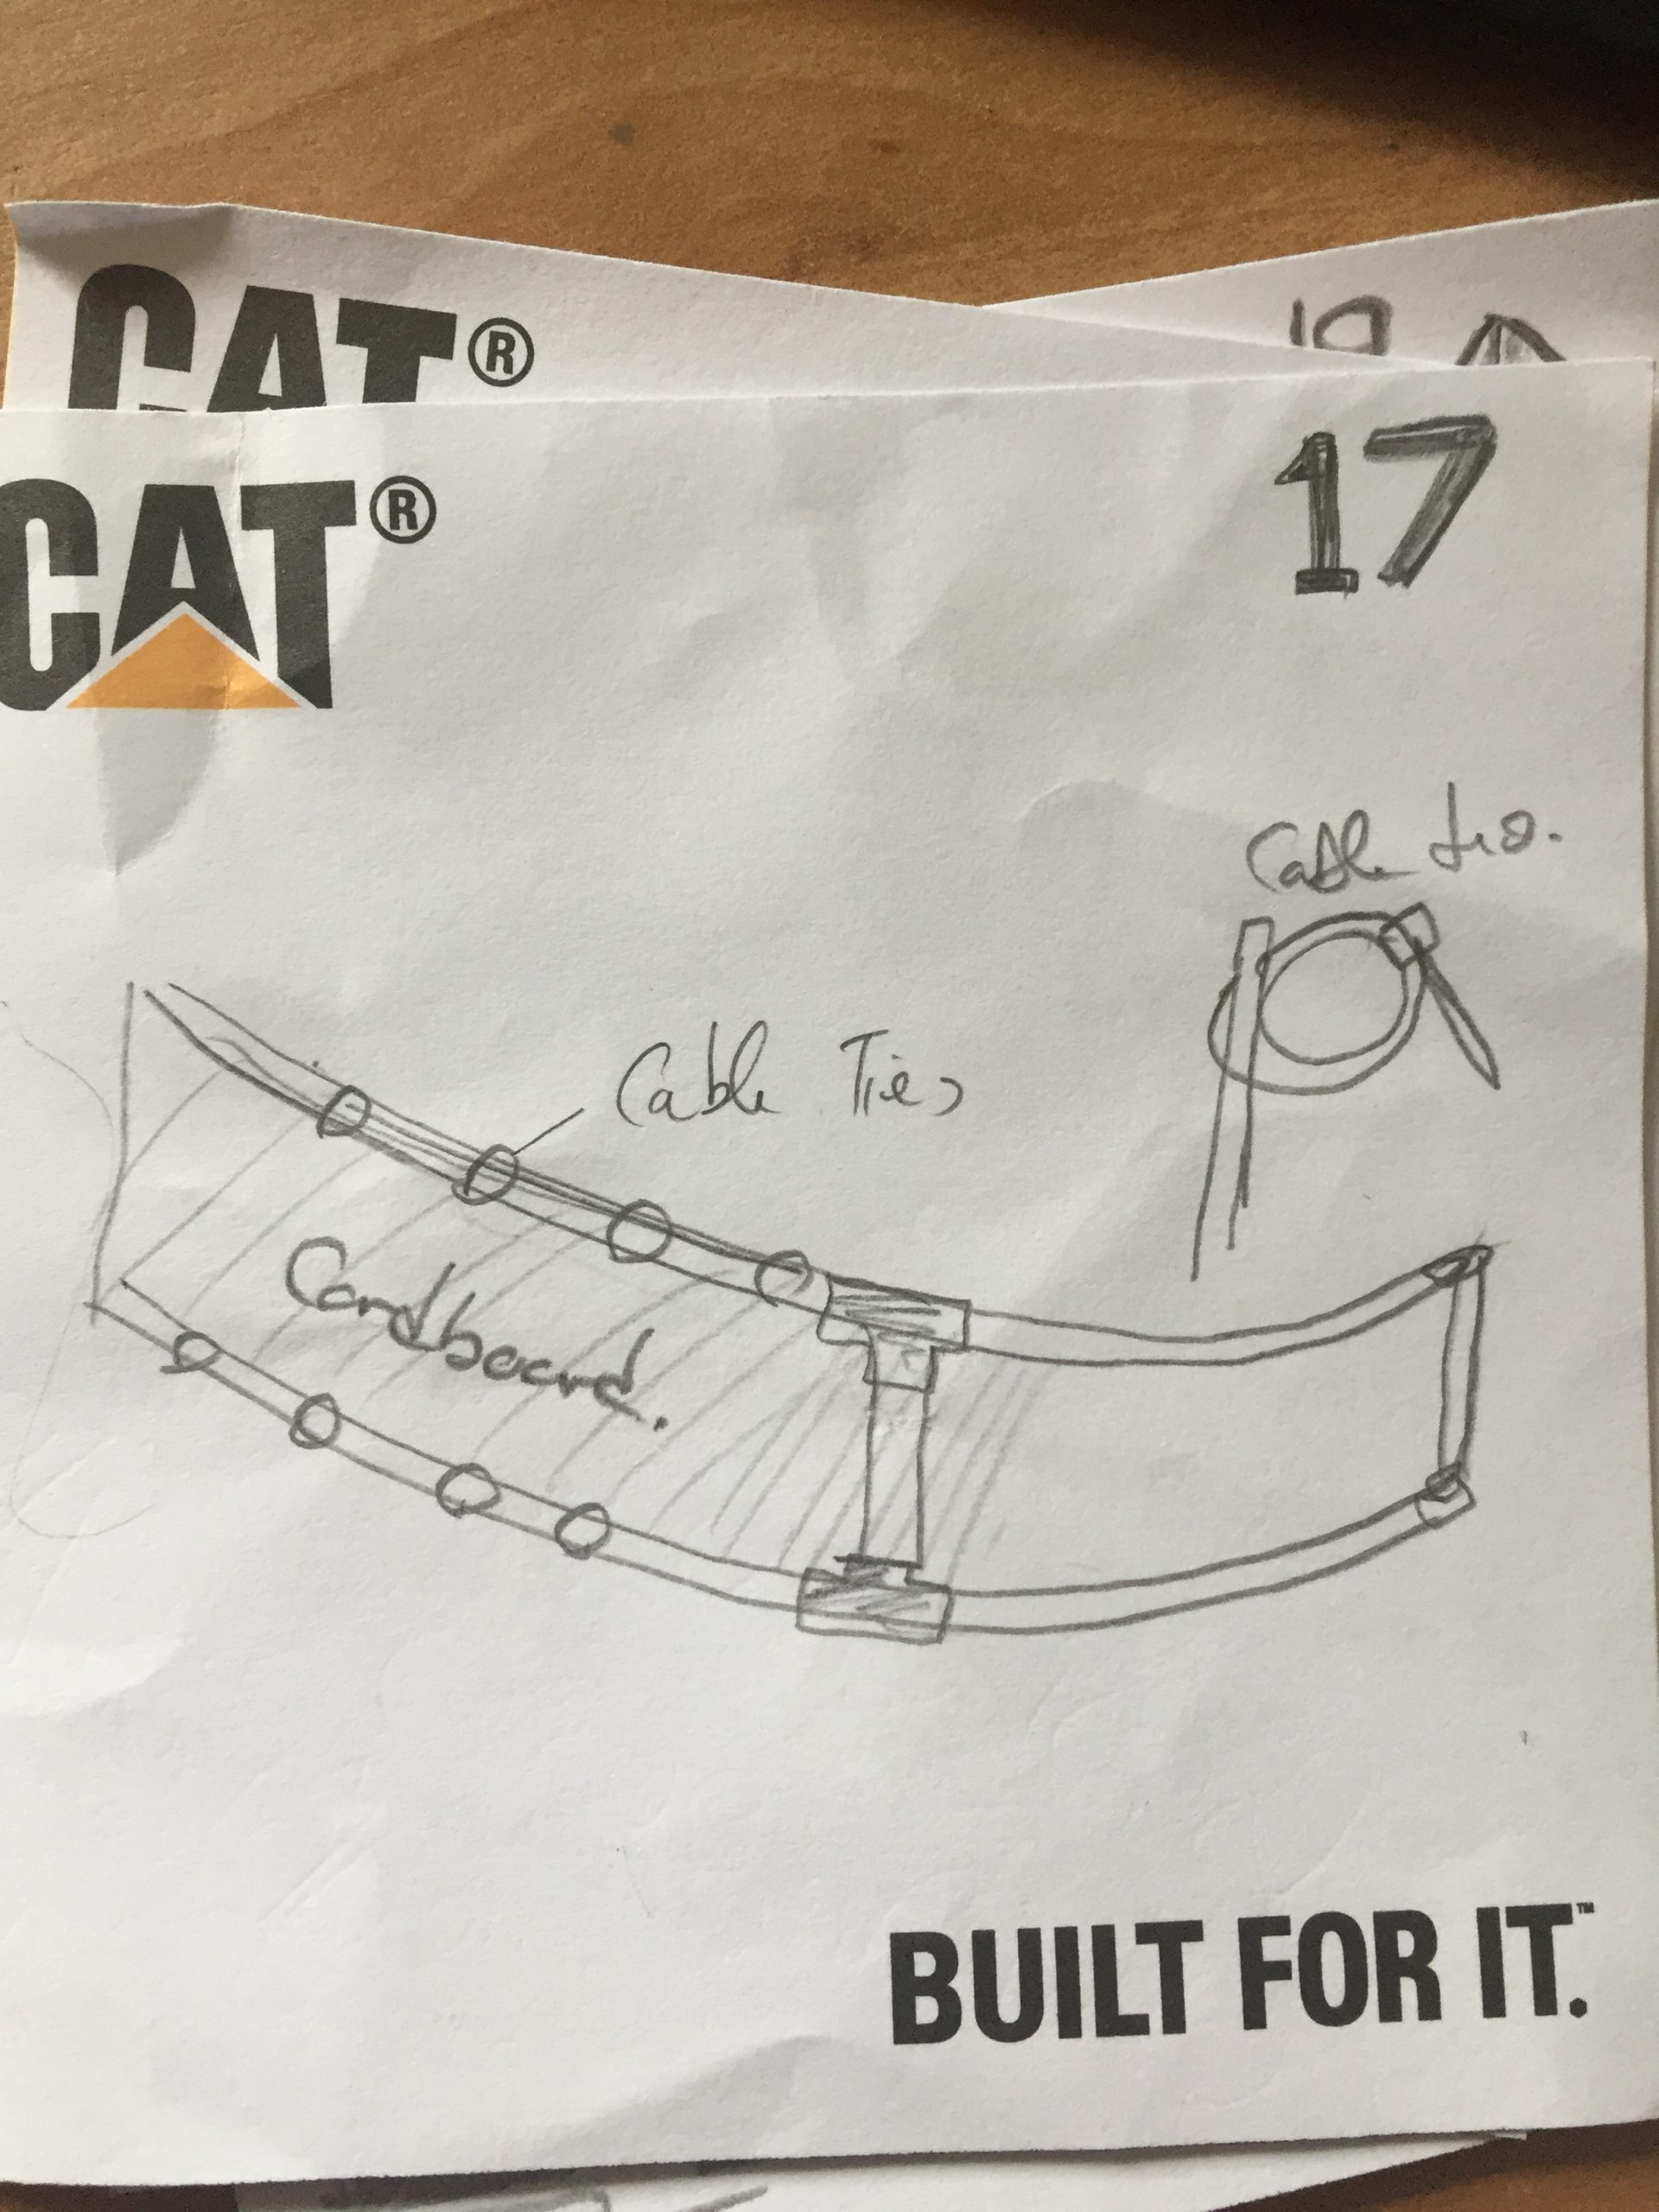
Apart from Note 16 in the following group you can see that the remainder are pertaining to the coverage of the frame and methods of adding details etc. 16 shows my early sizing ideas for the “gun pods”. This was approximated by measuring an image of the robot from screen and working out a ratio of gun dimensions to body size.
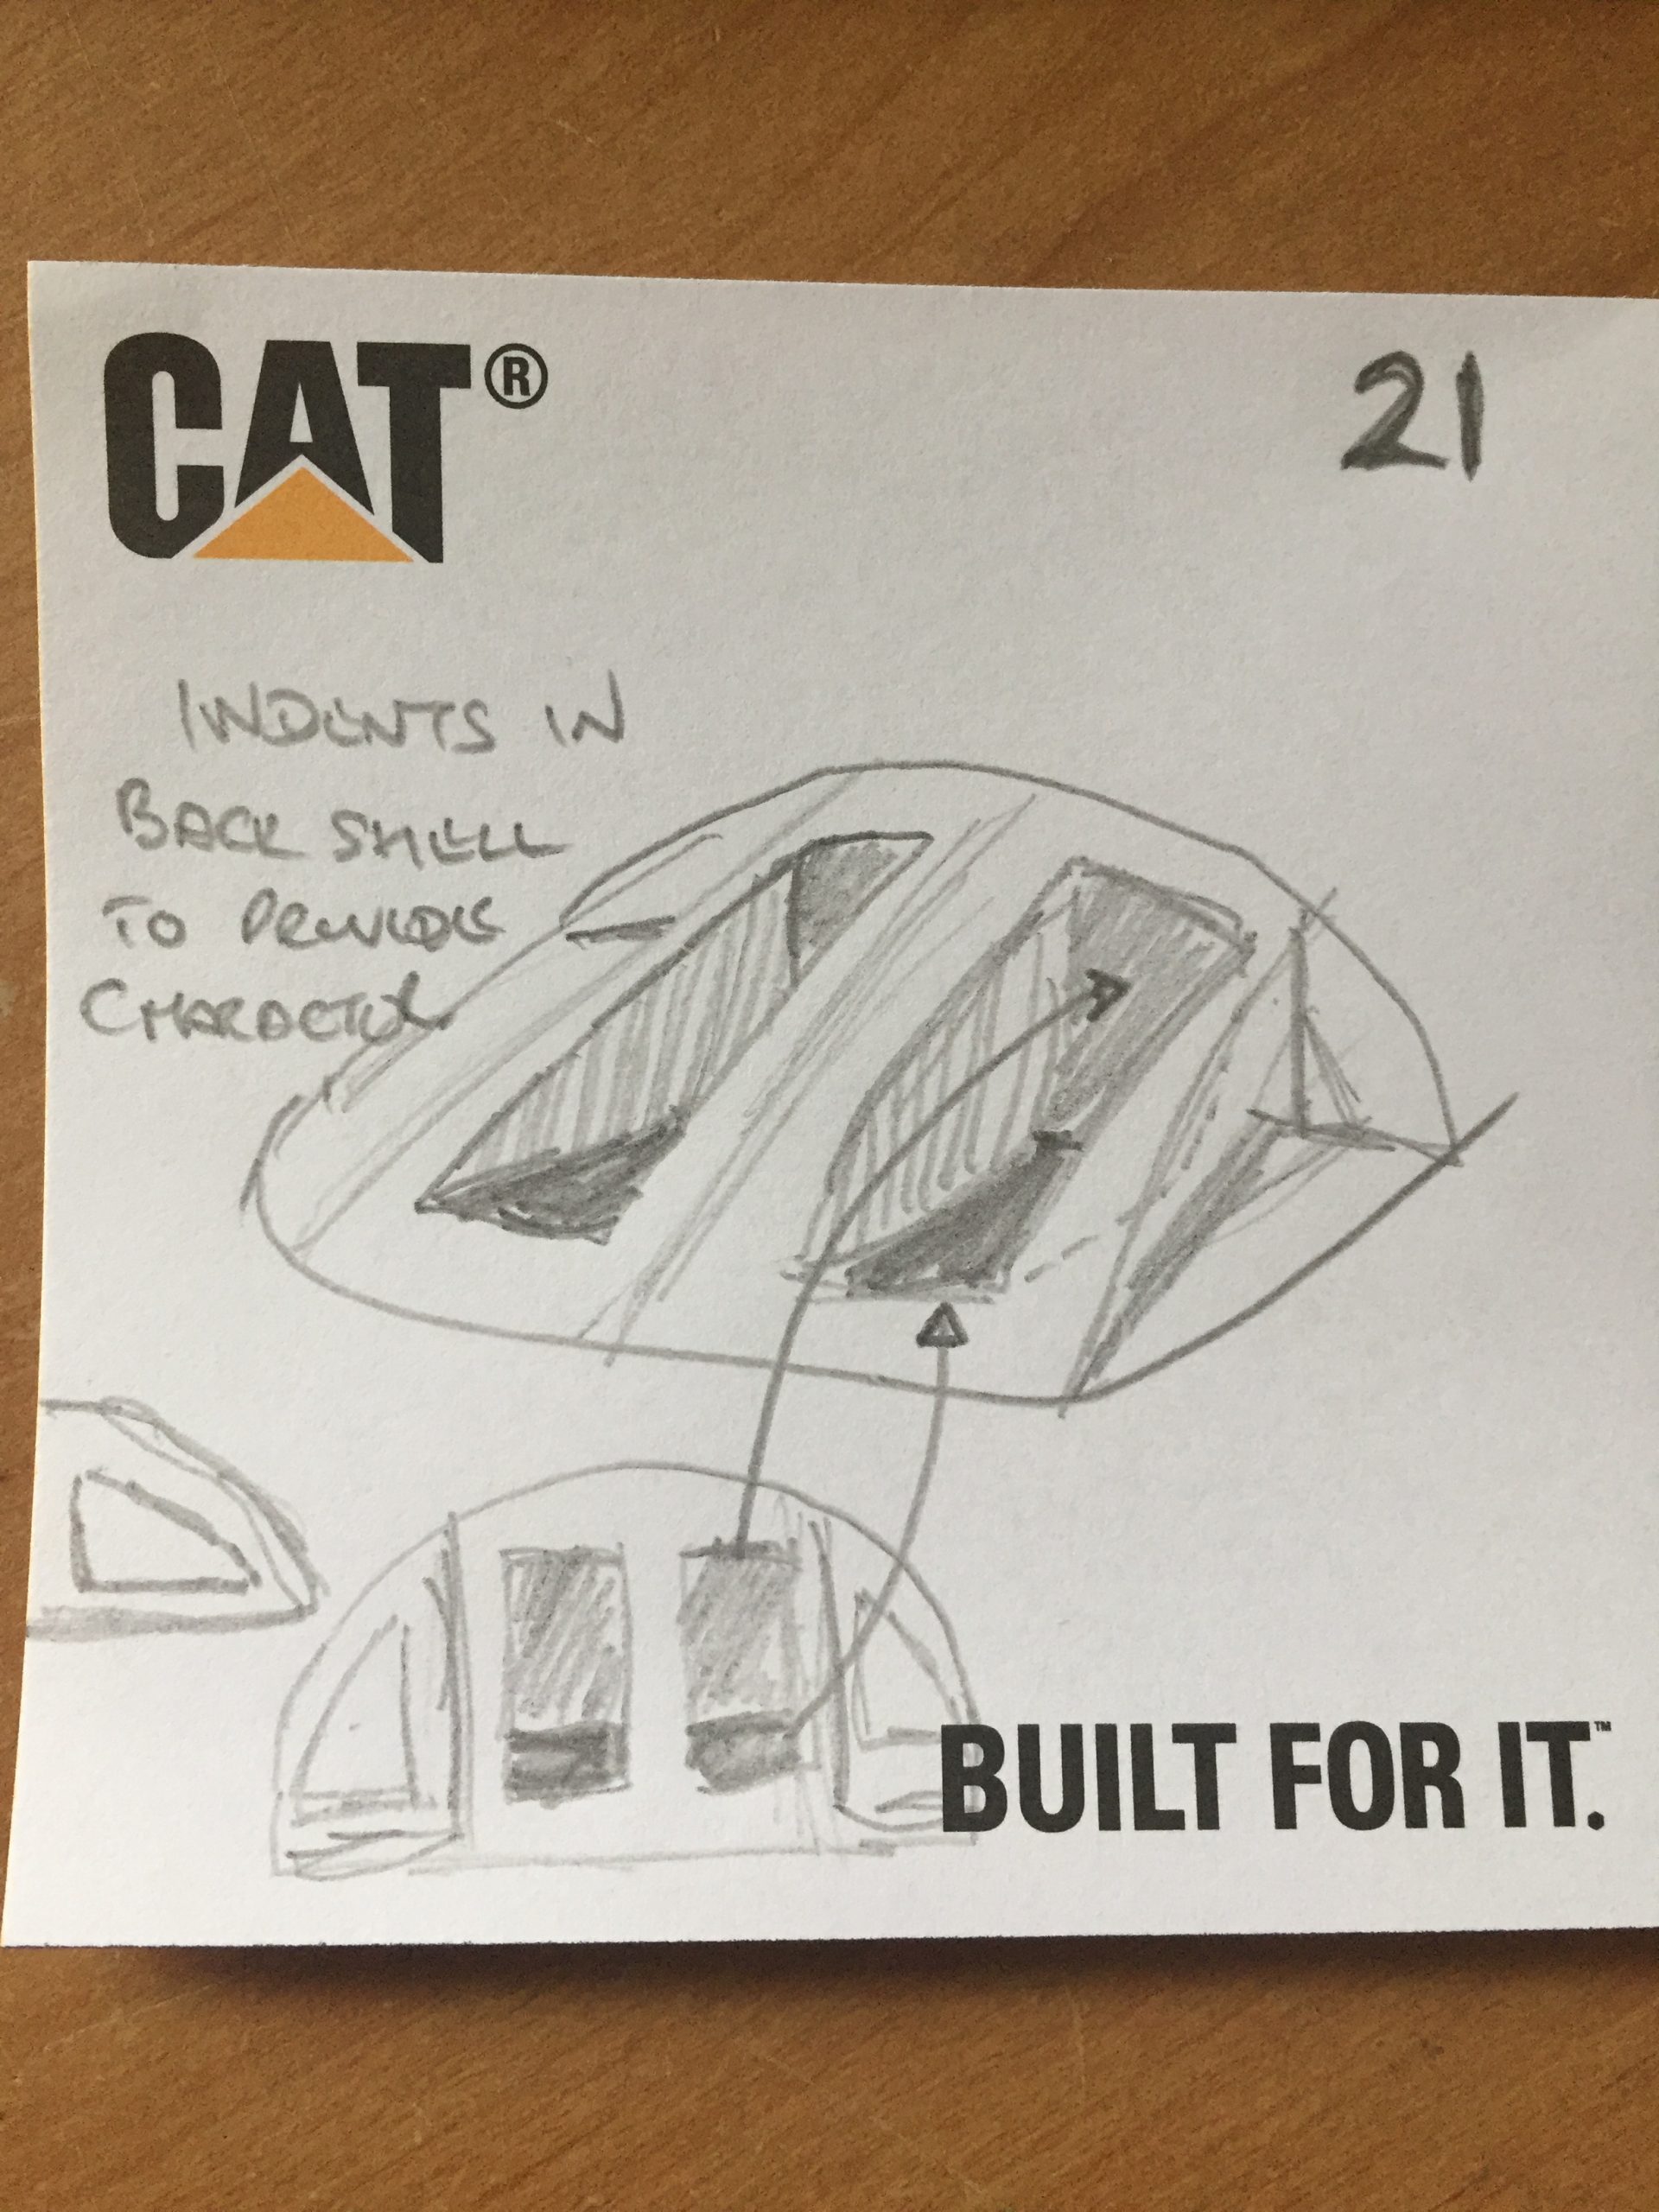
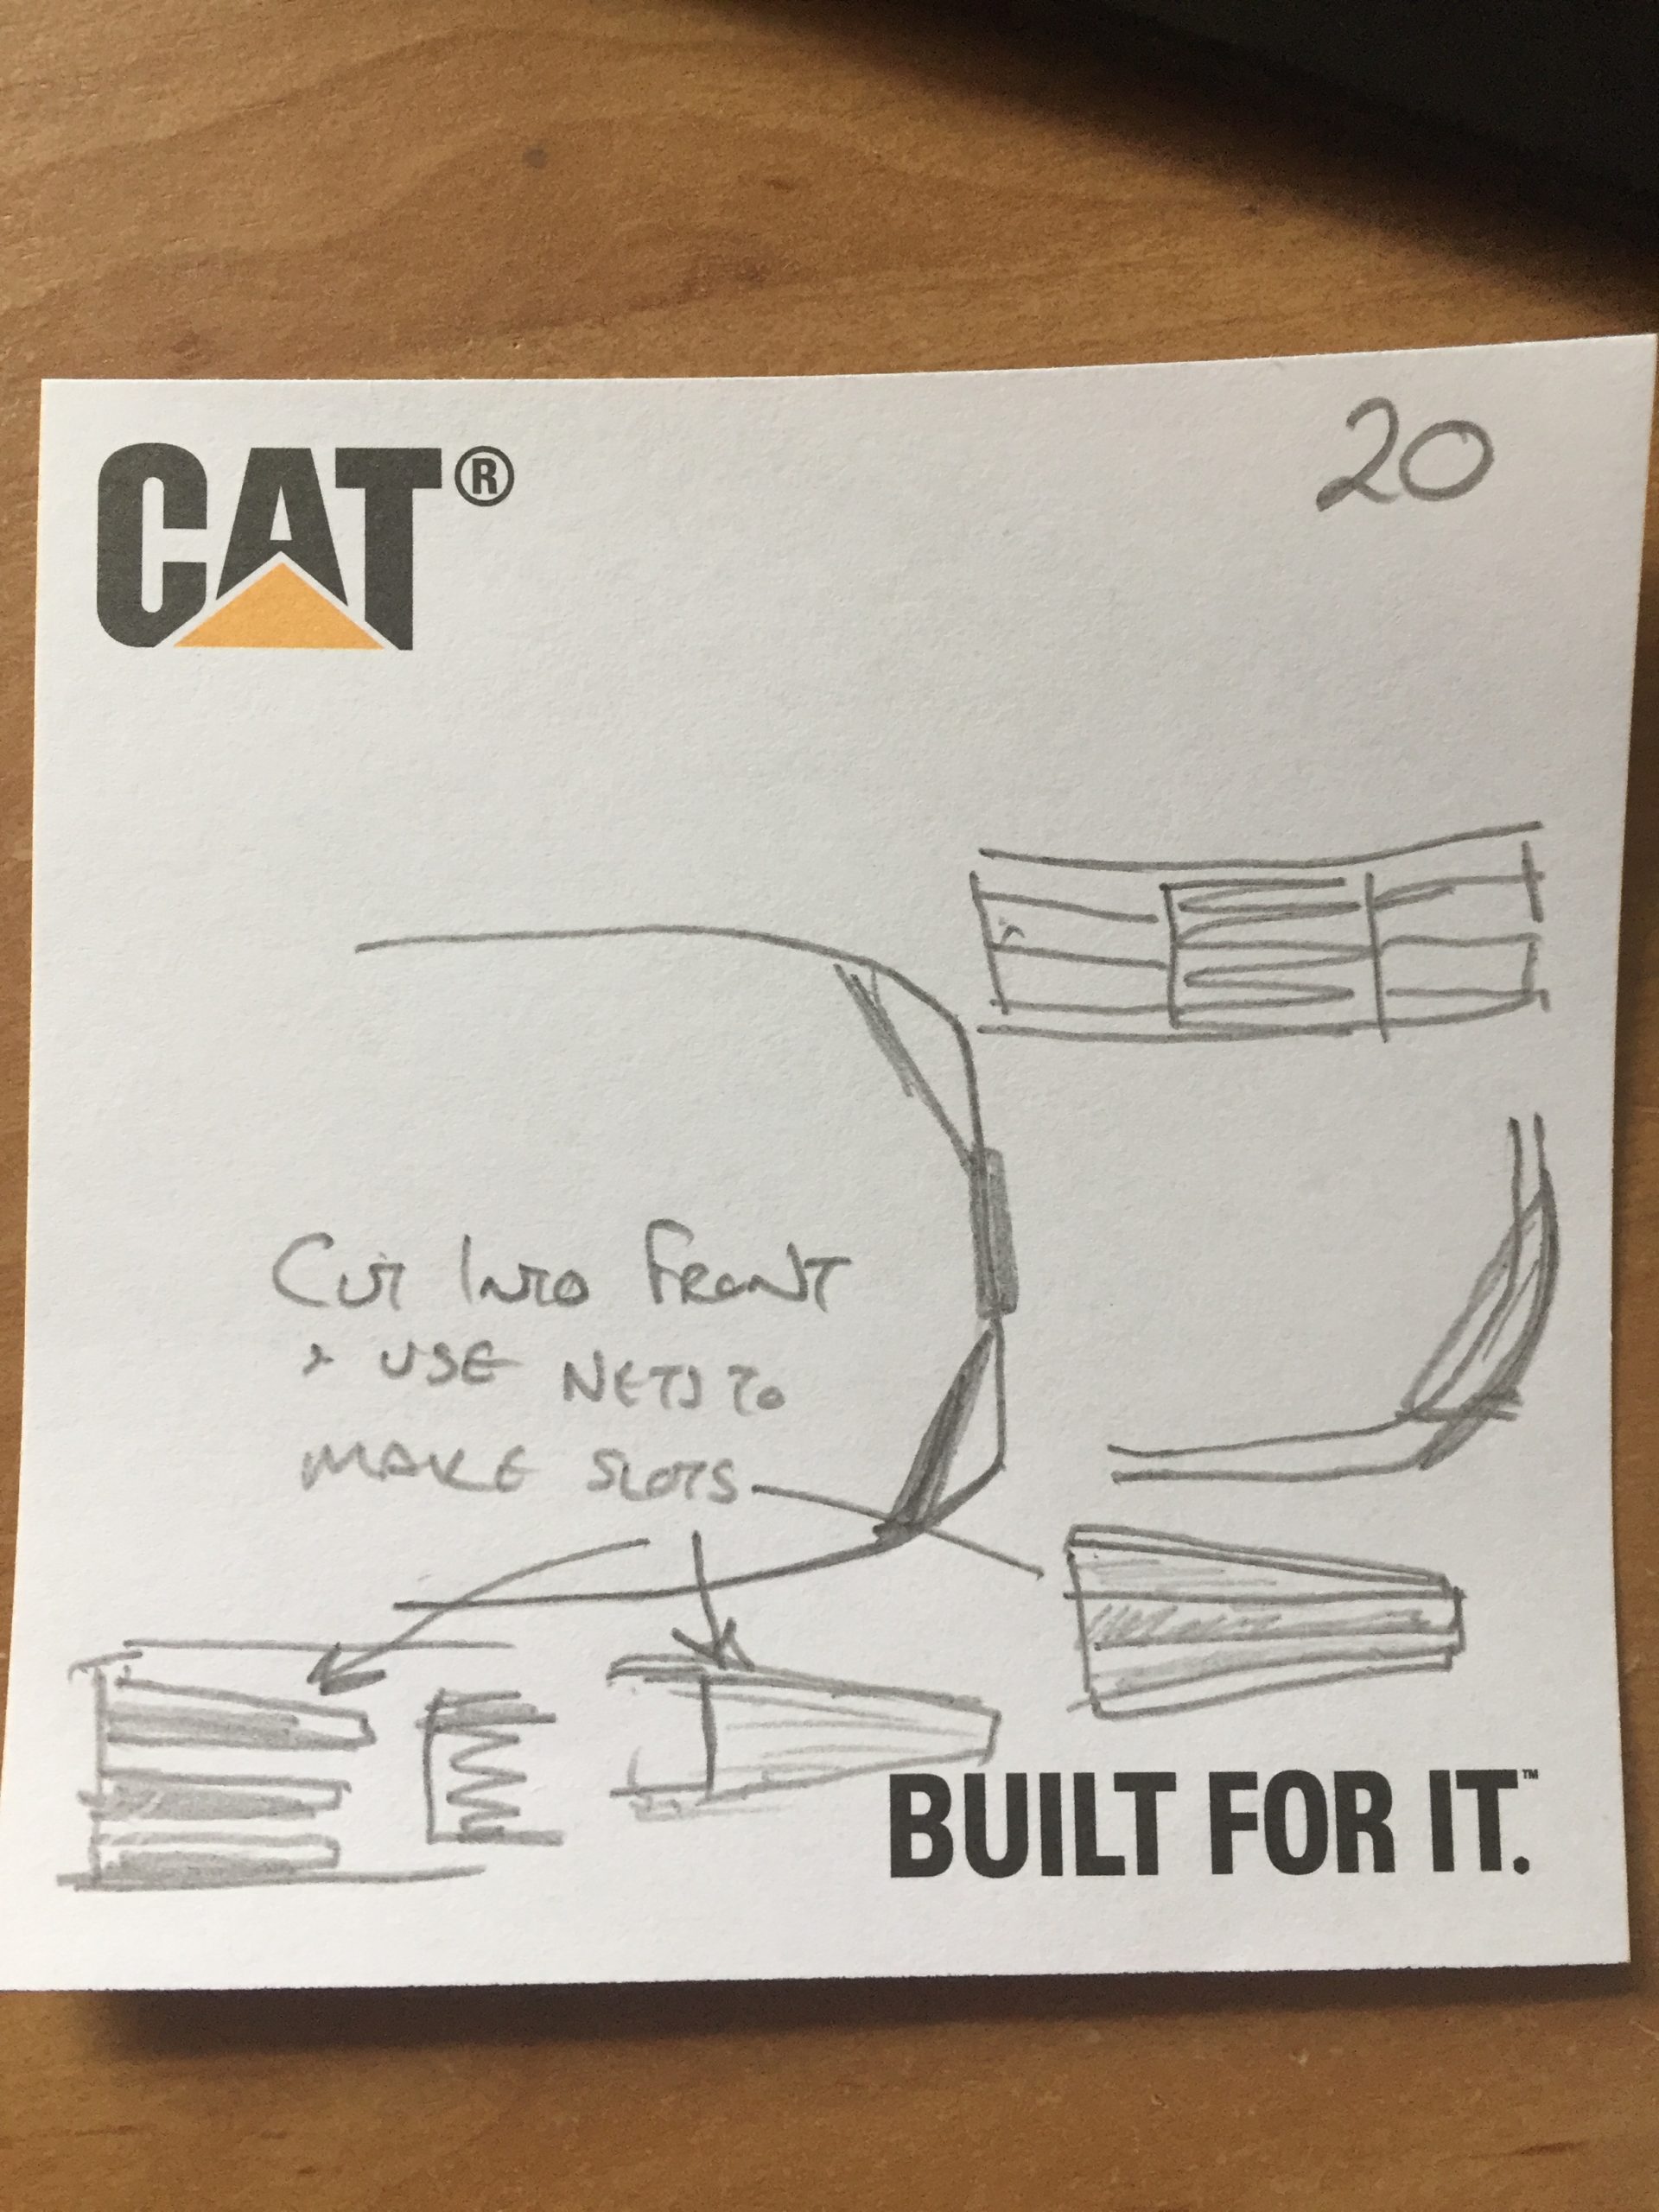
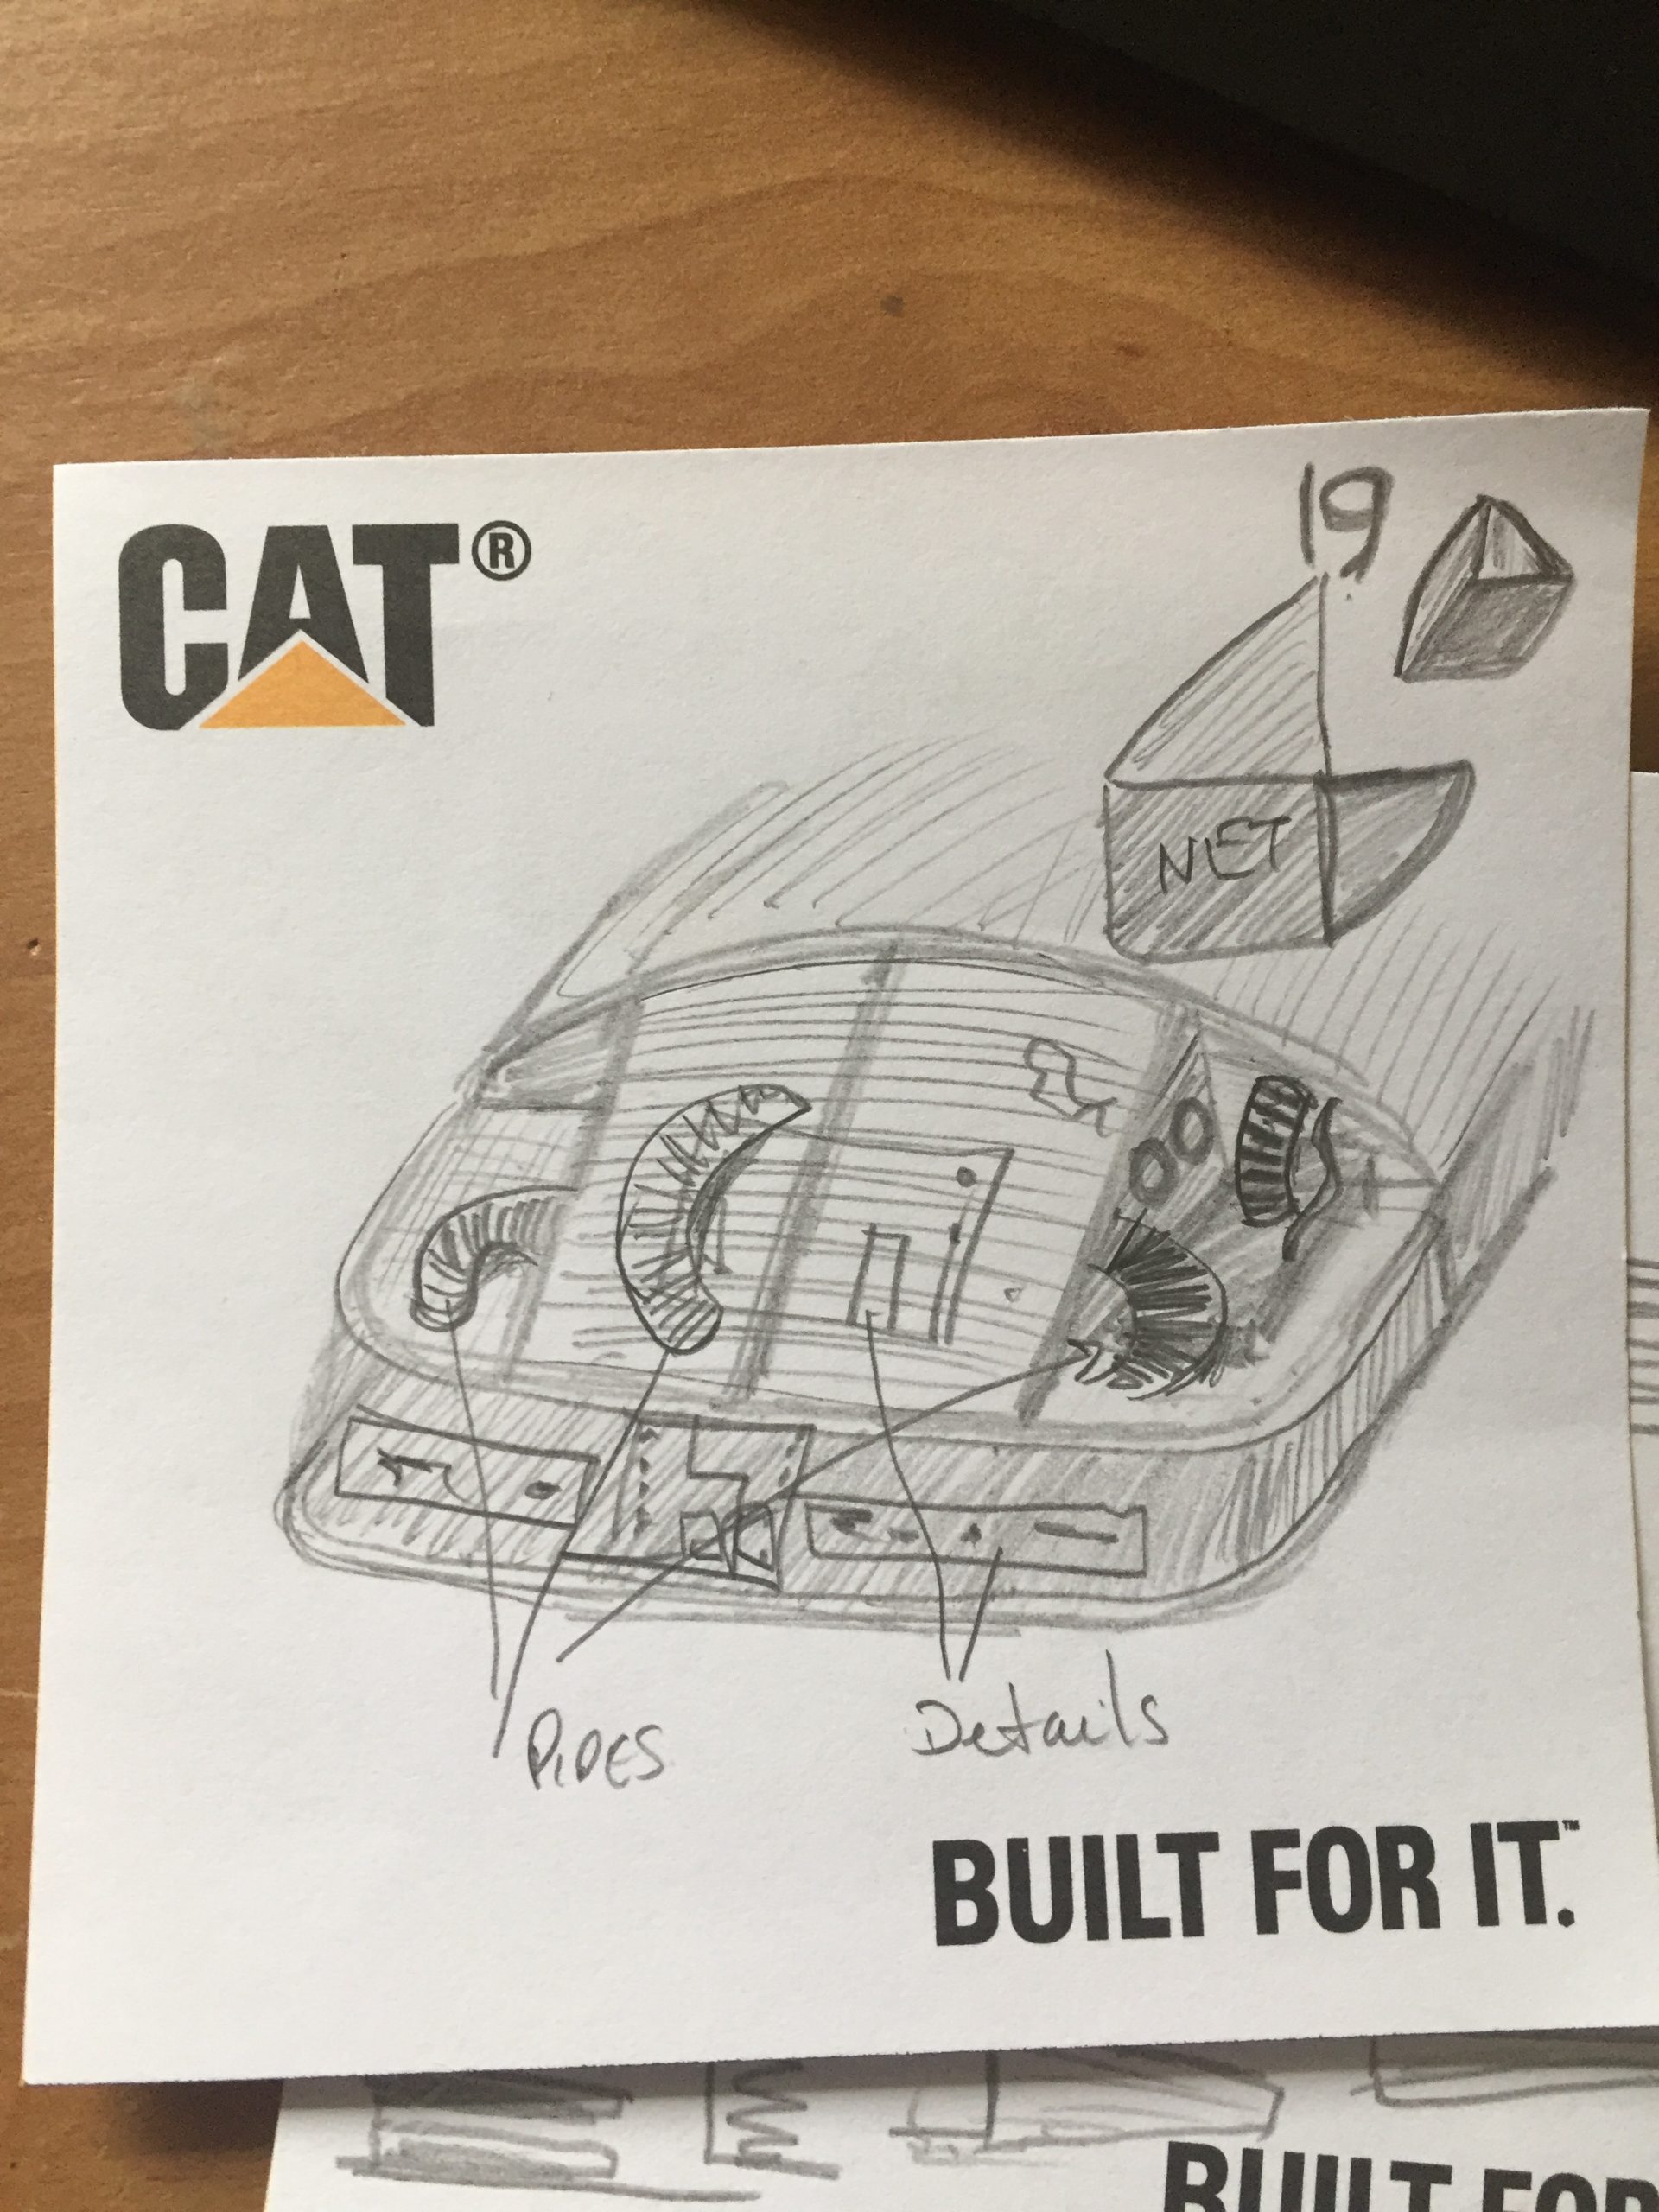
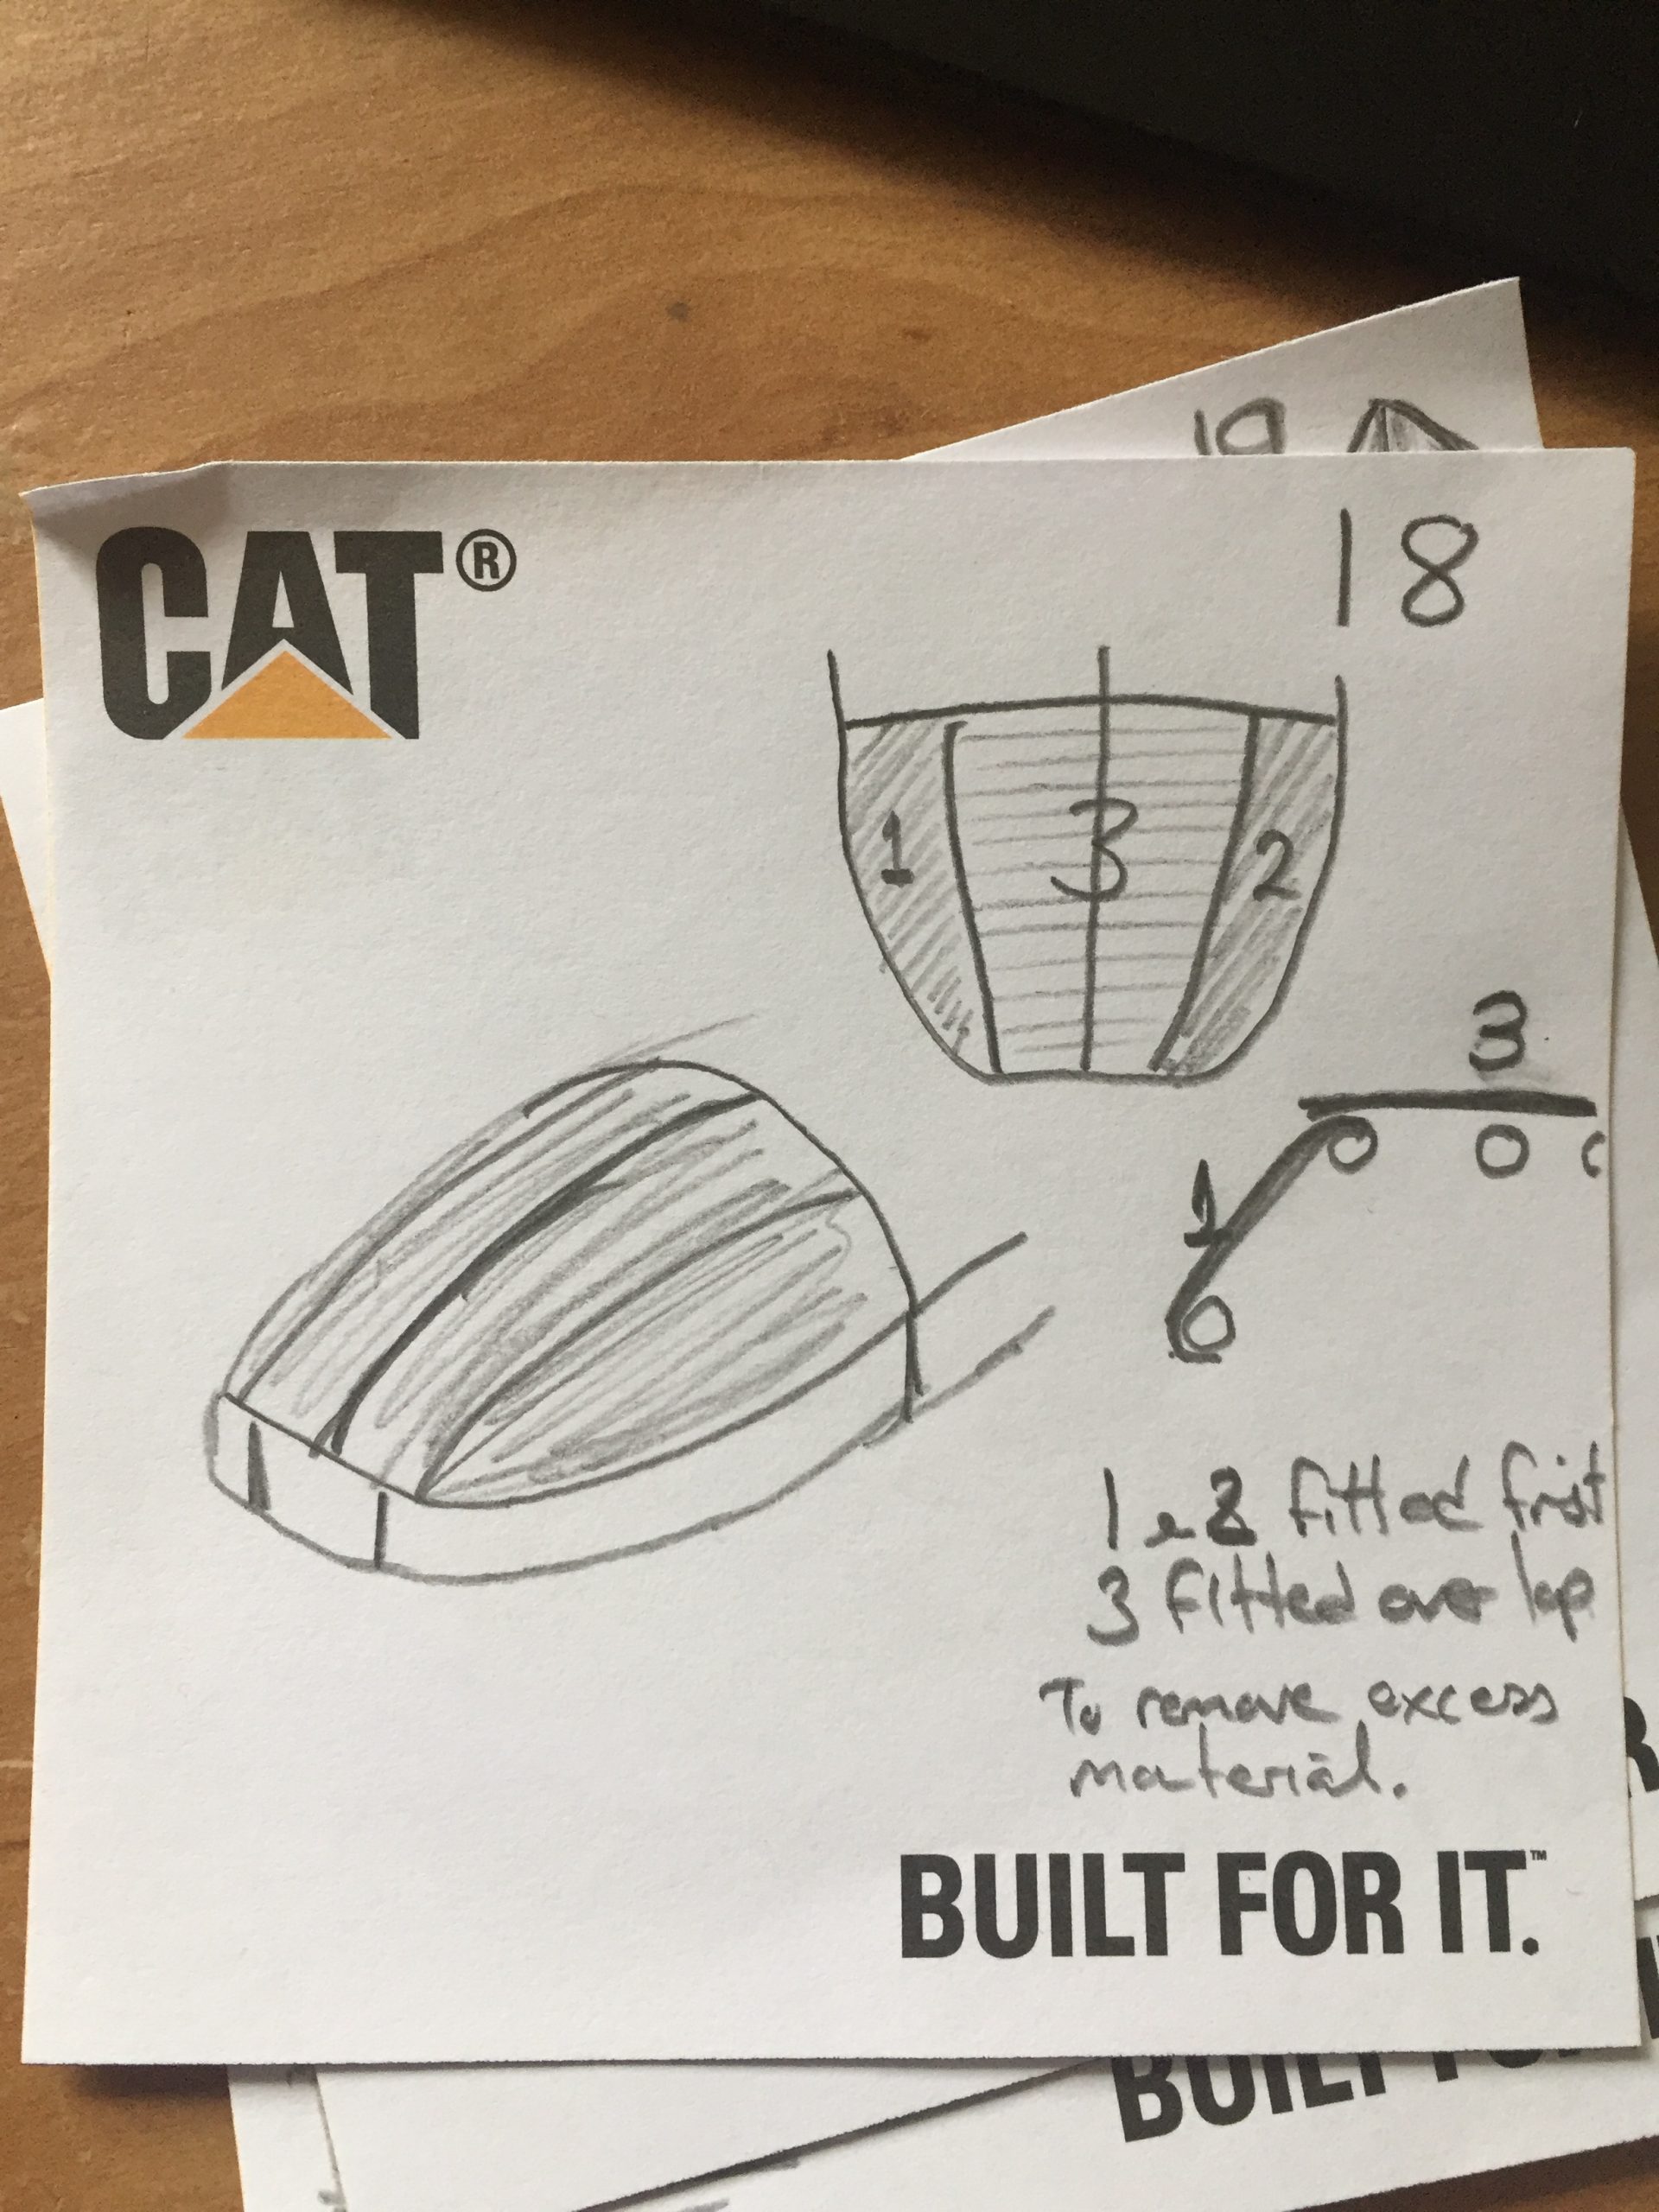
Note 17 shows how I initially planned to fix the cardboard to the frame, at this point I hadn’t considered using a hot glue gun. Notelet 18 shows how I planned to cover the “screen” and keep as many wrinkles away as possible whilst 19 dealt with the back quarter panels, 20 with the vents in the front of the body and 21, another method of adding details.

So it would go then that I needed some cardboard for body but I wanted to use corrugated card and not cereal box thin card. Where to get cardboard from though? Supermarkets often give away small boxes for carrying tins but I figured I’d need more than that. a bike shop is what I needed, bikes are are covered in cardboard for delivery I must find time to go to my Local Bike Shop and ask them this weird request. They’re used to strange requests from me as I’ve used them in the past for repairs to my mountain unicycles and 36″ unicycle wheel truing.
I never got the time to do this though so one day whilst driving with my son in the car I thought I’d drive around the back of a row of large retail outlets, and scout for some cardboard there. I’ve been in there before as a young driver in my Morris Marina doing handbrake turns in the snow covered car park so knew the way. My more modern car, a Vauxhall ended up around the rear of a DFS Furniture store. There was a stack of cardboard lined up against a big skip but there was a dude loading a van with some furniture right next to it. Be bold, I thought to myself and drove through the gates and parked next to the cardboard, folded the seats down and proceeded to lift three huge flattened cardboard boxes into the boot of the car. The guy loading his van looked at me, I smiled and said hello and he continued without bothering me.
When we got home I unloaded the boot and stacked it in the play room, our converted garage. The boxes were previously used to cover sofas and other furniture according to the labels affixed to them. It was at this point that the room began to be super messy and a constant annoyance to my better half. It blocked access to the kids play cupboard too but they’re old enough to not use it so often now….
The photo below shows the first bits of card tie-wrapped to the frame. I chose to have a curved edge over the central part and thought I’d cut into the rest so that I could add some details into them such as pipes etc. It was not as the screen ED-209 looked but thought I could add some cool details into these niches. The proper ED has a sloped back and a couple of pipes that go up to the top, mine would be a little different but hey, it’s my interpretation I guess.
You can also see that there are two bits of rope across the bottom of the frame, from front to back, these were test straps to see if I could balance it on my shoulders to remove all of the load from my head. We’ll return to this later too as it required a little extra work to make it work.
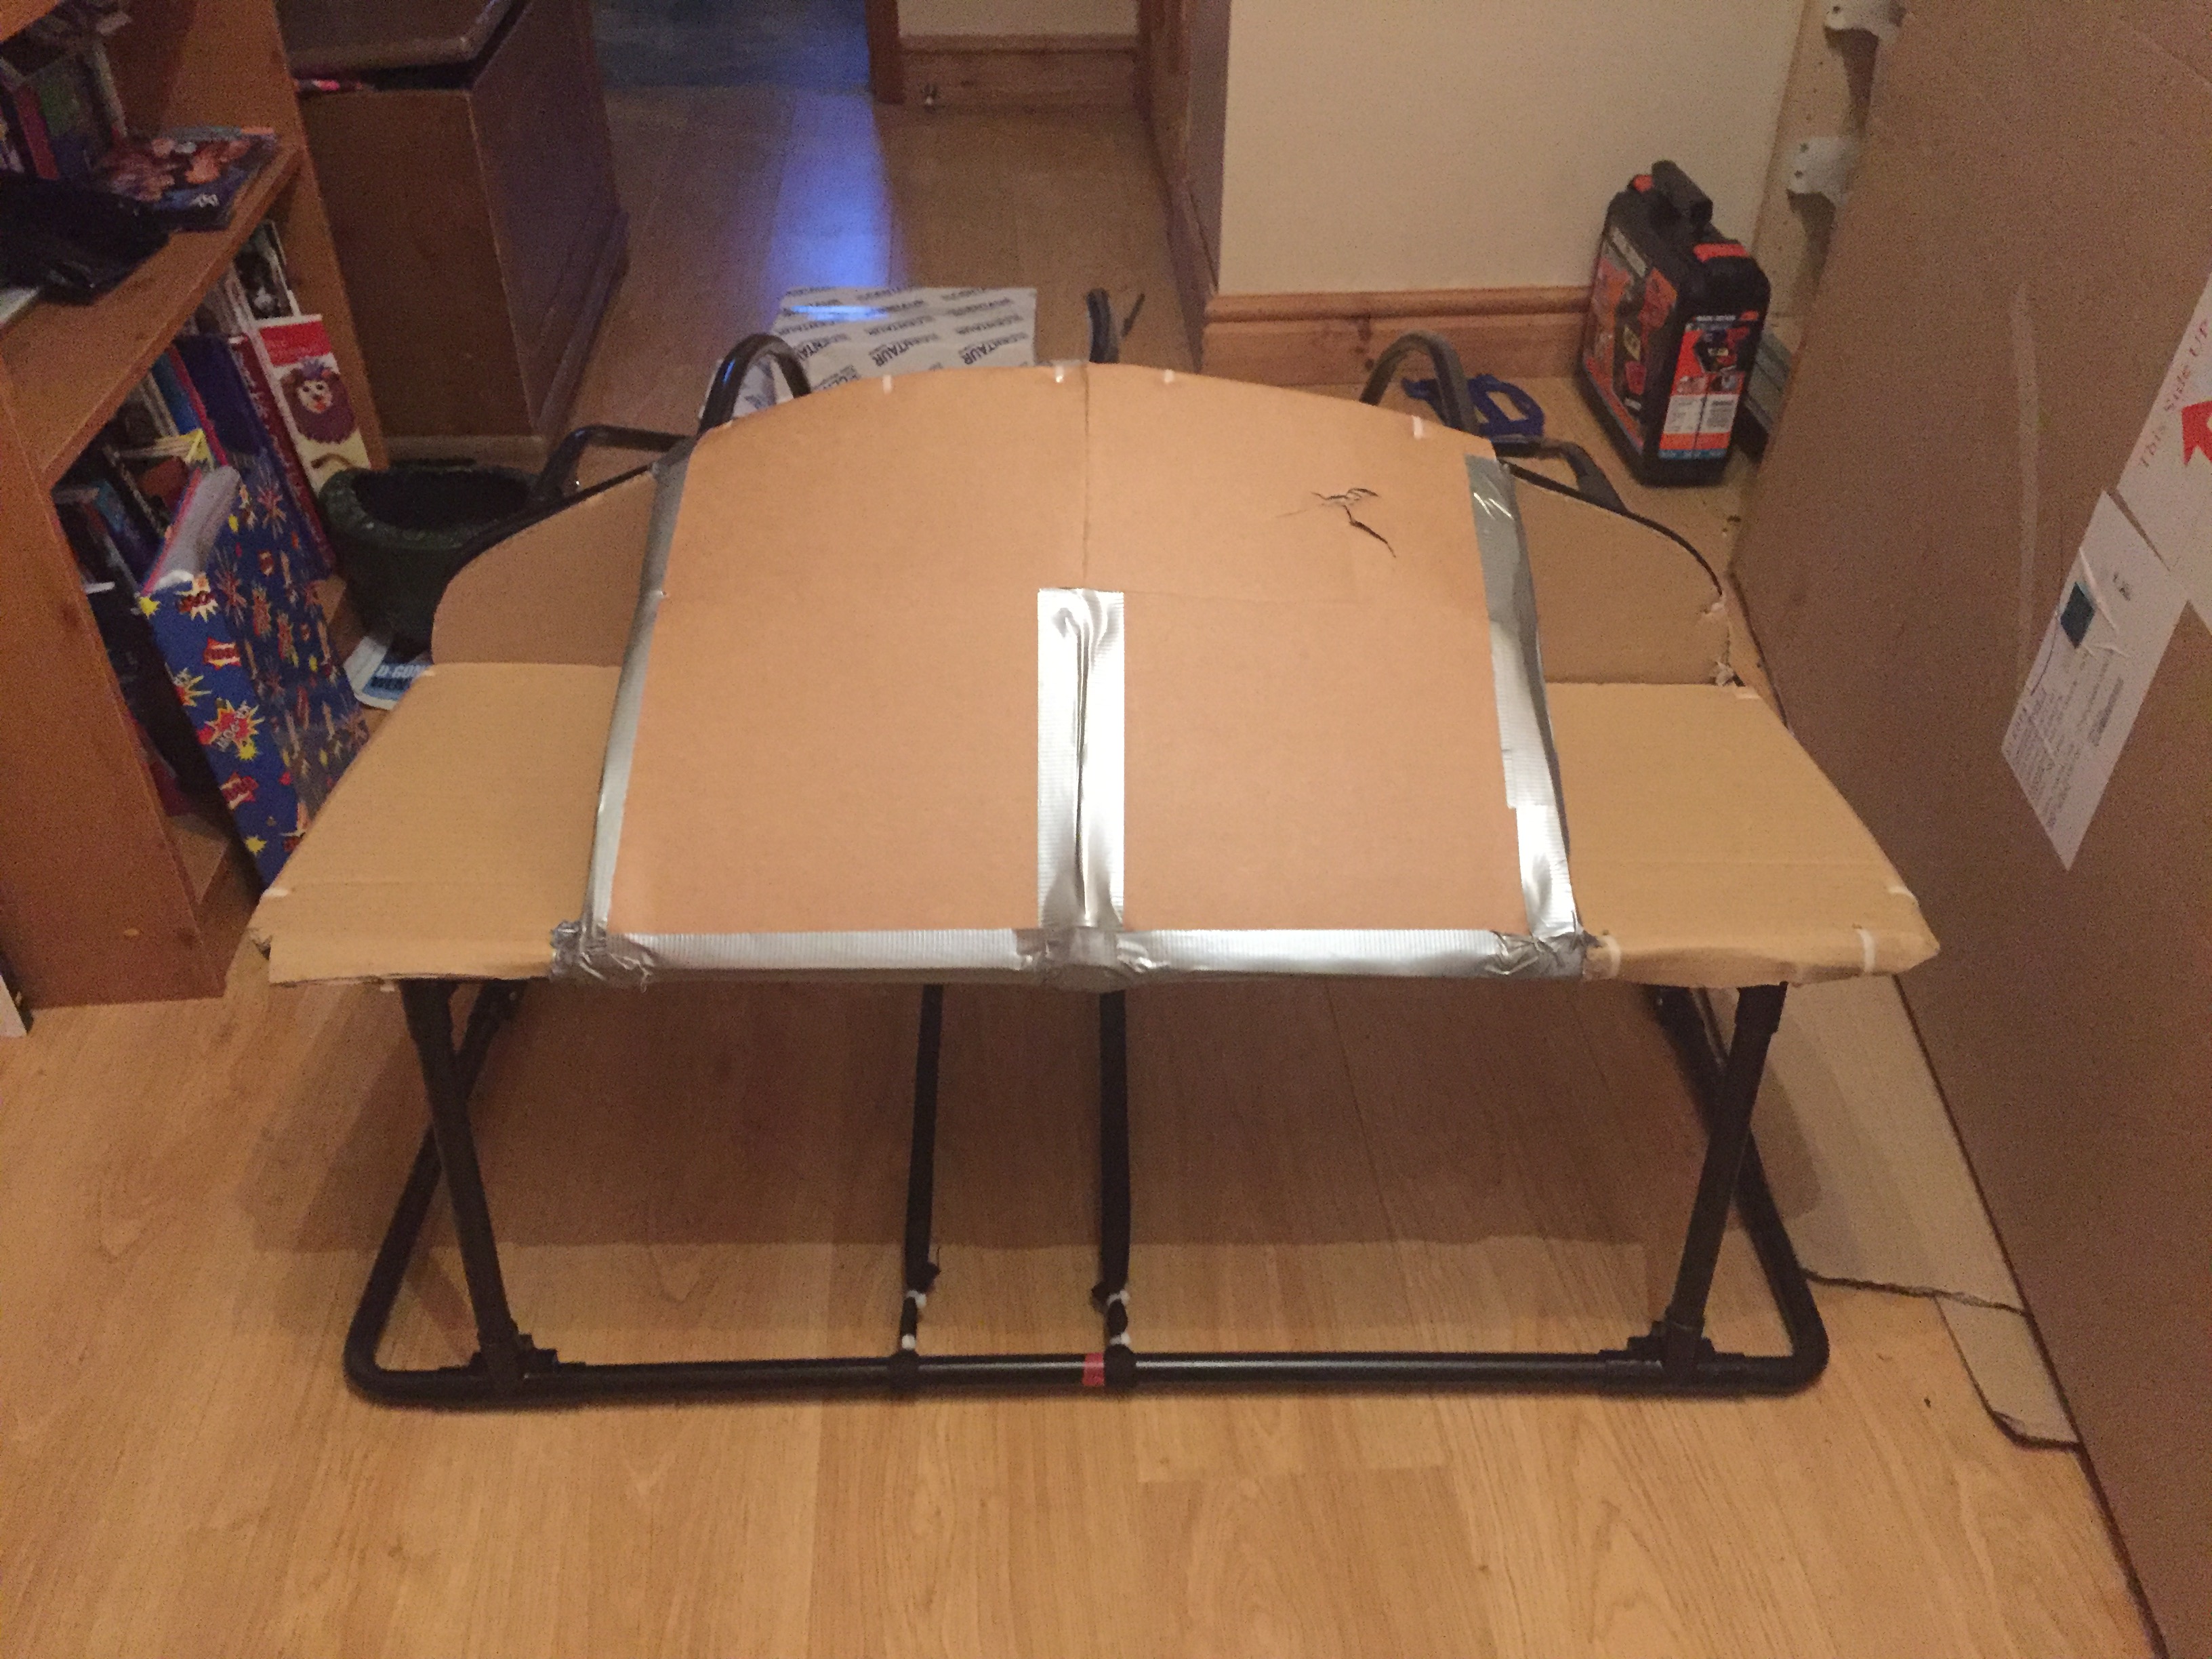
First I’d bend the card around the shape of the frame and draw a line using a sharpie so I could cut it to an approx shape then bend it over and cable-tie it into place. If the ties were pulled too tight it would tear the card but it was helpful that it was tying to a round tube.
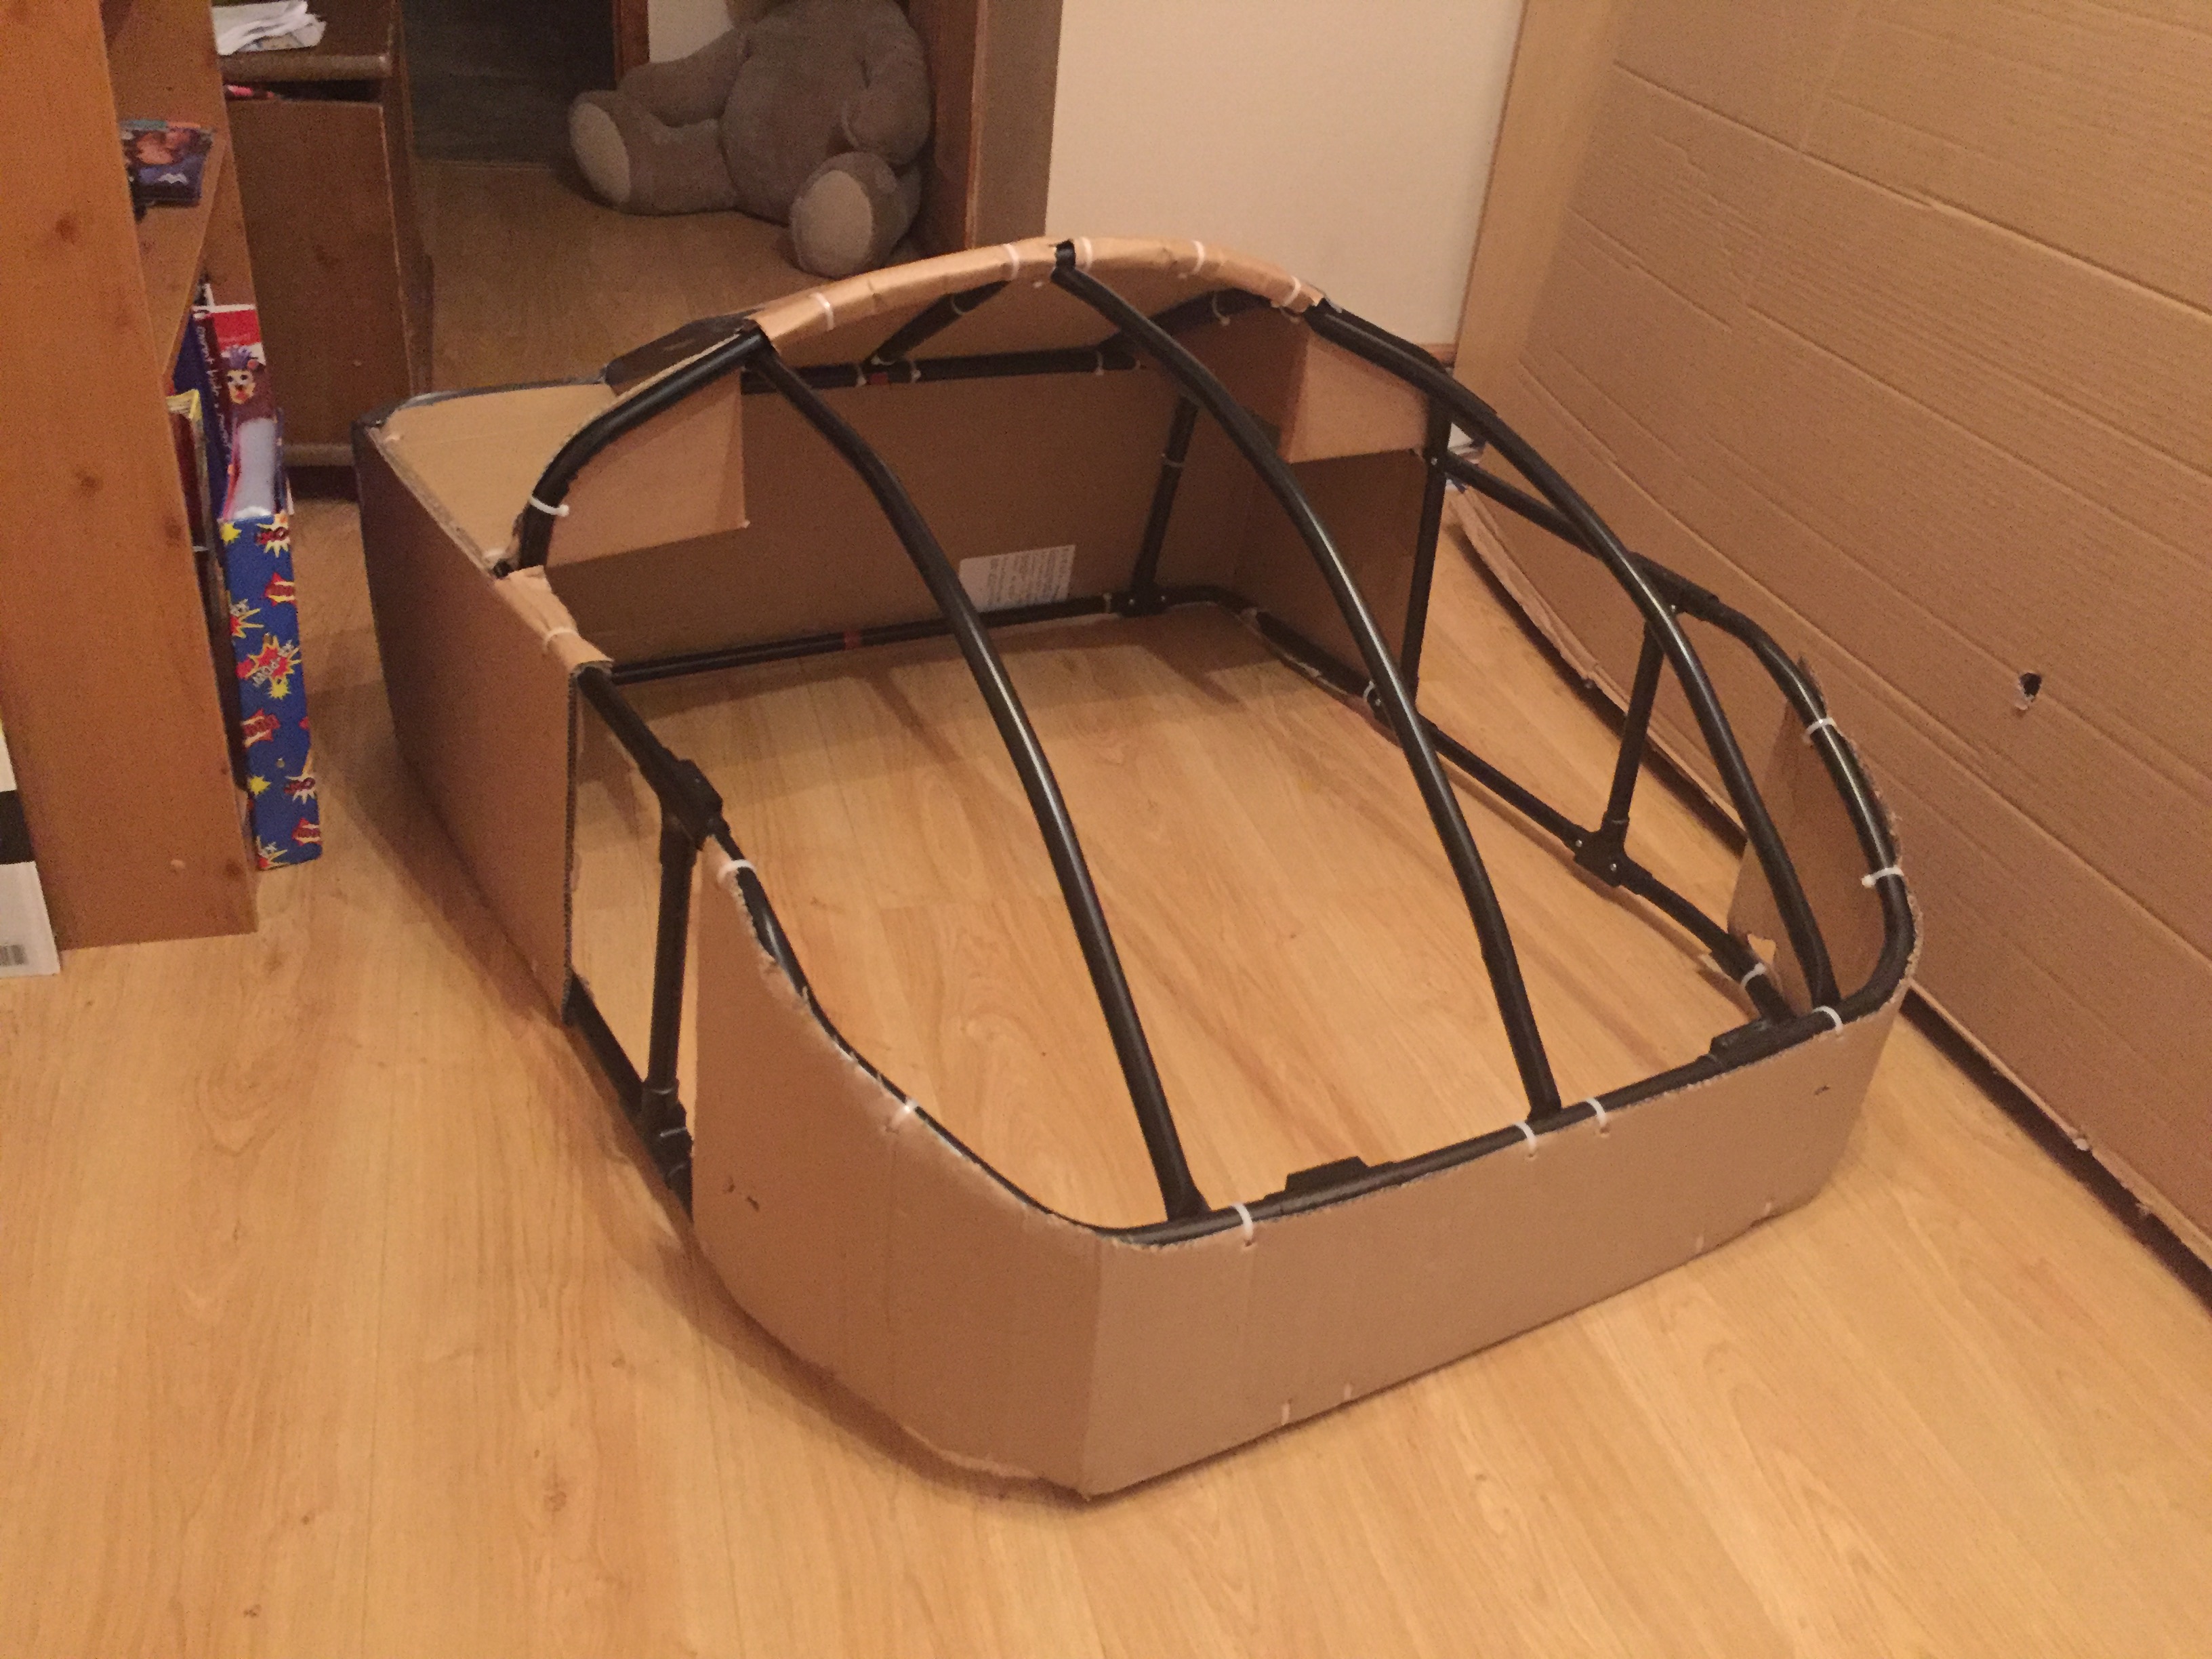
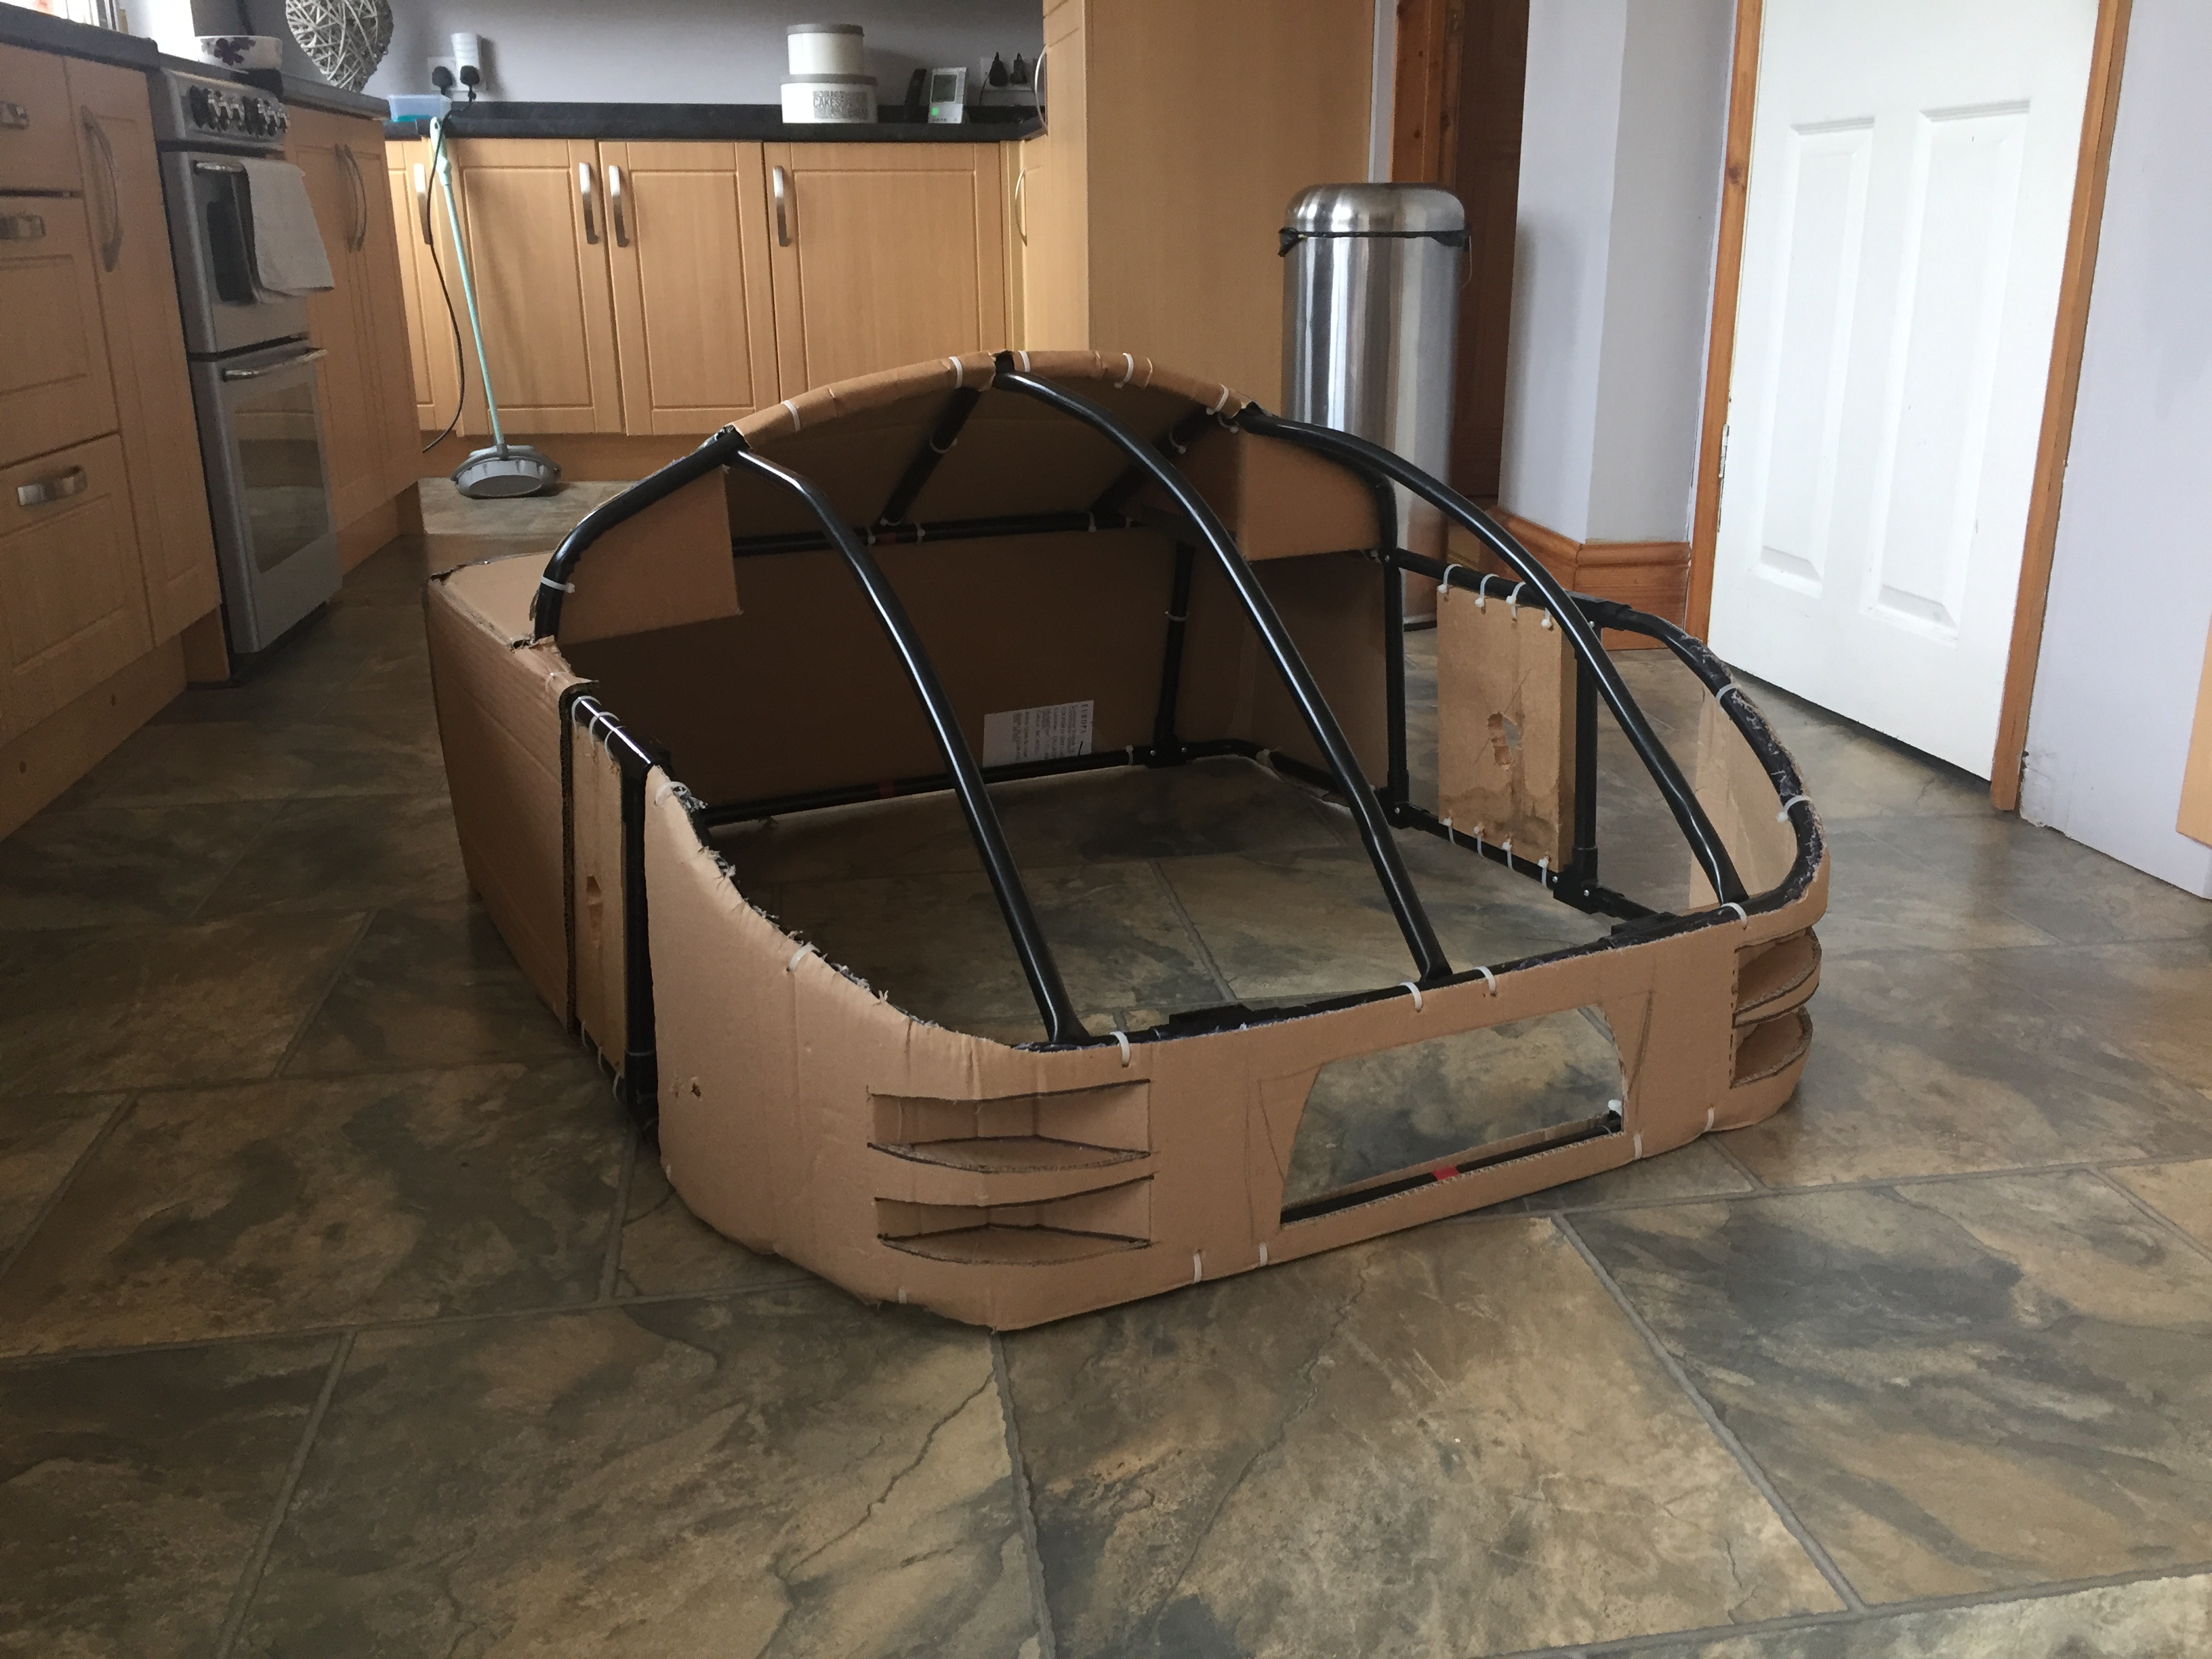
You can see that it looks like some sort of weird beach buggy at the moment and that I’ve not completed the card all the way around. The gaps are there as the card I cut was a bit short and I still had to fit the MDF section to support the arm as it went through the side. (see note 15, in part 2) I’d worry about that in a while.
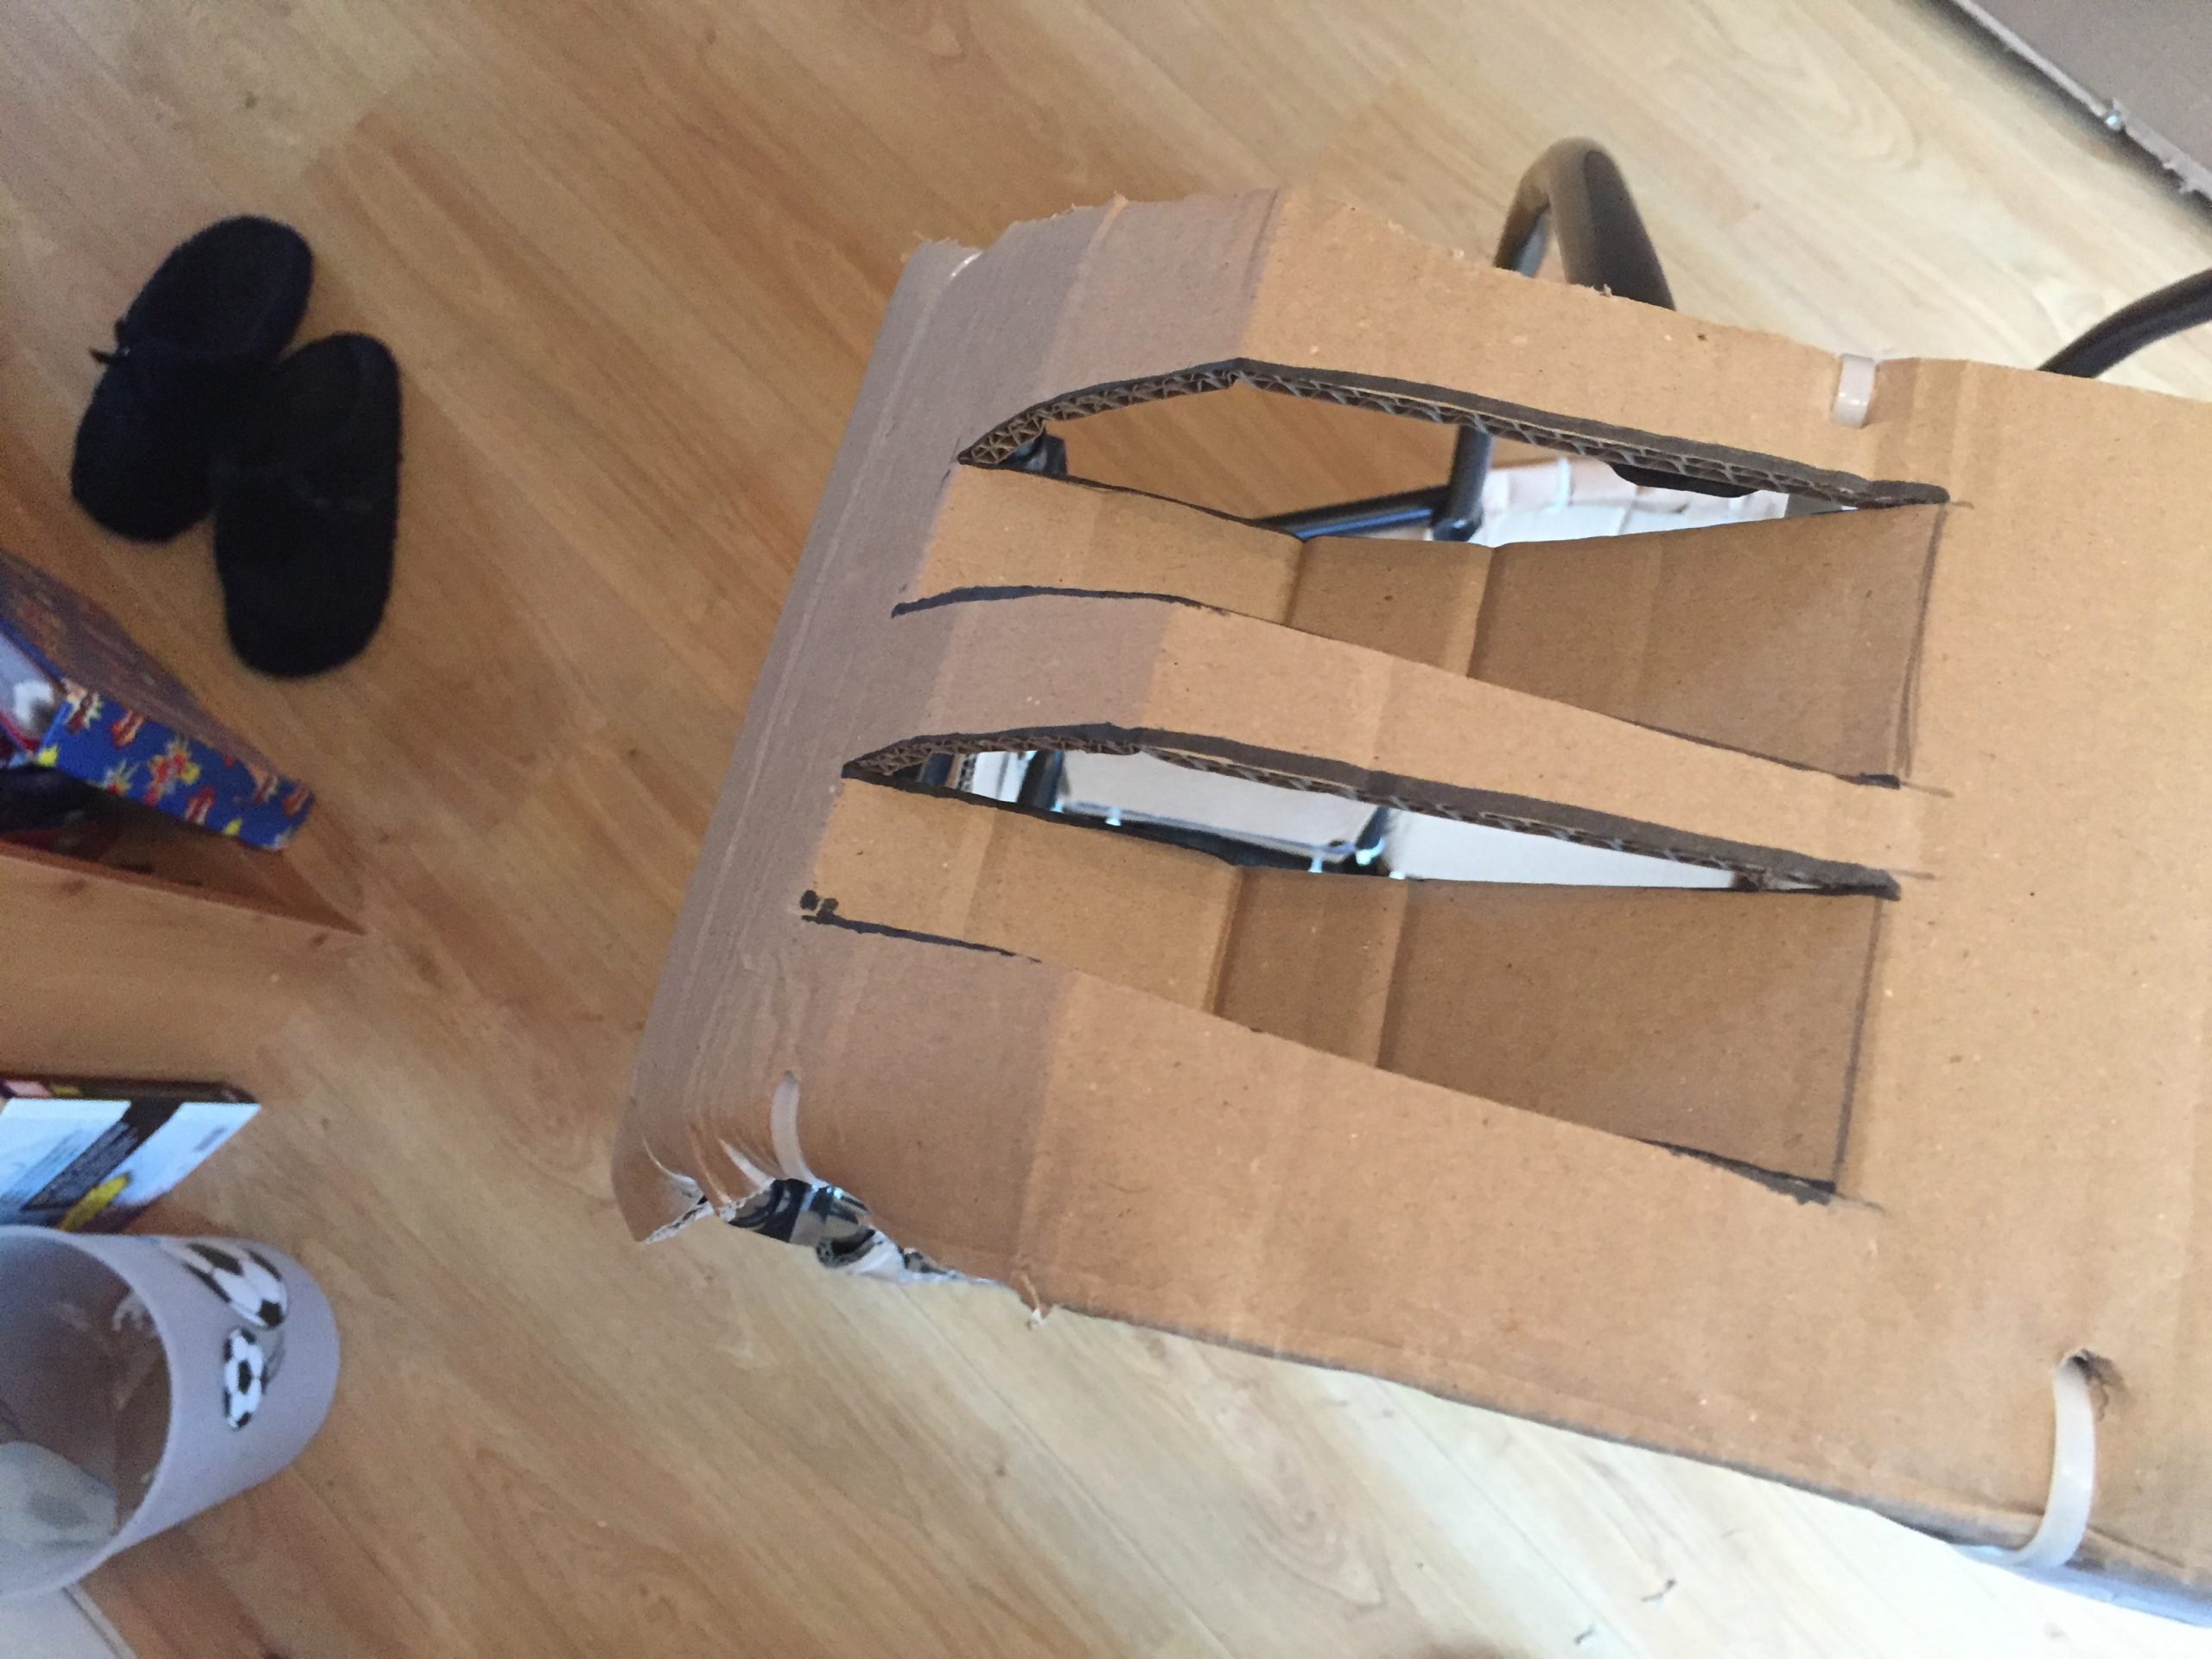
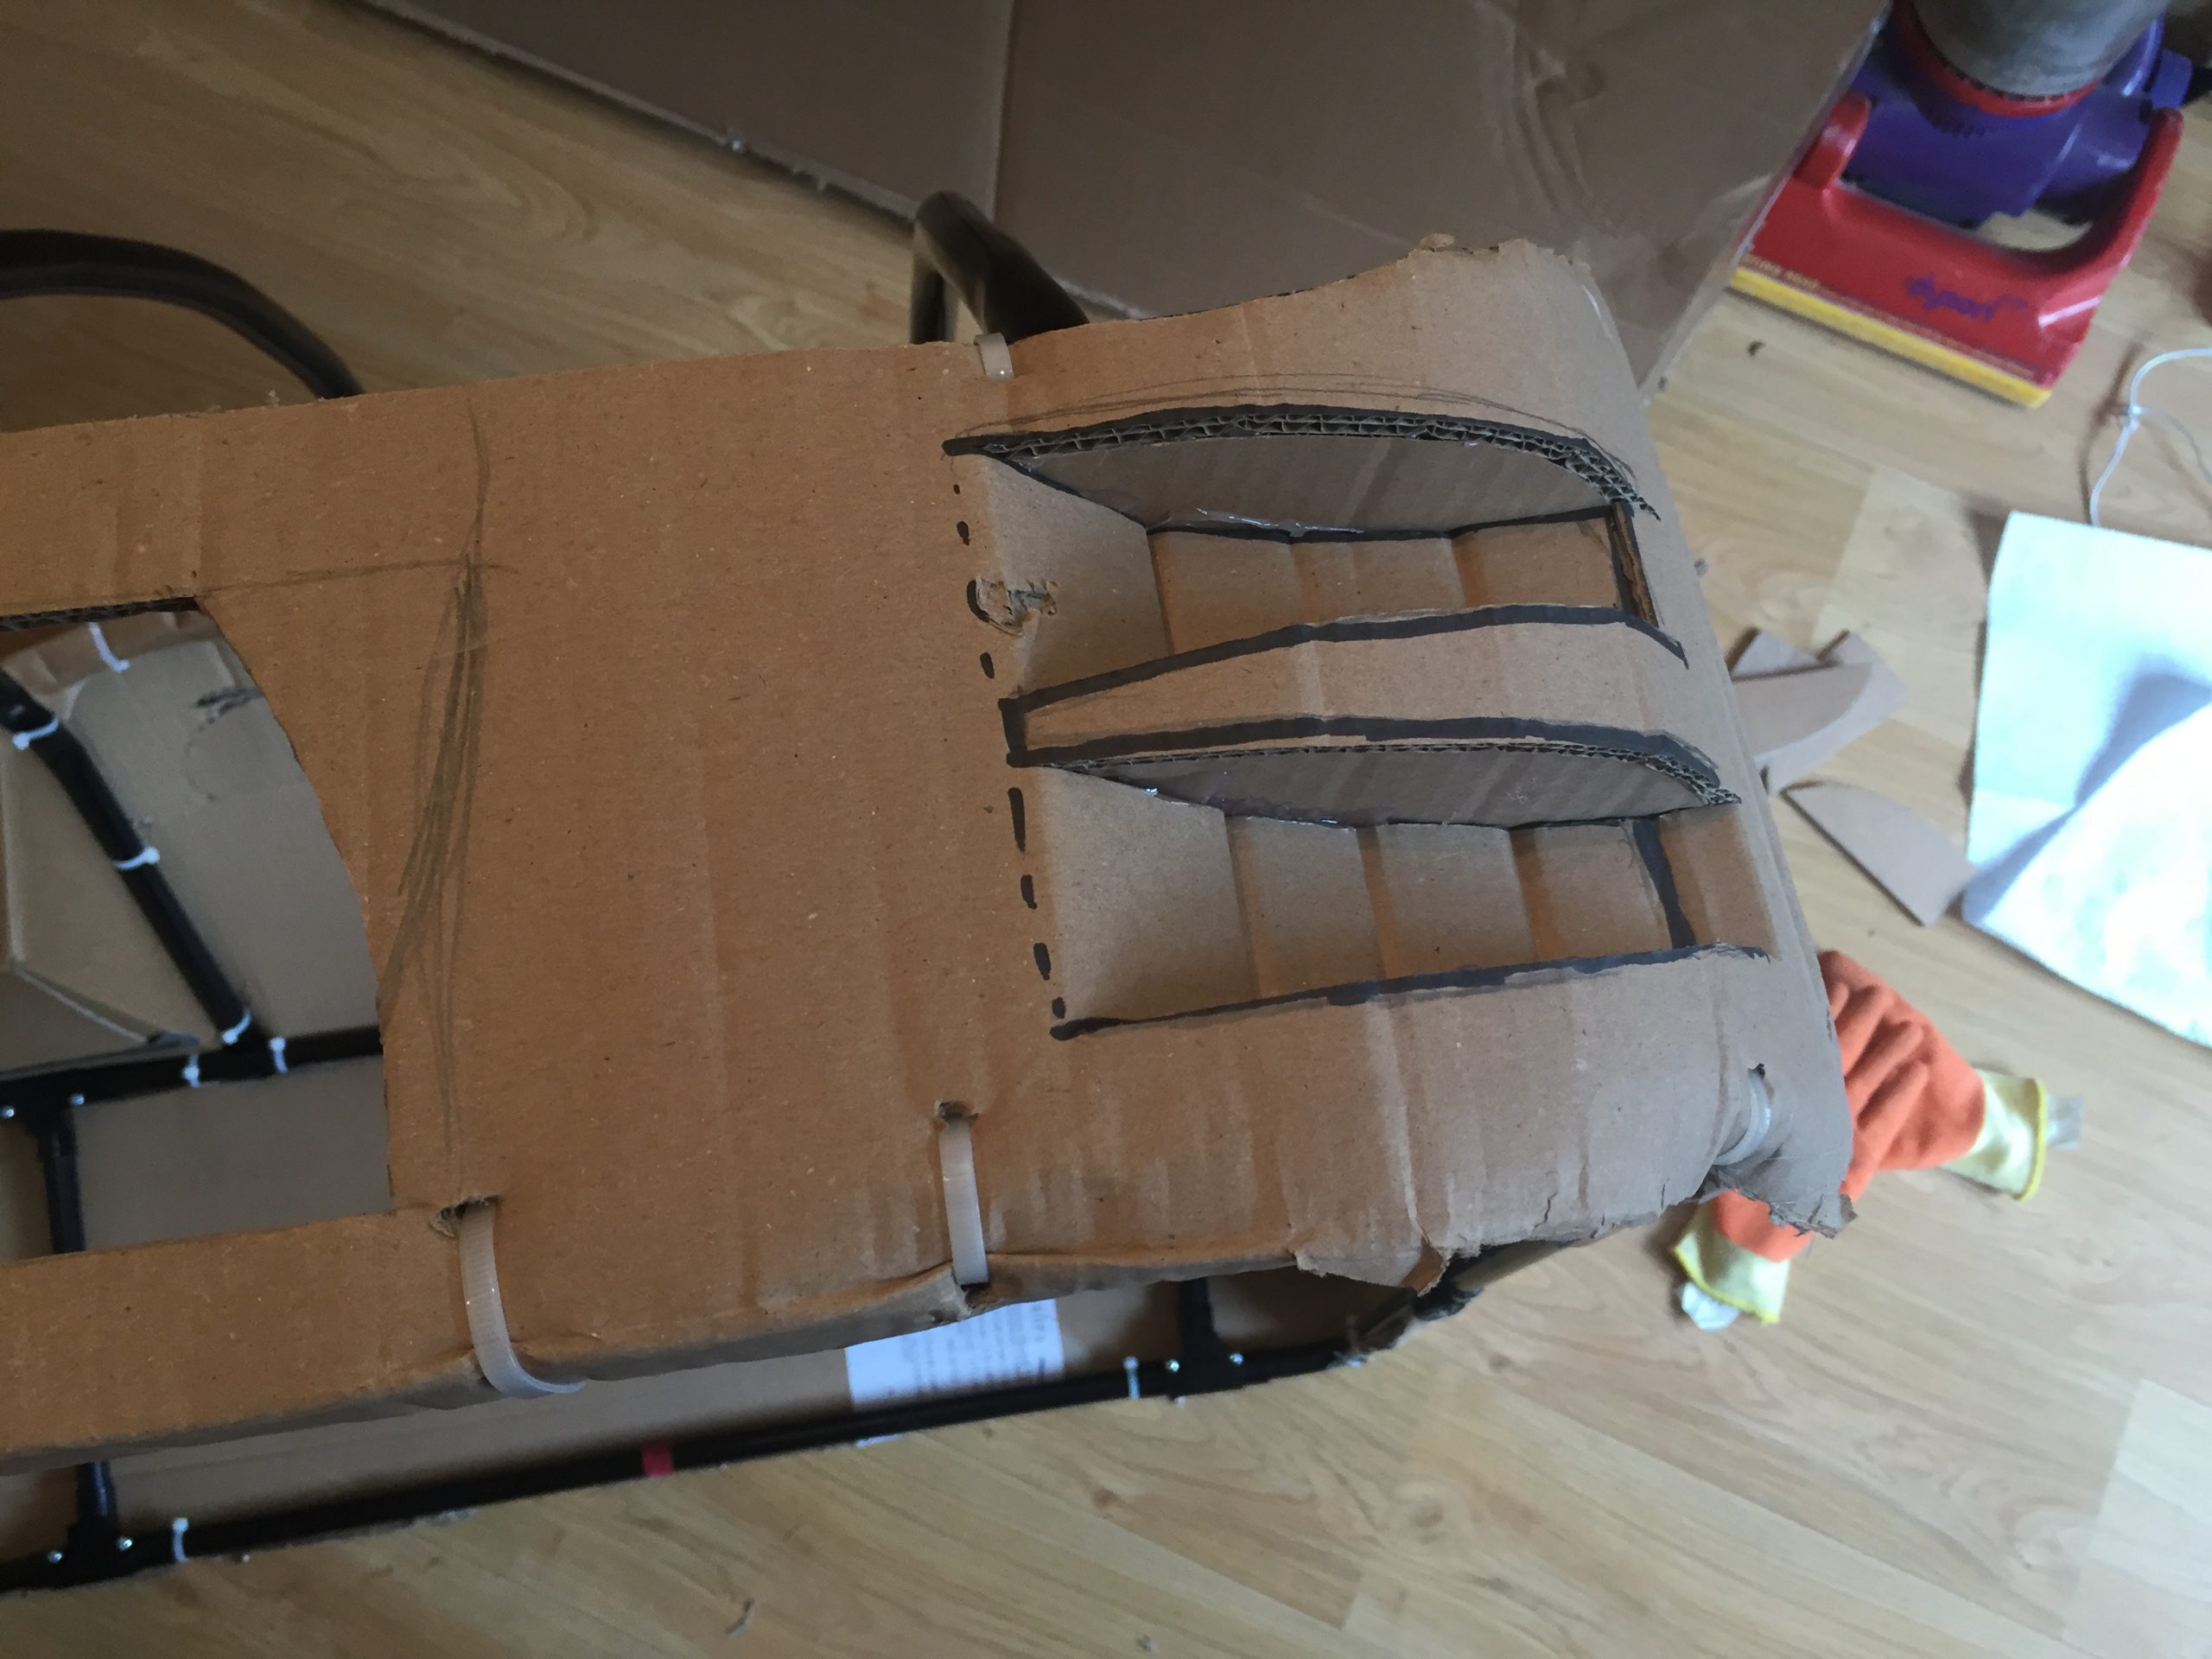
The next part of this that I was concerned about was how to make the intakes/grills on the front. The central grill and the angled slots that went around the side as in the picture below.

Again, they don’t look like the actual ED but I was a bit limited by the strength I wanted to keep in the sides and also the fact that there were two vertical pipes on the frame stopping me coming around at the front. I sketched an approximate shapes onto the front and then proceeded to cut through with my stanley knife. Because it was on the rounded corner I could push the cut in card back into the body to create a bit of a shape. I traced the shapes cut in onto a piece of paper. I sketched through the paper with a sharpie and turned it over to mirror the shapes and do it on the other side of the front.
The central grill also needed cutting but was limited by the plastic tube framing so I tried to cut in a variation.
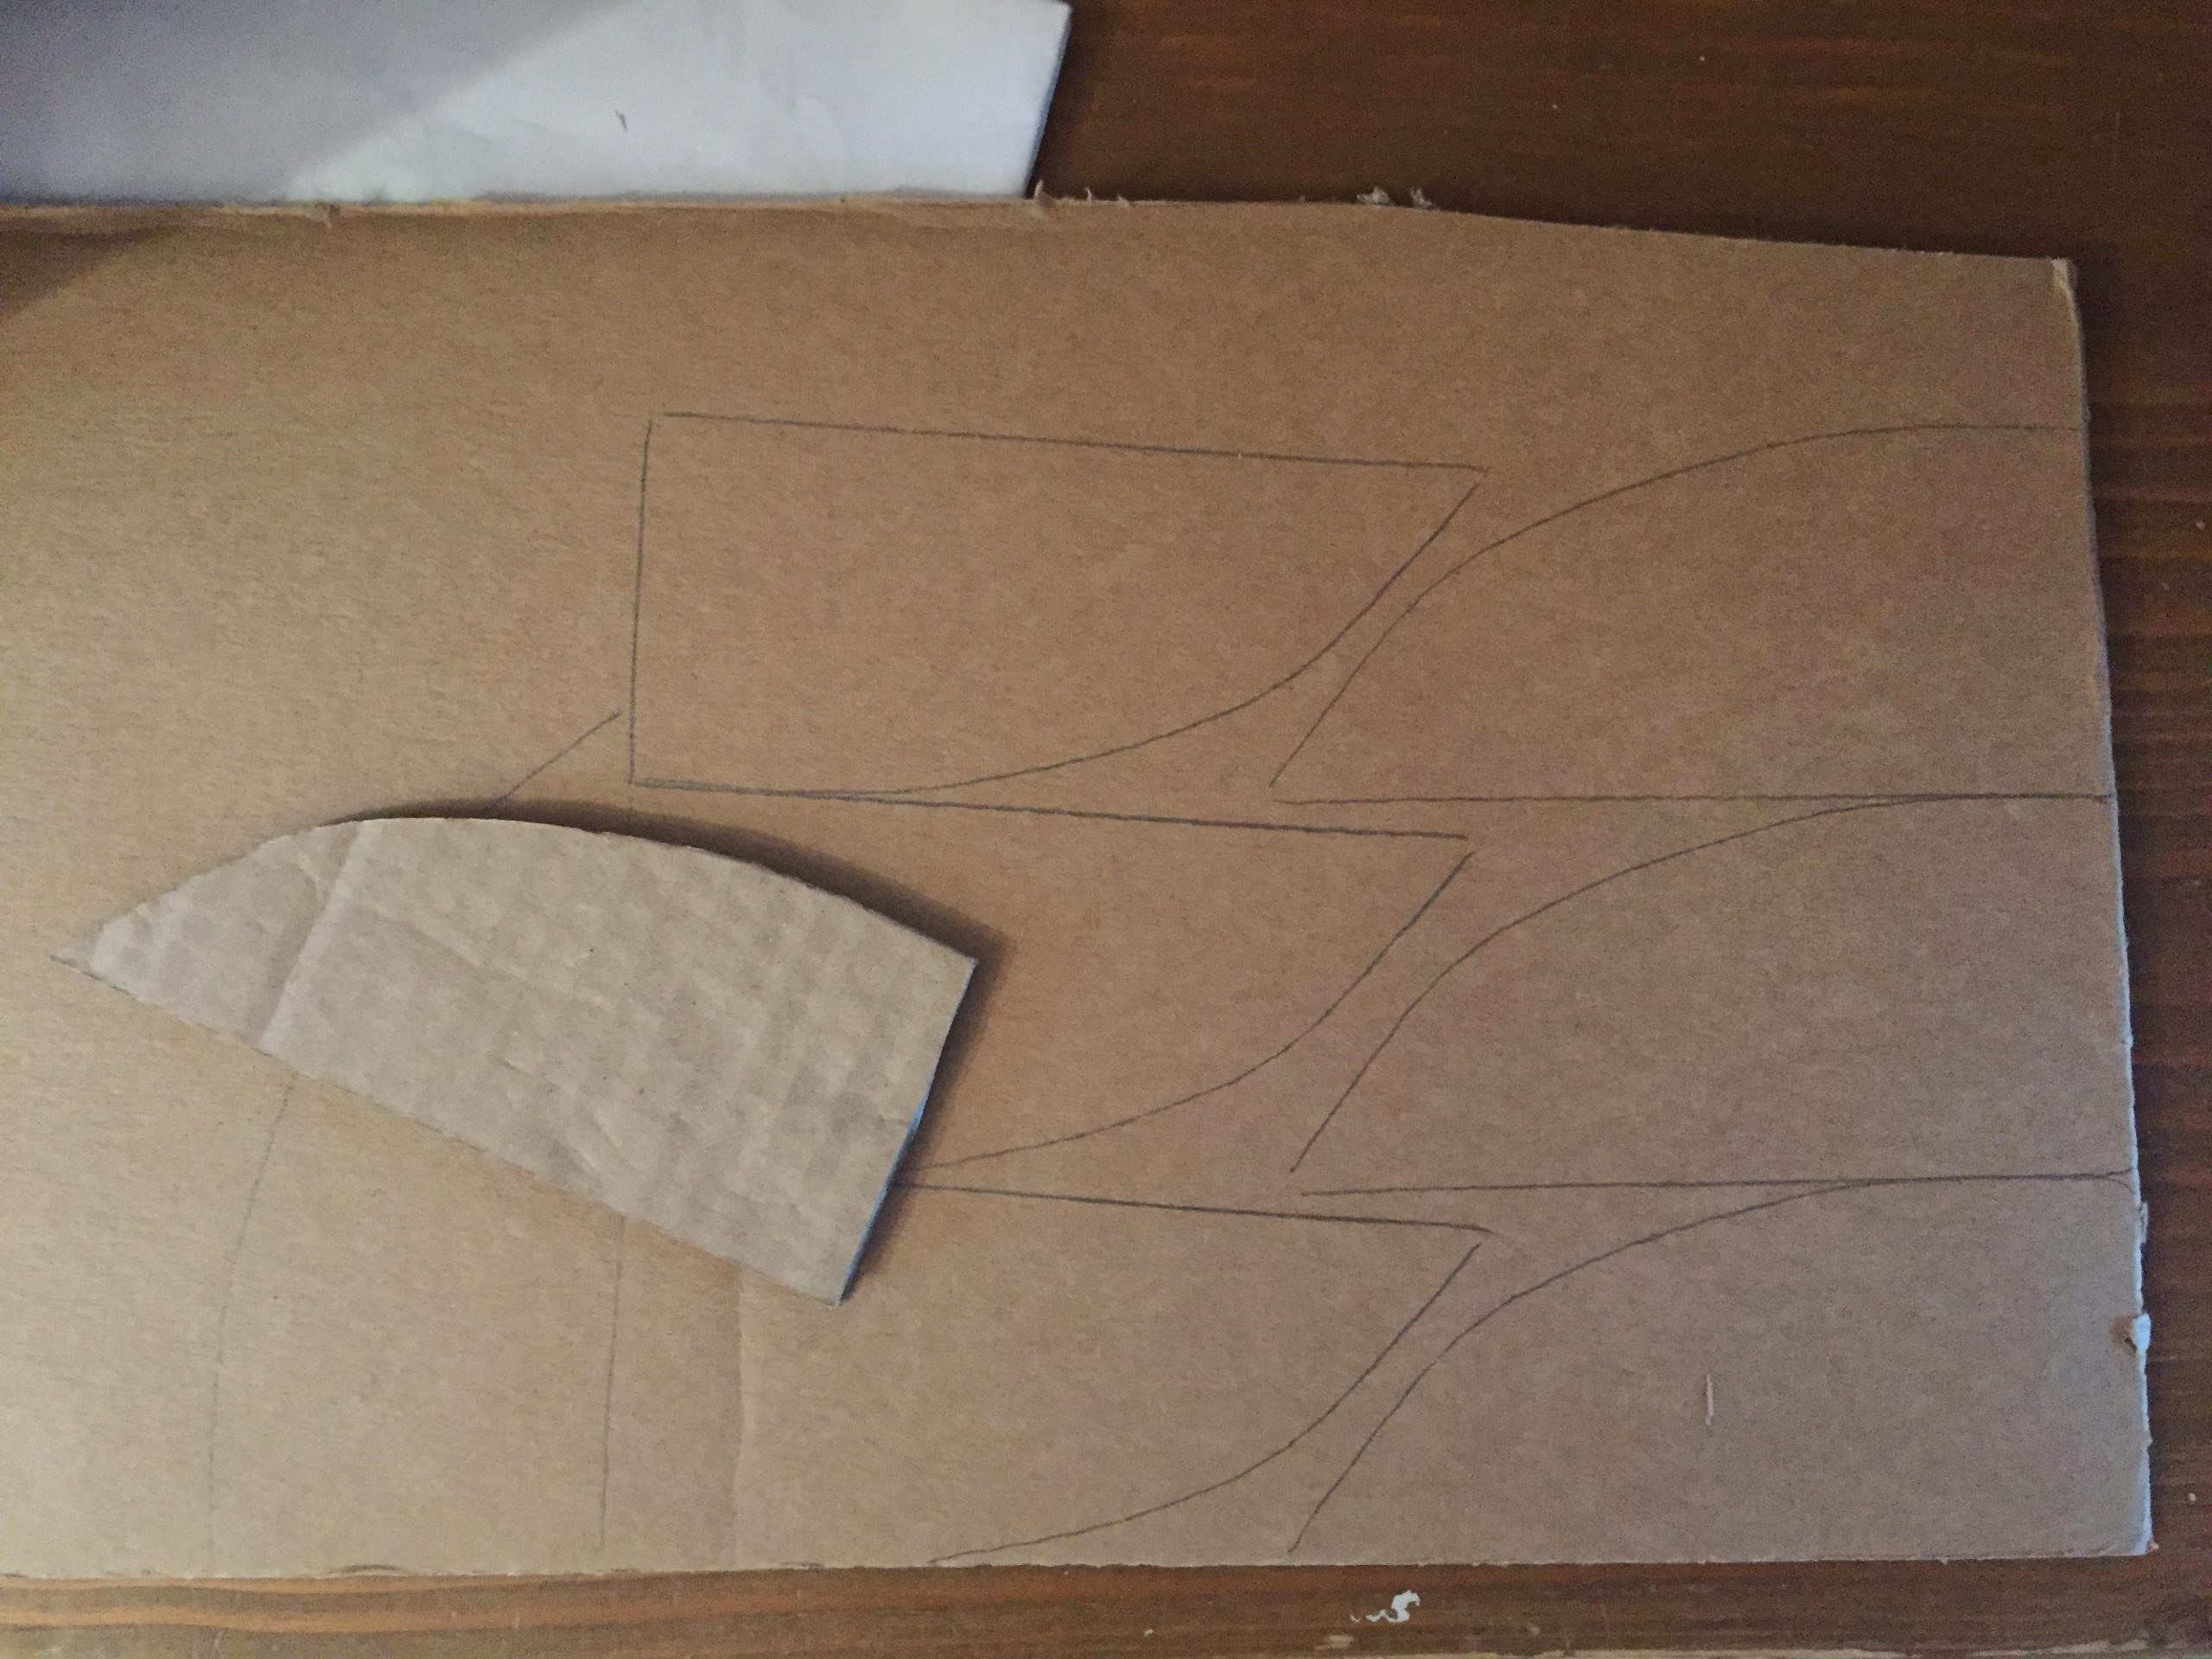
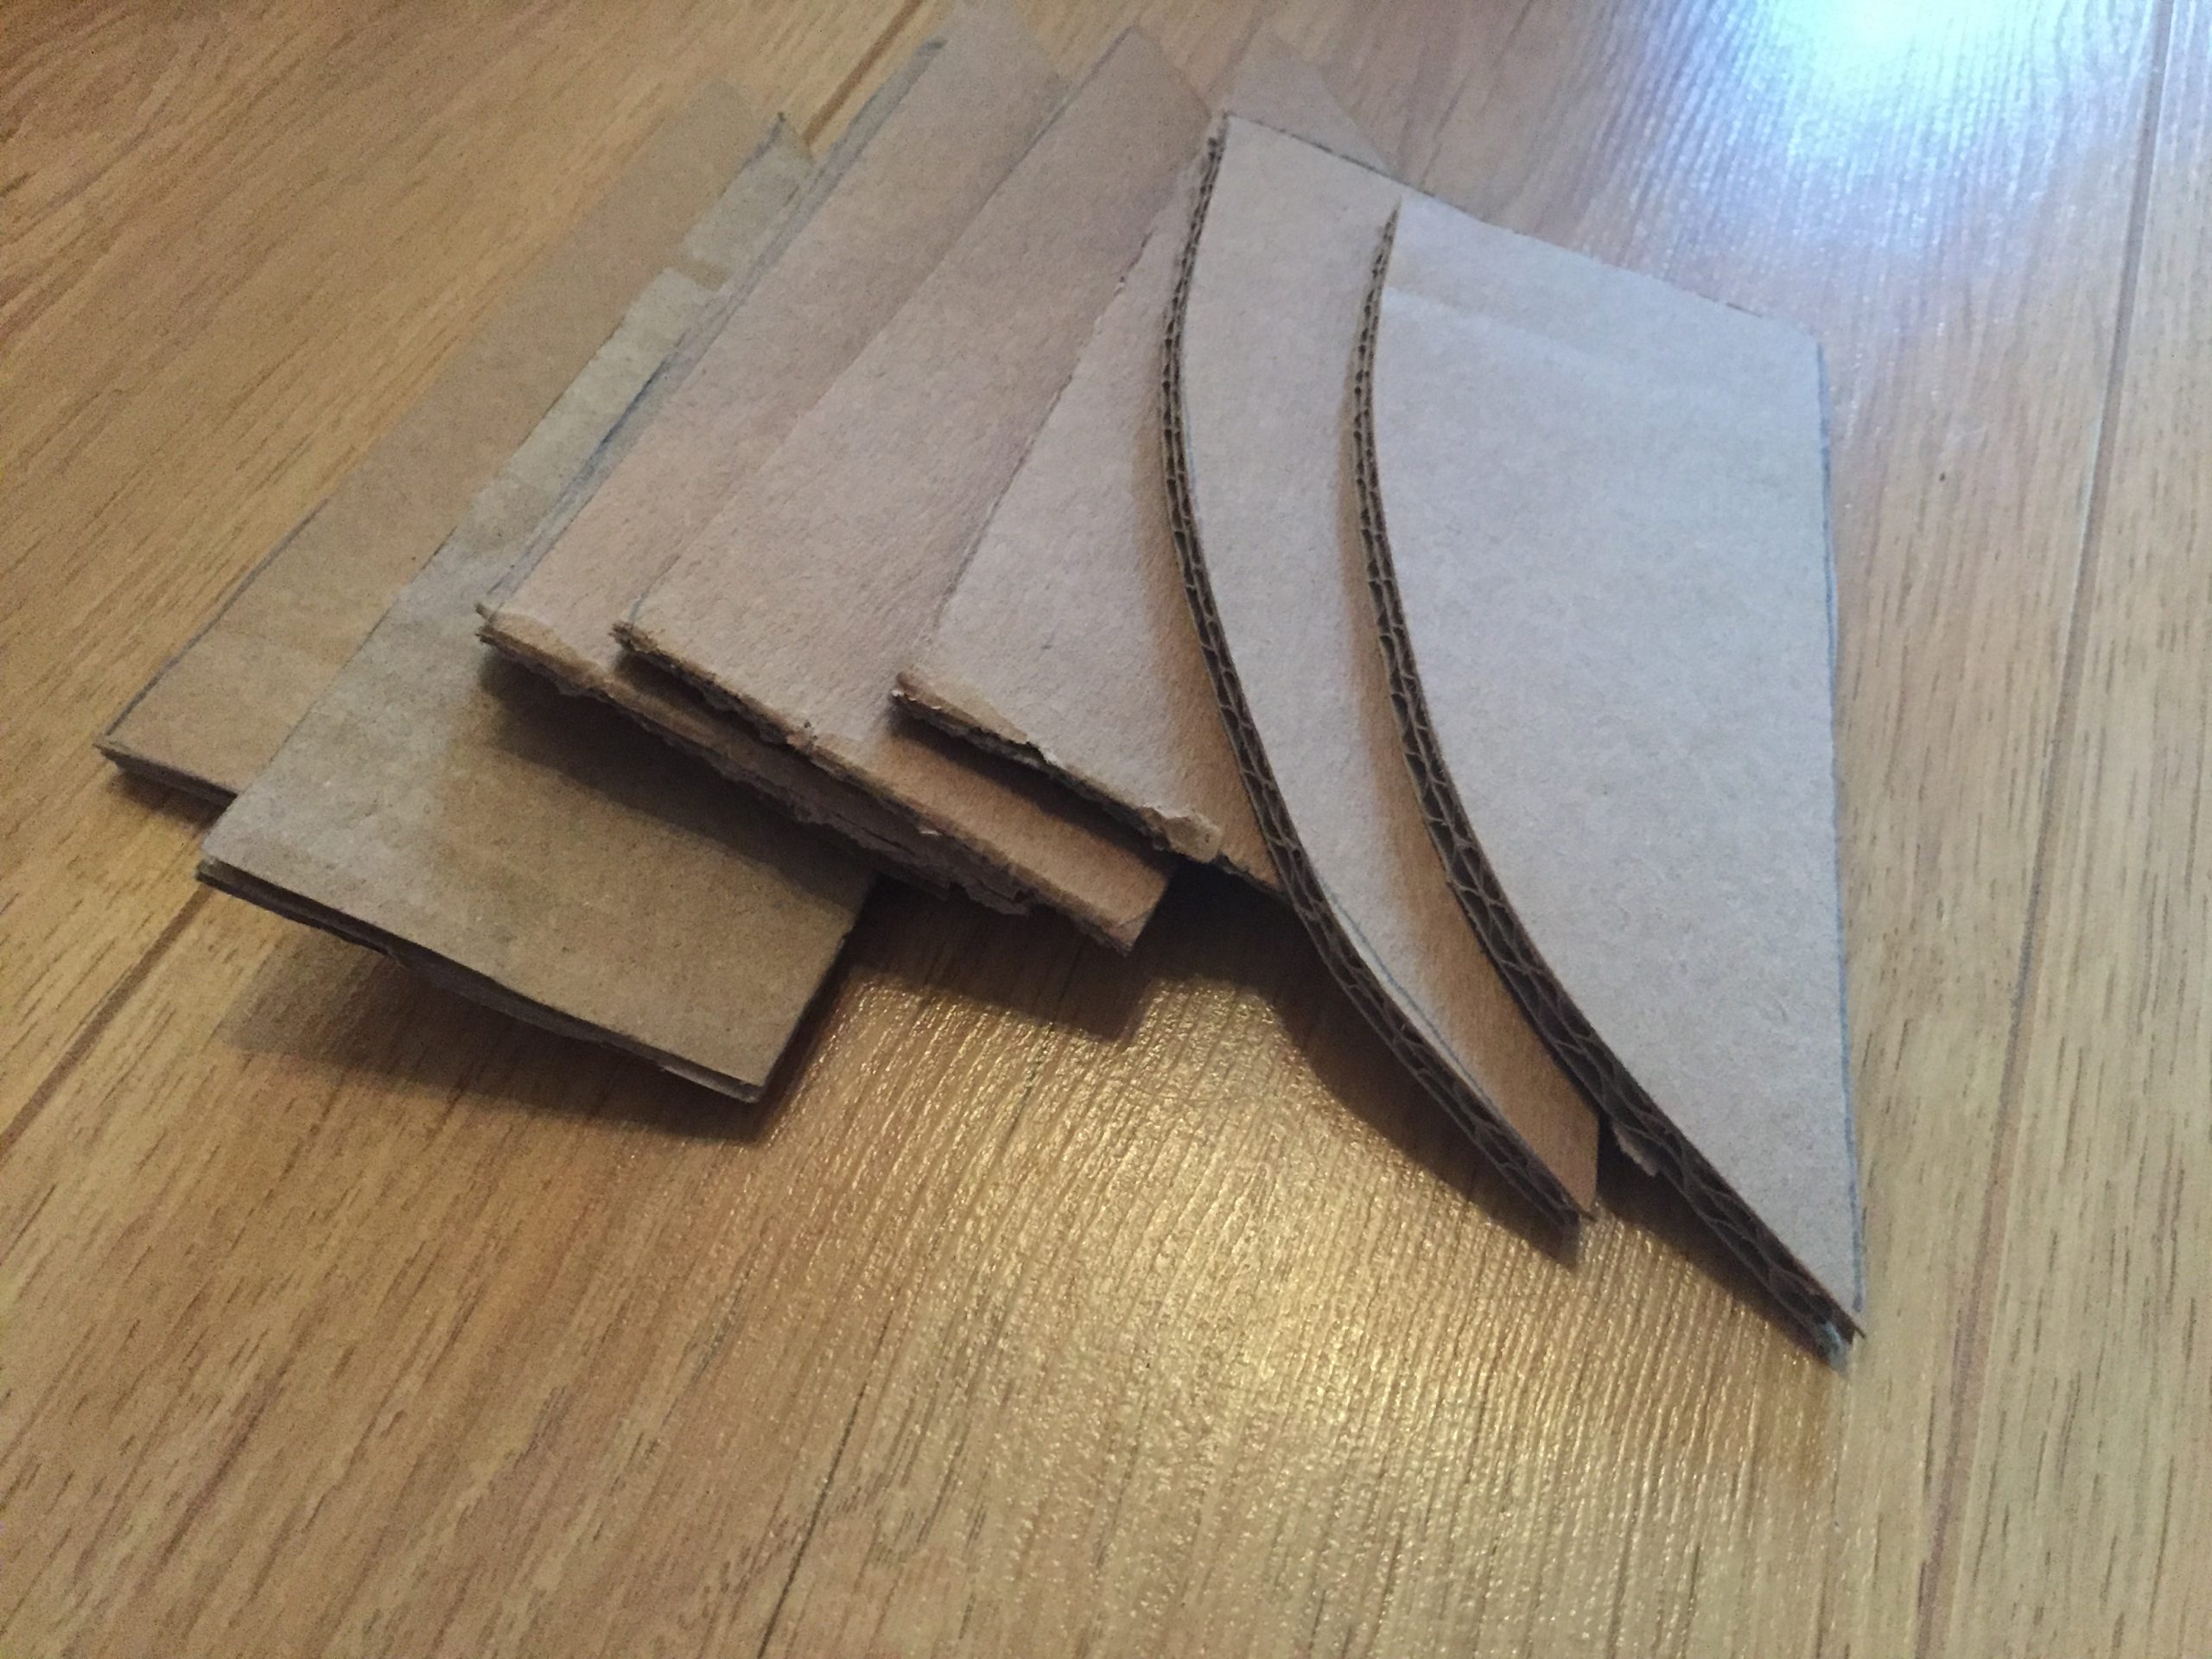
I drew on a piece of card the shape that was made in the pushed in grill parts and then cut them out and used hot glue to stick them into place, it would provide some strength to the vents and make them solid. You can see the shapes and how they solidified the grills in the below photos.
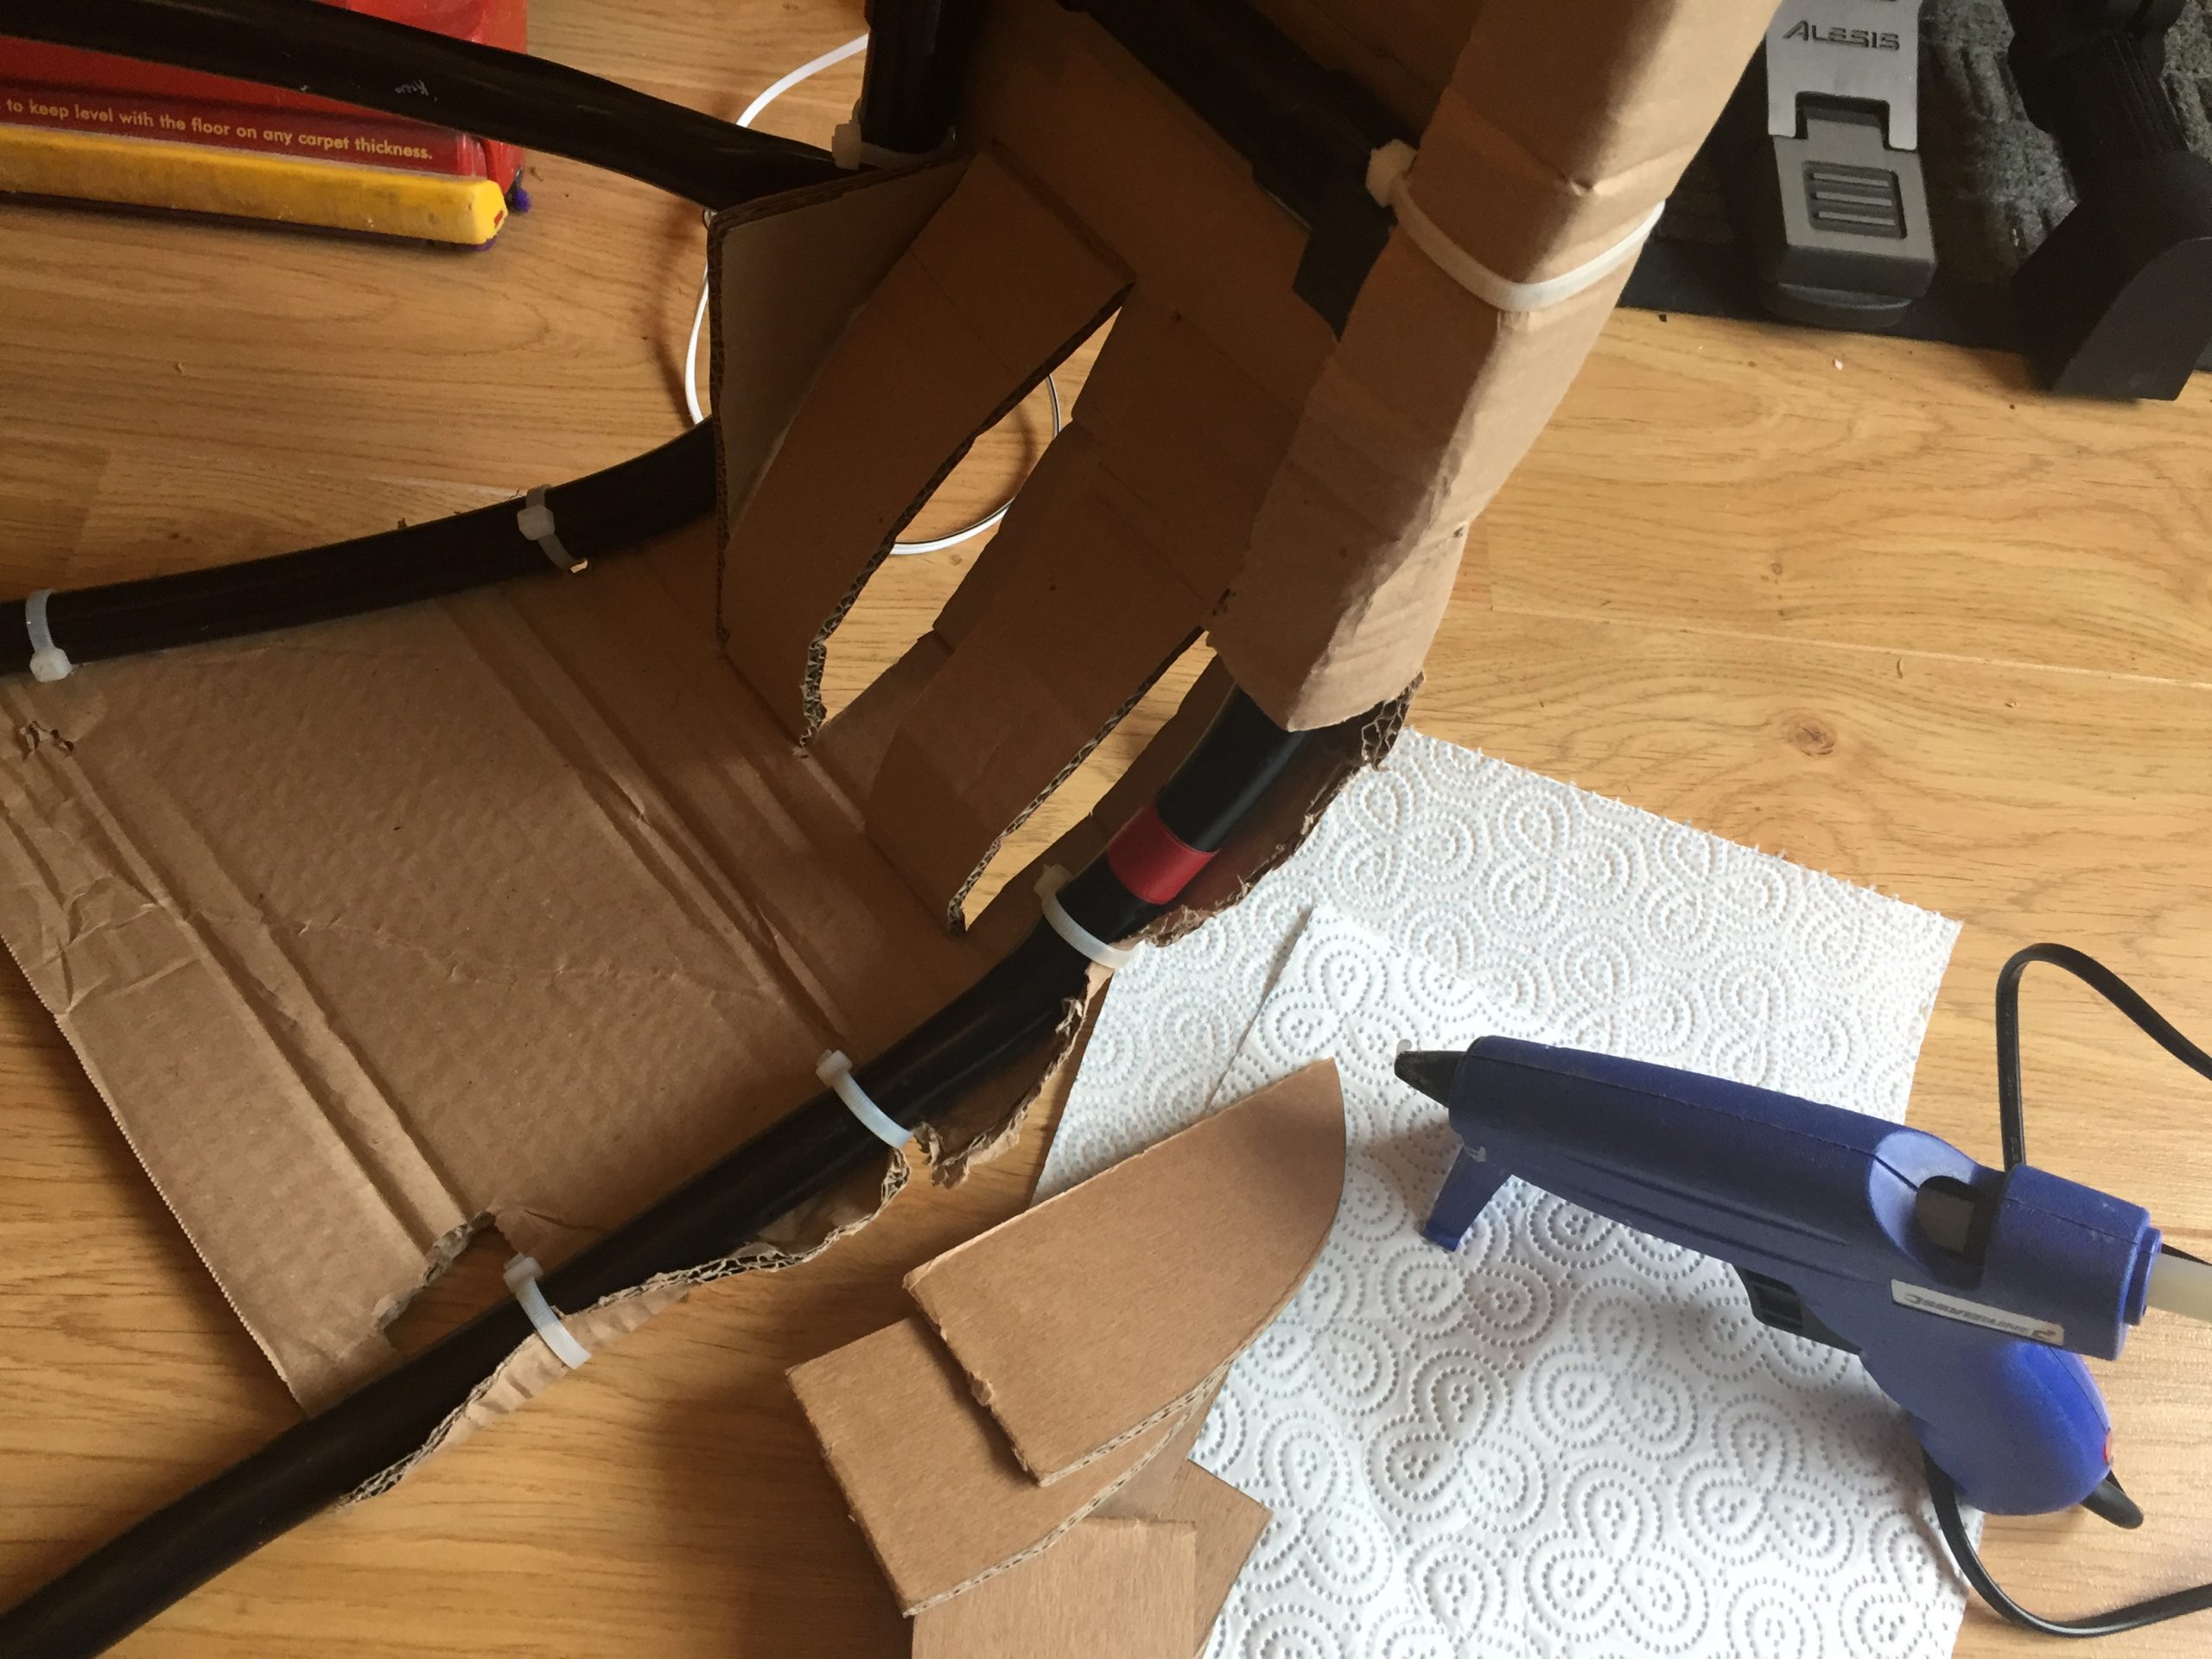

Once the centre grill was cut out I moved on to cut out the mdf that would support the arms. These were drilled with eight holes in the top and bottom so that they could be tie-wrapped into place. I cut three holes in the mdf in a triangle with my 20mm hole drill so that there was a single hole in the bottom and two at the top. This would allow the gun arm to rest in the bottom but move forward and backwards if need be, I guess it was a similar idea to the arrow slits in castles that let them aim left and right too. 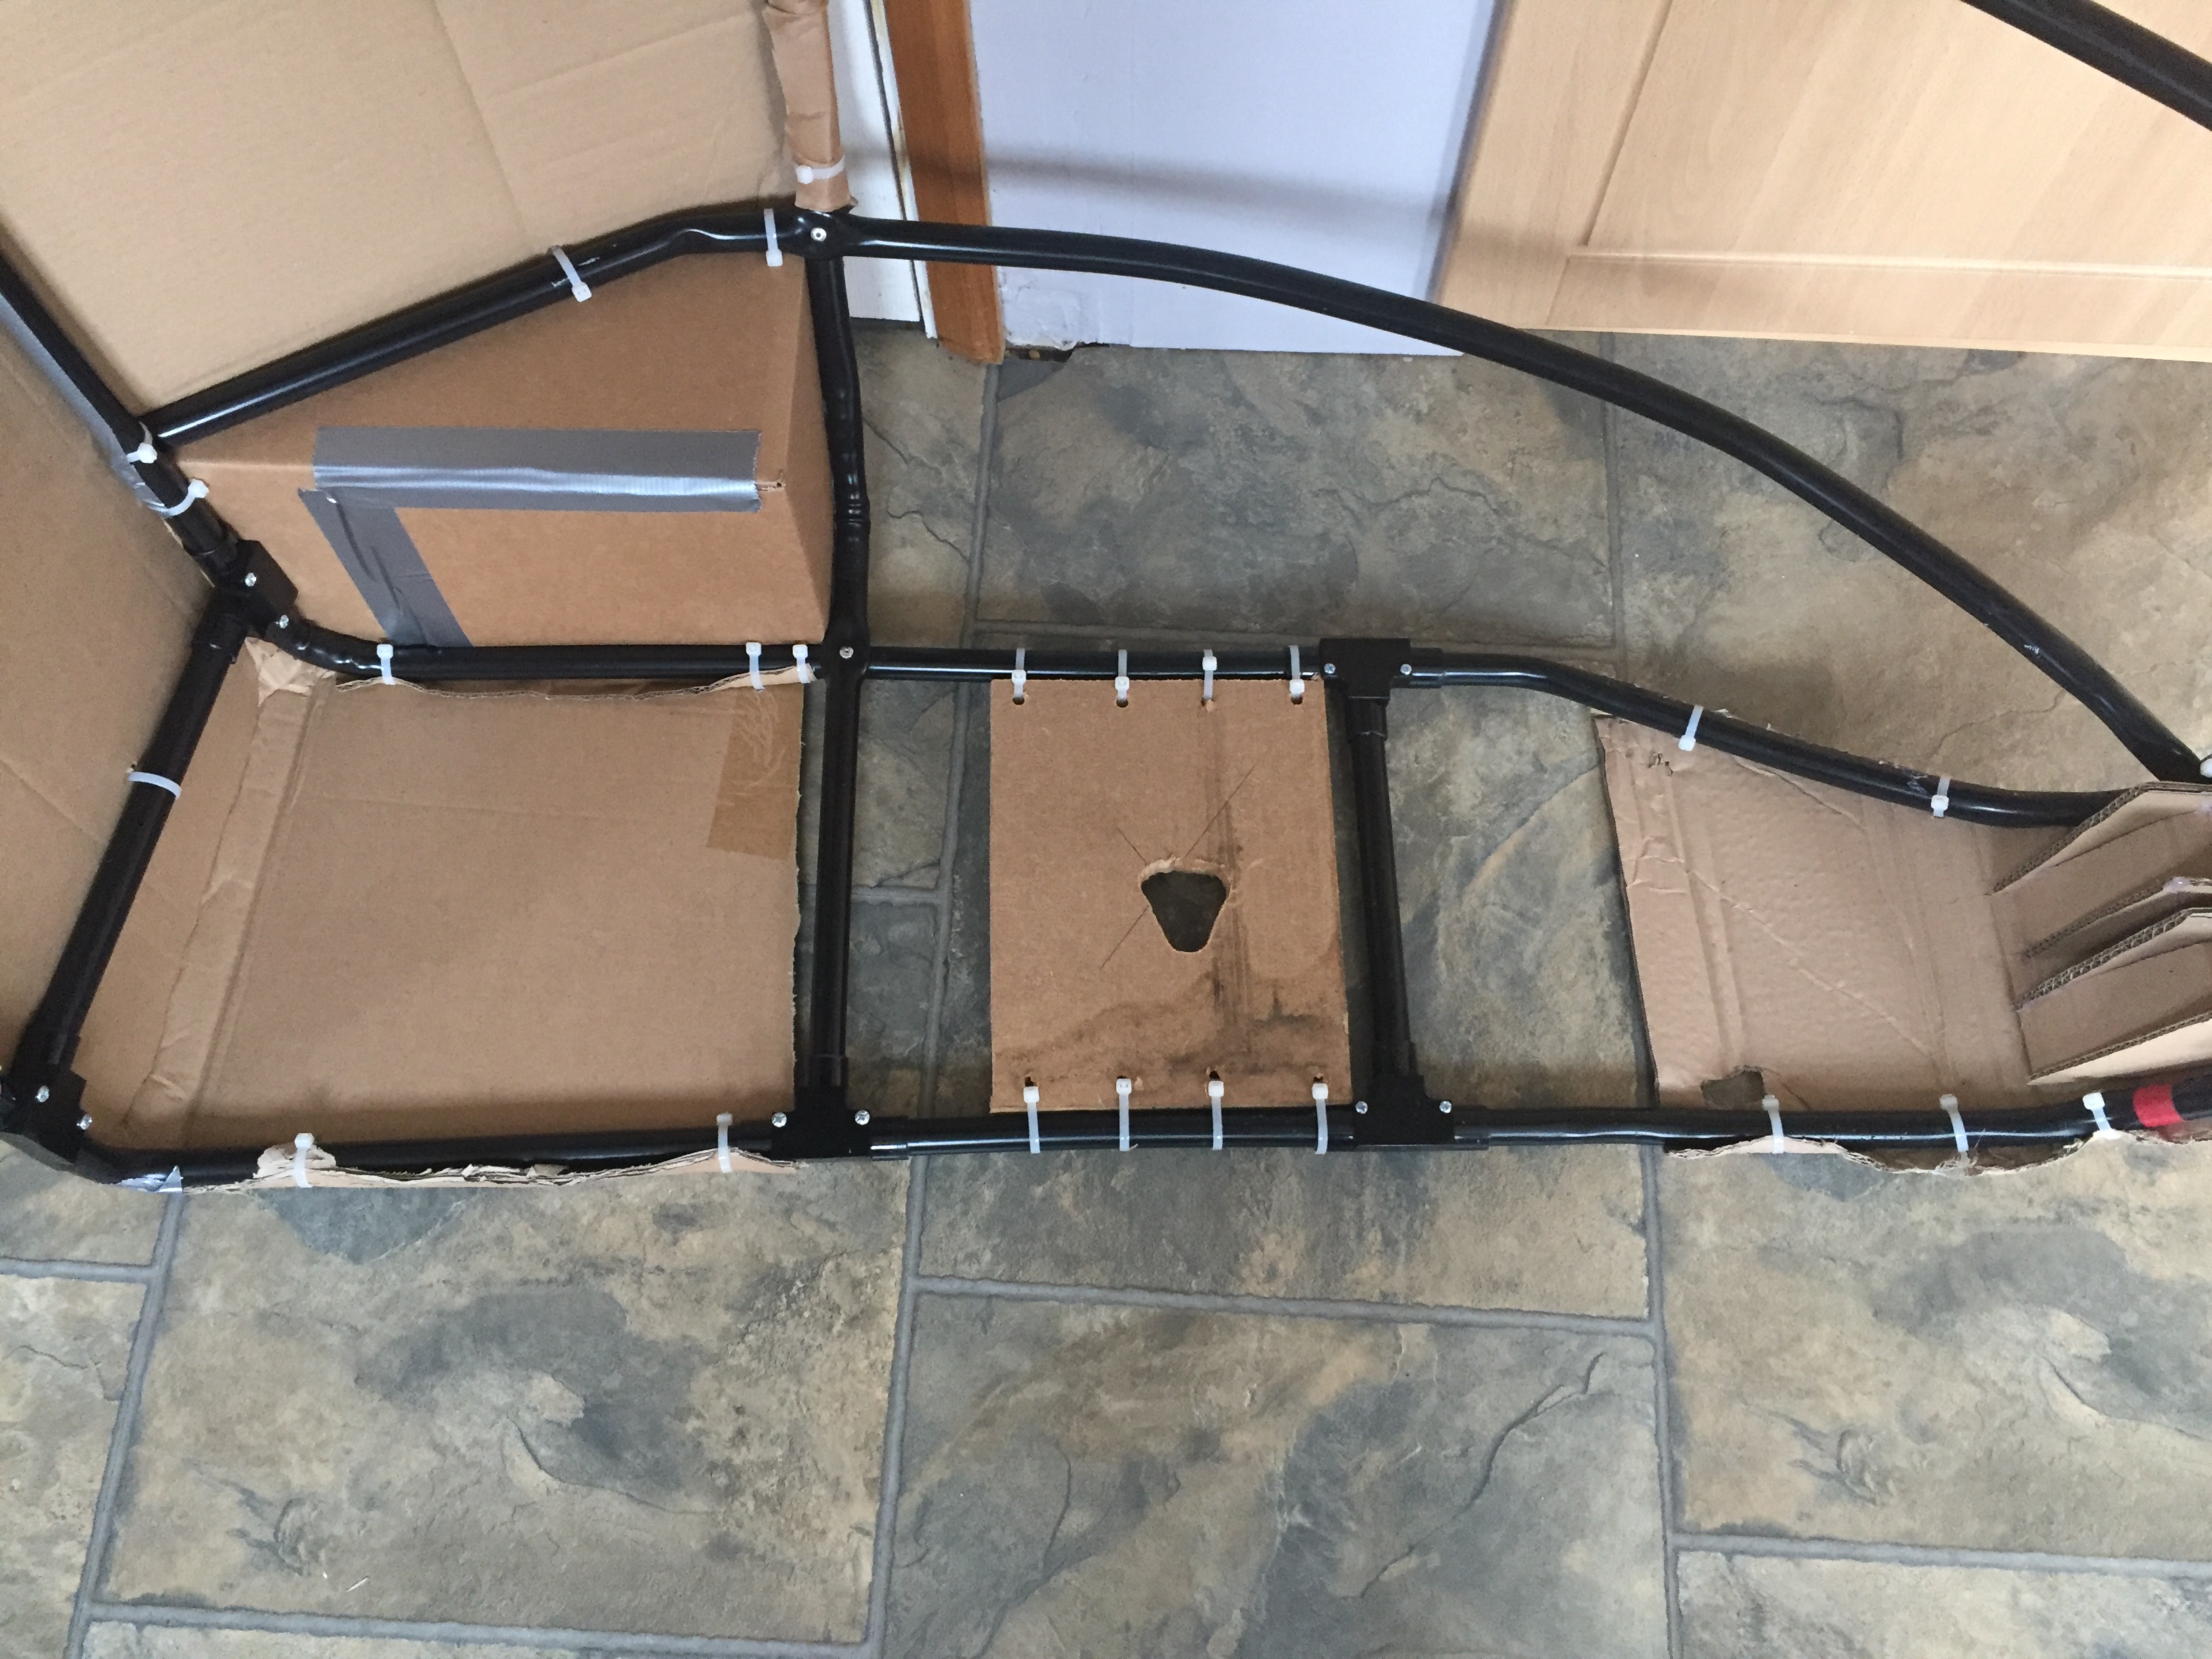 .
. 
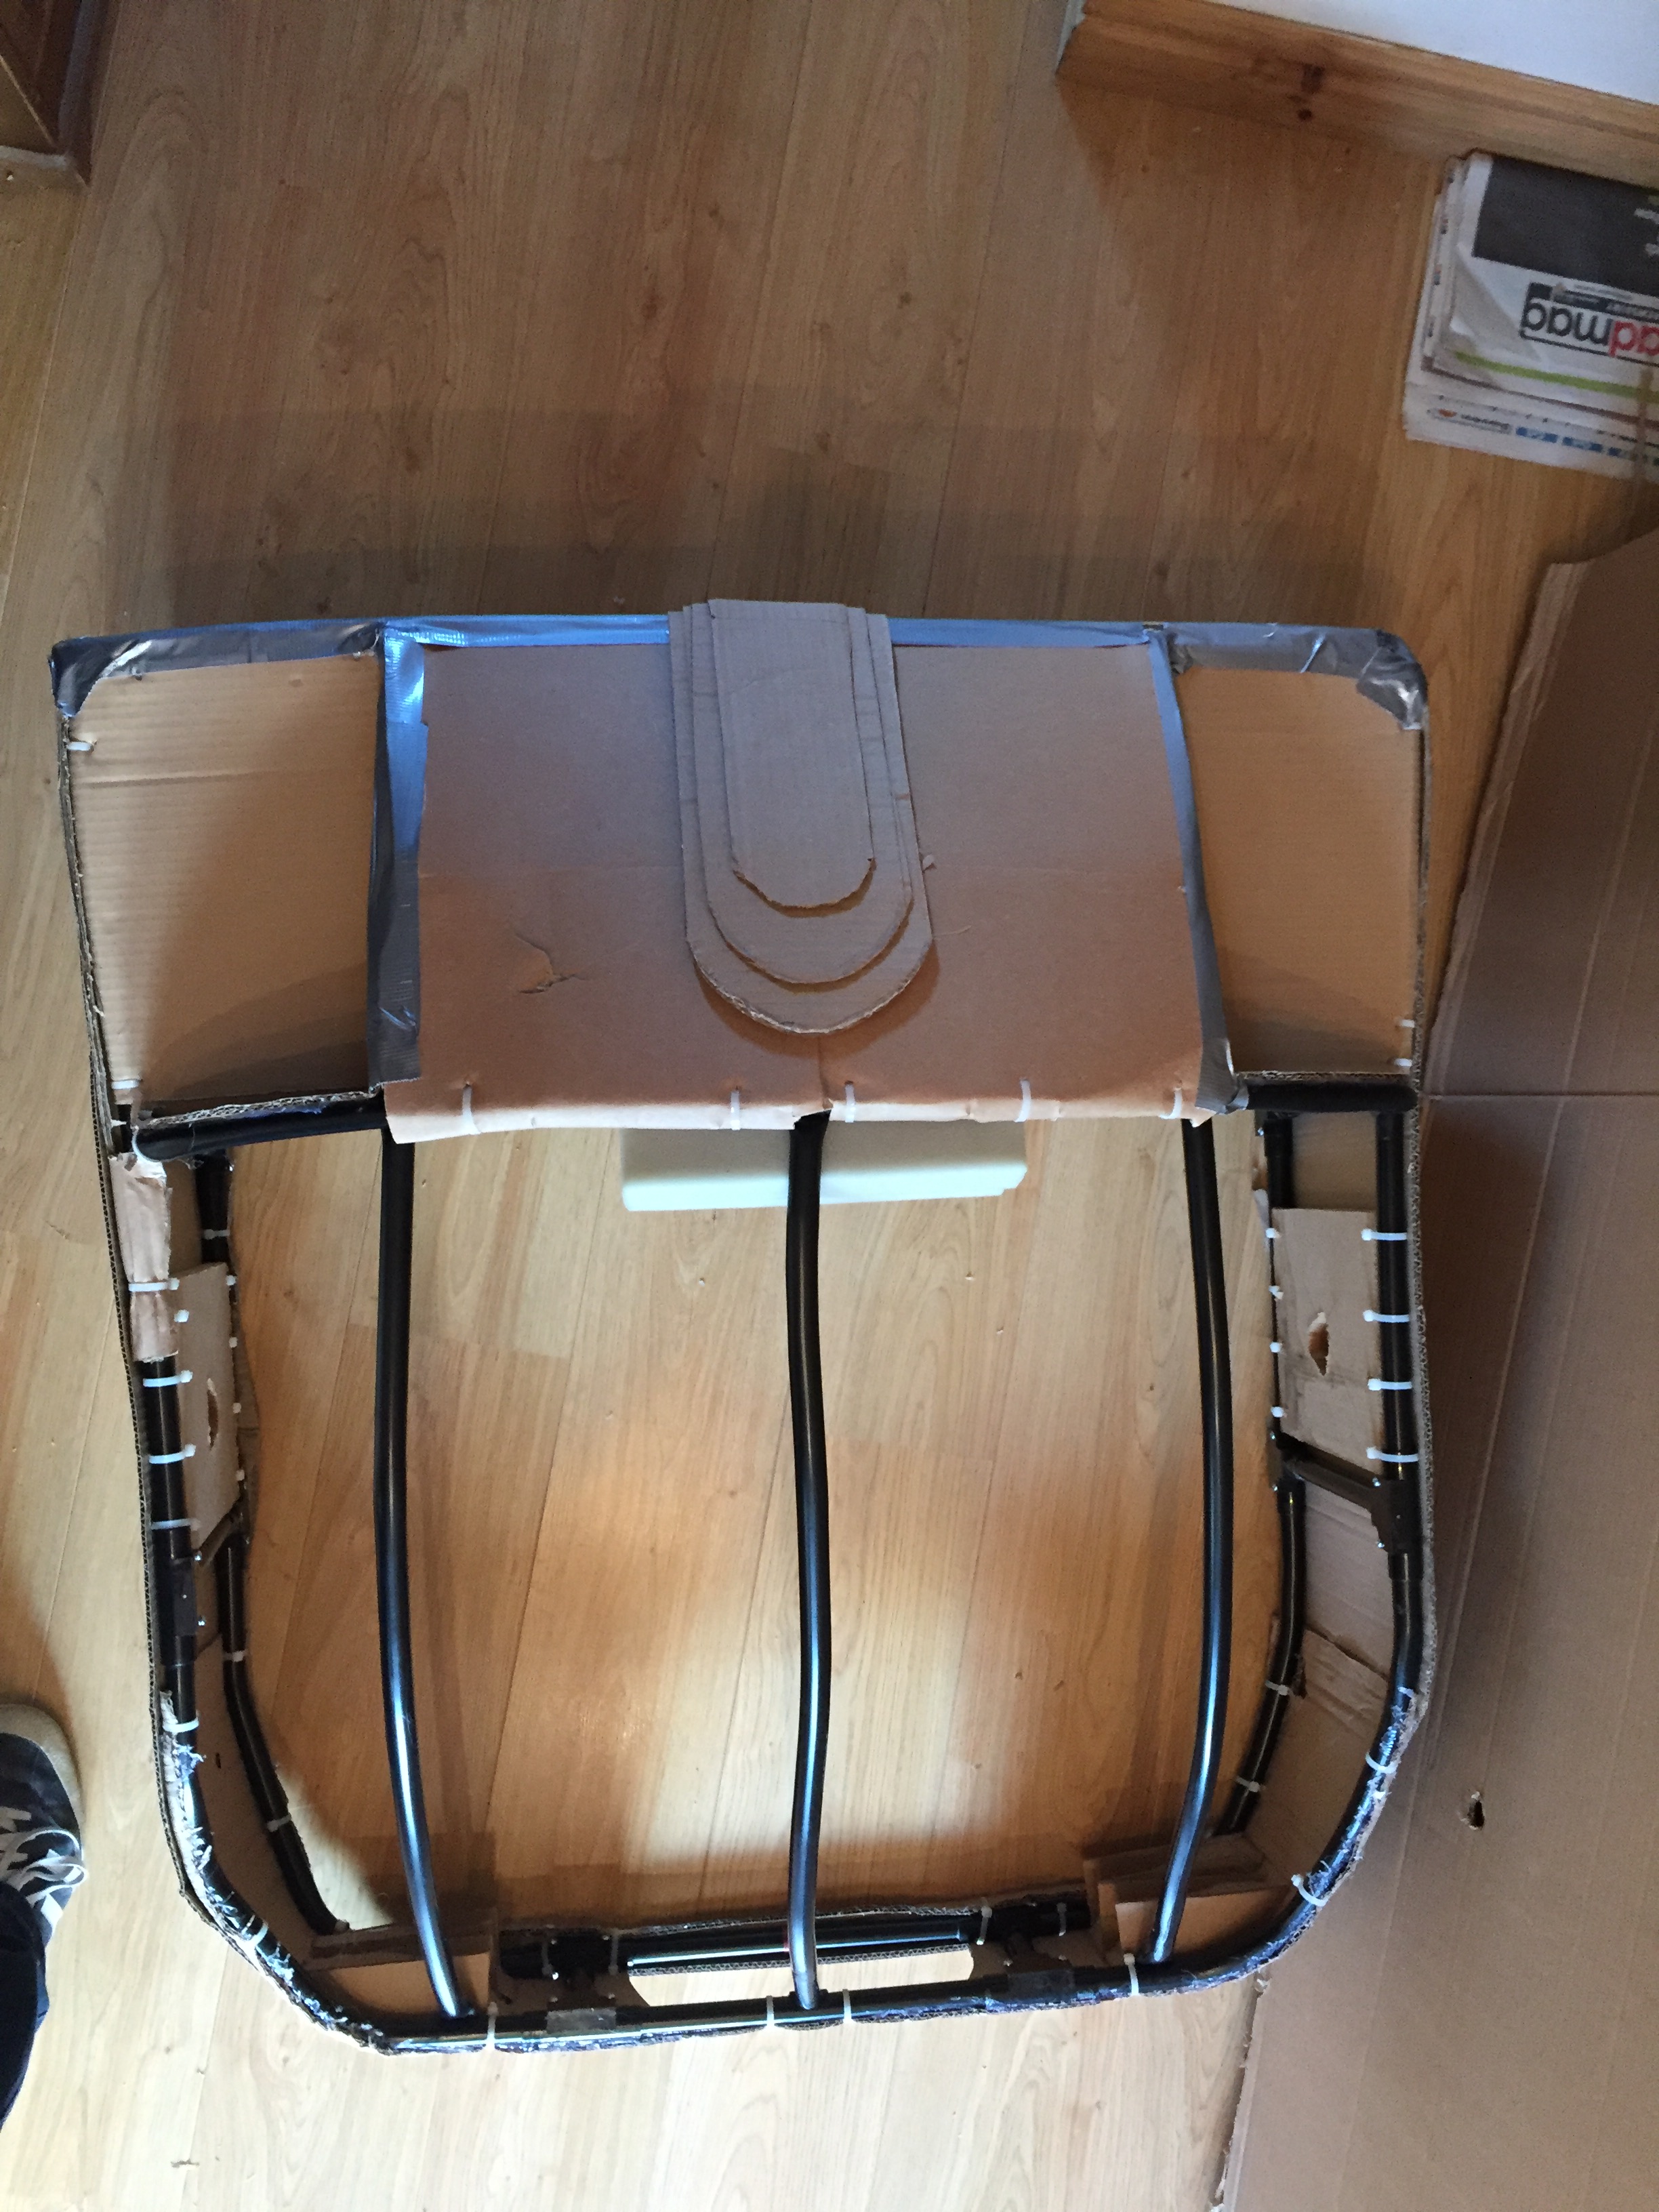
A little more cardboard around the sides to cover the gaps would complete this part of the build, but I had some spare pieces of card that were cut to a similar shape so I thought that I’d create a feature that I could cover with paper mache on the rear. The next part will show the legs being fleshed out and the first designs for the toes etc… Here’s an overhead image of the body with the extra bit on the top. It’s funny to see how wobbly those pipes are though. It’s a nightmare to use a hot air gun on the whole pipe and shape it.
The whole thing would be covered with paper mache and painted with grey primer to give it a similar colour to the ED-209 that anyone who’s seen Robocop would remember. There are a large number of people that haven’t seen the 1987 film though and I hadn’t accounted for this, I wasn’t doing it to be popular and my previous cosplay as Richard from Dead Man’s Shoes was a little known character too. I can’t really say I’m not wanting to be noticed but it would be nice if the true fans of the film were to recognise it for what it was and leave others a bit bewildered.
Here’s a video of the body balanced on my bonce whilst I wave some conduit through the arm holes. It’s a bit strange when watched out of context but was useful to determine the height of the body from the hip joint and just how large it would prove to be.
Stay tuned for Part 4 in which we play with my legs and my guns! Sounds like a trip to the gym eh?
Cheers for reading and feel free to leave a comment.
[…] ED-209 Cosplay- Part 3: Covering my body with cardboard….. […]