In part 4 you saw how the toes, shins and gun pods came together, in this part you’ll see how I attached the material to make the sensor screen on the top of the body, along with a couple of mods to the knee joints and the underside of the body.
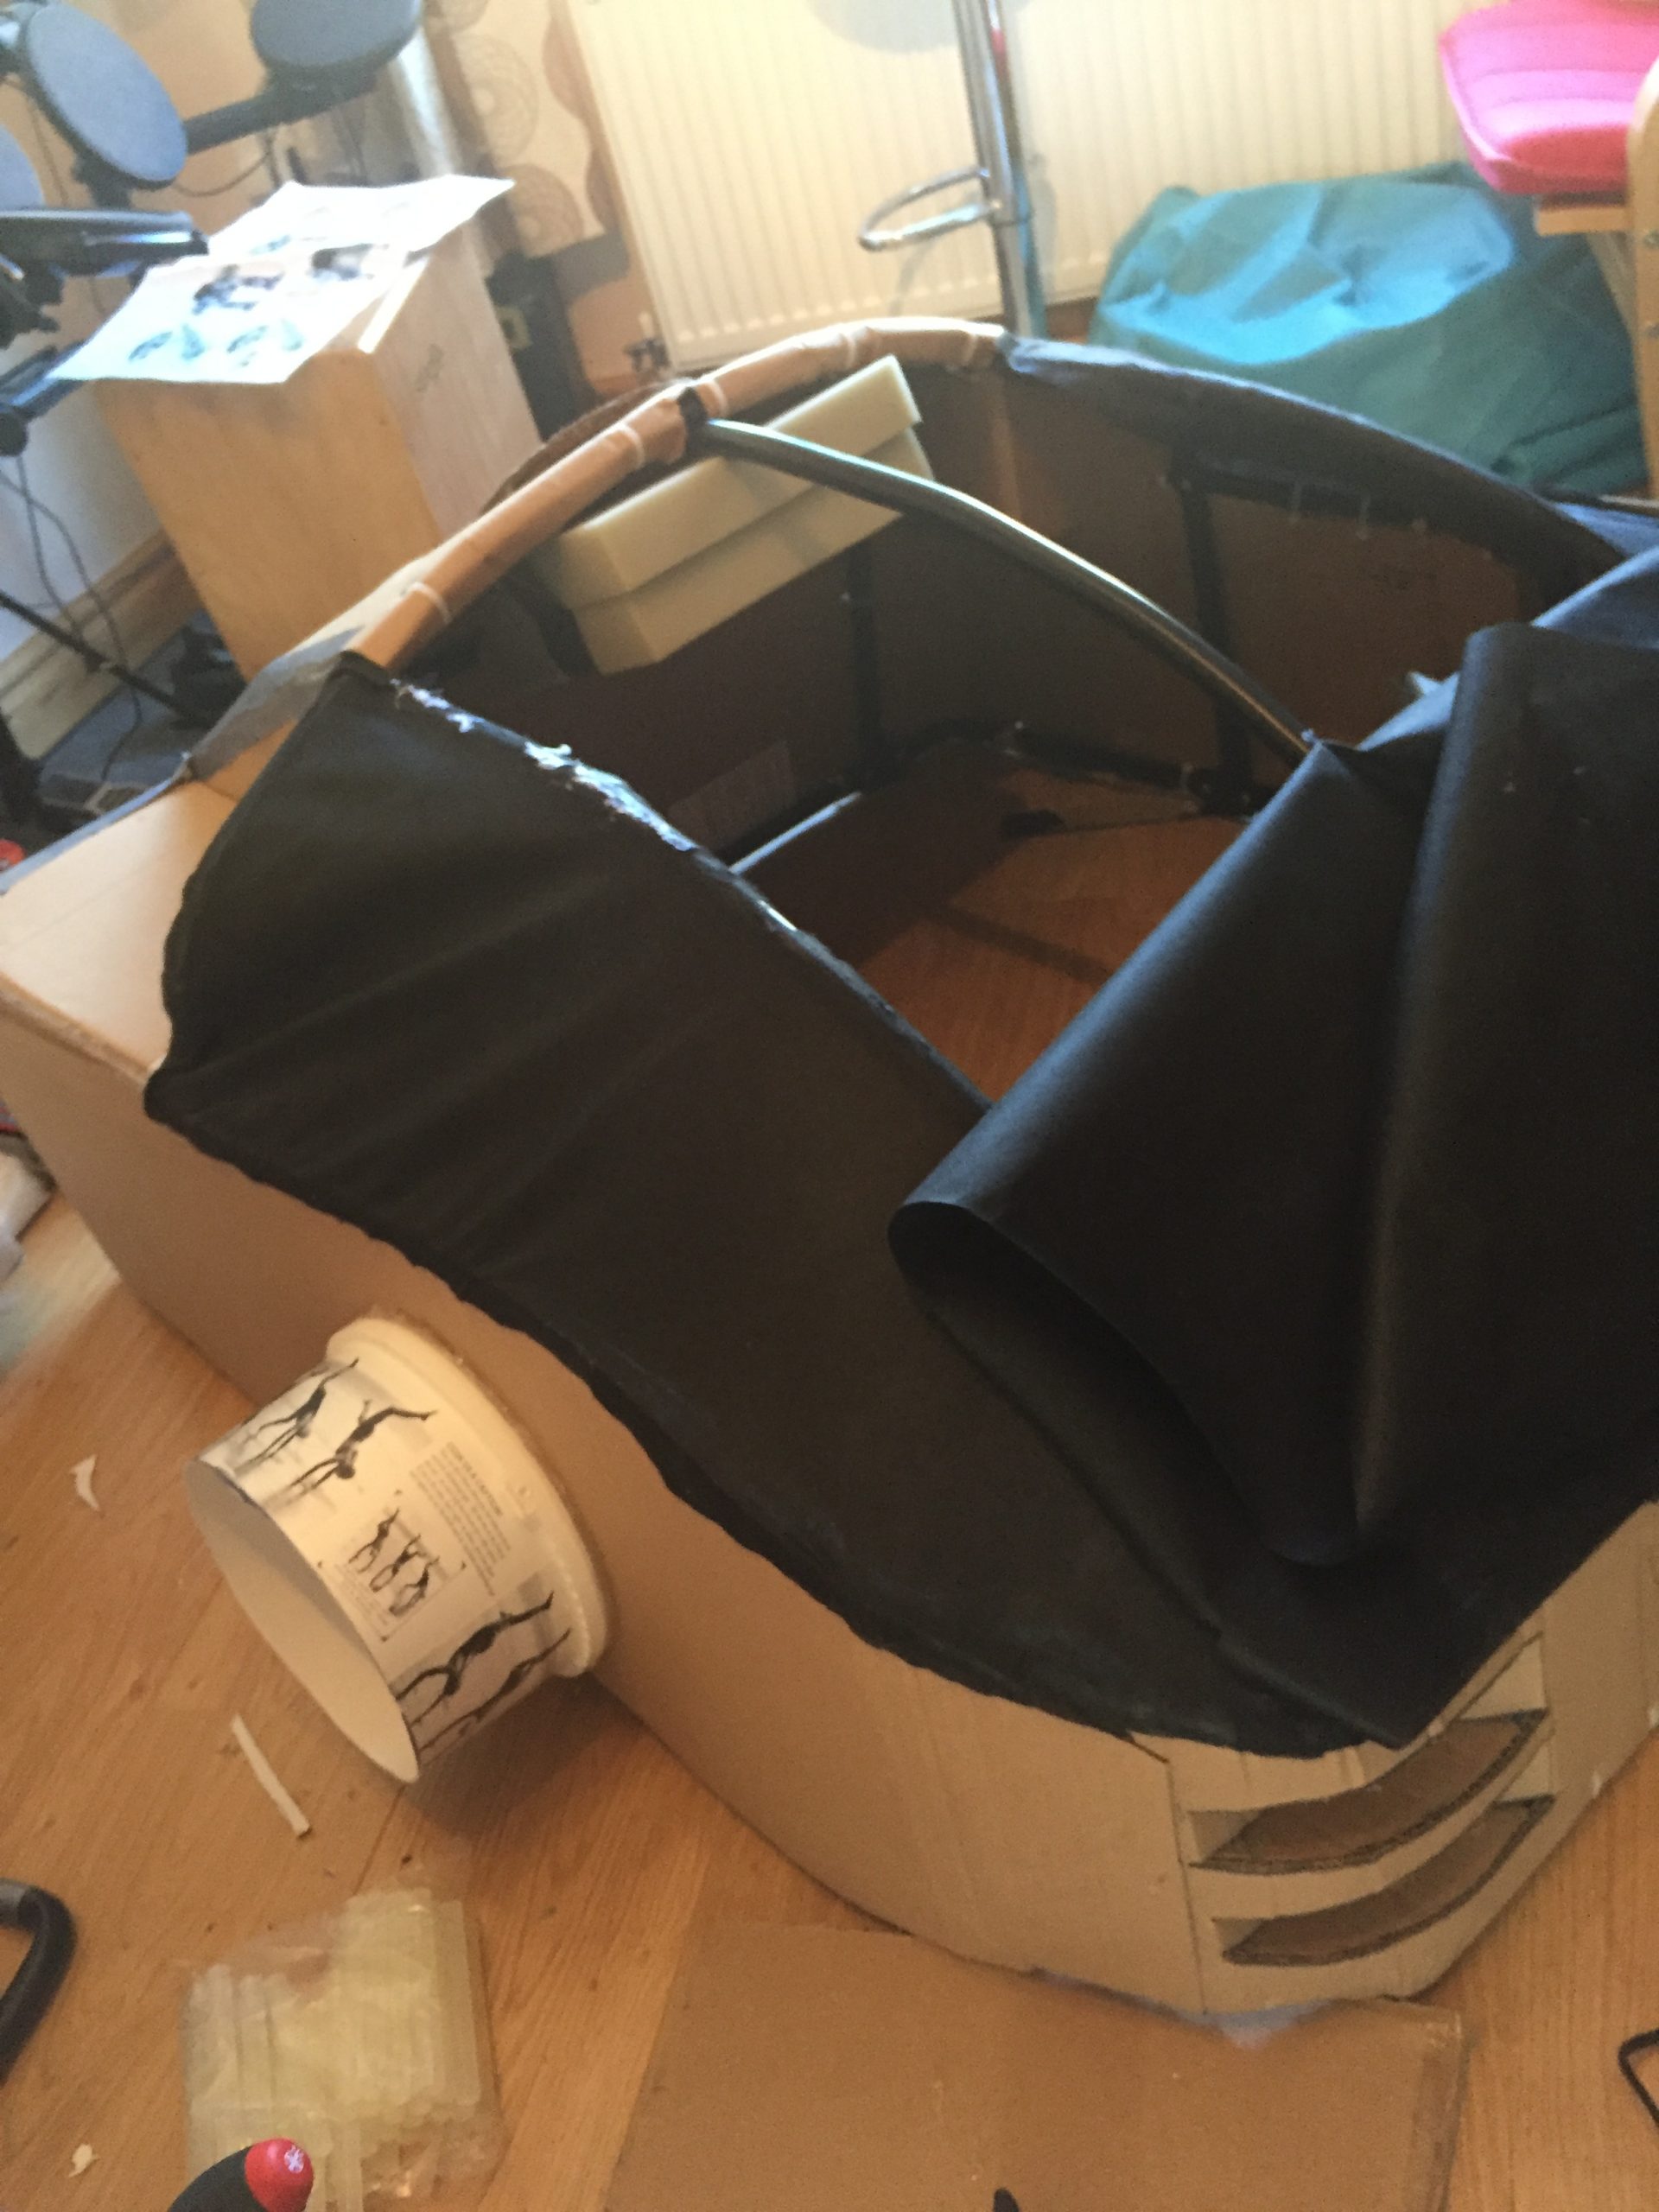
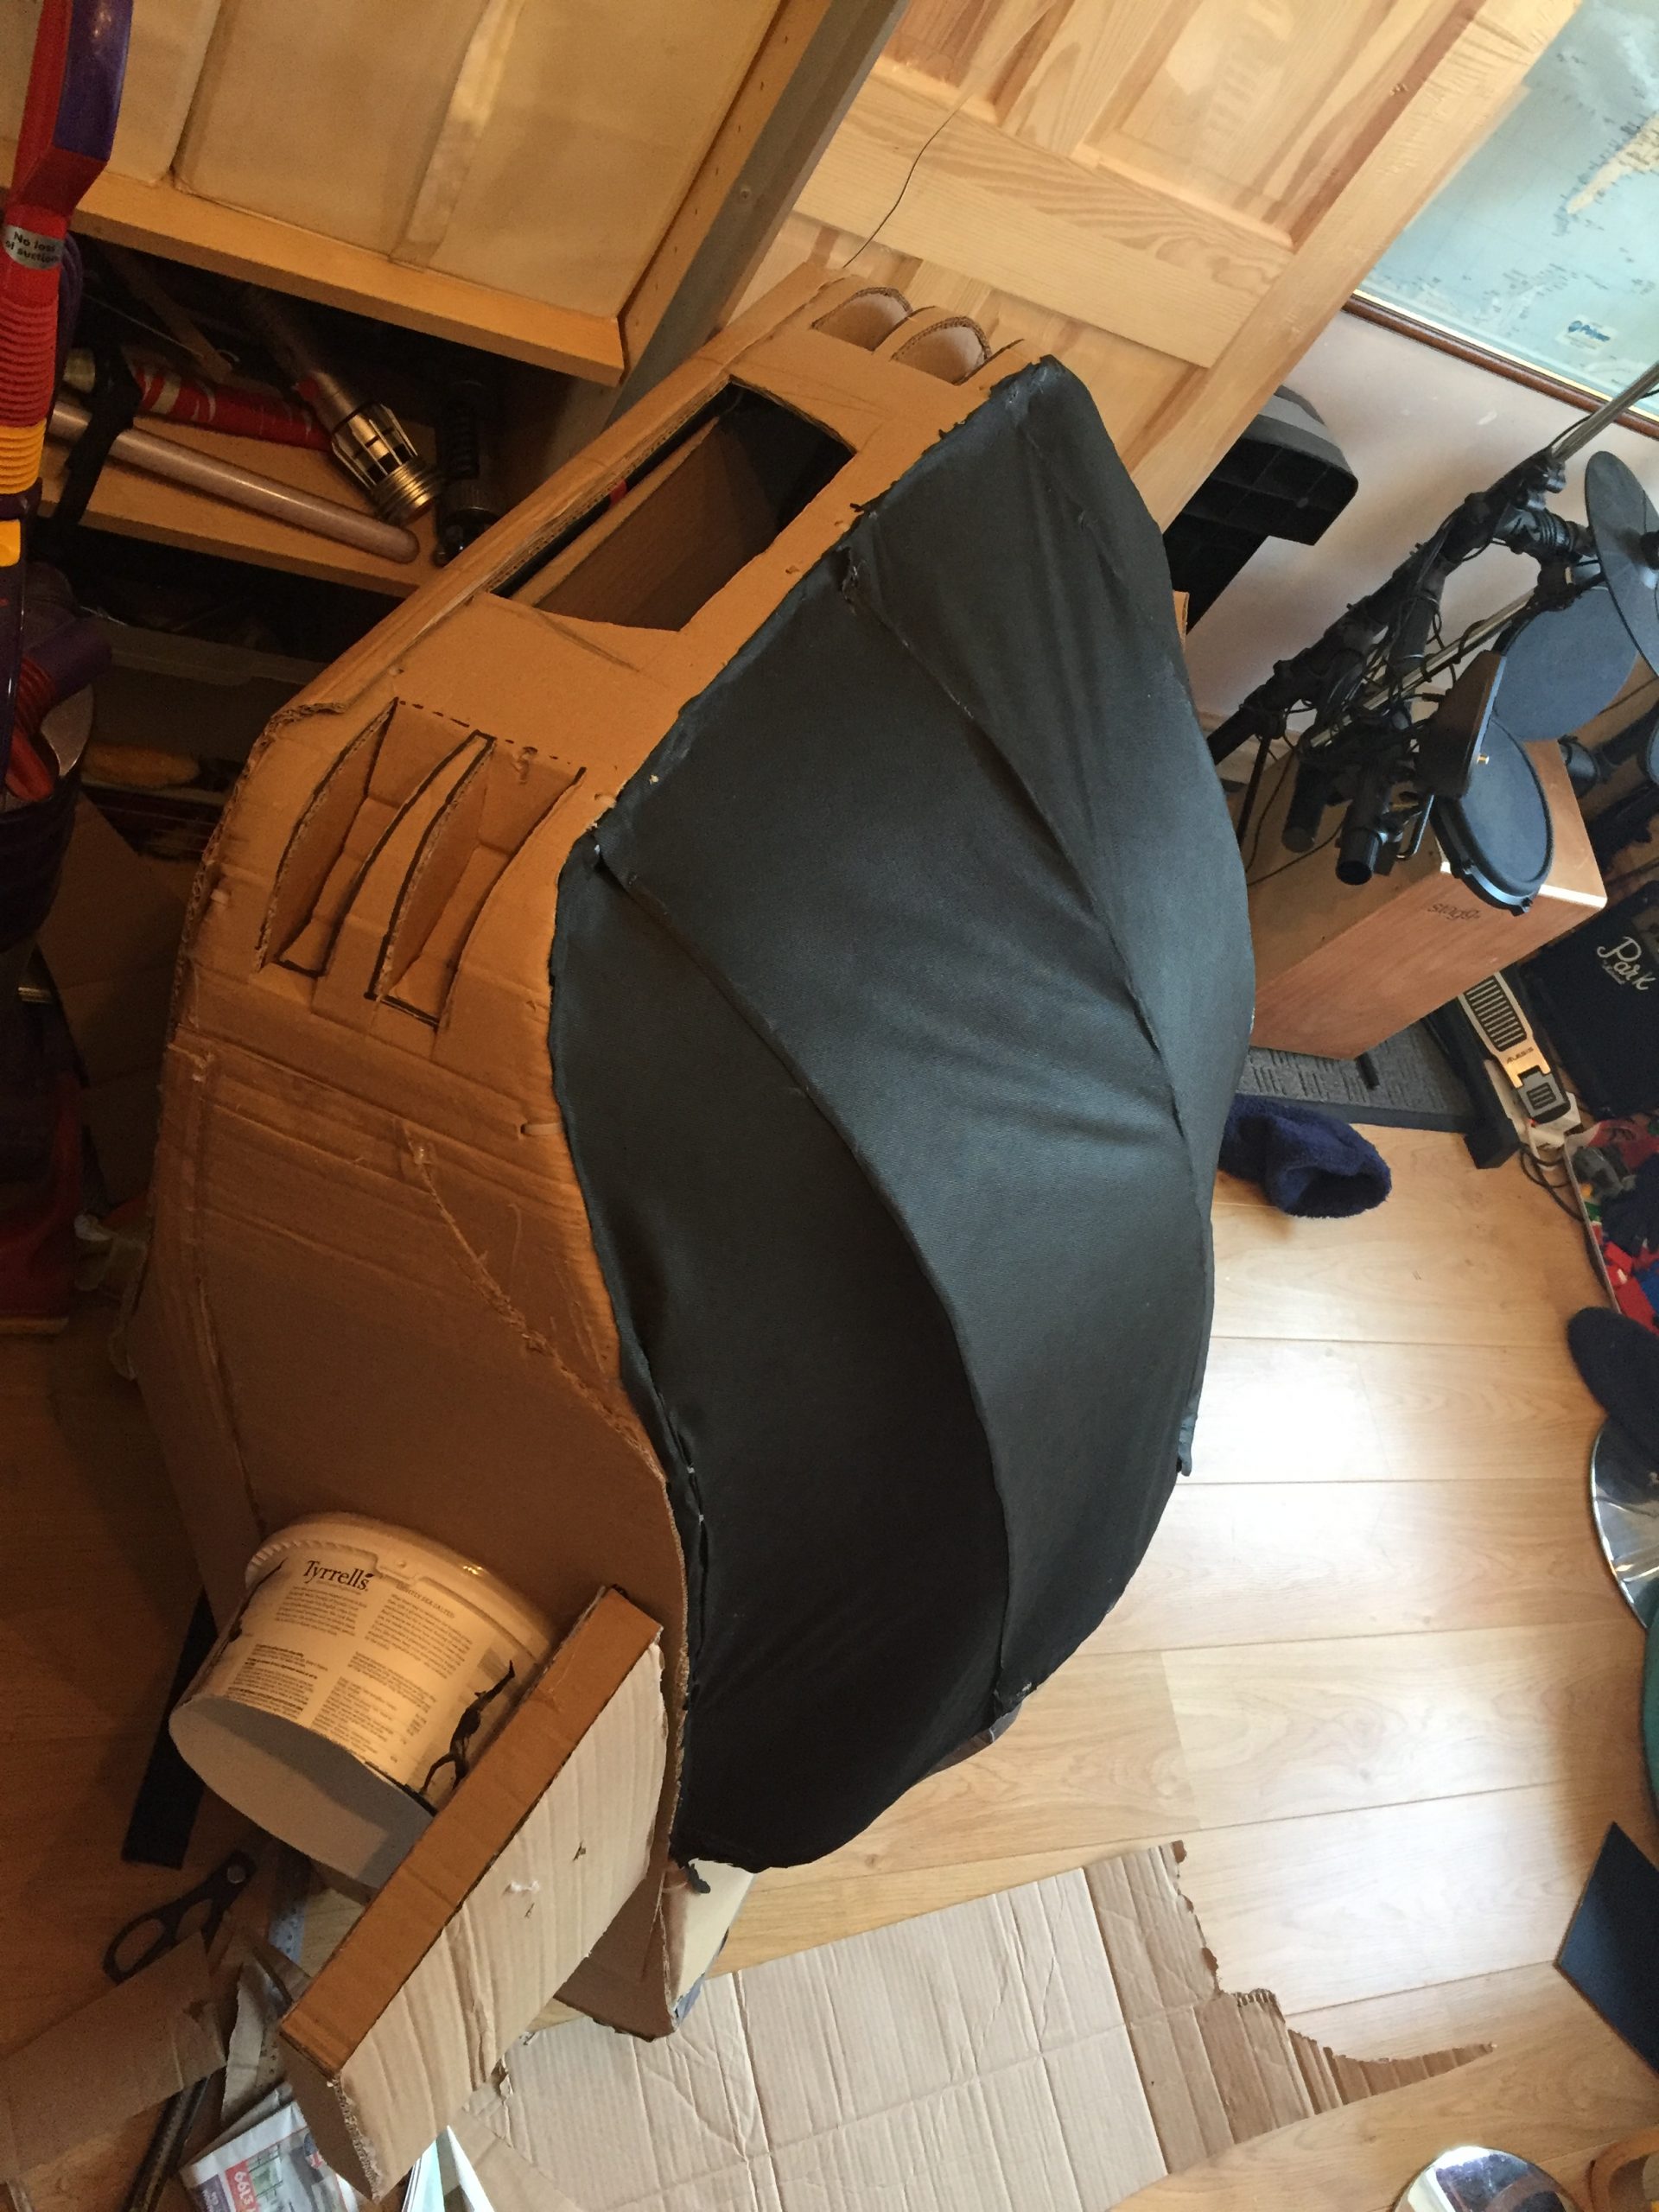
As you can probably see in note 31 below, I had a good idea to fix the screen material over the top after my first effort showed a lot of wrinkles and droopy areas. I was going to fix card over the areas the screen was to be and then glue the black material (weed stopping membrane) over the top of it.
This didn’t quite work as I figured out that it was twice as much work as I needed to do and it would have been difficult bending the card to that shape. The material should be more flexible. The idea of fitting the material to each side and then to the centre was a good idea so I tried this.
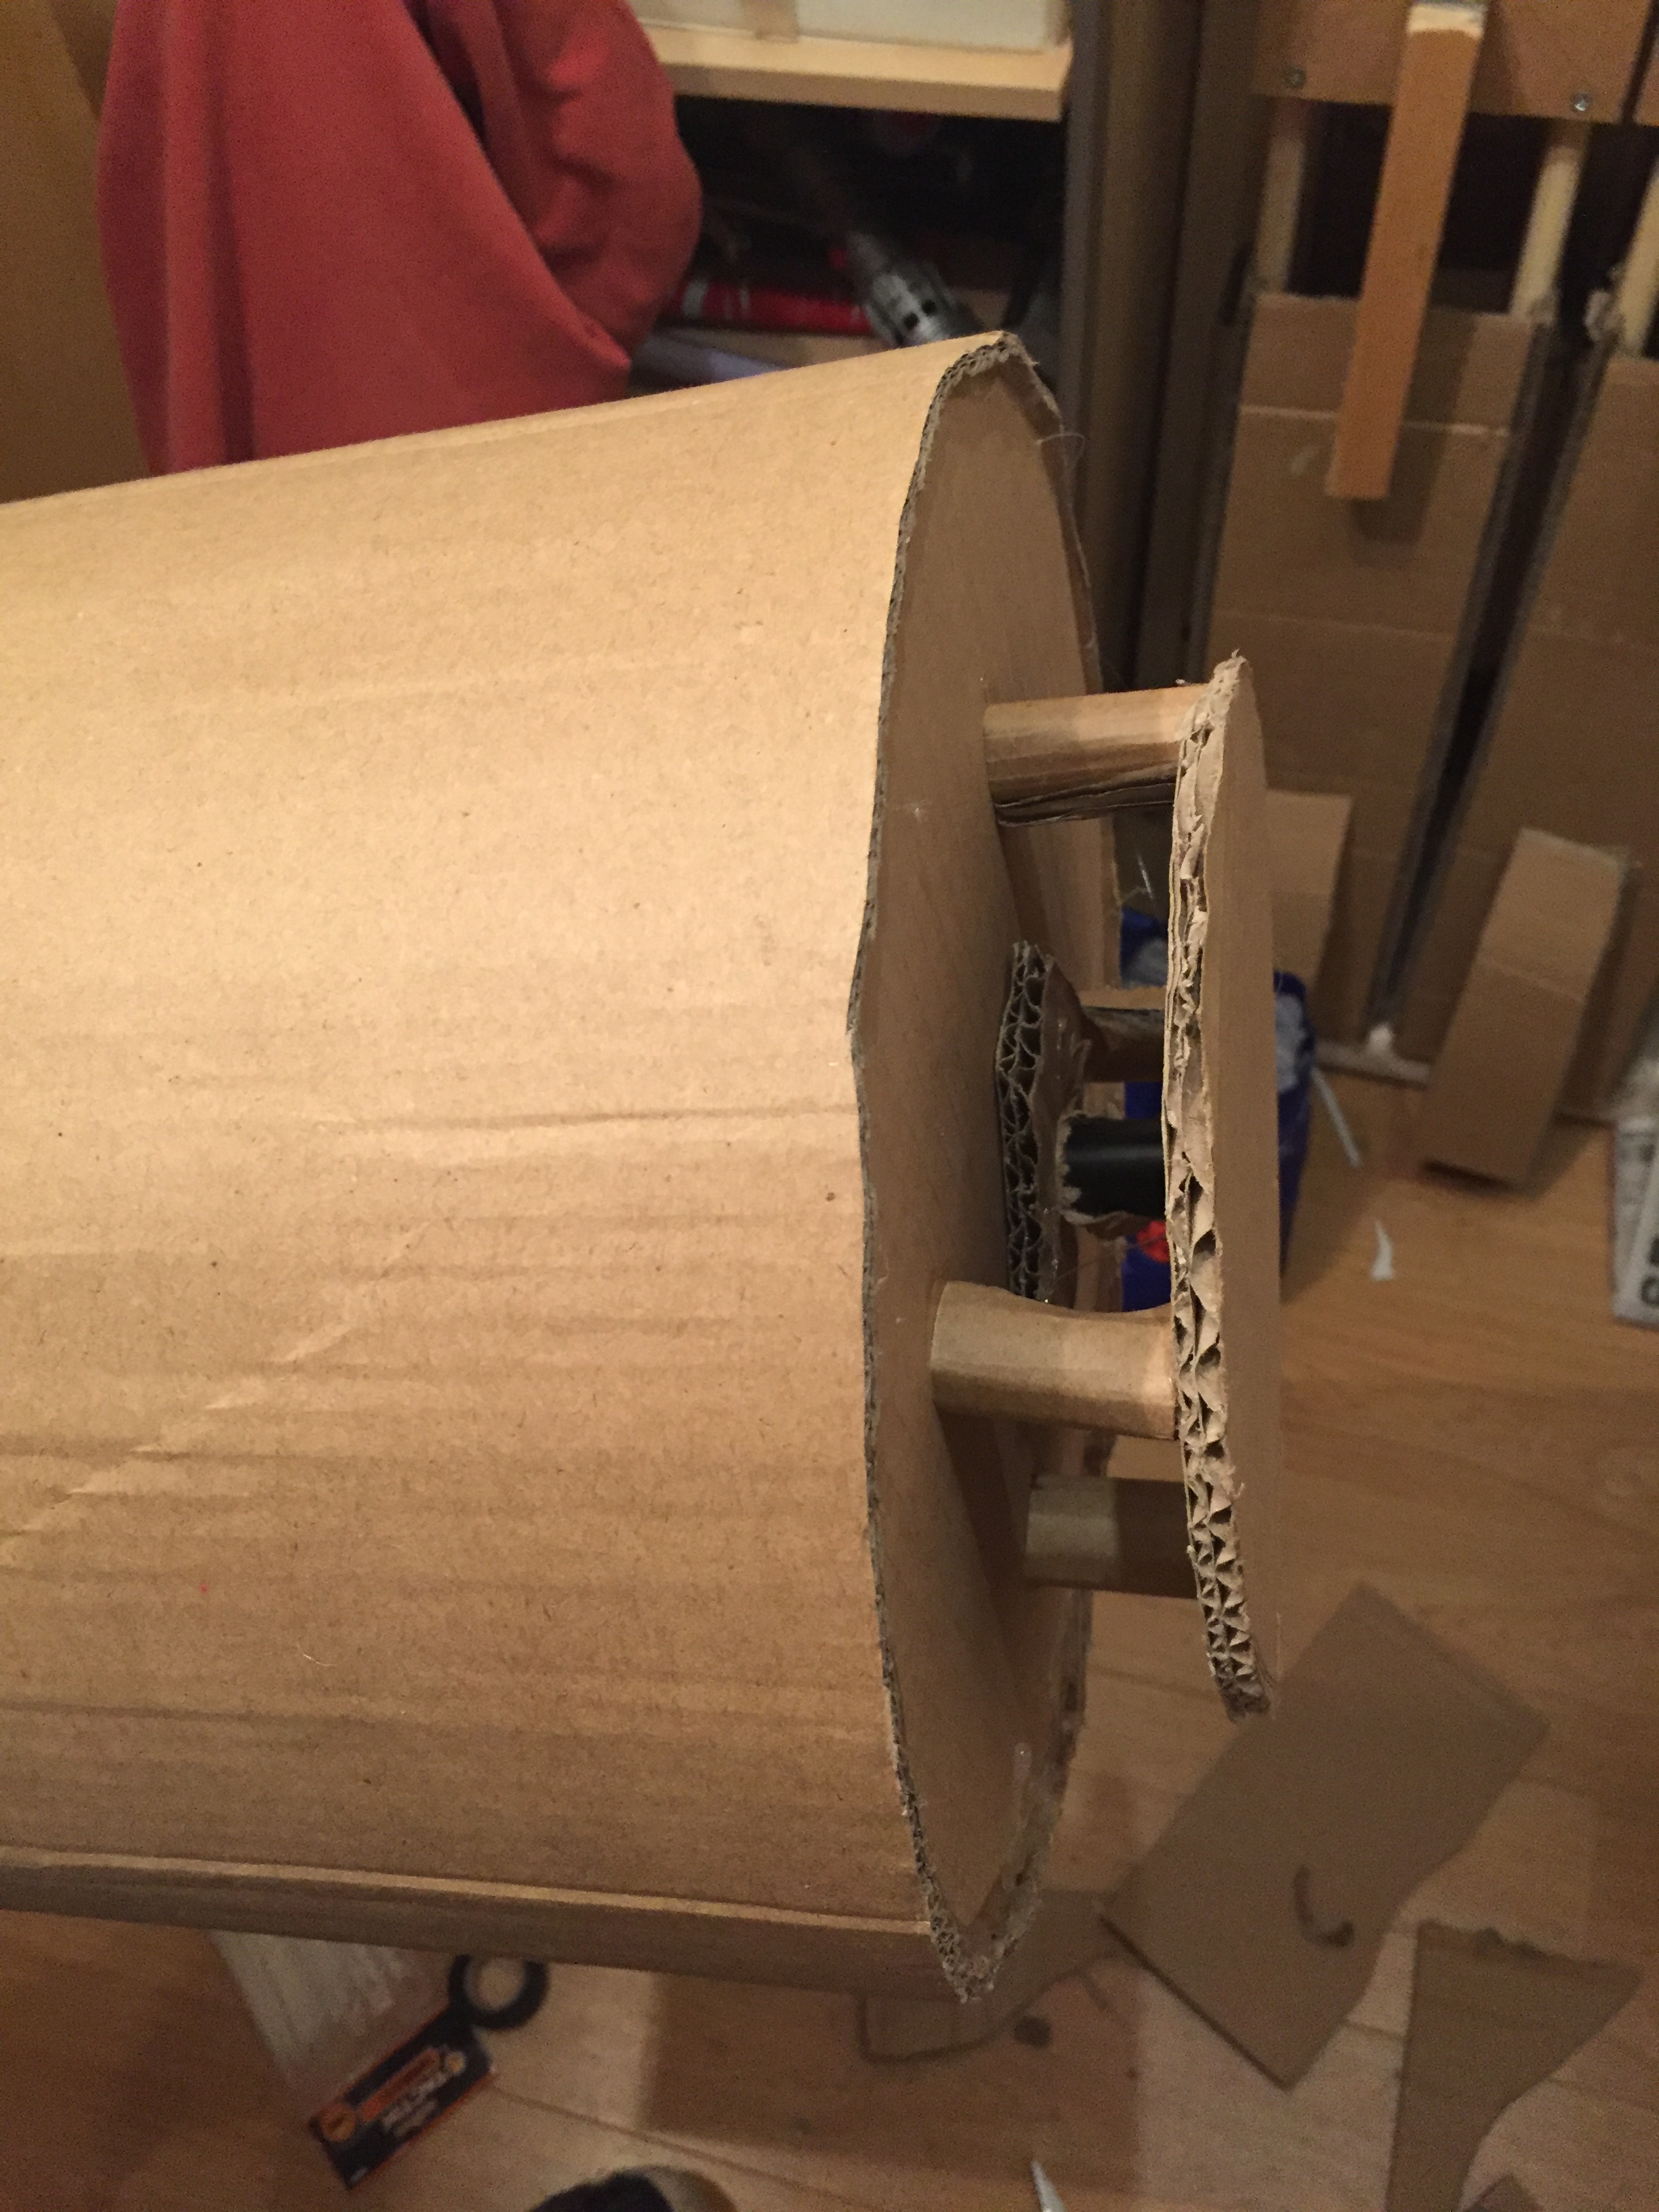
In the lower three pictures here you can see the sides have been stretched over the frame and stuck to the conduit using a hot glue gun. I found out at this point that the hot glue goes through this material and burns your fingers if you’re not wearing your gloves…
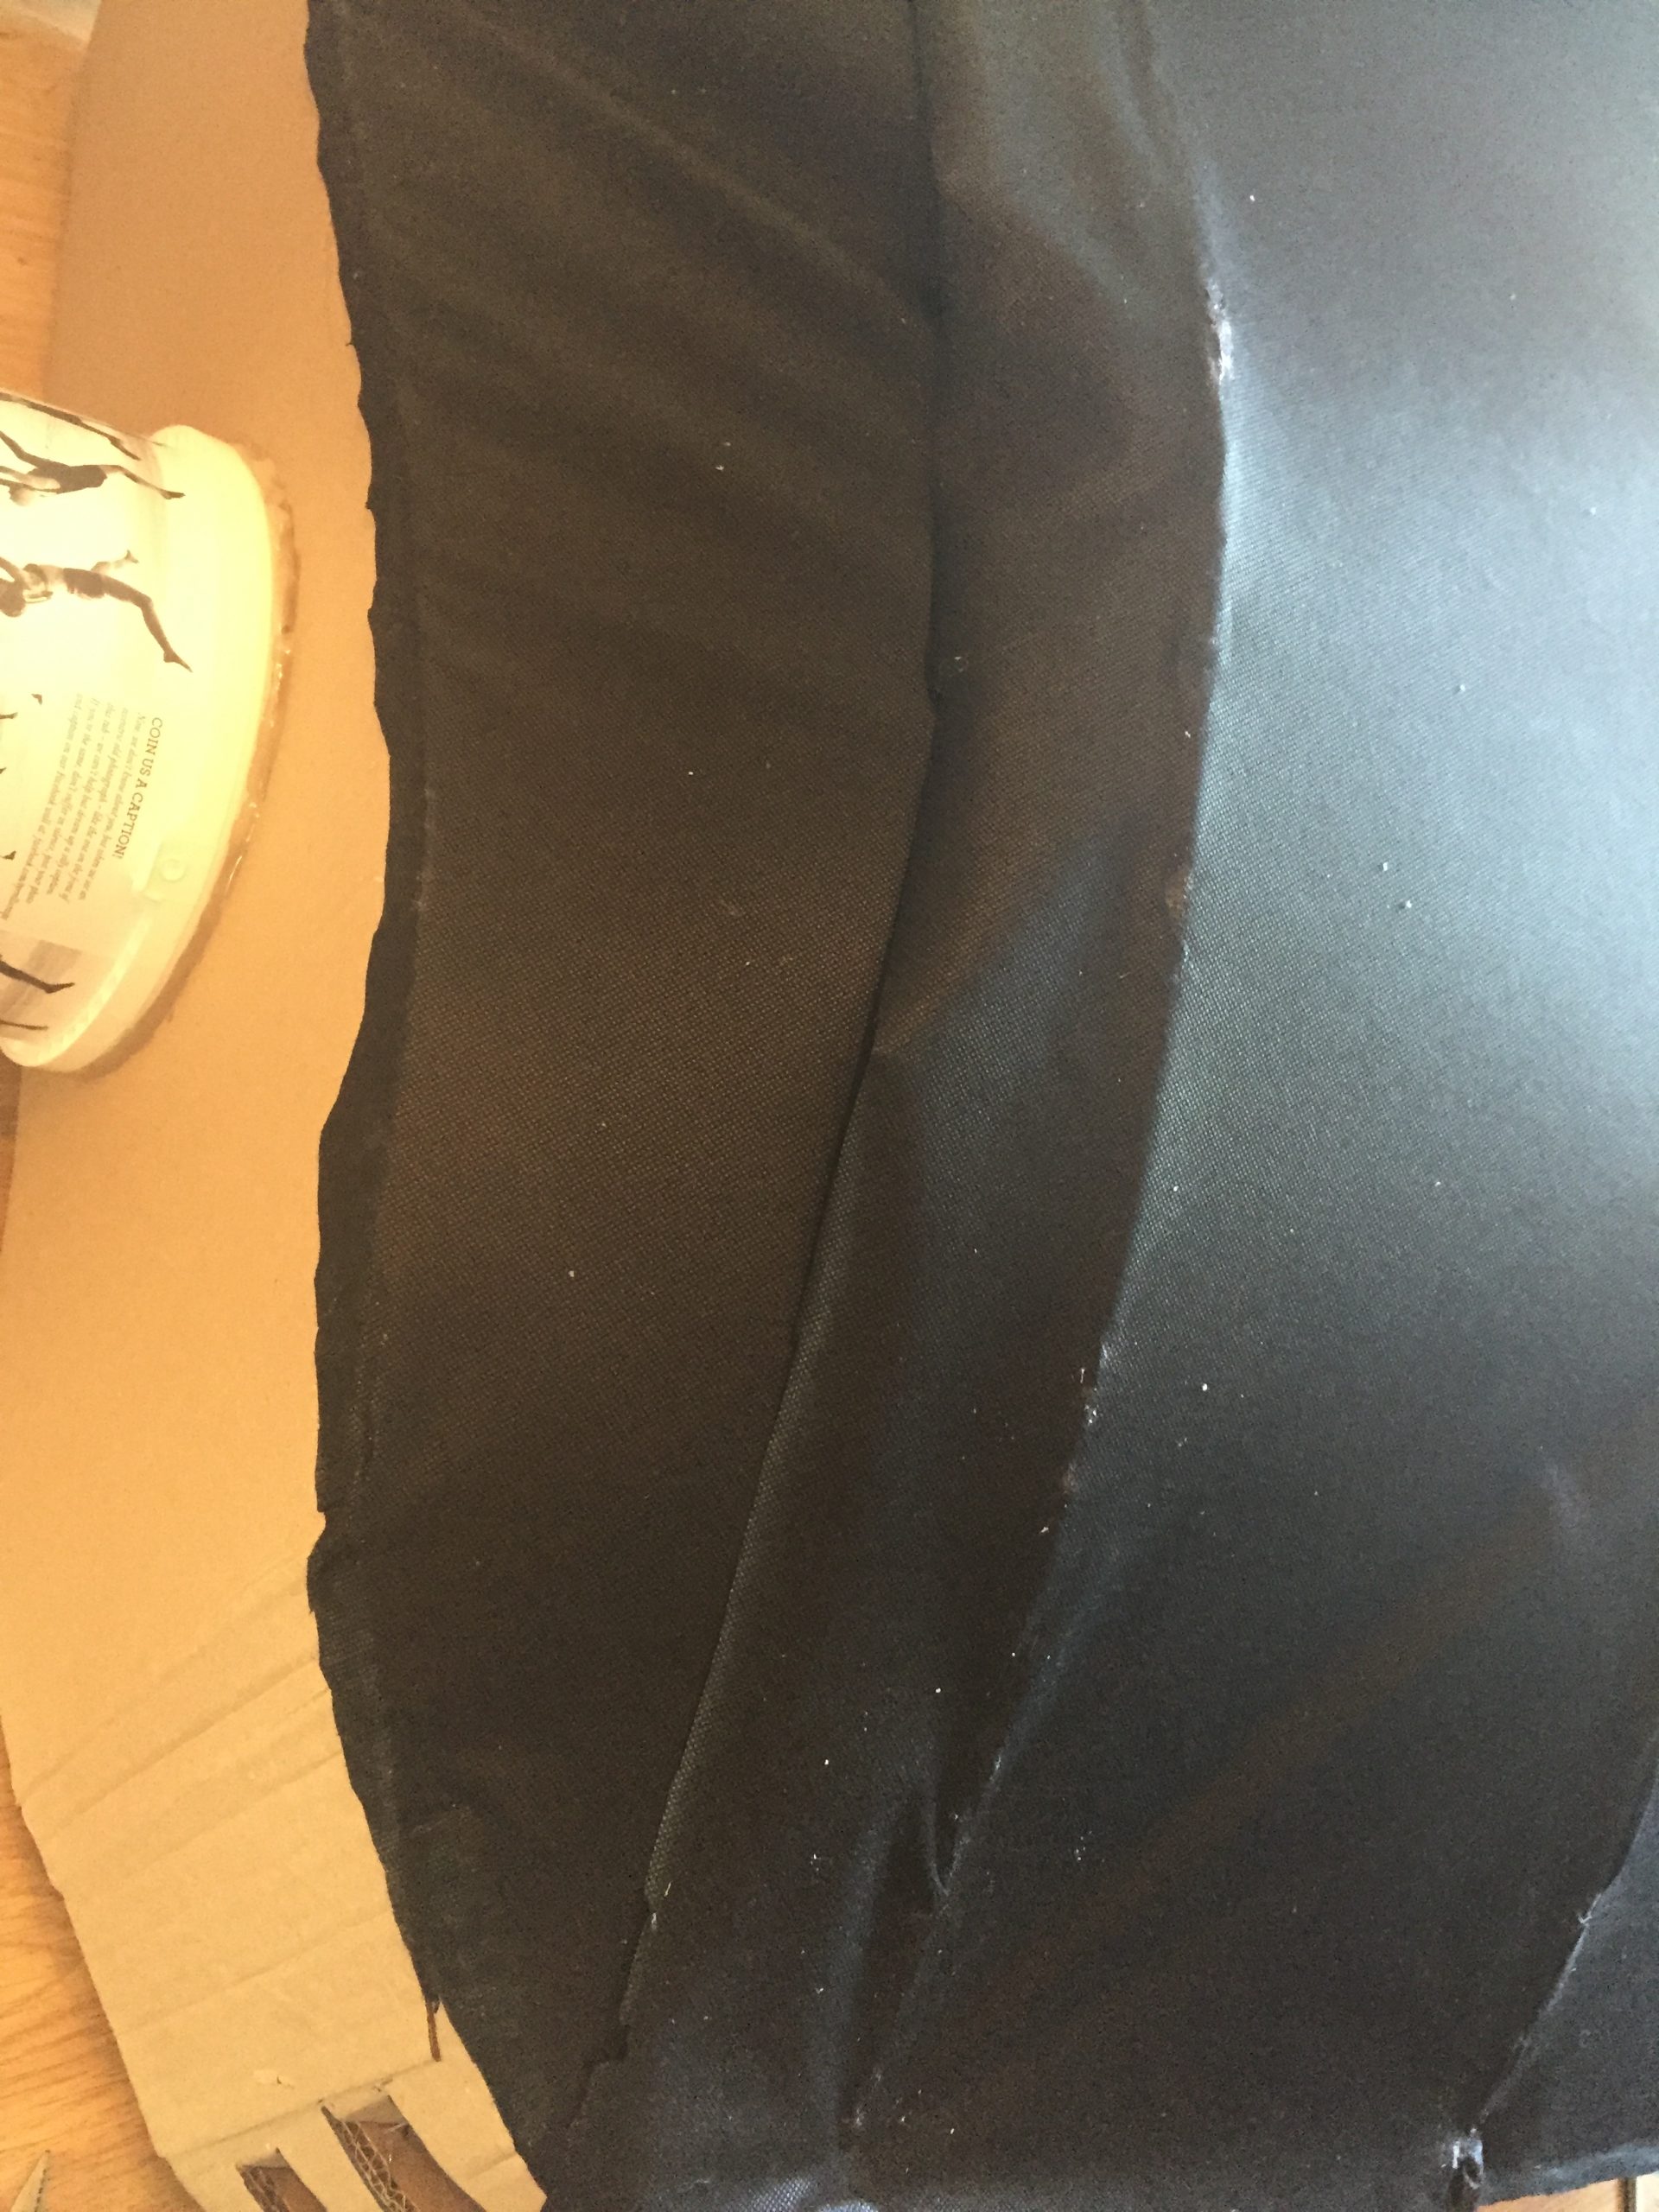
I could stretch this material over the pipes in the centre panel and glue knowing that I was to cover it with the centre panel of material. Once trimmed back a little I glued the centre panel on with a bit of an overlap ready to be cut to the contour of the pipe beneath. In the middle photo below you can see that the material is overlapped but only glues along the conduit frame, in the last photo you can see the trimming off has neatened up the area. Some of the hot glue did come through and I painted this later with matt black acrylic paint and you couldn’t see it! There were still wrinkles and some creases but I chose to live with these and get on with the rest of the build, it was now the 15th October and jsut over a month remaining until the Comic Con at the Birmingham NEC.
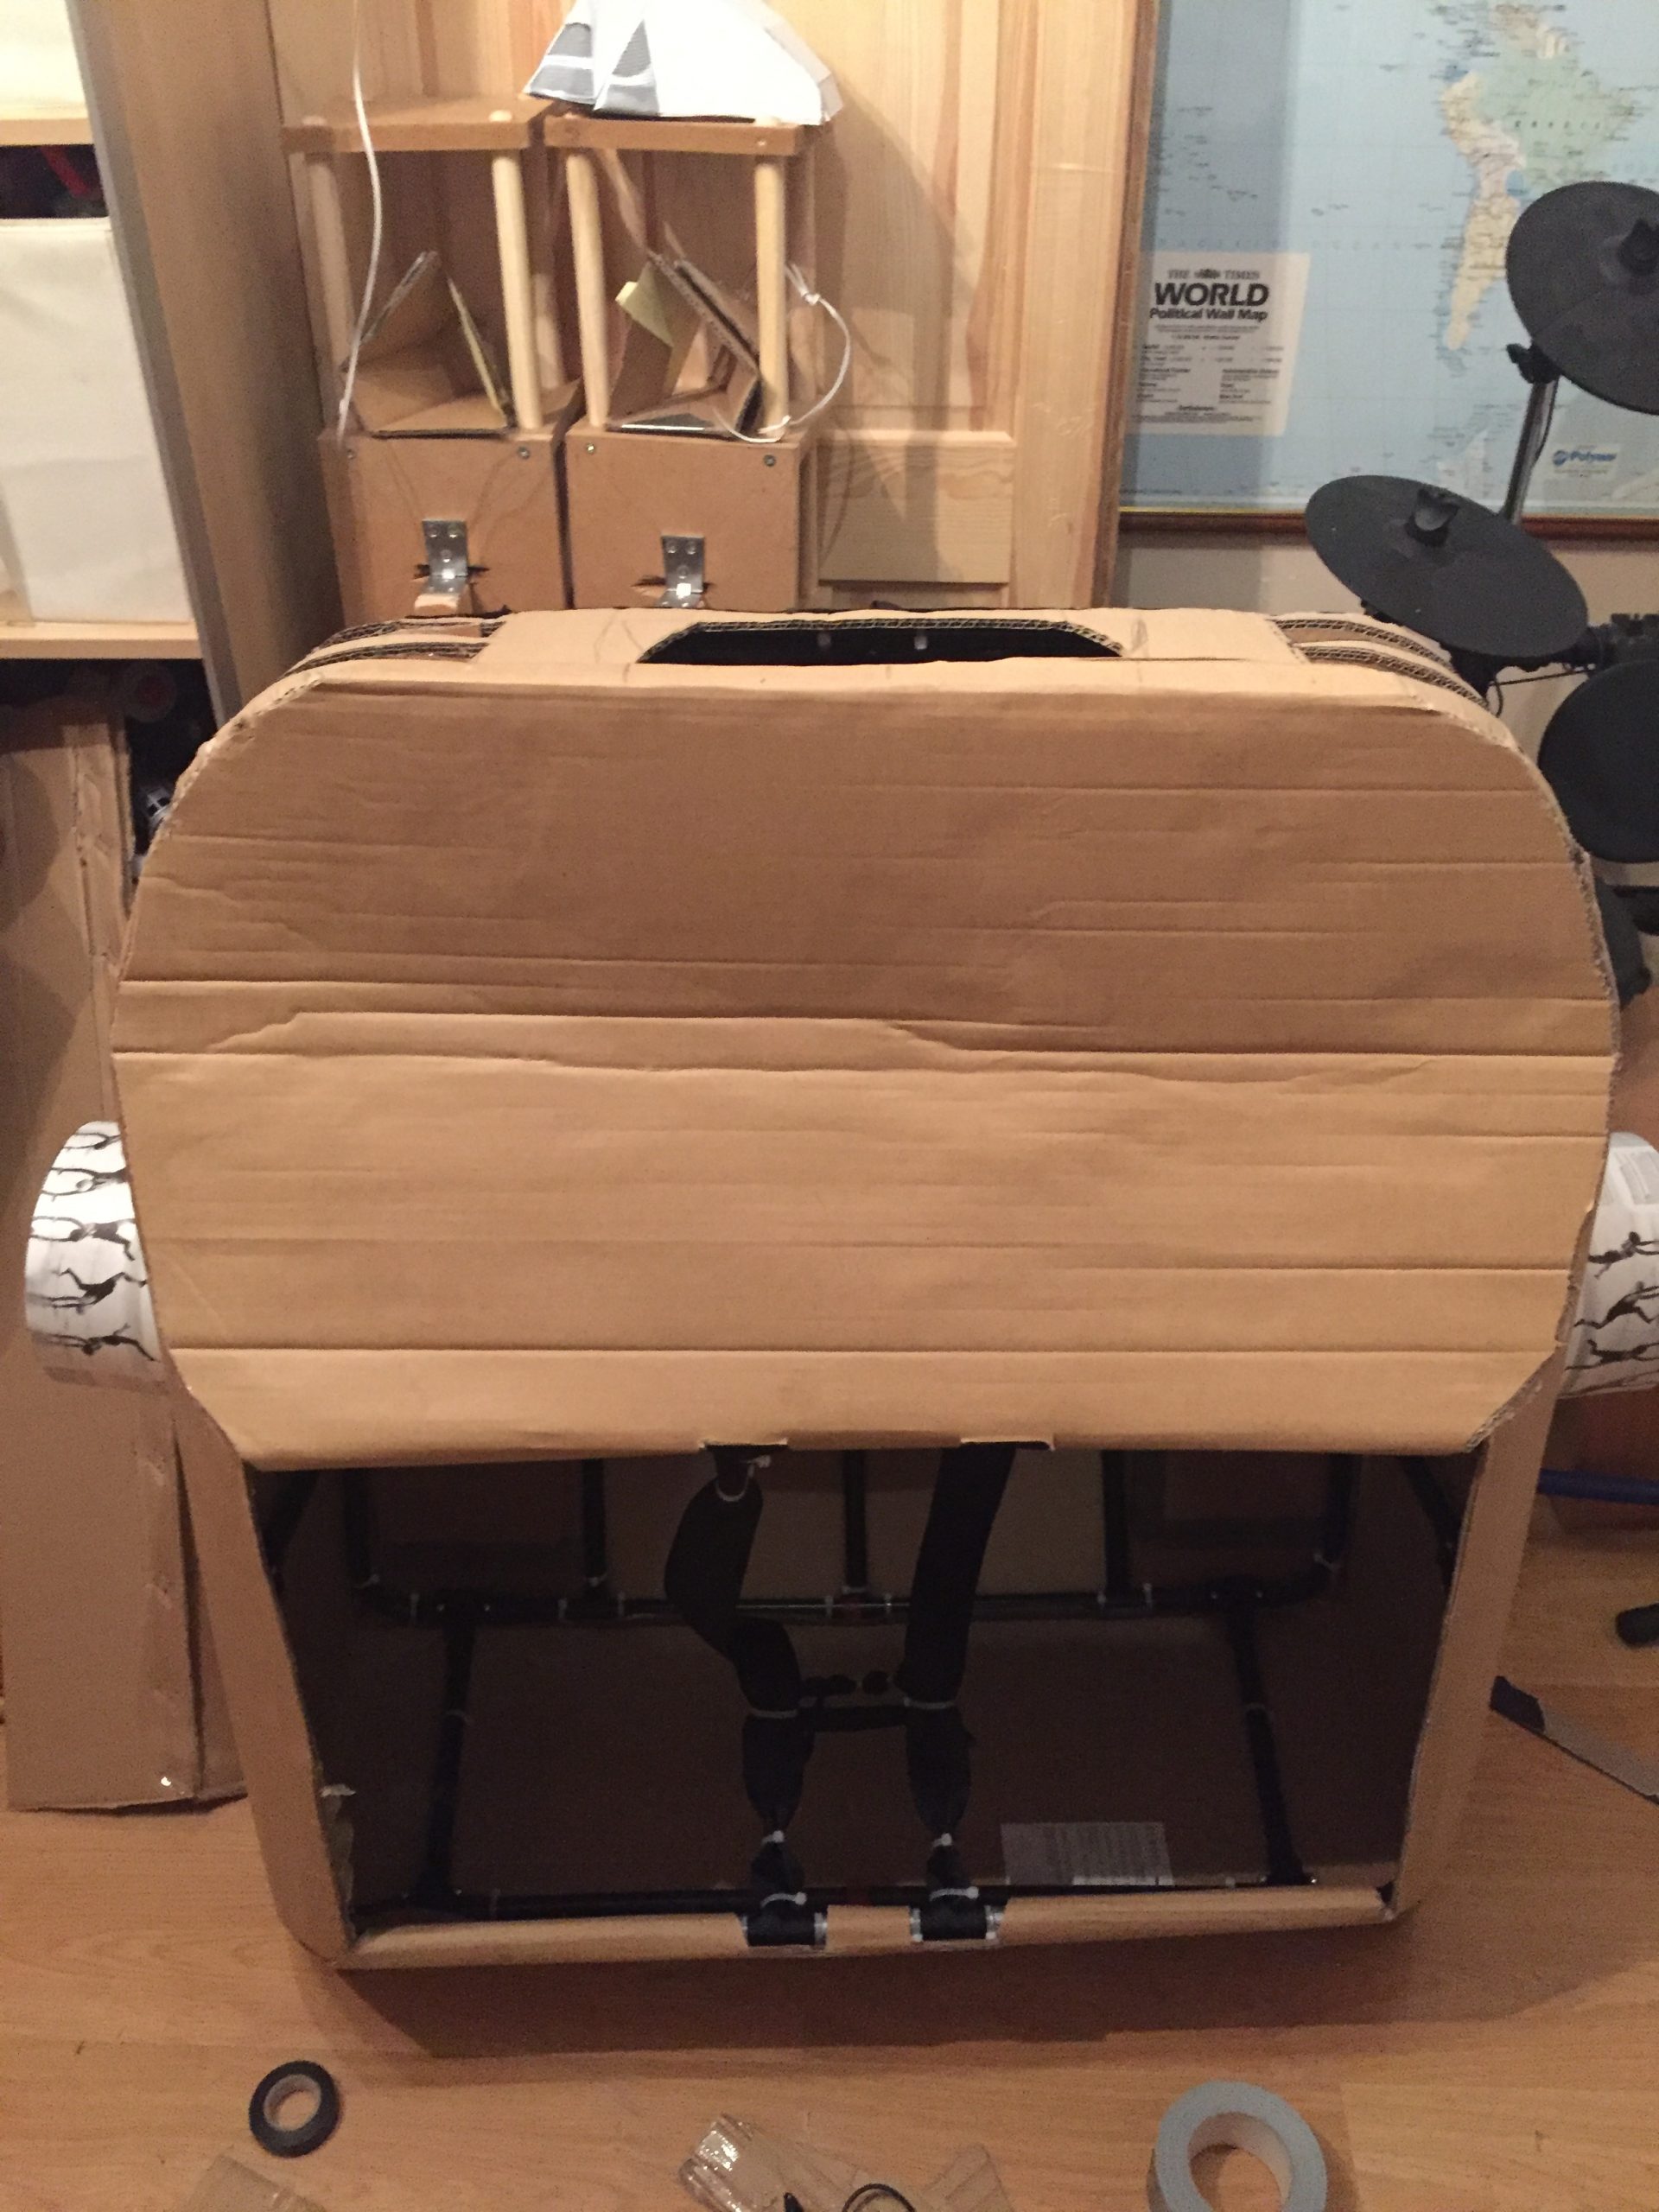
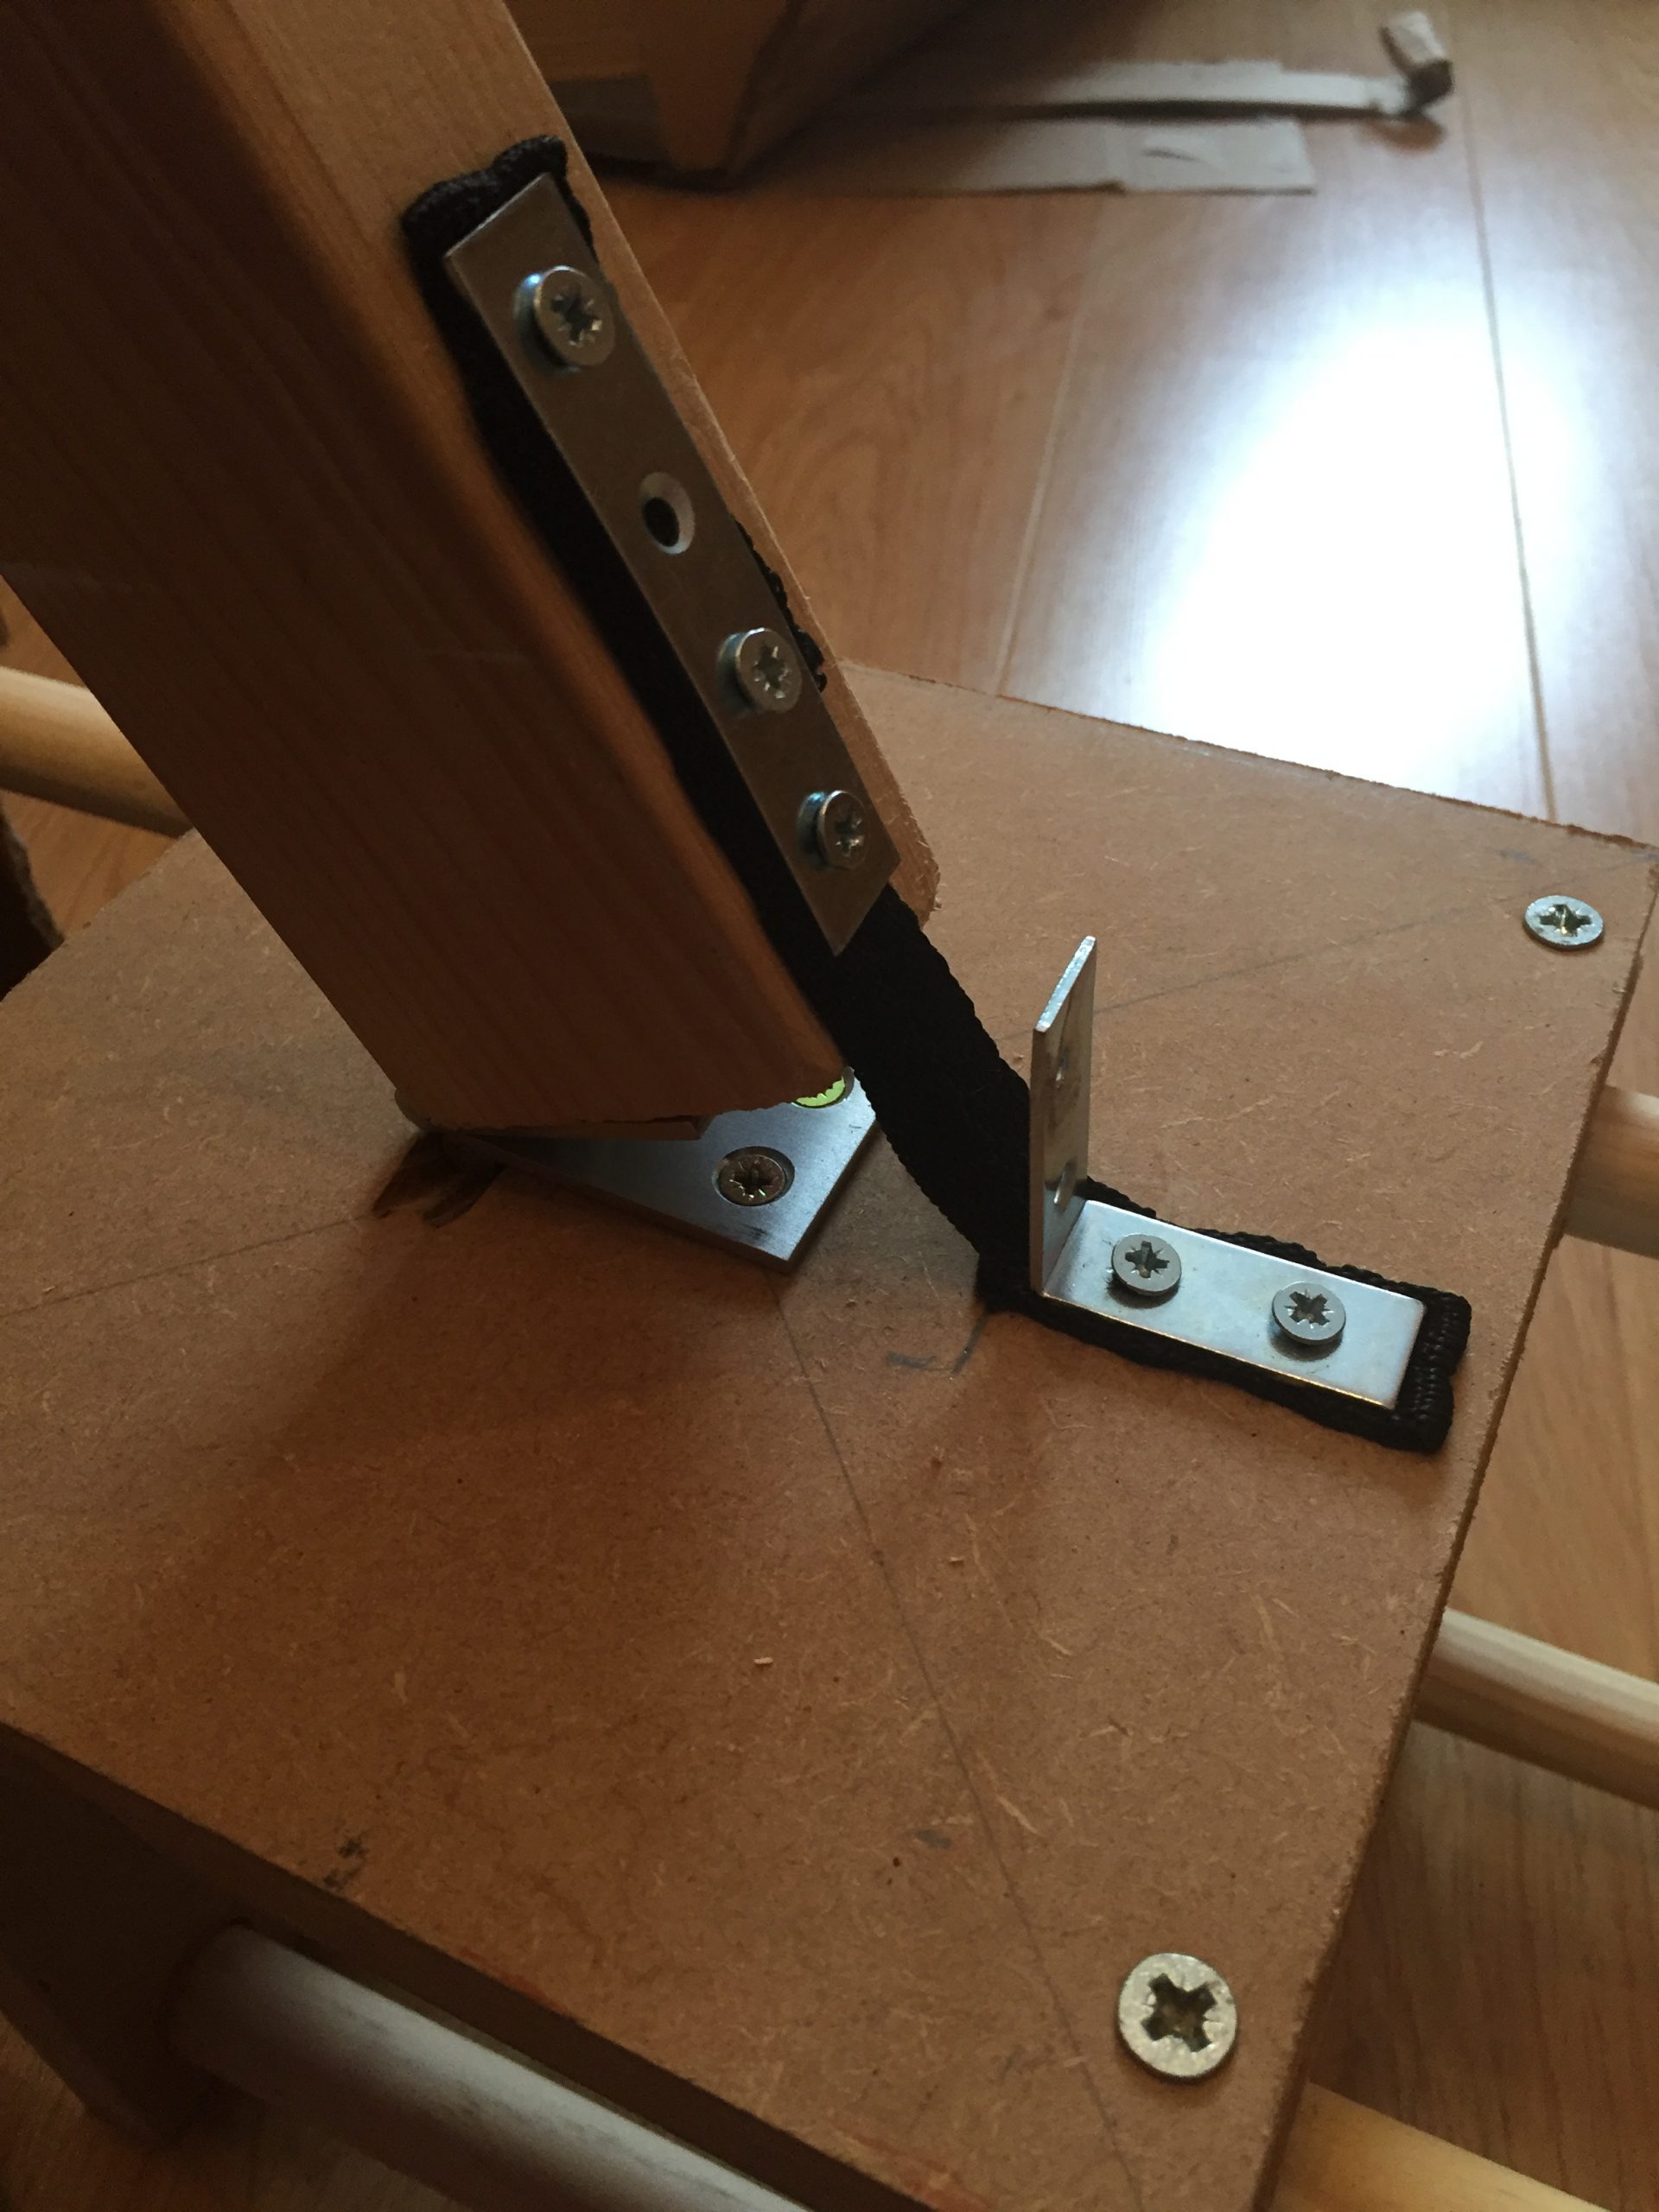
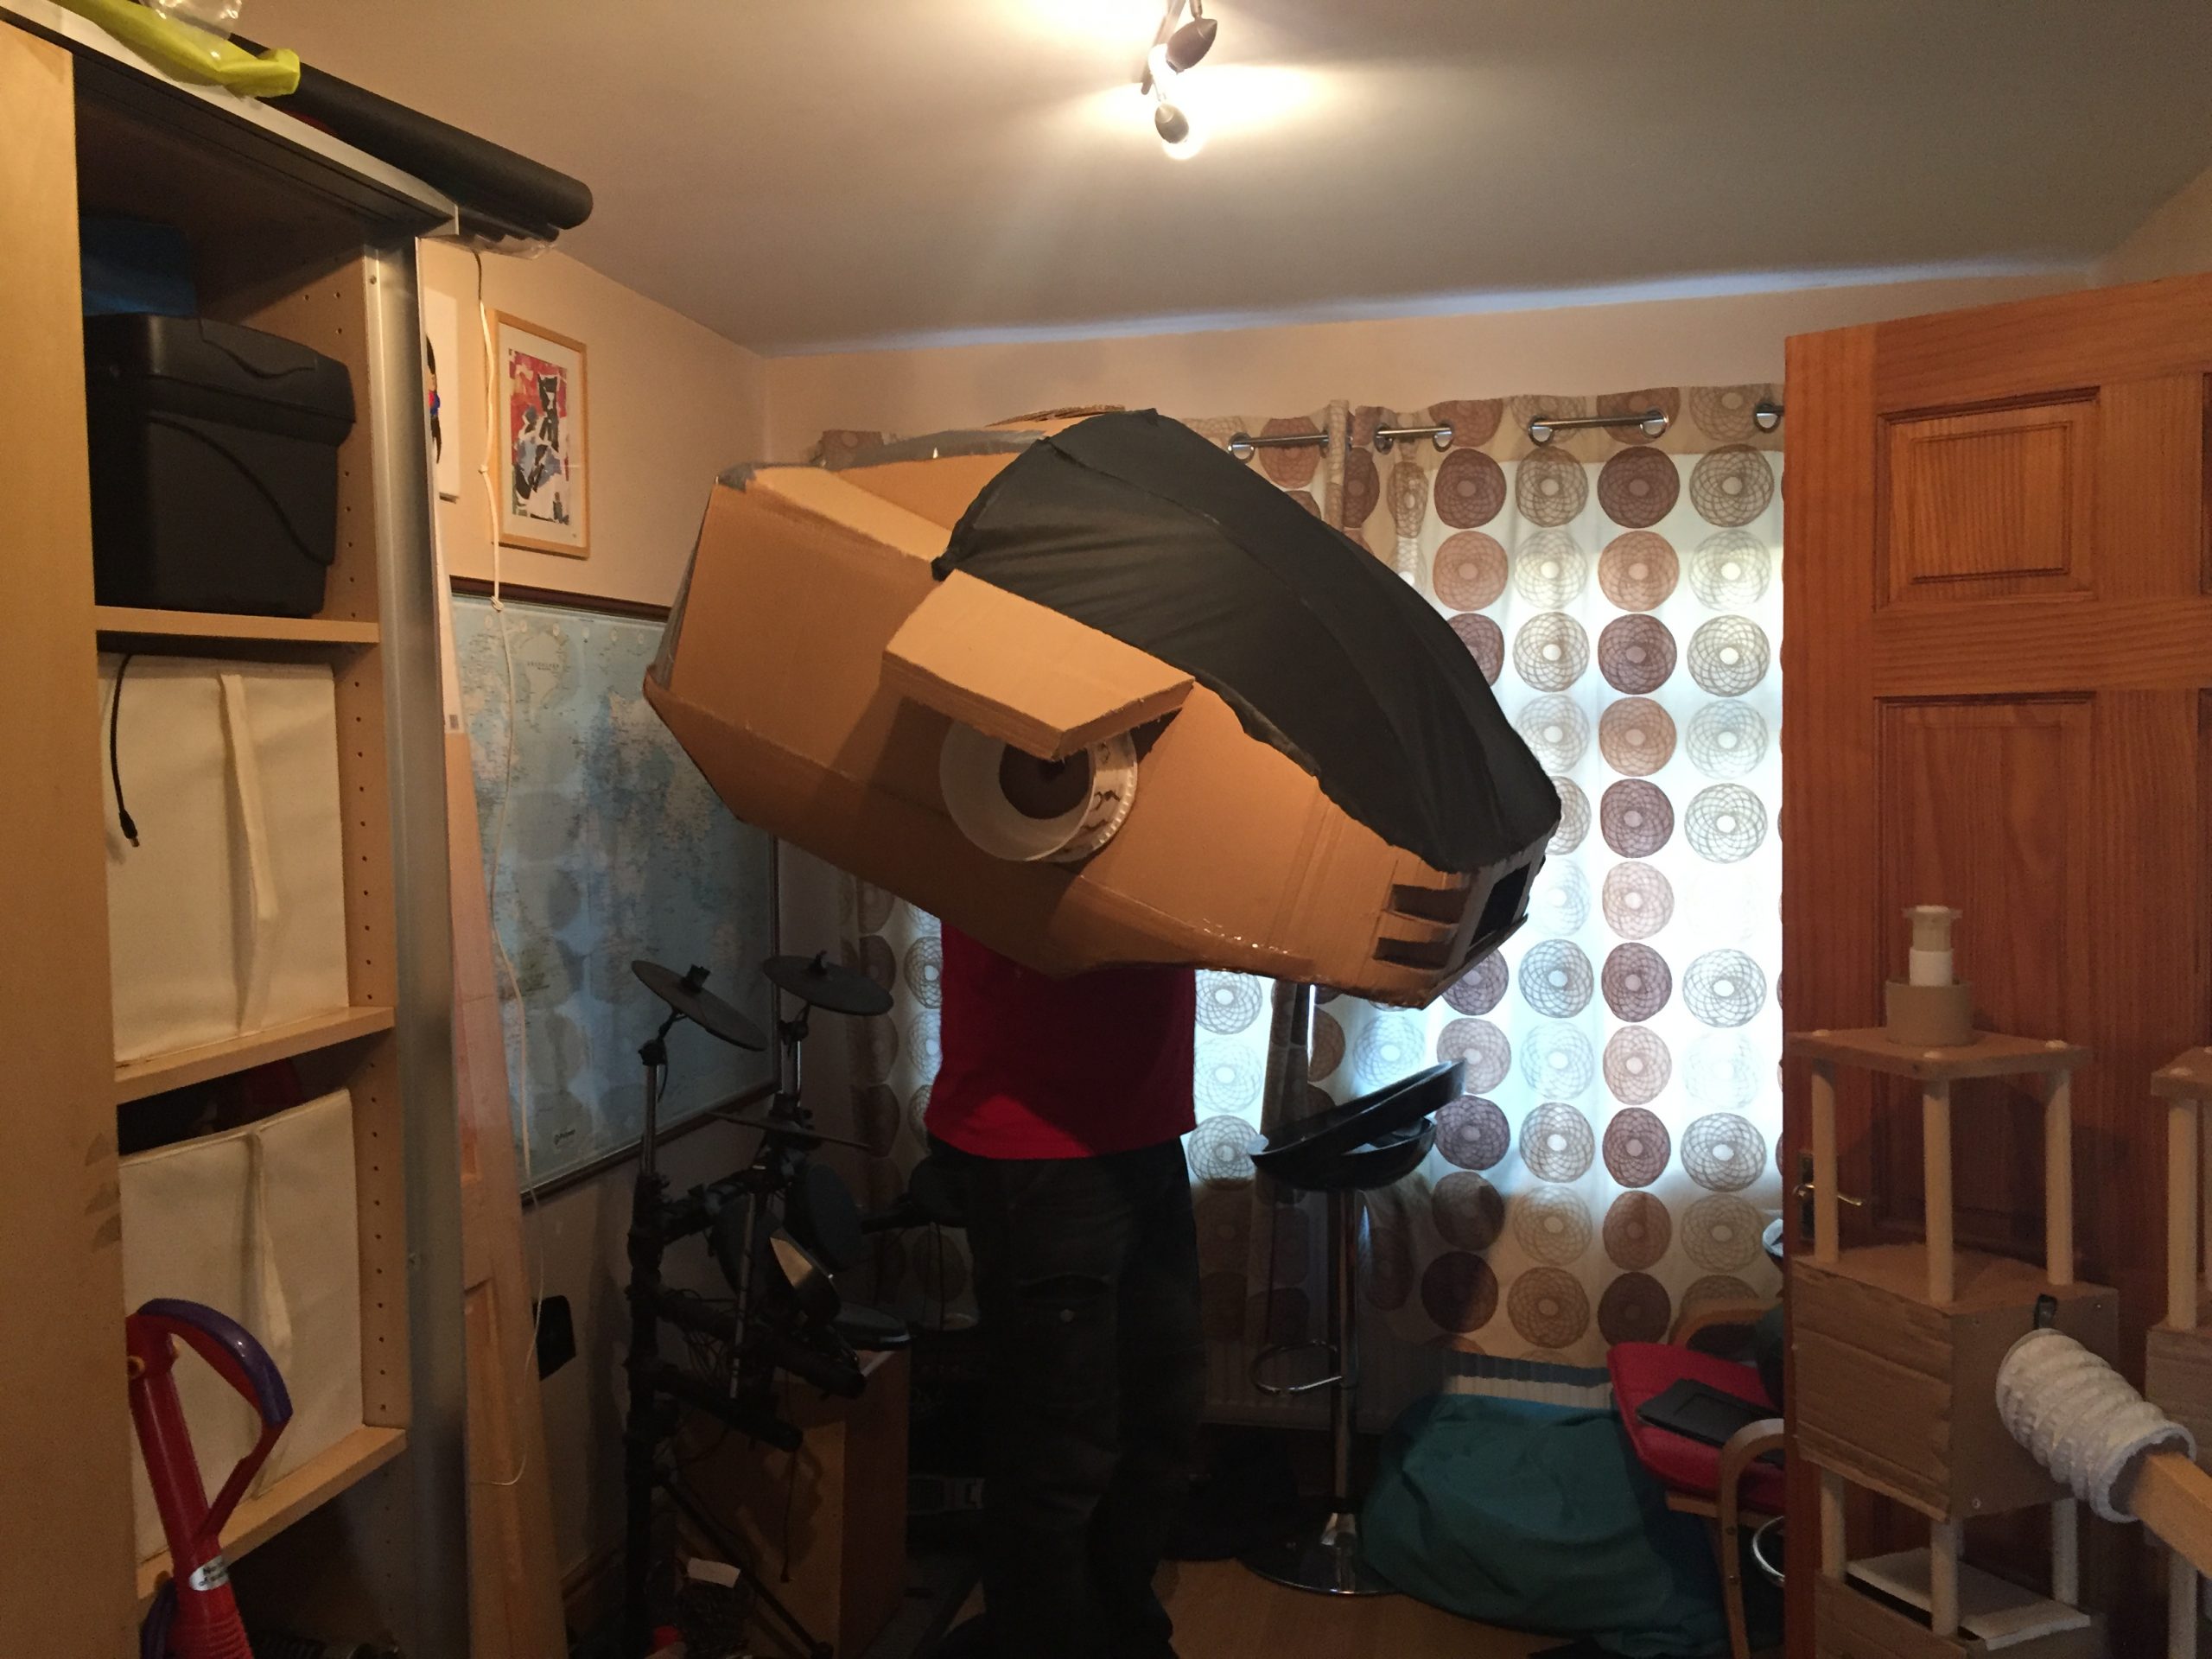
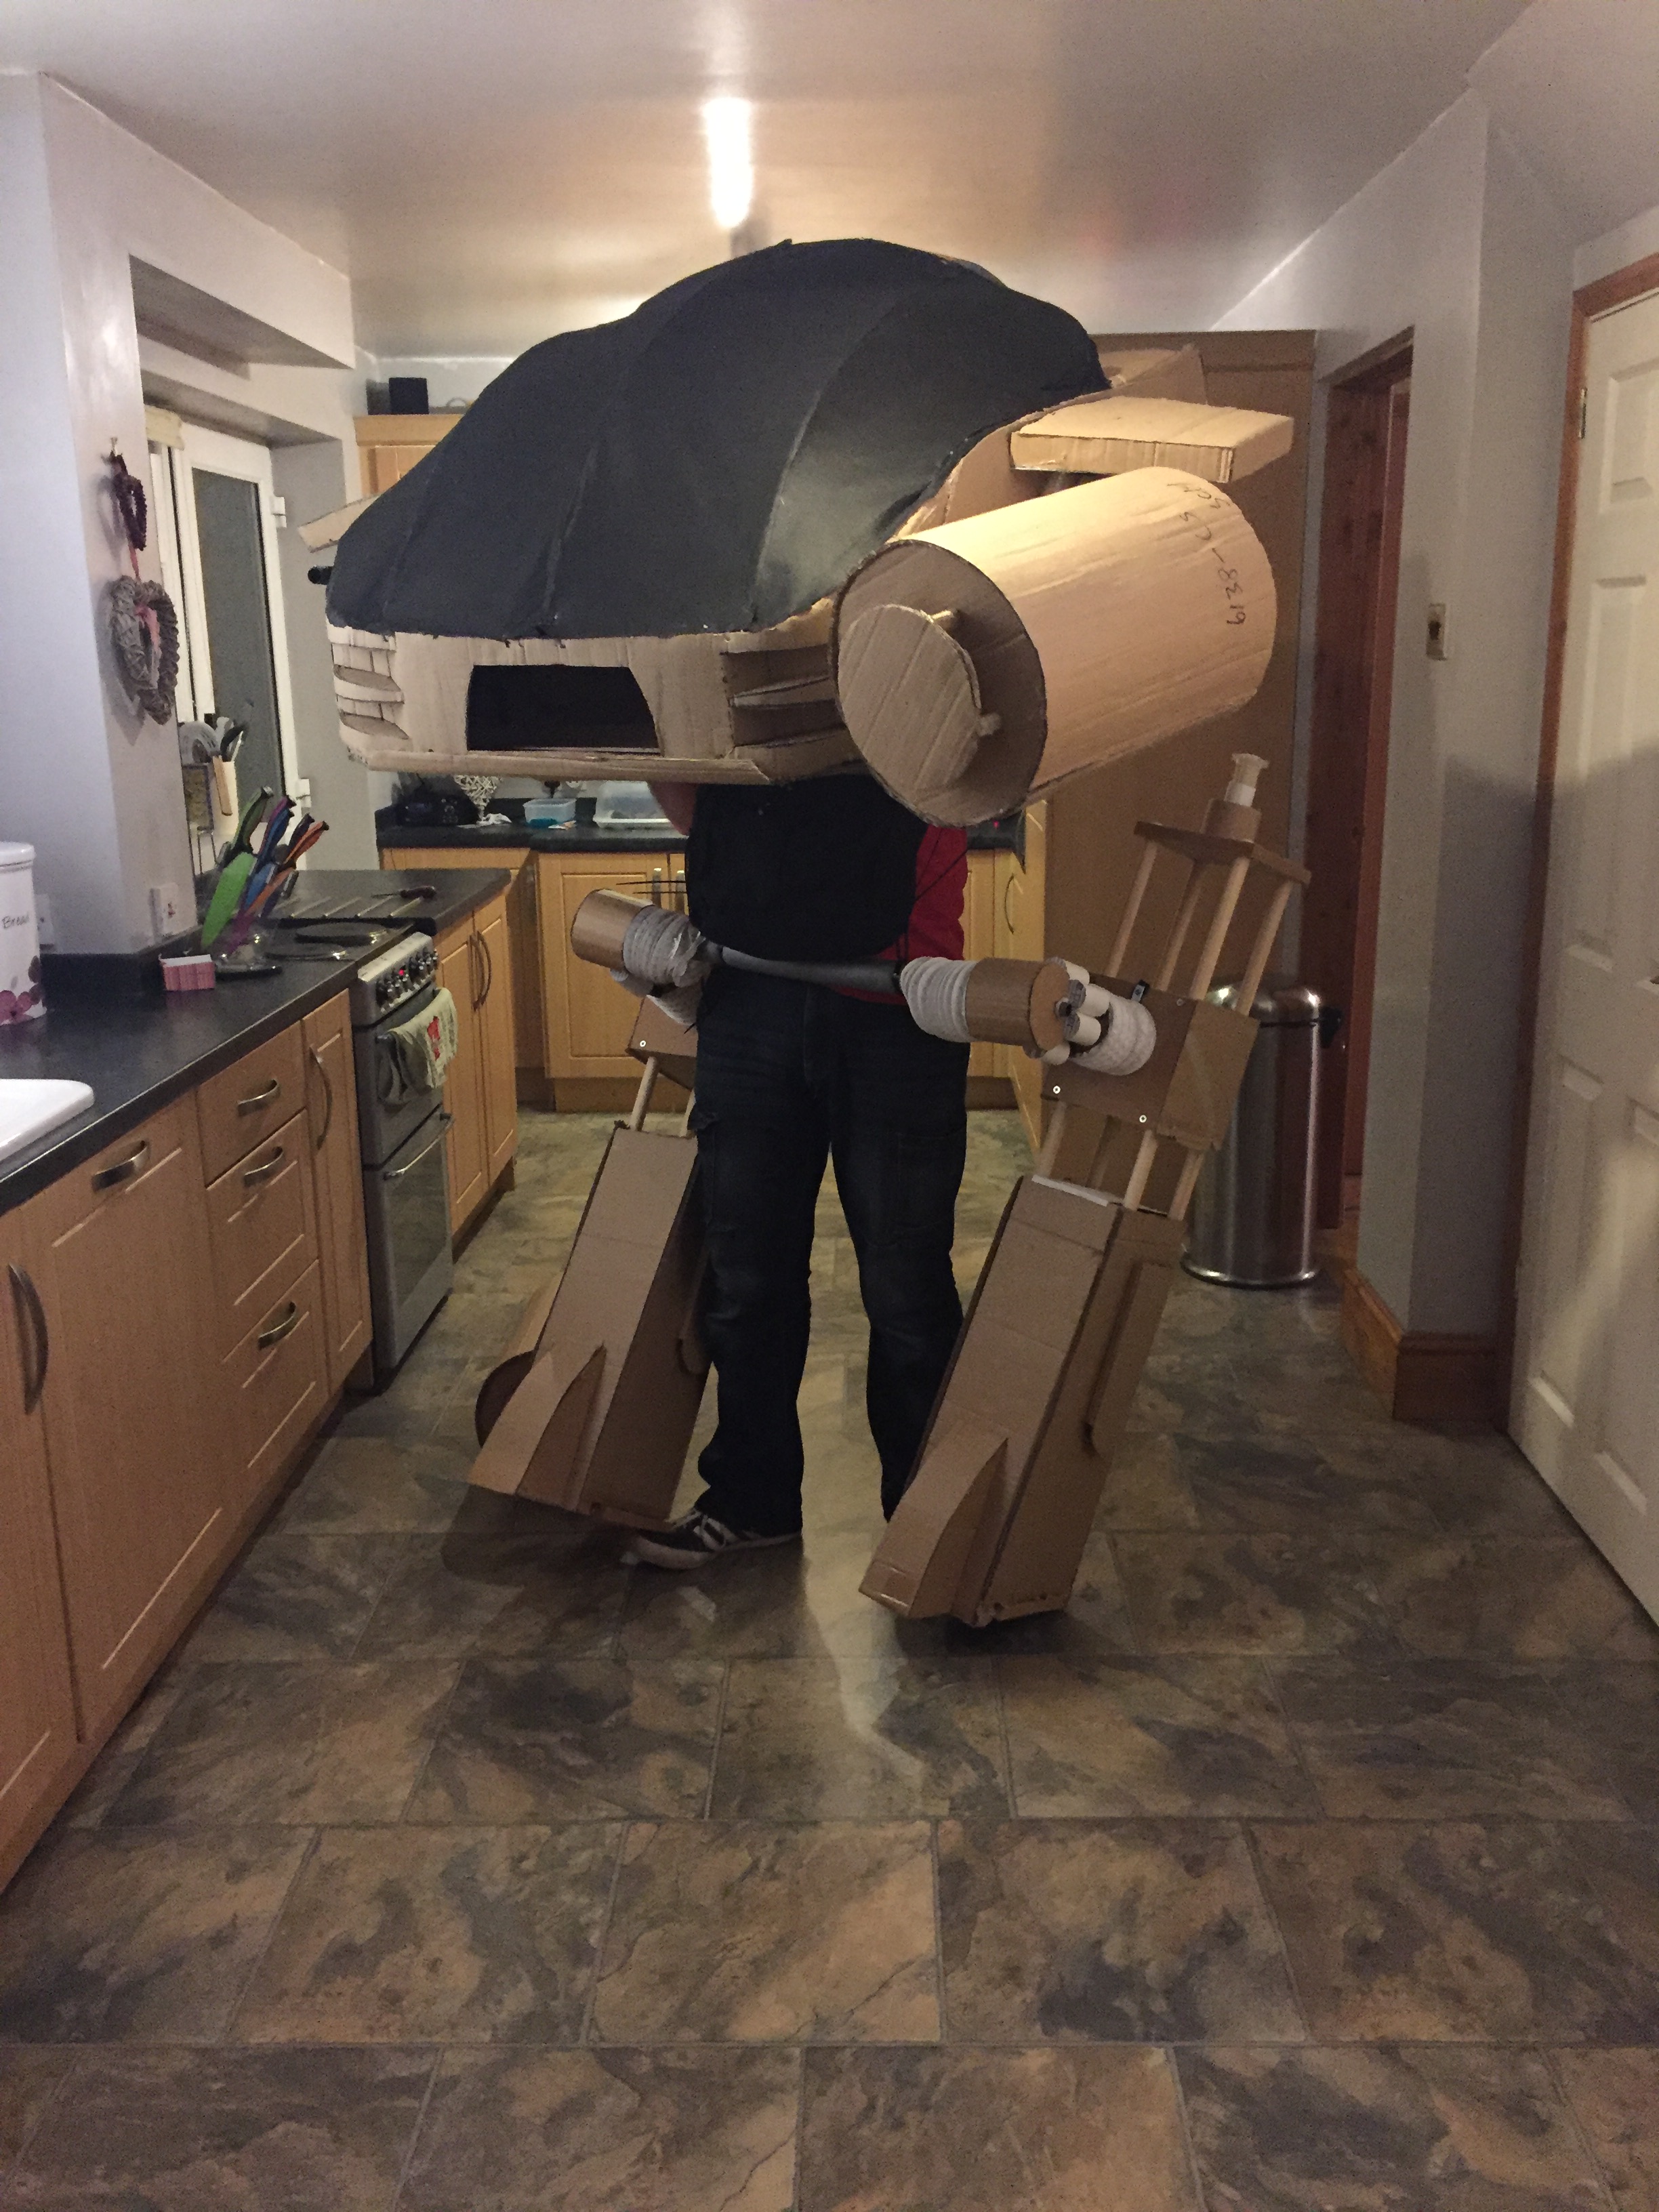
In a previous design note (26) I’d speculated on the addition of an additional couple of pieces of frame underneath that I could use to affix straps too to take the weight off my already balding head. Two pieces of 20mm plastic conduit fixed to the current frame allowed this to happen and provided a sturdy extra part of the body. The front pipe was flattened at the end and fixed, using mending plates, to the MDF supports in the sides and the rear pipe was flattened, glued and pop-riveted to the lower part of the original frame.
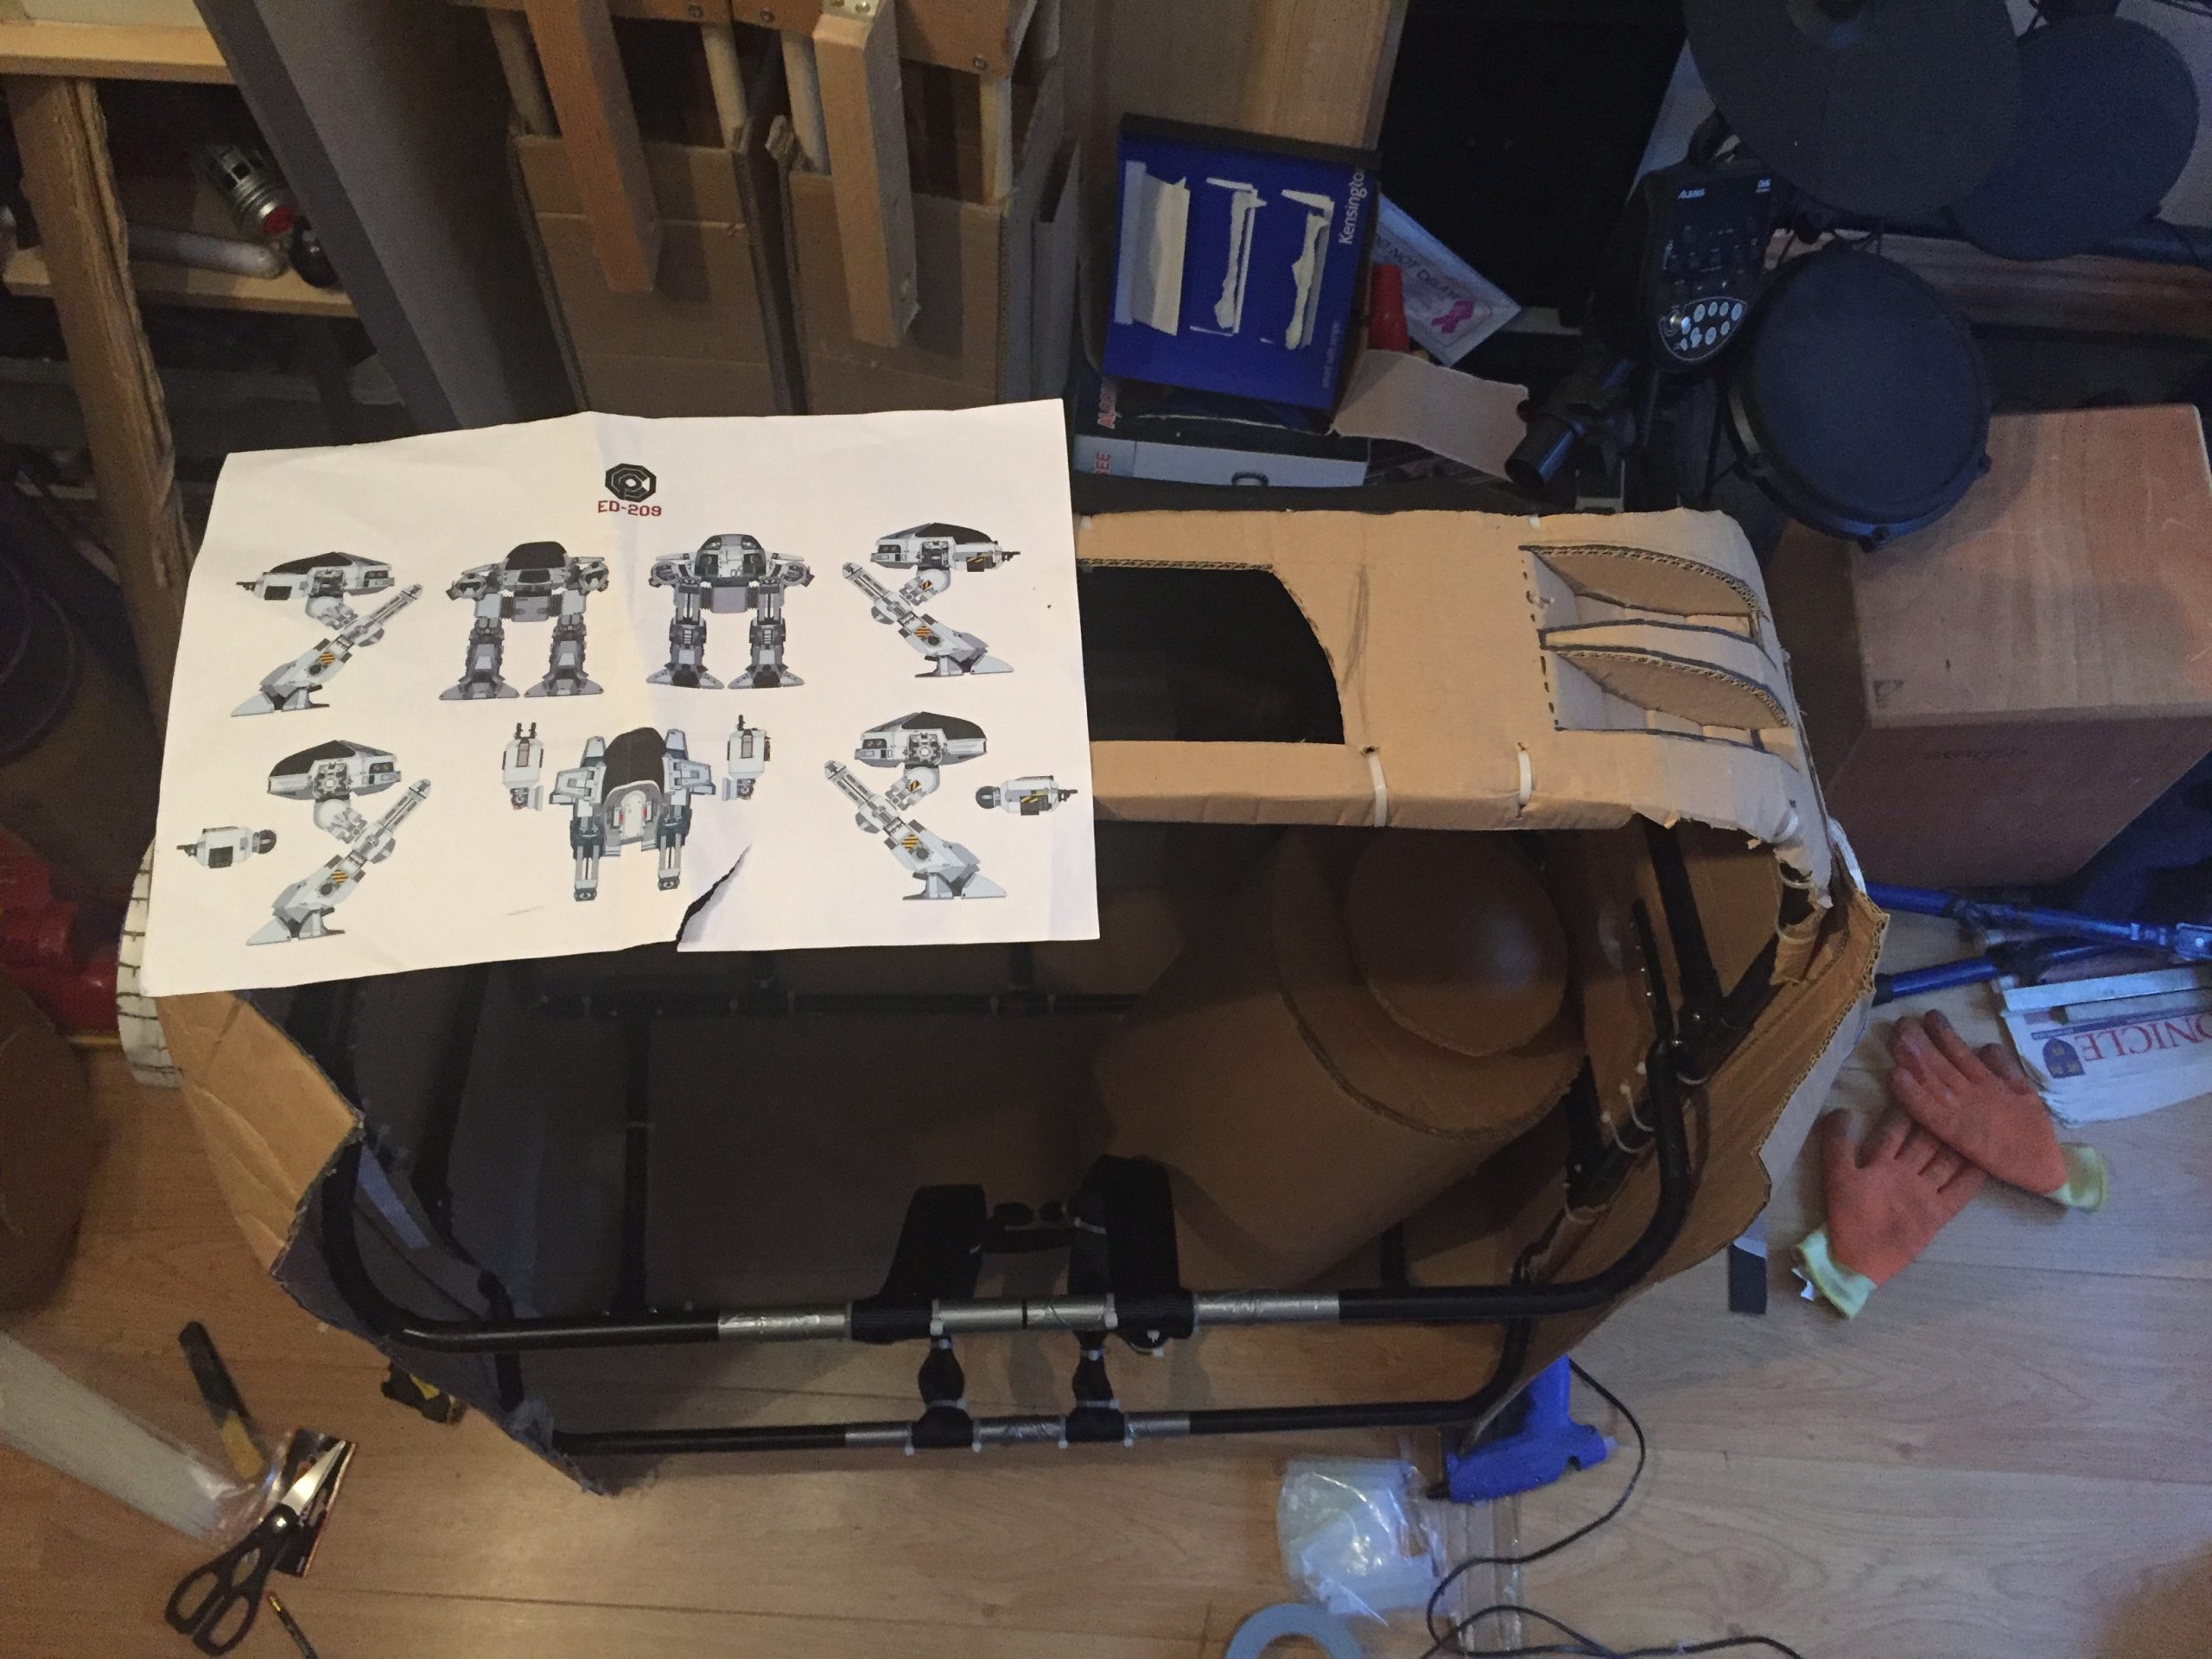
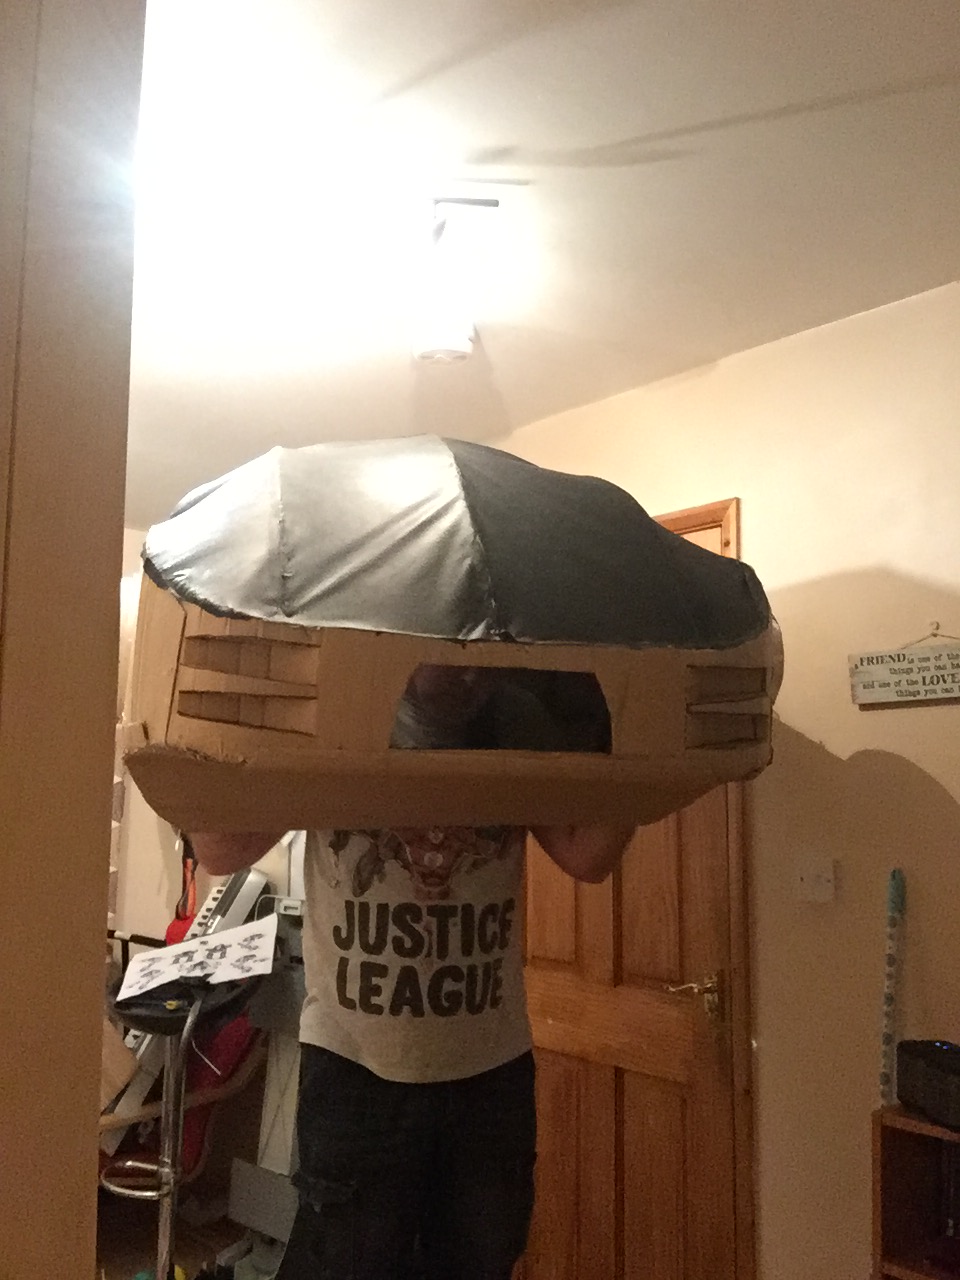
You can see these images below with the frames in place and straps attached in a preliminary testing configuration. The third image displays the extra cardboard that I attached to the underside of the front as well as the sides and rear. The idea behind this was to hide more of me, as the driver, and make it seem more solid. The final photo here shows that my elbows were still visible when in position to drive the gun arms.
It was time to catch up with some of the other jobs that needed doing so I put the body down for a while to concentrate on these, they’d all been bugging me for a while.
The next part of the costume to get treatment was the gun pods, more specifically the front of each. I’d cut out a smaller disk that I could attach to the front of the pod and then taper it down as per the screen Ed. I hot glued them into place using 4 rolled up pieces of card after the initial attempt to glue them to the plastic pipe extending through the front failed. These proved reasonable solid and I’d get back to them to start designing the gun barrels in a while.
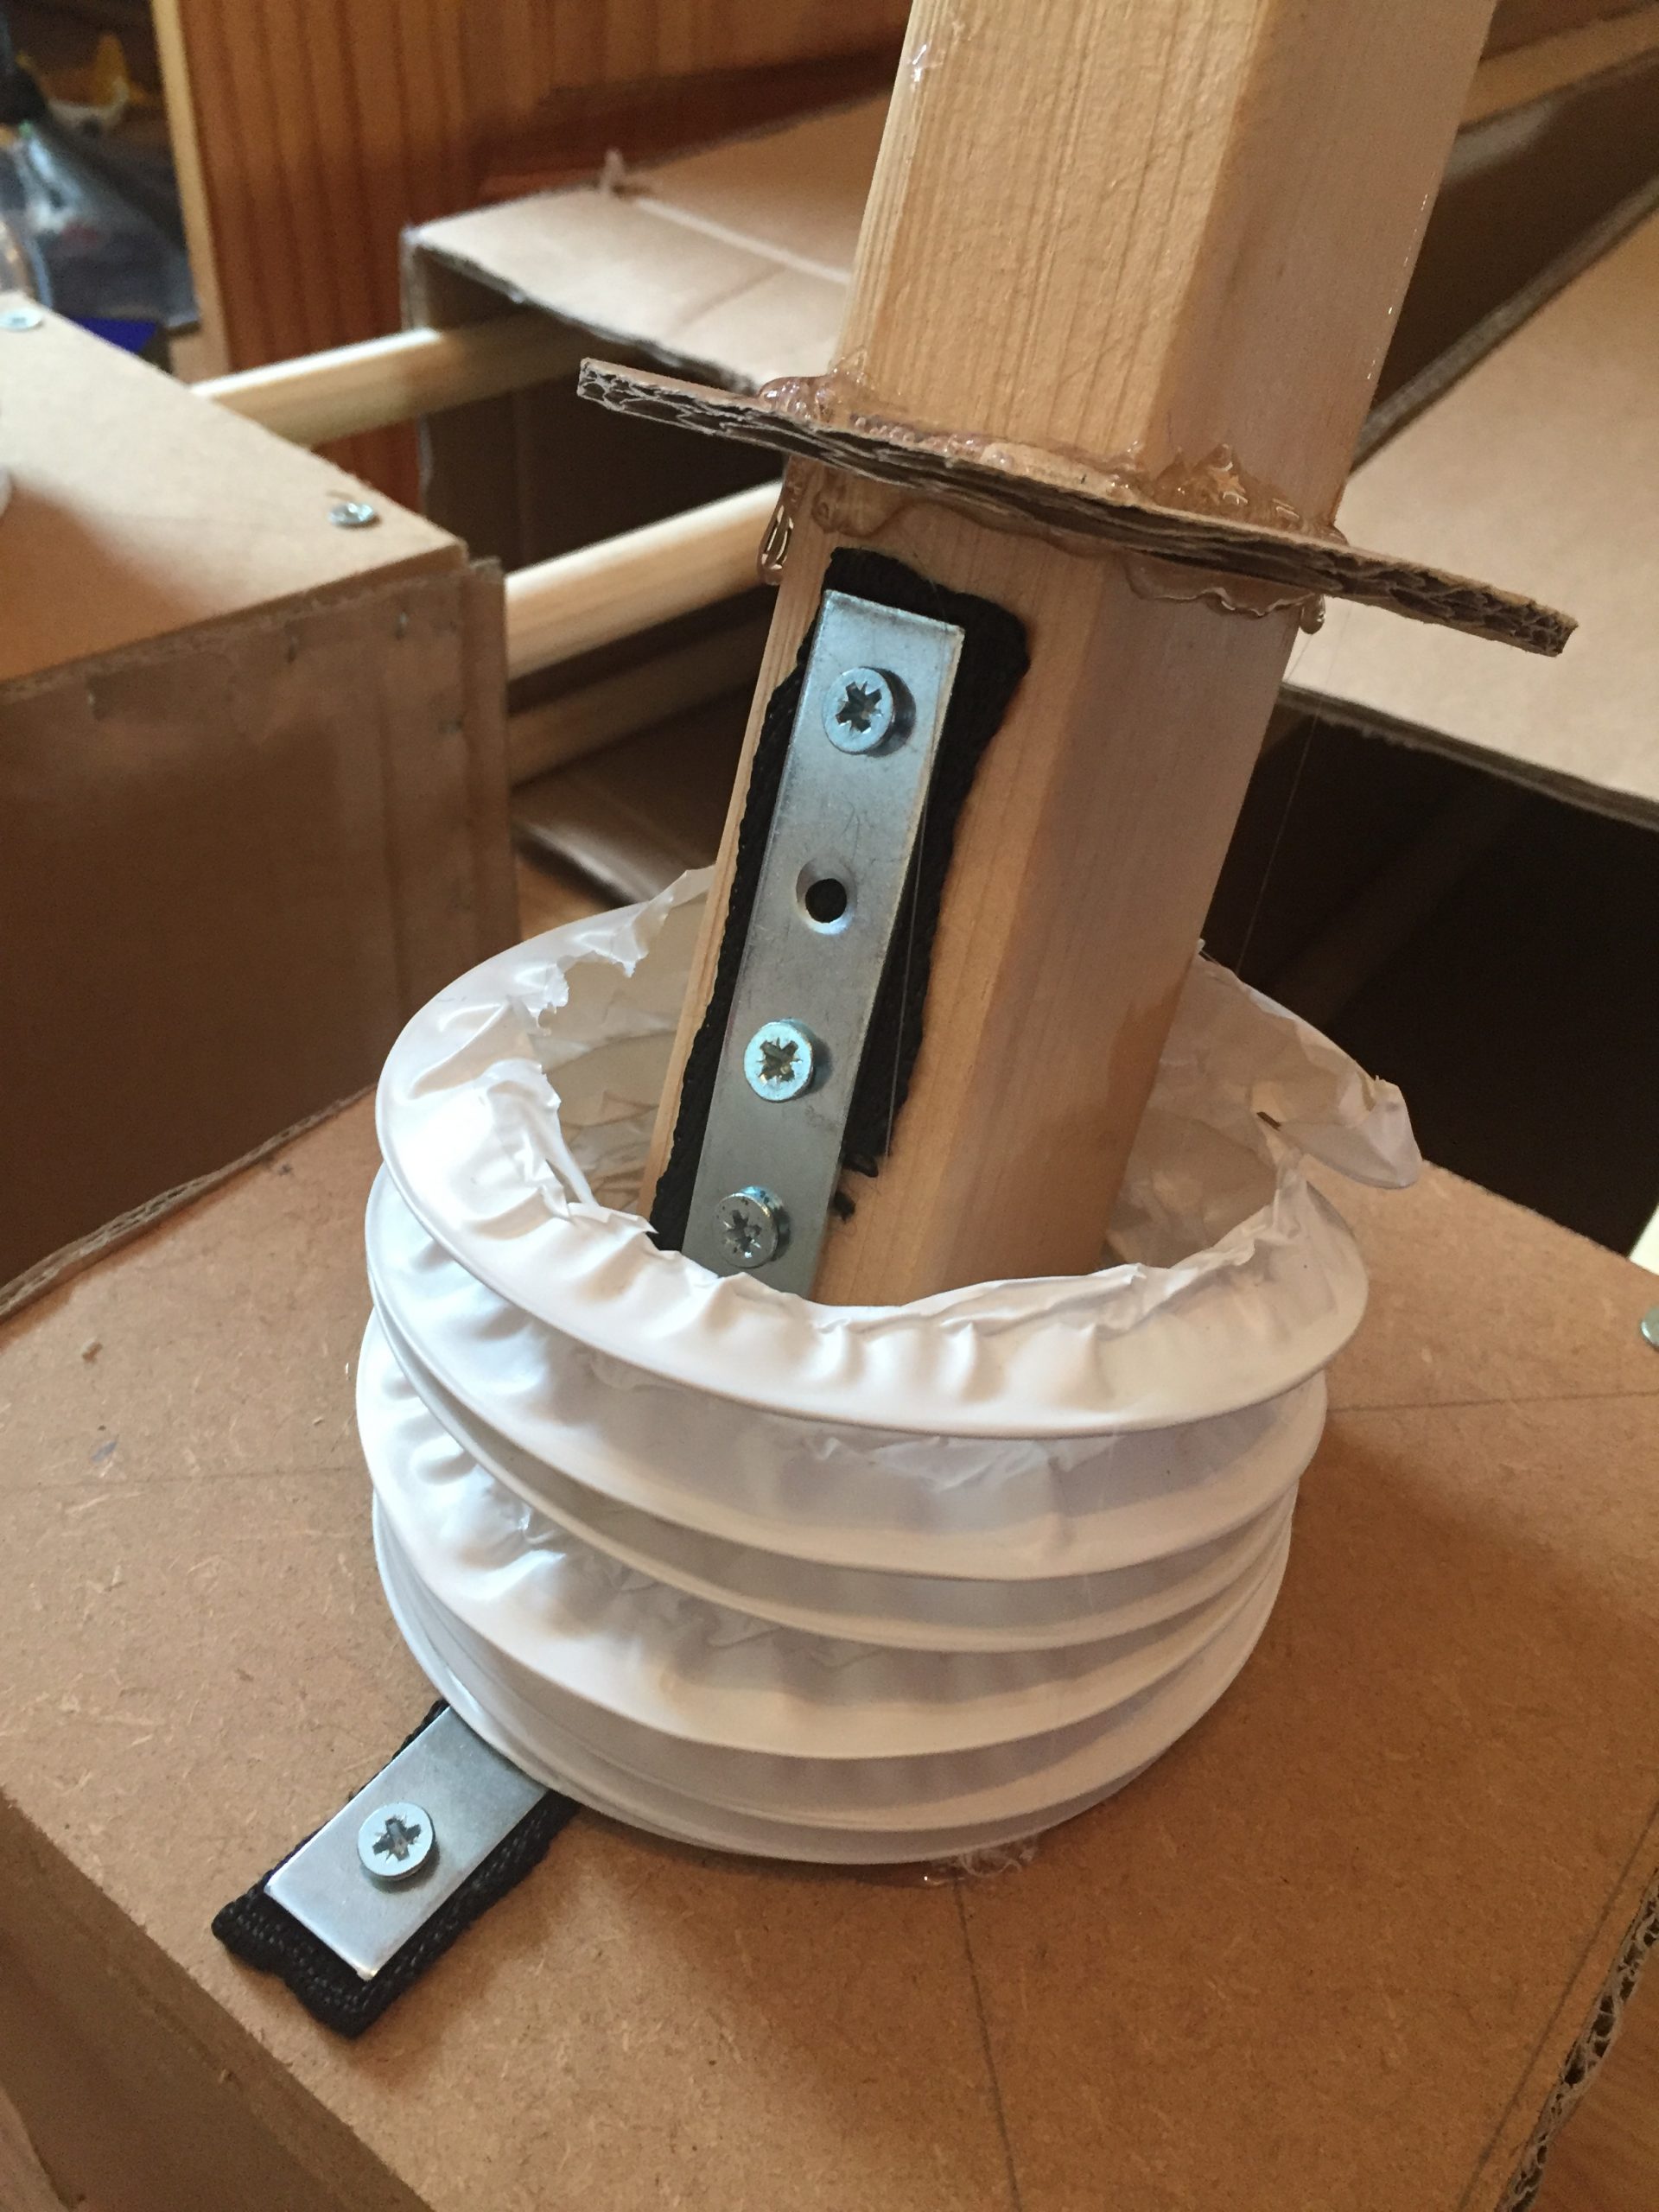
There was an issue with the knee joints I was concerned about too, if the upper leg was allowed to hinge all the way down to the lower leg anything attached to it would be smashed off so I had to think of a way to limit this movement. This meant that when I lifted my foot the hinge would move a little, hit the limit device and then rotate on the hip joint.
I figured that I could do it with a little bit of webbing and fixed it in place using mending plates and screws. Without the mending plates the webbing would simply come off the screws. This hinge and limit mech could then be covered by the flexible hose that I’d planned to use. A cardboard disk fitted over the upper leg would allow me to fix the flexi hose to the it and this cover the knee joint.

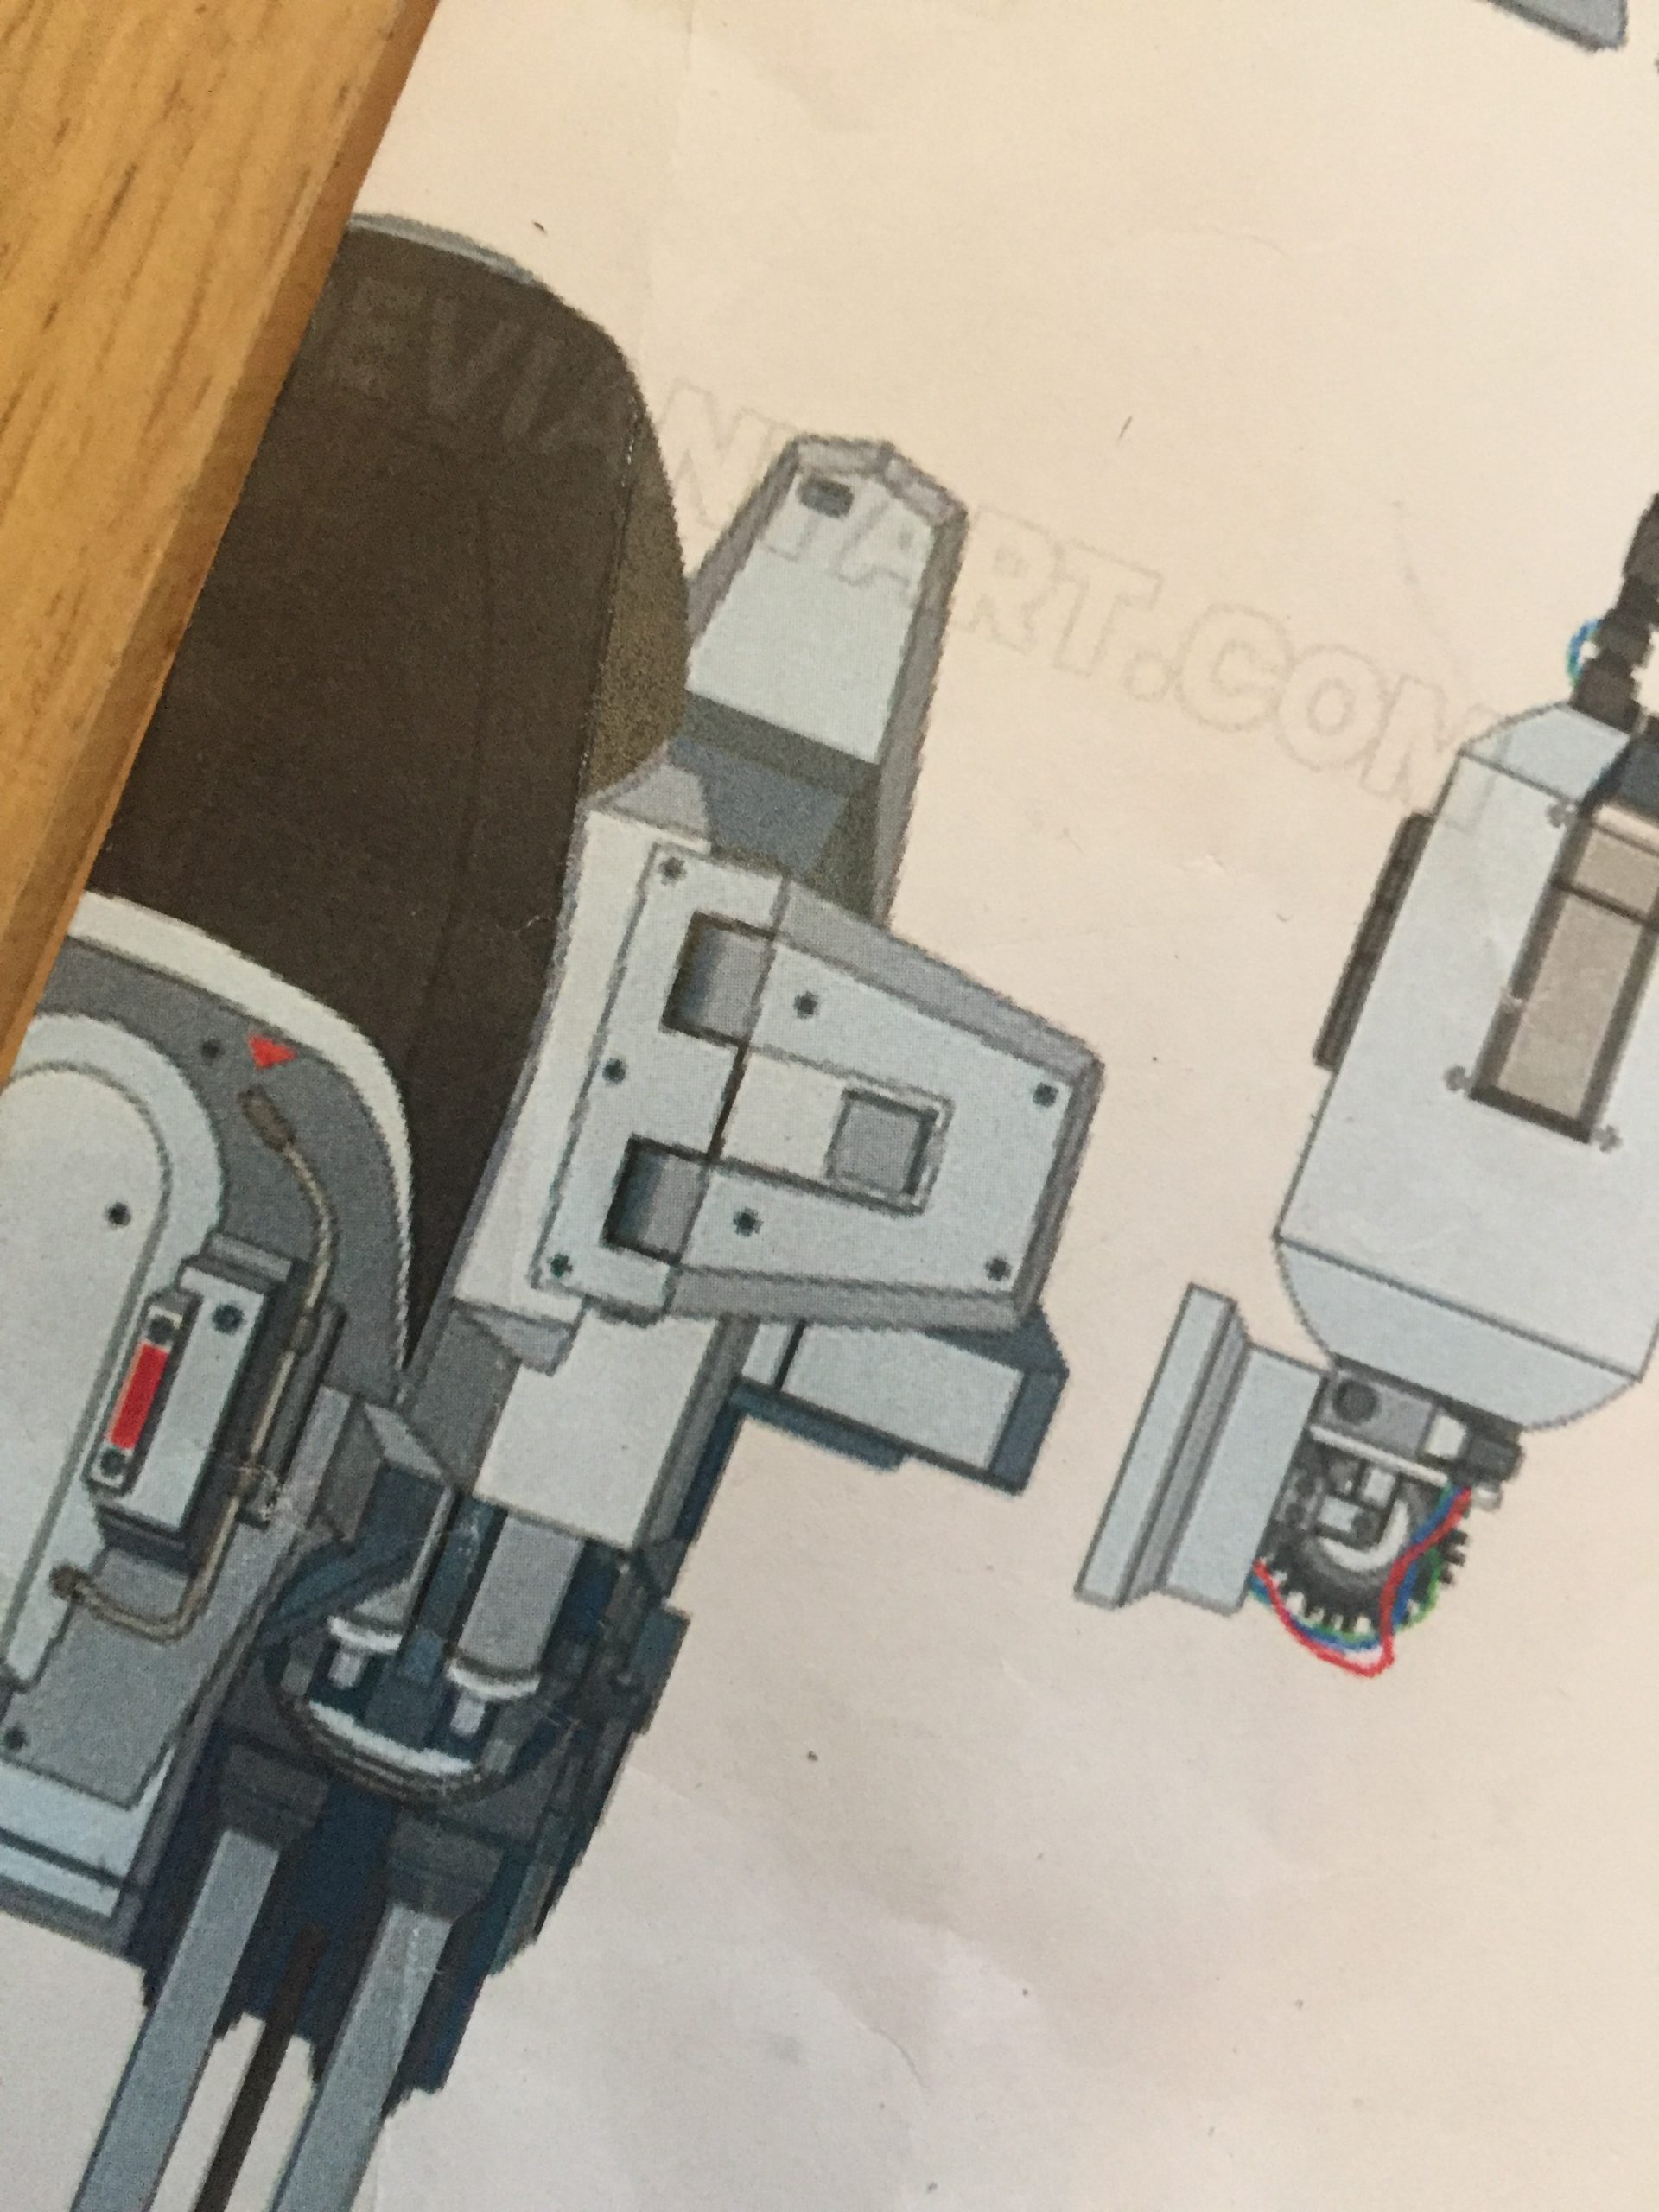
Now it was onto the over-elbow wings that can be seen in this excellent piece of art by sudeepdash, http://www.deviantart.com/art/ED-209-221544748
I cut out a rough shape in card, almost out of card by this point and then hot glued it together. I had some small hinges that I’d originally planned to hang these off the side of the body with but I couldn’t see a way of using them and making it something I could disassemble to fit in my car. It was probably wide enough without these affixed so I glued a piece of 20mm plastic pipe into the back of them, ran a piece of cheap climbing rope through it and pushed it through two holes on the side of the body. This way it would hinge and be easily removable, by simply untying the rope on the inside.
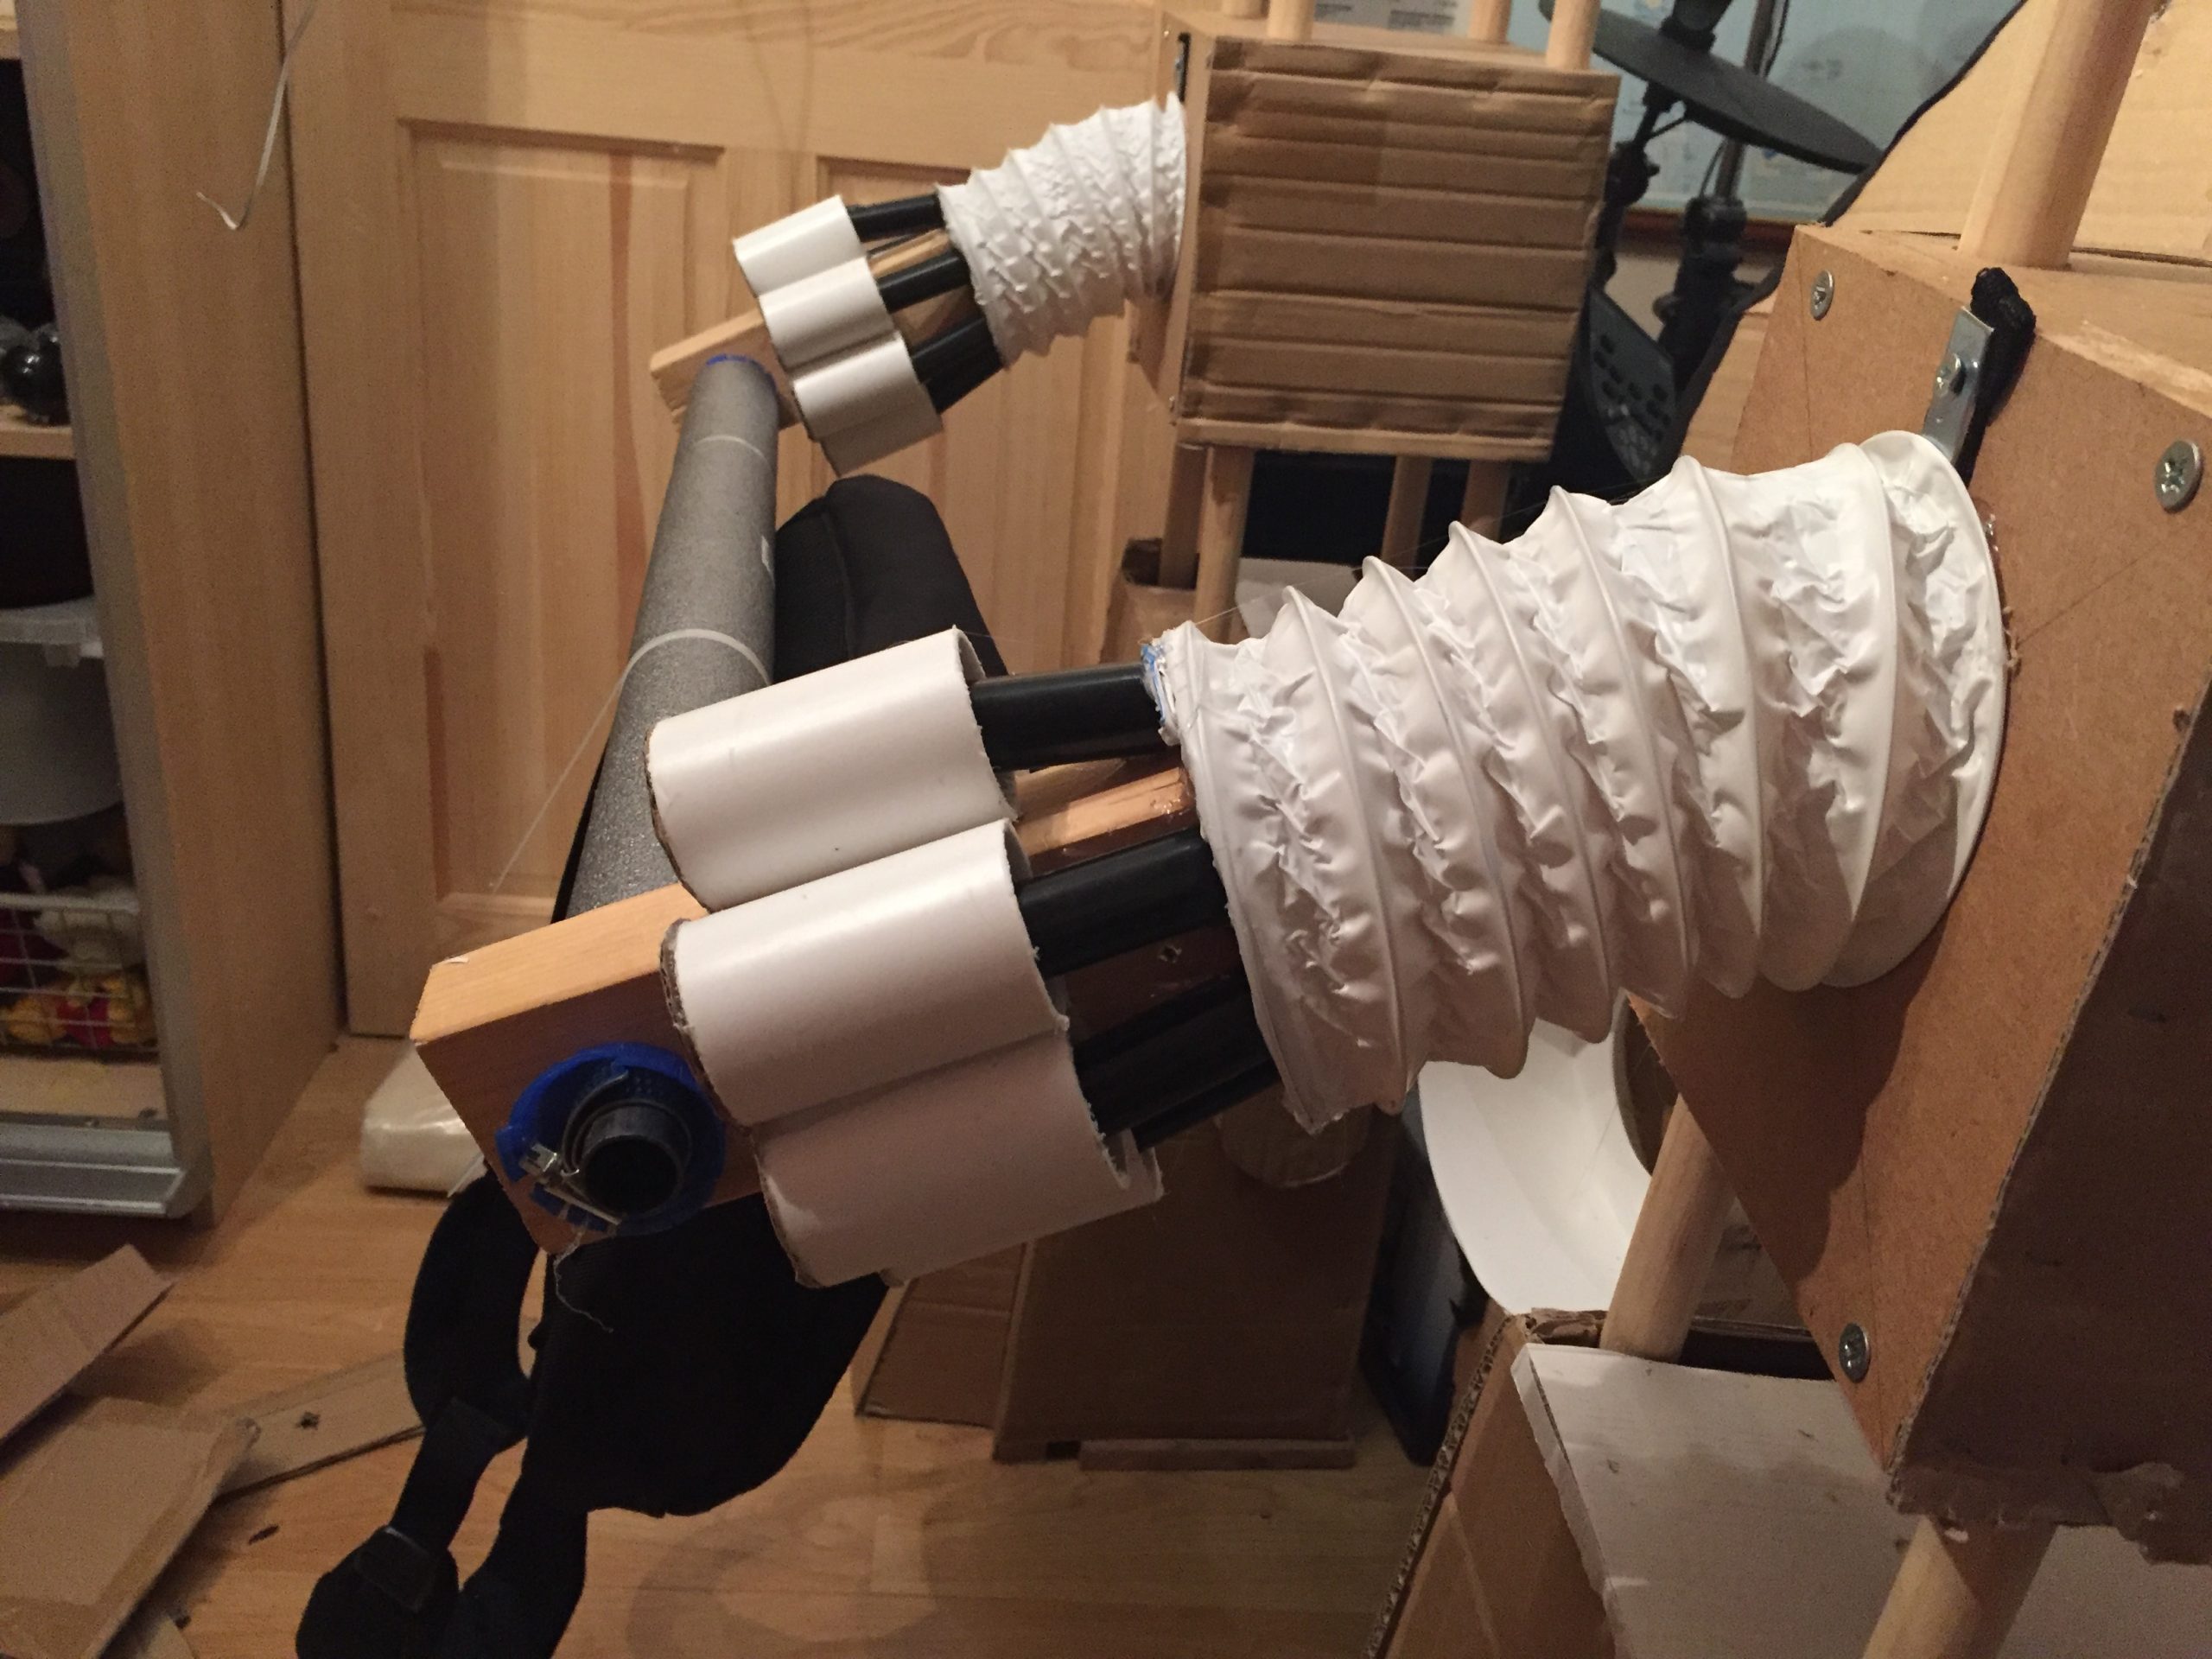
In the movie ED-209 the upper leg consists of four piston looking articles so I planned to make these from pvc water pipe and 20mm conduit too. Only trouble was just having four looked a bit empty so I used a bit of artistic license and cut some pipes so that there’d be six on each leg. These were all hot glued into place and were fixed to the top of the card disk on the upper leg. They’d be painted later on to make them look a little more like hydraulic pistons. I thought they looked alright and then went onto looking at the cover from the top of the leg to the hip joint and the flexi hose to cover the metal pole (pelvis).
As you can see from the two later pics in this box I bent some card around the diameter of the flexi and then put a cover on the front of it. Nothing over complicated but something to hide the milk bottle top washers and pipe clips.
In part 6 we’ll see how the gun pods developed but here are all of the bits all put together so far to trial the distance between the under body and the hip joints. There’s a single picture and a youtube video that shows how I put the costume on.. It shows just how big this beasty is going to be. It was at this point that my wife suggested it may not fit in my Vauxhall Insignia. “Pah, it’ll fit, everything will work out” I said confidently, not confident.
See you in Part 6!!
[…] ED-209 Cosplay – Part 5: Screen Time […]