This Monday I turned up nice and early to the George Wallis building, the art block of the University Of Wolverhampton, so I could organise the loaning of a camera from the media stores ready to take some colour photos.
I’d set up my account but it needed validating so I went off to see Tim in the media stores and he told me it was all ok, so I went and logged on to my account, after changing the password, and ordered a Nikon FM2 for four weeks loan, whilst we play with the colour photography process and start our semester one project which has the theme “The Colour Of Change“
After organising this I went into the studio area and had a chinwag with a few other students, one who’d had his wallet stolen the week before and a couple of others who were struggling like me with the media stores account process. Jack and Matt arrived and began setting out the chairs for the introduction to Single Lens Reflex (SLR) cameras.
SLR Camera Introduction
They’re so called because there is a prism in the top of the camera which reflects the view from the lens up into the viewfinder, when you press the shutter release, the mirror behind the lens, flips up and out of the way so the light from the scene, enters the lens, and passes through the open shutter onto the film behind. If the mirror stayed down, the photos would be blank, or maybe a bit of light might affect the film..
Aperture
Matt told us all about the Aperture settings of the camera and it’s function, it’s simply the size of hole that the light travels through to get to the film. If the aperture is wide open more light can get to the film more quickly. If the aperture is closed down tight, the light enters via a smaller hole and thus more time is needed to properly expose the film.
I like to think of it like a hole in a bucket of water, if the hole in the bottom of the pail is wide, the water gets through faster than if it was a pin-prick.
The aperture is generally referred to as an f number and the number represents the fraction of the size of the hole, compared to the focal length of the lens. If a 100mm lens has an f number of f/4.0 the hole diameter would be 25mm as the 4 represents 1/4 (100mm/4 =25mm)
Hence, if a 50mm lens had a max aperture of 1.2 then the hole is 50mm/1.2=41.6mm, likewise a 300mm prime lens with an aperture of 1.2 would have a hole for the light to pass through of 250mm that’s massive and highly impractical!!!
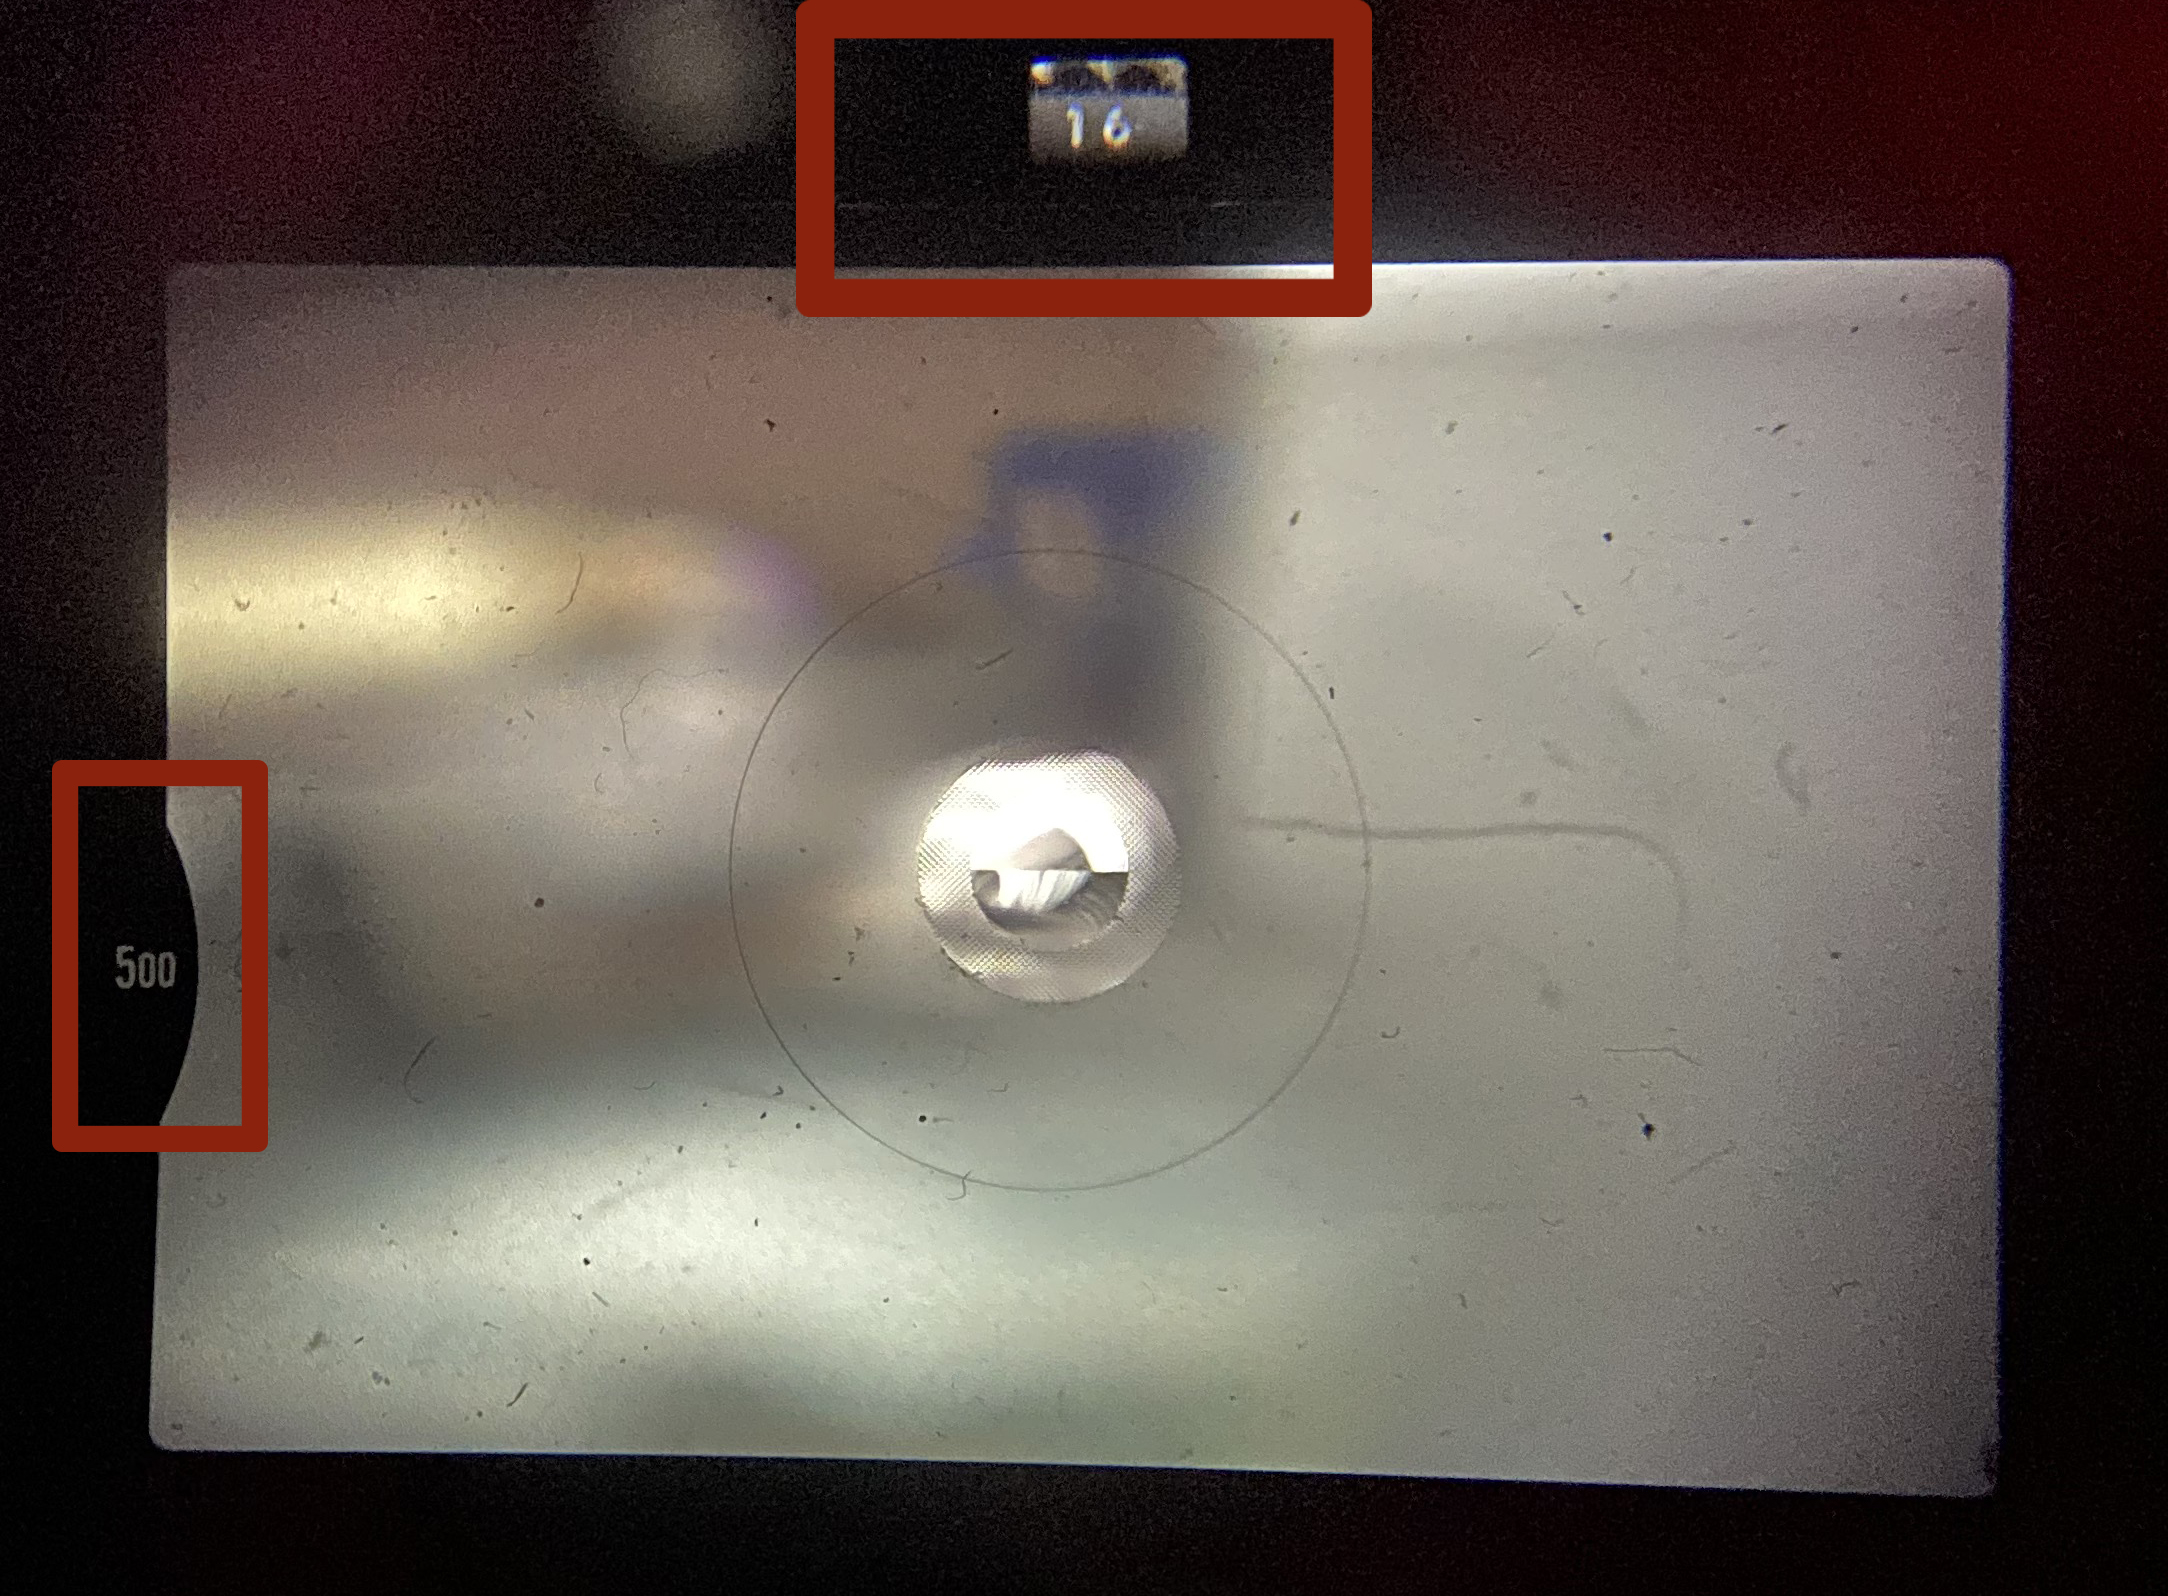
F Numbers are usually listed in “stops” and are seen on the Nikon FM2 with a 55mm 2.8 lens, as numbers on the aperture control ring such as, 2.8 , 4 , 5.6 , 8 , 11 , 16 , 22 , 32. This 55mm lens with an f number selected of 32 = 1/32 of the focal length, (55mm/32=1.7mm) a tiny hole so you’d have to slow the shutter speed down to allow more time for the light to get to the film.
A cool thing I noticed on this Nikon camera is the tiny little window that looks over the top of the lens aperture ring and somehow bounces the image of the number up into the viewfinder. An impressive bit of simple engineering. (see image below)
Shutter speed
As mentioned in the aperture section, the greater the length of time the shutter is open, allowing the light to chemically change the film, the more exposed the film becomes. Matt advised us that hand holding a camera with less than 1/60th second shutter speed would lead to blurred images. The figure of 1/60 means one sixtieth of a second or 16 milliseconds in new money.
A general rule used by many photographers is that the shutter speed should never be less than the focal length of the lens. i.e. if you have a 300mm lens, don’t go slower than 1/300th (the FM2 has options for 1/250 or 1/500), and for a 35mm lens shouldn’t be used for anything slower than 1/35 (again the usual shutter speeds either side of this figure are 1/30 or 1/60)
You can also choose to have a shutter speed of 1/1 or 1 second on the FM2, this means that the shutter opens and then closes 1 second later, allowing all those photons into the camera. This might be too much on a bright summery day but can be used effectively to take pictures of the night sky. The shutter speed is displayed on this camera using some clever mechanical gear-work to operate the disc in the left side of the viewfinder, as displayed above.

Another option on the loaned Nikon is “B” or bulb, which means you can open the shutter on the button press and it will stay open whilst you continue to hold the shutter release button, only closing when you release it. This mode can be used for extremely low light situations or for more stylised photos where you want to capture movement, or even special strange effects you can do in camera like light painting. It’s called Bulb as back in days gone by the shutter was operated by a squashy rubber bulb like you might see on a doctor’s blood pressure measurement equipment. When the photographer squashed the rubber bulb, the air went up the pipe to operate the shutter, and when released, the air reentered the bulb allowing the shutter release to close. With long shutter speeds and bulb operations it is advisable to use a shutter release cable, a modern air bulb, to release the shutter as any movement of the camera caused by you shaking whilst operating the button will inadvertently shake the camera and leave your images less crisp.
Loading film
Matt demonstrated the loading of a 35mm film cartridge into the rear of the Nikon camera, showing us the lifting of the winding lever to open the back, followed by inserting the cartridge, pulling the leader out and inserting the first part of the leader film into the slot on the take up spool. We then operated the shutter and film advance a couple of times to ensure that the film was secure before closing the rear and then doing the shutter/advance operation until “1” appeared in the shot counter window.
Once I’d picked up my loan camera I couldn’t understand why I could not release the shutter with the button until I overheard someone else say that the film advance lever, when pushed in fully, locked the shutter release. You must pull the film advance lever away from the back of the camera to allow the shutter button to operate, another nifty little mechanical method to prevent mishaps.
Unloading film
Once the film has been completed and the advance lever will advance no further, then it is time to rewind the film back into the plastic cartridge, and off the take up spool. This is done by pressing a tiny silver button on the bottom of the camera (it is recessed for safety) to release the film and one can then operate the film winding handle to pull it all back. Once the film winding has ceased, and it feels free then you can open the back and remove the cartridge to send away for developing (for colour) or take it into the film loading cubicle to prepare it for developing…
With the technical side of the lecture complete it was time for Jack to take over from Matt and lead the colour group through a short presentation of inspiration for the project.
The idea of colour photography has been mocked over the years but has recently become more commonplace, normal and standard. Jack showed us a quote that the world renowned Henri Cartier-Bresson had once said to William Egglestone during a dinner party.
“Colour is bullshit”
This reflected the opinion of a master craftsman who has honed his black and white process to produce images now famous around the world. It comes down to resistance to change and this is seen whenever a new method or process comes about, in any field not just photography, when it’s first considered a fad ro flash in the pan, before being given credibility by practitioners who endure the backlash.
Egglestone is known for his colour images and he used subjects to take colour photographs, rahter than using colour photographs to capture subjects. He was seemingly more interested in capturing the colours than the content of the image, but this led him to some extraordinary photographs.
Our tutor then proceeded to remind us of the project brief, “The Colour Of Change“, explaining that the format=colour and theme=change.
We are to produce a minimum of five images for exhibition that must have a sequence that makes sense or can be interpreted logically, whether it’s what the photographer intended or not.
Jack said that change can be represented:
- Through documentary photographs
- Through abstract representation
- A mixture of both above.
Jack suggested that we look at some images by Alec Soth, The Bechers (Hilla and Bernd) and Sophie Calle to gain an understanding of how to present a sequence of images.
The next post will be a brain dump of ideas that I may experiment with to try and come up with a project idea…
Be First to Comment