Today saw the collective of Level 5 Students from the BA Hons Degree in Photography from University Of Wolverhampton congregate at the Eagleworks Studios in the city centre.
It’s Tuesday 16th April 2024 and I’ve booked Tuesday to Friday off work so I can prepare for the end of year exhibition which us Level 5s are putting on at the Eagleworks Studios in Wolverhampton centre. I rolled out of bed and jumped in the shower before finishing the loading of the car for the long day ahead.
Last night I’d already loaded the wooden pallet and 2.1m scaffold poles into the rear of my Skoda Octavia so I didn’t have to fight with them this morning. I loaded up the painting gear, filler and knife, drills and screws, impact driver and cordless drills. In the car I also put in the three prints that I’ve had made at SAAL Digital, all still wrapped up safe. Along with the normal camera I take everywhere, I took my drone and GoPro but it was a bit too wet and windy to get the drone up.
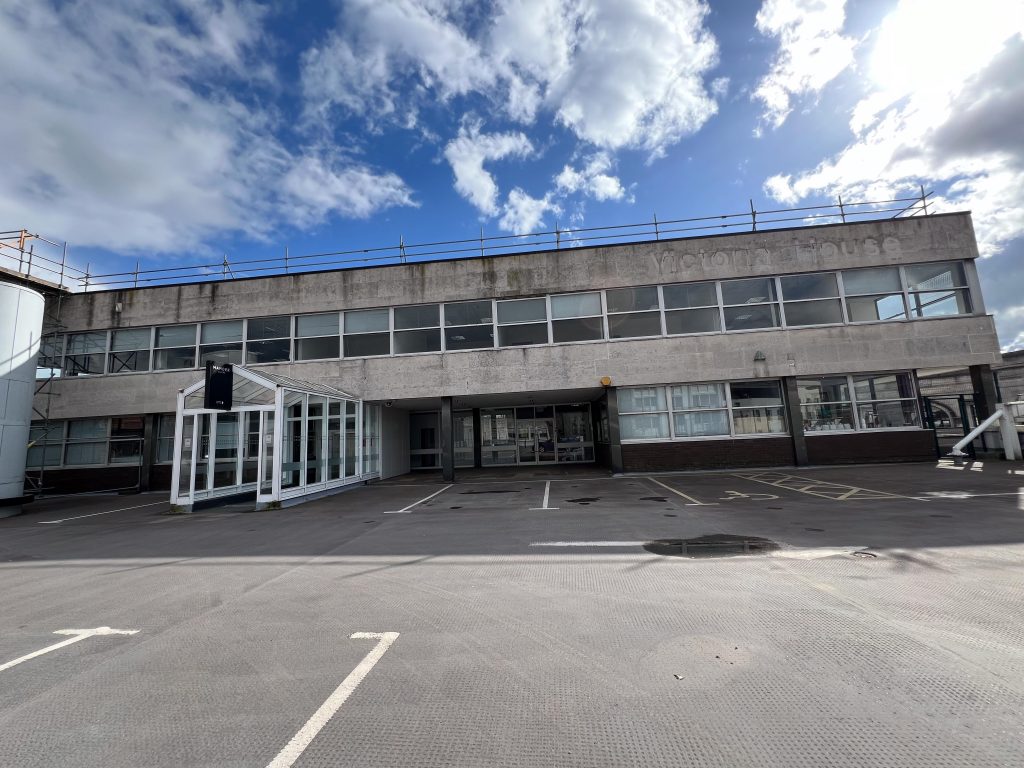
Pulling into the bottom of the Mander Centre car park, my registration was ANPRd and shown to me on the tiny screen, we no longer need a physical ticket thankfully. I headed up to roof Level going around in a right handed spiral up each ramp very carefully as they’re a bit tight. Up and out on to the roof level I had to drive and find the EagleWorks building which was formerly Victoria House offices.
I was in the car park before 9:30am so that I could stay all day for the max cost of £3.50 rather than the £8 it would have cost otherwise and was waiting for Sylvia and the team to arrive so we could get going with the decoration and prep for the hanging of the work. I was listening to the last part of a No Such Thing As A Fish podcast when Shellie arrived soo we had a chat before Sylvia appeared with the key to the building.
Easy Life
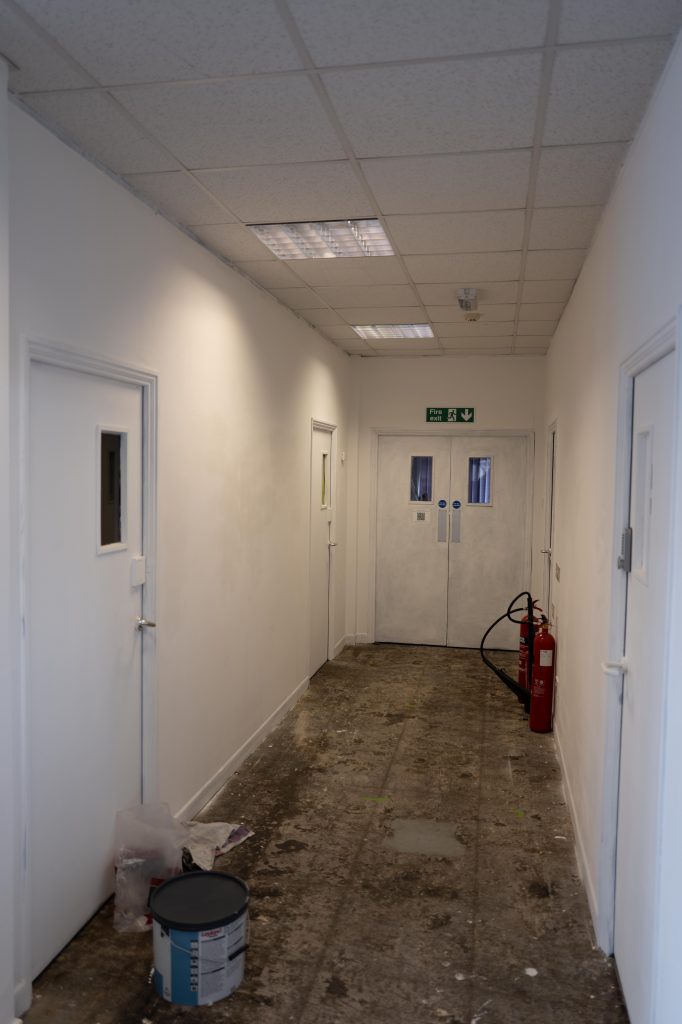
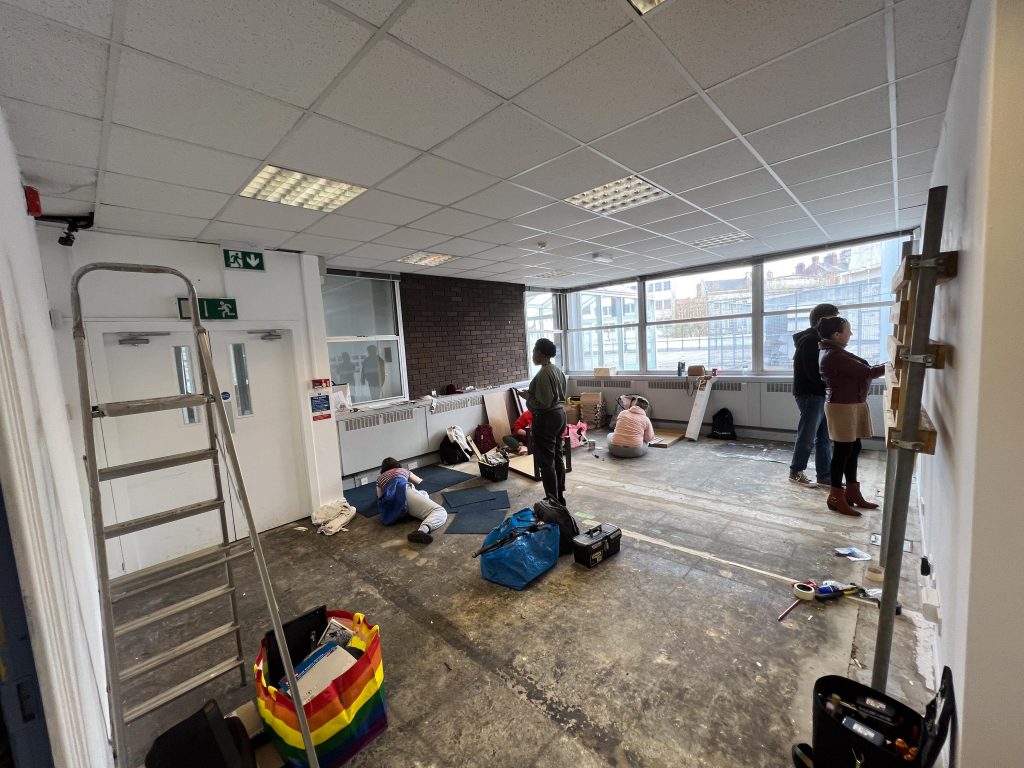
As we got in there it was apparent that someone had recently painted the room where we would be mostly based, thankfully removing a ton of work from our day. There were but a few spots where a few holes needed filling and painting but this was soon underway when the rest of the team arrived. Everyone was bringing in their work and tools so we all pooled resources and helped each other prepare for the day.
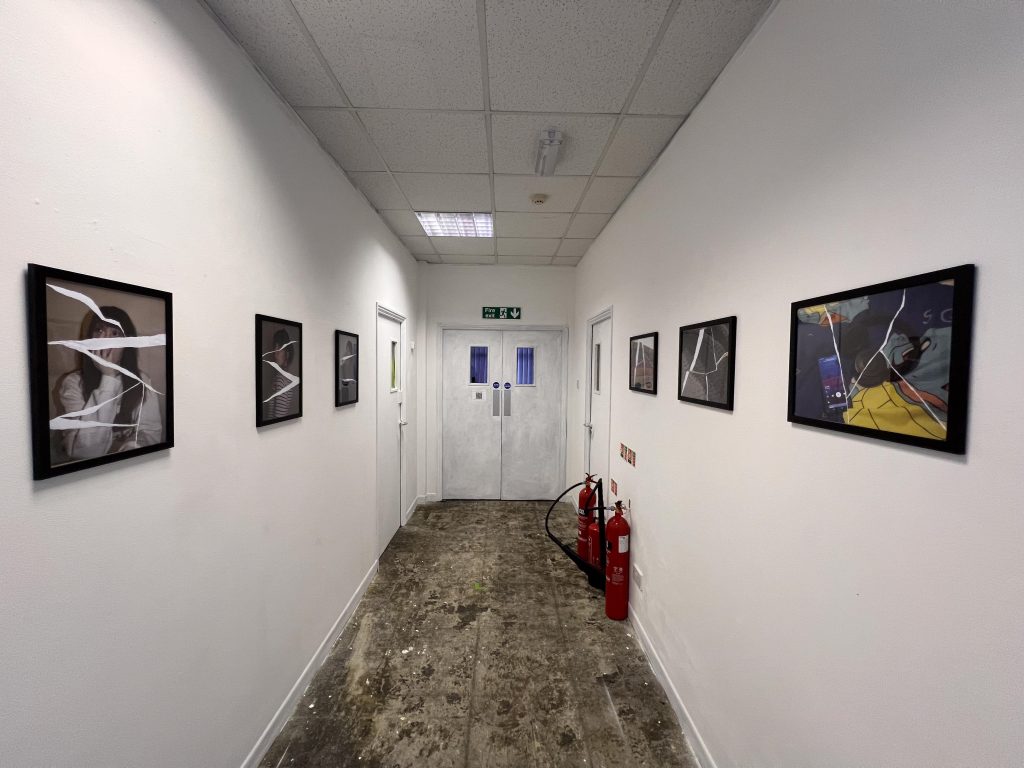
My first mission was to help Sylvia put up the large A1 poster with the Group Statement for the exhibition on it. Timeless Perspectives is the title of the exhibition and it fits across all of our work in some way or another. I used some sticky spots which were weird little blobs of glue that seemed to do the job nicely and didn’t seem to allow the grease through the paper that you’d sometimes get from Blu-Tak.

Timelapse of Timeless Perspectives
I then set up the GoPro on Timelapse at one photo every 60 seconds and had it hanging upside down from the false ceiling tiles in the corner. I left it going until the battery ran out, by that time we were all pretty much done.
Security
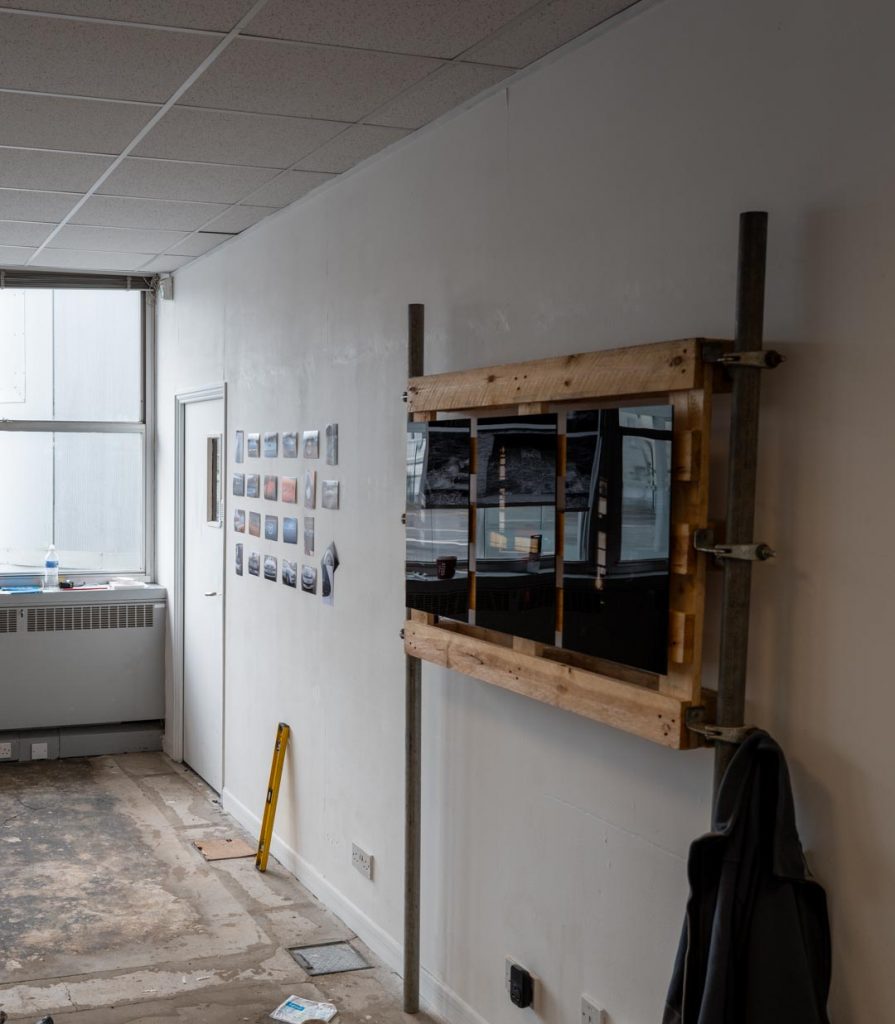
My first job was to check the wall and ensure that I could drill a supporting hole for the pallet to be screwed to the wall, to prevent it from tipping forward. With the realisation that it was a simple partition wall with plasterboard I decided that I’d need a few screws to hold it securely. I then placed the wooden pallet on it’s side and marked up the two poles with a centre line of 1.5m so that this would align with the centre point of the pallet. I placed one pole in , carefully aligning the lines at 1.5m and then tightened the nuts up on the clamp to grip the scaffold pole. With one fitted tightly I flipped it over onto the other side and repeated the process. I’d check for level when I put it up against the wall as the floor might not be 100% level and flat.
The lights, two small 1m strips of RGB LED’s from Ikea were fitted to the rear of the pallet last night and tested so I ensured I snagged no wires and leaned the structure up against the wall. Then drilled two holes through the top plank and one through the bottom plank into the wall, inserted the rawl plugs and screws, securing it to the wall. It would stand up to someone using it as a climbing frame but it won’t move easily.
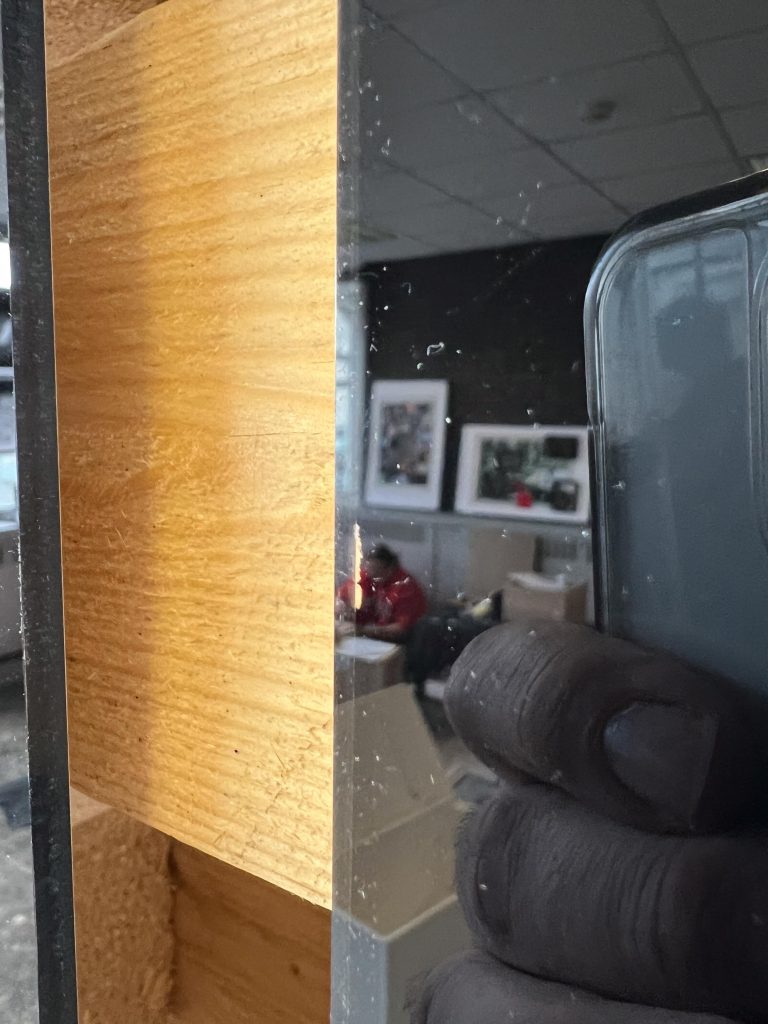
With that bit done I sanded down a couple of areas that needed it, and then dropped some paint on that too. In between this I was offering help to the other members of our collective and helping with putting cabinets together, levelling up and measuring up walls etc. The next step is to get my prints from their protective cardboard sleeves and test fit them on the wooden structure. I had my diagrams showing the distances that I needed to mount the screws at to allow for the images to all hang on the same height. As I marked these dimensions out, I got to the end and it was one centimetre out, maybe it wouldn’t be noticable but I’d see it and it would bug me.
I therefore marked the centre point of the 1.2 m length at 60cm and then 8.25 cm from here I marked the hole centres for the hanging points on the aluminium frames stuck on the rear of my work. The first one went up just as Dan and Sam arrived and the former helped me with the leveling activities for this first print as it was a bit skewed according to the spirit level and the eye. Once I’d go this first image up it was time to repeat the action for the left and right side images, these seemed to go on really easily and I left the plastic covering on the front of the work for now.
Light Up
It was time to see if I could have the lights on and keep the battery pack hidden away enough to not be too noticeable so I plugged the two USB plugs into the small power pack and pressed the little switches. Only the bottom LED strip lit up, the top one did nothing. Bugger, am i going to have to dismantle all of this to check it out? I tested it all last night so I don’t know what it could be causing the problems. Back to first principles of fault finding, start at the very beginning.
The battery is working, and if I swap the USB plugs over the same lights don’t work so that is ok. I check the button seems to click ok and this feels ok, then I start checking the cable hasn’t been stapled through when I was fixing it to the pallet yesterday. I know it was working but it could be shorting out or something. Then I remembered that the plugs slide onto the end of the led strip and thought to try that. YES, I found that during the move from home to Wolves, maybe something had sat on the cable and tightened it up pulling out the connector. A quick shove with my hands squeezed through the pallet and a press on eh button resulted in a pair of lights. Yay.
Odd Man Jobs
After getting this sorted, I went around with a paint brush and tidied up a couple of areas such as the doors to the room and the men’s bathroom which were properly grubby. I then applied some QR codes on to the walls of the room and the reception area that people can use to provide feedback, linking to MS Forms and a full digital experience. We will also have a small notebook where visitors can sign and leave a comment too, but it’s a good idea to have a couple of different methods I think.
After a bit of a lunch break where I became the keymaster for a while we cracked on with Codey’s work hanging. The walls where she was hanging her work were still damp from the paint and she thought that the command strips for the frames might not be great on wet paint so she had an idea to band a screw in the wall for each photo. Rather than do all of the work and deprive her of the fun of doing it yourself I showed her how to drill the first one, and then use the rawl plug and screw which allowed her to hang the work up. She thrashed through the remainder and all went really well in the end.
Emma was hanging her work in the window space from false ceiling hangers and using some really clever wire hangers that are super adjustable. She didn’t need much help but an occasional “higher, lower” like Play Your Cards Right, and the use of a spirit level.
Time to tidy up came around and whilst we were tidying up I left the lights on behind my work and it was cycling through all of the colours in the RGB spectrum. A couple of my peers said that they liked them doing this but I will stick to the same yellow colour only as I feel it is a subtle effect that links into the lighting of the scenes in the images. It is kind of like the lights you can connect ot your HDMI port n the TV so that action on the screen is reflected in light behind the tv on the wall, seemingly stretching out the screen or the experience. It’s so subtle that you might not notice it all but there is a definite bit of yellow light on the wall behind the images.
The images look good too, I’m impressed with the quality of the acrylic prints from SAAL Digital and at 35cm x 53cm each, they are a good size. I can fit the three of them side by side on the 1.2m pallet, and I calculated this to allow for enough space between the prints and the two edges also. The light seems to bring out the colours and lighting effects from the acrylic method. I chose the acrylics as I have used it on a Manhattan Skyline photo at home and thin that the colours really pop, especially the light spilling into the building/photo from the external location.
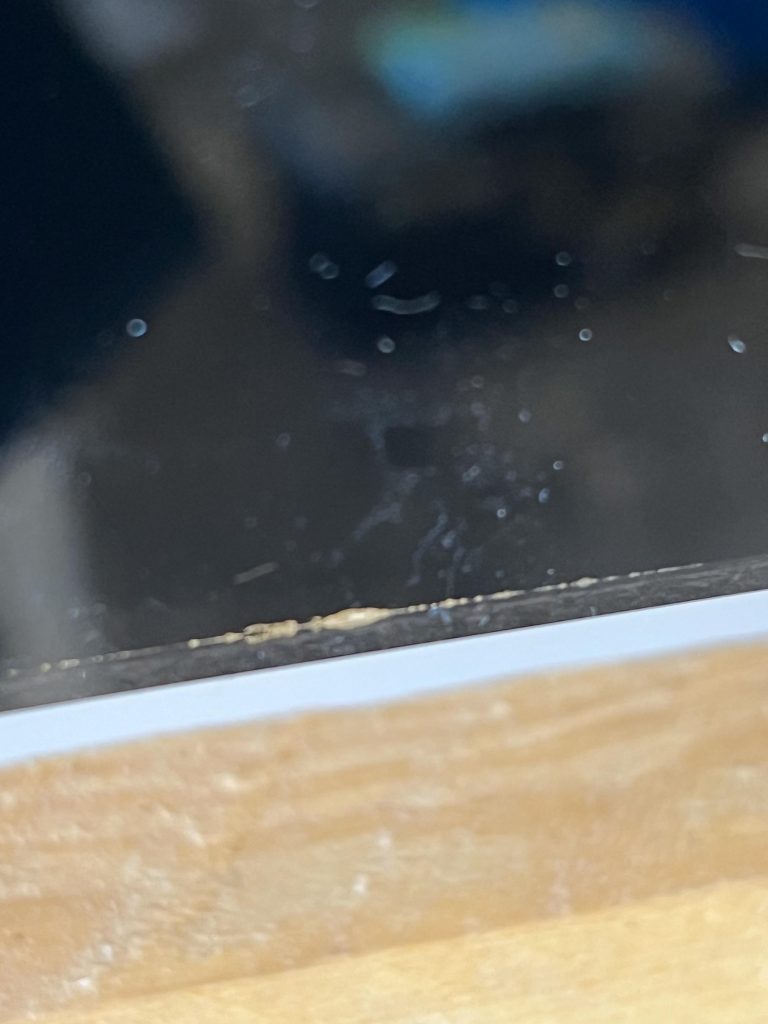
Sylvia said she liked the prints, Dan also said he liked them and Ed, one of the Eagle Works resident artists, also said he liked them and asked me to let him know if they were for sale. Everyone is so kind in this art world, usually. The only issue I noticed with the prints is there are a couple of spots where the black is missing from the edge and when I return on Thursday I’ll take a black paint marker to touch up this very small flaw. It’s probably something that would never be noticed but I want to make sure it’s as spotless as I can get it.
With a few photos of the work progressing and a timelapse in the can it was time to tidy up the last vestiges of mess and prepare for locking up ahead of our return on Thursday morning at 9:30 to finish up and prepare for the opening at 3pm.
Conclusion
I’m happy with my work here today, the preparation I’ve put into the mounting of the work, the lights, the pallet and scaffold poles meant that I reduced my individual works relying on the wall surface. The work looks good on the pallet and the light behind it is a subtle detail that I’m also pleased with.
Looking at the other work in the same room, on the opposite side of the room are two areas set up to represent homely environments of their respective artists and my work looks more industrial. Almost like a juxtaposition of home and work. There are themes that link all the works together and even materials, colours and subject matter that appear across all of the works.
My ability to help others was something I enjoyed too, although I made certain I didn’t do everything for them, I merely helped out when asked and in some cases did something to demonstrate it and then let them crack on with it. It’s the best way to learn how to do these things, by actually doing it. I forget that the younger people on the course may never have drilled a hole in the wall and it’s interesting to see how frightened they are of doing these sort of jobs. Once they’ve done one though, they’re experts and learn quickly.
Be First to Comment