This week saw the students in the Colour group carry out more practice in the colour darkroom making prints of negatives with the longer term goal of learning how the process works, what adjustments can be made and how to deliver an image from the camera to the paper.
I’ve recently been hammering through films, with #2 and #3 being developed at the weekend, using Jessops 1 hour special with the student discount. It’s a really great little service and they ask if you want the negatives cut into strips or rolled. The #2 film I asked for it to be cut not knowing that it was cut into strips of 4 images, which is annoying as the negative sleeves are designed for strips of 6. The film #3 I asked for it to be rolled and then I cut it carefully into sixes once I got home.
Both films 2 & 3 are Kodak Ektar 100 ISO Film, and while it’s a fine grain film the low ISO means that it’s trickier to use in lower light situations, than the Portra 400 of film #1. This is one of the reasons I chose to go out on a bright and sunny saturday into my hometown of Shrewsbury, in Shropshire, England.
The photos I had back were safely in my negative sleeves when I arrived at the George Wallis Art Building of University Of Wolverhampton ready to start the printing process. I’d also remembered to bring my Batman mug with me so I could use the art block community kitchen to make a coffee and stick some money in the pot. With a coffee in my hand I wandered my way down to the basement photography studio for a quick chat with some other coursemates.
Then it was time to sup up my batbeverage and enter B2 LPL Enlarger Room for some test strips and contact sheet production.
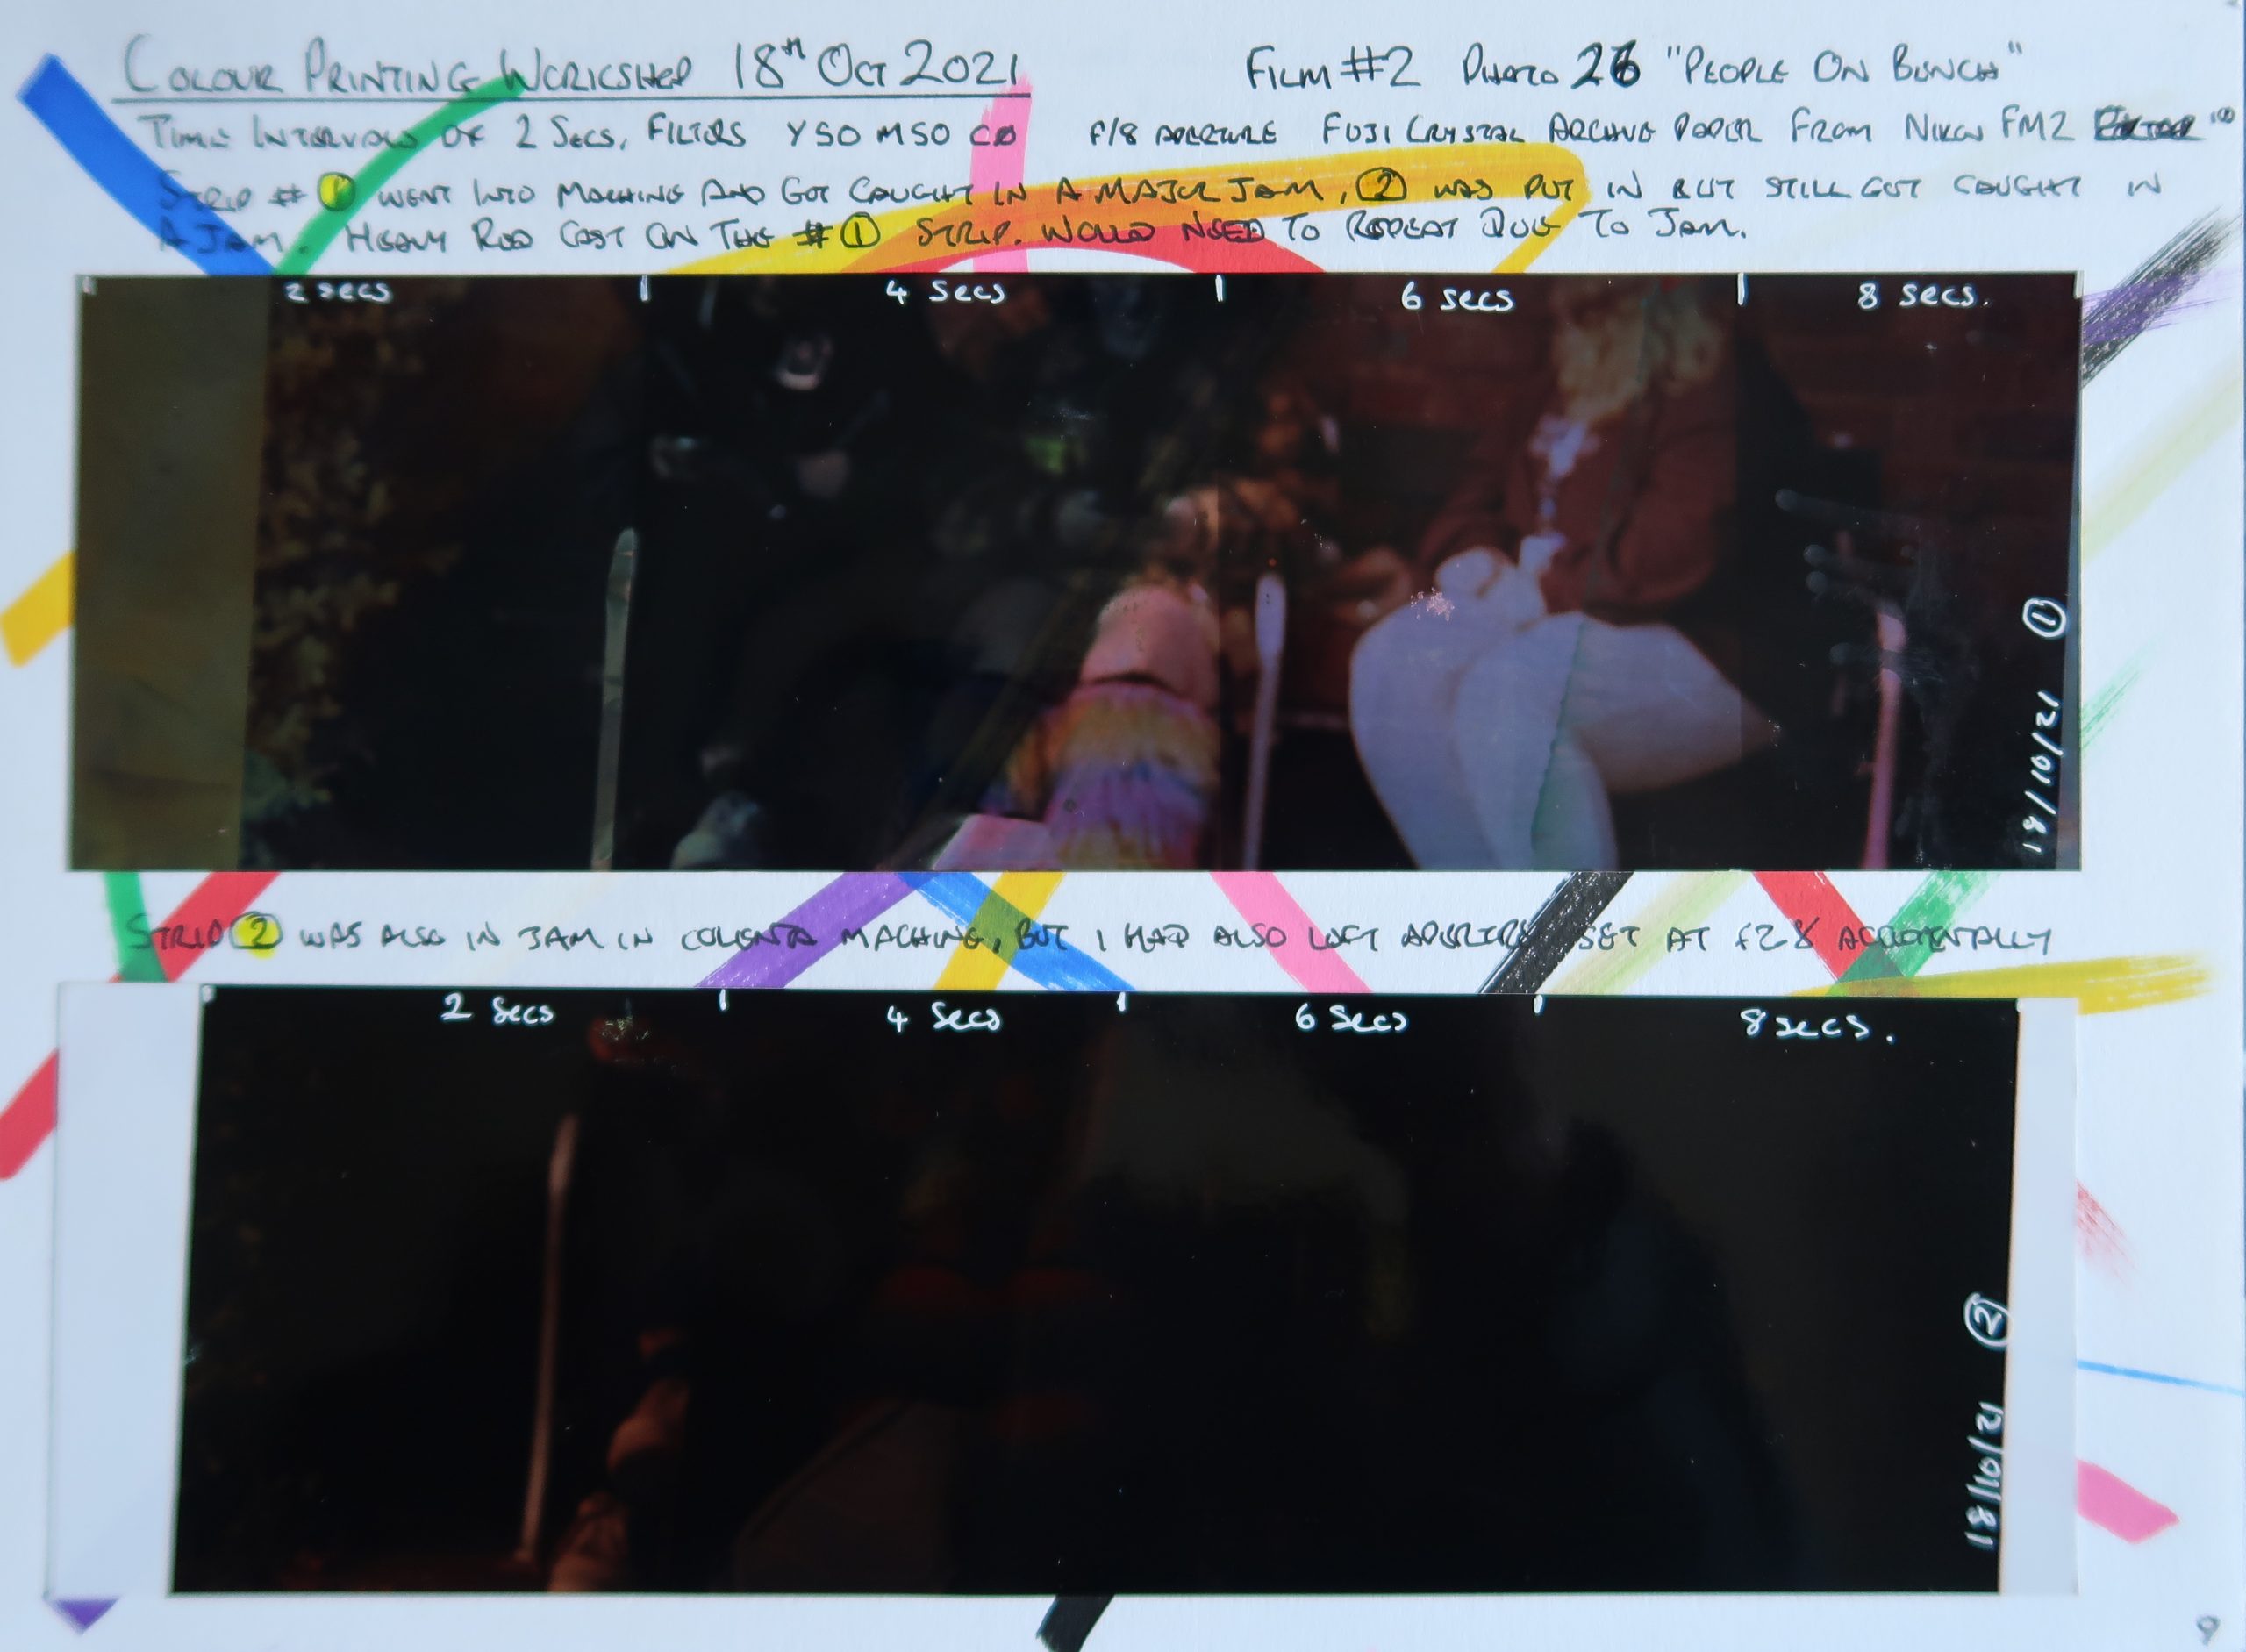
After the foul up last week I chose another negative that had some colour in it, a picture of three people sitting on a bench in the Castle grounds. One was wearing fantastically coloured trouser legs that if she’d stood up might have resembled a small car wash.
The negative went into the carrier in the enlarger head and the filters changed to Y50,M50,C0 for the first test strip. I didn’t have any test strips left from last week so I took some of my Fuji Crystal Archive paper (12×10 sheets) into the guillotine room and mimed the chopping action first making sure I knew where everything was before switching off the lights. With the colour paper you’re not even allowed the luxury of a red safe light in the room so it was going to be challenging.
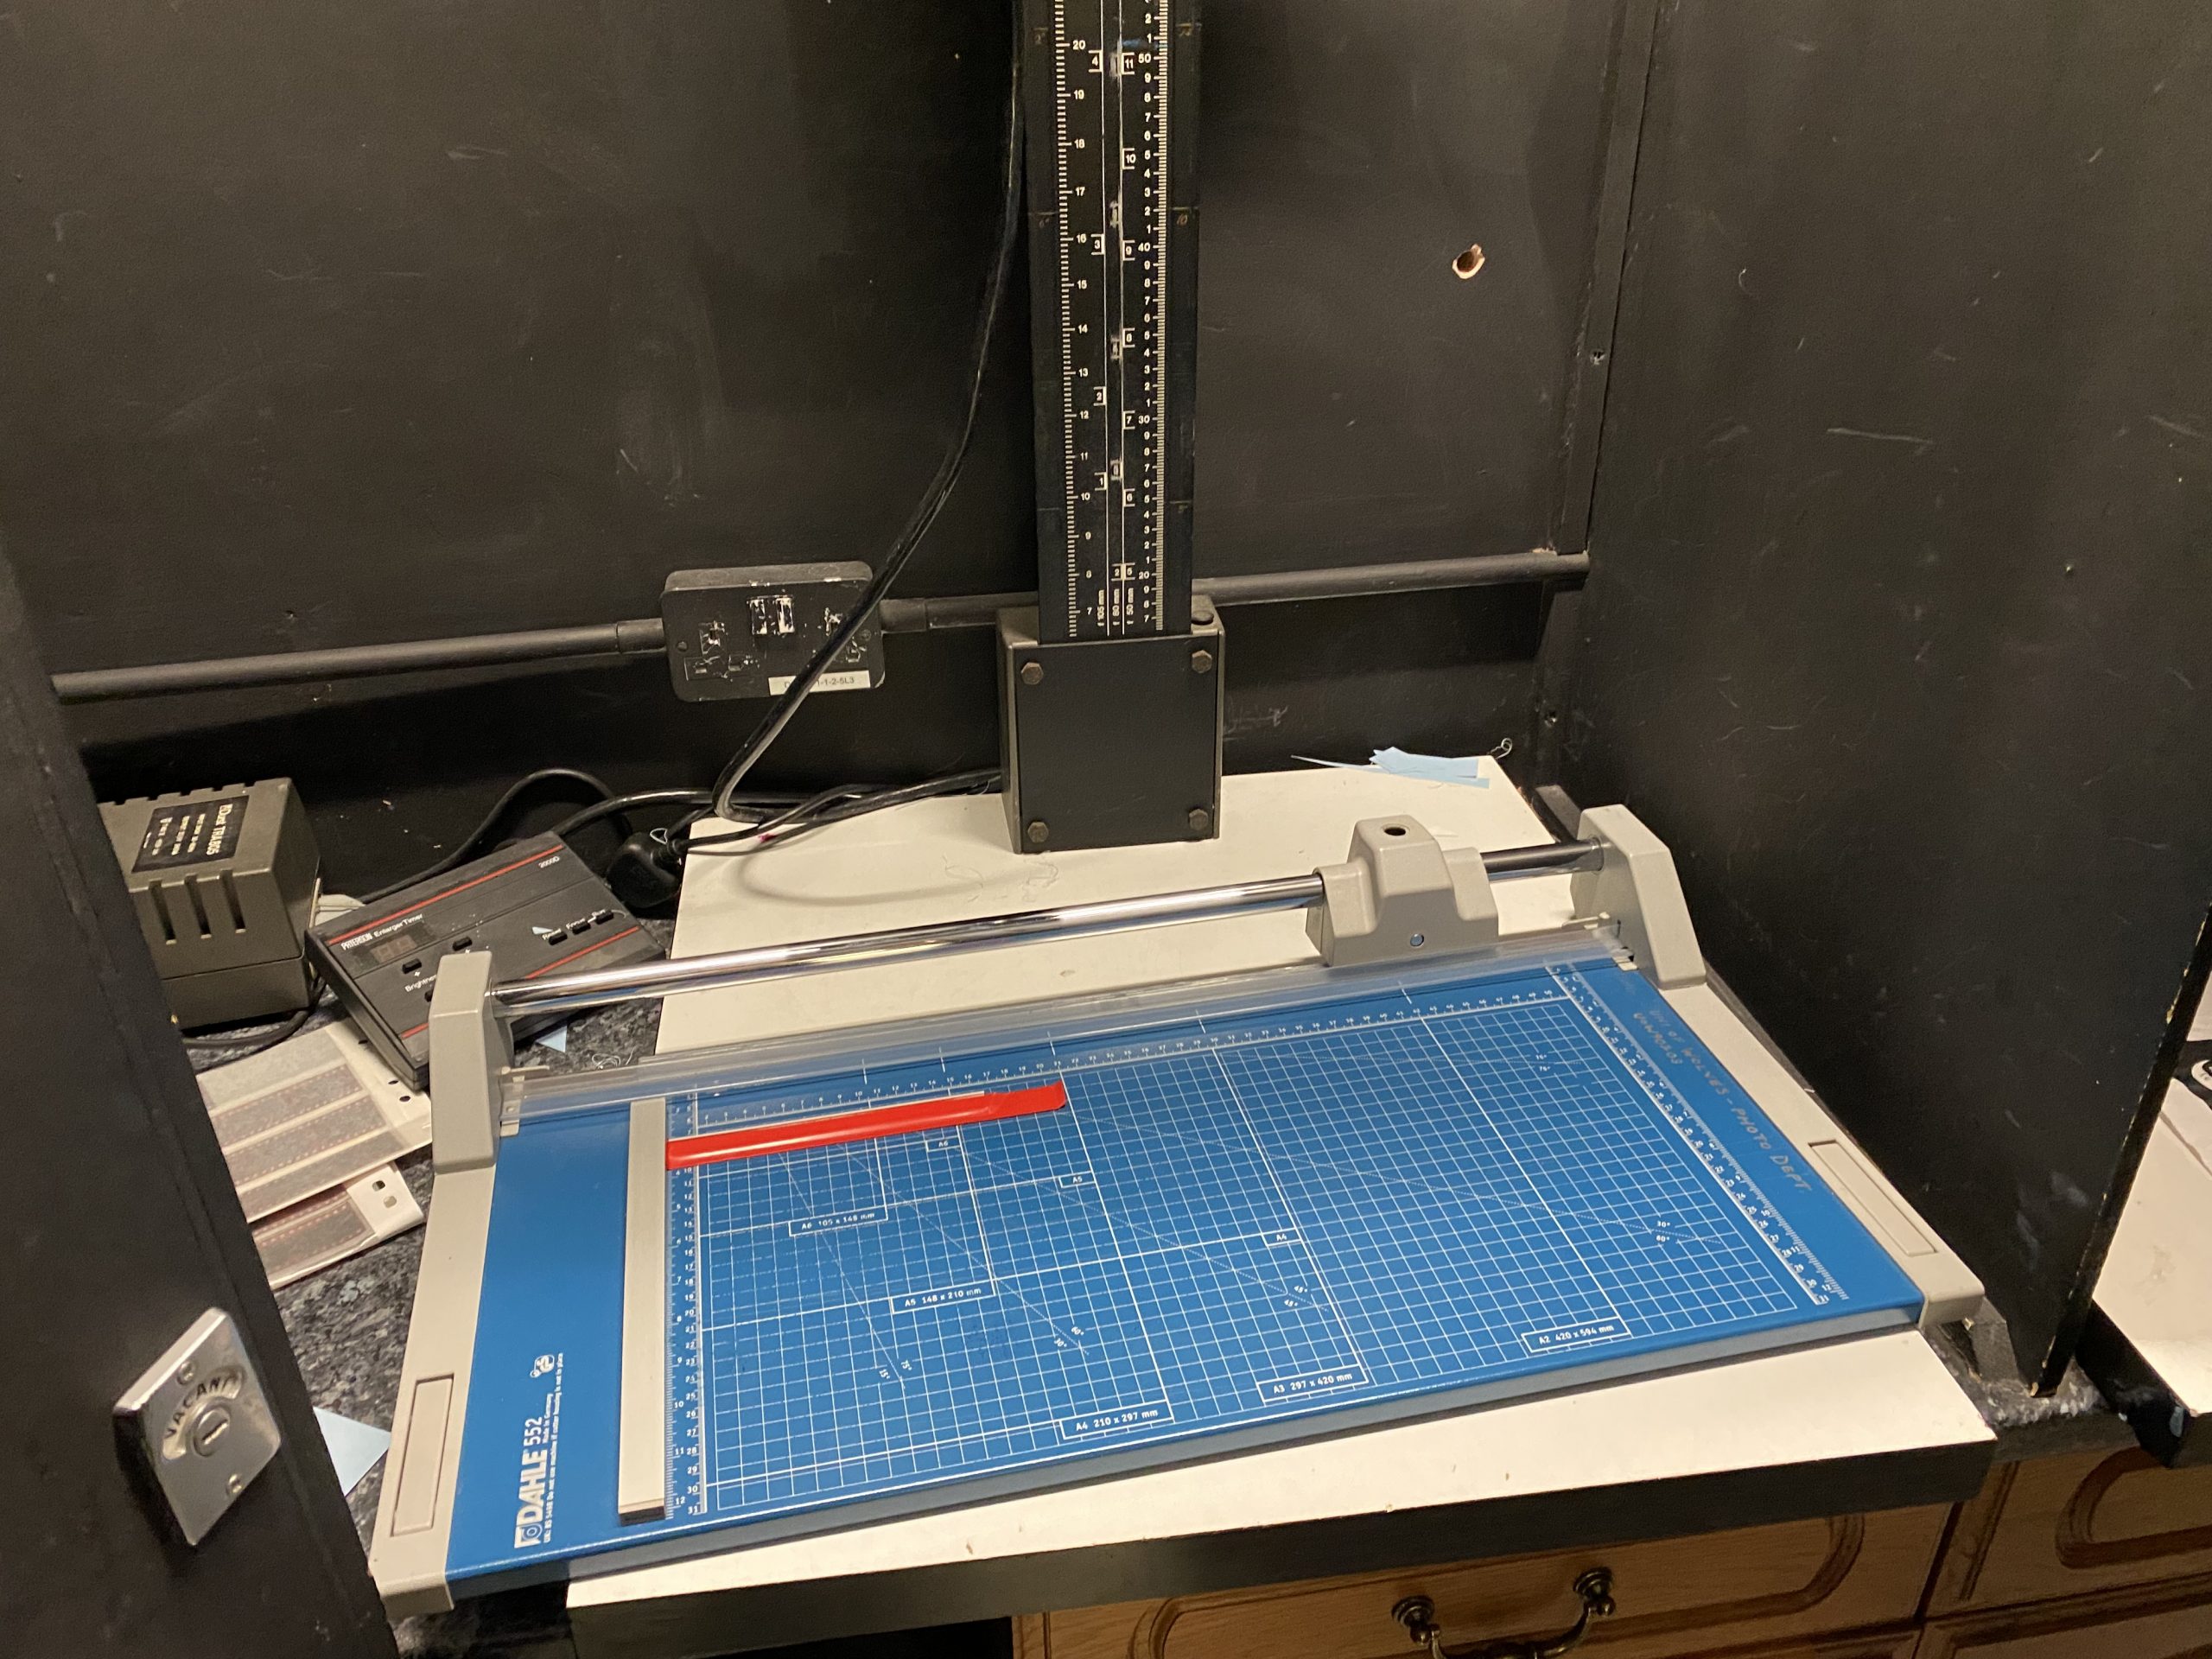
With the lights out and the Engaged lock set on the door I took one sheet of paper from it’s box, then from it’s black bag before feeding it through the plastic ruler and sliding it up to the stop to give the correct width strip before sliding the wheel of shear trimmed across the sheet. Setting this strip aside I repeated it another three times before putting these in another black, light tight plastic sleeve. Making sure the remainder of the paper was in it’s sleeve and in it’s box I then turned on the light.
Time to go and compose the image on the easel of the enlarger.
Projecting the image onto the easel with the filters set I checked the focus and using the adjuster wheel I got it to eh best focus I could find with the naked eye then tried the focus finder, no use still didn’t see the grain so couldn’t tell if it was the set up that was out of focus or the image I’d made on the negative.

Setting the timer to 2 seconds I switched off the room light, fetched a recently cut test strip from the drawer and it’s black bag, before placing it on the easel of the enlarger. Earlier I had picked up an exposed piece of paper from the colour processing machine to use as a blocking sheet instead of using my big heavy A4 pad of paper so I placed this over three quarters of the test strip, give or take a bit as I’d done it in the dark. I hit the timer button and exposed the quarter for 2 seconds and then repeated this another three times each time uncovering a further quarter. The strip I then took from the easel and placed in a second black bag that was empty before turning on the light.
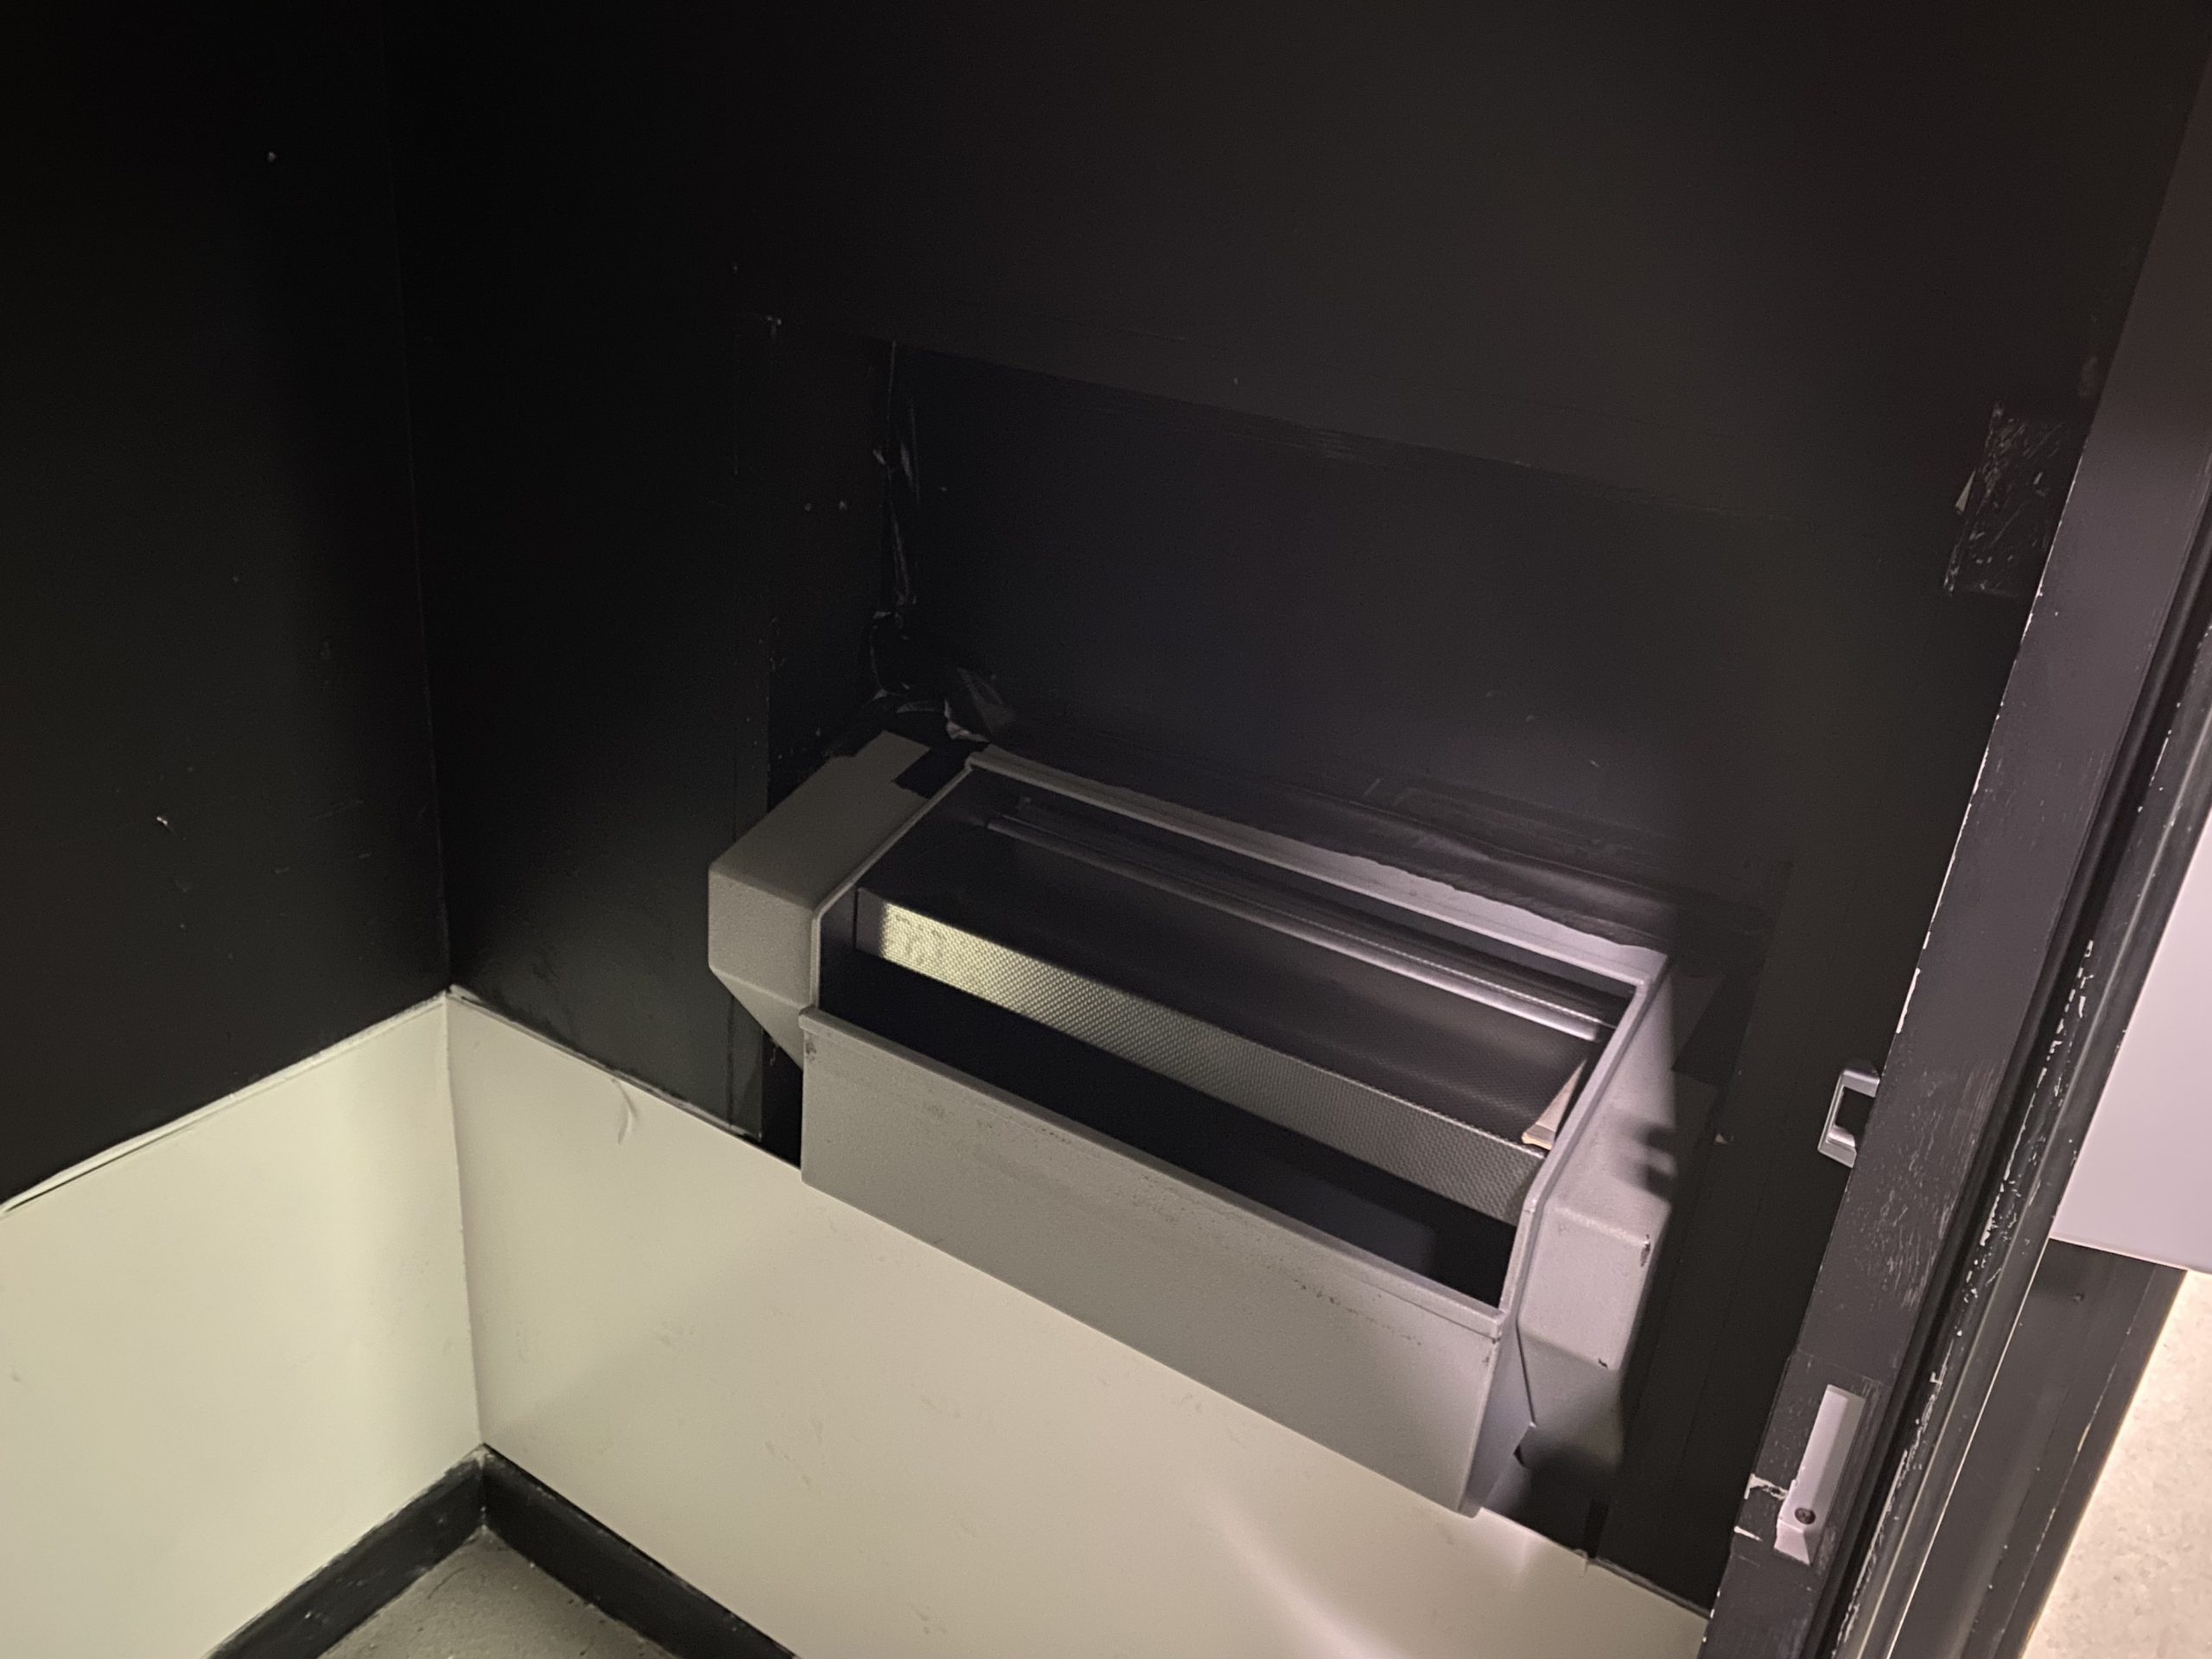
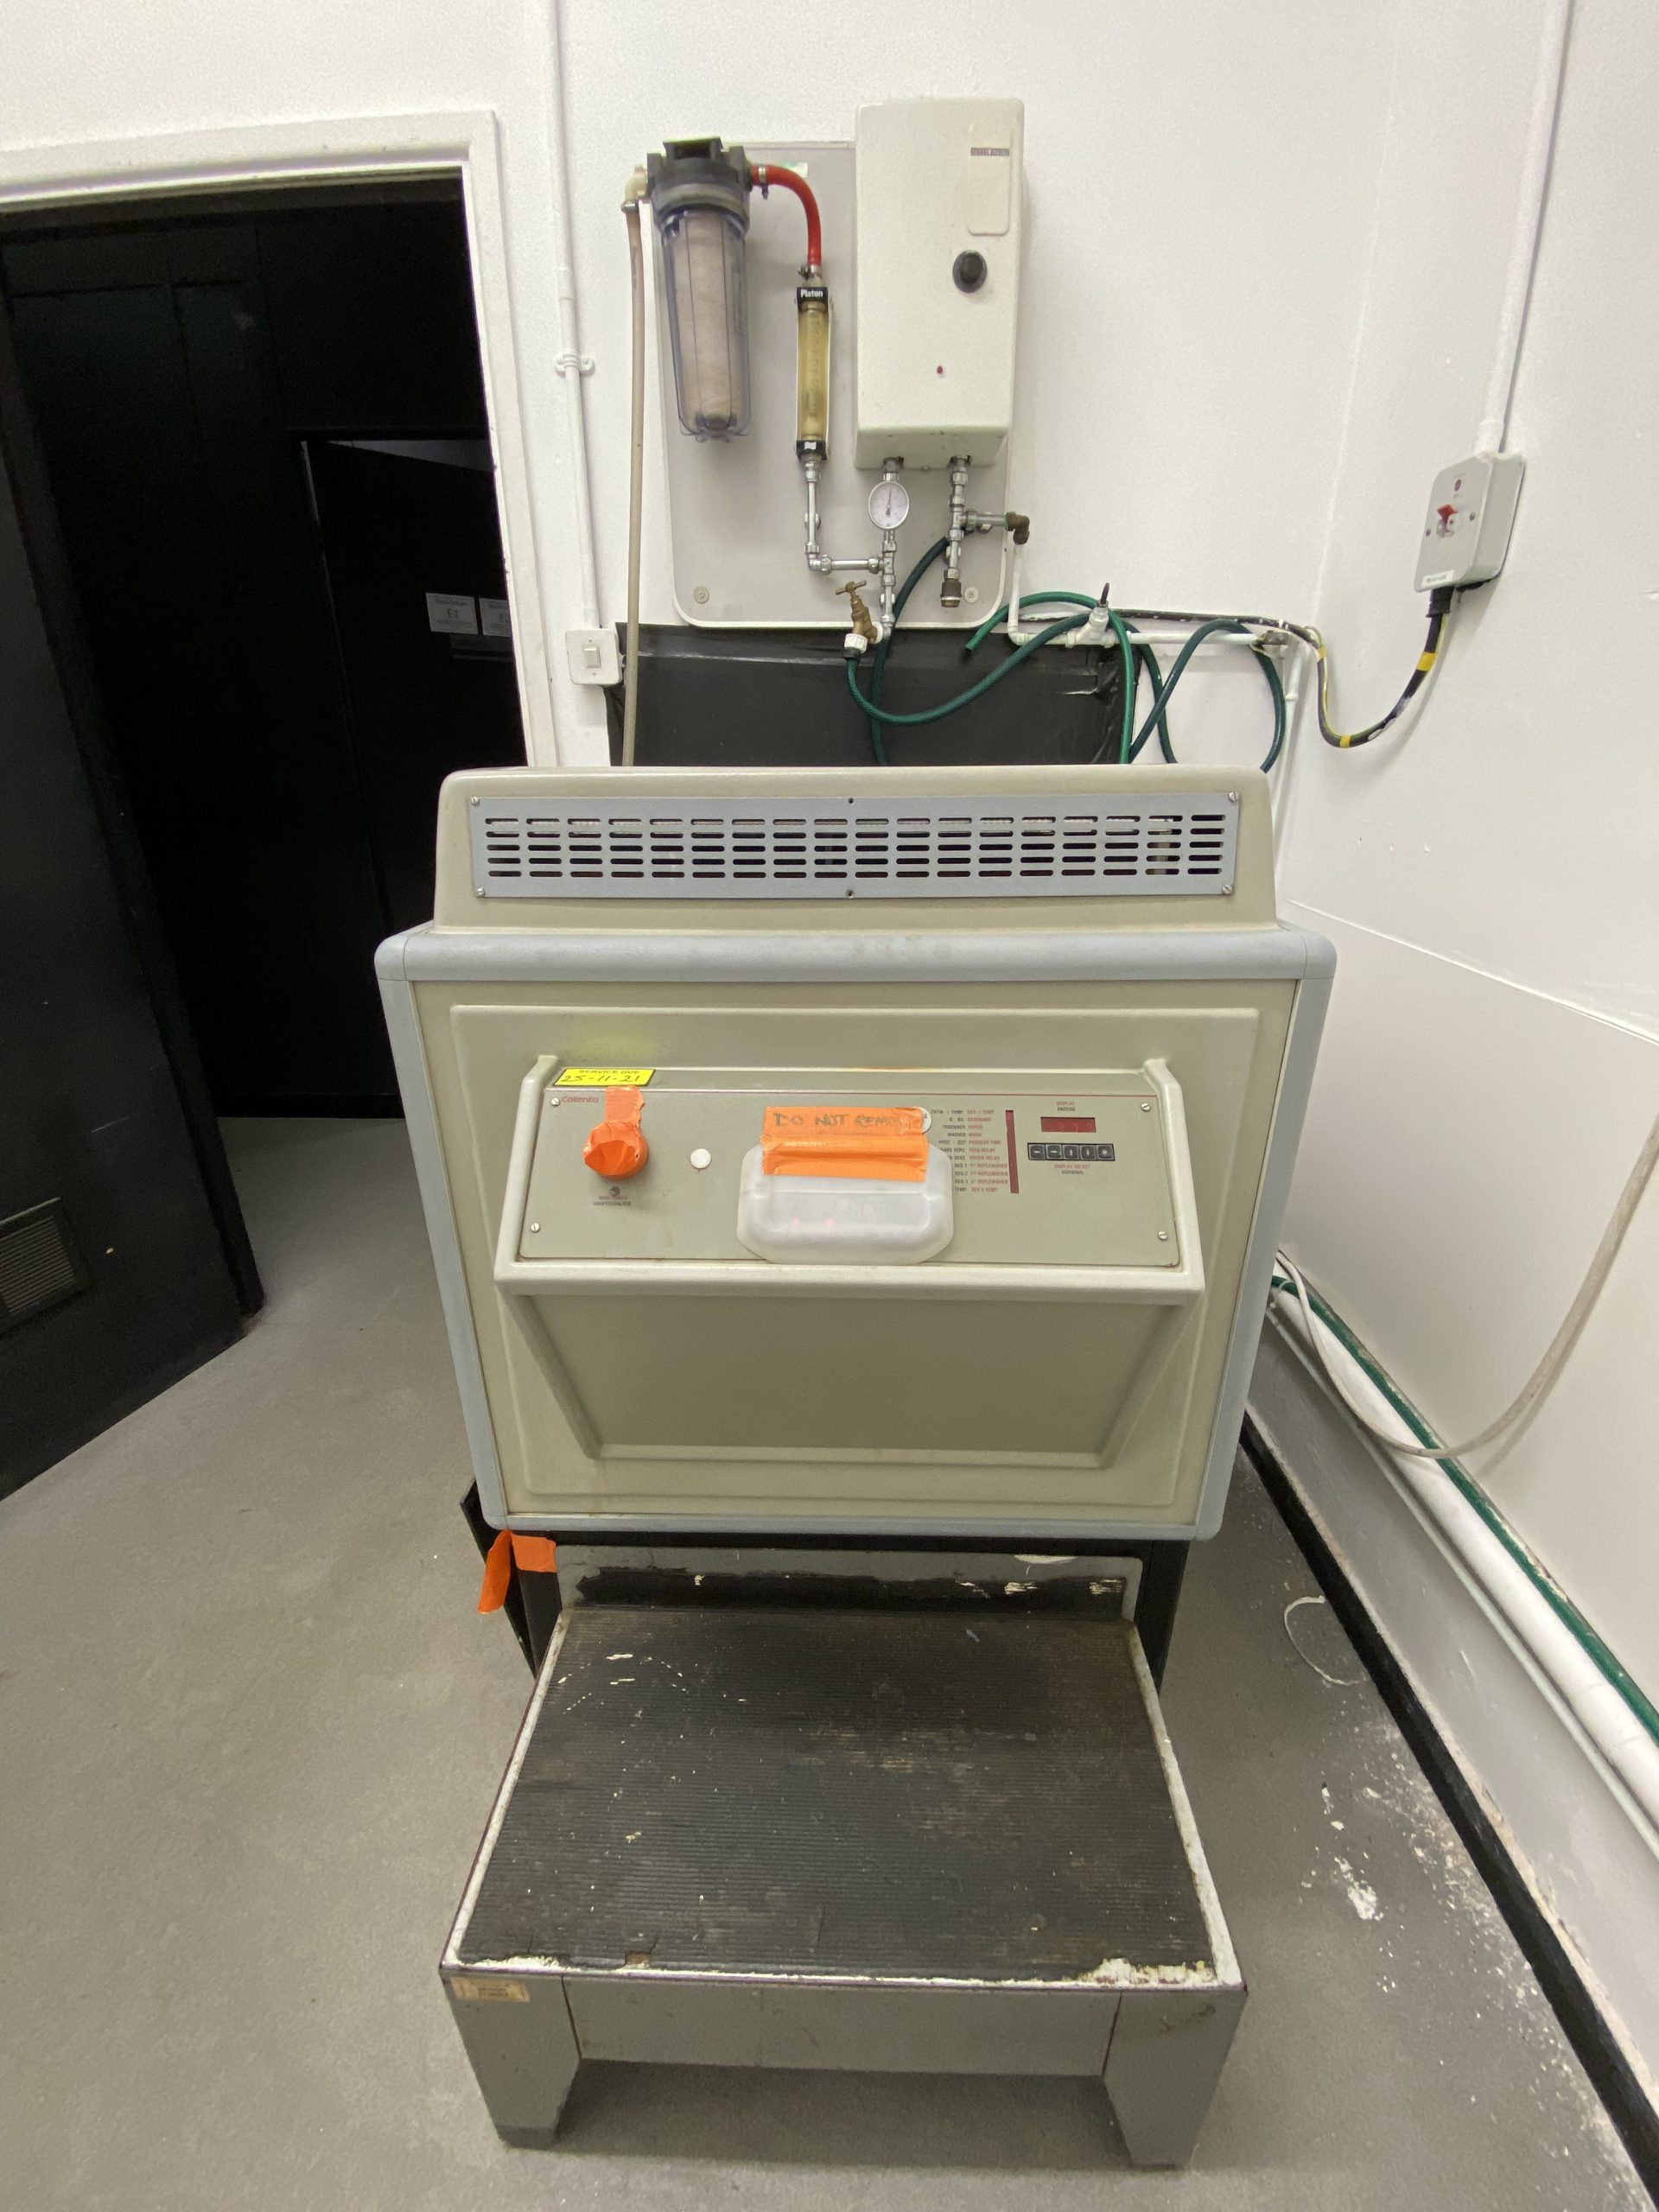
I’d bought another black bag as last time I struggled to figure out which strip I’d need to put into the machine from the four in the bag. This second bag meant that I had only exposed paper in it and I could be certain that I was taking the correct paper to the Colenta processor. I ambled off to the darkroom on the front end of the machine, placed my paper, (1), in the slot and waited the 15 seconds for the beep before exiting.
A few others in front of me had already inserted their prints and strips so I was waiting patiently and whilst some of theirs came out, some overlapped, I waited and waited. After a good ten minutes of nothing being ejected from the machine, Jack the lecturer went to get Dan the photo tech to examine the machine. The processes in this machine use chemicals and the person doing maintenance on it needs to be wearing the correct PPE. After a while I was told to try it again and put another identically exposed strip (2) into the machine. As I exited the darkroom on the front end, Dan entered the room to take a proper look in the machine and I left to get out of the way and away from any splashing chemicals. After a short while Dan called to let us know it was all ok again, there was a large amount of paper that was stuck in the machine and this was on the top of the machine waiting to go in to the bin.
It was then that I noticed my two strips from earlier and also another (3) from last week. my Test strip(2, Road Bollards) from last week that I thought was upside down on the easel, was actually correctly exposed but it had got stuck in a pile up of other people’s prints and had been cooking away for a week. Whilst I was initially happy that I hadn’t screwed up I realised that I should have brought the matter to Dan’s attention last week instead of excusing it as a mistake on my part and someone else picking up an unexposed strip.
Strips (1) and (2) from this week were no good, the first was damaged in the processing machine and the second was ruined after I forgot to reset the aperture to f/8, from f/2.8 hence it was wildly over-exposed. As it happens this one was also damaged in the jam. Time to try again…
It was time to re-enter the Enlarger room and try again with increased filtering on the Yellow and Magenta so I upped them to 70,70 and left Cyan on 0. Then tried again with the 2,4,6,8 seconds exposure. The first strip was exposed, moved into the bag, taken to the machine and sent through with the result (4) coming out looking good in terms of colour, still slightly too much of a red cast but getting there. It was really out of focus too but I thought I’d give it a go again, still not sure whether it was the photo being taken out of focus or my enlarger technique. Jack the lecturer looked at (4) and suggested to bump filters up a little more, so the next strip would be 80,80,0.
Only after I took the strip (5) from the machine did I realise it was still carrying a red cast and then remembered that I’d not changed the filters so it was still set at 70,70,0. I’d completely forgotten to change the filters, what with remembering to reset the aperture and panicking about the focus.. It’s very easy to make mistakes in this process if you get distracted.
Now I’m not blaming anyone here for the distraction but I was asked to help a couple of my course mates with their test strips as they were all coming out way over exposed. I went in the enlarger room with them and asked them what their process was and we figured out that they were putting the light sensitive paper on the easel before turning off the enlarger light head. When they were then carrying out the timer, and uncovering quarters, it was already too late as their paper had had way too much time under the light. I was happy that I could help them and from then on the results the achieved just got better and better and the progression in the next few prints was amazing, I felt proud of them. Maybe it’s because I’m an older member of the group and they the youngsters.
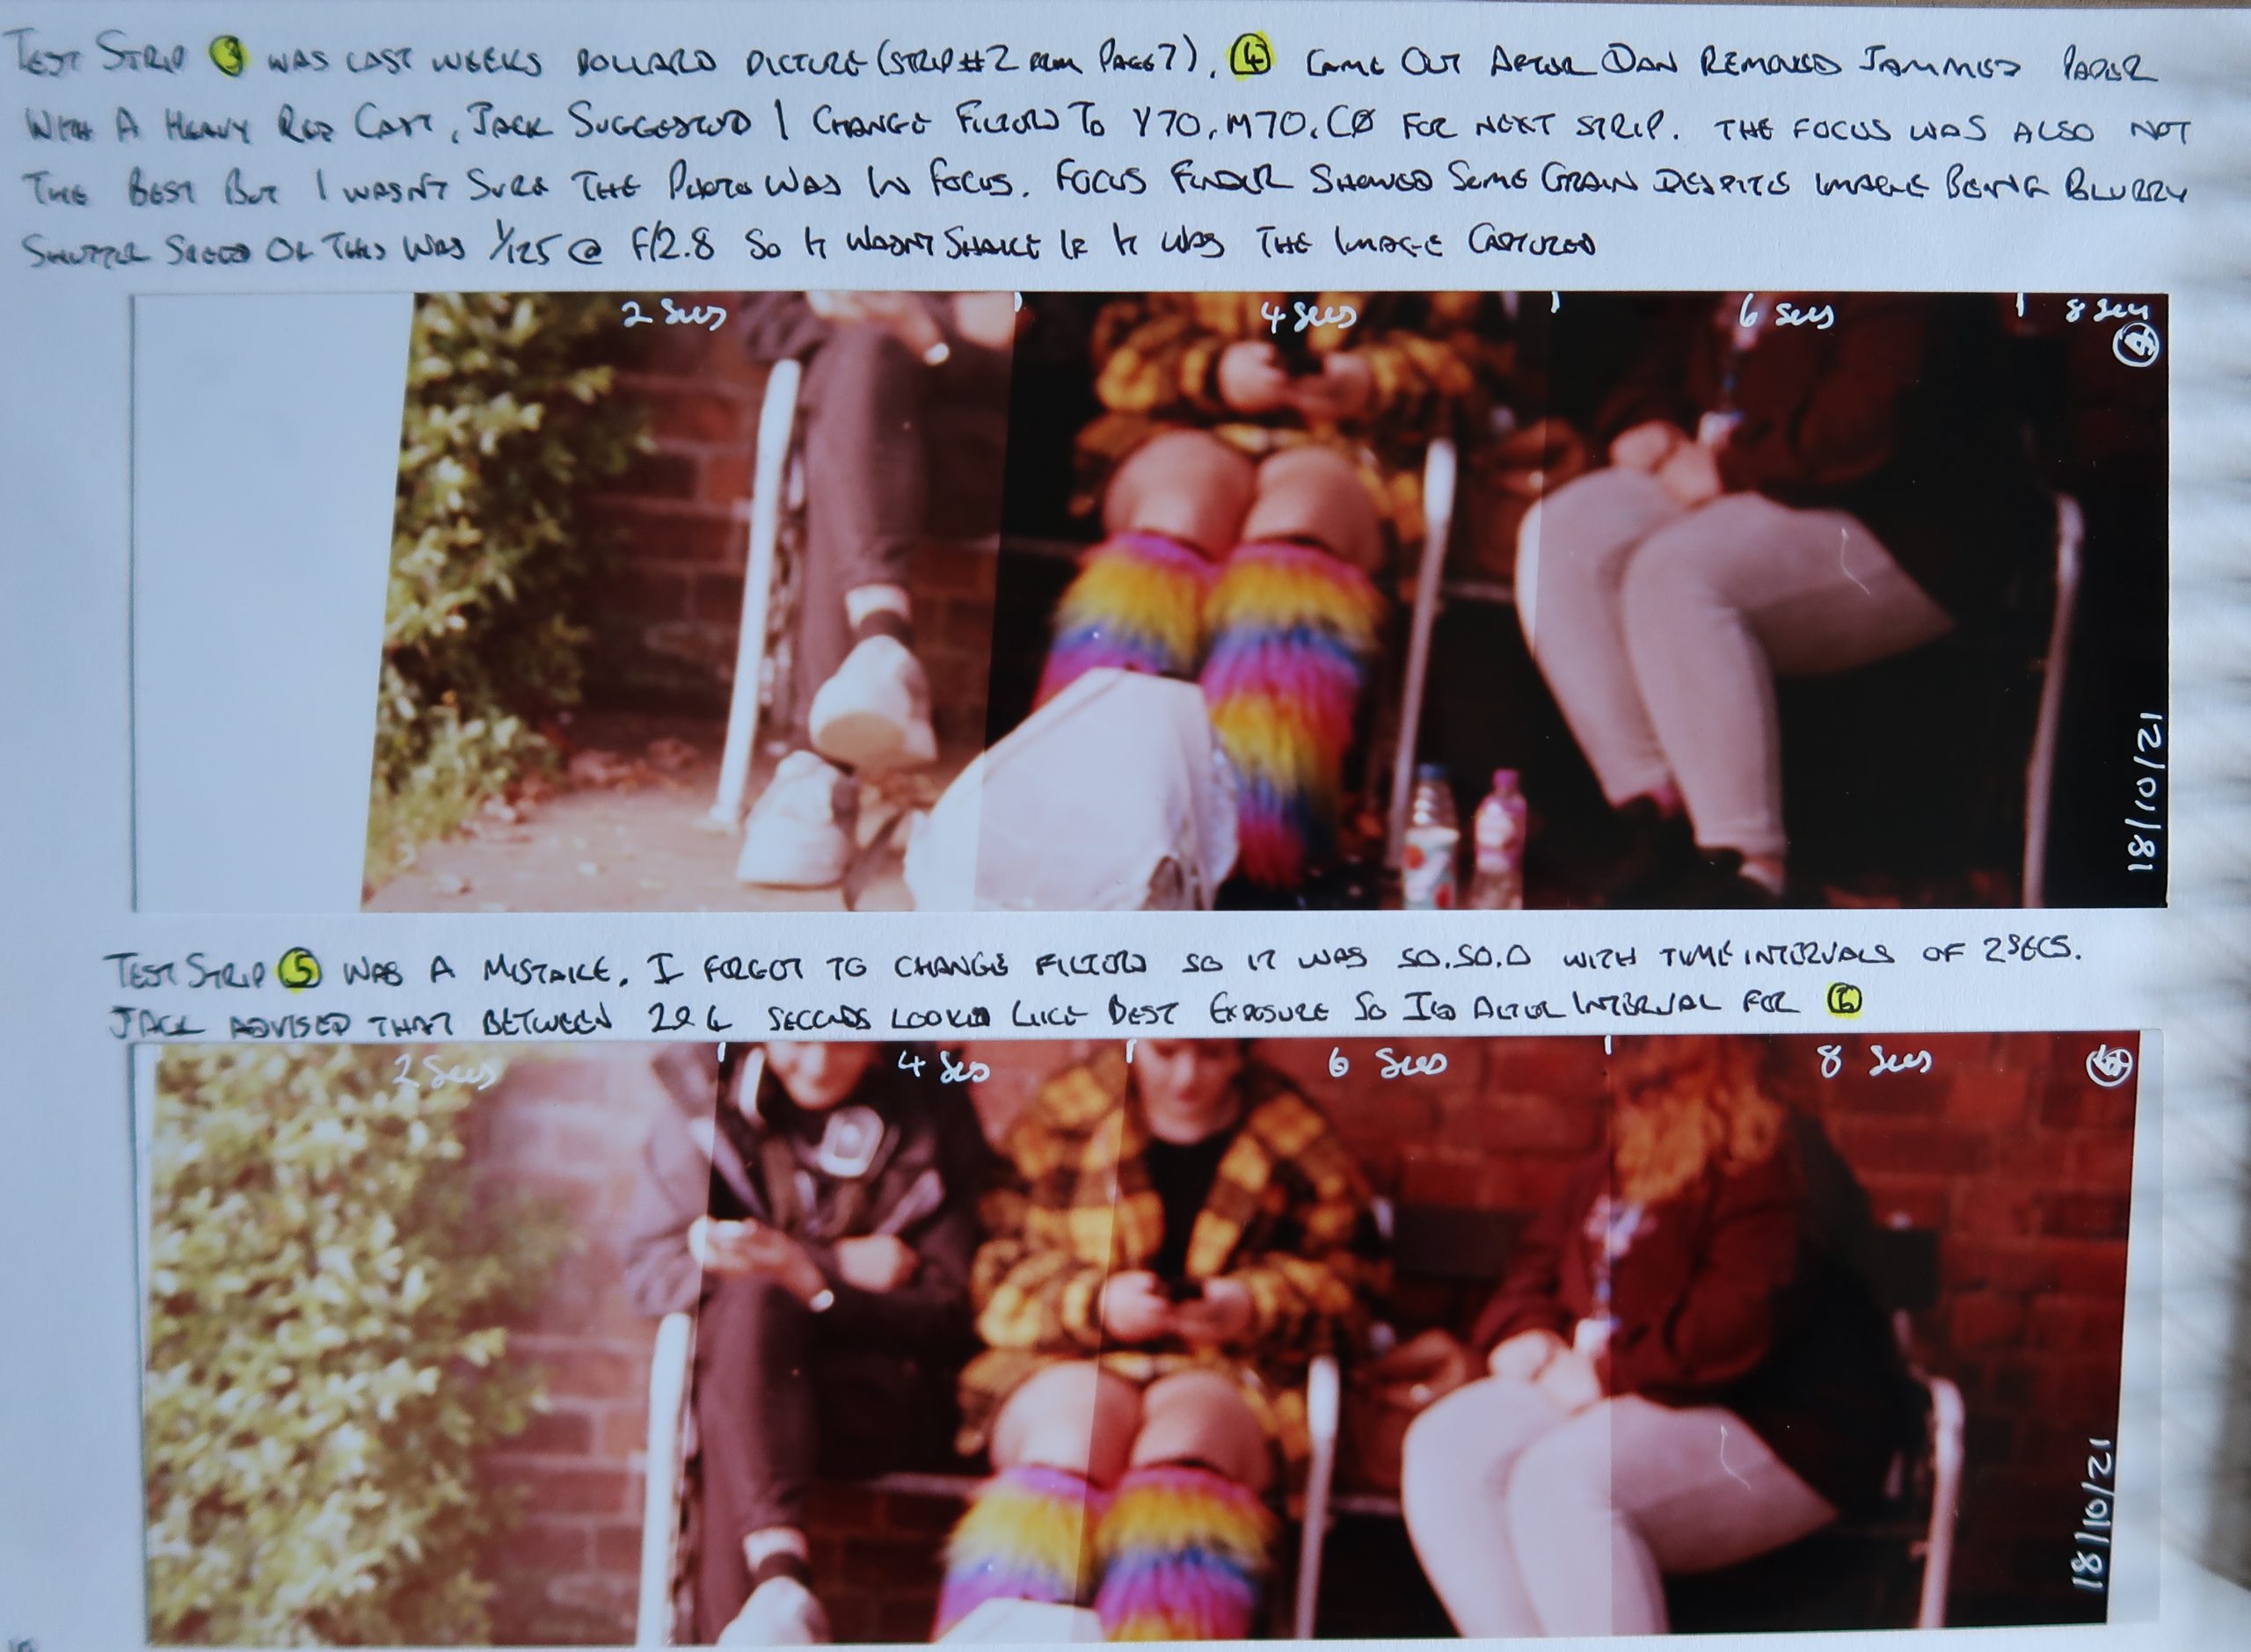
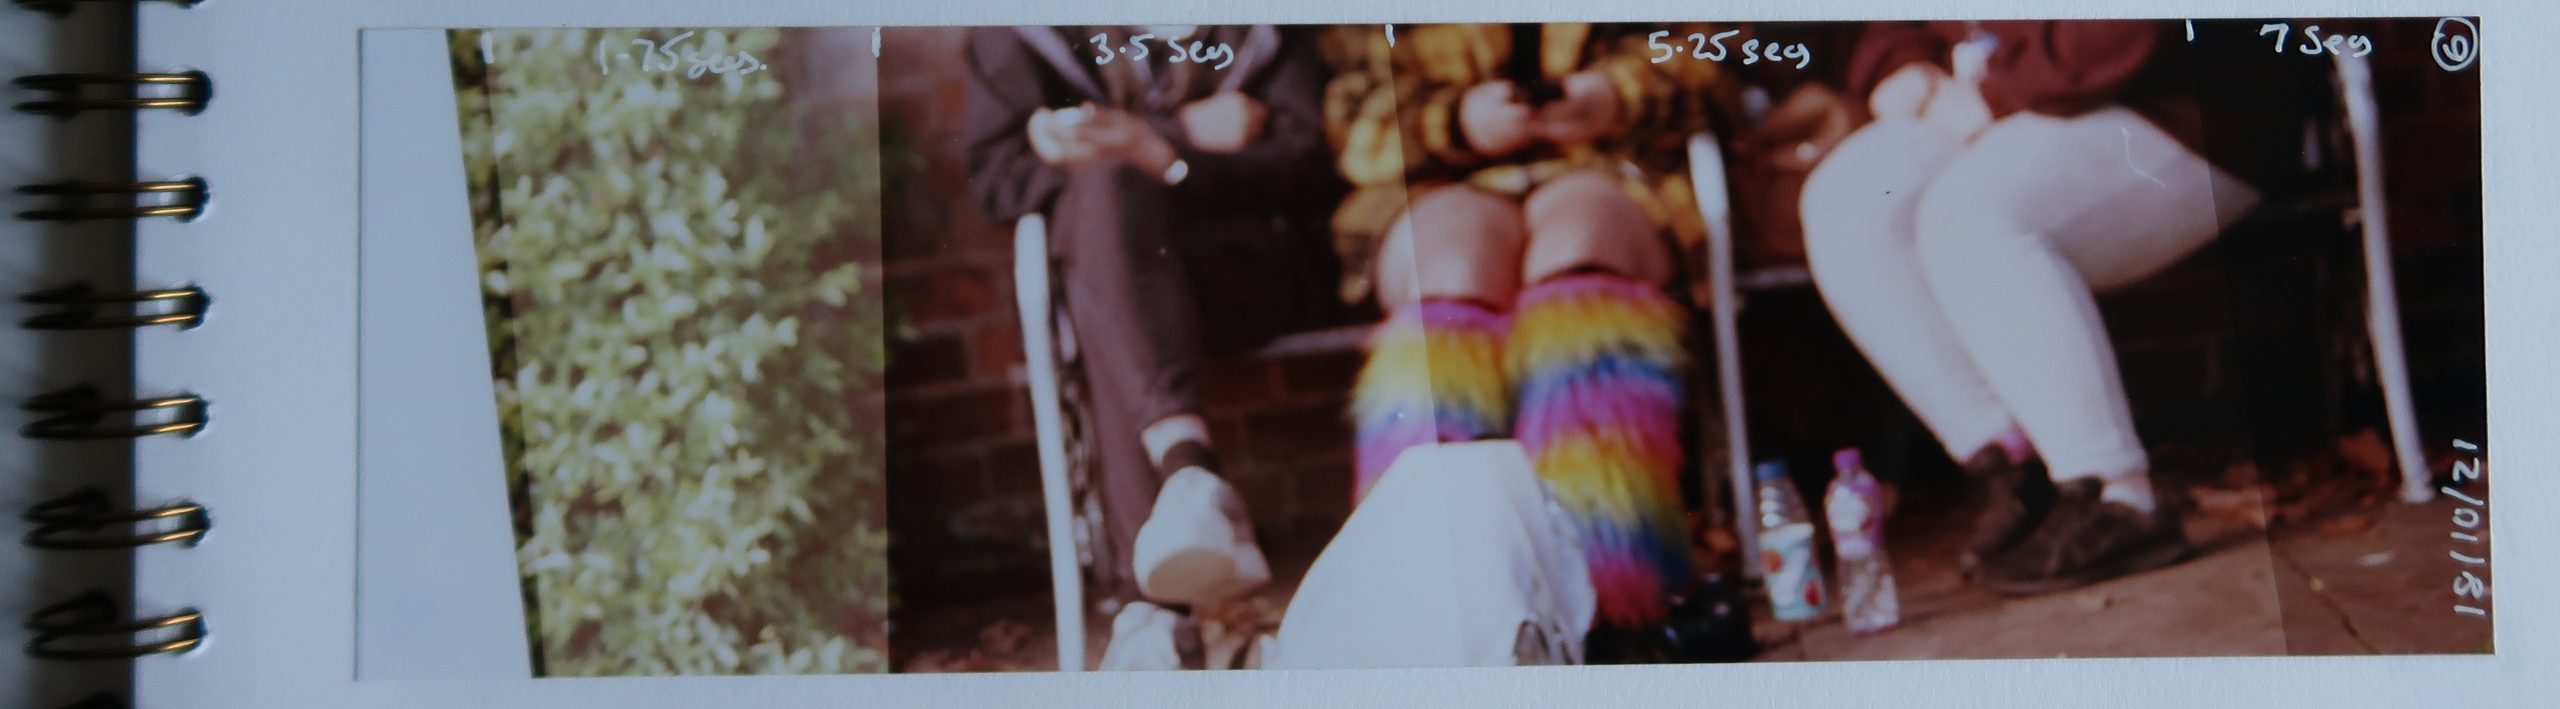
Once my two test strips had come out the same I returned back to change the filters and also try a different time interval, it looked from these strips that between 2 and 4 seconds was somewhere near to where I wanted to hit so I changed the interval to 1.75 seconds so I could hit a 3.5 second mark. With the filters at 70,70,0 I got a good strip out of the machine that was still out of focus but I couldn’t see to get it any better on the easel.
Test Strip (6) came out and the best looking exposure on it was 5.25 secs so I decided that I’d use this for a full size print. Jack also suggested that I add another 10 onto the Y and M filters for an 80,80,0
Banging a 12×10 piece of paper under the enlarger seemed extravagant but I wanted to see what a full page print looked like, especially of this photo. I made 100% certain that the filters were on 80,80,0 and the aperture set to f/8 and focus was as good as I could get it before hitting the timer for a 5.25 second exposure.
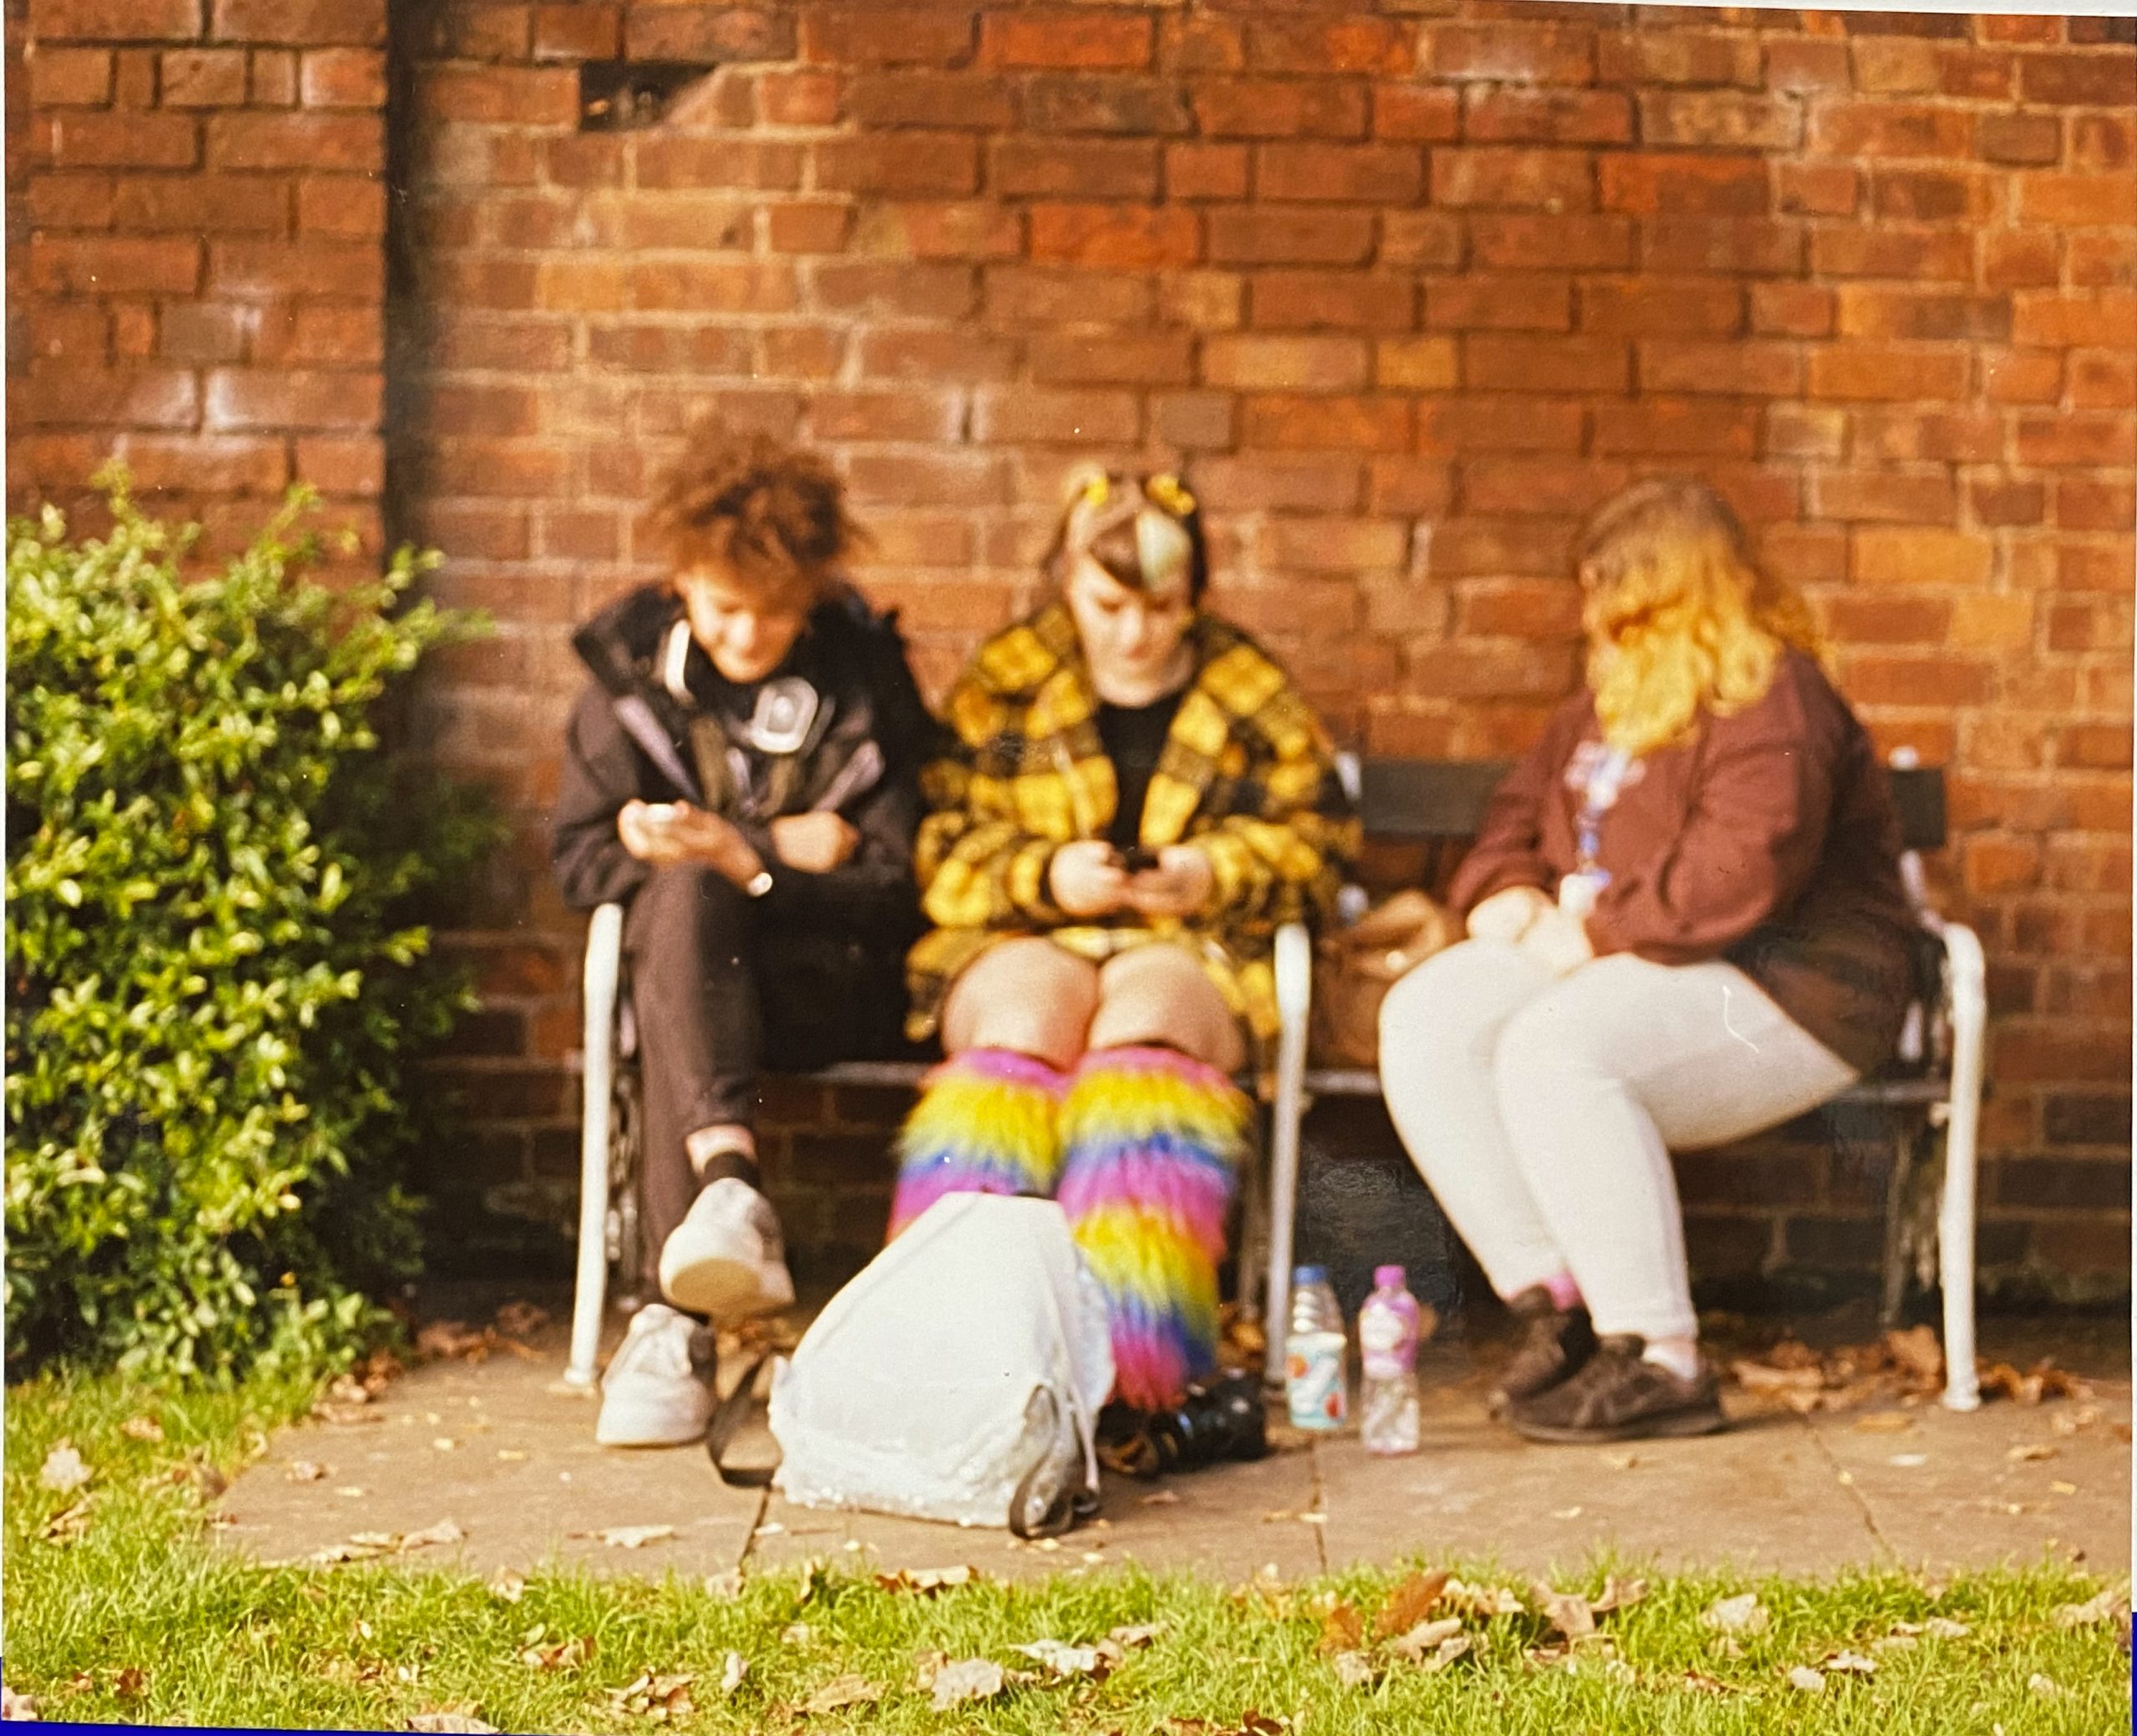
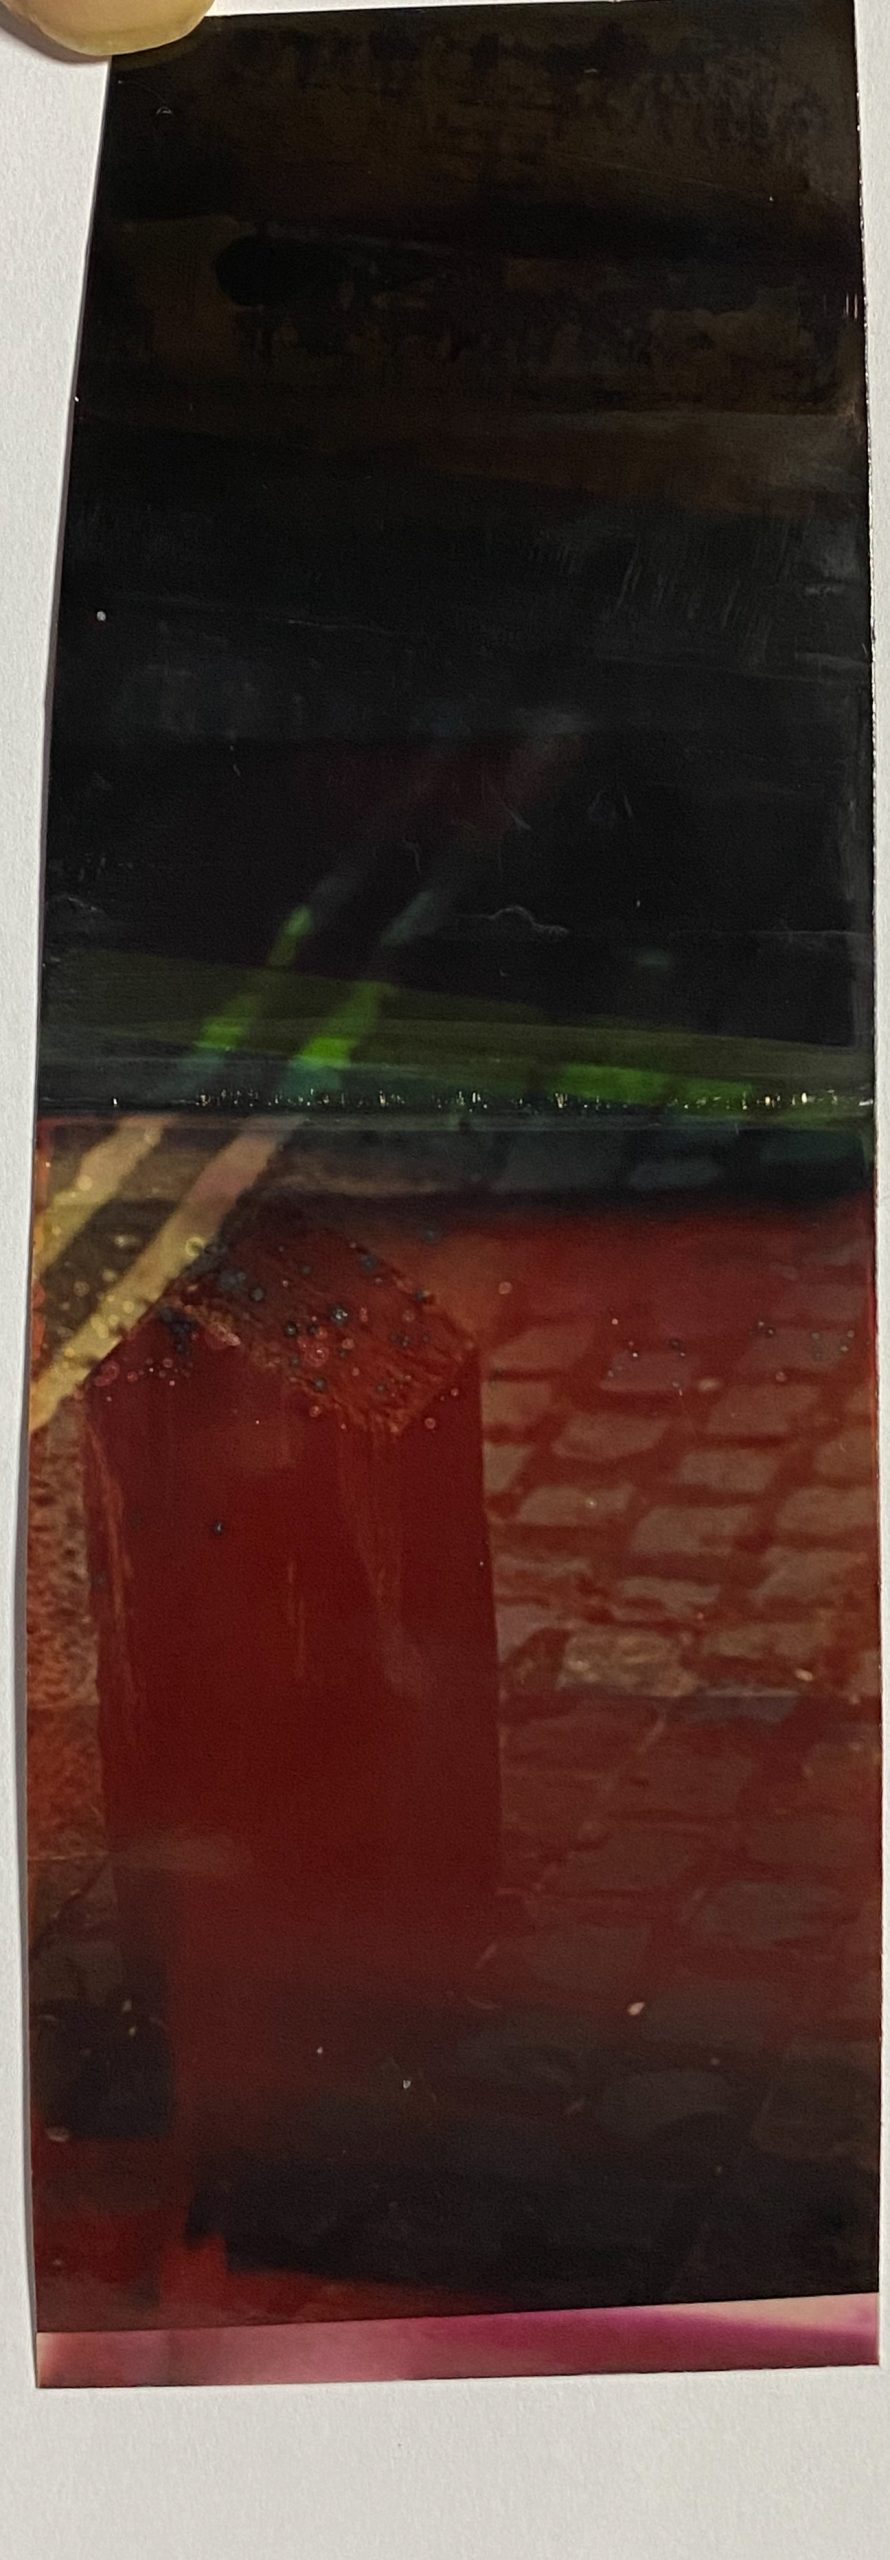
As you can see from this digital image of the print (taken hastily with a digital camera) the grass in the foreground is in focus and the people on the bench are definitely not. This means it was entirely the photographer’s fault and in the excitement of asking strangers for a photo I slipped up on the focus, the shutter speed for this image was 1/125 secs and an aperture of 2.8. I was very happy to see this image emerge from the machine from a negative I’ve created in the film camera.
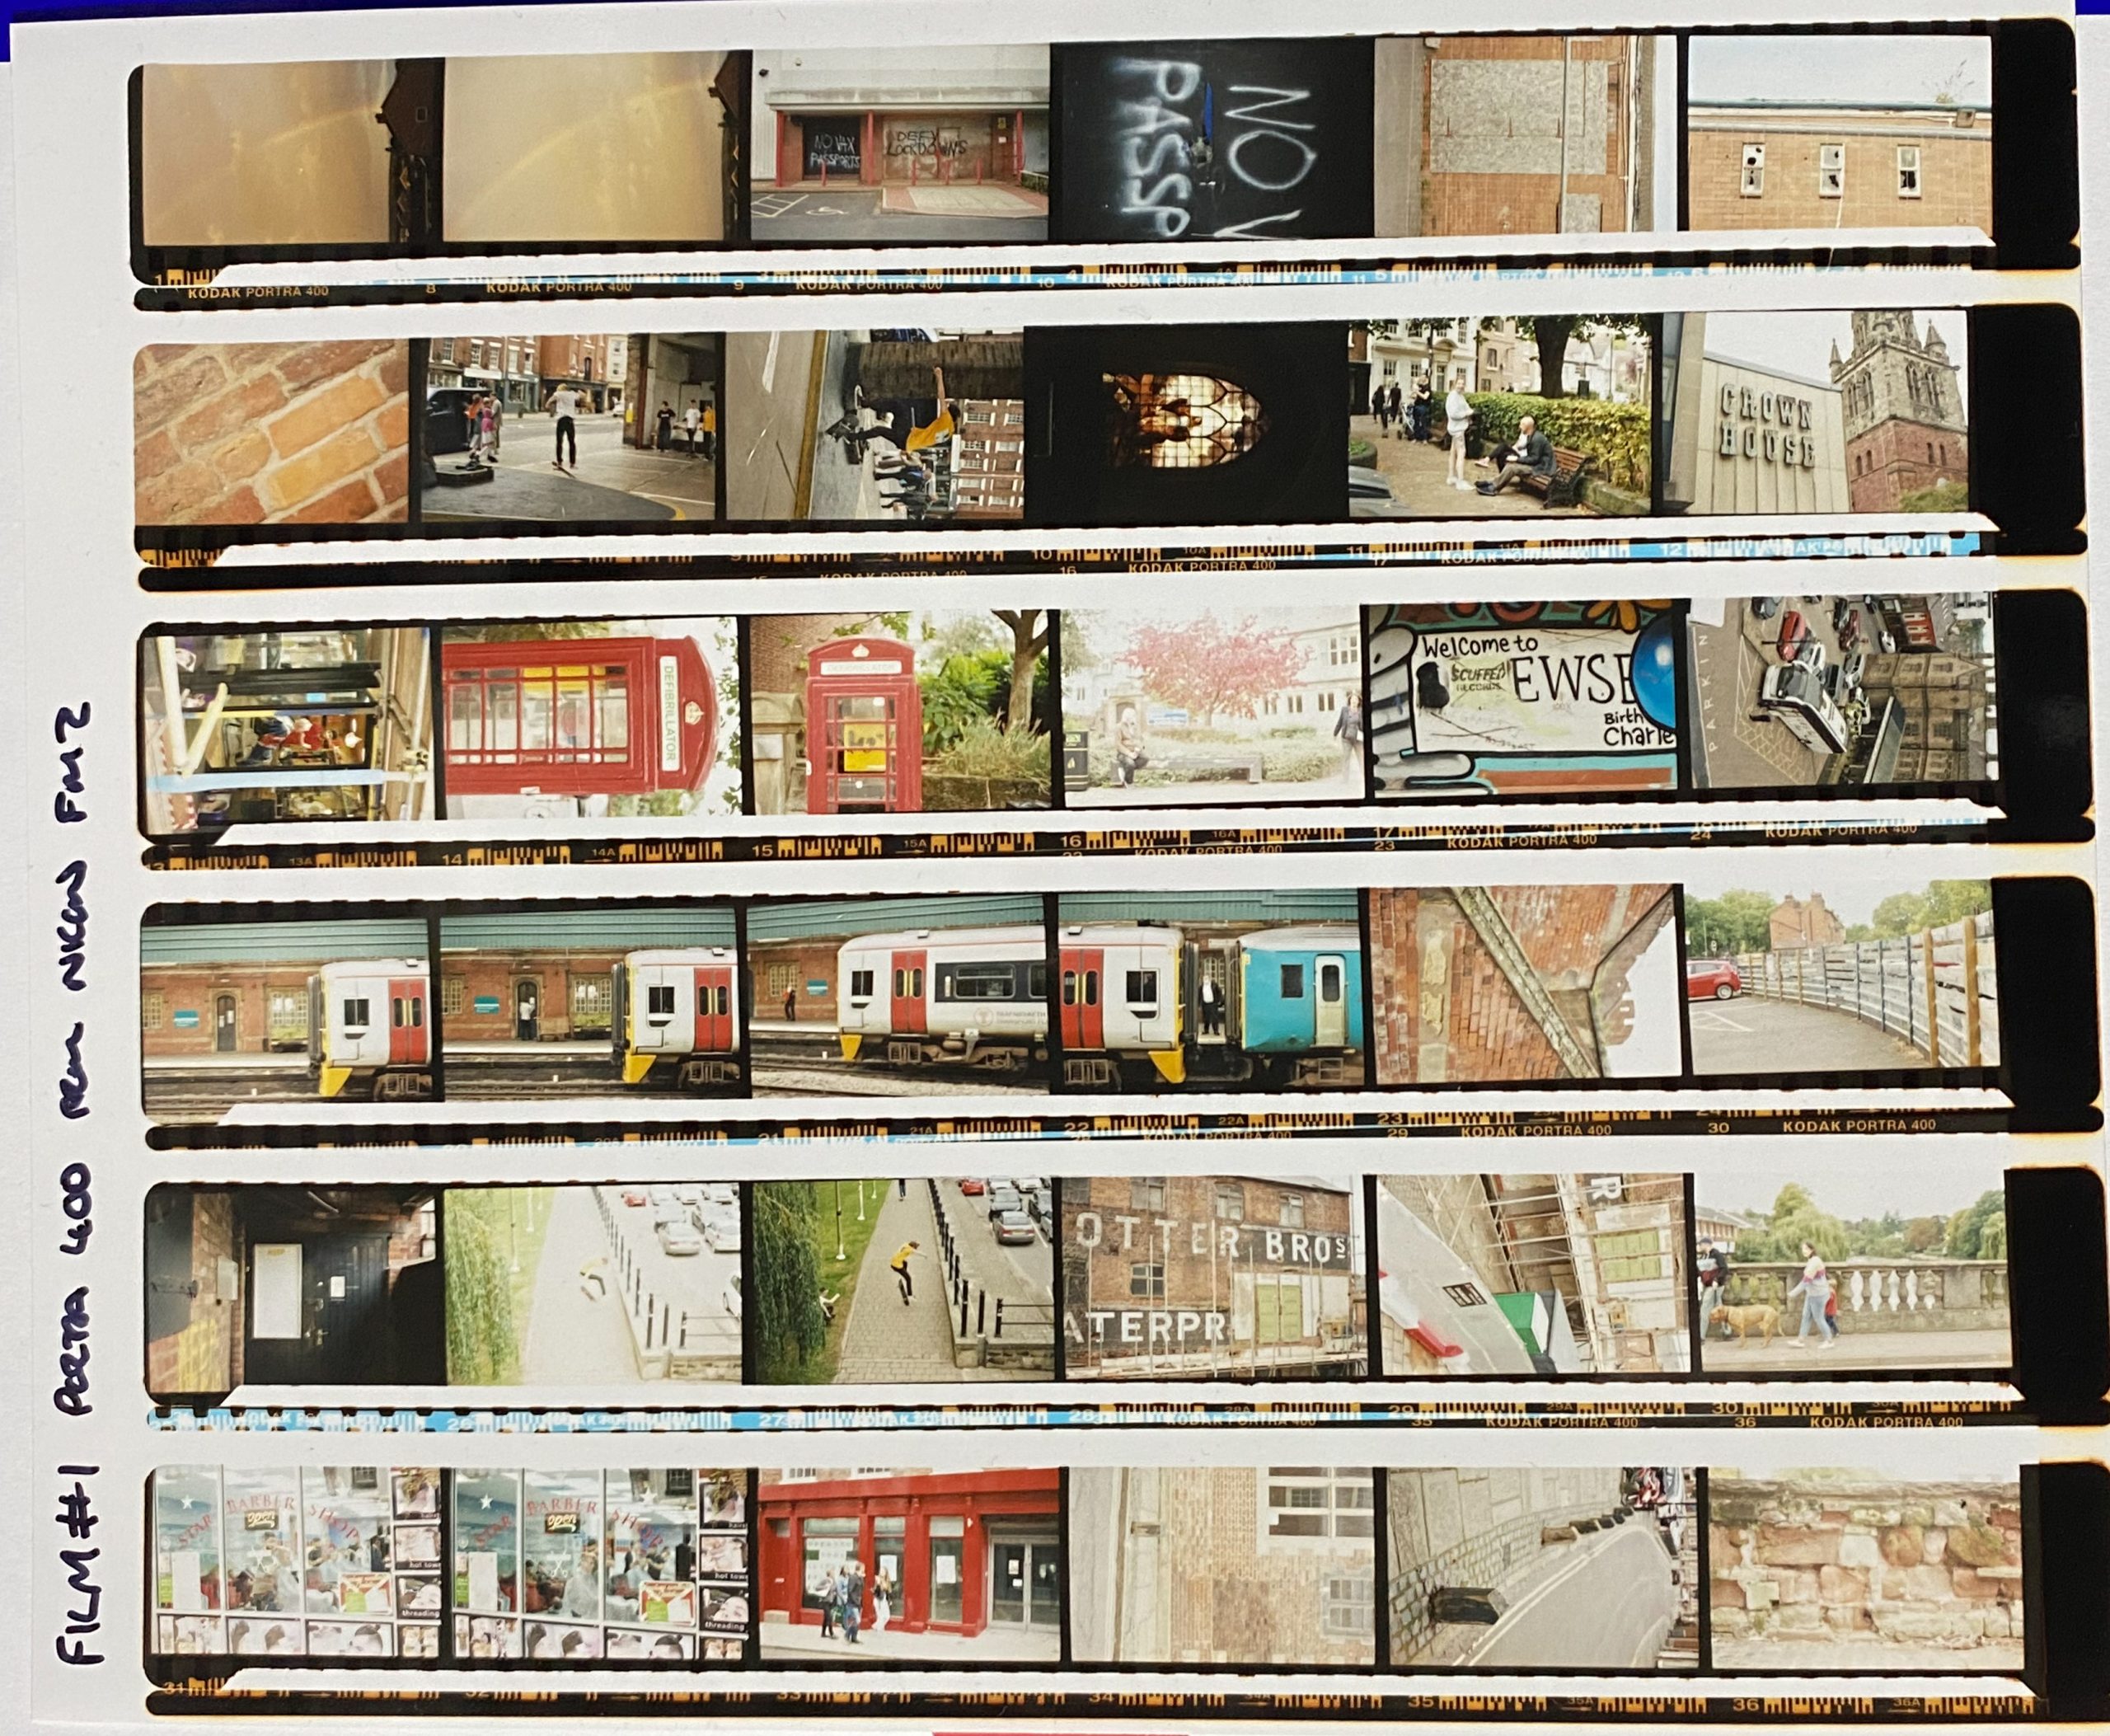
Now I’d gone from a Test Strip to a full print I fancied having a go at a contact sheet from a set of negatives. For the first attempt I’d use Film #1, which was a Portra 400 used in the Nikon FM2 camera borrowed from the media stores.
I set to work cutting up some more test strips and getting them into the bag ready to go. Then used the contact proof printer, a frame that takes all the negatives and is then closed over the sheet of paper, before being exposed. It’s called a contact sheet as the negatives are held in contact with the sheet of paper and thus the image size is 1:1. The light from the enlarger is shone onto the easel for 5.25 seconds with a test strip (8) under the glass sheet and negatives. producing a cool looking band of photos..

For the second of these test strips, Jack suggested I up the filters to 90,90,0 as there was still an abundance of red but looking more closely at (9) it looks like there was too little red in it, and I should have reduced the filters to 85,85,0 before the full page contact sheet. I went ahead and printed the contact sheet as it was getting close to 1’o’clock and Id soon have to leave to get home as I work in the afternoon from home and had a few meetings.
I was really happy with the full page contact sheet (10) but realised afterwards that I didn’t subject the test strips to an uncovering process for the assessment of best exposure time. I figured that I couldn’t do it as the paper was under the glass and the negs but of course I could have done it, jsut by blocking off the light from the enlarger head to the negs and paper.. Doh, I was getting some good learning opportunities this week.
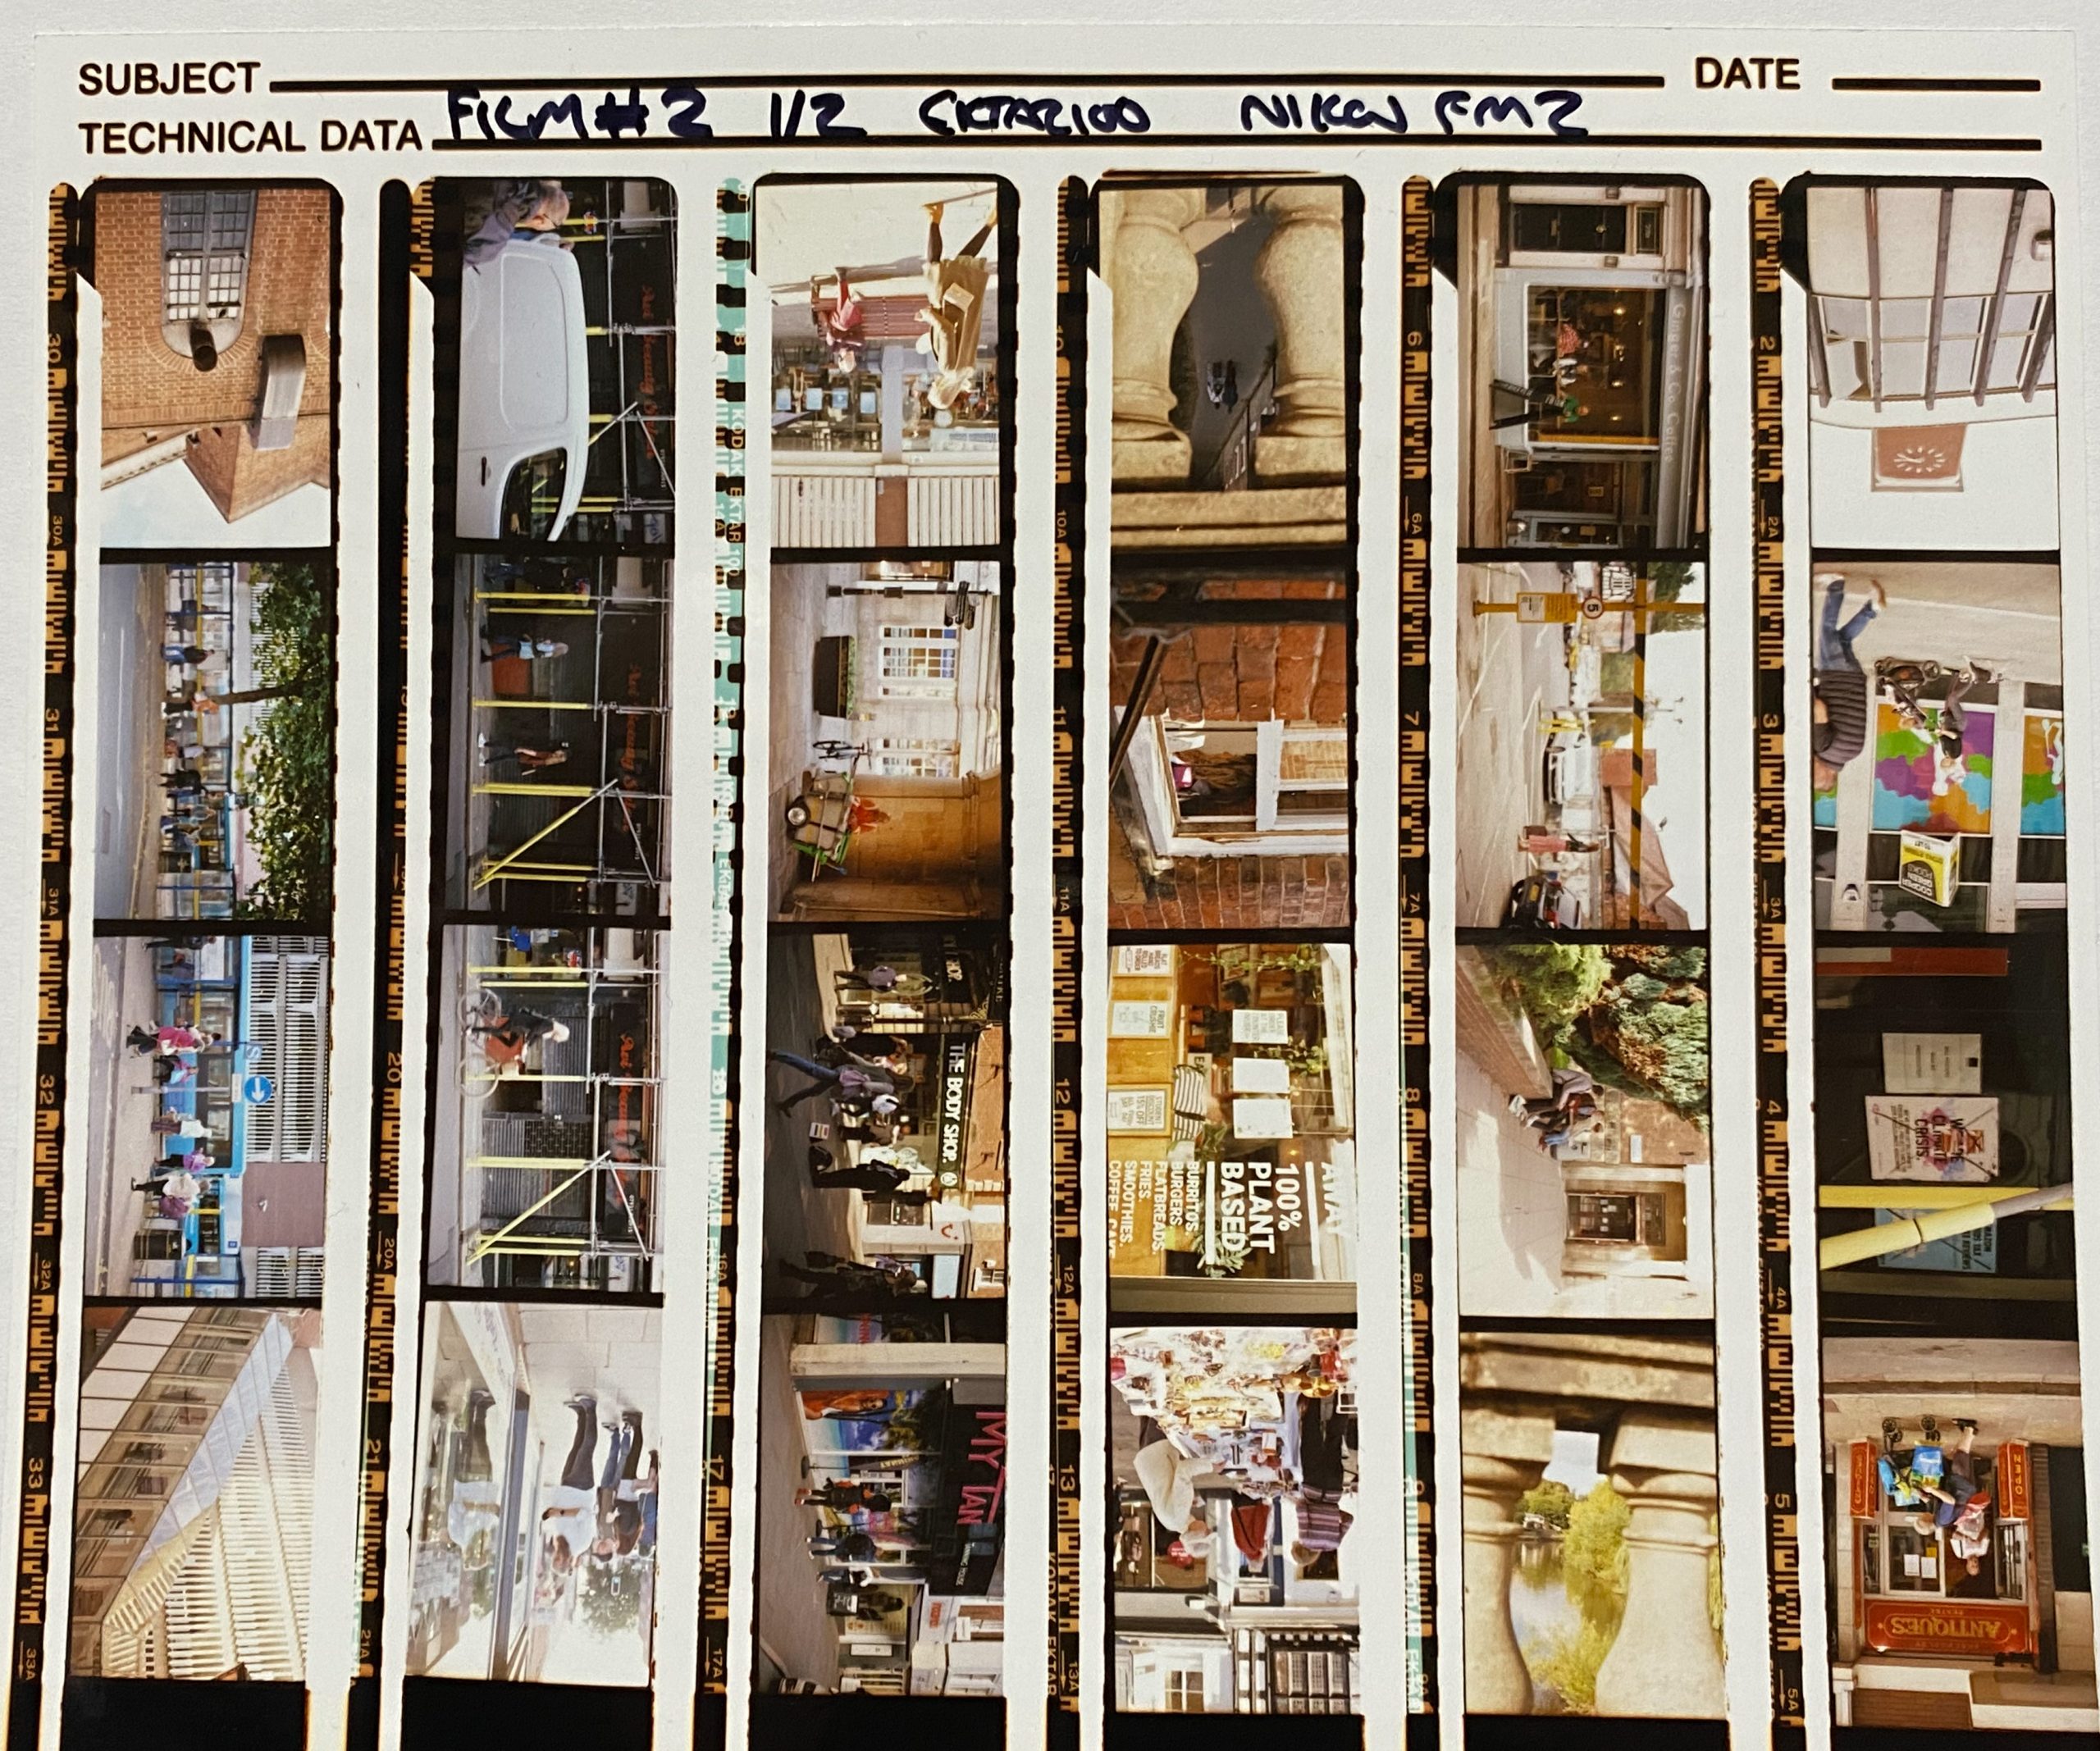
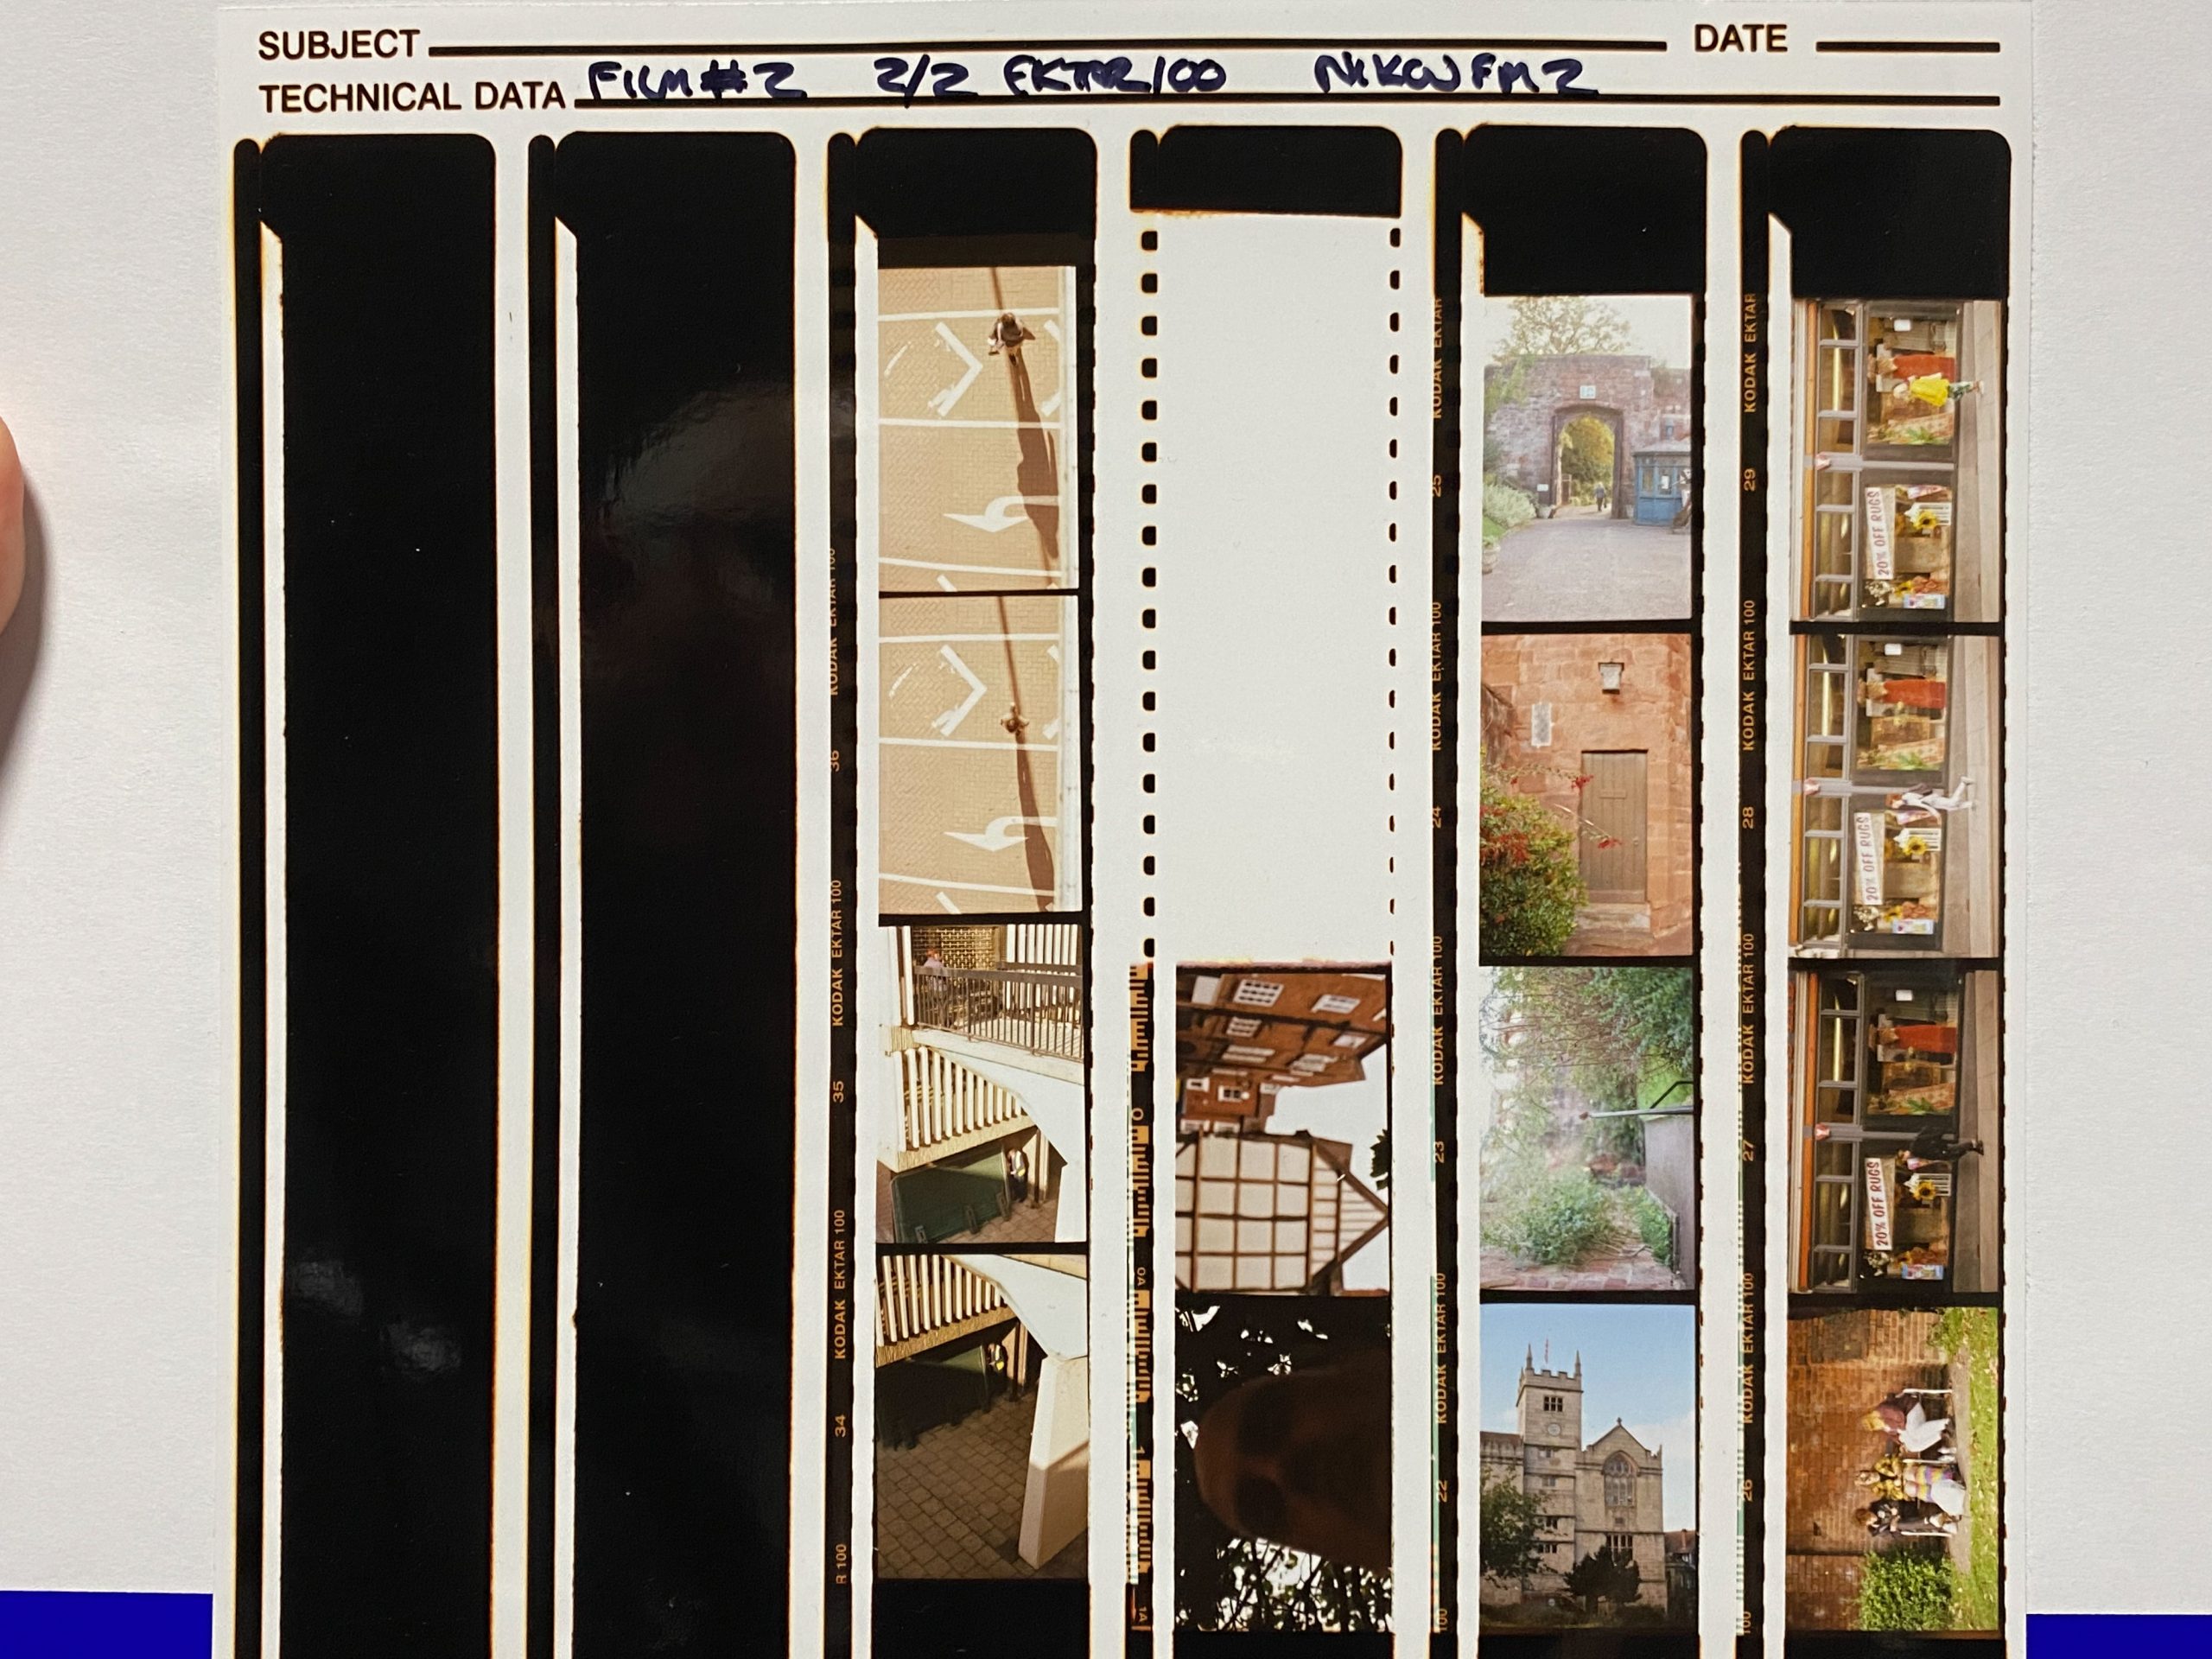
Once happy with Film #1 Contact sheet, I wanted to quickly produce sheets for Films #2 and #3 so I could look closely at the images and decide which ones I wanted to print up. I used the same settings for both of these following contact sheets and they came out ok with the colour balance being fairly neutral.
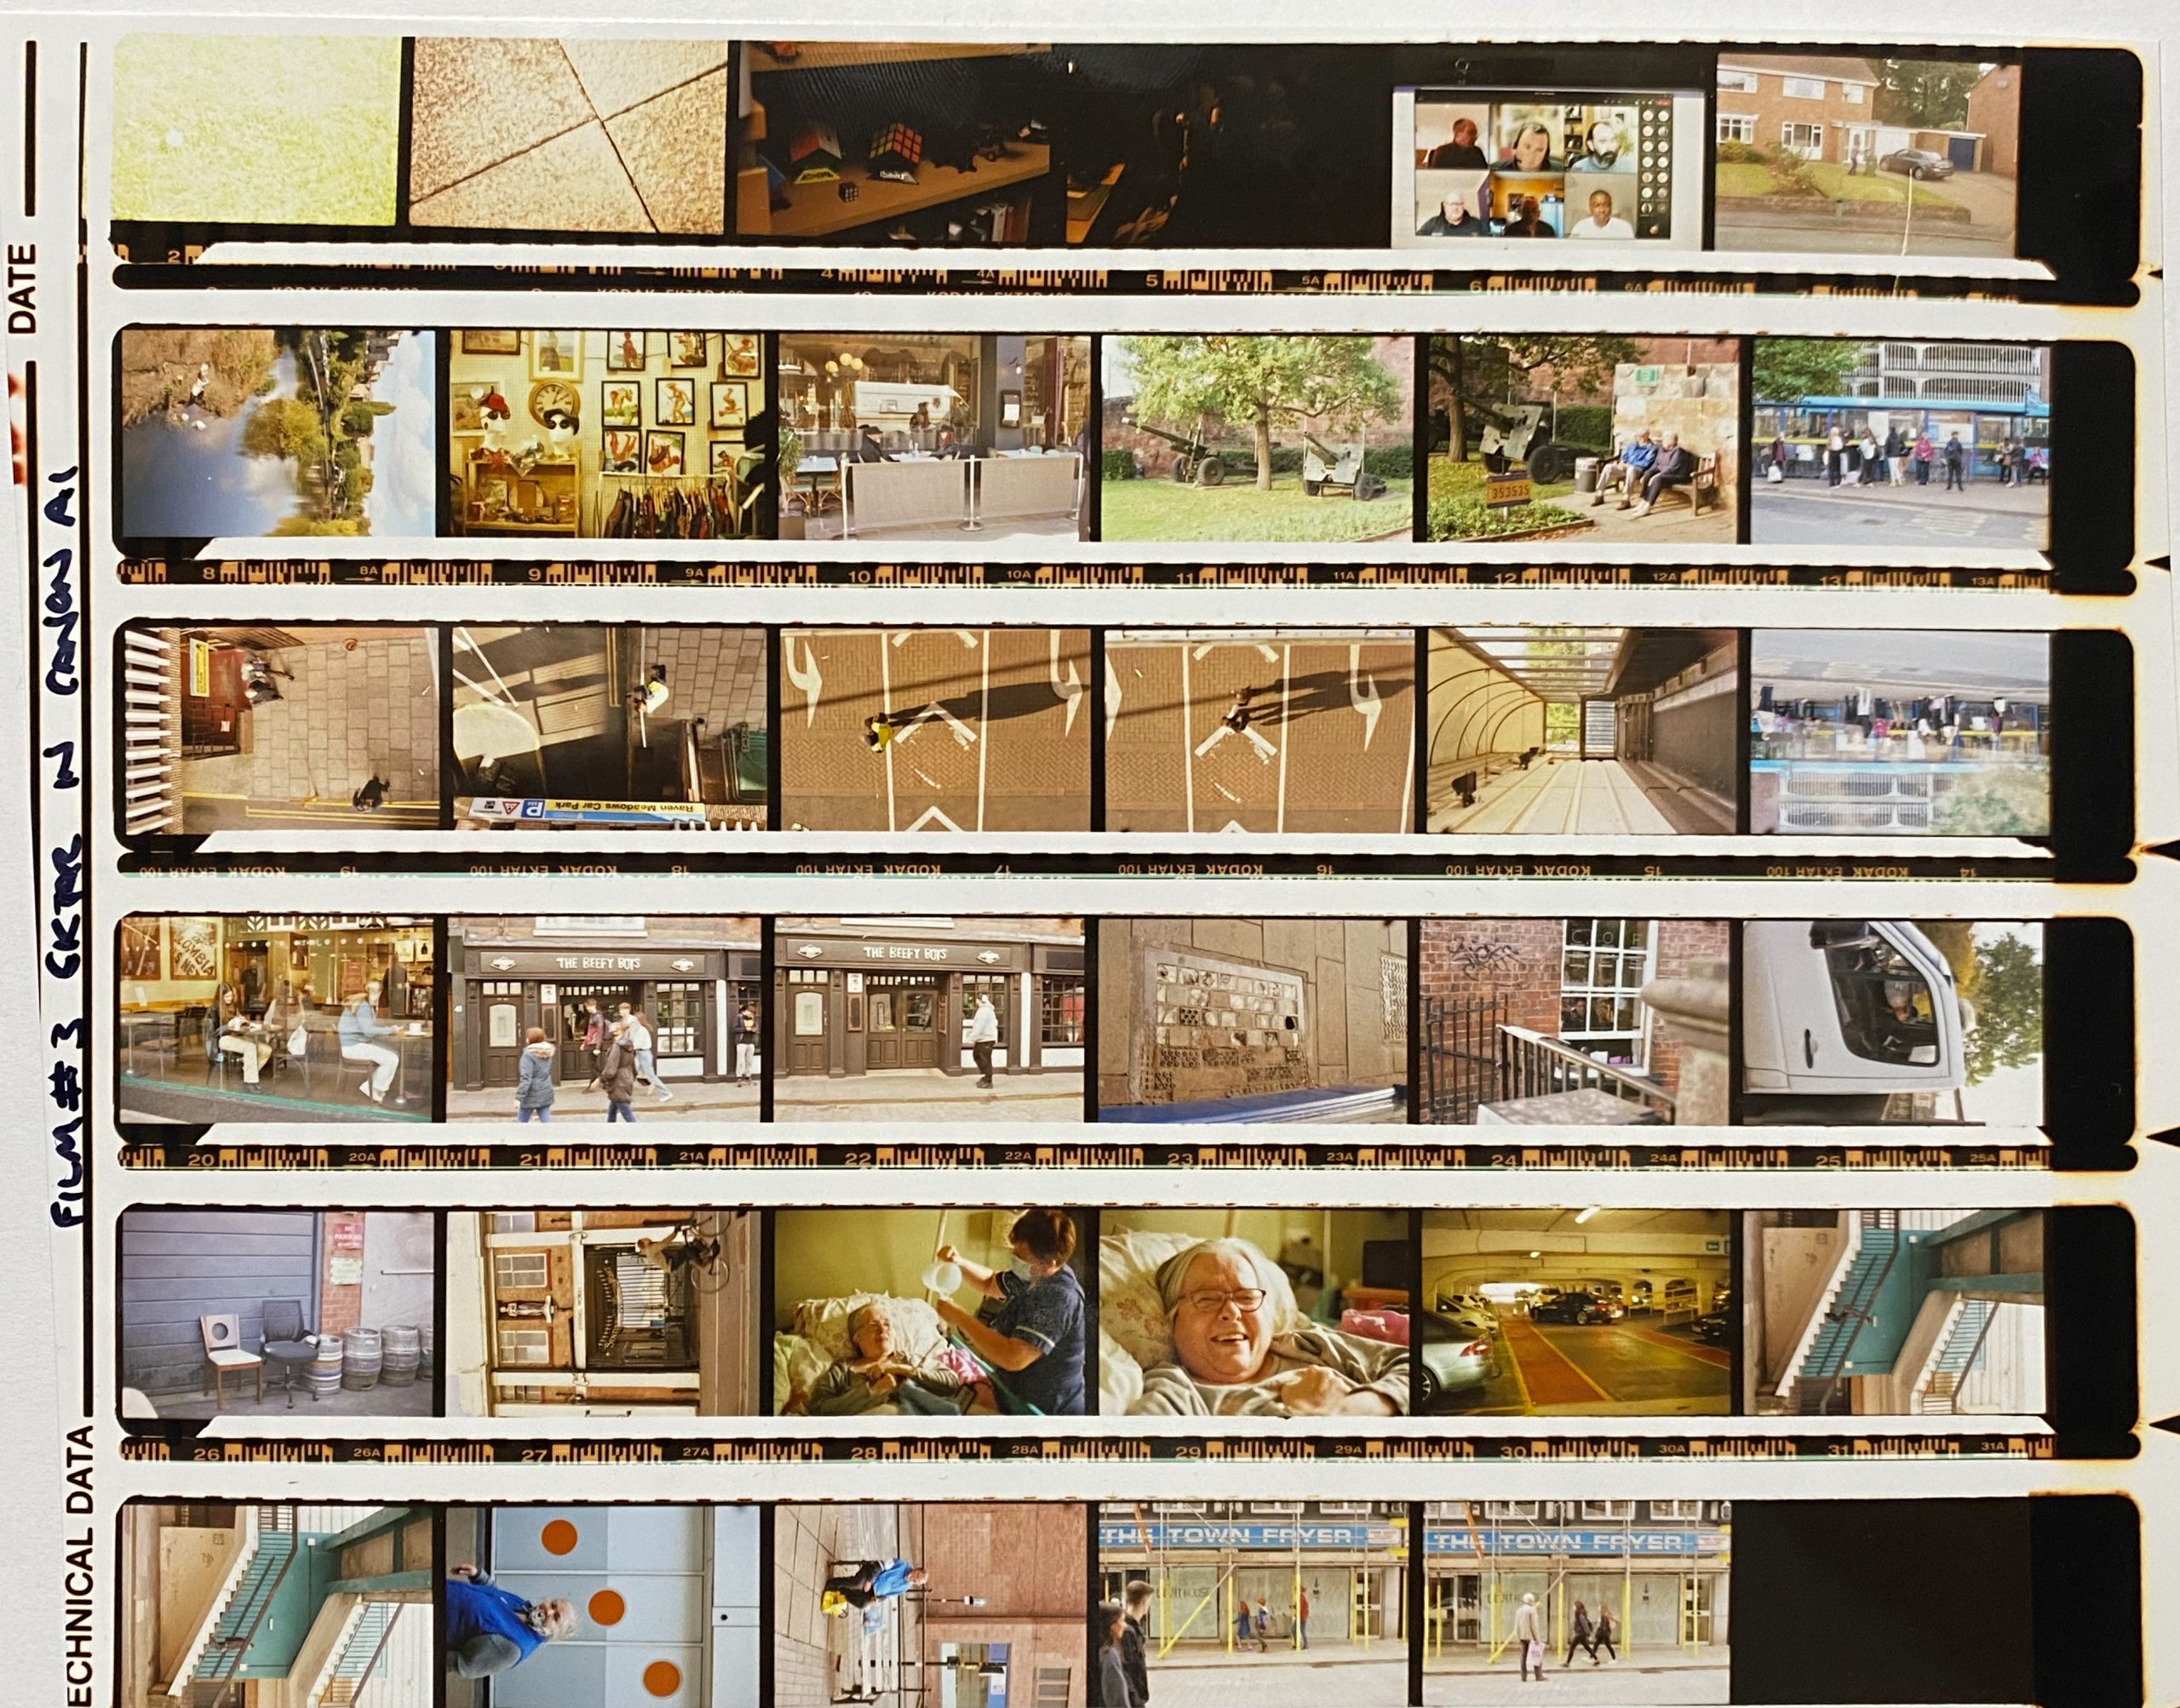
I also bought a 10x magnification loupe from AG Photographic and it’s useful to see the detail in the images on the contact sheets but I need to go through them with coloured pens and highlight which photos I want to use and which ones to ignore.
The contact sheet for film #2 was a pain as the negatives had been cut into fours so I had to break it out into two separate sheets. As it happens they did come out ok though and with the loupe I can definitely see that the “People on Bench” photo is definitely out of focus and it would have saved me some time if I’d been able to check this out earlier..
Before I left to go home and return to my day job I thought that I’d use up the last test strip in my black bag, to save me taking it home and it somehow getting wasted.
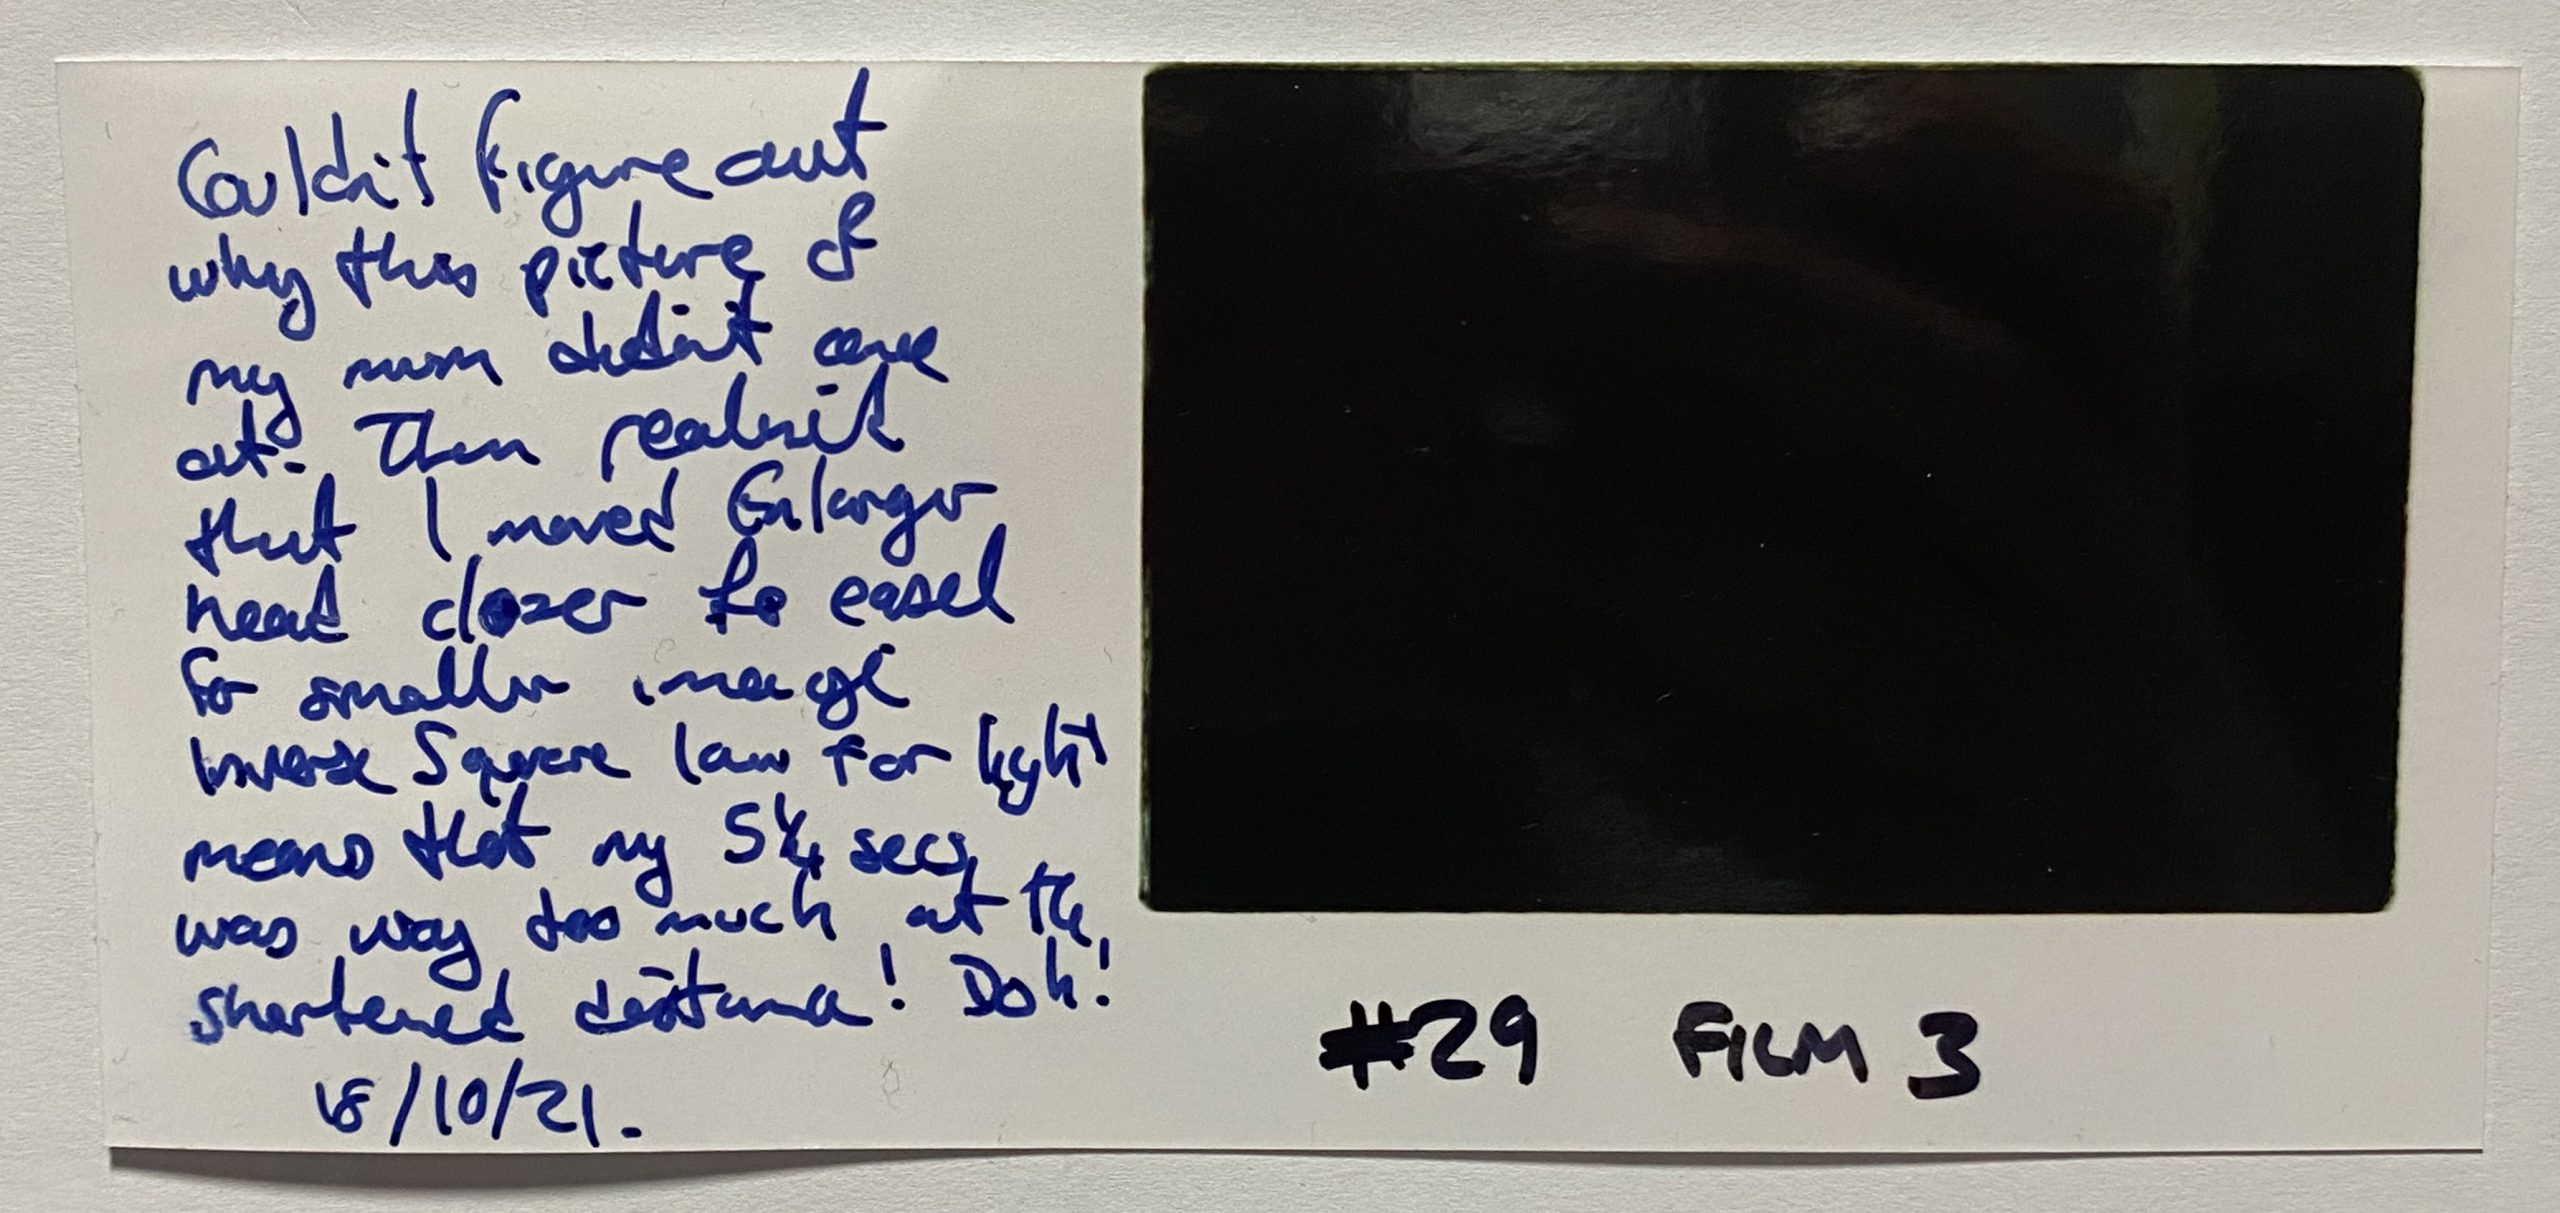
I left the paper in the drawer for now, set a negative of my Mum into the enlarger and lowered the head to fit just nicely onto the test strip sized paper. Once it was focussed I turned off the lights, locked the door, plonked the paper on the easel and then exposed the media for 5.25 secs with the same filters and then dived into the Colenta Processor machine room. Whilst I was waiting for the 5 minutes to pass I went and tidied up in the enlarger room, returning the Contact Proof Printer cassette and focus finder to the room I’d got them from, and ensuring that I’d not left anything untidy. I also returned the filters to 50,50,0 before I left in case any individuals used the room without checking the filters first. It’s the sort of thing I’d do so thought it might be helpful.
When I retrieved the test strip from the printer (14) I noticed that it was completely black in the region where the image should have been. I threw it into my folder and figured I ‘d think about it on the way up the M54 back to Shrewsbury.
Whilst driving and listengin to Kermode and Mayo’s Movie Podcast (Wittertainment) I figured it out.
Obviously 5.25 secs was the ideal exposure time for the paper from the negative when it was projected to full page dimensions. To get the image projected in a much smaller region I’d had to lower the head of the enlarger.
The inverse-square law of light means that for doubling of distance from source to surface decreases the light to a quarter of the original luminance. The magnification figures are on the scale on the rear of the enlarger and this would have told me wha tthe difference in height was, had I thought to check it before moving it.
If I’d thought about it, I could have approximated the reduction in time of exposure dependant on the amount of distance removed from the lens to the easel and paper.
Looking at photos of the setup I was using I’d think I changed it from around 45 cm down to around 20 cm so I should have reduced the time of the exposure to around a second or I could have even increased the F number and reduced the aperture to something like 11. There are a tonne of calculations that will work out these figures for you but often people write that ti’s easier to just make a new test strip with the timed uncovering method..
It’s somehting that I did without even thinking about, but it had disastrous consequences for this pieece of paper, and whilst it’s not a big issue in the grand scheme of things, it would be nice to not make mistakes like this.
At least it’s a great learning opportunity, I often see mistakes as a method of learning to prevent making the same errors next time.
Over the last couple of weeks I’ve learnt that you should always:
- Put negatives in the enlarger, shiny side up/emulsion side down.
- Put paper on easel, emulsion side facing upwards.
- Keep all lights off when setting up paper on easel and exposing.
- Check you’ve set the aperture on the enlarger.
- Ensure your filters are set correctly.
- Put exposed paper into the Colenta machine, emulsion side facing down.
- If your print doesn’t come out, tell the technical team.
- If you move the head of the enlarger, consider the difference in time/aperture needed.
I still need to do a post on inspirational photographers, and I’ve created a short PowerPoint slide set that I thought was needed for a tutorial but wasn’t so I may use that and show you some of the people that make me smile with the images they create. Look out for that post coming soon.
Next week will be about looking at contact sheets and creating prints that might be able to be used for the Summative Assessment on the brief “The Colour Of Change”.
Feel free to leave any comments below telling me what a spud I am for making these fundamental errors, and say hello to Jason Isaacs.
Be First to Comment