Today’s mission in the darkroom was to work out how to get decent prints from the negatives that I could see more detail on than I could get onto the resin coated paper.
Before I started I went through my process checking that all was ready, enlarger, easel, filters, developer in my dish, the stop and fix were ready, the water in the was dishes was flowing and the dryer was up to temperature. At the dryer, I noticed that there was a print on the table behind it, obviously some dimwit had inserted it in the dryer and got easily distracted, so I picked it up and it was one of mine from my session 4a the Thursday before. As it turned out it was a nice looking print, so much so that Matt, one of my lecturers complimented me on it.
Citizens Advice
With my sketchbook showing the detail-less efforts from Thursday and also a digital of what it should probably look like, I asked Matt for advice. He told me that it was quite a contrasty picture anyway so I’d need to drop the contrast filter number a little rather than going higher. He also suggested increasing exposure time and not to be too scared of longer exposure periods, I was previously under the impression that it was better to keep the time lower if possible but he told me that he sometimes has prints that take 2 hours exposure to work properly.
With this new-found knowledge under my metaphorical belt I took out my negative for “Red Corner” and locked it into the negative carrier on the Durst M805 enlarger. First step was to try a test strip and this I did choosing to follow it with a full strip of 8 secs, only to then realise that I’d left the aperture of the enlarger set at 2.8 after focusing the image.
Increasing it to 5.6 led to a better image at 12 seconds but a much improved image at 25 seconds with a few strips in between. I hit up a full sheet of 10×8 for a print at 25 seconds and there was a weird bit of fogging across it, I don’t know how or why. The next print though I did and it came out well with the same settings and a further increased exposure time of 29 seconds. I was really happy with the final print, a scan of that print can be seen below. (Not a very good scanner though so it’s an information only print). You’ll be able to see the difference between this and the couple of test strips in the last post where I explained the struggling I was doing.
Pointers
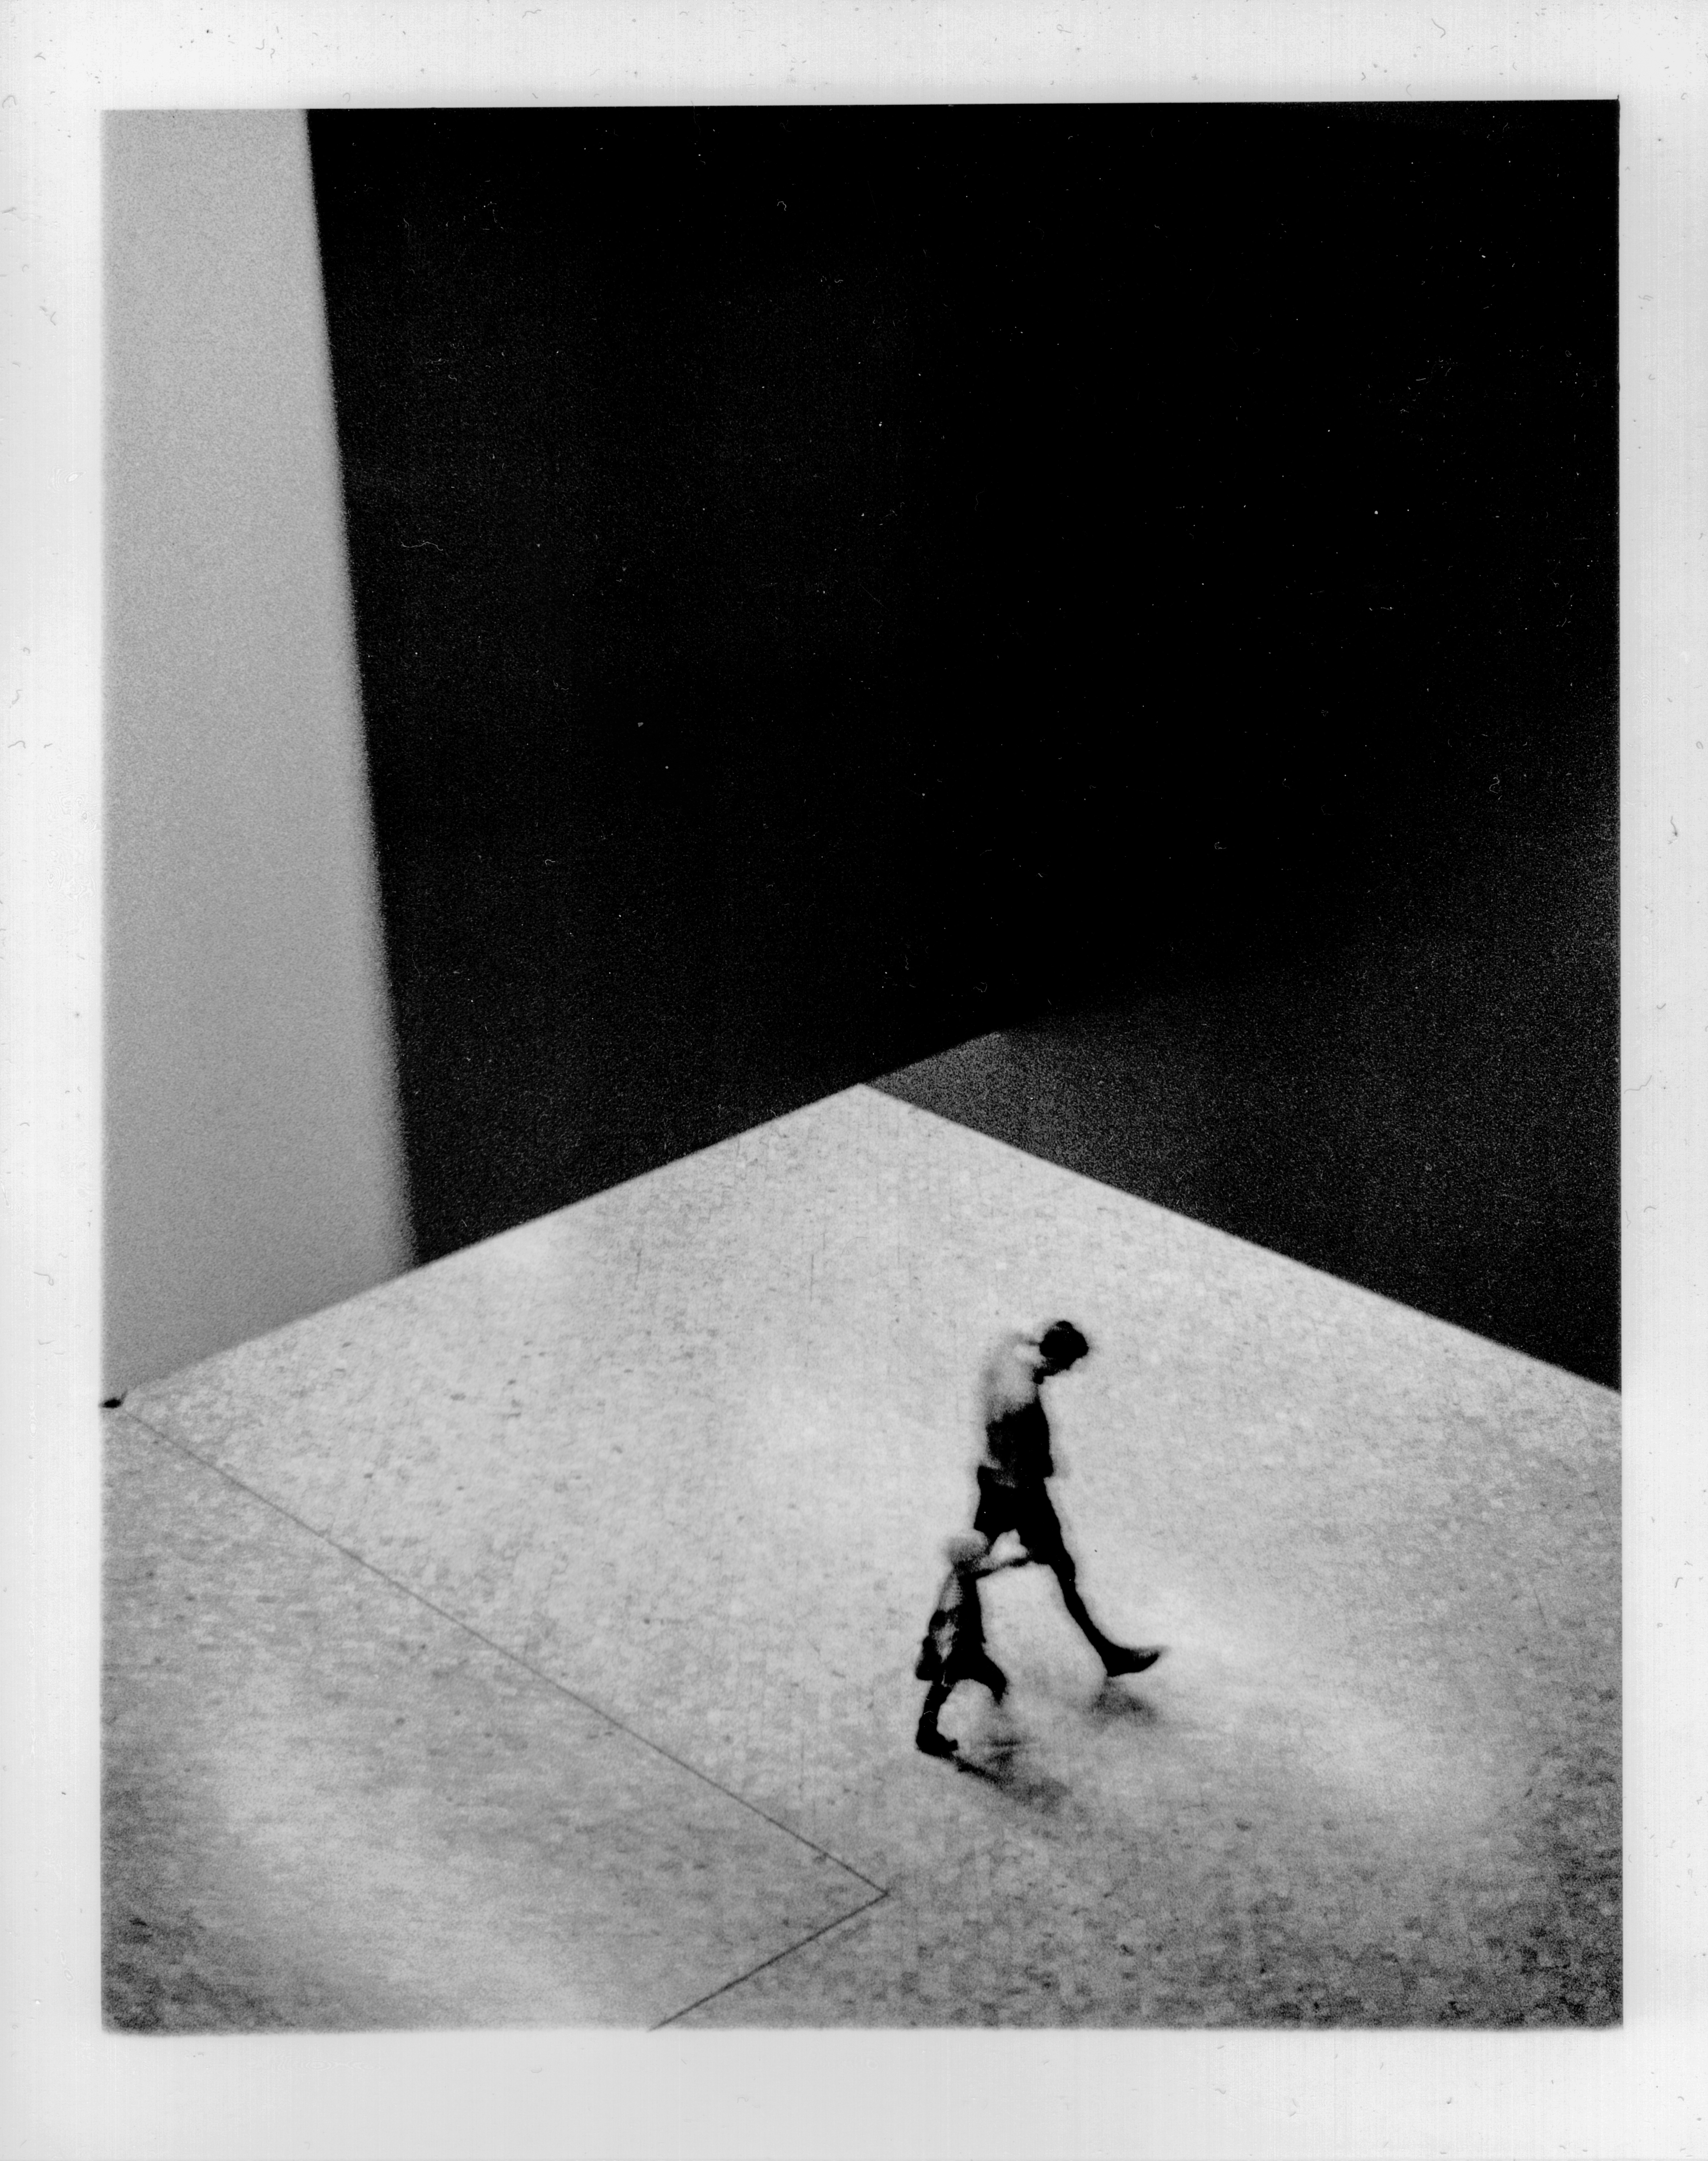
From this image I went onto “Arrow Woman” which shows a visitor to the Barbican Centre museum being silhouetted against a wall whilst Noguchi’s sculpture details which way she should walk. This was an image I was challenged by but with the reduced filter grade and longer exposure times I felt more confident.
In actual fact I went straight in with an 8 second strip before doubling the time and eventually settling on a 20 sec exposure for the final print.
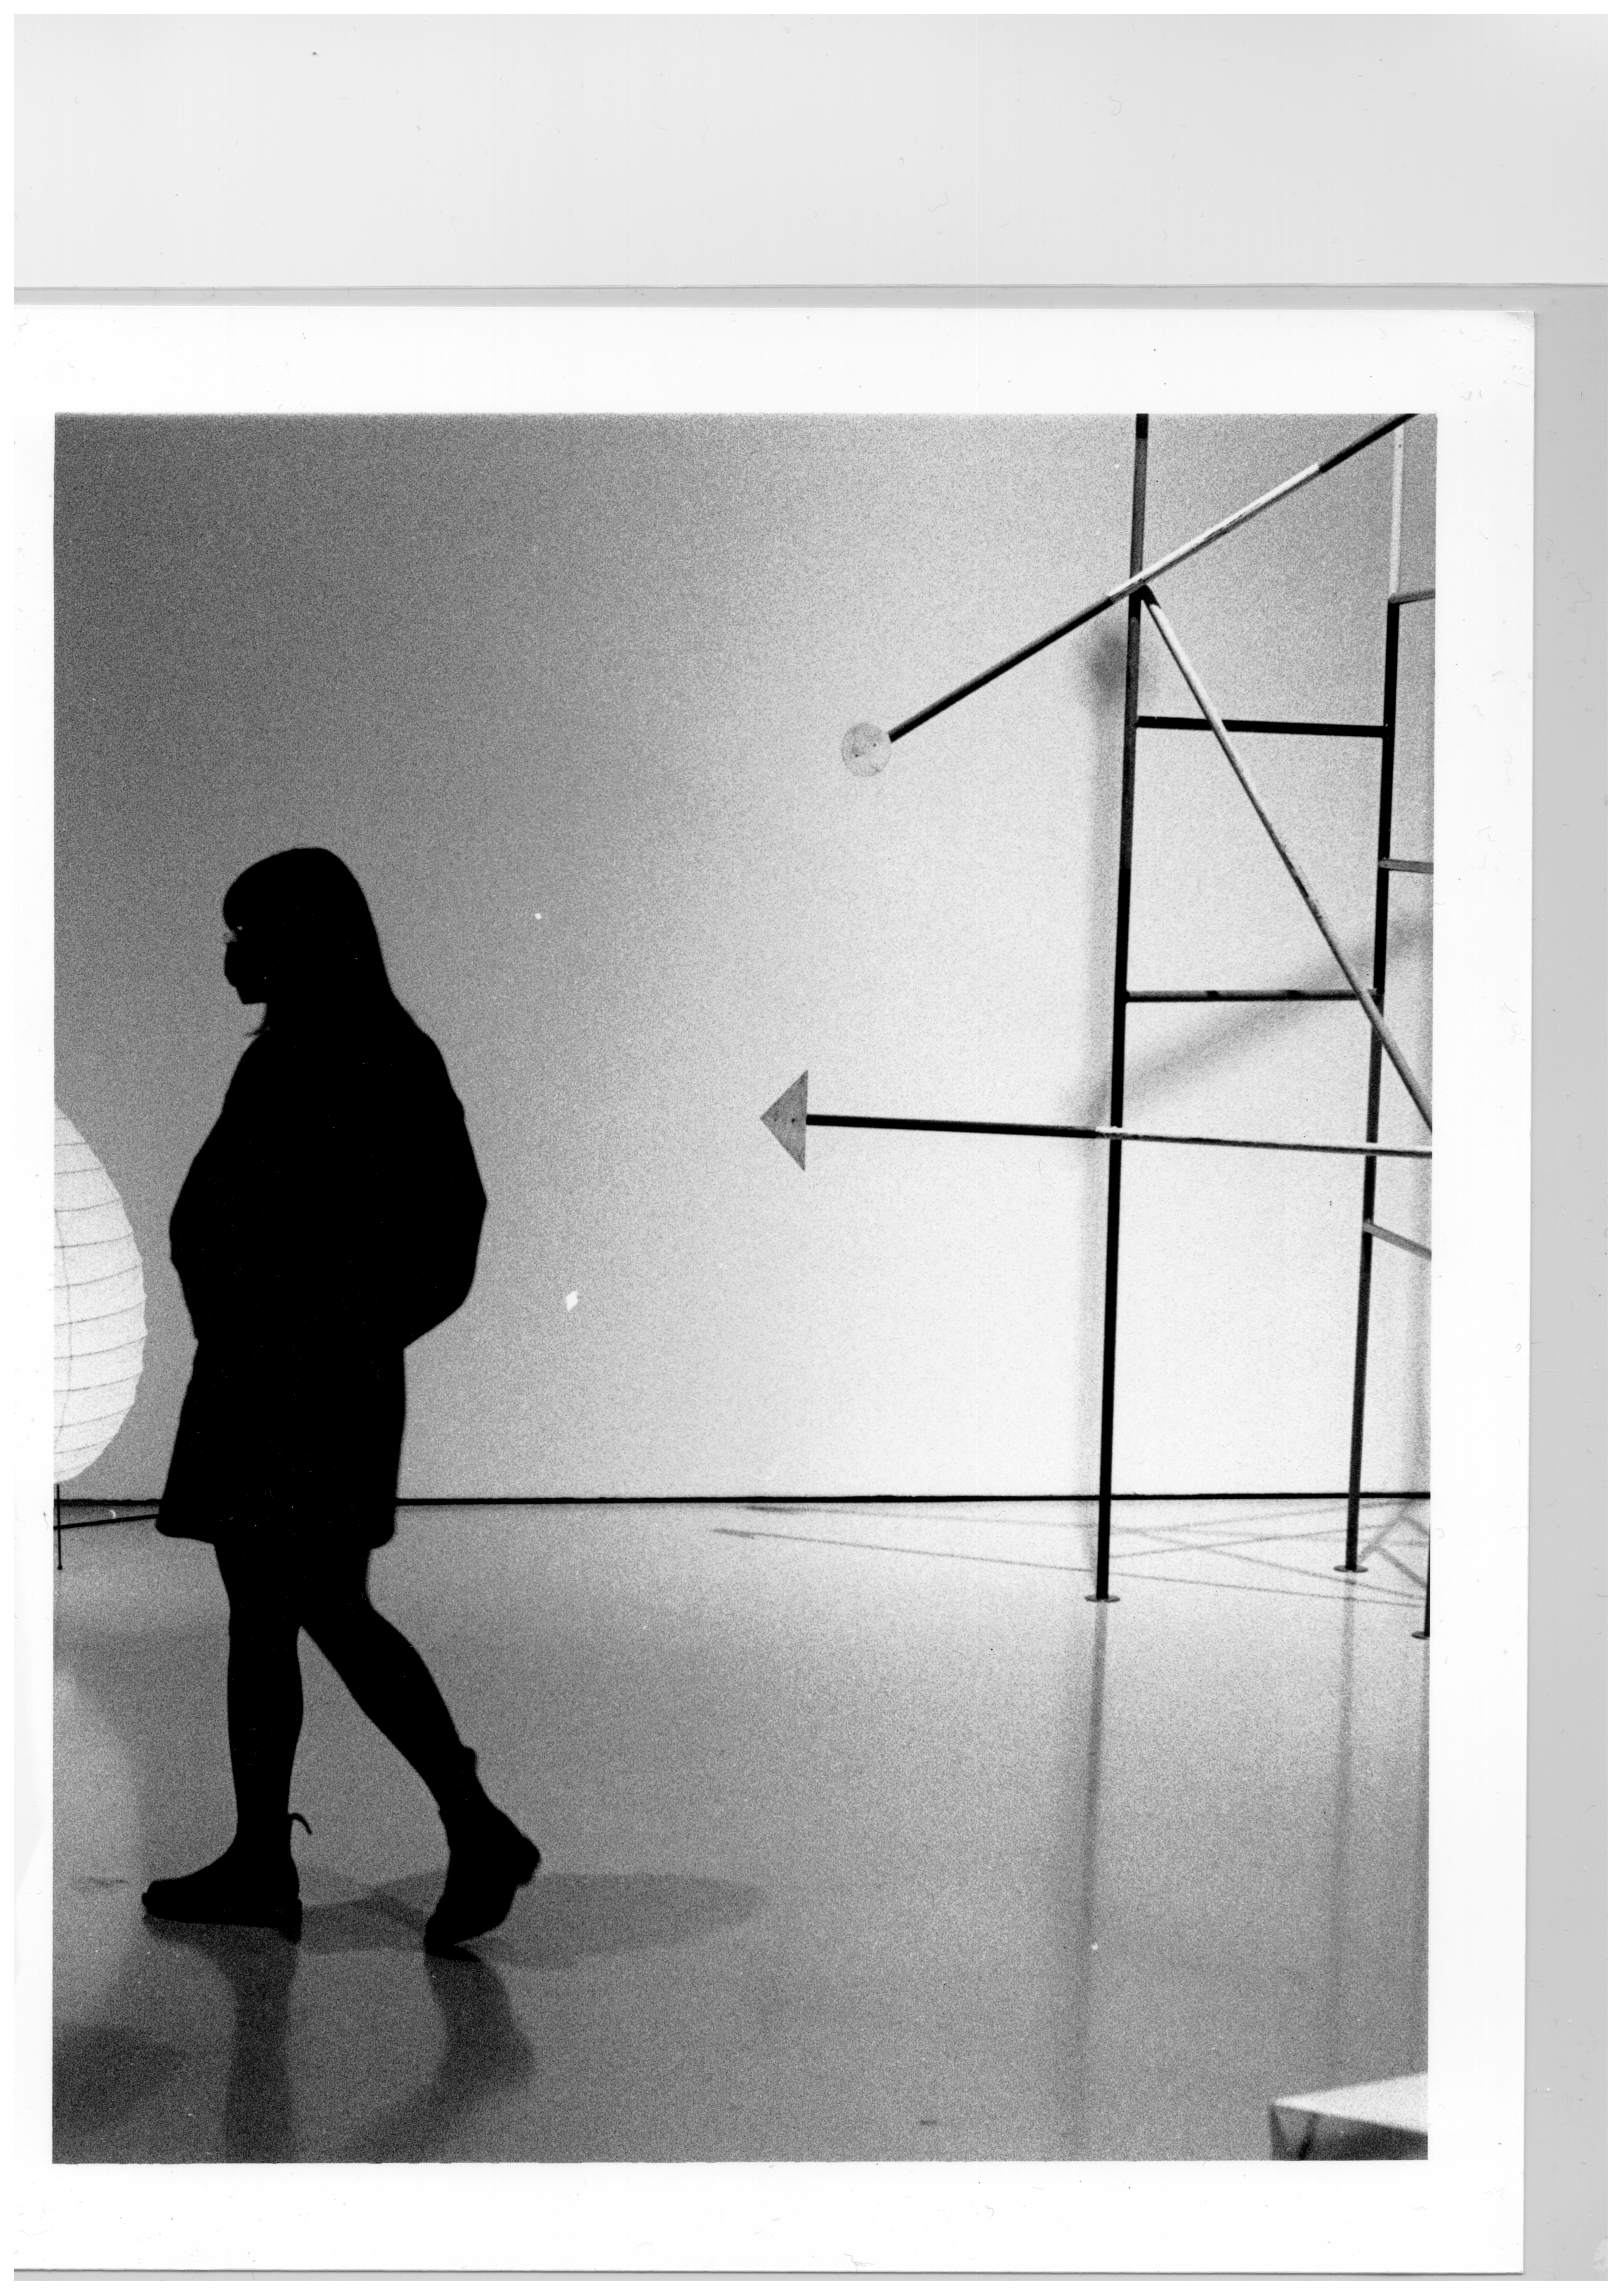
I was very happy with this image as it looks as it looked on the day to my eye. There is a Naguchi paper lamp next to the wall that silhouettes the subject walking away from the sculpture called “Jungle Gym” with a reflection and a shadow at her feet. The main “point” (pun intended) of taking the image was that the arrow from the Jungle Gym sculpture was pointing towards her and I had to wait a while to get someone in the correct area for a photo. For the exposure of this print under the enlarger Matt suggested I increase it from 16 seconds to 20, and that the 4 second increase wouldn’t have as big an effect as 4 seconds earlier in the exposure, as once you get later into the exposure it takes longer times to make a difference. I still need to go and look into the science behind this but it sounds like “Reciprocity” and how film , and I suppose light sensitive paper becomes less sensitive to light as it’s exposed. I’ve looked at Reciprocity for long exposures before but will go back and look into it in terms of the dark room enlarging process.
Tumbled Dryer
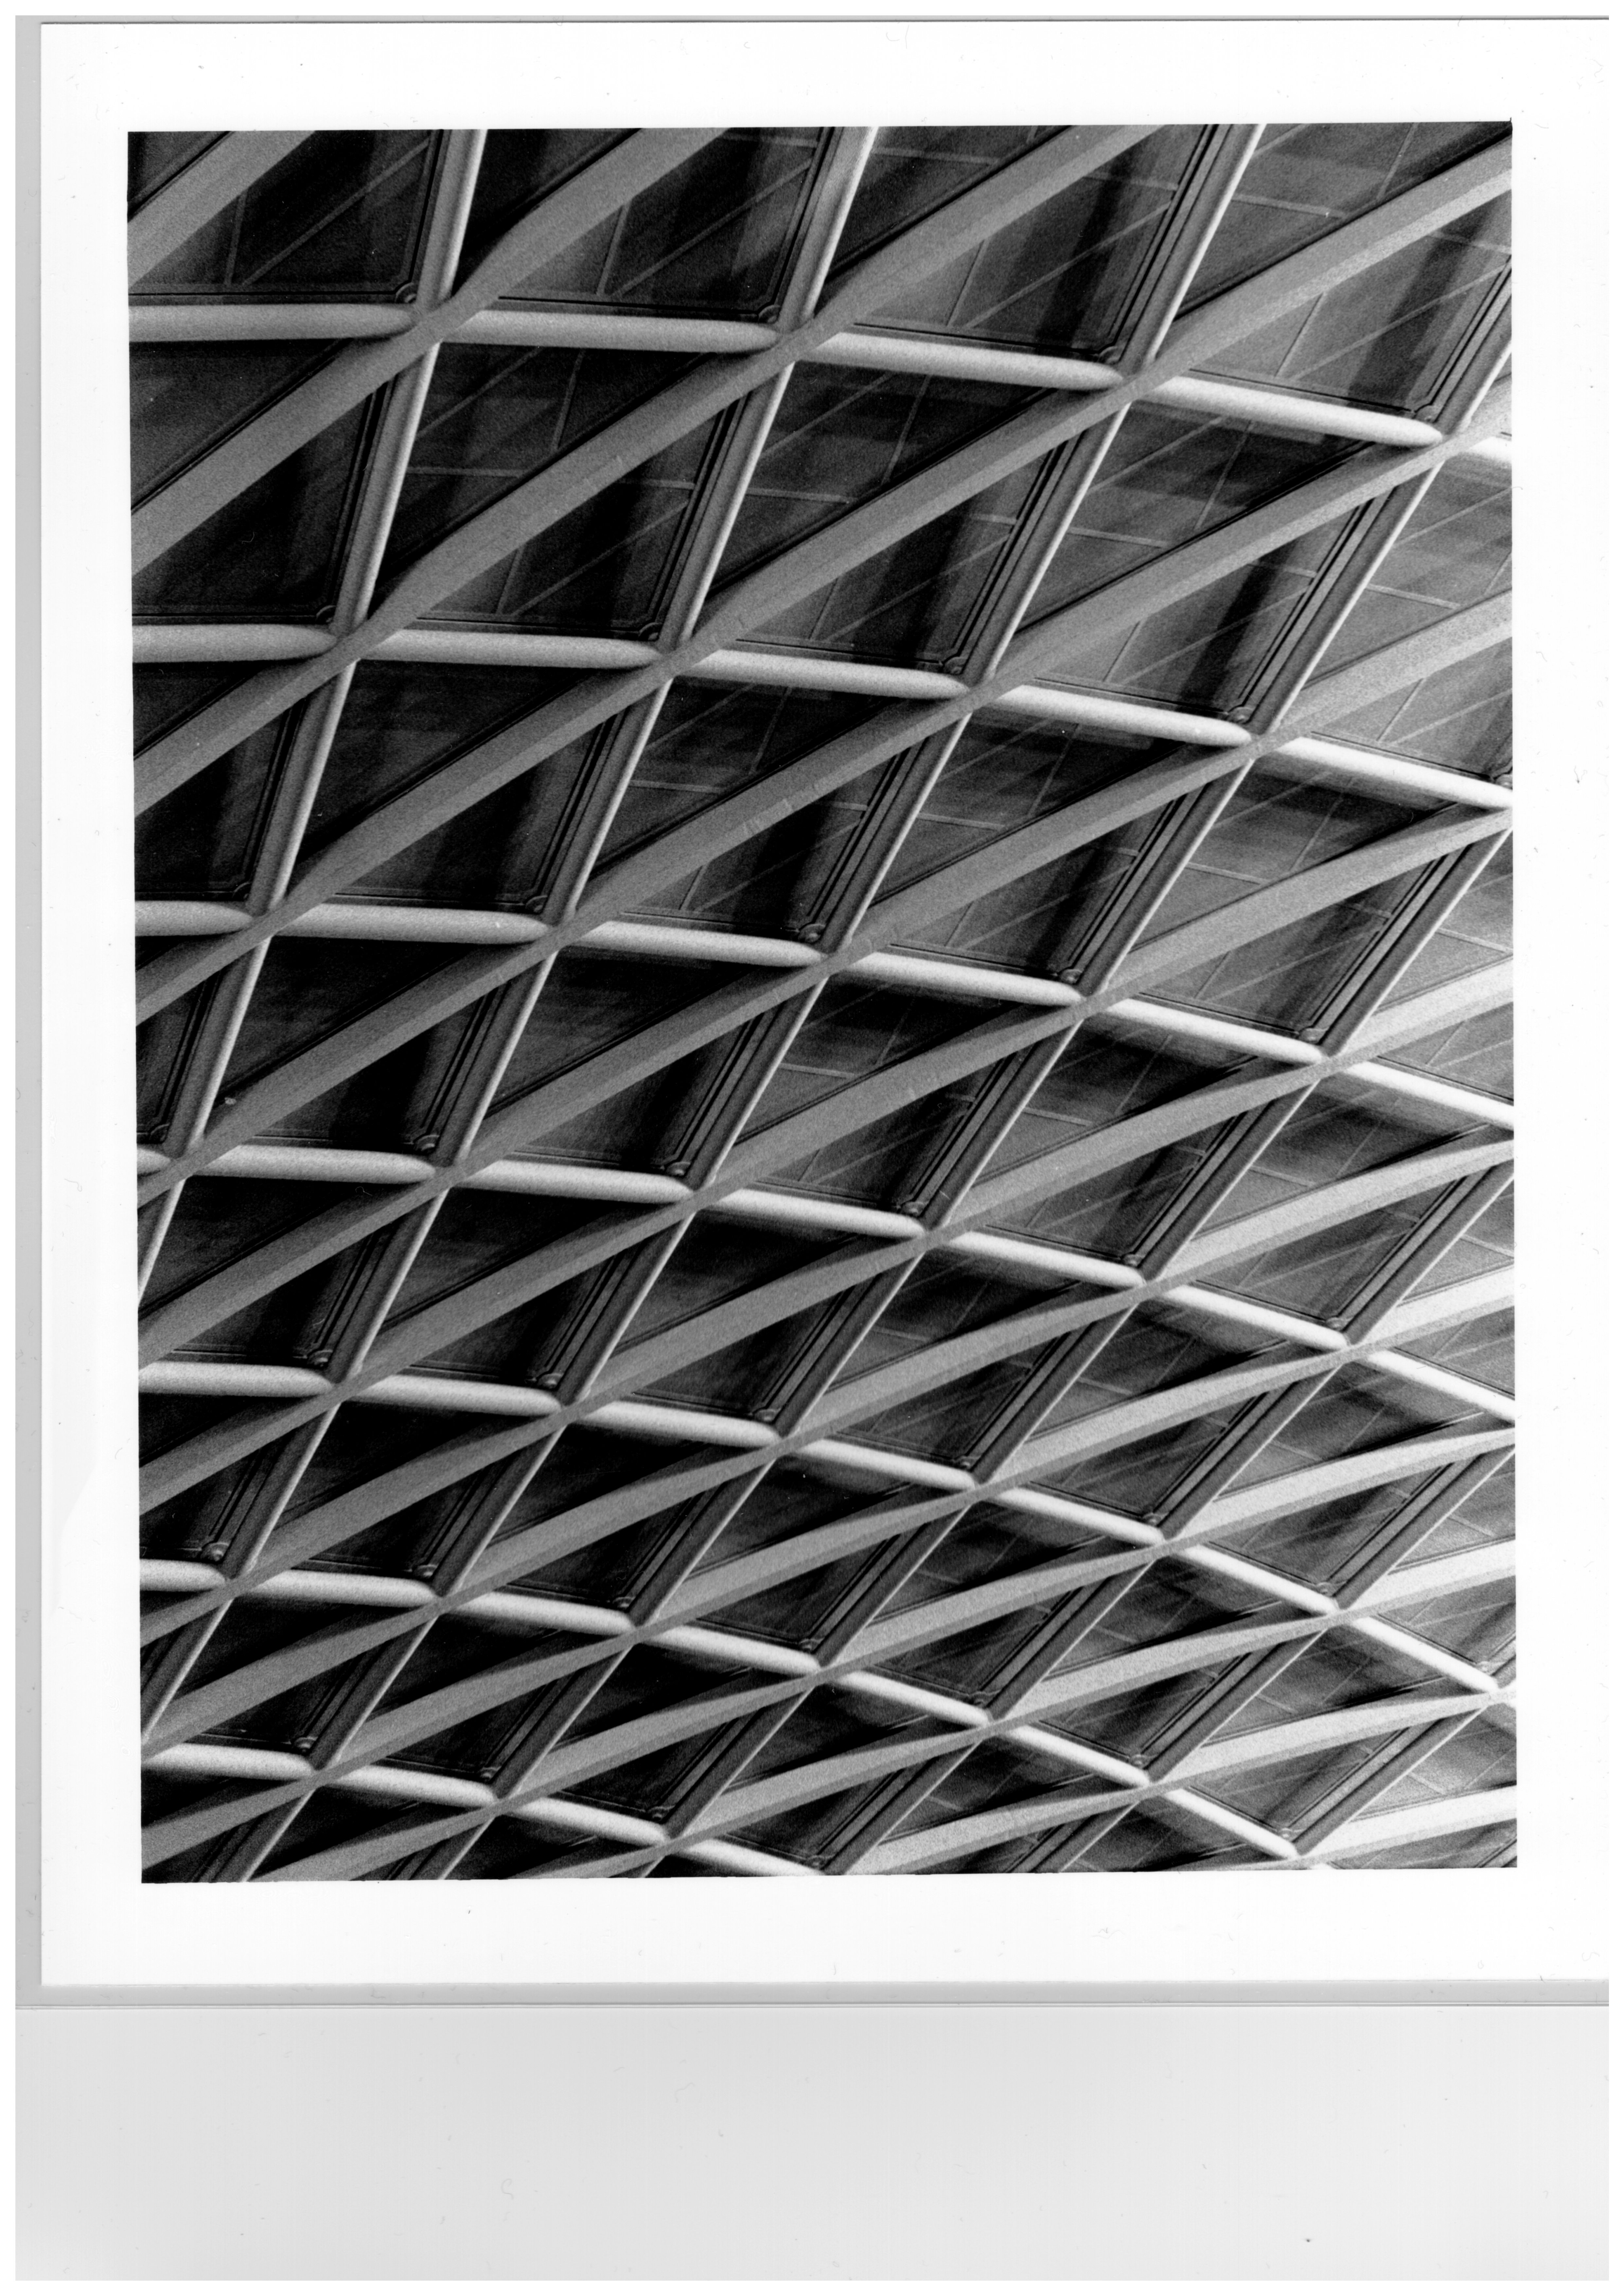
Continuing through more prints from Film#8 I used a 30 seconds exposure time on a print of “Kings Cross Curves” an image of the London railway station’s roof structure. Then a couple more images via test strips and full prints all with around 30 seconds of time under the enlarger lamp. The dryer became faulty at this point as another student in the class had got a test strip stuck in there so it was switched off to await a recovery operation by Dan the technician. Once the strip was removed it was available again after it had sufficiently warmed up to temperature, this took around 15 mins.
After a print of a couple sat by the canal in the Barbican I switched over to print some images from Film #7 and a test strip of “Soviet Car Park” came out very grey so I tried the filter set back to 2.5 and it looked better so I continued to use 2.5 for most of the remainder of the images printed this afternoon.The prints carried on coming out and it looked like I was using the right settings. I guess this was due to the difference in the negatives for #7 and #8 but both were Ilford HP5+ used in the same Canon A1 camera, it may have been due to some difference in the processing of the film but the only real difference was the use of the stop bath rather than 5 minutes of washing.
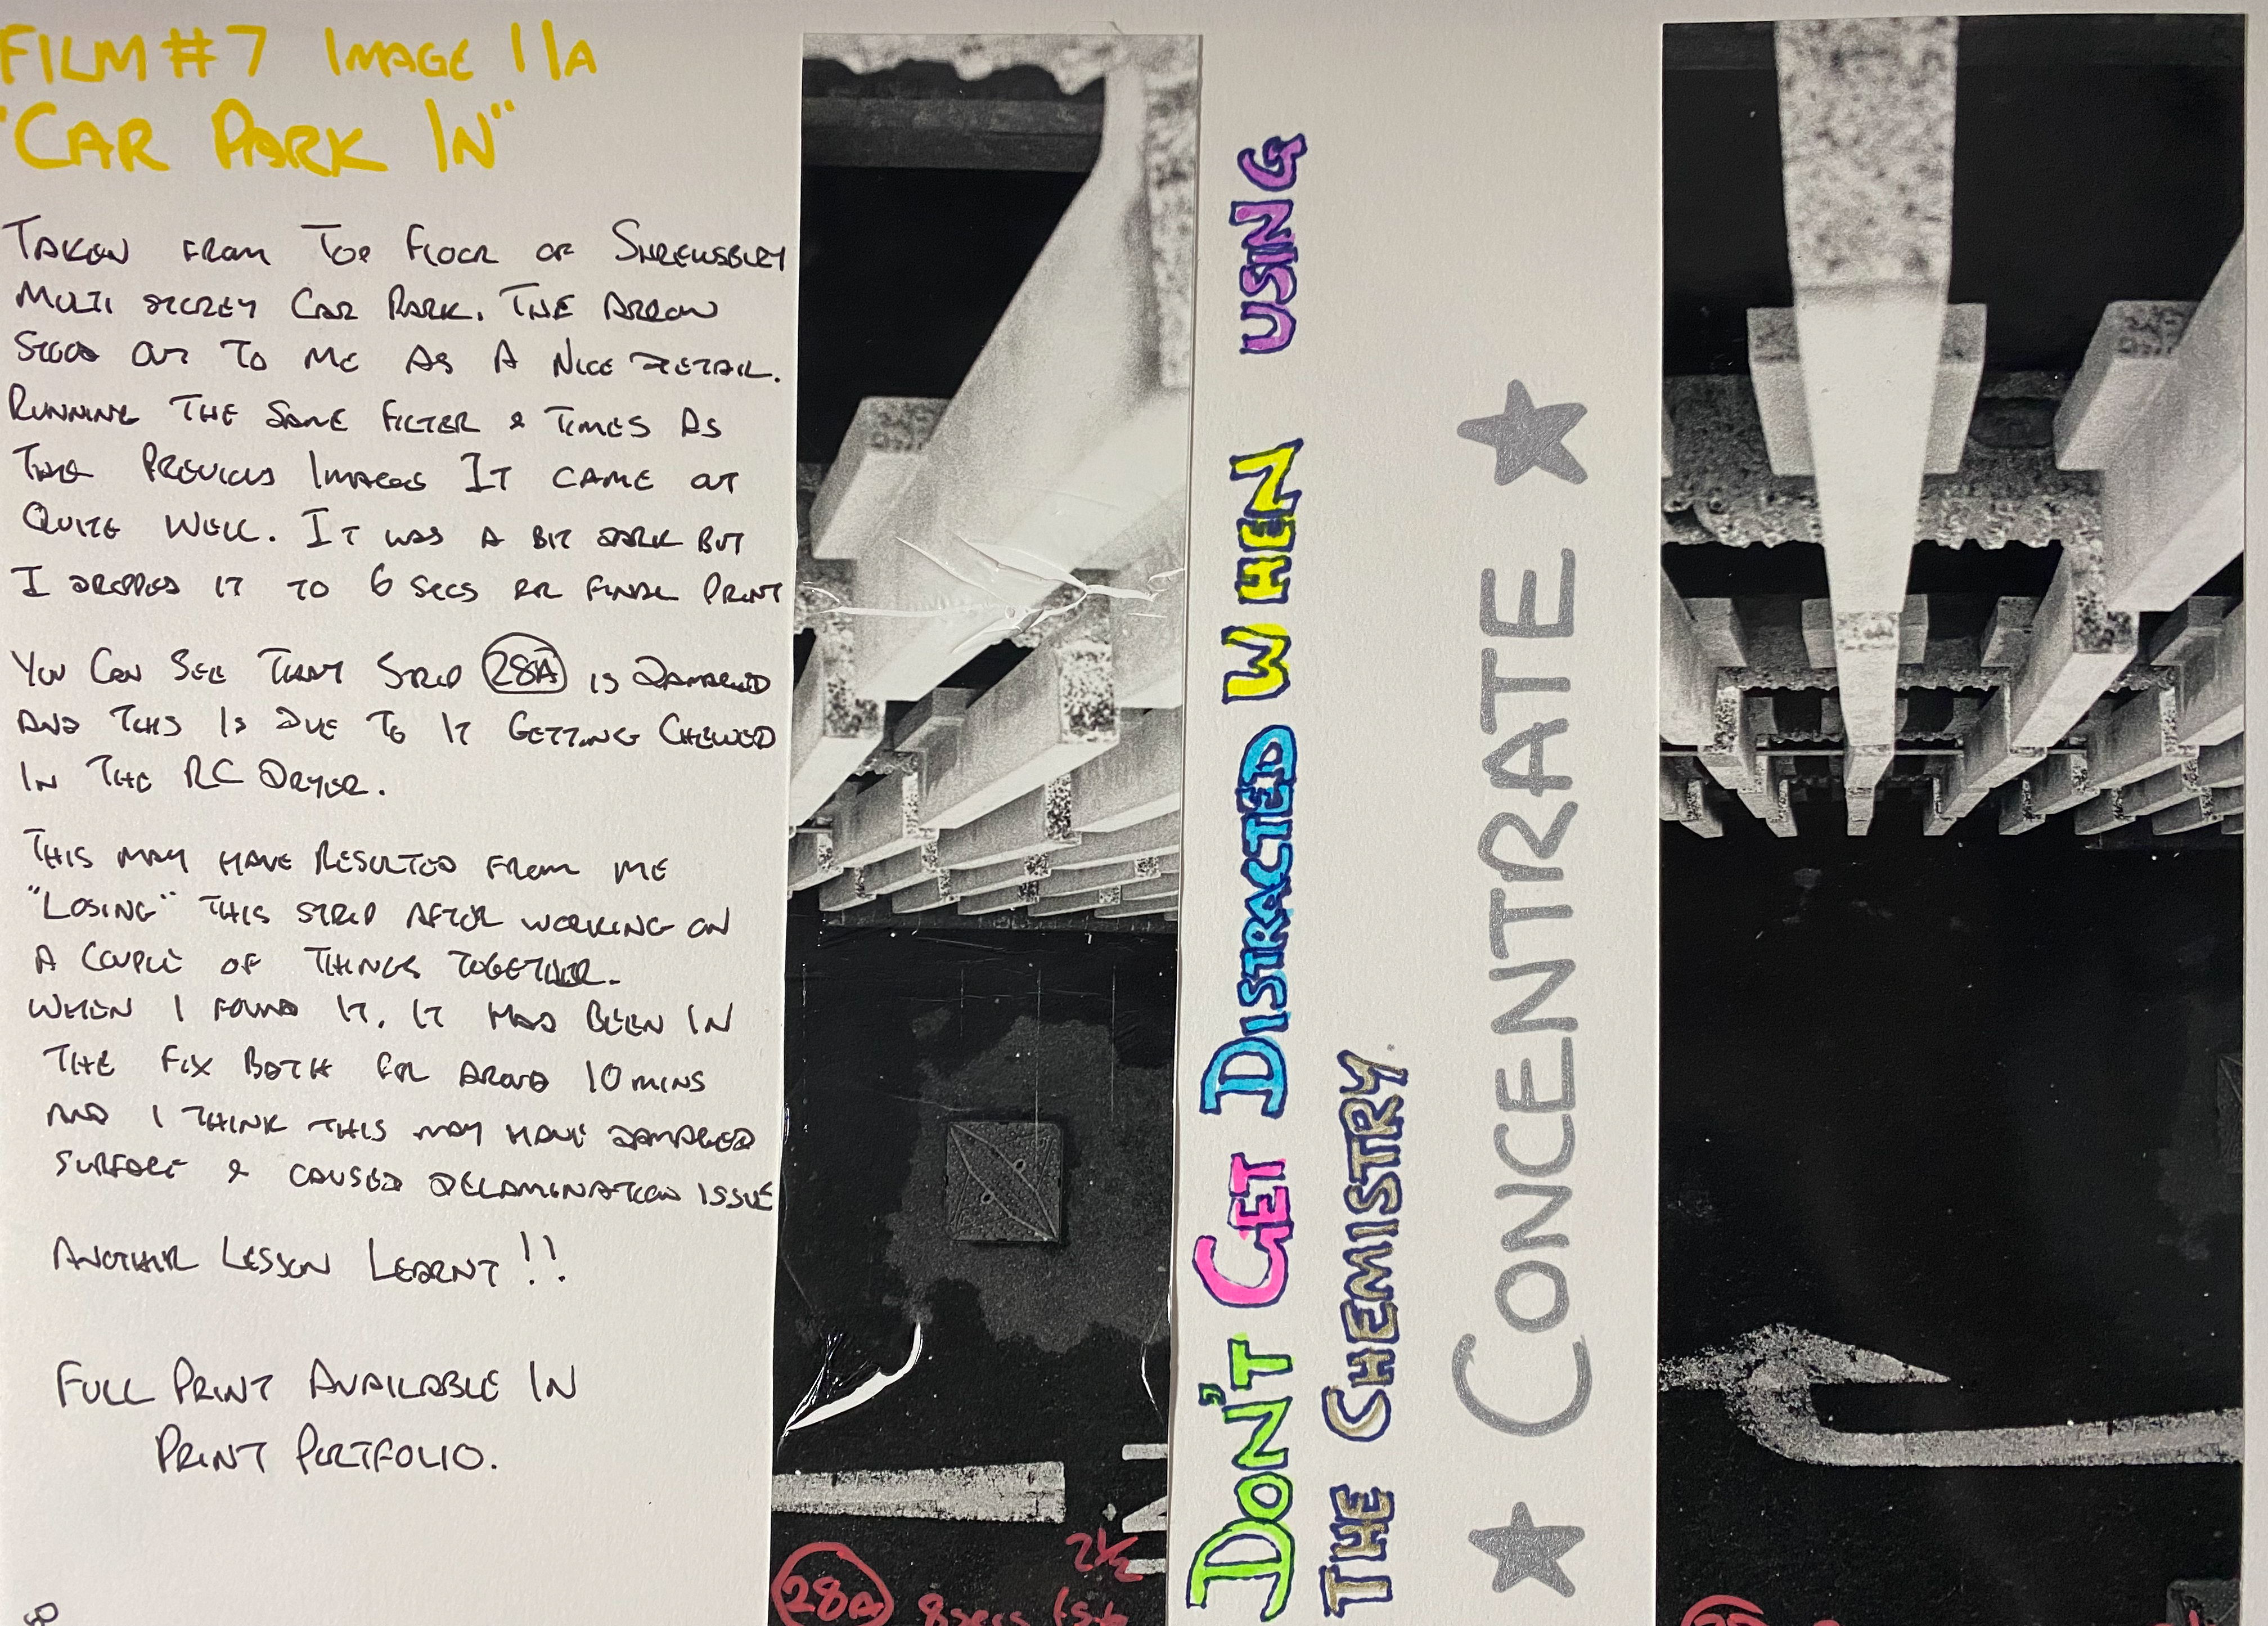
I did a test strip of “Car Park In” and then put it in the developer, stop and fix, noticed it was ok so put a full strip under the enlarger and then repeated. Only when I was looking to compare the full strip to the test strip did I realise it was missing. I couldn’t figure out what I’d done with it but after hunting around the darkroom and the studio areas I returned to do another print and then found my full strip still in the Fix dish, I moved it into wash and then waited for the two minutes wash to complete. When I put it in the dryer it didn’t come out and it must have got stuck.
Hot Stuff
Dan wasn’t in his office so I had a go at getting it out of the dryer as I’d seen him do it earlier. I removed the plug from the wall and knew it was very hot inside so took great care before opening the lid. I sometimes work with HP Laserjet printers that get excessively hot so have to take special care around these device so was extremely careful in this dryer. The test strip had rucked up and it was easy to lift it out and then replace the lid and plug back in. If it had been really jammed or made a mess completely I would have left it for Dan to investigate it as I’ve been to printers at work that people have tried to release blockages with knives and screw drivers, thus causing more damage.. This test strip had lifted from the paper and gone all crackly, it can be seen in my sketchbook B&W pg 50 as (28A)
The Fridge
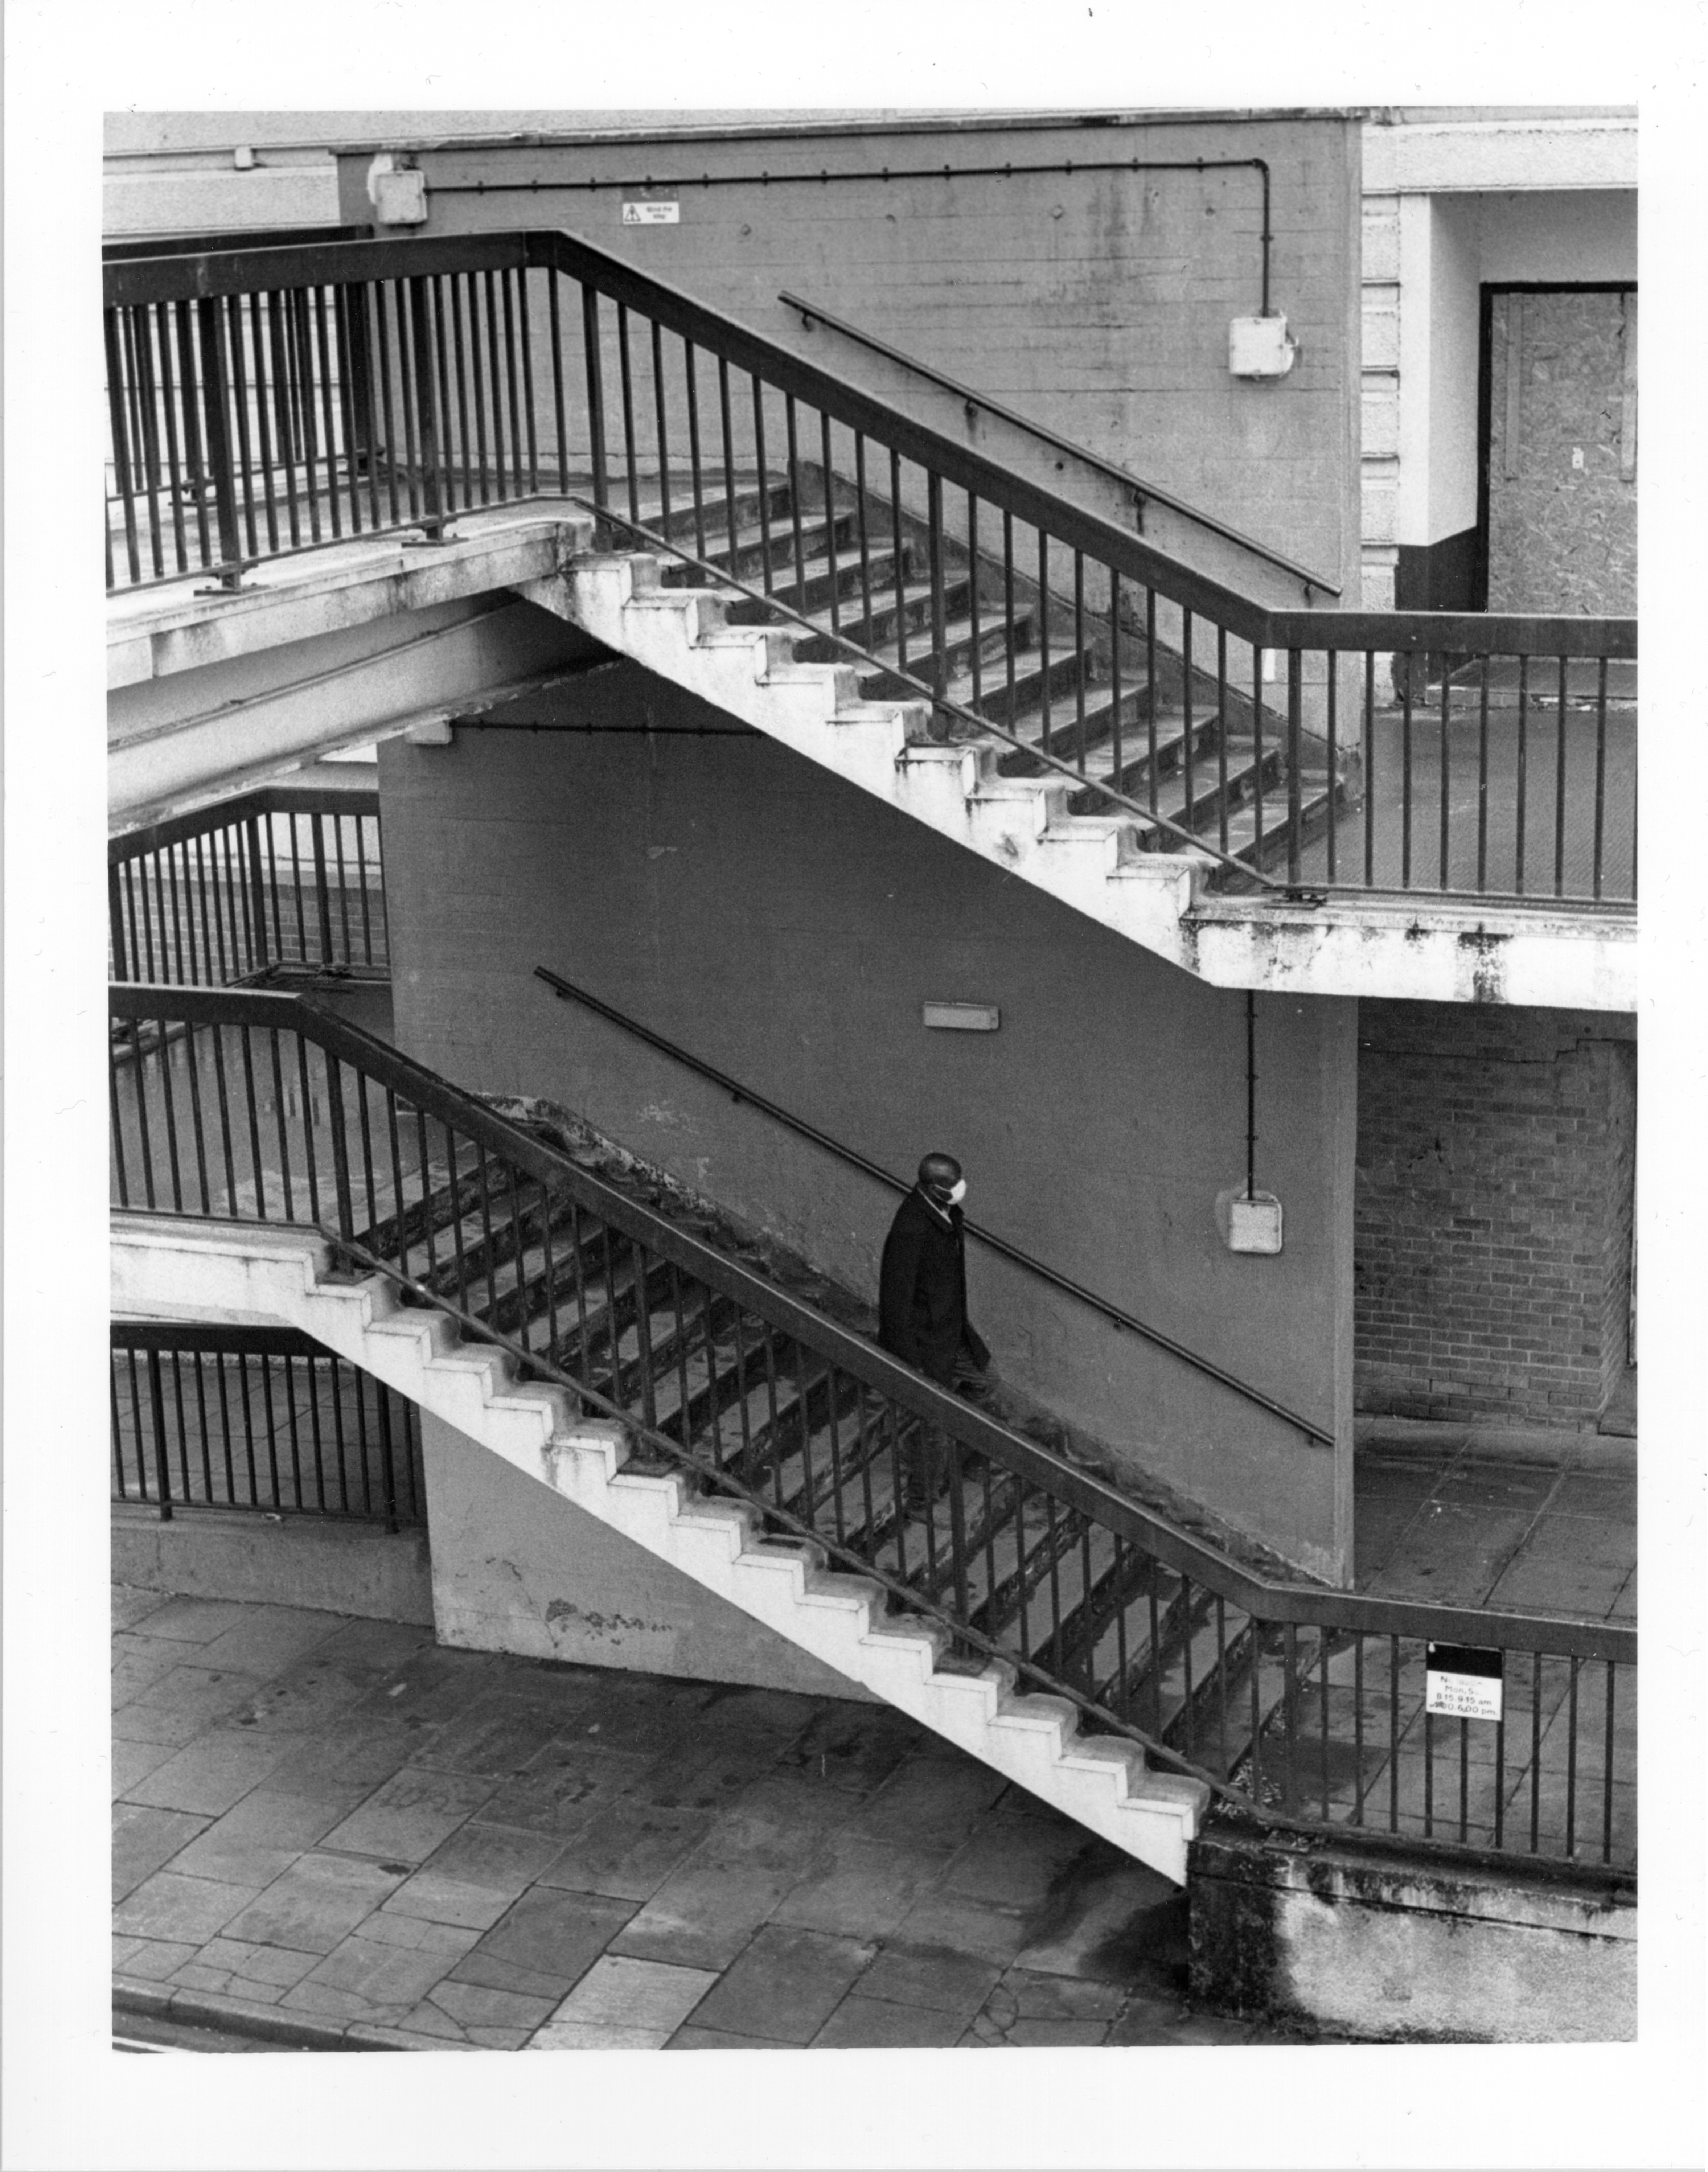
From there I moved on to the “Fridge Stairs” image and found myself moving quite well through the process. Once I was happy with the print I stepped out into the light and Matt looked at it and immediately noticed that the top edge and bottom RHS corner were blown out so much that you couldn’t see the border. I hadn’t noticed this at all so was grateful to him for pointing it out, even though it’s fairly obvious. I just got into the image and had been concentrating on the wrong things, I guess that’s why Dan looks at his images upside down first to see if there is anything wrong technically.
Matt also stated that I should use the 00 filter to allow for better control of the highlights and the shadows so I used a 0 ( I didn’t see the 00 in the box). From this issue being pointed out I carried on with a bit of burning and found that after a couple of prints I’d been able to burn the areas enough to give them some detail. The final image was ok but I feel that I can expose it a little more or even move up to a filter of 1.. I may revisit this again.
The next Workshop session will begin for me with looking at Film#6 which I need to do a contact sheet for and then select a couple of images that fit my thought pattern around the brief.
Be First to Comment