The first week in December was reasonably free of work meetings and deadlines so I chose to have the Thursday off work and go into the darkroom for the day to catch up with some print making.
On the way into the George Wallis building I used up the last of my frames in the Canon A1 by putting my camera on the floor with a 10 second timer then stepping away to capture the sculpture of pillars in front of the building. (See last image on Contact sheet below)
As I was walking away from the scene after picking up the camera I failed to spot a step from the grass to the path and folded my ankle over badly then landing on my chest on the floor, also dropping my camera to the deck. I stood up and looked around, there were a few students around but no-one acknowledged my accident. I hobbled in to the studio/darkroom and then proceeded to get on with making prints, developing films and also recording the process for my youtube channel, if you look carefully at the video you can see me holding my left foot up.
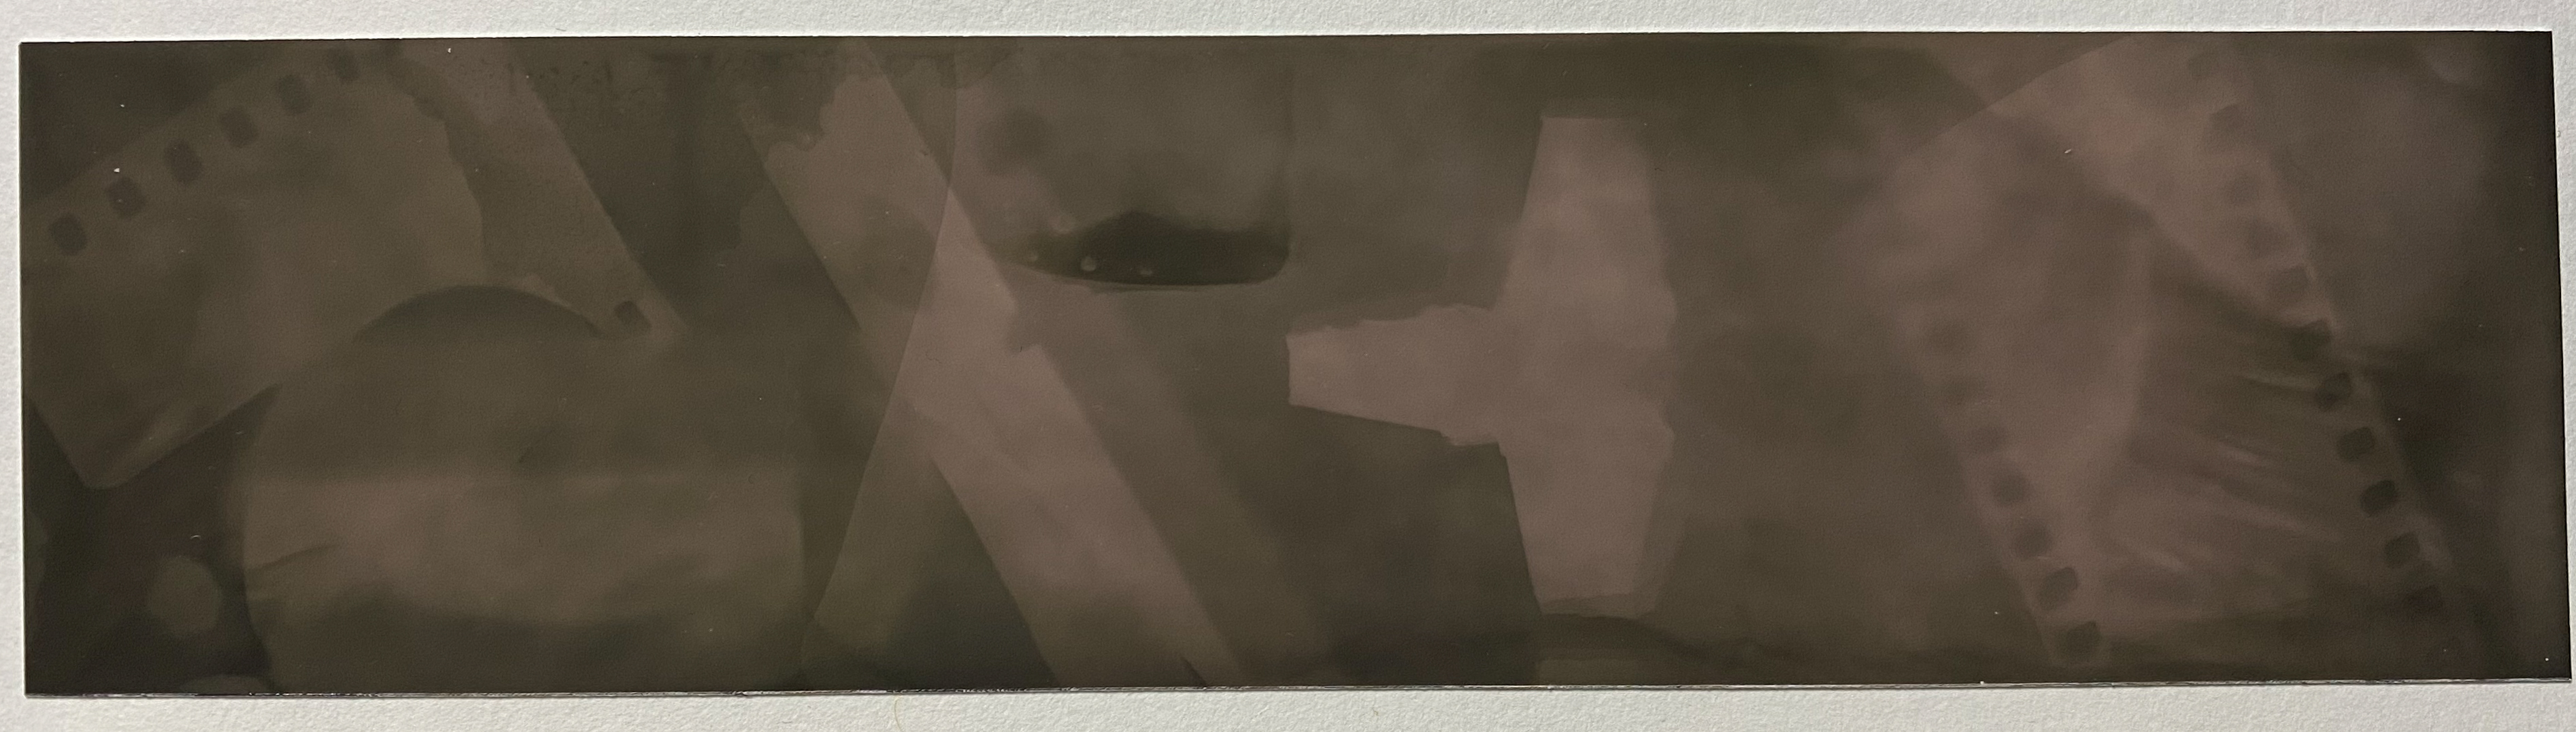
The first job of the day was to develop a test strip that I’d had on my desk at home, noticing it discolouring in the daylight, I placed a few items on it to mask the light, and then stored it in a pad of paper for developing in the darkroom. It came out ok with some obvious details visible and I’m surprised that it wasn’t completely overexposed from being on my desk.
The next task was to develop Film #8 which I’d finished earlier that morning, and this time I used the stop solution for a minute instead of a five minute wash in running water. The difference wasn’t noticeable to me but it may have had an effect on the process to obtain prints from the negatives.
While the film was drying for thirty minutes in the drying cabinet I went to repeat the dodging and burning exercise on the Shirehall Columns picture, that Matt had done in Workshop 4. I tried to dodge and burn appropriately but the first two efforts were completely ruined as I was seeing the lightest parts of the image projected to the easel and burning these instead of dodging. Forgetting obviously that the lightest parts of the projected image are the most heavily exposed and needed dodging rather than burning, and opposite of course for the darkest areas of the negative.
Once I’d got my head around this counter intuitive (to my feeble mind) method I happened to be able to dodge and burn correctly but it still took a while to work out the most efficient method of holding my hand under the lens. I’ve seen people using card and other shaped masking tools to do the same thing but Matt had said that using the hand was a bit softer and not as noticable in the final image, especially if it’s moved around constantly.
Once I was happy with my print and the level of detail in the lightest and darkest areas I moved on to printing a contact sheet for the now dry Film #8.

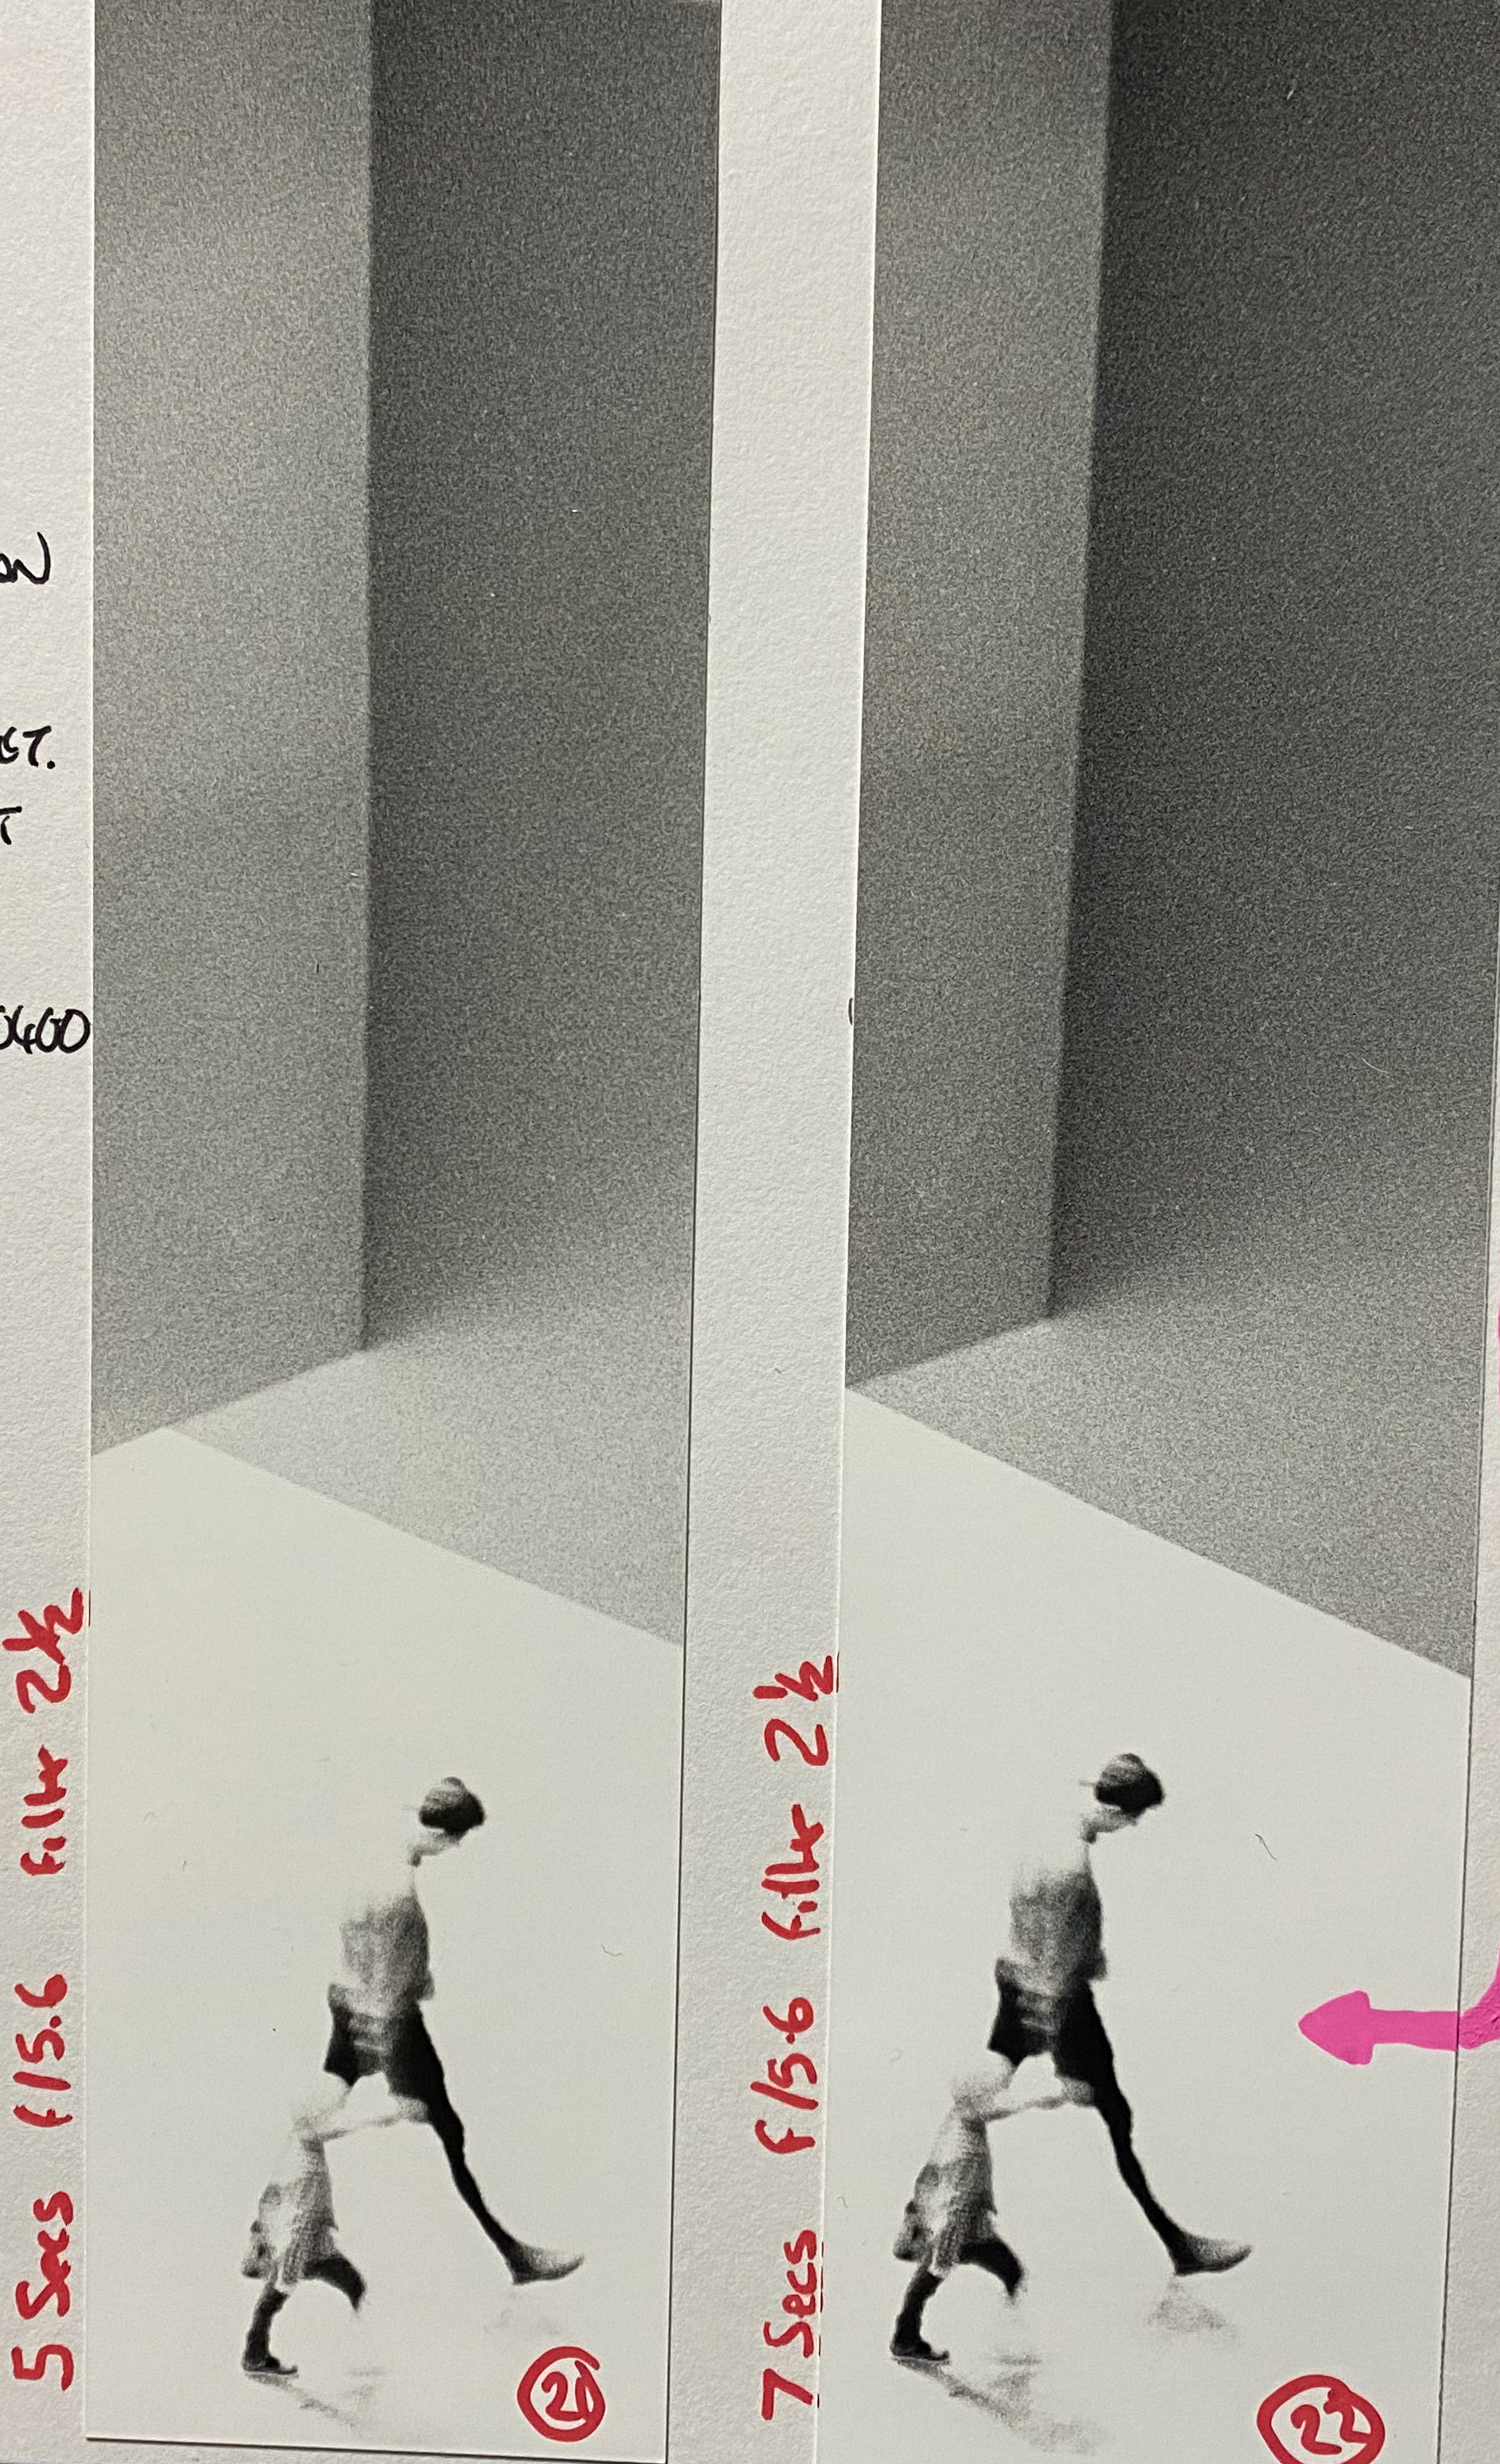
I spent a while printing test strips and prints of some images that I’d taken in and around London and the Barbican area of London but I struggled with a couple, as can be seen from my B&W sketchbook. In a couple of instances I tried exceptionally hard to get a better image from the enlargement process but some photos were too light and detail was missing. Using a darker contrast filter (3.5) didn’t help much, (as I found out in Workshop #5 I should have used a lighter contrast filter 1.5)
After a short time on each print, and not getting the results I could see were available in the contact sheet I moved onto the next one and then struggled on the Red Corner and Arrow Woman prints which were particularly tricky with the silhouette and the bright lighting blowing out much of the prints..
The last photo I set up in the negative holder was of a place in the Barbican centre with a gull sitting on a wall in a patch of sunlight, I struggled to get this exposed correctly but carried on and in the end, upping the exposure time helped, with a bit of dodging in the areas of darkness, in the water and in the end I had a reasonable print but somehow left one in the dryer, that I found on the Monday of the workshop #5. That print came out really well and is in my portfolio.
LESSONS LEARNED
- I processed Film #8 today and used the Stop for 1 Minute rather than washing it for 5 minutes and I noticed no real difference.
- I got the Contrast Filters mixed up and used the higher grade which increases contrast (less grey areas) when I should have used a lower grade.
- Dodging and Burning needs thinking about in terms of the light and dark areas being reversed on the easel (obvious when you think about it)
See the next post for details of Workshop #5 in which I overcome som eof the struggles from this post, with the aid of the lecturers.
Be First to Comment