Yesterday saw a return to the George Wallis building which houses the University Of Wolverhampton’s School of Art, for me at least. The darkrooms were opened after the Christmas break so I thought I’d get in there and develop my four rolls of 120 Ilford HP5+.
Premature
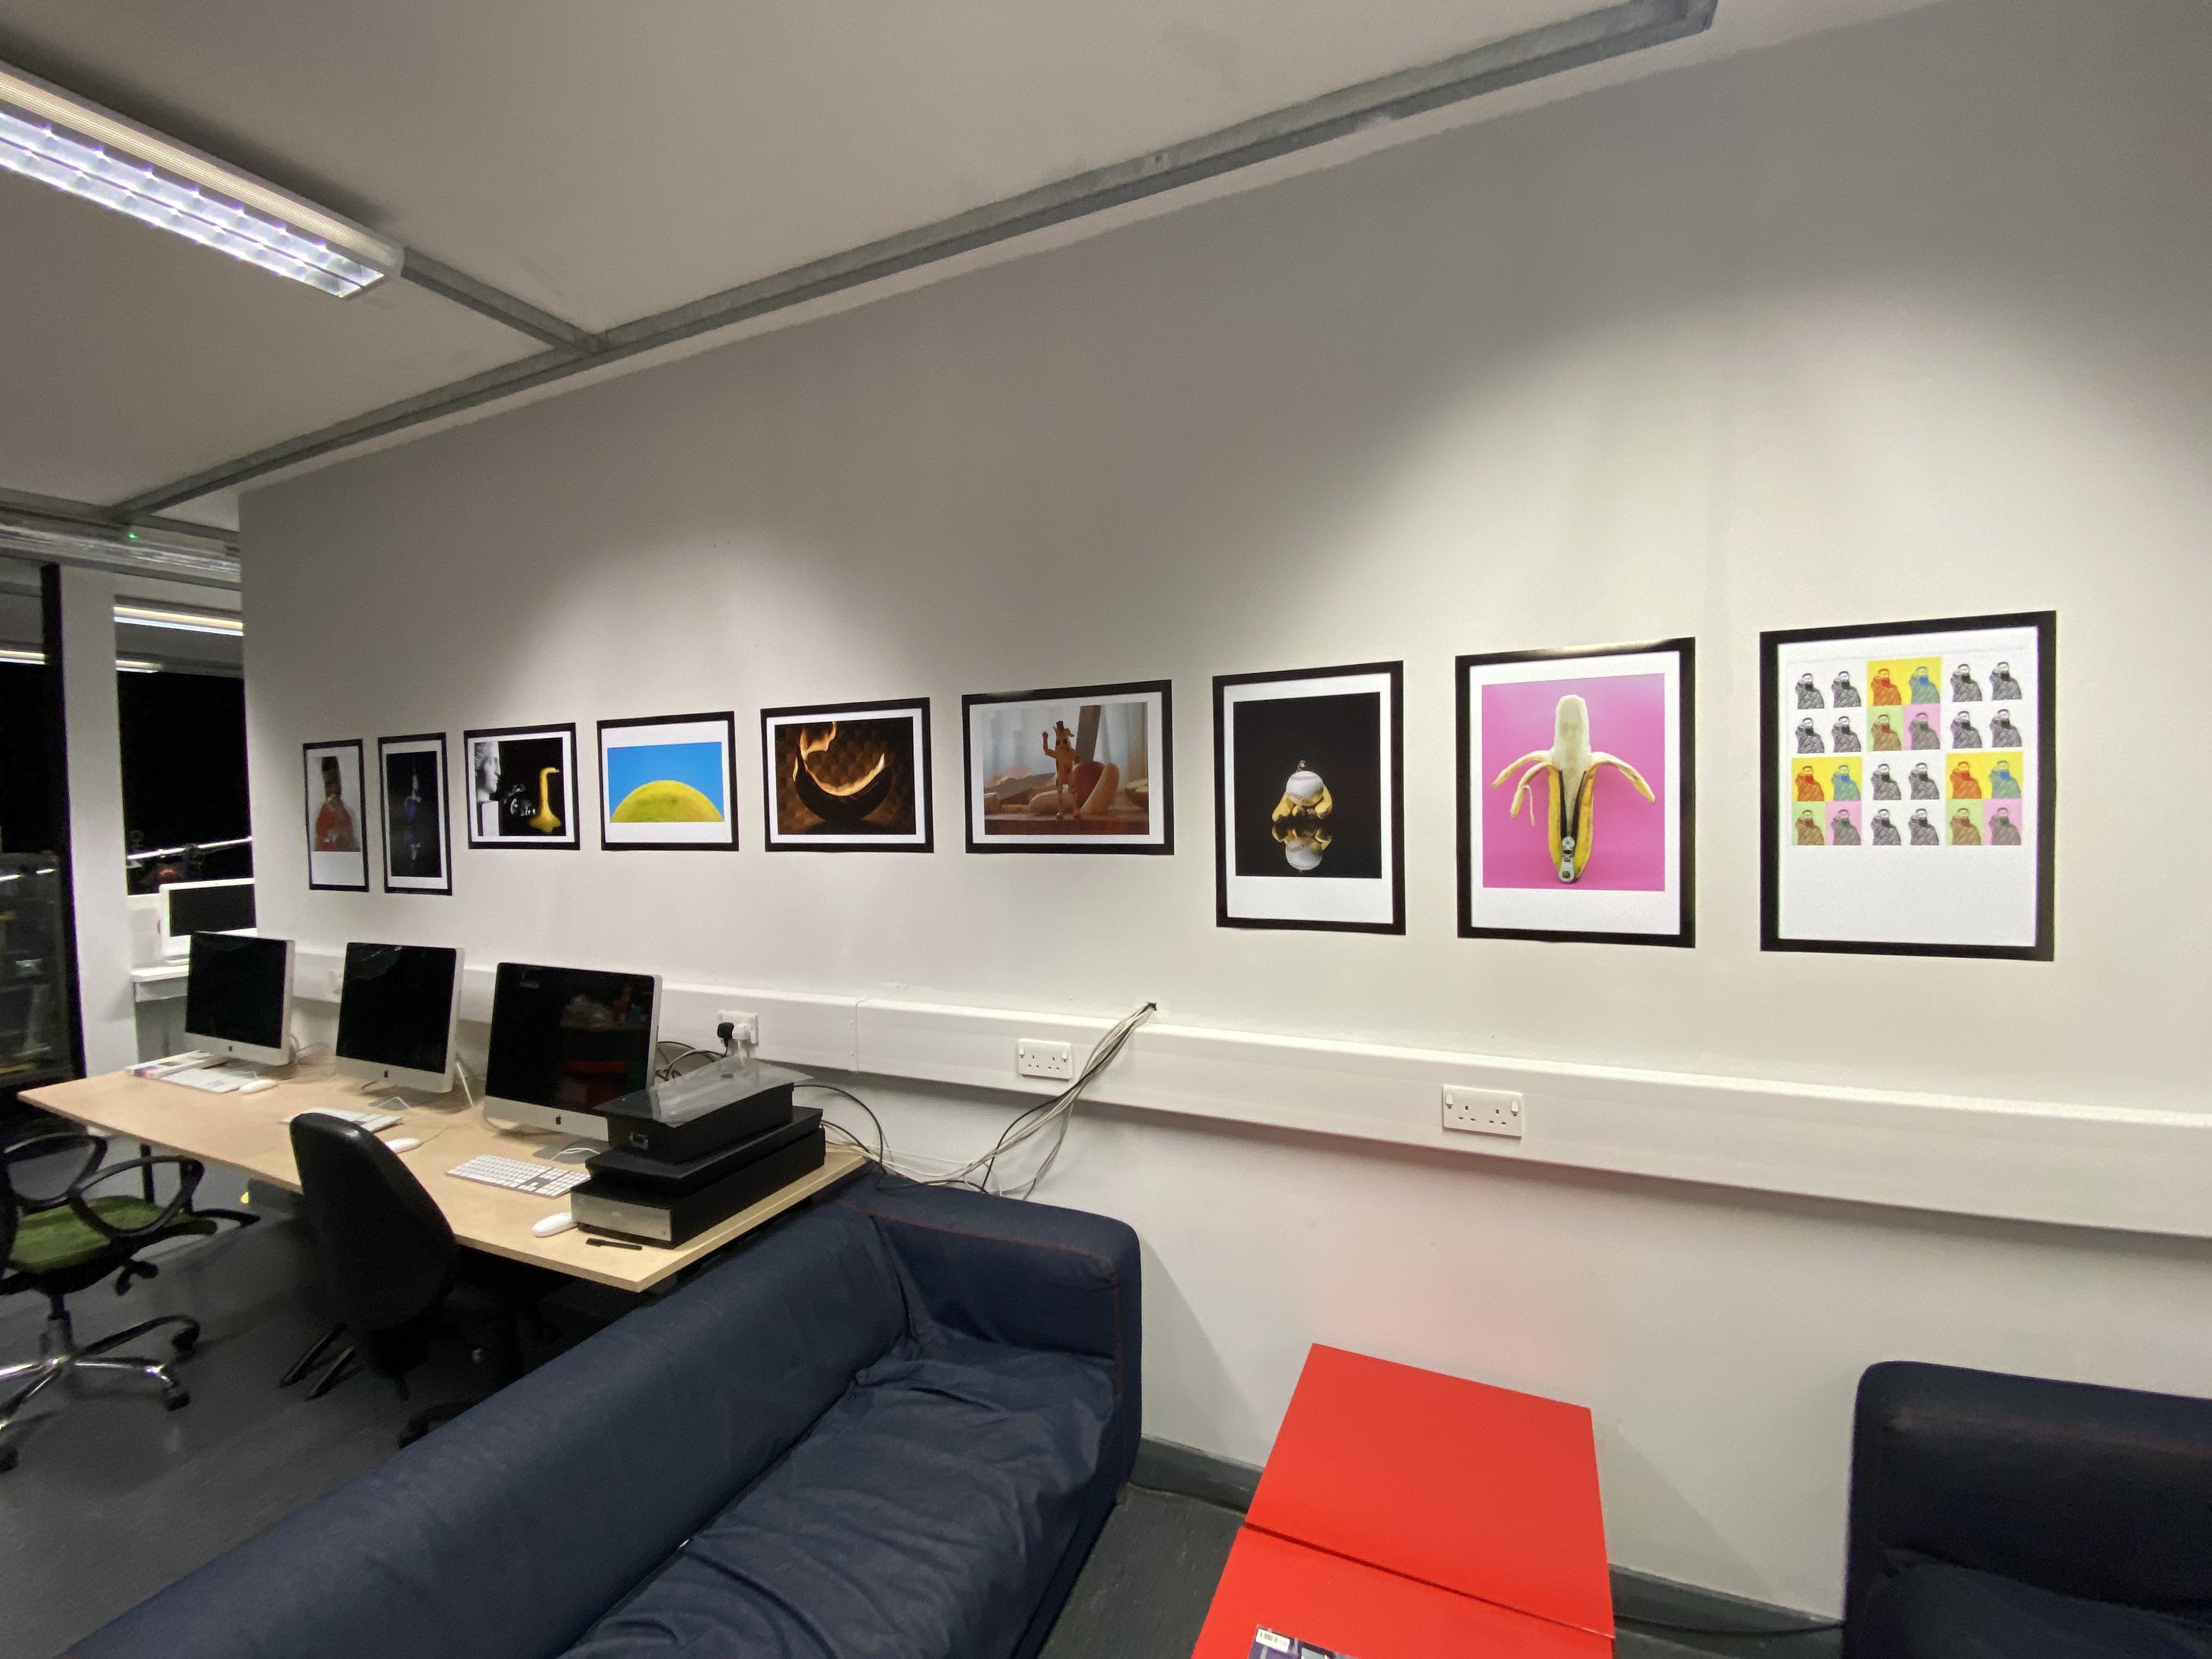
I arrived super early and got on with some work-work on my laptop whilst I awaited the darkrooms to be unlocked and prepped for the day. When I went downstairs I was greeted by Dan who also presented me with a chocolate orange as a runners up prize in the Banana photo competition from December. It was also great to see the entries on the wall in the studio for perusal by all. The winner was a blinding photo and caught my attention immediately in the people’s choice vote.
Chemistry
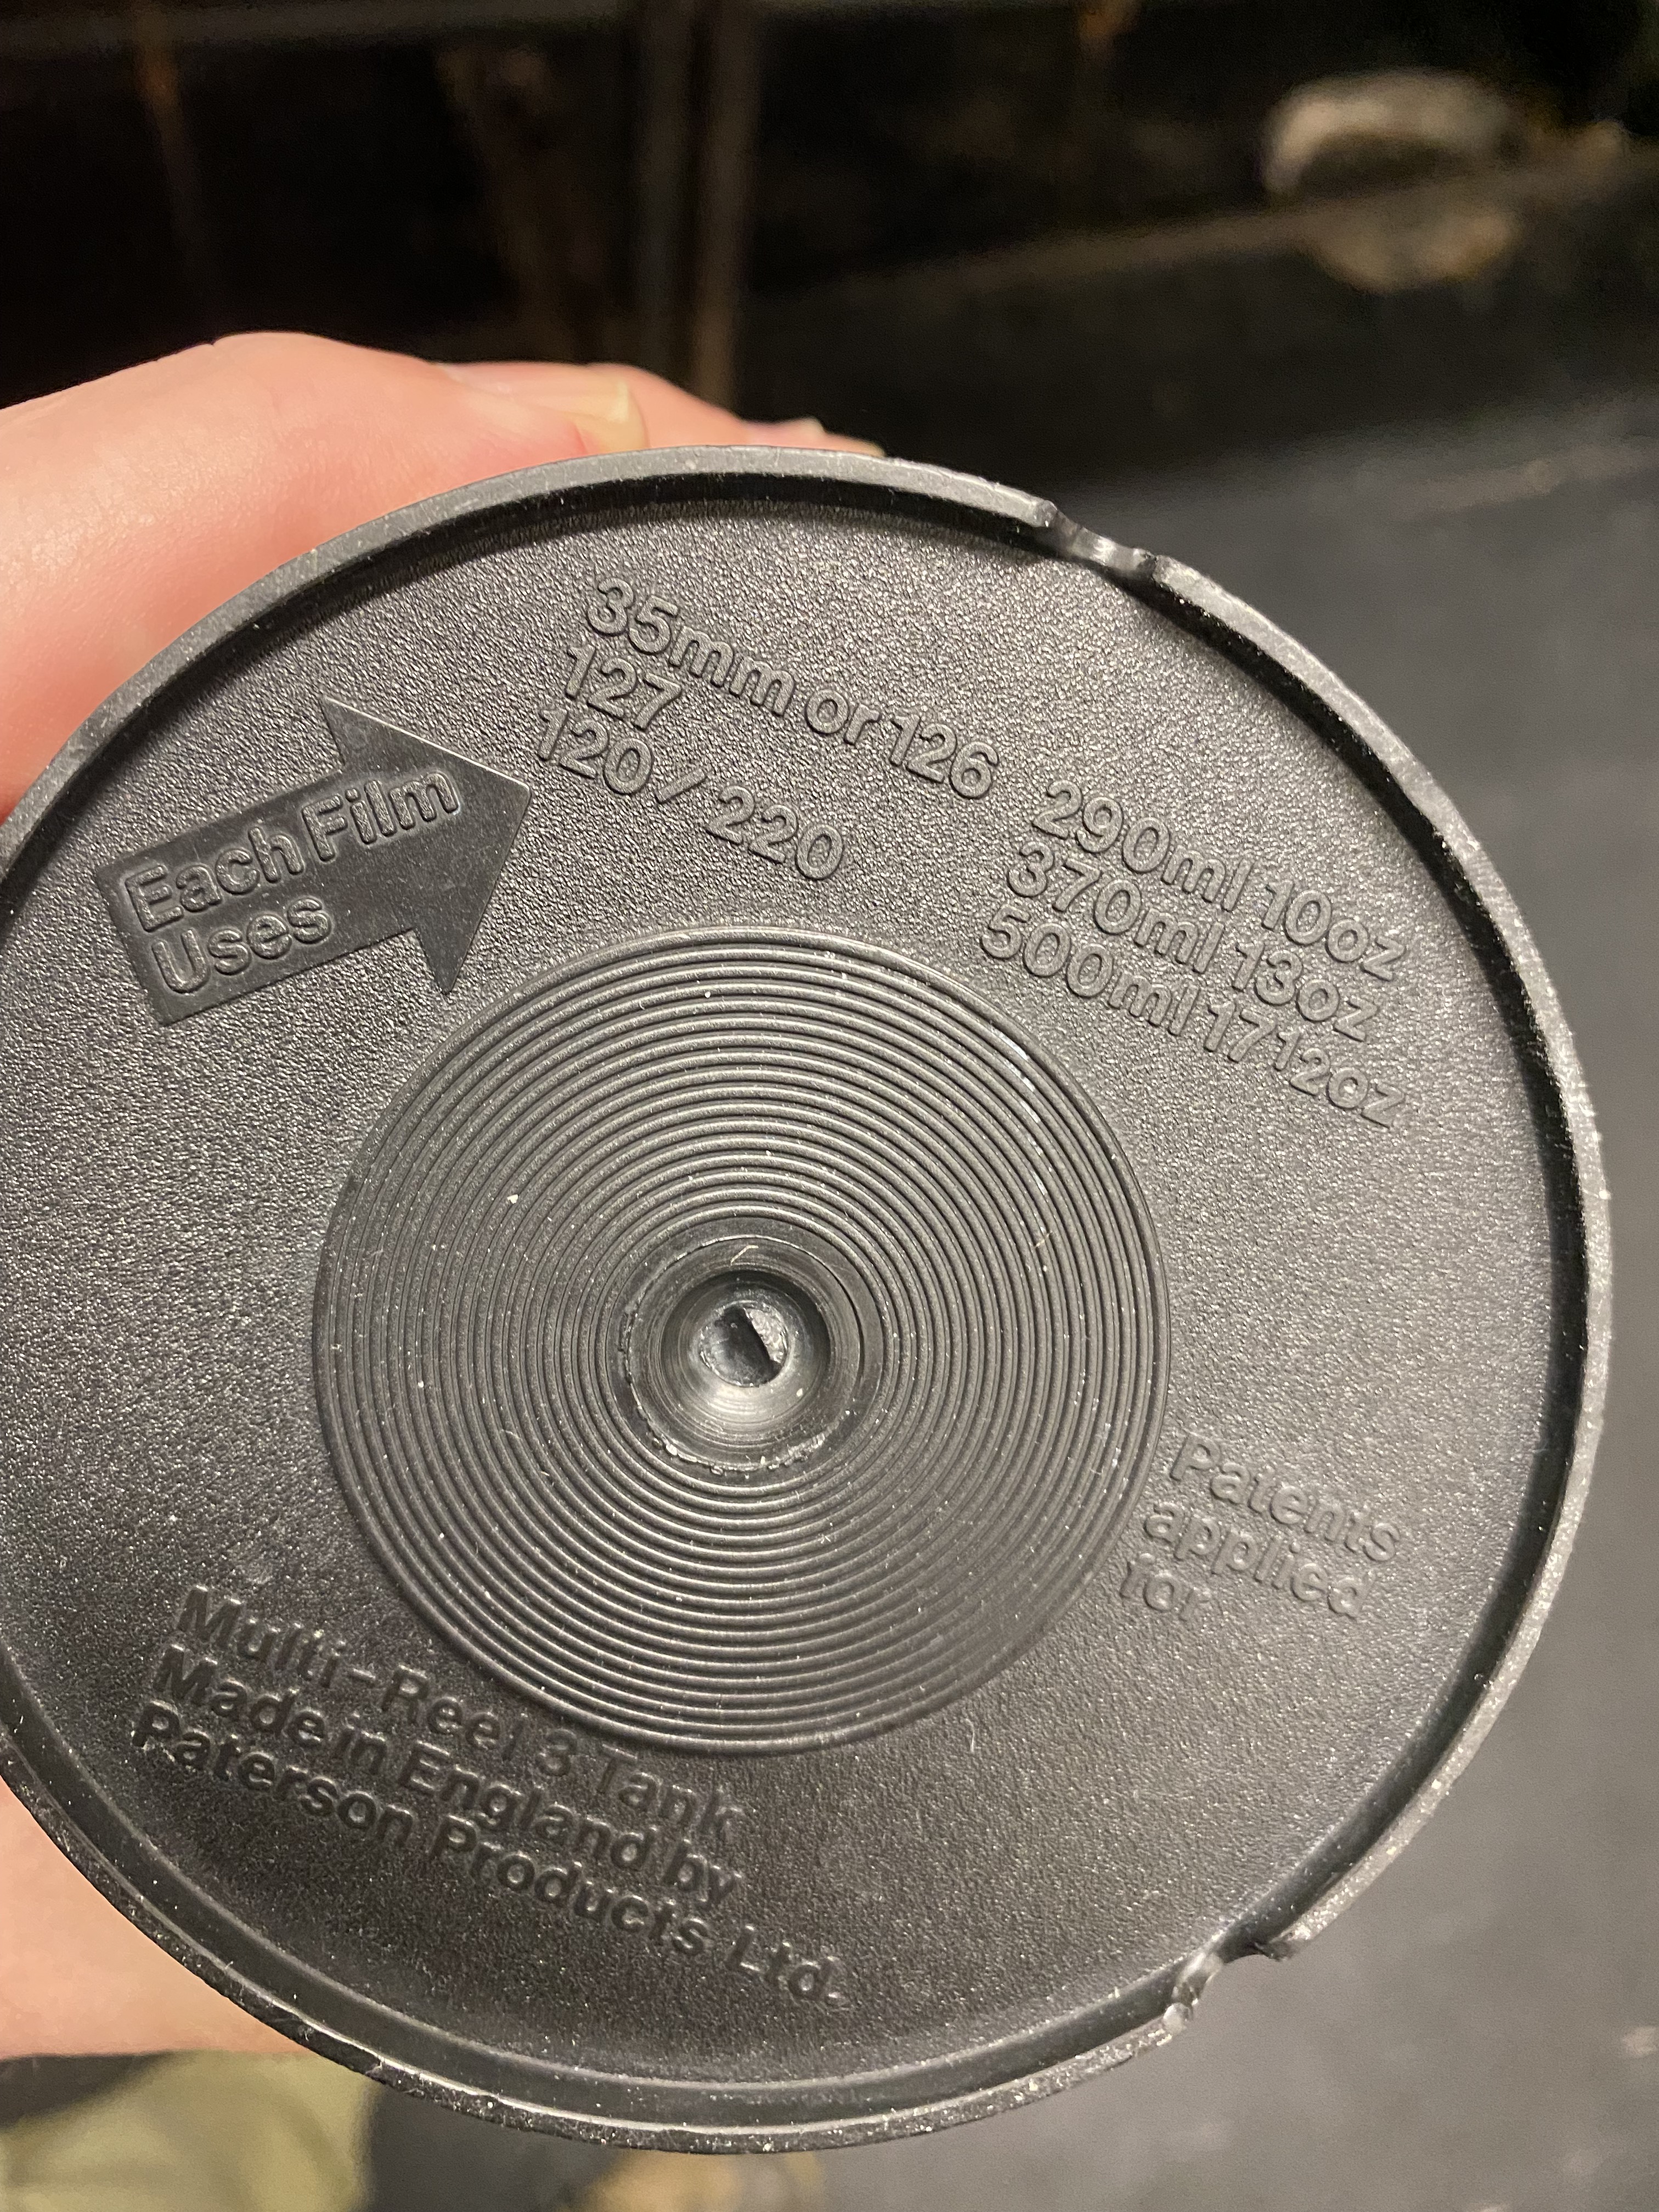
Dan was kind enough to prepare the chemistry I’d be needing for the day so that I could jump in and do my first 120 rolls. I entered the processing room and set aside a Paterson tank that could take two 120 rolls, they’re a little wider than 35mm films so you have to open up the reels to accept a wider film so the tank was a taller stature than the ones I’d usually use.
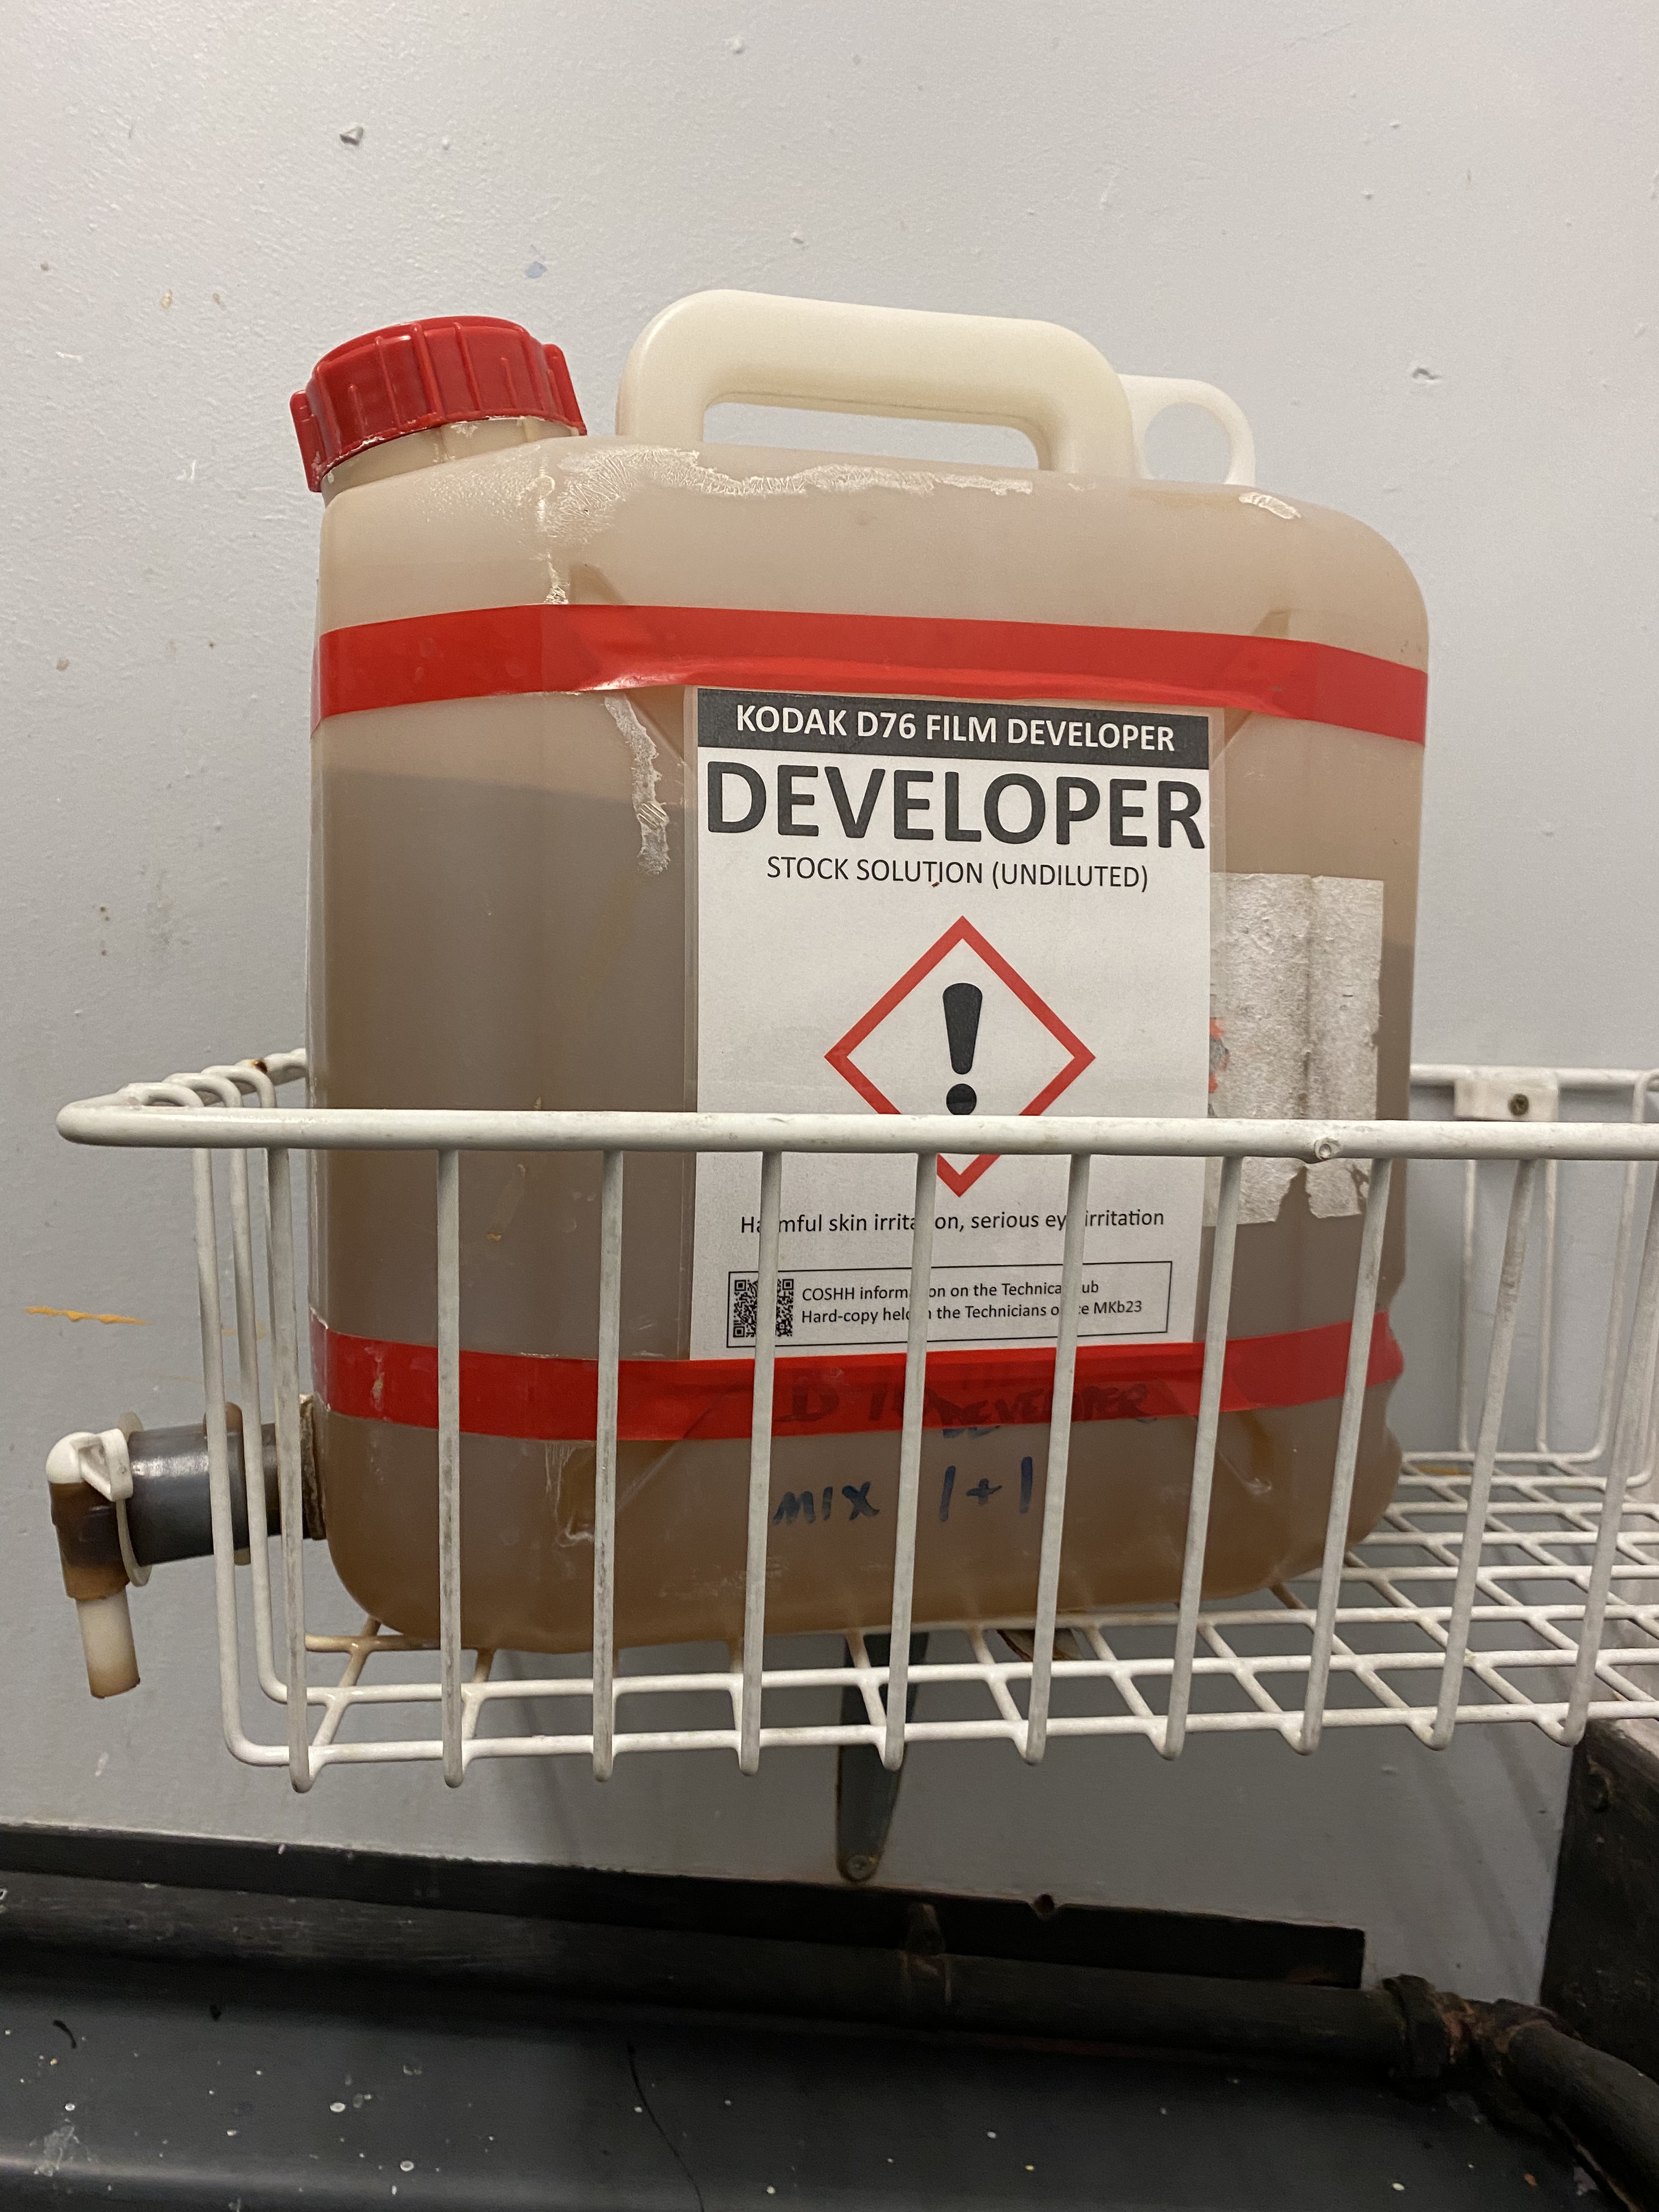
Making sure that the reels were dry I set them aside ready for transport into the Loading Room, I then looked at the chart on the wall that shows films, types, sizes and the different developing times etc you need to develop your negatives correctly. I looked for Ilford HP5+ 120 ISO400 and found that for Kodak D-76 dev fluid I’d need 13 mins in the tank.
I was confused about how much dev I’d need in the tank with the films until I looked at the base of the paterson tank and saw the note to use 500ml for each 120 film. That meant I’d need 500ml of D-76 and 500ml of water to fill the tank. I poured 500ml of Dev and then topped up with water from the hot and cold taps to get the temp set at 20°C but it was a bit of a faff.
Loading Time
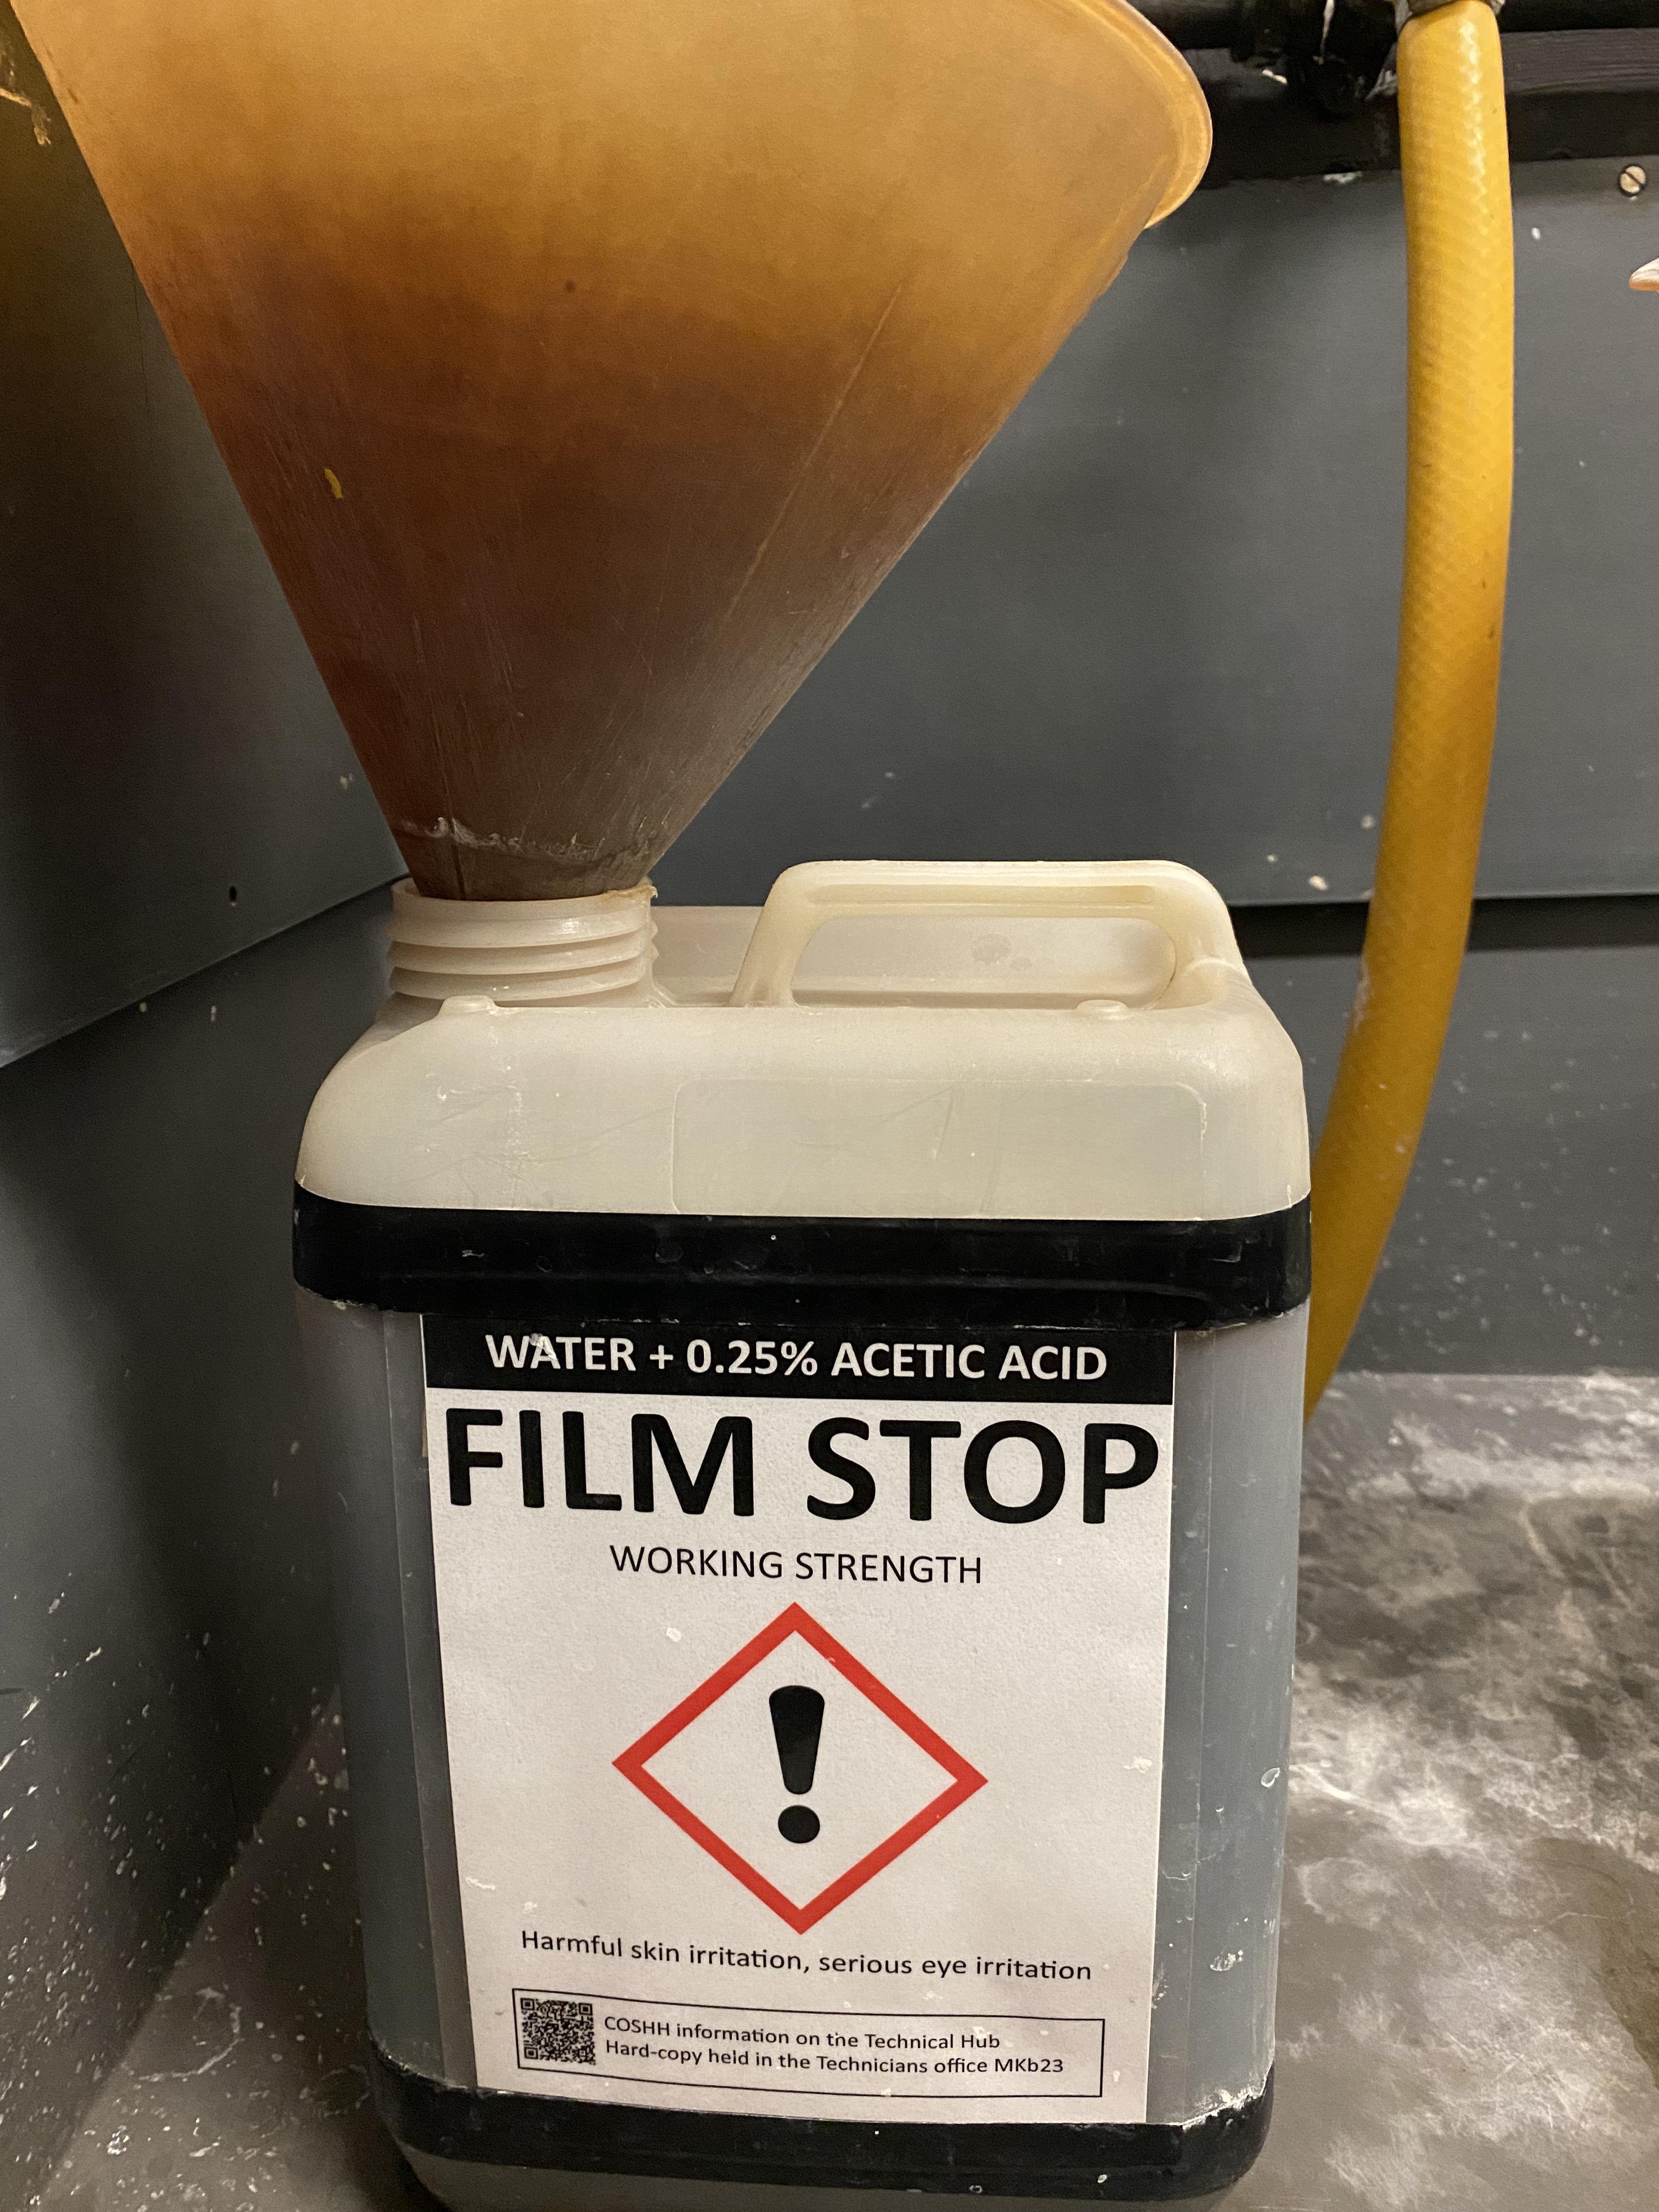
I poured 1 litre of STOP solution and another litre of FIX solution into graduated flasks too, ready for the time that was coming after development was complete. I left the flasks next to the corresponding bottles so I didn’t get mixed up. Once all the chemistry was ready for use I dived into the darkness of the Loading Room, laid out all of the kit in front of me and then turned off the light. Once it was pitch dark, I fumbled with the first 120 roll (Film#10) and unwound the paper backing until I felt the film appear, then tried a few times before successfully getting the film past the ball bearings and then winding it into the spool ready for dropping into the paterson tank. It was also a bit fiddly getting to the end of the film and then taking the tape off that hold the film to the backing, before winding it in all the way. A repeat of the process was carried out, a little easier this time, before I put the light tight top on it and then turned the light on. I kept the backing paper to stick in my sketchbook, for some reason..
Massive Dev Session
After I’d emerged from the Loading room the Tank containing thirty frames from my Bronica ETRS 645 camera was lowered into the sink in the processing room and the dev fluid, still at 20°C was poured in before the 13 minute timer was started on my iPhone app “Massive Dev Chart” It’s a very helpful app and uses sounds to higlight when the next minute is starting so you can do your four inversions per minute.
13 minutes sounds a long time to wait but it honestly flies by when you’re occupied with remembering the inversions, tapping on the bottom of the tank to rid it of air bubbles and making sure I’m not soaking myself with Dev fluid. The timer sounds for the end of the thirteen minutes and then the dev fluid is carefully poured down the sink ready for the stop to be poured into the tank.
The STOP fluid is in the tank for a minute with constant inversions before being poured back into the bottle it came from. With that step completed I poured in the litre of FIX and started the timer for that stage, a five minute countdown began with constant inversions for thirty seconds and then 2 inversions every thirty secs after.
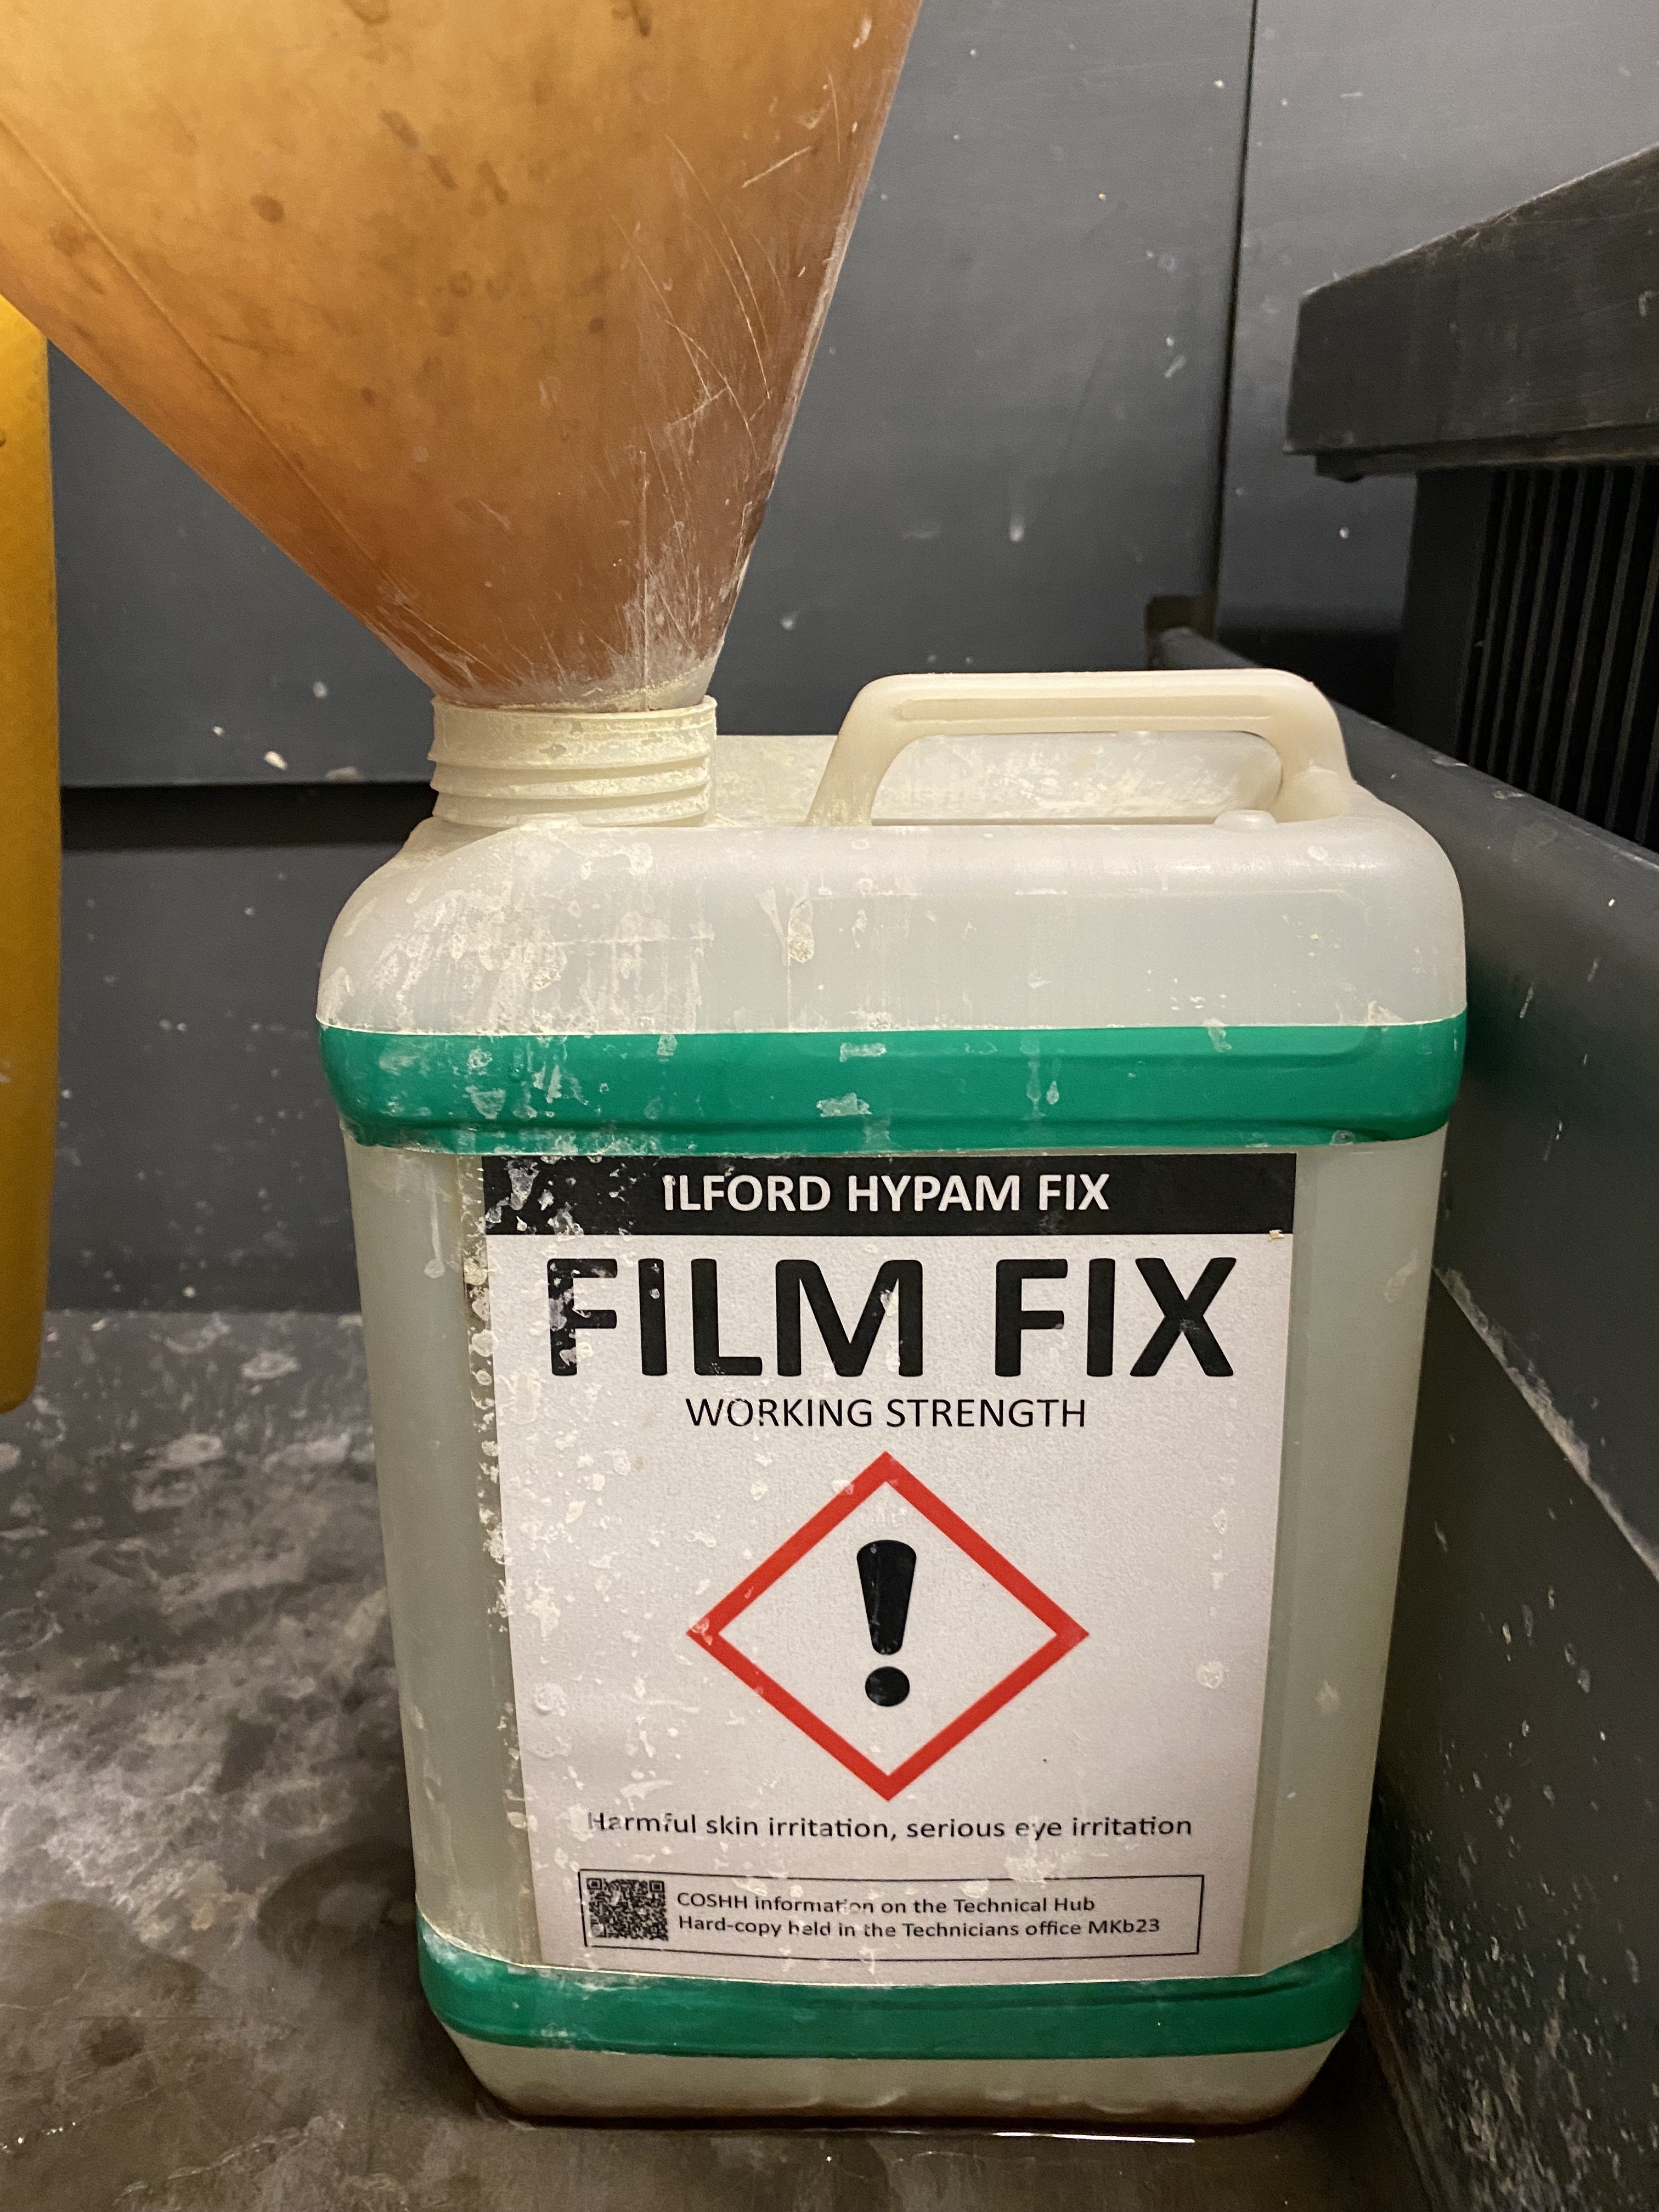
Roughly five minutes later the FIX was being poured back into it’s originating bottle, then the light tight lid removed from the tank. The film is now no longer light sensitive so the tank can be open for the 20 minute wash under flowing water, this is to remove as much chemical residue as possible.
Colour Scanning
During this 20 minute hiatus I retired to the studio area and started scanning my 120 Colour (Kodak Portra 400) film that Jessops had processed before Christmas. I used the Epson Perfection V850 scanner with the 120 Negative insert and scanned them into my Adobe Lightroom library. I noticed after scanning them that there appeared to be a lot of dust and small particles on the negative carrier so I cleaned it before I reused it for some B&W negs later. It was still impressive to watch the colour negs be scanned and auto inverted to produce some colour images, I’m looking forward to doing a contact sheet and some prints of a couple of these.


Twenty minutes passes so I return to the Processing sink and dunk the two films, still on the spools, into the Wetting Agent, before squeegeeing them with my fingers and then hanging them up for 30 mins in the drying cabinet. This thirty minute period would be the time I set aside to begin the next two rolls going into the same process.
Two More Films Please
All was going well, I got the films into the loading room and it seemed more familiar to do but on the second film I felt the film tear or rip when I was removing the backing paper and tape, I was a little worried that I’d torn through an image, but couldn’t know that until undoing the tank after the FIX op was completed.
Setting up the Dev fluid was a little easier this time as I used the suggested method given to us in the early days. The Dev fluid was at 16°C and needed to be 20°C for proper developing to occur.
Instead of putting small amounts of hot and cold into the mixture I used a separate jug and filled it with hot and cold until it came to 24°C temp, then theoretically it should even the temp out in the Dev to 20°C when mixed. What do you know, the full litre was made up of 500ml of 16°C Dev and 500ml of 24°C water and the final temperature was bang on 20°C. I banged the fluid into the tank and began the 13 minute process of inversion, tapping and waiting.
Whilst I was doing the dev, I prepared the graduated flasks with the 1 litre of Fix and Stop, measuring the temp of these it was around 15°C and should be between 18 and 24 to work correctly. Obviously I couldn’t water them down by putting hot water in it so I ran the hot water tap down the side of the flasks until the heat transferred through the flask and warmed them up to around 19°C.
B&W Scanning Sesh
Putting these negs into the wash after the process I returned to the scanner to begin a scan of the first two rolls of B&W 120 film. The scans this time were showing visibly less dust but the scanner and software seemed to struggle with picking out the frames of a couple of negatives but at least I got some images I can use to ascertain whether I want to create a print from them.
Once I’d scanned the first 15, I returned to the wash basin and removed the films from the tank, banged them in the wetting agent and then hung them to dry in the dryer cabinet. A return to the scanner to scan in Film #11 was next and then once the film was dry I’d have to pull my work laptop out and dial into a work meeting from 14:30 until 16:00. It’s easier to do the meeting in the studio as I’d have to drive home for an hour otherwise.
The second 15 images were scanned the dry films removed from the cabinet and chopped into fours for the storage in the Kenro Glassine sleeves. I’ll have to scan these in at home using the DSLR and a light box to take images of the negs.
Four complete films of 15 negatives each was a good result for the day and sets me up nicely for doing some medium format prints which should come out lovely. Oh and the tear in the film finished about an eighth of an inch away from the last frame on the roll, it was lucky too.
Once I’d wrapped up in my work Teams meeting online, I packed my bags and got on the road to get home to continue documenting what I had done in the darkrooms.
Be First to Comment