The first time I heard of G.A.S. was when I was out with some friends playing guitar together. One particular guitarist mate said he suffered from Gear Acquisition Syndrome and I realised that sometimes I get taken by the same need to buy/upgrade/sell/swap/trade gear for all of my hobbies.
This time though it was brought on by seeing Facebook Marketplace adverts for a 645 (6cm x 4.5cm) camera and the price for it was lower by a margin than others that were similar. I’d been looking at cameras that can shoot with 120 Film and this seemed to be the most appropriate jumping off point for me.
Don’t get me wrong, I know that you can get Medium Format cameras that are more simple than what I was looking at but I felt that I wanted to continue the learning of using a more manual type machine for capturing images on the wider format film stock.
Emptying the toy box.
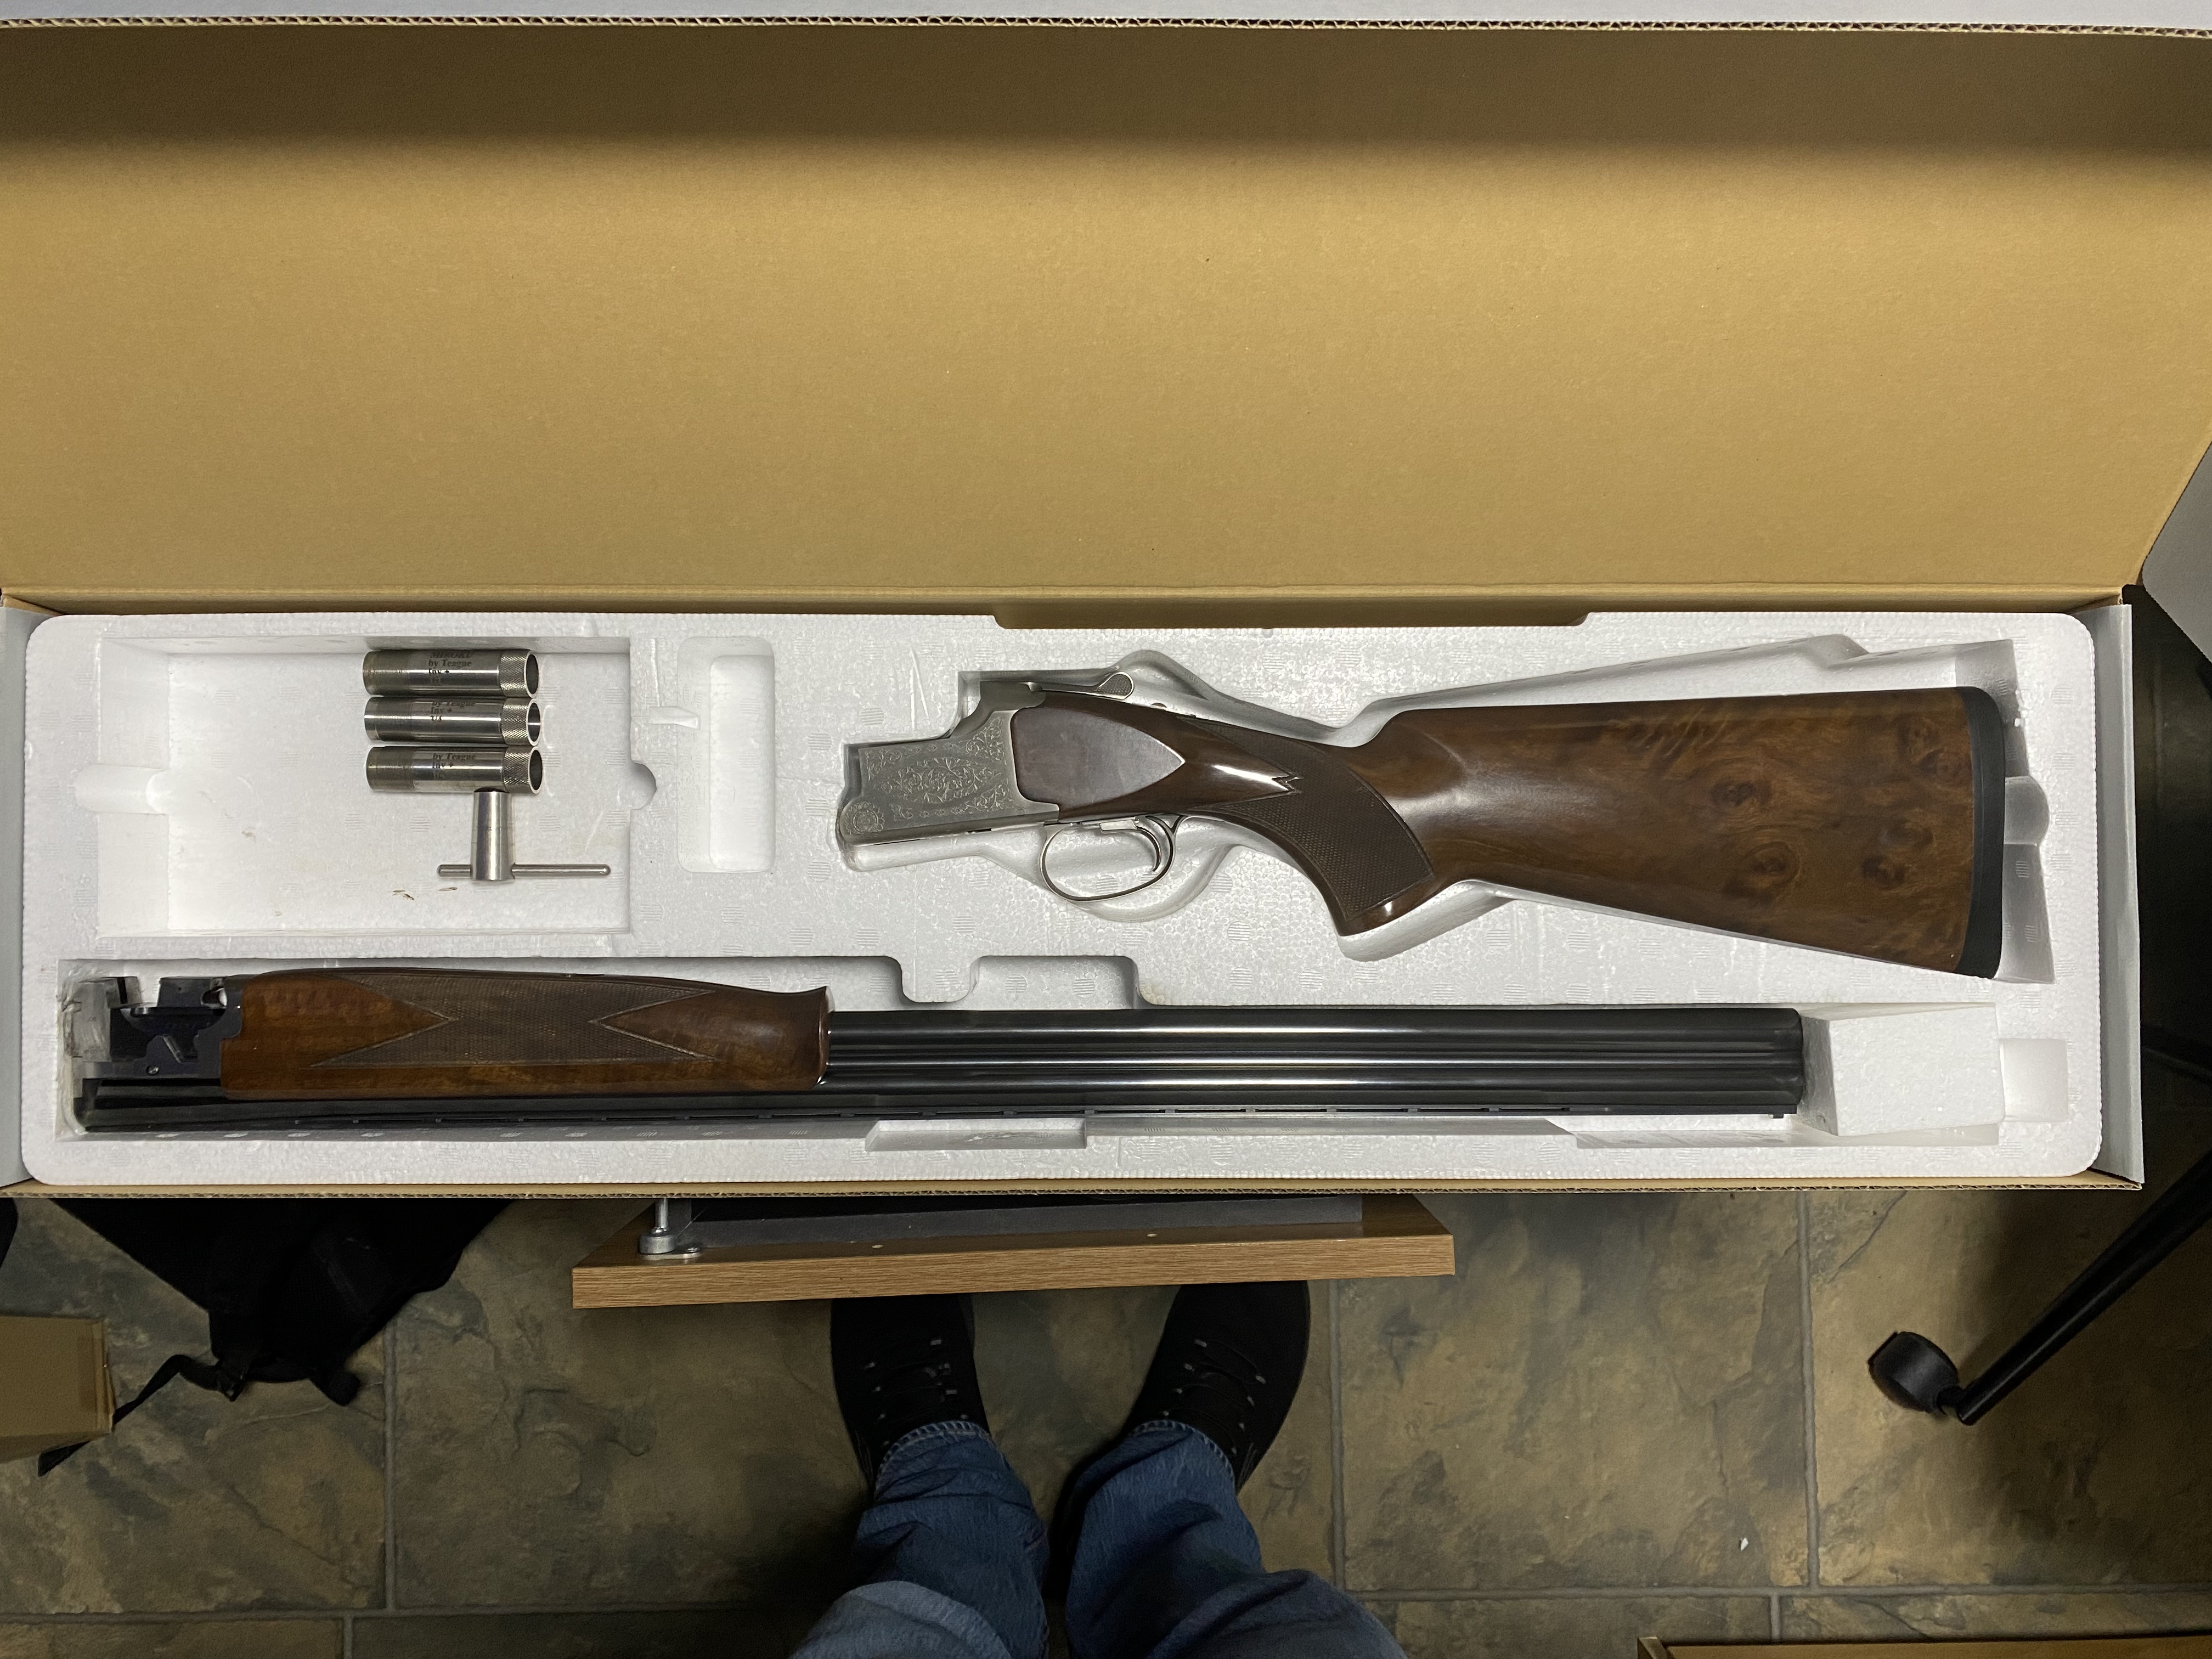
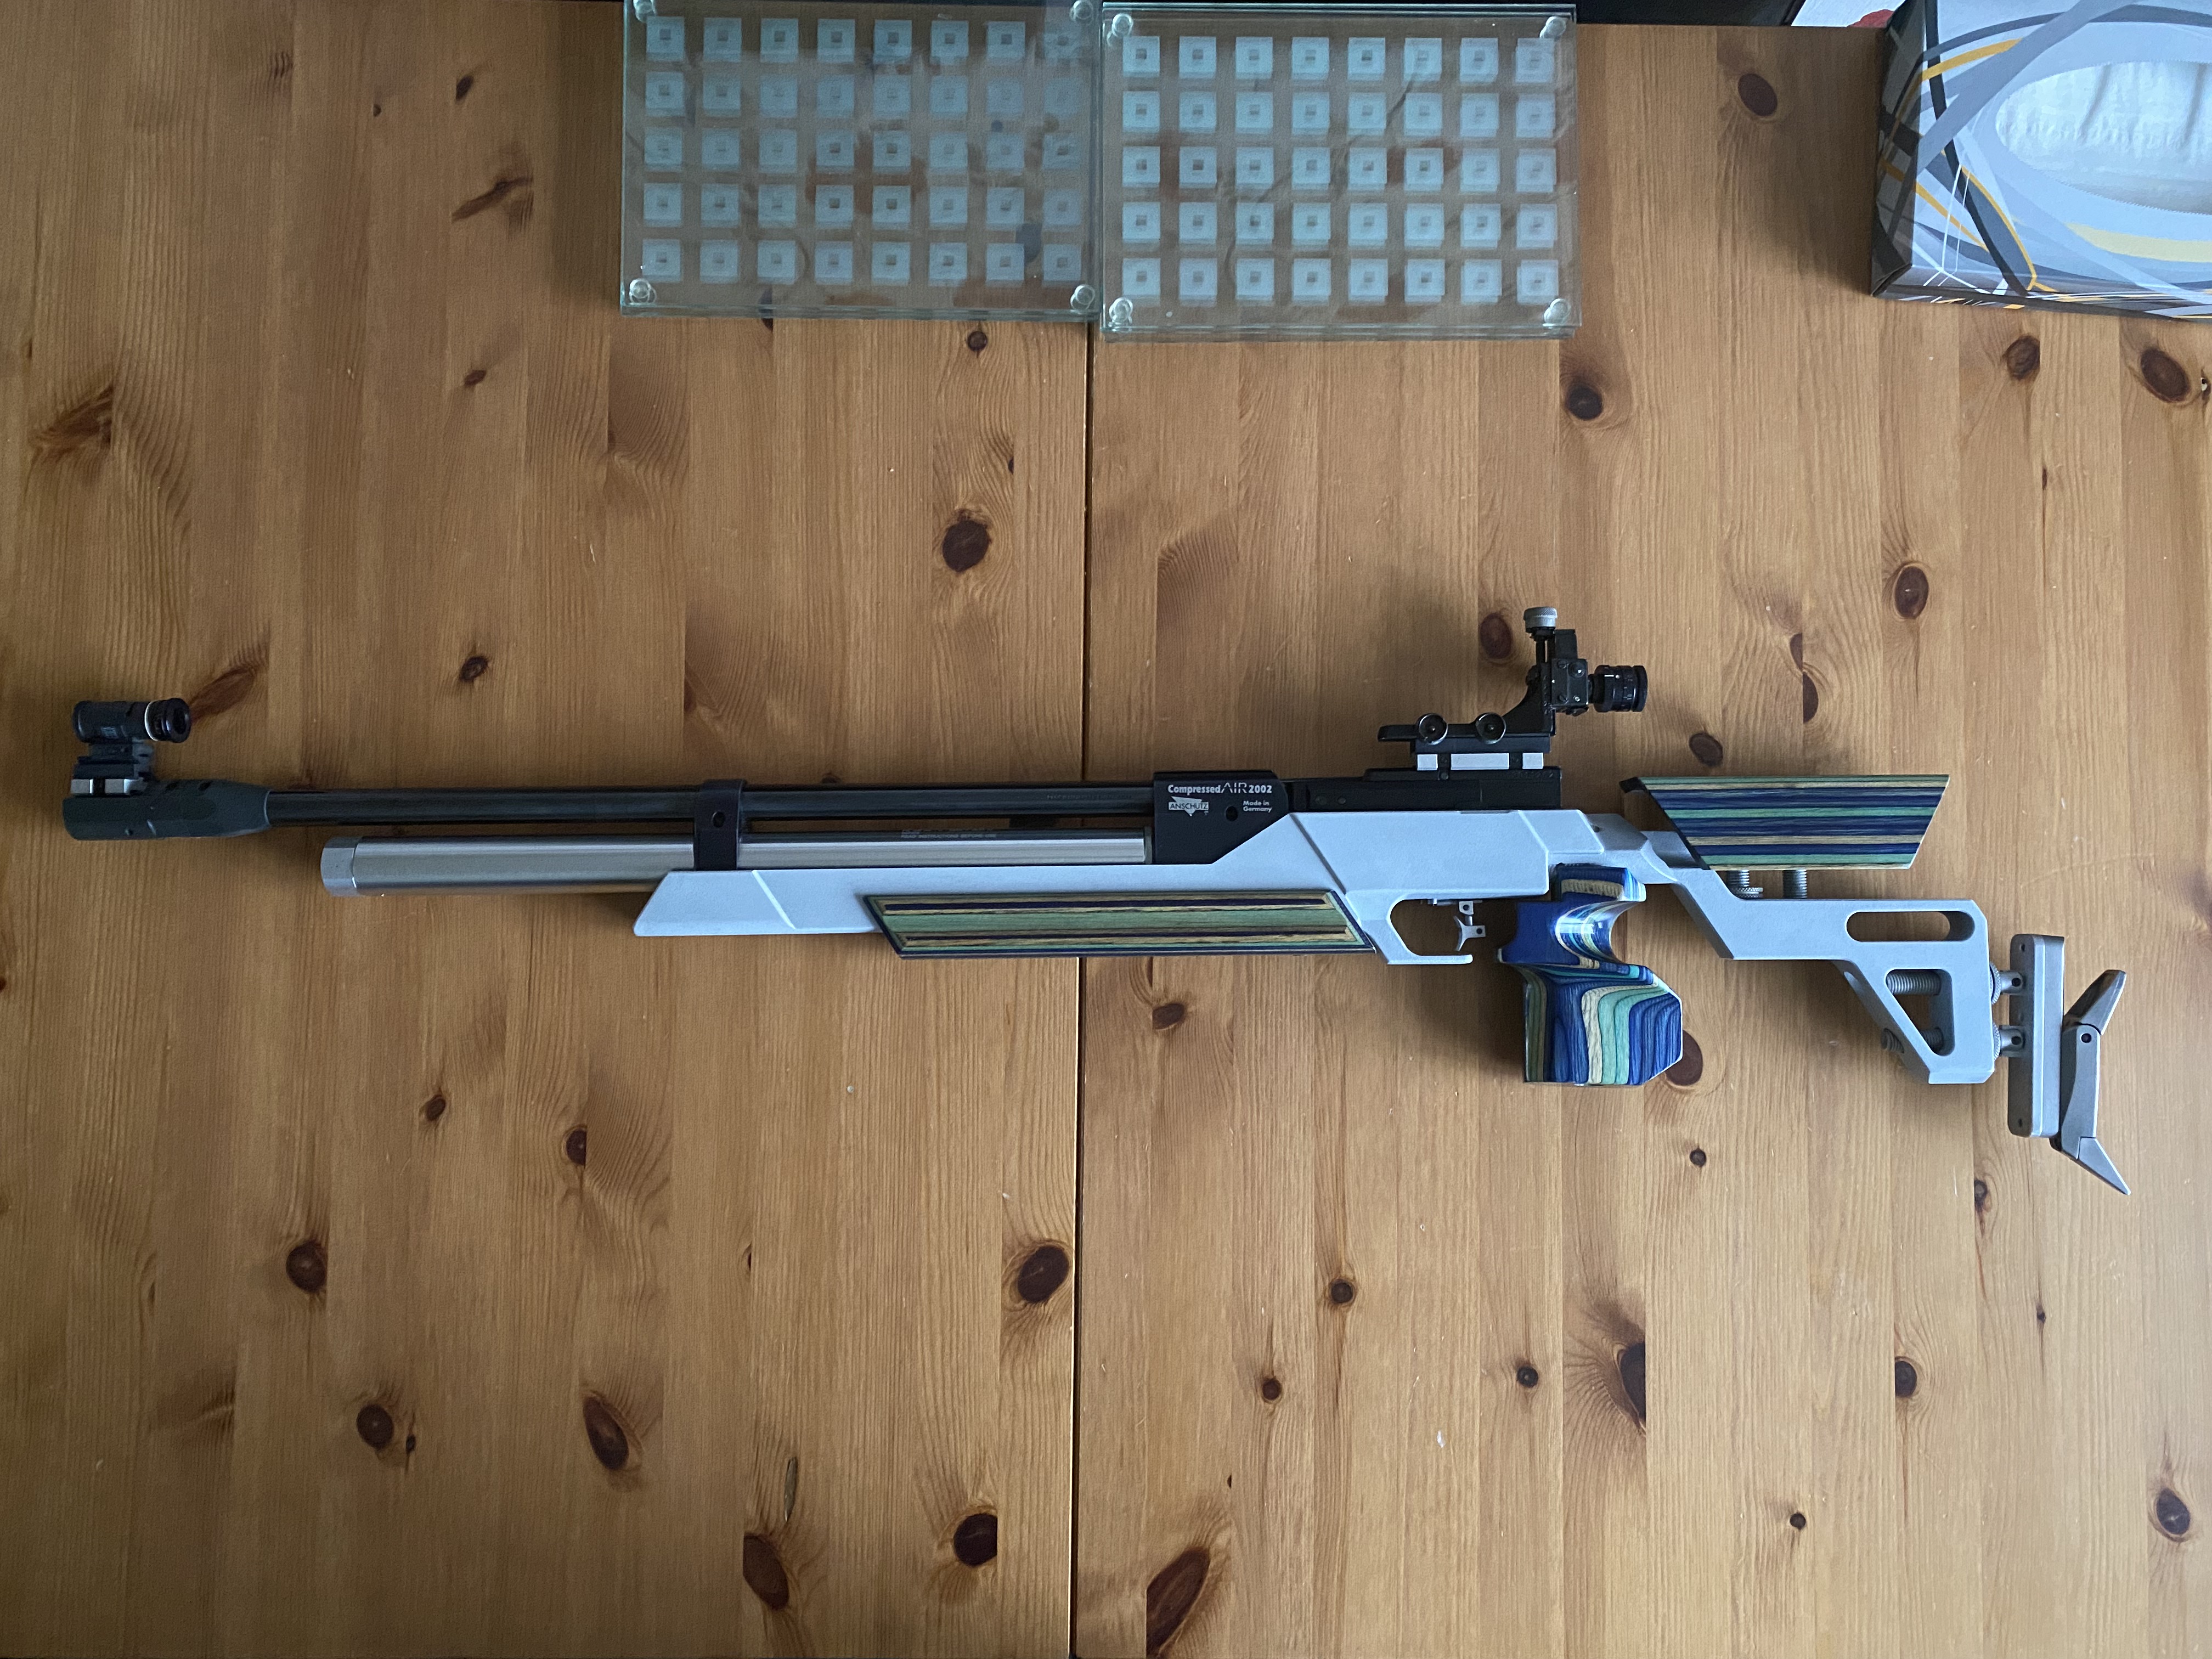
With the taking on of a photography degree at University Of Wolverhampton I had started shedding some of my surplus equipment for my other hobbies, some of the proceeds would go to funding this next piece of gear. My Anschutz 2002 CA Air Rifle sold to a fellow Bell Target shooter, my 12 Bore Clay Pigeon Shotgun went back to the people who sold it me originally, my unicycles all went their own way to people who would continue to put them through their paces, my Future Motion Onewheel was sold to an excited buyer and all of the associated tack went with the items too.
I’ve kept my electric and acoustic guitars along with my Helix LT guitar modeler and all of my camera gear. The remainder of all hobbies has gone, along with them the distractions, and space being taken up in the house. I feel cleansed like I’ve had a hobby enema.
Filling it up again
Until that is I started the degree course and didn’t feel comfortable being responsible for the Uni’s Nikon FM2 35mm camera that I loaned from media stores. Instead I bought a cool little Canon A1 35mm film camera and it was in great condition with a 50mm f/2.8 lens attached. It came with nothing else and it allowed me to start taking photos on film without worrying about someone else’s gear.
After about 8 films through the A1, I started looking into Medium Format cameras and that’s when I started looking at the Mamiya 645, Hasselblad equivalents and the more budget Zenza Bronica ETRS cameras. On Facebook Marketplace, the Bronica ETRS (6×4.5) cameras were going from around £400 -£550 so when I saw one in Stafford up for a few weeks going for £400 I offered him a bit less and he took the offer of £350. A trip to the Sun Inn in Stafford saw me meet up with Chris for a drink and a handover of an envelope of cash for the Zenza Bronica ETRS, with a waist level viewfinder, and two 120 film backs.
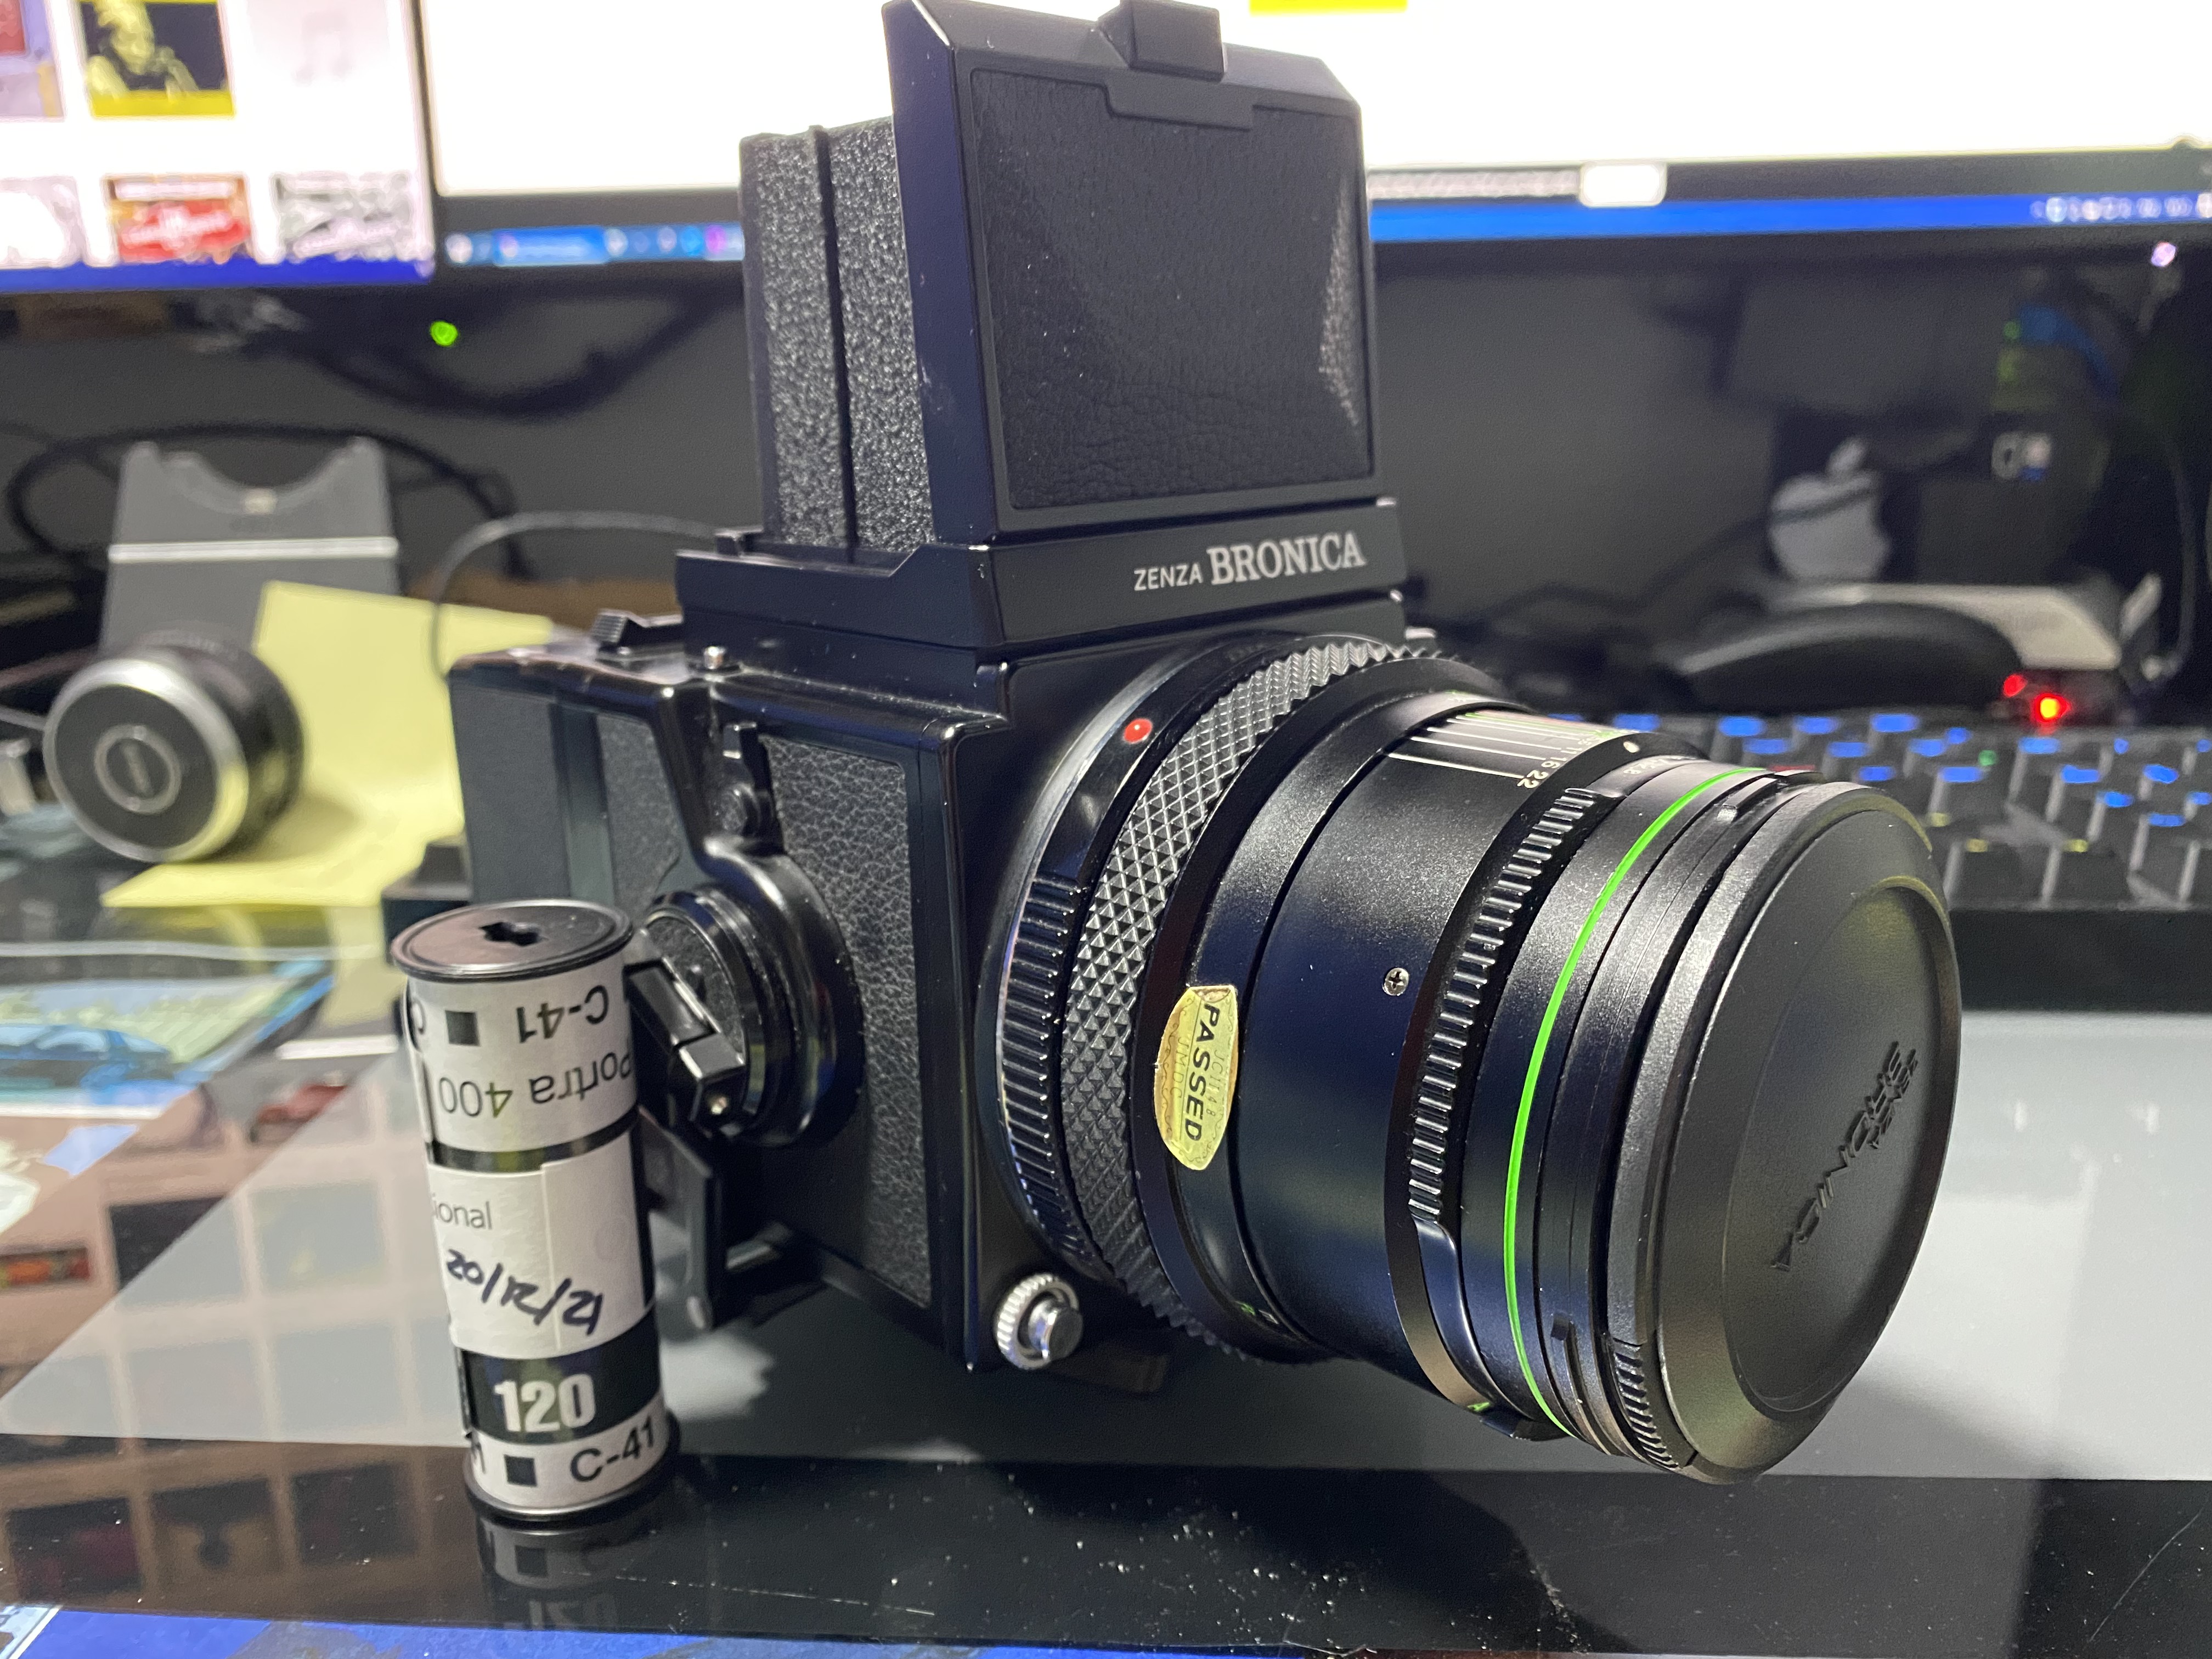
The film backs were what swung it for me, as most other cameras came with only one and having two with this camera meant that I could have one loaded with colour and another loaded with b&w film, then chop and change between them as and when I wanted. You see, with the film backs they can be removed from the camera as they have a Dark Slide that prevents the film from being exposed during the operation of the disconnection.
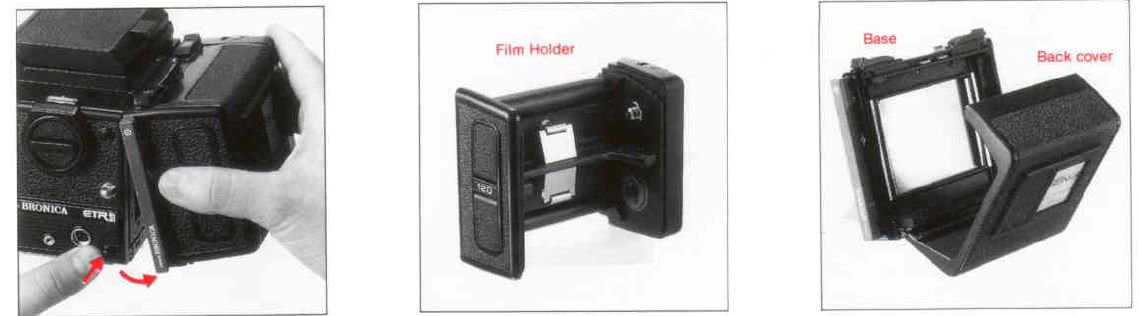
I downloaded a manual for the camera from the web and once I was reasonably happy with the cameras operation I loaded a colour Kodak Portra 400 film into a film back and the other was loaded with Ilford HP5+ 400 and went shooting. I went out with the colour film looking for images that would fit neatly in with the previous colour shots that I may use in my Colour Project but it never rained enough to get me some good reflections. When I wanted to do some black and white, I simply swapped over the film back and continued.
Additional items in the bagging area
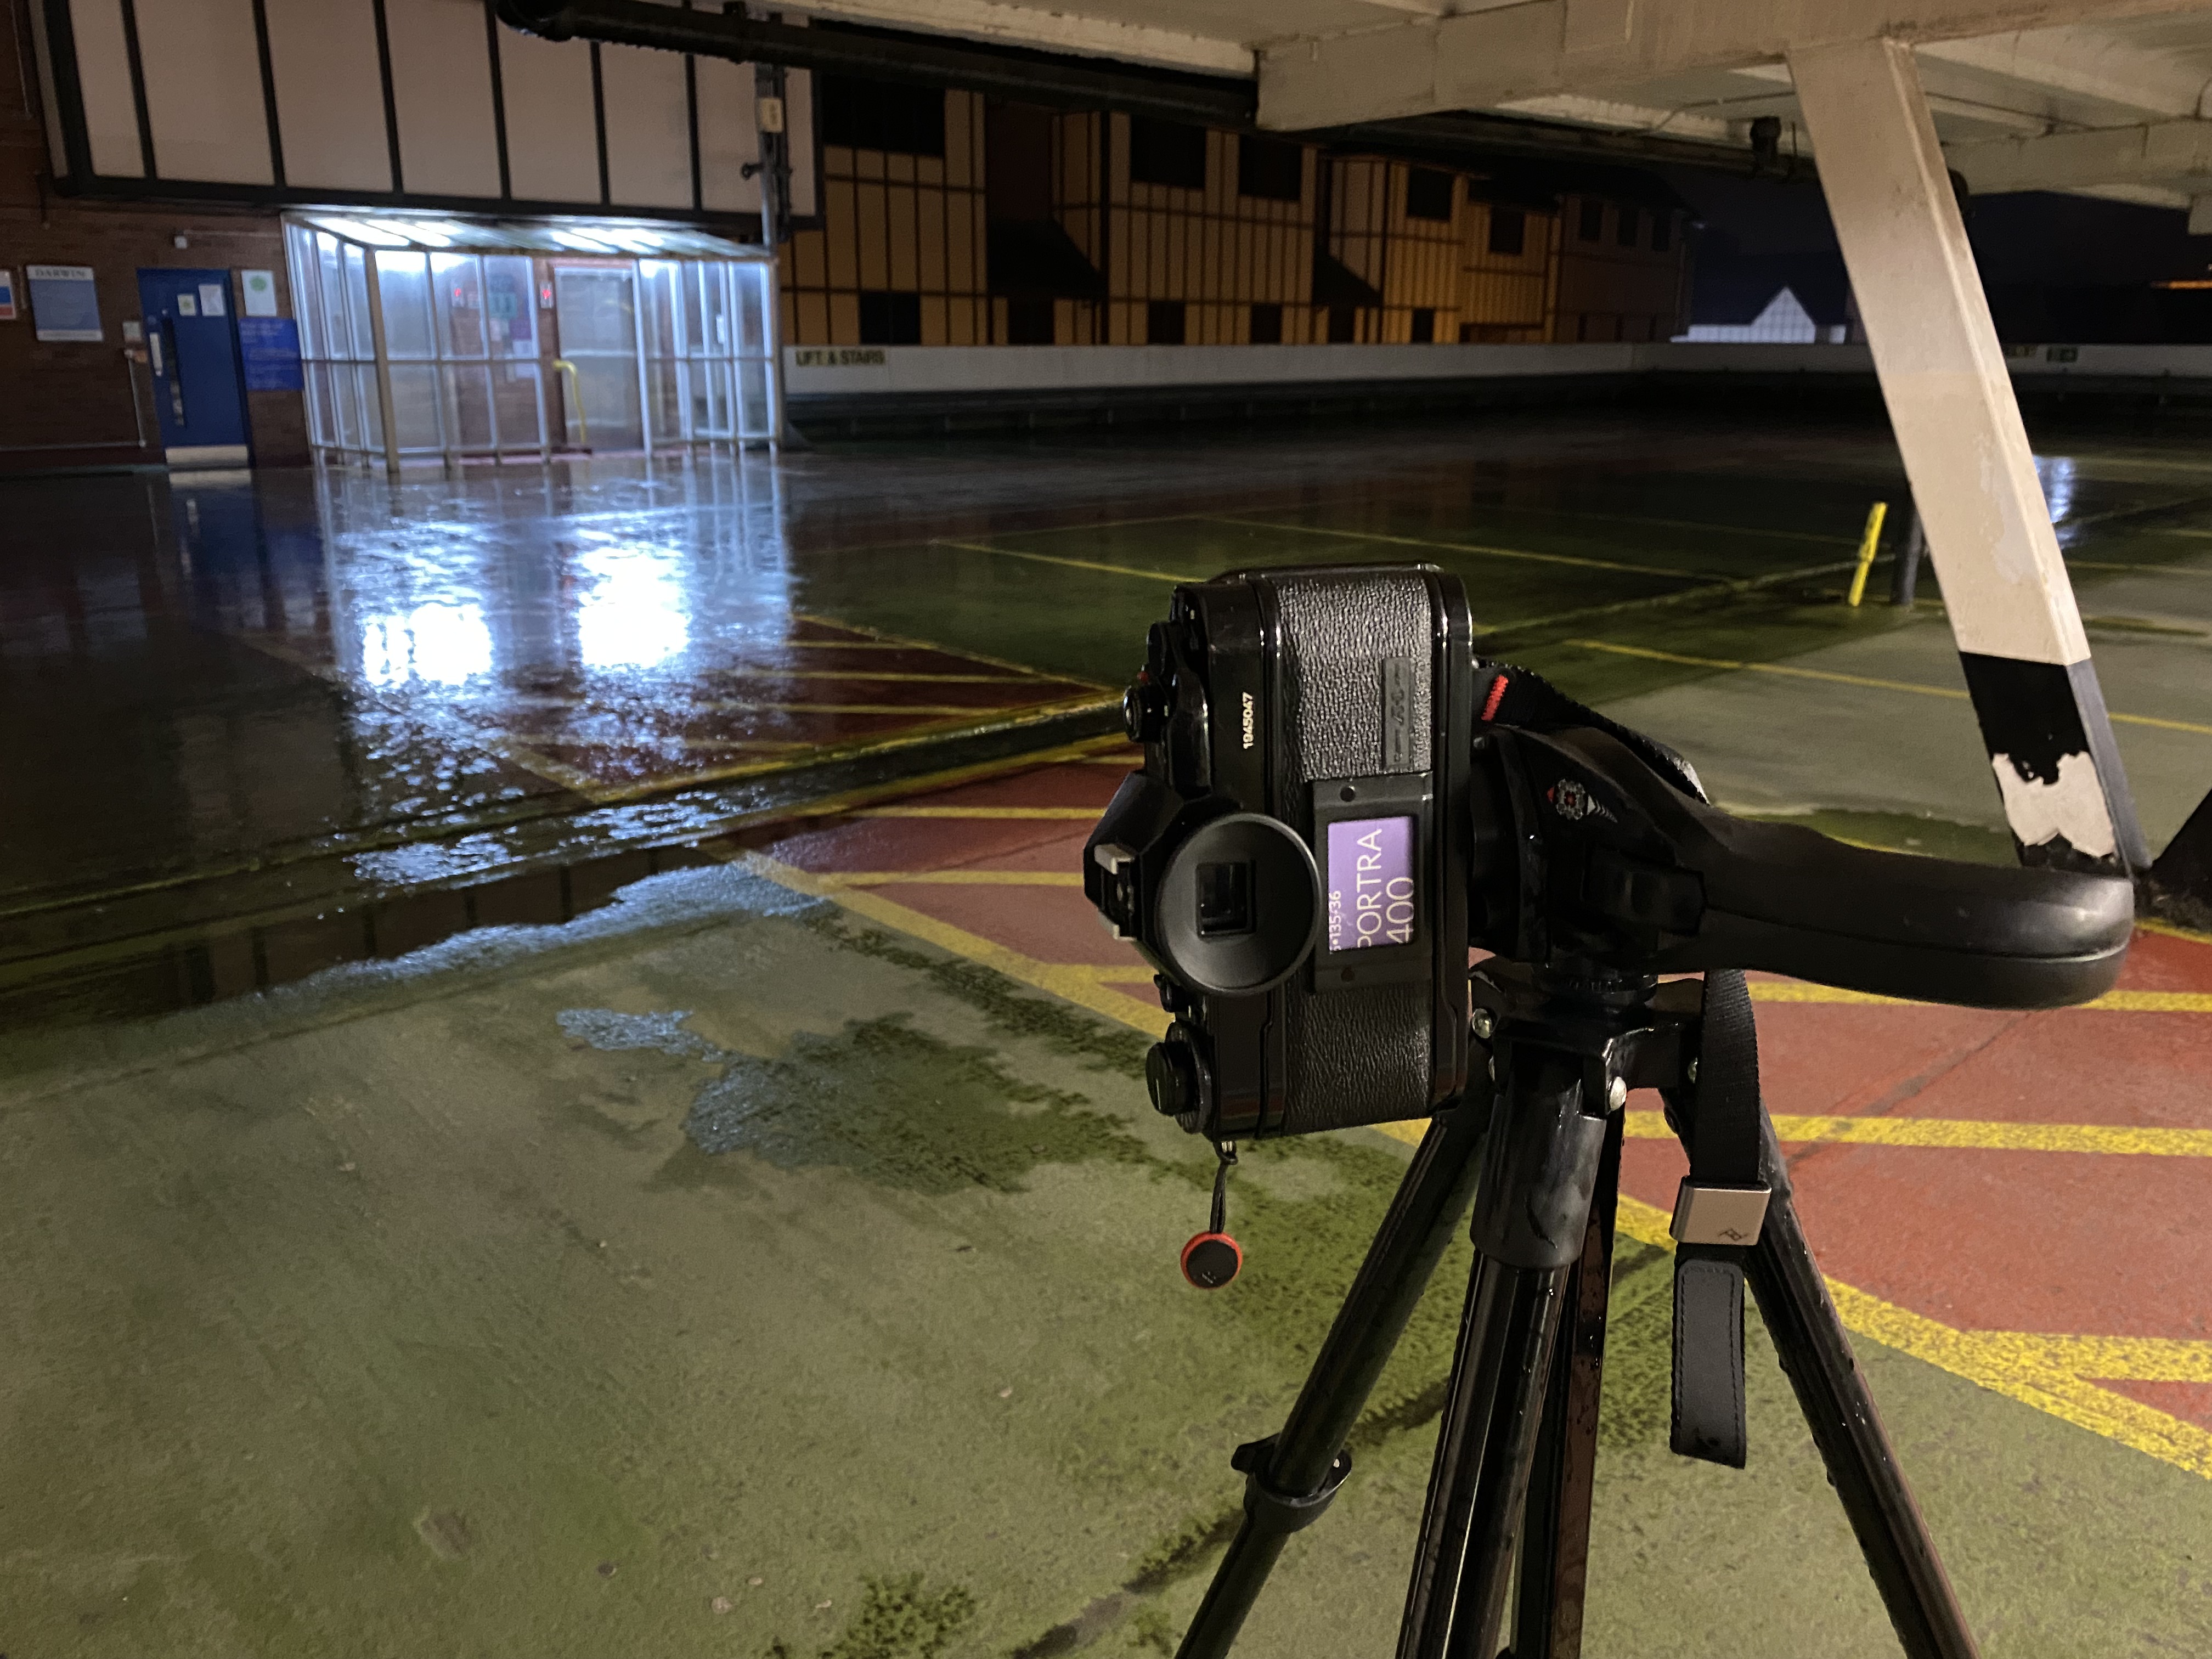
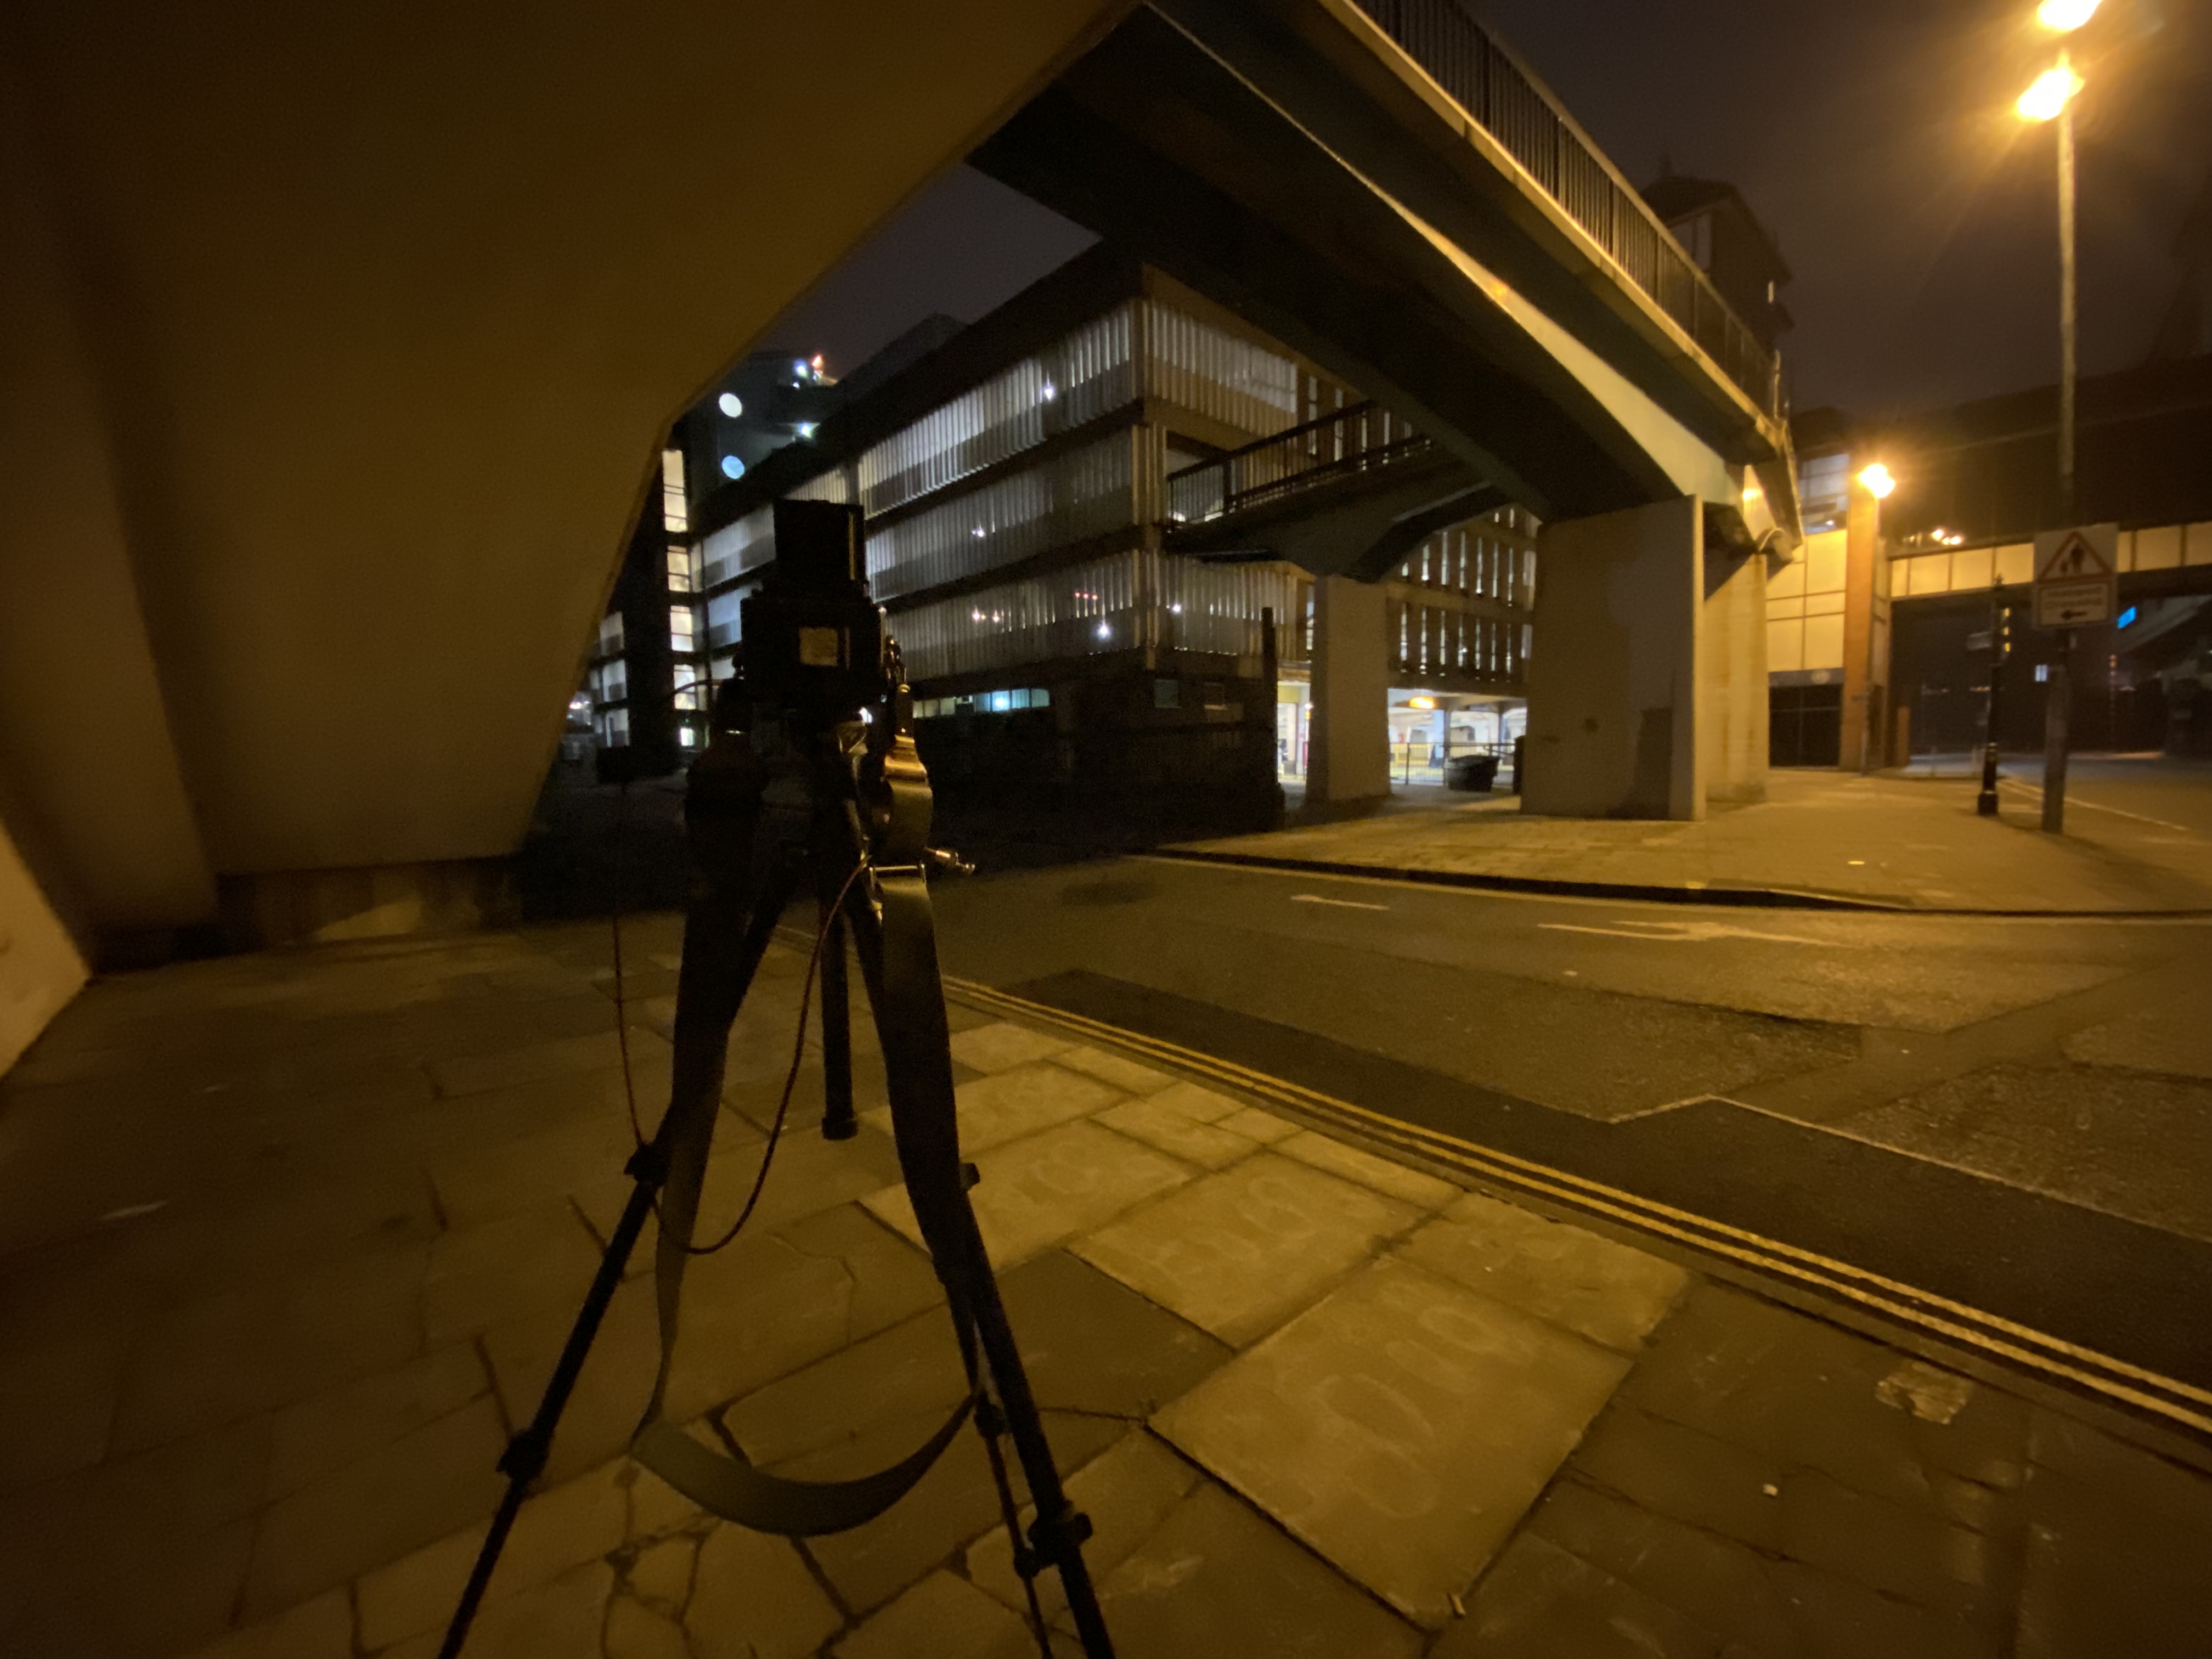
Since buying the camera, I’ve invested in a Metered Prism Viewfinder too as I was trying to photograph a bridge at night in portrait mode and trying to look into the viewfinder and make sense of which way I needed to move the camera was a nightmare. I can get the reversed image if I’m looking straight down into it, but once it was on my tripod and sitting on it’s side it all went south and I missed a couple of shots. The prism viewfinder switches the image around so it’s not reversed and it all makes perfect sense when it’s on there.
Meter Time
The other main hassle I had when using the Bronica ETRS at first was metering for the shot, I figured out that if I took my 5D MkIV out with me and a 50mm lens attached I could set the digital camera to 400 ISO, 2.8 aperture and see what it suggested for a shutter speed, then transfer that over to the Bronica.
The metered prism viewfinder has a meter in it, obviously, that controls the shutter speed as required for the shot, or a manual mode that it informs you of the suggested setting so you can input it into the camera’s setup. This works pretty seamlessly to be fair but whilst I was waiting for it to be delivered I was researching metering online and came across the amazing world of Smartphone Metering Apps.
One such app I’ve installed on my phone is called Lux and you point your phone camera at the scene and it will give you a suggested bunch of settings that should work. I’ve tried it on a couple of shots but won’t know how they turned out until I develop the film in the processing room at uni.
When the Prism viewfinder arrived, I immediately banged it on and tried it, it was a revelation. I no longer had to take my digital camera with me or use my smart phone app to meter a scene, the camera now does it for me. I’ve also been looking into the Sunny 16 rule whereby you can calculate an approximate settings for the environment you’re shooting in. I’ve much more to look into on this though as it’s quite a wide subject, with other more complex calculations being available to make it more accurate.
Get Backs
In line with having G.A.S. I’ve also purchased from eBay a 220 film back. I know, I know, nobody makes 220 any more. True but some small factories are beginning to produce some, a company called Shanghai are currently making it and the benefit is that you get twice as many shots of a roll of 220 than the 15 you get from a 120 roll. The difference being the 120 film roll has a paper backing all through the length of the film where the 220 has a paper start and end. The 220 film back was on eBay so I “Watched” it for a couple of weeks before the seller sent out an offer so I picked it up for under £50. Hopefully more firms will start making 220 and then I can use it properly.
The camera also has the option of film backs for 135N and 135W the N and W stand for Normal and Wide, where you can use a standard 35mm film in the normal back for normal photos and the Wide back allows you to take panoramic shots on the 35mm film as it has a wider opening to the film plane. I don’t need these though so I’ll hold off on buying these.
There is also a Polaroid back for the same camera that allows you to load a polaroid 600 film and use it to produce instant photos. With a 600 film costing around £20 and only containing eight shots, I think I’ll also leave this too..
Seeing the light
The next set of workshops we have on the course is Digital for a few weeks and then Studio photography, and with the latter in mind and my investigation into metering I also purchased for a good secondhand price a Sekonic L308 light meter and have been reading up on incident and reflective metering so maybe I’ll do another post on that, but it will come in very handy for portraits at home and in the studio when we get to that module.
Hopefully, my gear levels have reached a peak at the moment and I don’t see any need to buy anything else, apart from a drone which I’ll mention in a later post…. Cheers.
Be First to Comment