This post is a quick update on my editing of the three images from the studio workshop this past Monday. I will use primarily Adobe Lightroom for the majority of these simple edits but have occasionally used Photoshop with other images.
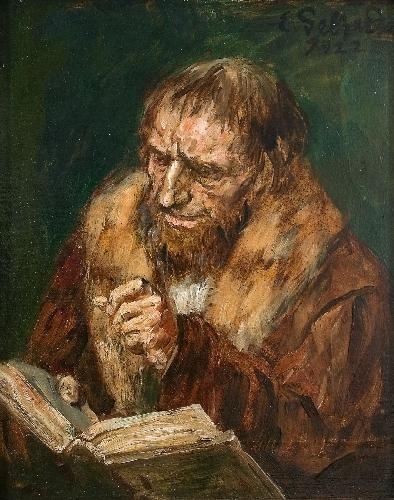
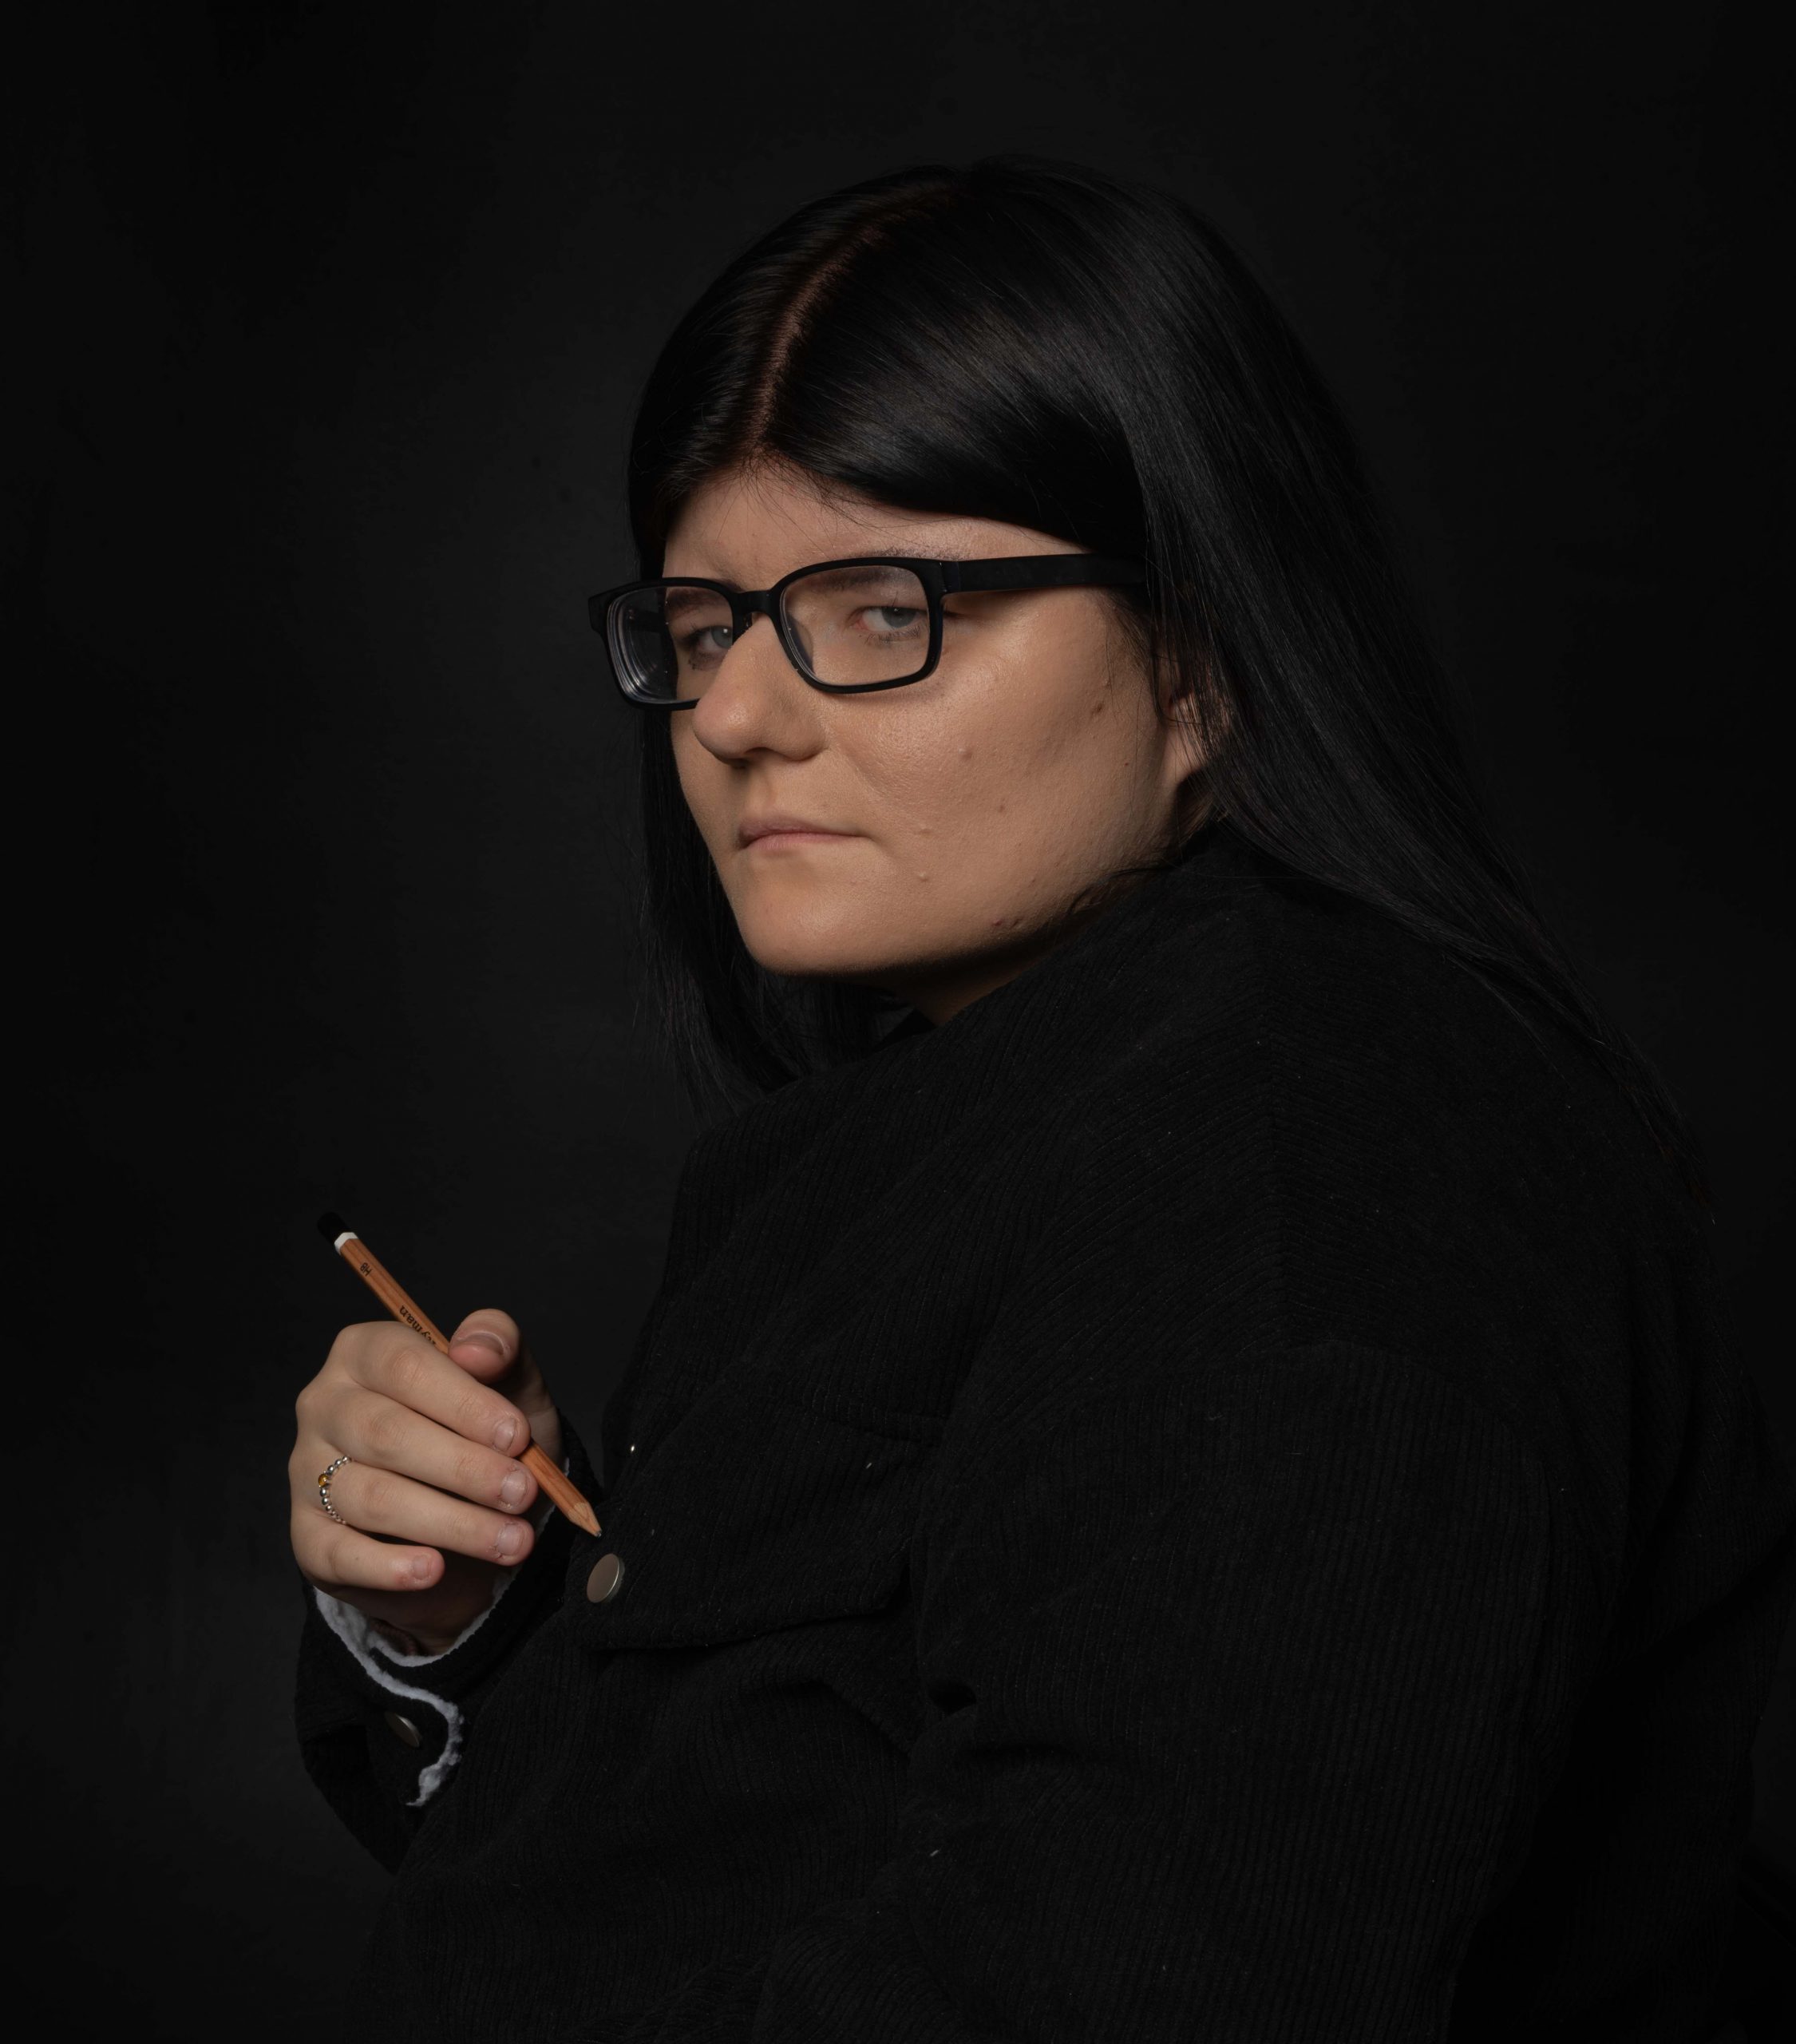
The first image to play with is Paris’ recreation of Man Reading (1922) by Eduard Von Gebhardt, she appears in the image using a similar coat, pose, book and gestures. The previous post explains the process of getting the image onto the sensor of the Pentax 645Z and my notes on editing will be very concise.
With the original in mind I took the RAW image into Lightroom and started editing.
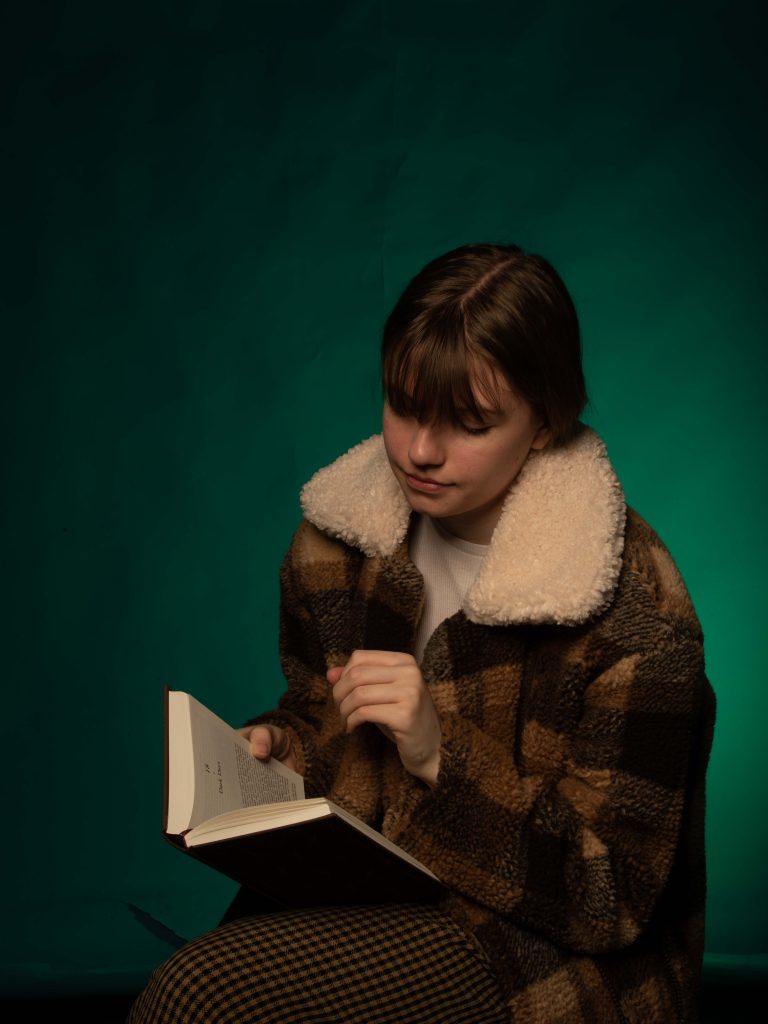
- Create New Snapshot to reflect on in the processing.
- Enable Profile Corrections – to correct for distortion caused by camera and 55-110 zoom lens
- Crop In Closer to better represent painting and space around subject.
- Increase exposure by 1.1 stops to account for aperture error when capturing image.
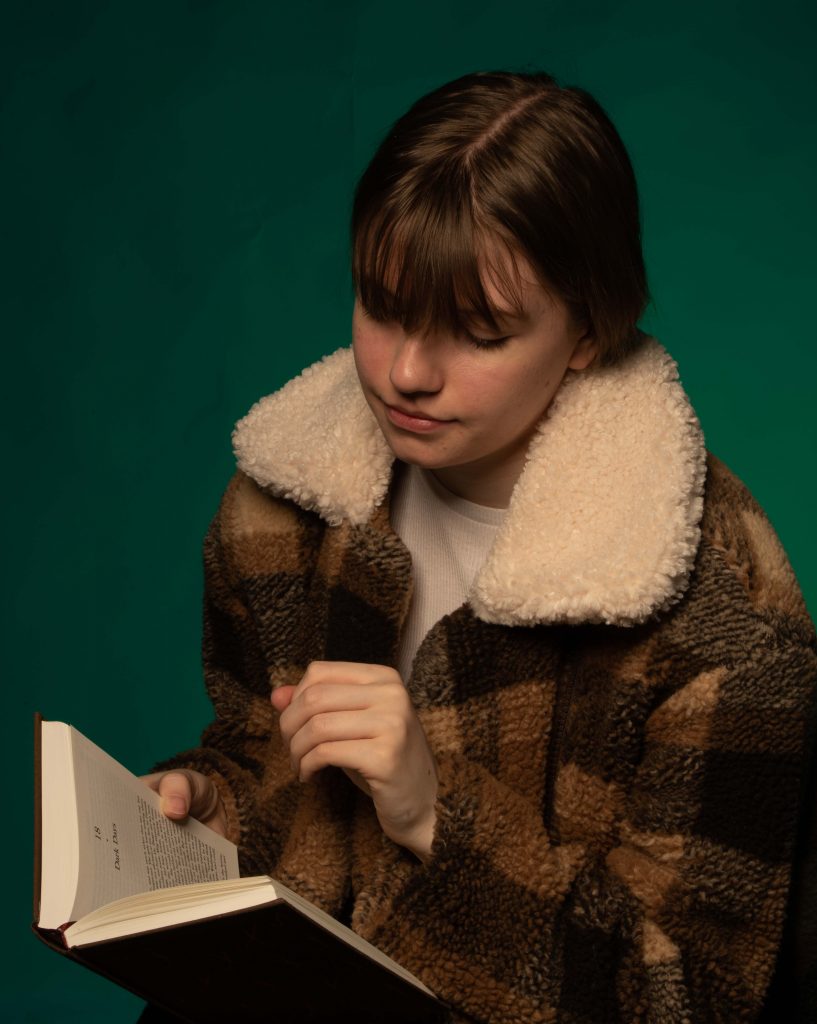
- Drop Luminance on Green and Aqua channel to deaden the background green somewhat.
- Add Mask on background and drop exposure by 2/3 of a stop
- Ad small amount of texture and clarity, to bring out some detail.
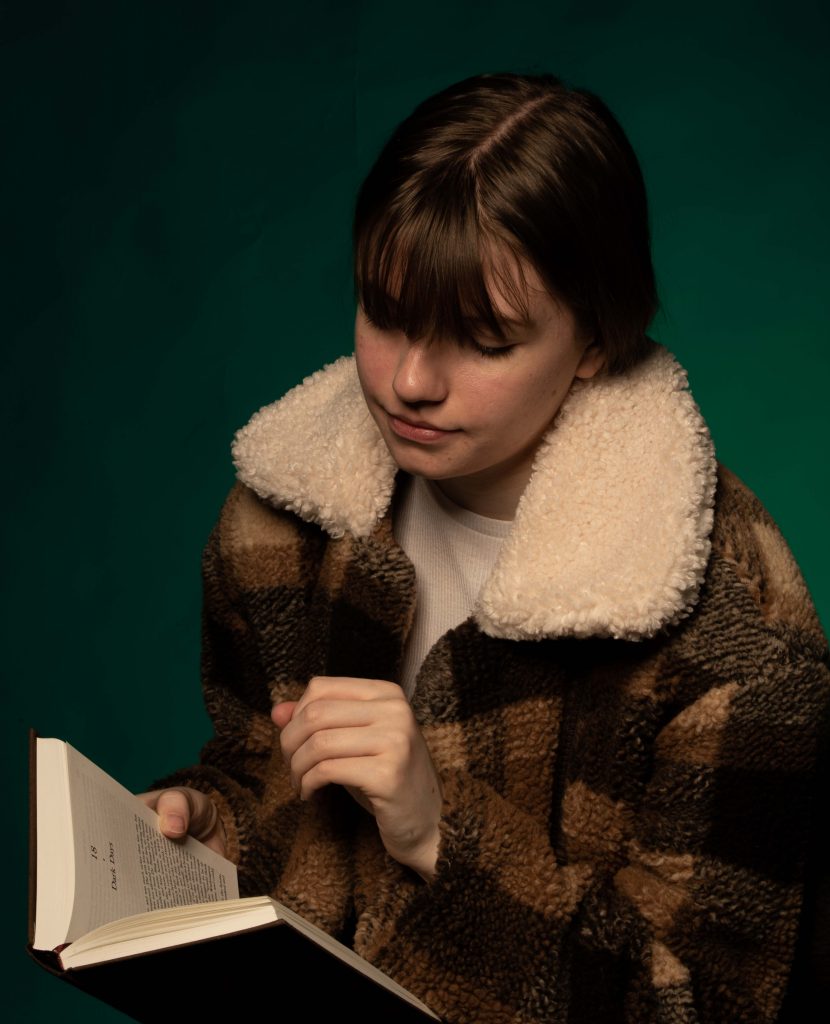
- Reduced saturation to -6 to take newness off and make a little more vintage.
- Export to 100% quality file

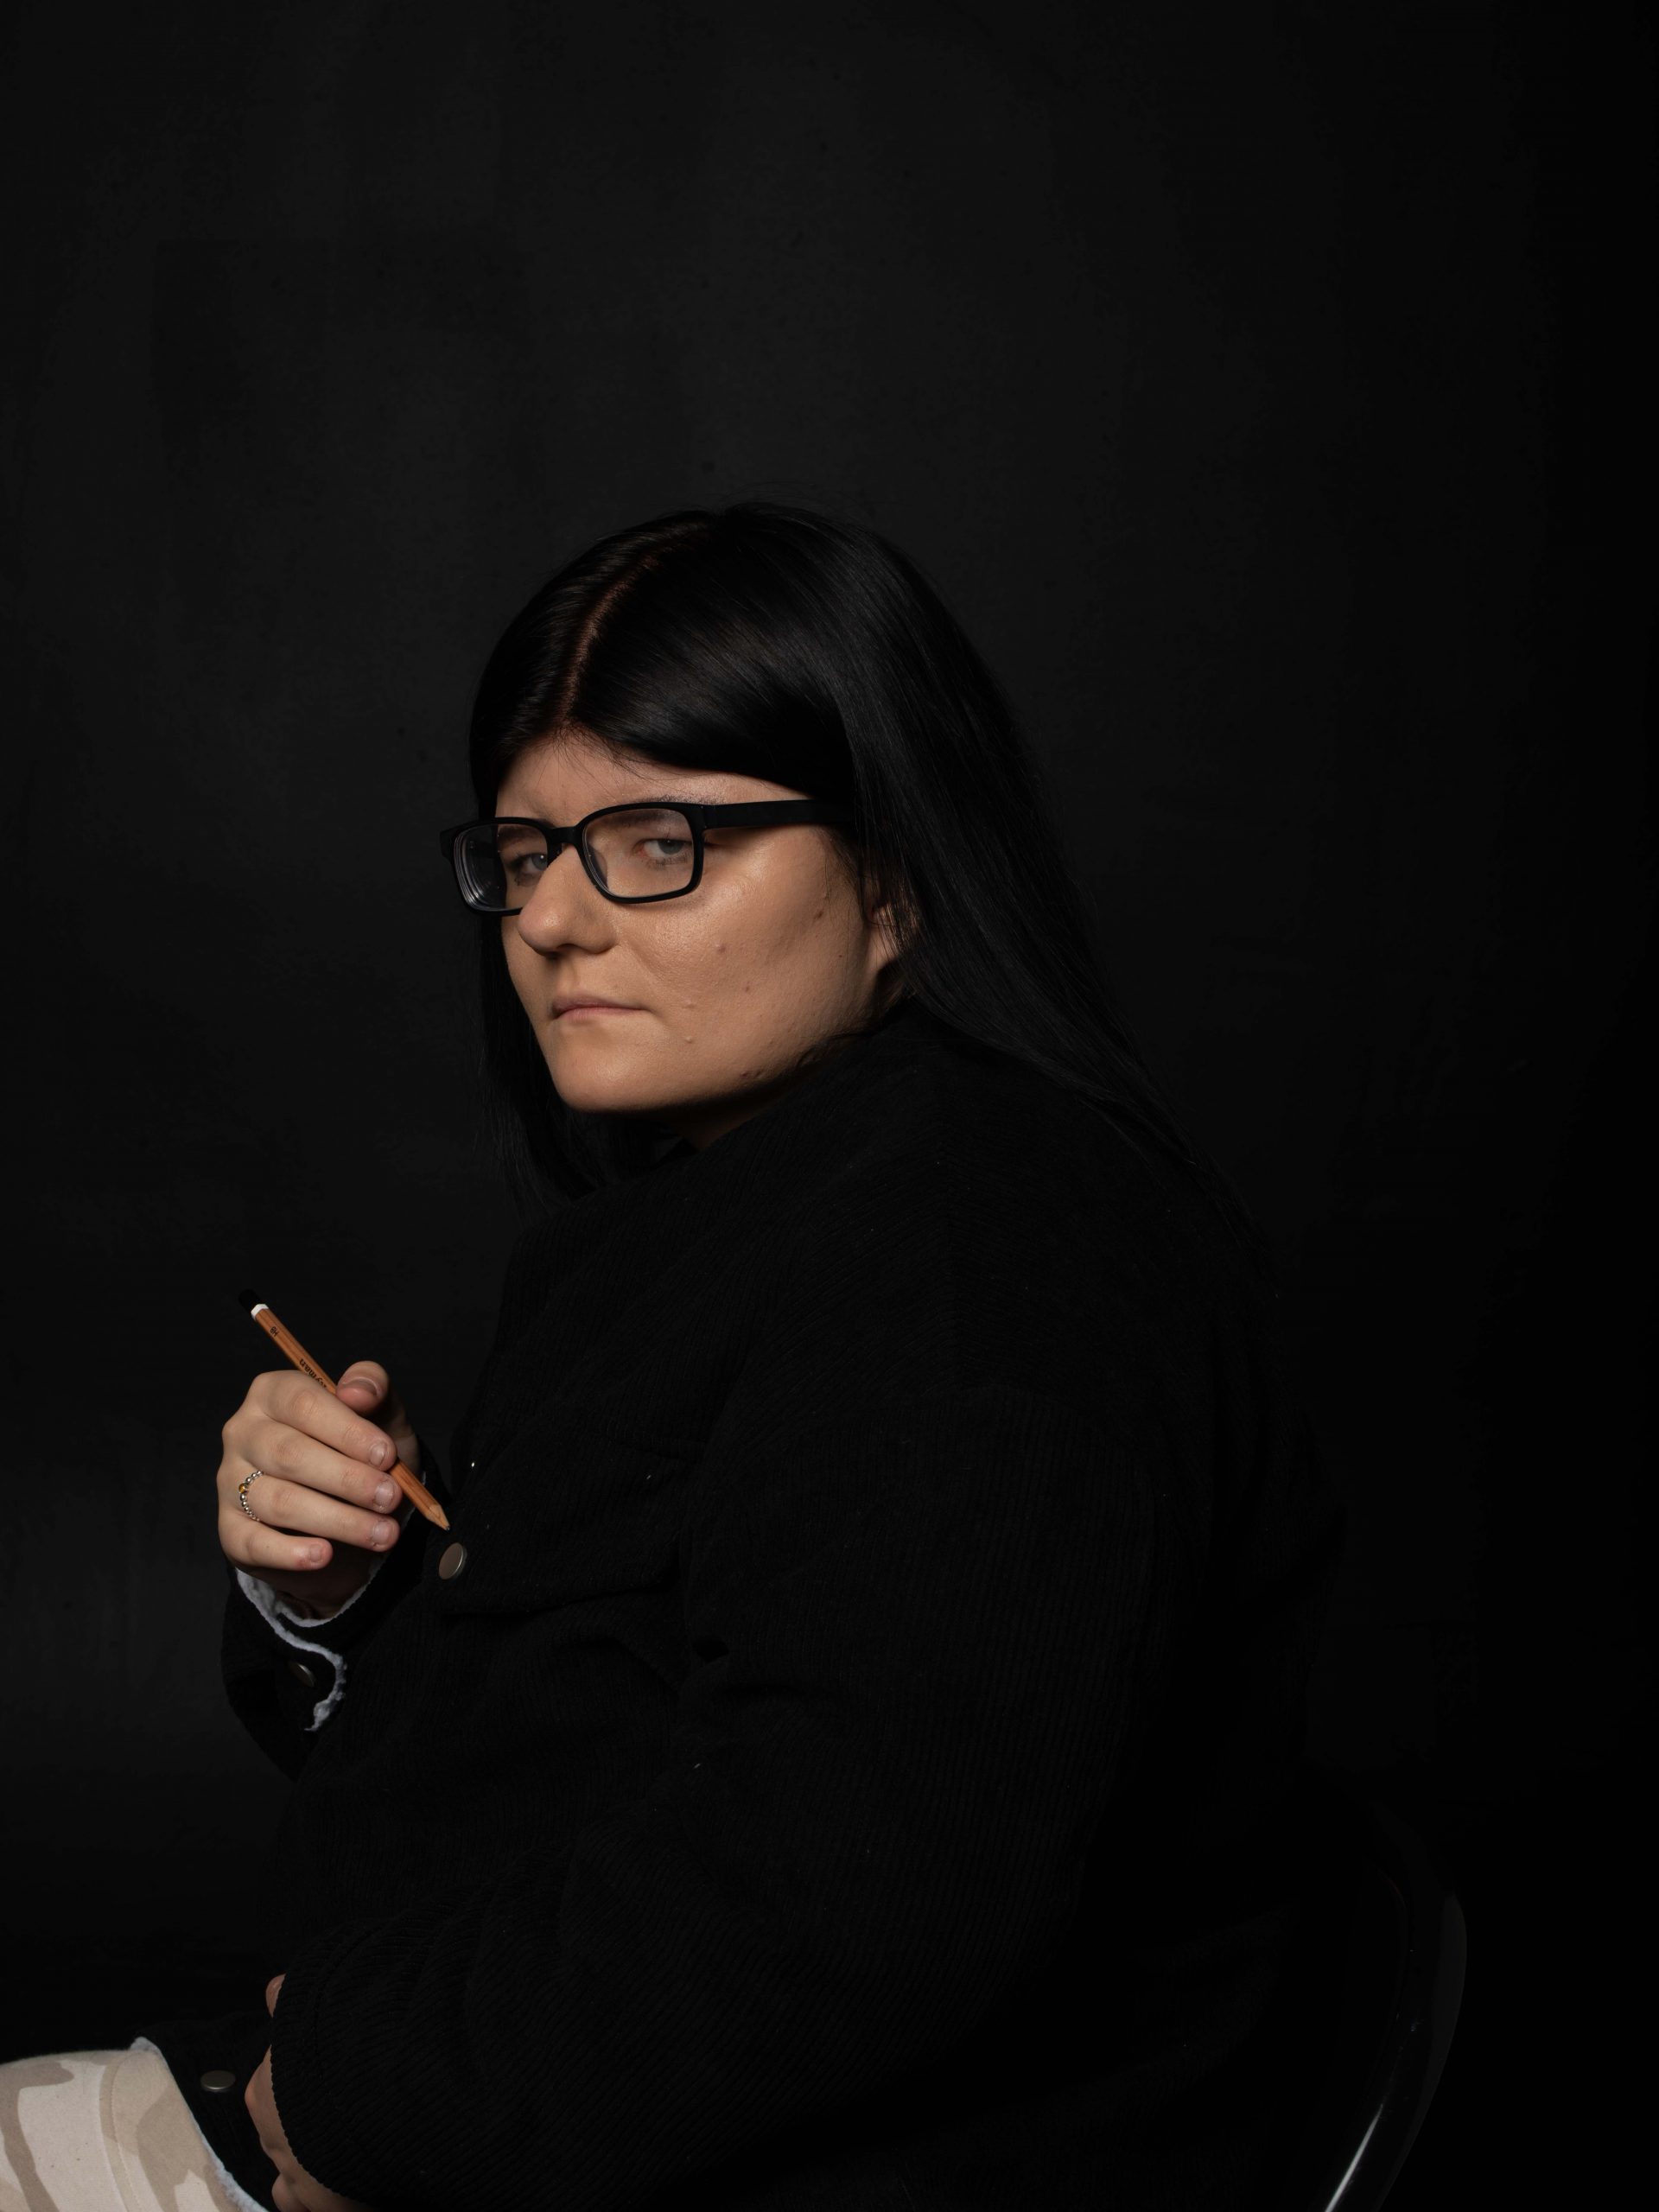
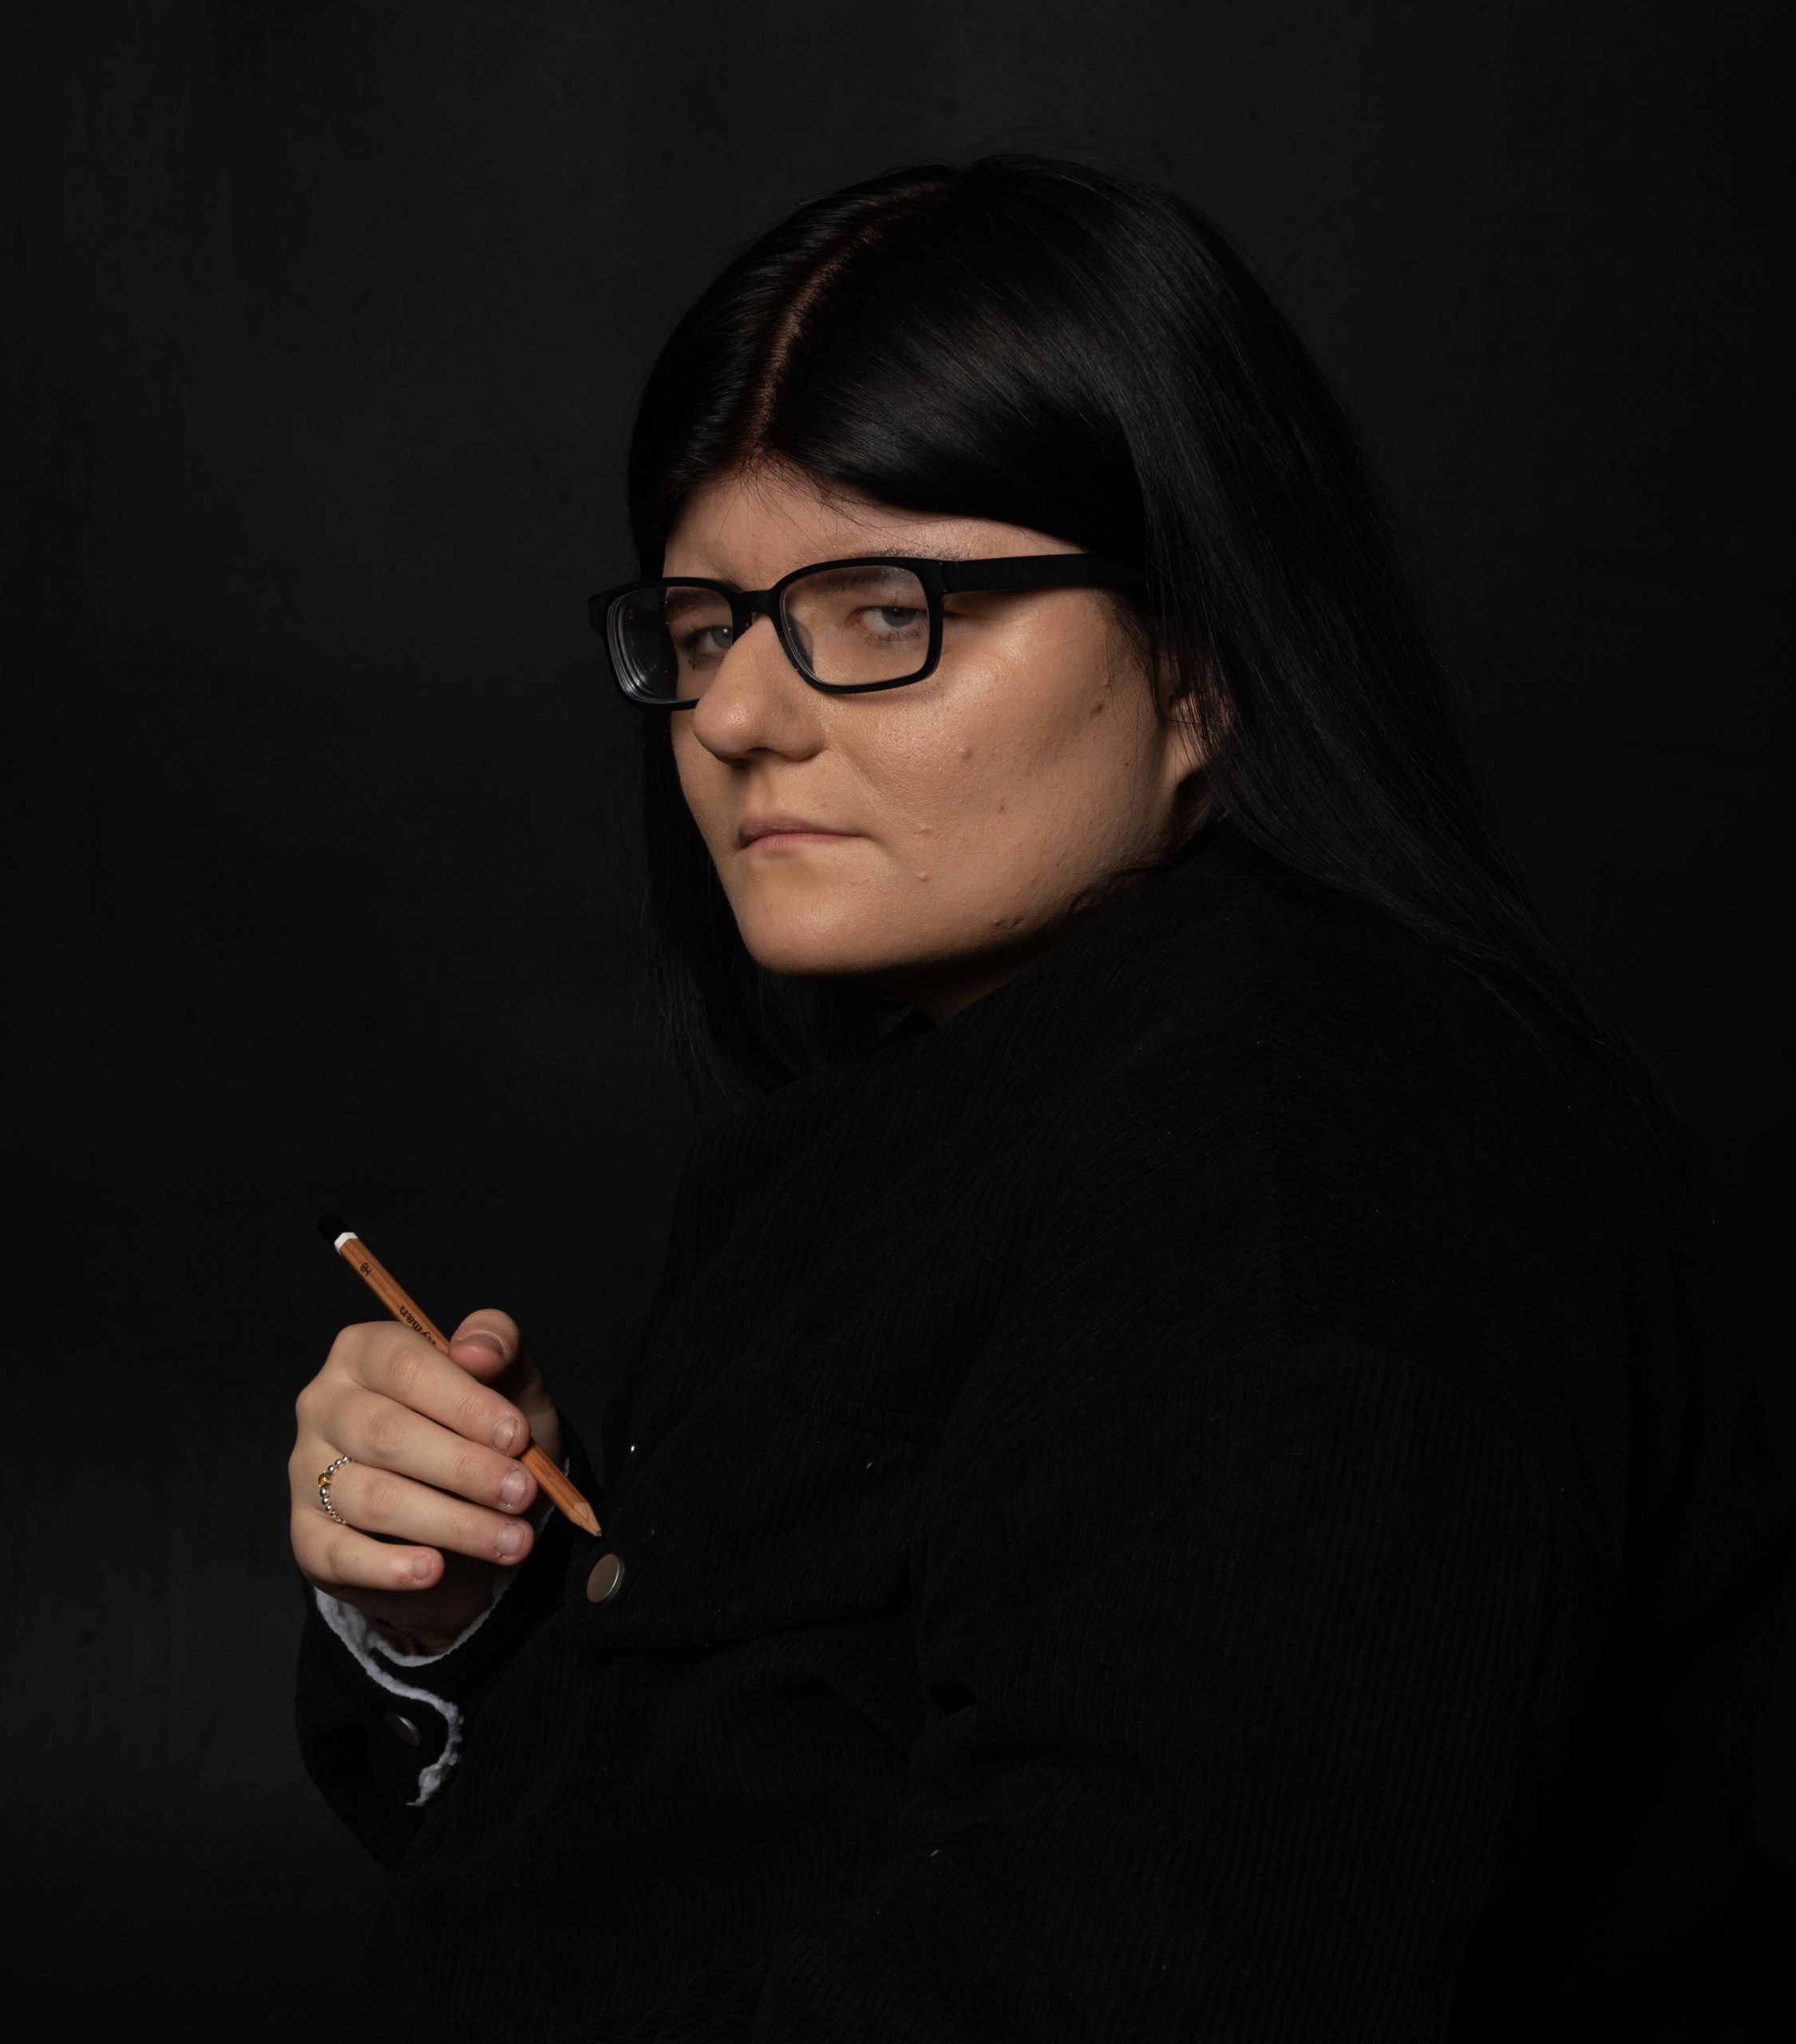
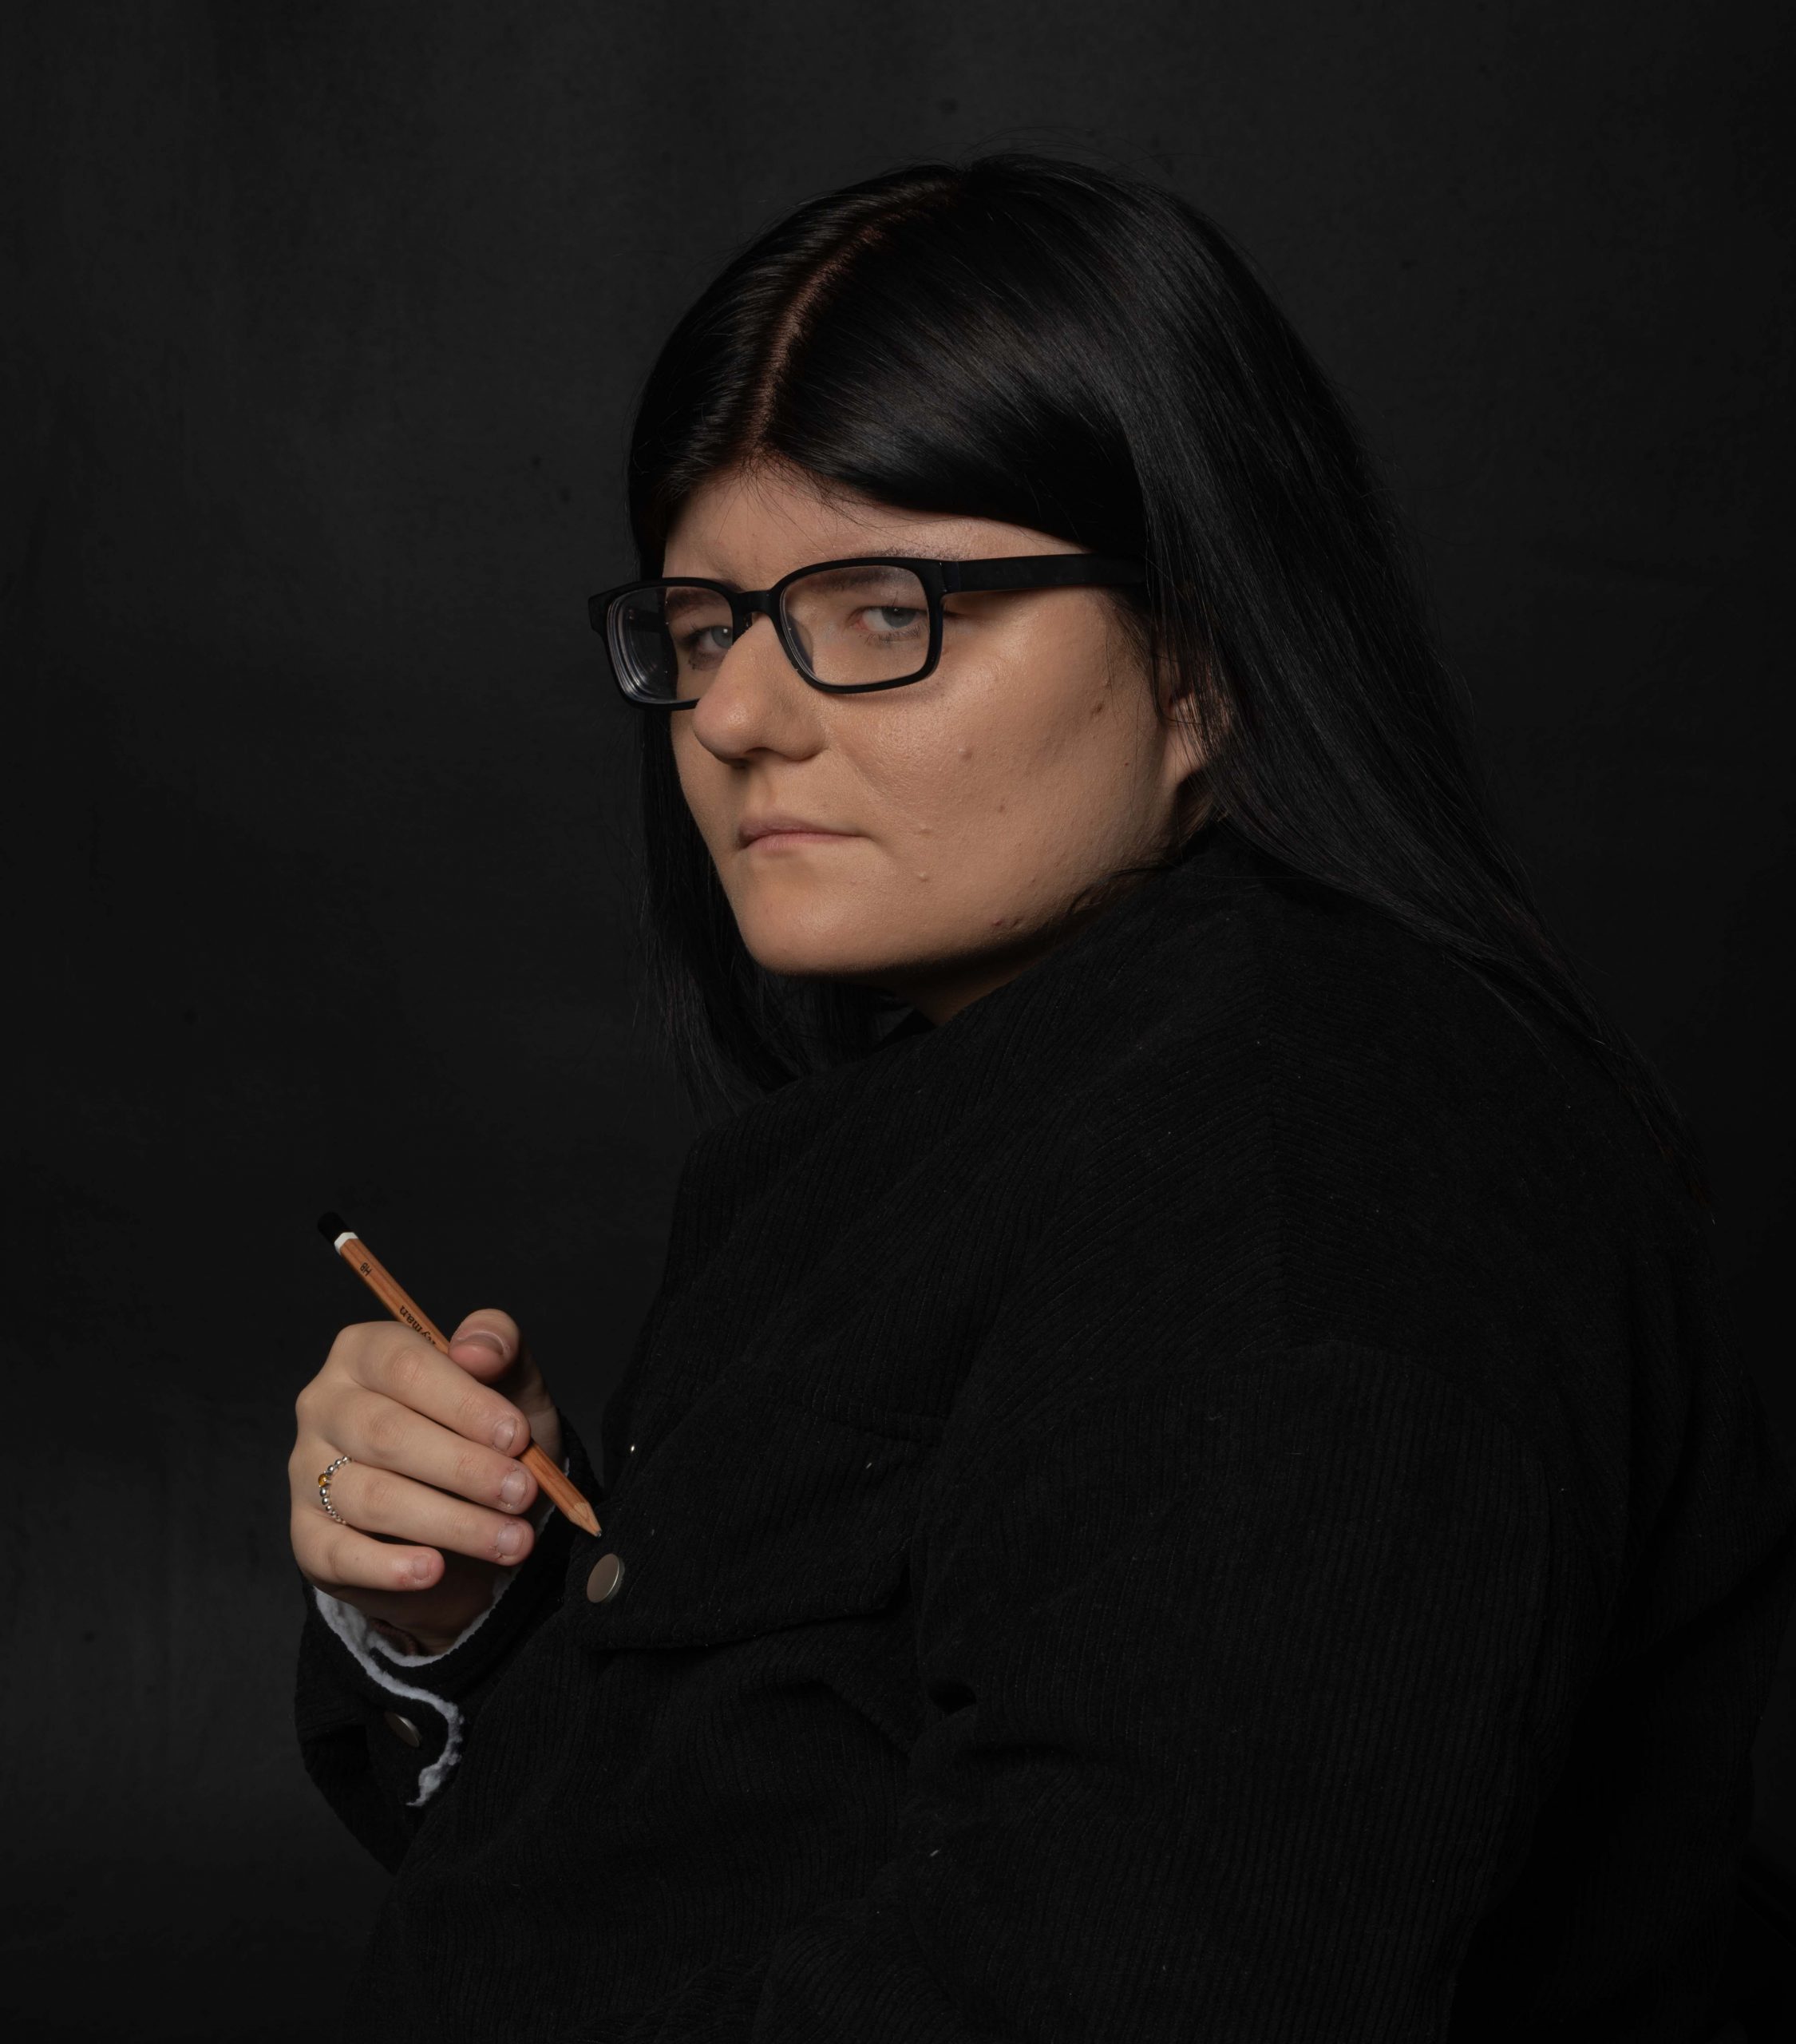
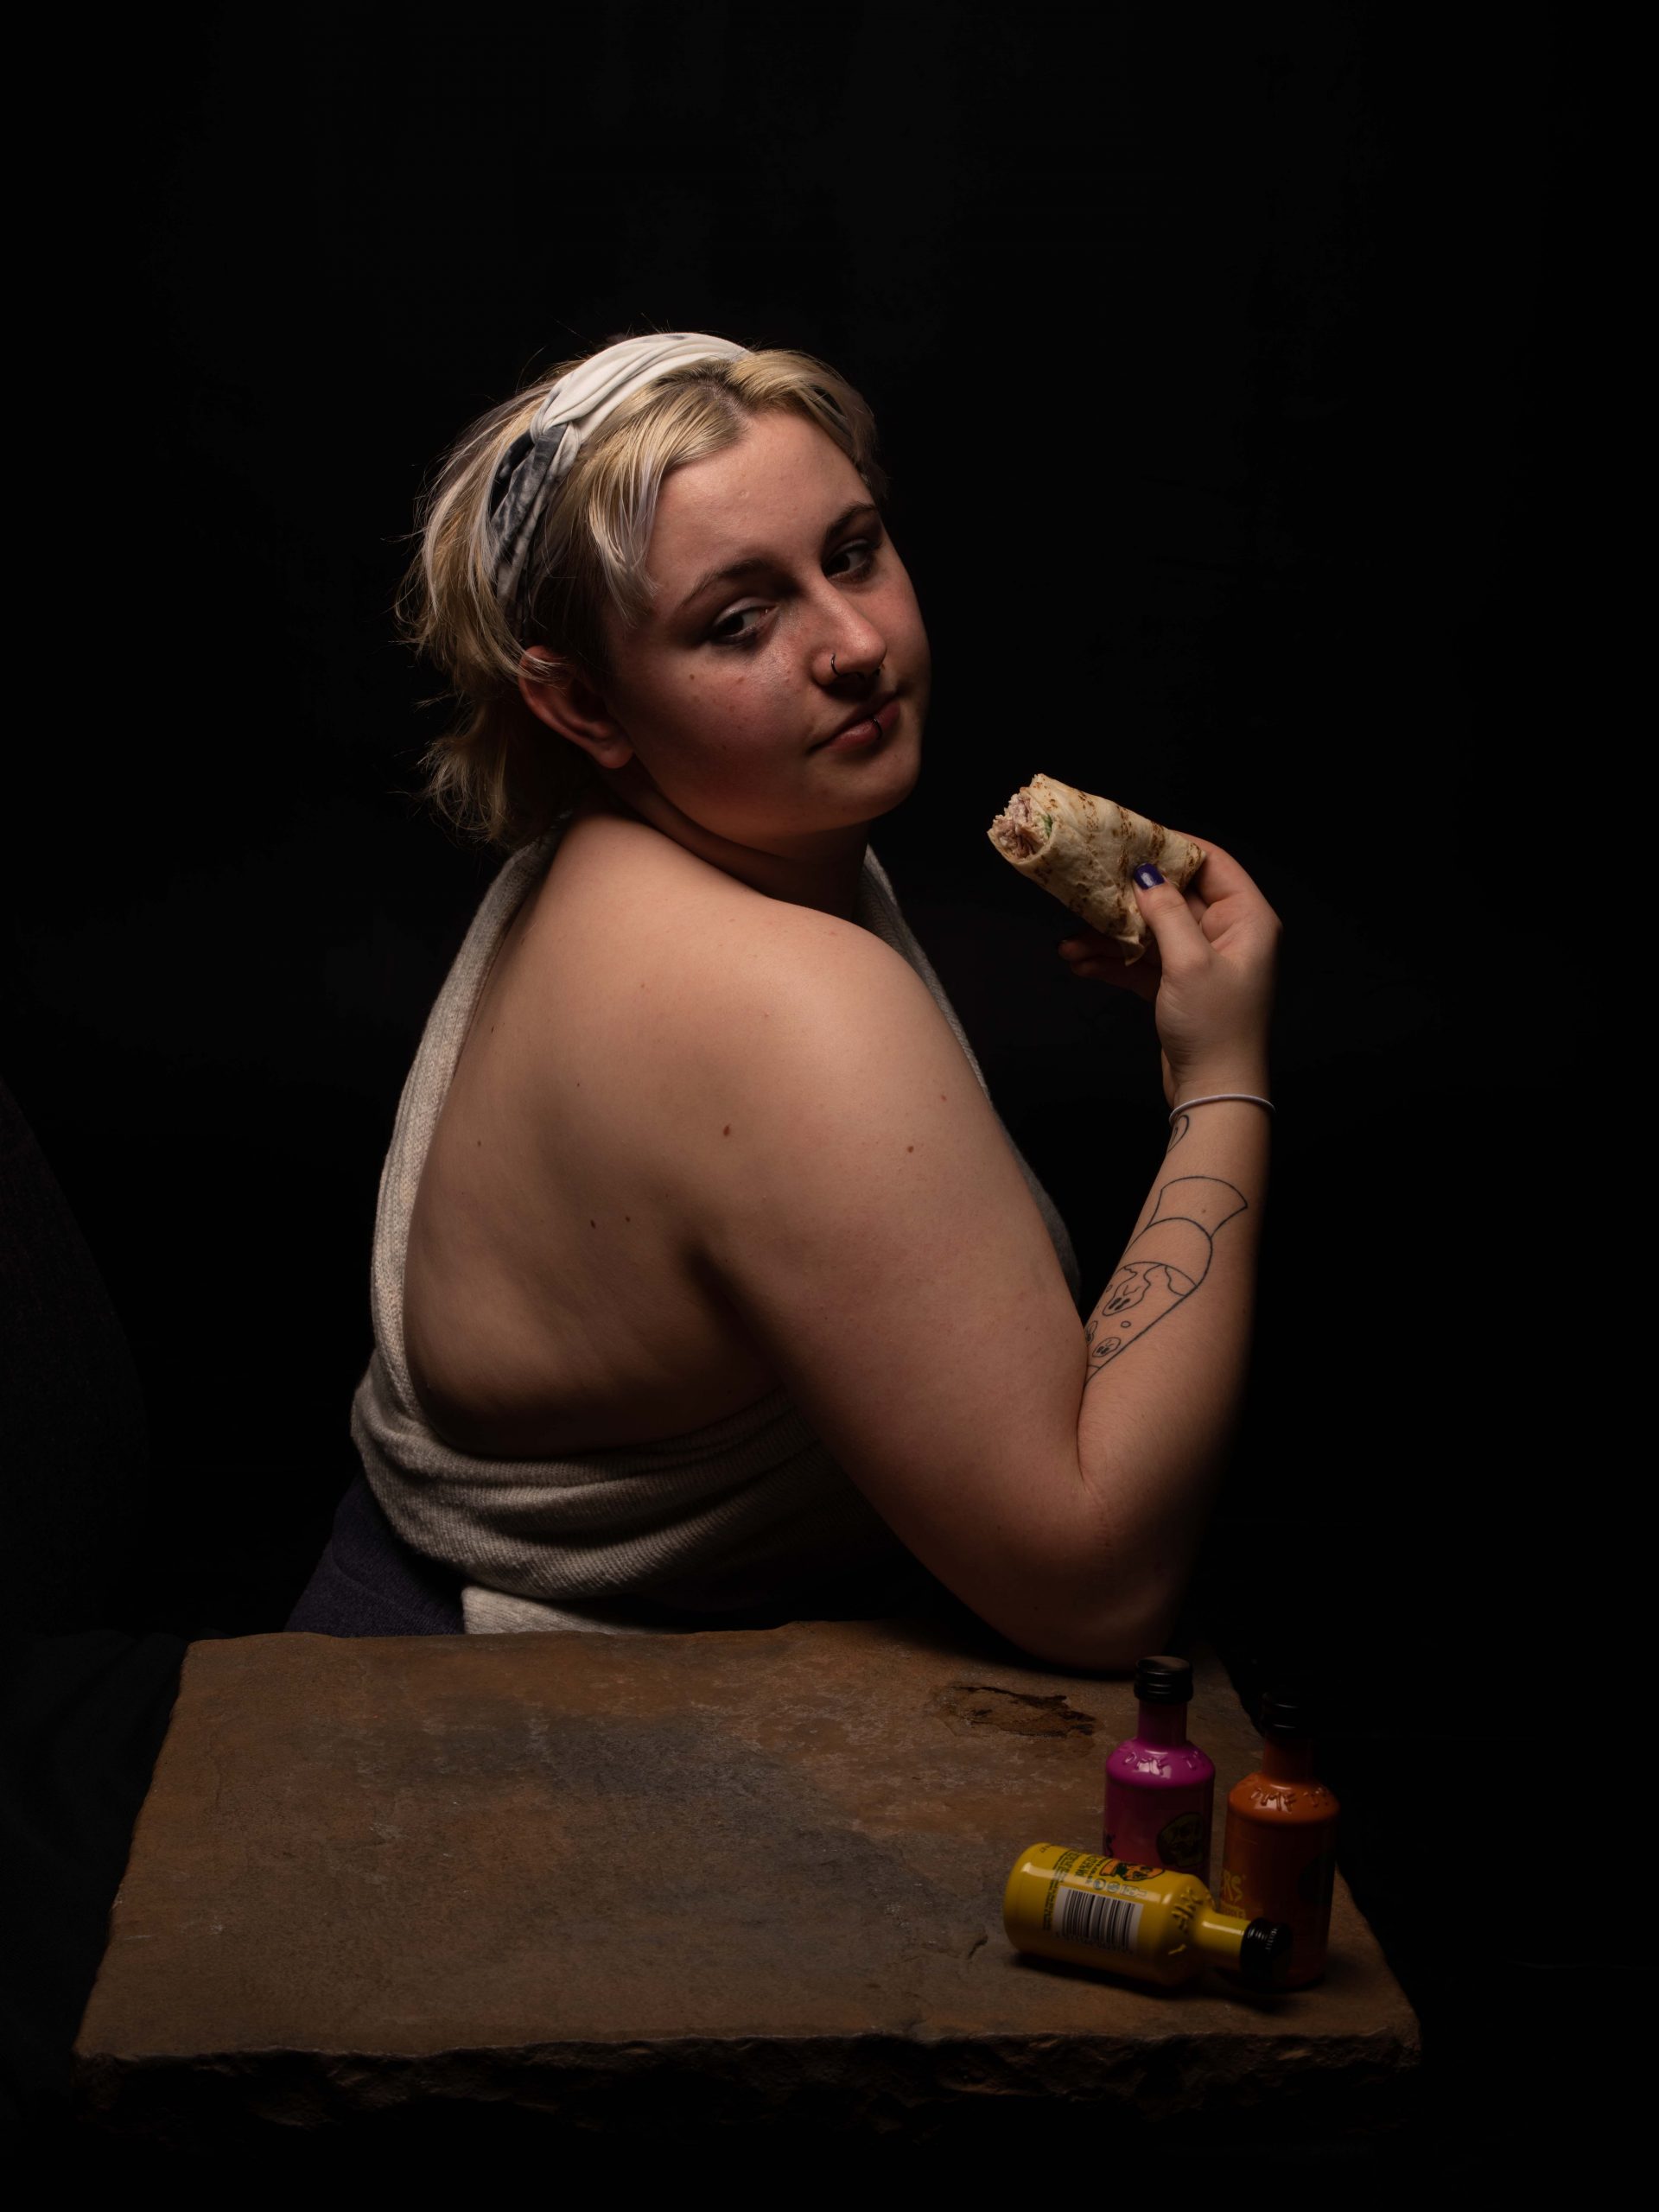
John Peter Russell’s Vincent Van Gogh
Next was the painting Veronica chose, Vincent Van Gogh (1886) by John Peter Russell.
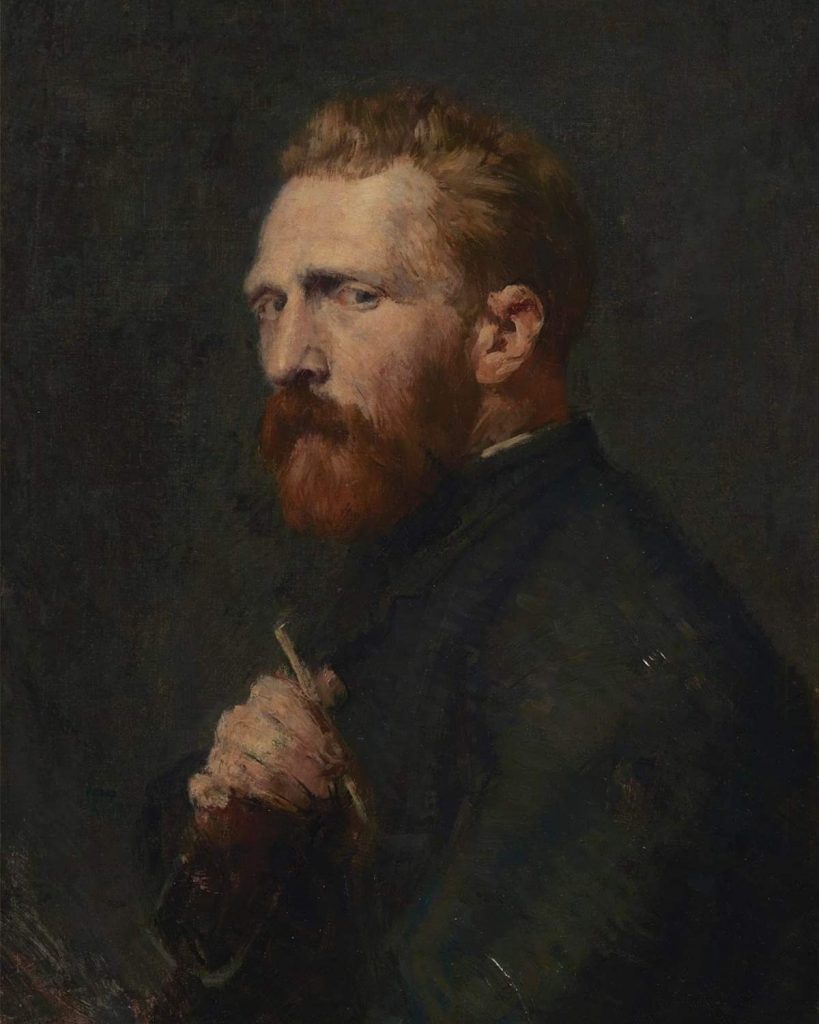
- Create New Snapshot
- Enable Profile corrections
- Remove Chromatic Aberrations
- Crop in to remove legs, part of back and top empty space.
- Create Snapshot
- Lift blacks and shadows up by +30
- Drop highlights by -25
- Add Texture +5
- Contrast -10 to soften background out
- Create Mask to alter exposure above head and also on left side with a gradient -1stop
- Export to 100% quality file
Image gallery below shows each stage of the processing. It looks really Dark on the screen but clicking on image should open up larger.


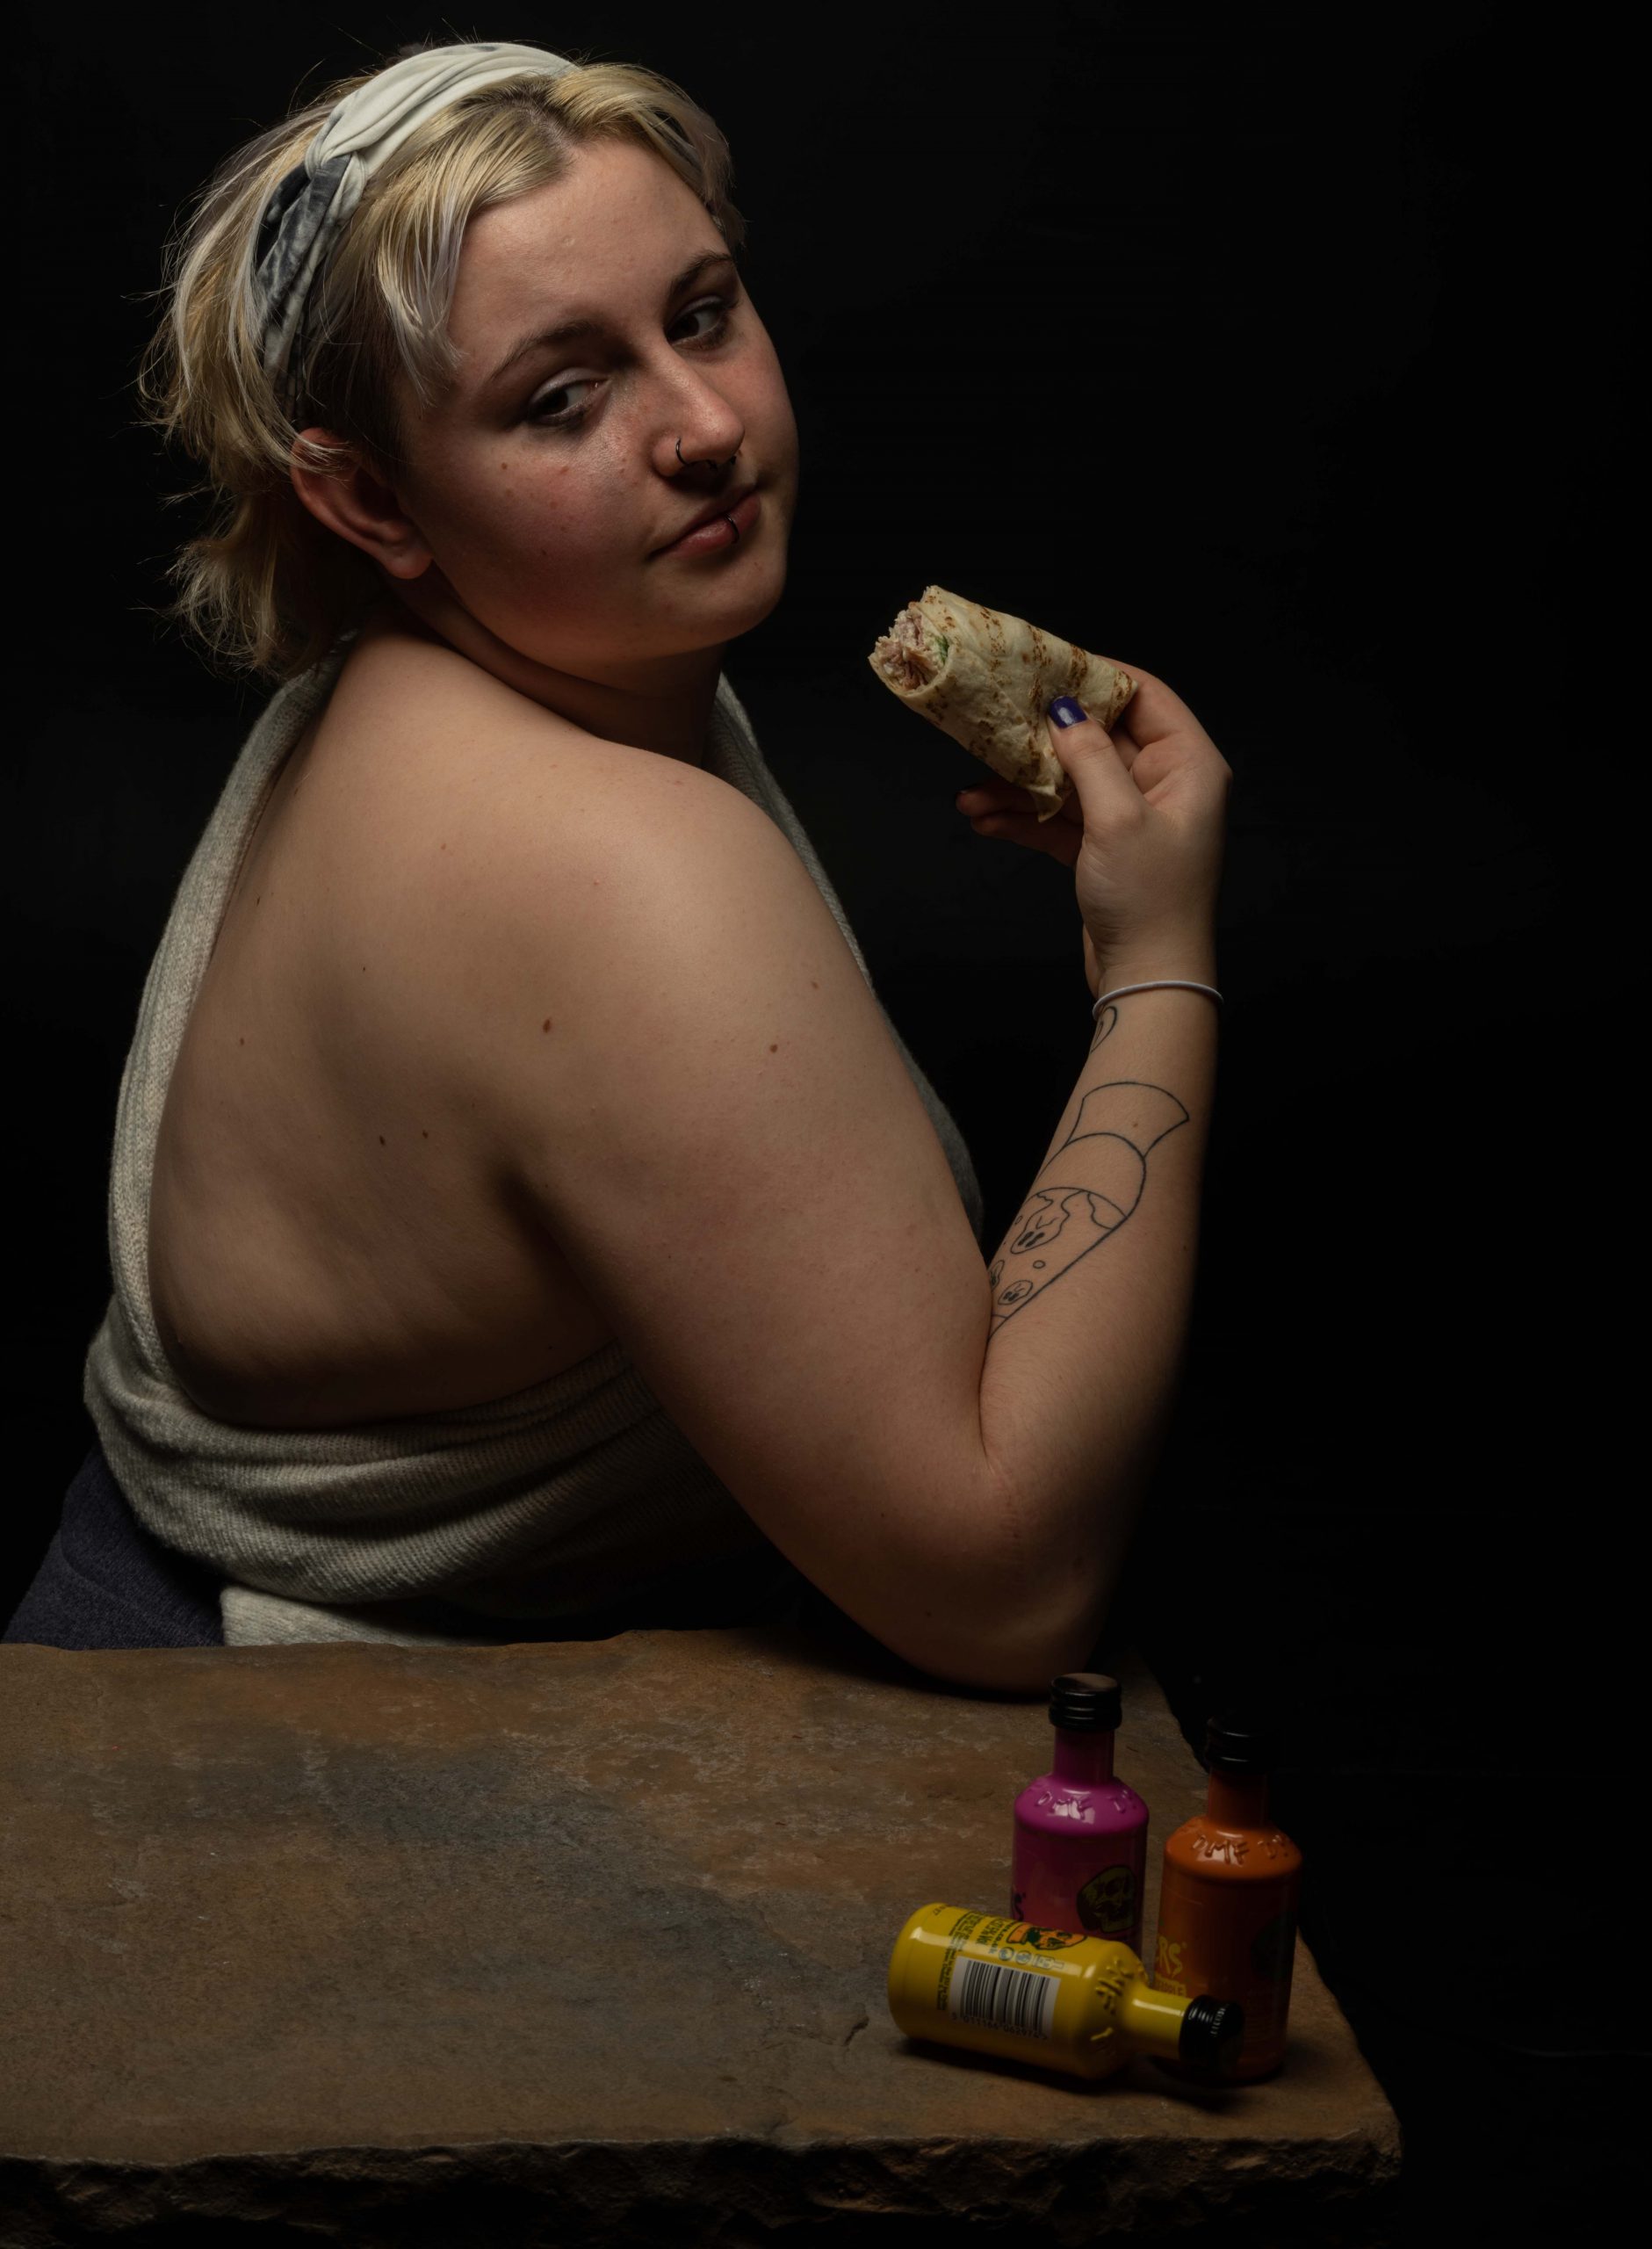
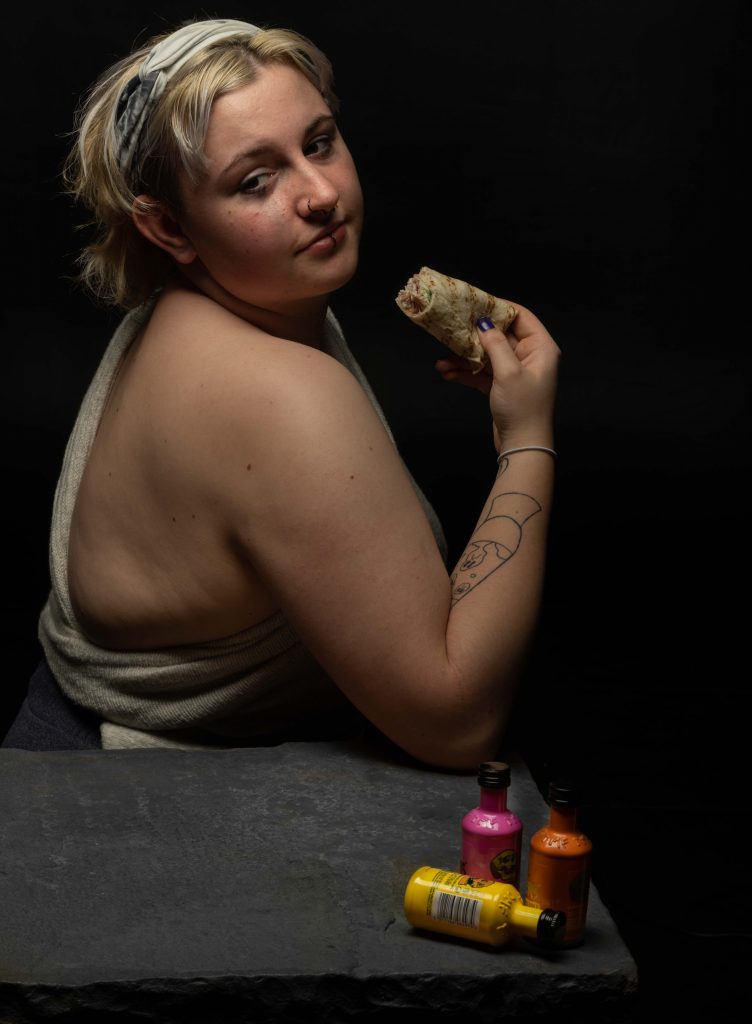
Young Sick Bacchus by Caravaggio
Final one for the studio today is Meg’s choice of a Caravaggio painting showing himself suffering from an illness and posing as a character from antiquity.
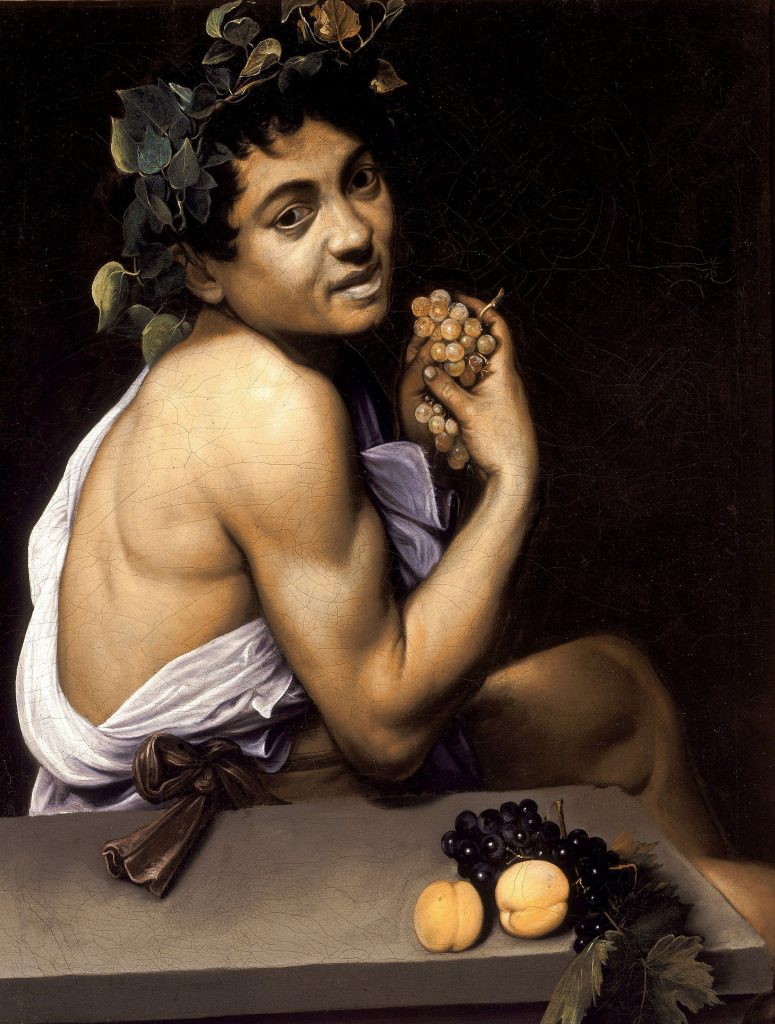
- Create New Snapshot
- Enable Profile corrections
- Remove Chromatic Aberrations
- Crop to leave a little space on left, get close to head on top and leave enough to the right
- Create Snapshot
- Dropped Temp from 6550 to 6000 to match colour in painting
- Used Spot Heal on the stain on the slab by the elbow
- Masked off the bottles and brightened exposure by a stop to brighten bottles
- Radial mask under arm to brighten shadows by half a stop
- Linear gradients from left and right to put some texture in background, increased exp by 1 stop
- Radial Gradient on face to brighten by half a stop
- Masked off using colour range, the slab then altered tint and temp to make it slate grey.
- Create Snapshot
- Export to 100% quality file


[…] The other classmates were busy in the studios making work for their 4FP017 Module which involves reinterpreting a painted portrait from the past and capturing an updated version on film or digital sensor. This is similar to what I had to do with my classmates in my first year. […]