During the revision week one of the third years offered a chance to do a cyanotype workshop with him so I snapped his hand off. It’s not a process I’ve ever done or taken part in before so I felt it would be a useful thing to do and might produce some good results.
Being negative.
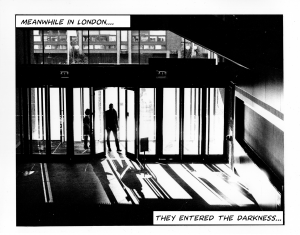
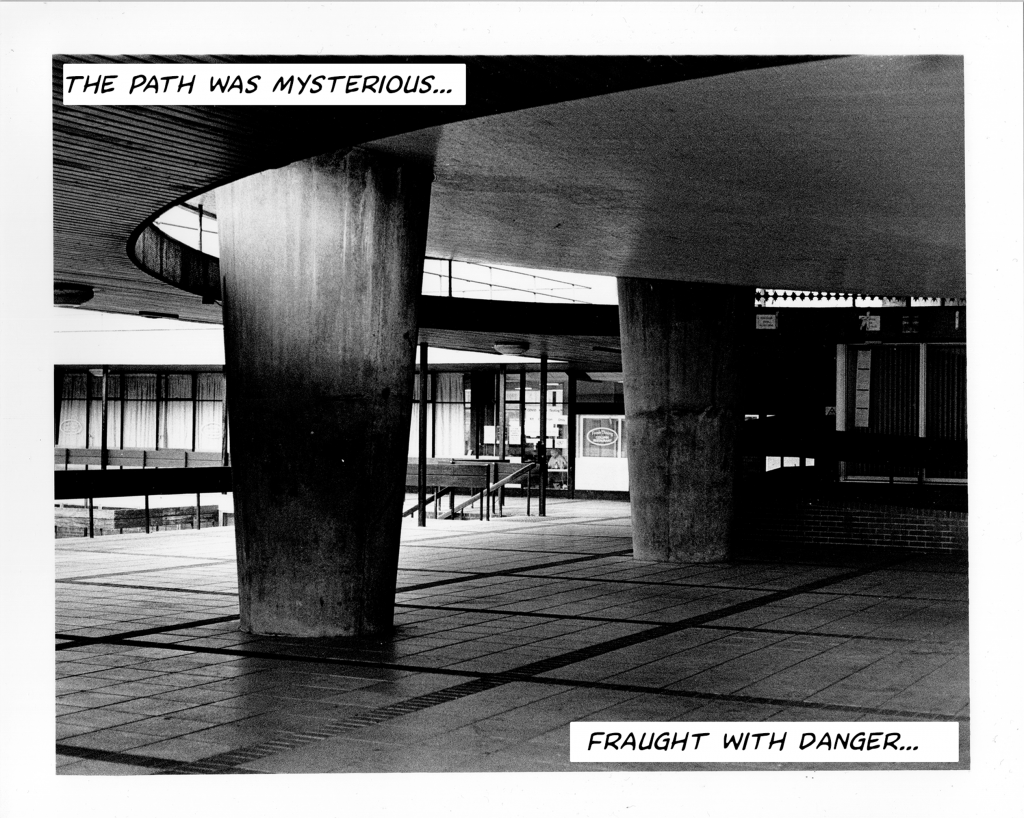
Richard asked us for a photo on email that he could change into a digital negative so I chose a high contrast image, as it happens it’s one of my final five submissions for the Black and White module on my first year. The photo was shot with a Canon A1 35mm Film Camera with a 55mm f/1.8 lens, the image itself was shot on Ilford HP5+ film and processed by me in the Uni darkrooms, producing a print that I think looks like something from a graphic novel. It was made in the Barbican centre London, from indoors, high up and I noticed the long shadows of people coming in through the doors, due to the low down winter sun in November ’21.
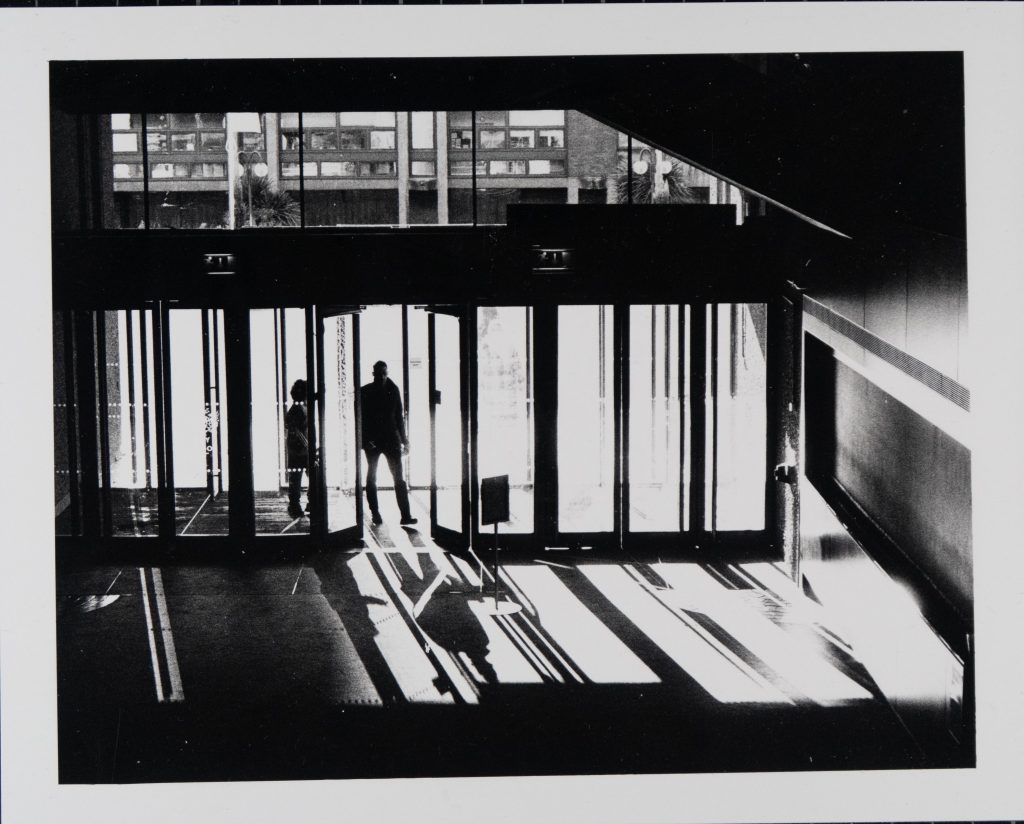
I thought about the comic book idea and realised that I had an altered version of this image with some text attached almost like a comic book panel, so I dug that out and sent it over to Richard.
Once he received it via email he set about desaturating the image to make it into a grayscale image. Applying a special Cyanotype Adjustment Curve will then help to keep detail in the Shadows and Highlights as the tonal range of a cyanotype is limited. Once that curve has changed the photo it is then flipped horizontally so that it can be printed on a transparency or acetate.
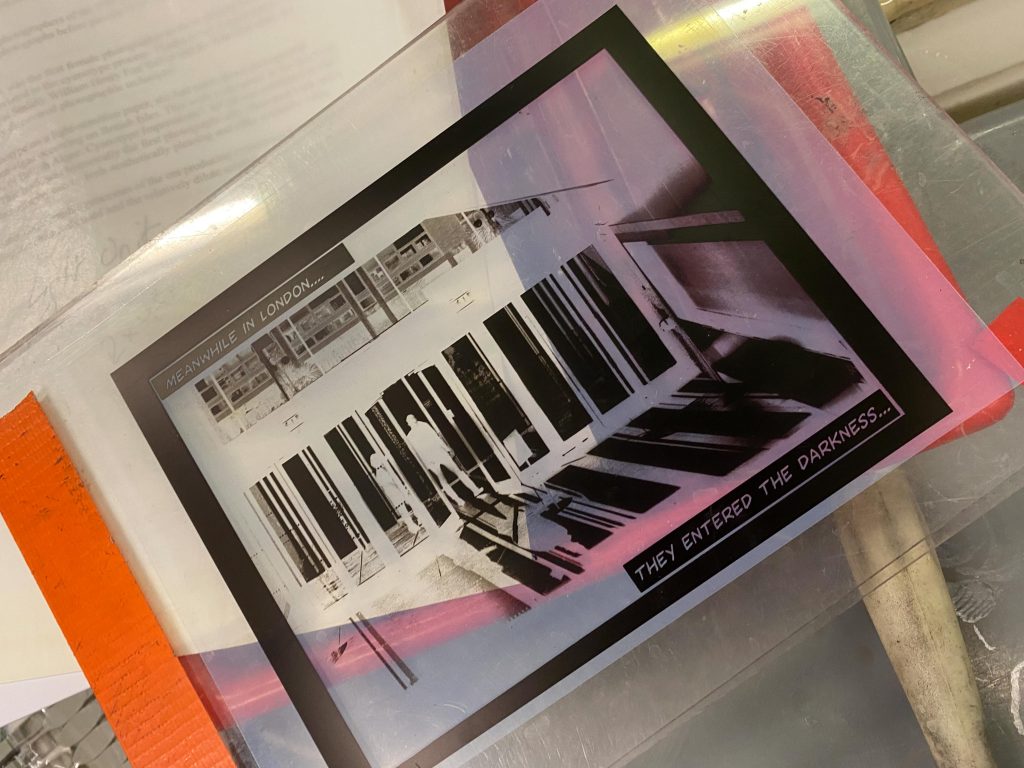
You can see in the photo above that the text boxes for the captions are in place and the image looks good when inverted too. In the image above you can see that it’s sitting on the top of a contact printer, a basic type. It’s two pieces of perspex taped at one end like a hinge. This allows the acetate to sit in contact with the treated paper whilst holding it still and looking UV light to come through to do it’s job.
Ultracool Ultraviolet
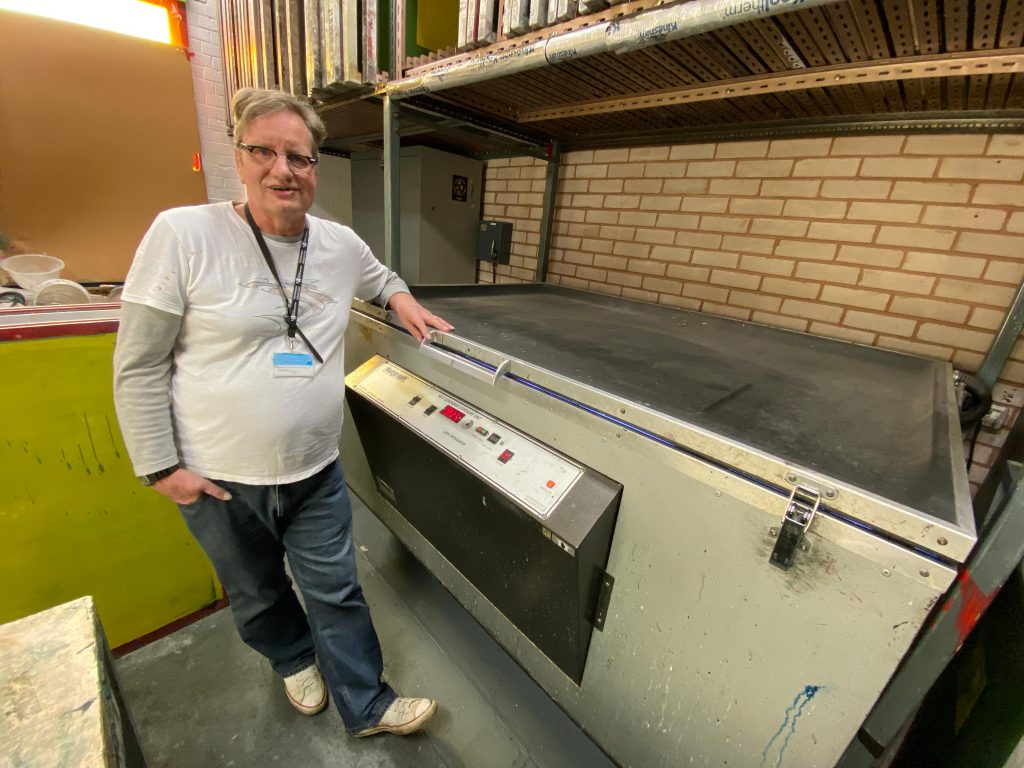
Once the acetate and treated paper are in the contact printer, they’re placed on the glass atop this large UV exposure unit. The top is a rubber sheet that is then sucked to the glass using a vacuum pump, almost like a vacuum former. This ensures the image and paper stay perfectly still for the time it takes to expose to the light.
Once it’s sucked down tight, it’s time for the UV lamps to be switched on. It’s incredibly strong source of light and might cause damage to the eye so we’re being super careful and making sure the latches are secured. The light comes on and can be set to a certain number of light units.
The standard to try on this machine for cyanotypes is 90 light units, so we do two lots of 45. When the second lot of time is complete, the light is doused and the vacuum ceased, then it’s time to remove the image from the top and take it back to the darkroom.
Washing Up
Once back in the darkroom it’s time to place the cyanotype paper in the water wash for 30 mins to ensure that as much of the chemicals are removed and less likely to be affected by the sunlight.

As you can see from the above image, you can clearly see the image on the treated paper. The parts of the acetate that were blackest prevented the chemicals from being affected by the UV, by masking the surface. You can see at the left side is a white block, where the hinge tape of the perspex was. This looked really cool and I was super happy with it.
Time For A Brew
That’s when we were offered another option, a cup of tea. Well, ten cups of tea actually. Richard suggested that we did some tea-toning on the image so Andy boiled the kettle and poured a litre of boiling water into a Graduated Flask, thus being the brunt of loads of moaning about using all the hot water from the people who were going to partake in a brew of coffee.
Then he made it worse for the tea drinkers by using ten teabags and dropping them in the boiling water and leaving it for about an hour to cool down a little, and give it a chance to brew properly.
Once it was sufficiently mixed in with the water it was time to soak the print in the mixture. The tea was tipped into a dish and the print slid into it for another hour.
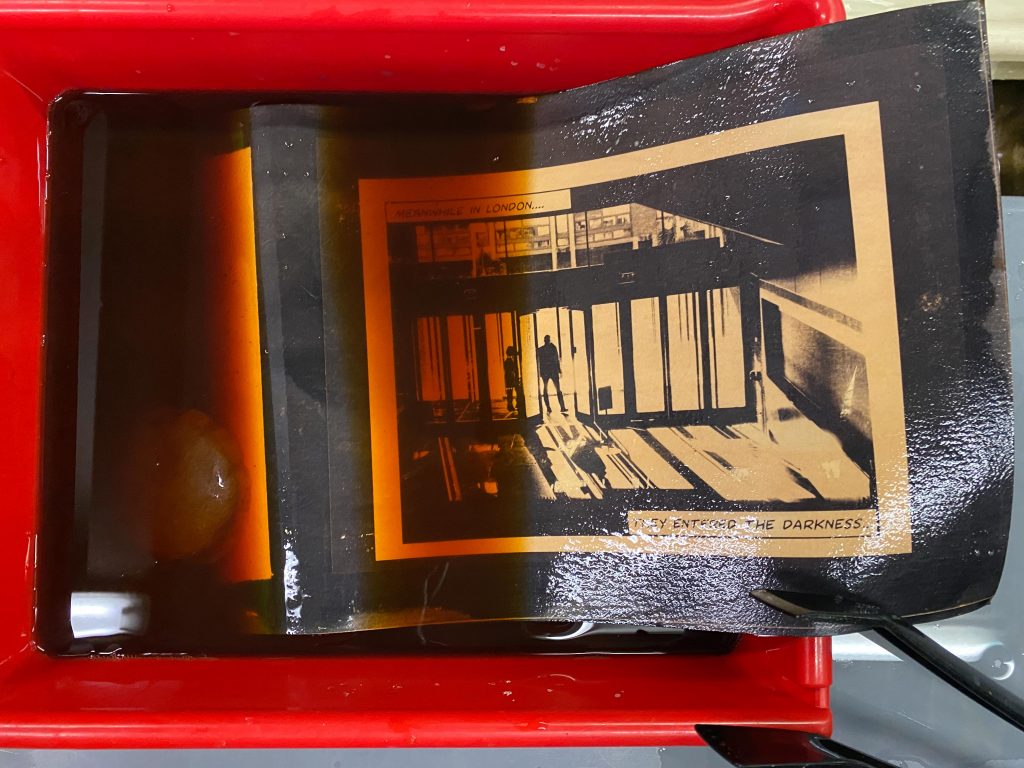
As you can see from the image above this paragraph you can see that the white areas have been stained by the tea to be a more sepia style tone. This is exactly what I was expecting.
What I wasn’t expecting was the fact that the blue parts of the image changed to a black tone. It really set the image off, it was in there for an hour, then a short wash in the water to remove the tea leaves, before being hung on the drying line overnight.
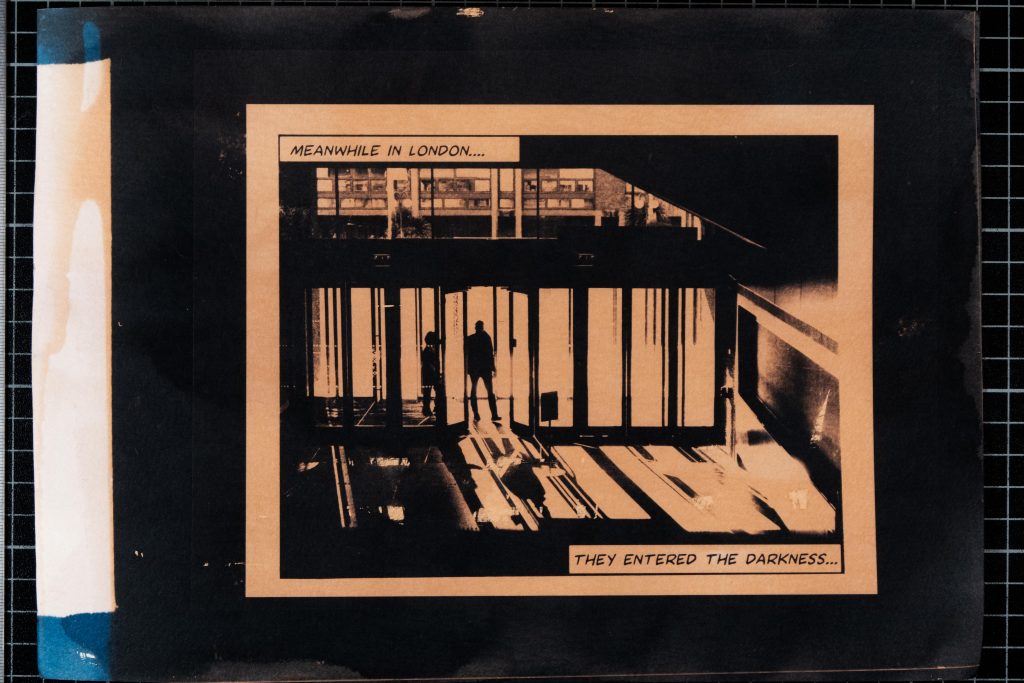
This image was a revelation to me and it was great to see one of my images, with the additional text look like a cool artifact. Other people also liked the image and were complimenting me on it which I always find difficult but I was over the moon. You can see the difference between the blue parts on the left that weren’t submerged in the tea and the main body.
Postcard Competition
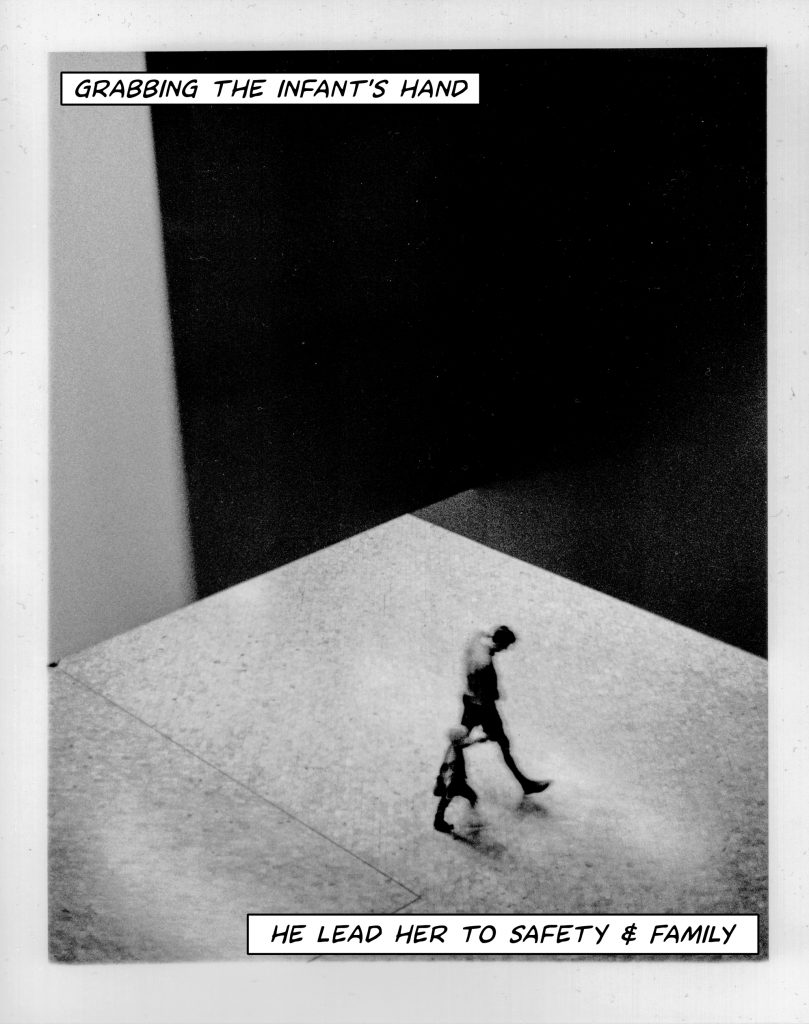
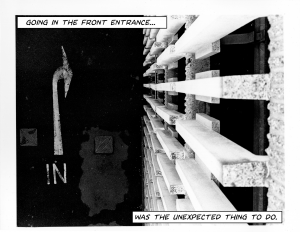
As a result of this image, Richard had a good idea to create a series of postcards made by cyanotype process by a few of us and then sell them at the Degree Show in June. The competition behind it would be whoever sold the most cards so I prepared 4 images and forwarded them to him ready for the acetate and adjustment process. These images can be seen below in the small gallery, they’re all black and white images that I like from the academic year so far.
I was given a few sheets of treated paper so I’m going to be trying this out on sunny days in the garden over the summer holidays. Thanks Richard for the time you spent with us!!
[…] this image with some comic book captions on it for a Cyanotype experiment which can be seen in this linked post. it came out very […]
[…] it and the other images that I’d also treated the same, by adding text. I explained about the work to get these images with the text and how it had come […]