Well, last week it was revision week where we got to wrap up any outstanding work and my long “To Do” list extended every time I remembered something else that needed doing.
Using up some of my holiday allowance from work I took the four days off and headed into the Uni for three of them, Tuesday thru Thursday. On the first day I caught up with some Black and White work that I wanted to get closed out.
Odd One Out
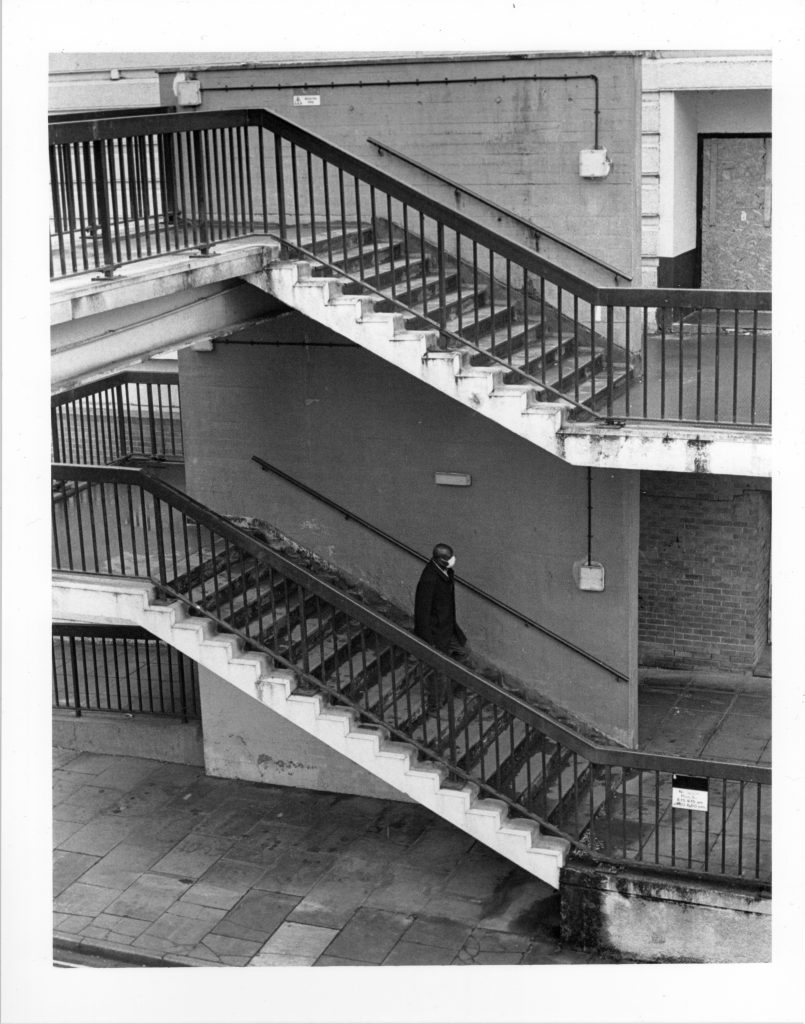
One of the pictures from my final five didn’t fit in with the other four due to the tones being a little greyer and not as high contrast in a shadowy way.
Whilst the picture below has a character making his way through the image has a mask over his face and is sufficiently anonymous to fit in the rest of the image is too light so I wanted to replace it.
A photo I’d taken in the Barbican presented itself to me when going through some contact sheets so I wanted to print that and try it in the final five. The image, seen below is of two people travelling up some stairs away from the camera and slightly motion blurred too. The scenery around them is a mixture of black and highlights with straight lines appearing in all different directions.
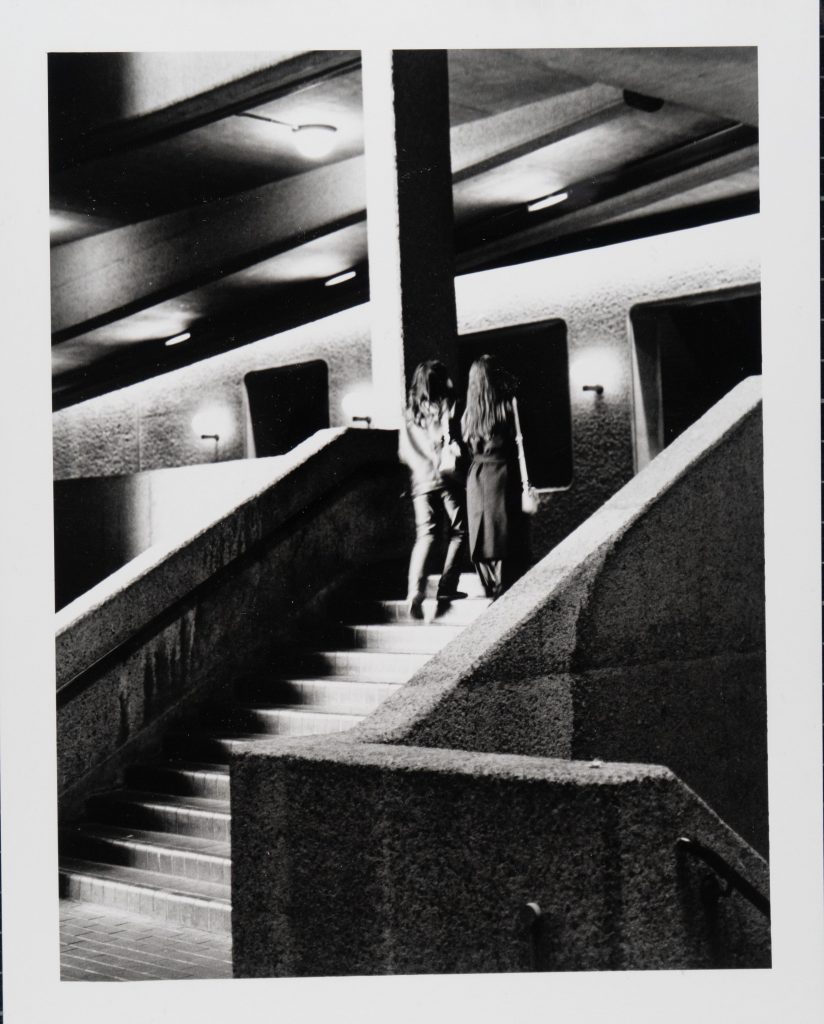
This photo of the print shows how it’s a different image entirely but it’s still someone on a set of stairs. I like the zig zag of the shadow on the left side of the steps and the small lights that are dotted throughout the image. This was shot on my Bronica ETRS using 120 Ilford HP5+ ISO400 film and hand held for this particular shot. I was leaning heavily on a wall to stay as stable as possible and get a stationery platform to hold the camera from. You can see that the legs are blurred as it was a 1/60th second shot and if I’d done that with my Canon A1 or even a digital on the same settings I’m sure it wouldn’t have come out quite as nicely.
10-4 Copy That
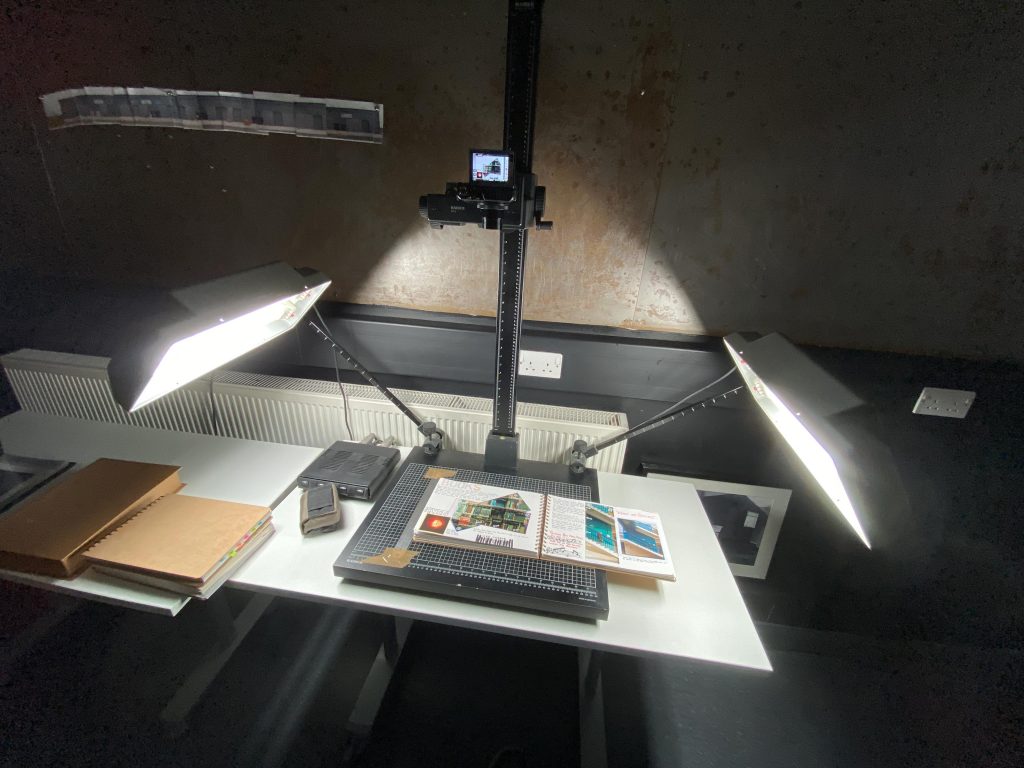
It took the whole morning to do the prints and then in the afternoon I sat down at the copy stand that Dan had very helpfully set up for us to use. I used this to image all of my prints and sketchbook pages ready for the digital submission of our work. Only when I got home I noticed that a few were blurry so I’d need to redo some of them due to me not focussing correctly my Canon G7X MkII.
There were four sketchbooks, one each for Colour, Black & White, Digital and Studio. Each one of them was a huge task and I think there were around 250 pages in total.
Wednesday Wonders
On the Wednesday I came into the George Wallis building once more to do some colour images, this time I had three sets of negs that needed a contact sheet. Two 135s and one 120 film so I set about getting these in the colour darkroom and then into the colour processor. I was running two enlargers simultaneously one for the 120 and one for the 135. Once I was happy with the colour contact sheets I thought I’d have a go at one of the negs for a print of a spooky bridge in the Shrewsbury Town Centre’s Quarry Park. The only issue was that whenever I took the print from the machine there were some strange marks over it, so I tried cleaning everything but it didn’t change anything.
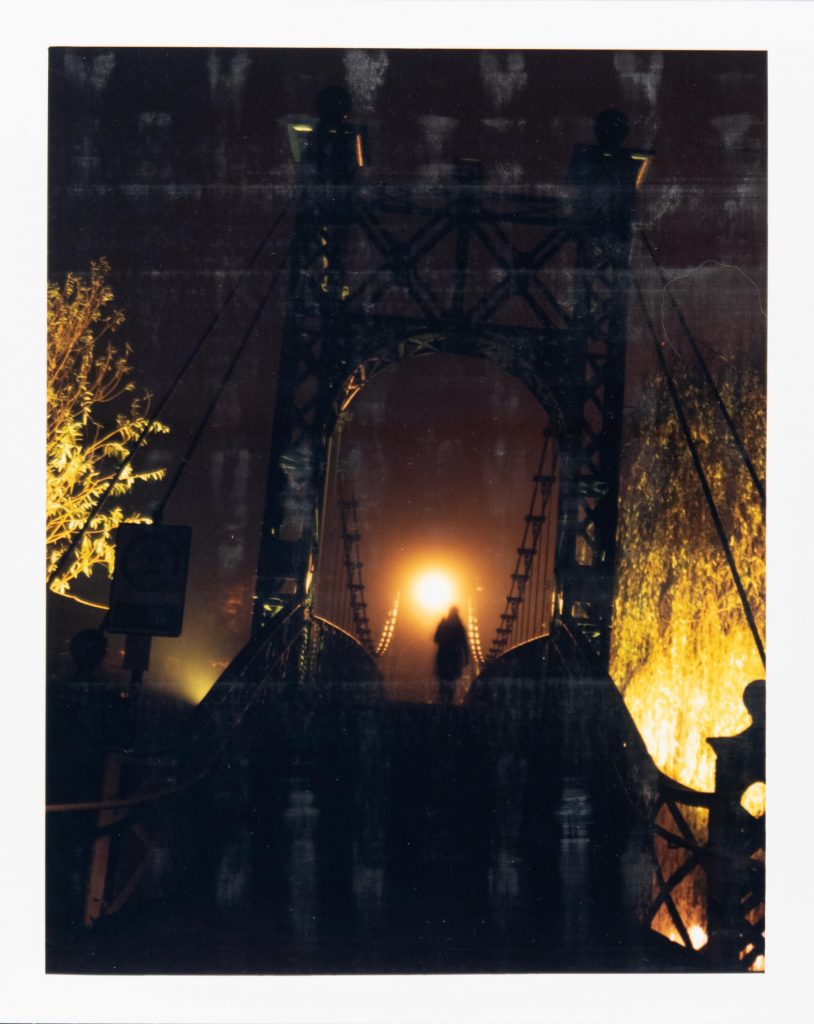
After this print came out with these marks on and I was happy it was nothing I’d done I spoke to Dan who looked at it and said that he thought the Chemistry was going off in the machine. I was ok, I only needed to get the Contact Sheets done and this would have been a bonus had it worked. It’s a print I’ll certainly attempt again the next time I have access to the Colour Darkroom with a happy set of Chemy.
Double Copy
With my colour printing brought to an abrupt halt, I jumped back onto the copy stand to redo my sketchbook photos, this time taking extra care to ensure good focus. I also taped a steel rule to the stand’s base to ensure I was reasonably accurate with the placement as it meant I could just copy and paste the crop setting from one image to the rest when I got home and into Lightroom. A few of them needed the crop overly adjusting but I found it worked really well. I also had an issue the day before with some reflections on glossy prints or prints in Archival sleeves from the ceiling lights. Dan helped me to get rid of these by simply turning off the lights above me.
I’d finally redone shots of all of my Sketchbook pages and Prints when Paul asked me to photograph some of his work as he was tied up with some other work. I took one photo and then the whole lighting set up on the copy stand went off. The thermal cutout had gone off due to the four tubes being on for a good long time. After a while of being powered down, and moved away from the hot radiator, it was able to switch back on and be used.
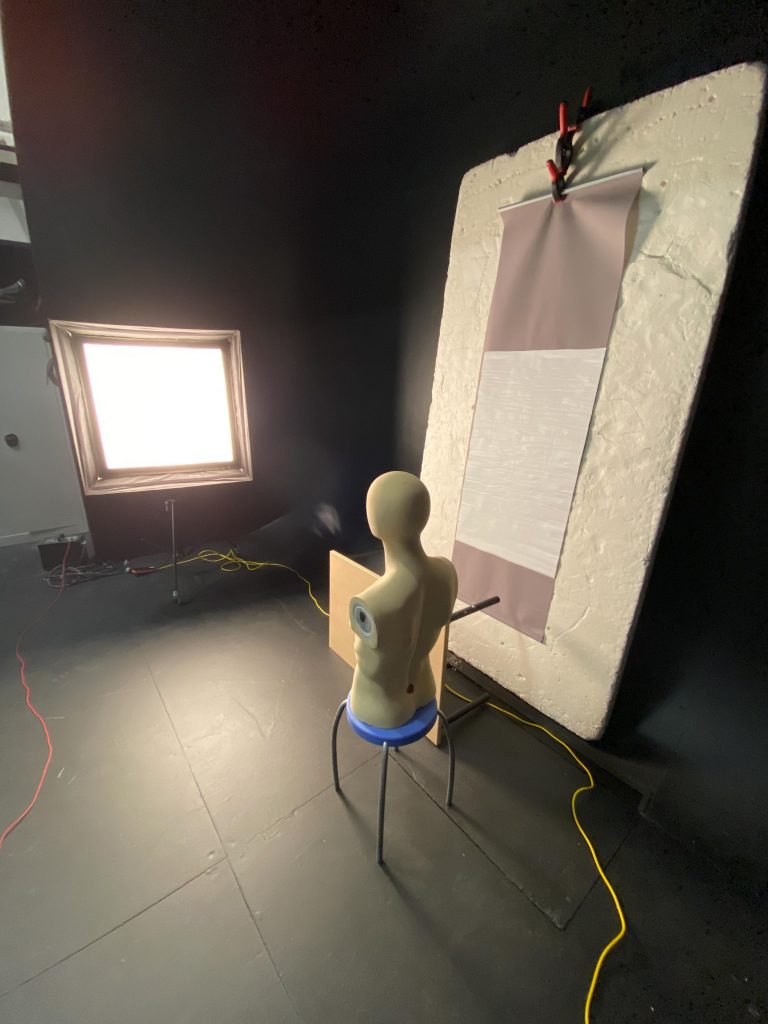
Final Studio Portrait
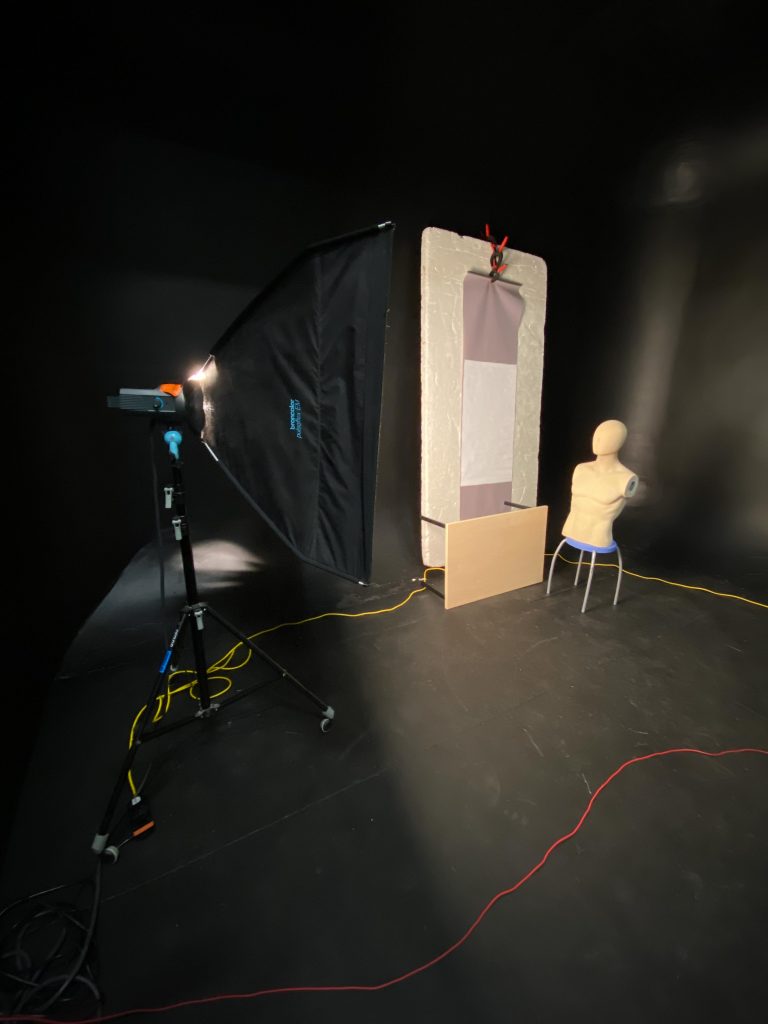
Whilst waiting in between the colour prints coming out earlier I’d been setting up the studio’s black scoop for a shot I wanted to re-imagine from my choice of studio ideas. I set up the lighting with a mannequin, and also set up the big poly board reflector and hung a roller blind over it to get the same background style as in the original painting by Stephen Conroy.
The set up was straight forward with a small square soft box facing the front of the face from the left side of the scene for a butterfly effect, the shadows on the hands also showed this flash position also.
Once all set up I metered the scene and found f/16 on the nose, f/11 on the ear closest to the camera and f/8 on the back drop. Good separation should produce a nice image.
With all of the exposures tested I switched on the camera and aligned it to the scene to give me the best outcome. Andy was around and I asked him to help press the shutter on the camera which was a Pentax 645Z set at f/16. He pressed the shutter and made a couple of images before changing position a little and redoing it, after checking the output on the screen.
The image came out better than I expected with a bit of a cheap roller blind and a piece of wood. The table on its side in the images above was swapped out for a. long plank of wood.

Whilst I was relatively happy with this shot it wasn’t at the same aspect ratio as the original. SO I imported it into photoshop and began cloning and mixing the top of the image to make it slightly taller.

This looks ok and would be much better still without the softening of the edges of the brown blind in the process of extending it upwards and removing the shadow from the top right side of the blind.
I was happy with this outcome too, and the fact that there were very few images means that I set it up reasonable accurately ahead of taking a shot. This is what Euripides would like us to think about in terms of studio shoots, we don’t want models to be waiting around for no reason.
The next thing to play with was a Cyanotype process which I’d never seen done before, I’ll update you on that in the next post…
Be First to Comment