A return to University Of Wolverhampton today to get on with some work in the Black and White dark room towards my full year project before my tutorial chat with Niki at just after 4pm.
Picked up my focus finder, 35mm contact printer and multigrade filters from Dan in the Media Stores, and clearing my name for a misassigned fine for a non-returned bit of kit that I’d returned.
Printing Pressure
Headed off to the darkroom, and set up the enlarger to ready a print of a contact sheet. I started off with a film that featured images of Llandudno, Birmingham and Lake Vyrnwy and did a test strip of two second intervals
Looking at it in the light the contrast looked ok and the exposure time was too light at 8 and too dark at 10 so I thought I’d go for a 9 second exposure and went straight into a full sheet.
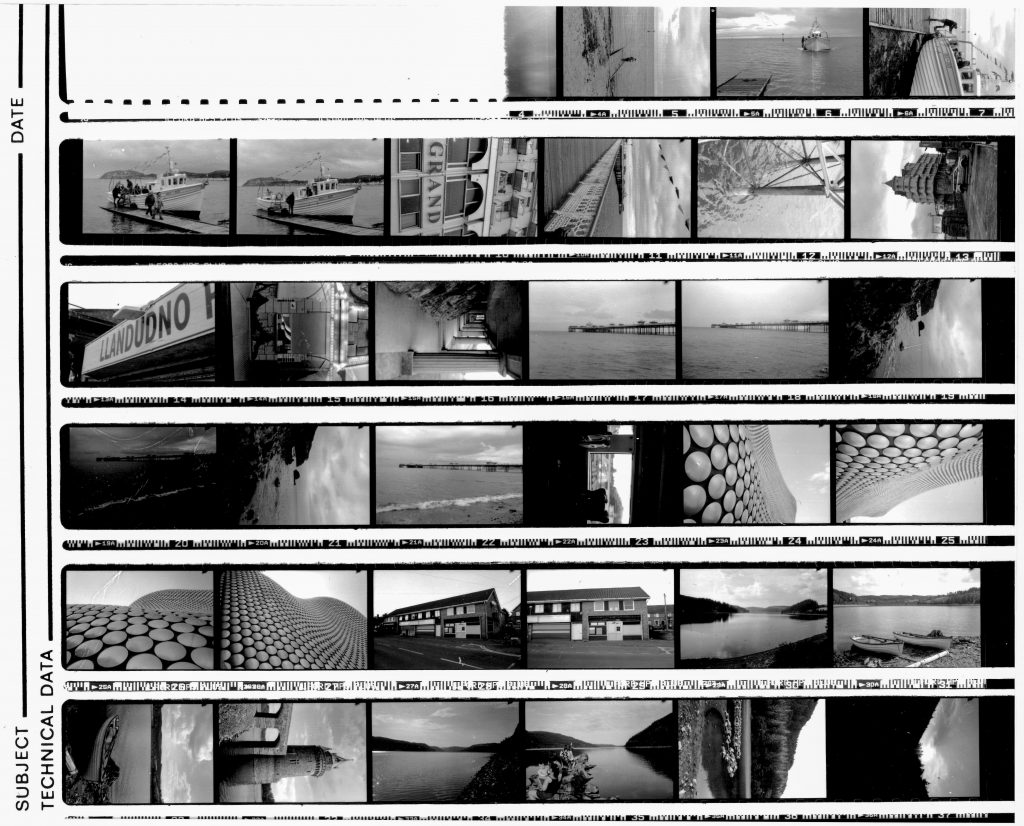
From this contact sheet I could see a couple of images that interested me immediately, one of them image 27 which is the blobs on Selfridges, just next to an old empty bank branch building negative. I thought this might make for an interesting pattern/structure image to use for a weave or construction of two images.
From here I went into another contact sheet for Film #38 Which was full of images of London on the day after Queen Elizabeths death in Sept 2022. I hit it up with a test strip and 10 seconds looked good, before moving to a full sheet.
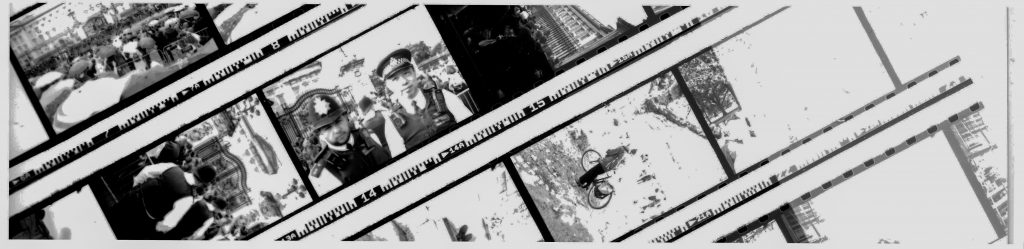

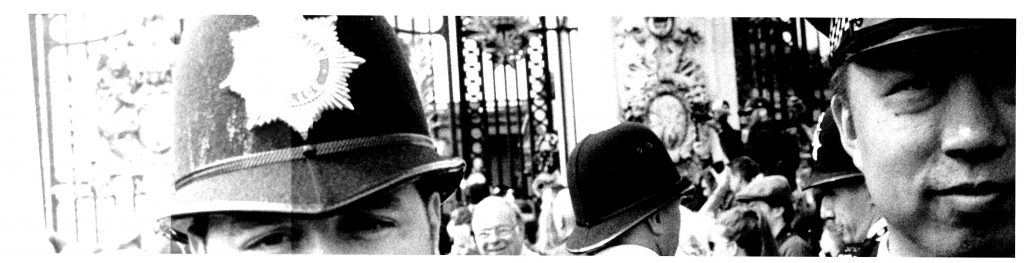
There were two images that caught my eye on here , one being the two police officers outside Buckingham palace and another showing some umbrellas in the rain in from ot Buck house too.
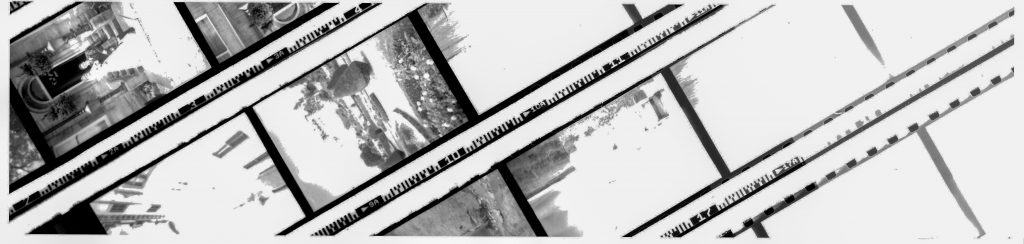
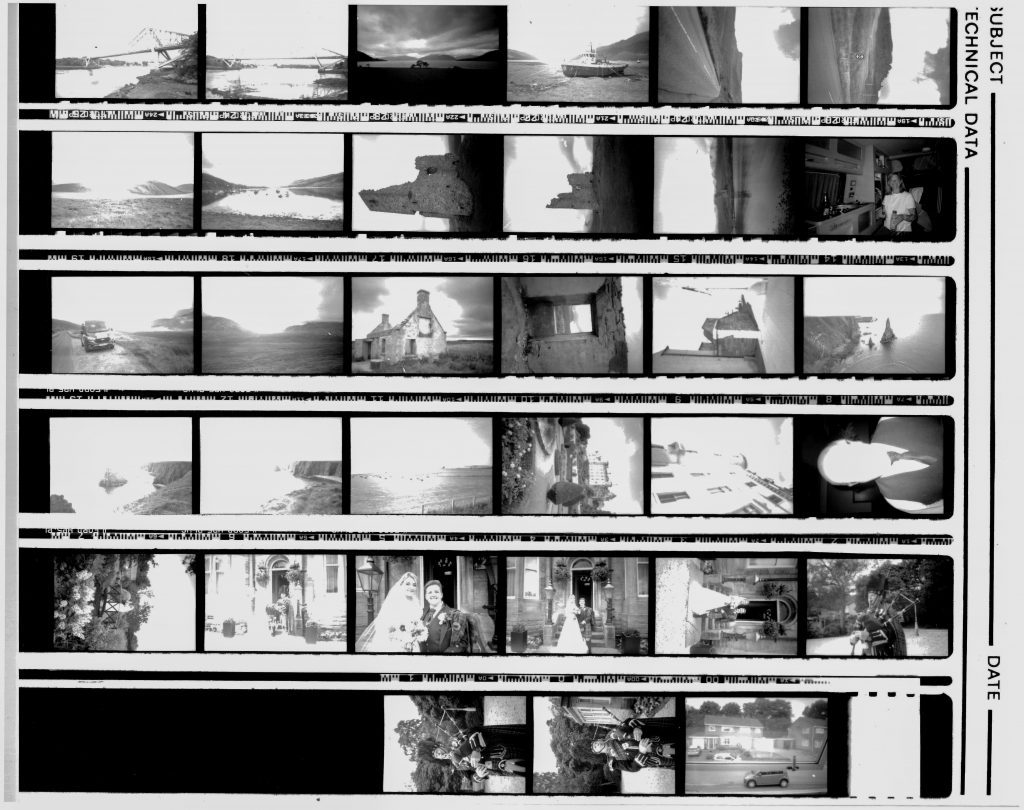
Once happy with this coming out of the RC Dryer I loaded up the contact printer with the negs from film #32 containing images of the trip around the NC500 in Scotland. Some of which show the Nairn Viaduct from a previous post.
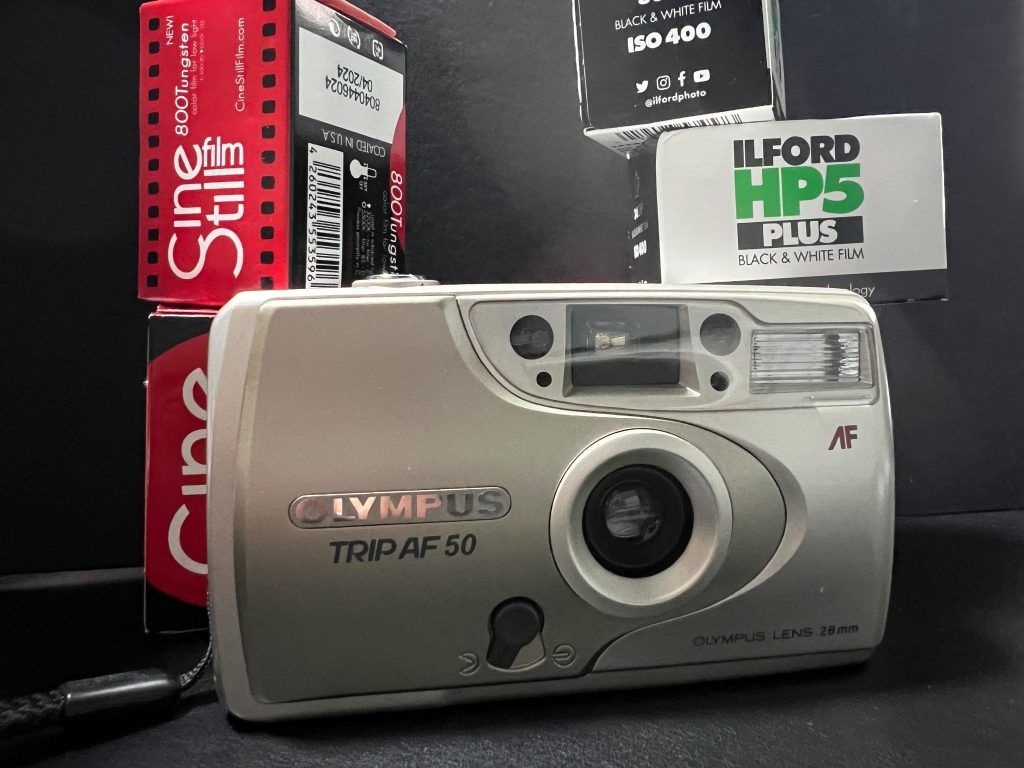
The previous two films were shot through my Canon A1 and this third film was put through an Olympus Trip that I’d bought from a charity shop for £3.50 or something similar.
This bunch of negatives went through in pretty much the same way but I had to extend the time under the lamp until 12 seconds. All of these were with a multigrade filter of 2 1/2 in the filter tray and an aperture of f/8
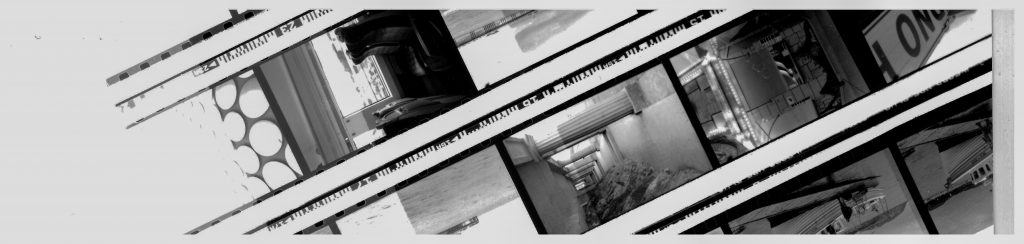
After getting my three contact sheets out of the dryer I started on the work proper. First off selecting the negative for the Blobs on the Selfridges building in Birmingham and setting up the easel and head to fill the paper with the image and have hardly any empty space. I set the borders to 1/2 inch all the way around too.
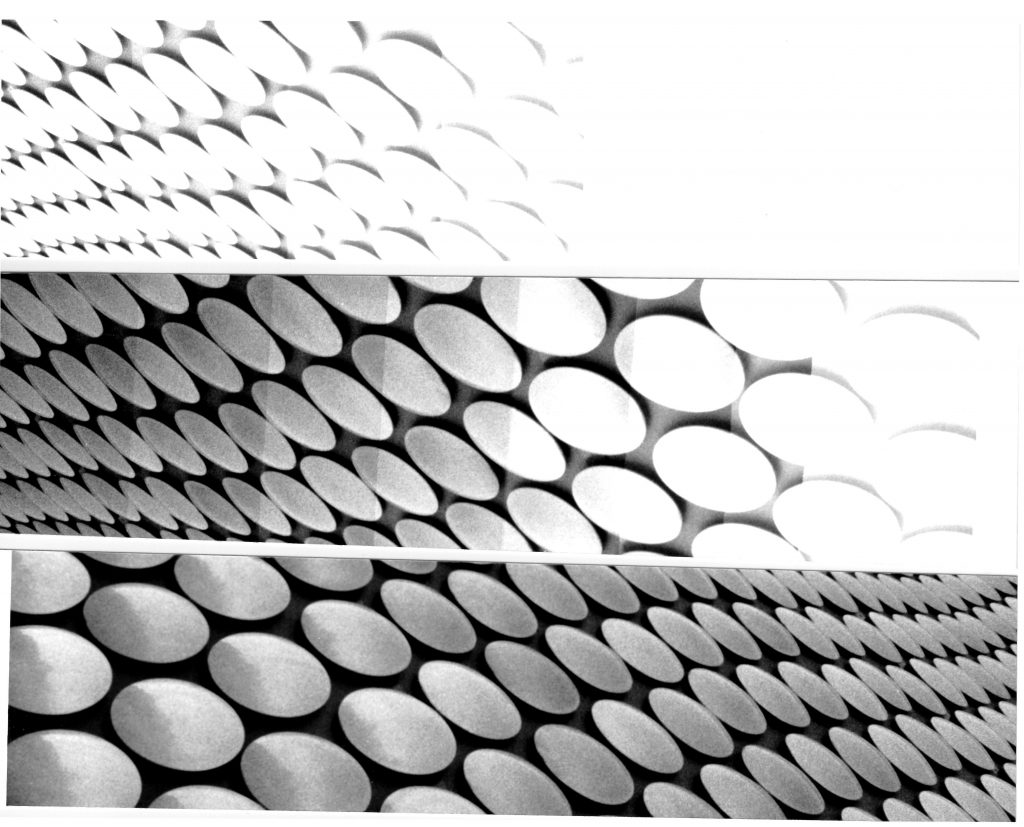
First strip showed not enough exposure so rather than doubling up on time I upped a stop to an aperture on the lens of 5.6 which means that double the light will come through in the same time. You can see the second test strip shows a good range of exposures. I took it as around 12 seconds and then went to the Full Strip as can be seen on the bottom of the three above. I did think it was a little bit over exposed so dropped a second off the timer for an 11 seconds exposure on the next print.
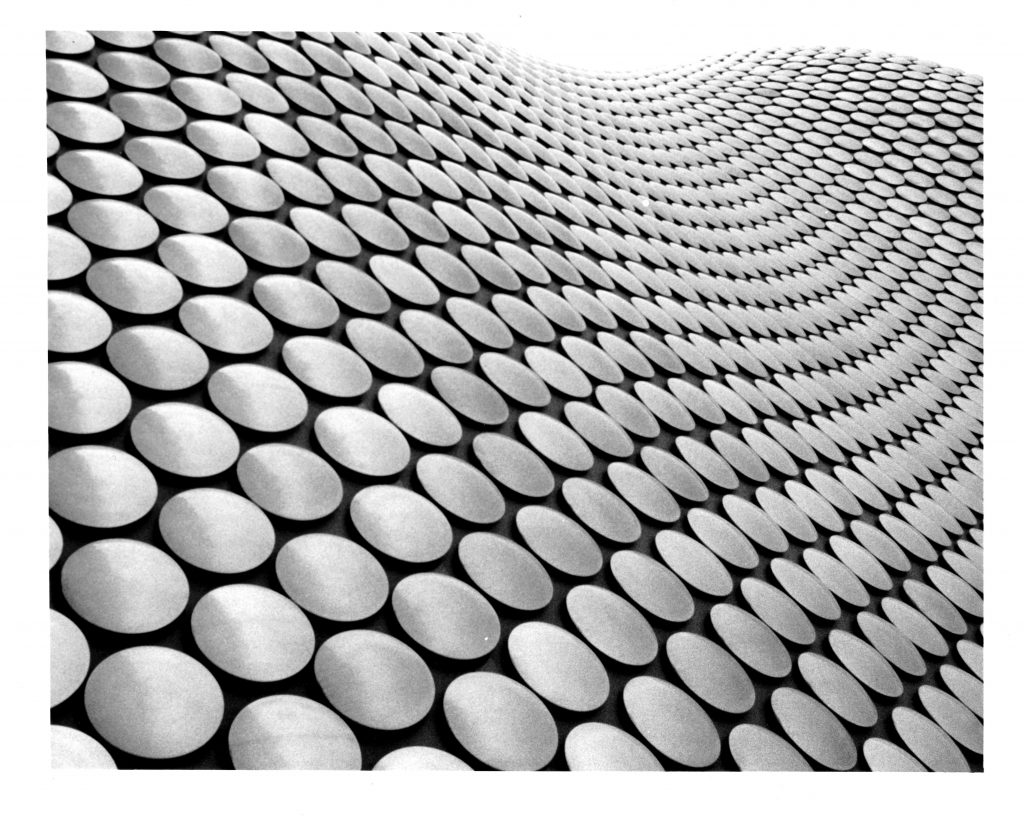
Once I was happy with this I repeated it to create another print so I could chop one of them up and weave it into the next print.
For the next print I chose an image from the Buckingham Palace roll of two policemen outside the palace, after I’d asked them for a phot of their hats which showed the crest of the Met Police with teh EIIR in the centre. In the near future this will need to be changed to CIIIR for the new King’s cypher.
The first test strip went through and showed up that between 6 and 8 seconds was the most suitable.
Once I was happy with this I banged a full sheet of 10×8 into the easel and hit it with 7 seconds at f/5.6 and a filter of 2.5
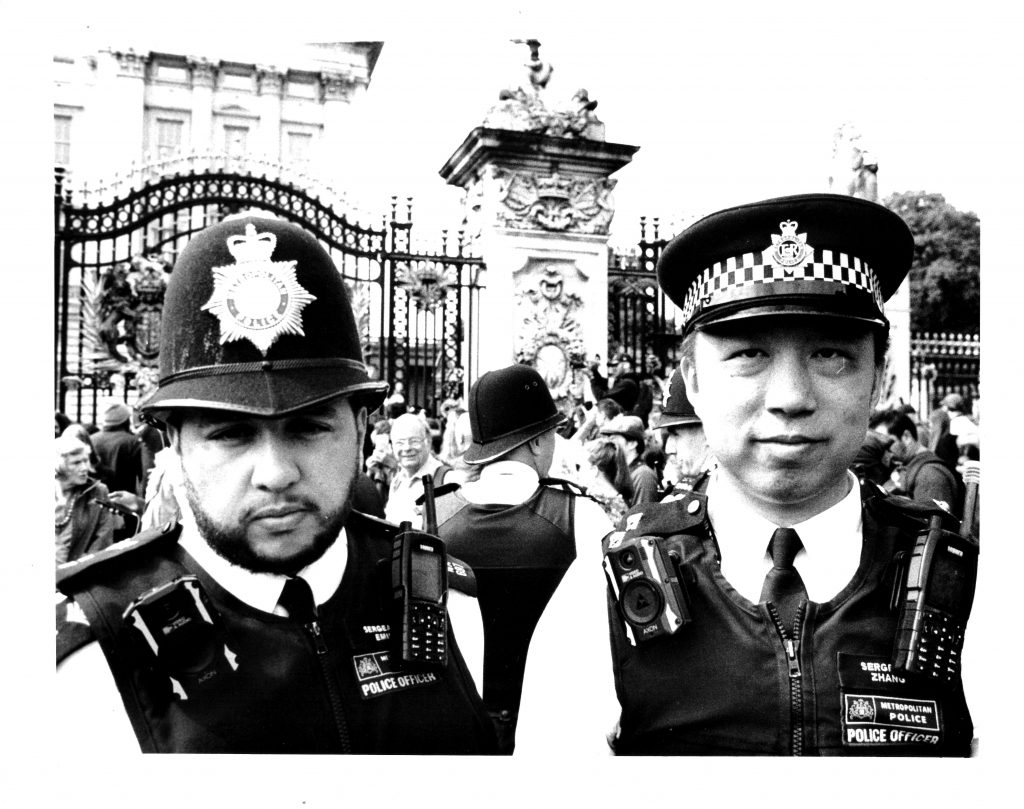
These scans are done using my office type scanner so not a proper photo scanner so some leeway must be allowed for their presentation here. They do look better in real life.
The big problem with this image was the sky being blown out and the centre of the helmet badge on the left hand policeman. If I hadn’t been late getting this far and had more time, I would have done a bit of burning on the Sky in the background, the badge and also the shirts to see if there is more detail.
Unfortunately I needed to get the gear back to Dan and tidy up my station in the dark room so time ran out.
Darkroom Support.
Whilst in the darkroom today I found myself learning some more from having to teach-back to some of my course mates. From slotting the negatives into the contact printer, explaining adjusting the aperture and easel workings to some of my colleagues it took a little time away from my own practice and meant I was constantly having to check myself and where I’d got to, before moving onto the next part.
Don’t get me wrong, I like helping people, I love helping people get excited about getting a print out after the faff of setting it all up. It just takes time to reset my brain to get back into the process, but with it comes some knowledge imprinting on my own brain.
Simon came in at one point too, to help one of my fellow students with a stubborn negative and was doing great job of an explanation into the contrast/exposure settings and apertures etc to use.
Tutorial Chat
In between the Blobs and Bobbies I went out for my short tutorial with Niki. We talked about what I’d done so far and that I’d had trouble getting into the darkroom as much as I’d like. I showed her the work I’d done for Alice’s Materiality challenges and she agreed that some of it fitted in with the work I was doing for my full year project.
I discussed other ideas about the weaving of images together, using a checkerboard pattern to save cutting up images and she suggested that I could print onto acetates and overlap them in some way. She mentioned circuit diagrams could be a useful aesthetic, and I remember printing circuit diagrams onto acetate when I did engineering back in the 90s. We used to use an acetate to place on a circuit board to mask off the bit you wanted the tracks to stay. Once you exposed the board with the masked off areas the rest of the copper dissolved in the acid/developer if you like.
I wondered if I could perhaps do this and have the acetate of a circuit diagram or an engineering drawing be in contact with the paper on the easel and when exposing the paper with a negative, the circuit diagram on the acetate should mask off and keep some white lines in the image.. Hmm, interesting.
I mentioned that I was enjoying doing the things I was doing but didn’t know why I was doing it, why I enjoyed it or where it was ultimately going to end up. We talked about my engineering background again and my fascination with understanding how things work, looking inside to work it out or taking it apart and reassembling it. Perhaps the destruction isn’t pure destruction but deconstruction, (like destruction with a con involved) and when I reconstruct it after the investigation it’s me returning something back to working condition, better than it was before.
My engineering background started as an apprentice Electrician and with subsequent stints in Assembly and Test areas followed by Engineering measurements roles and an IT job that I still do full time today.
As part of my roles in the 33 years of work I have learnt to take things apart, repair them if possible and put them back together. I fix my washing machines, dishwashers, lawn mowers, computers gadgets and gizmos and like to repair before replacing if possible. It’s a waste to just dispose of something if it can be restored to a working condition. I’ve got a few videos on youtube of fixing various vehicles myself that have received many views proving that people do want the Right To Repair and have the ability to control the work rather than paying through the nose for it.
Not everything I’ve deconstructed has gone back together though, my Transistor Radio (remember them?) never went back together after I’d stripped it down in the mid-Eighties. In fact it got worse when I poked the speaker wires from it into the mains socket on the wall. The cone of the speaker blew up and my dad raced upstairs to see what had happened. I lied of course and said I’d dropped something heavy, he must have known. I know if my son or daughter have done something stupid as I put myself in their shoes and know what I would have done.
So is my project this year about my background in taking things apart and refitting them together again? Maybe. Maybe I am enjoying the physical processes in place and I want to express my enjoyment of deconstructing and reconstructing something whether it’s a physical object or a photograph. Certainly food for thought.
I will also consider ways I can get a circuit diagram or engineering drawing to use in the project, or even create my own. It’s a bit of a circle to use an engineering drawing I suppose, after all the original drawings called blueprints were created using a cyanotype procedure hence their name. I wonder if I can borrow some Microfiche Aperture cards from work, ones that don’t contain confidential information obviously and put these in the negative holder to use straight from the head. Alternatively I can use the Microfiche scanner to digitse them and use them to create a print on acetate…..
Comments are closed.