After the normal Tuesday afternoon at Uni had been completed it was time to head to the Print Rooms to find out what we’d be doing tonight.
The first week we looked at Monotype Intaglio Printing using the Roller Press and the second week Laura showed us how to create Silk Screen Prints using an open box screen. Last week was a strike week so staff were thin on the ground so I left at 4:30pm to drive to Tavistock in West Devon to pick up a new camera that I’d seen advertised on Facebook Marketplace. A ten hour, 500 mile round trip ensued and I got home at 2:30am.
After not doing any printing last week due to the epic road trip I was looking forward to this weeks foray into another method of printing. I wasn’t disappointed.
Laura demonstrated drypoint etching and printing using the roller presses and as simple as it appeared, it really takes some doing to produce a nice image.
The Demo
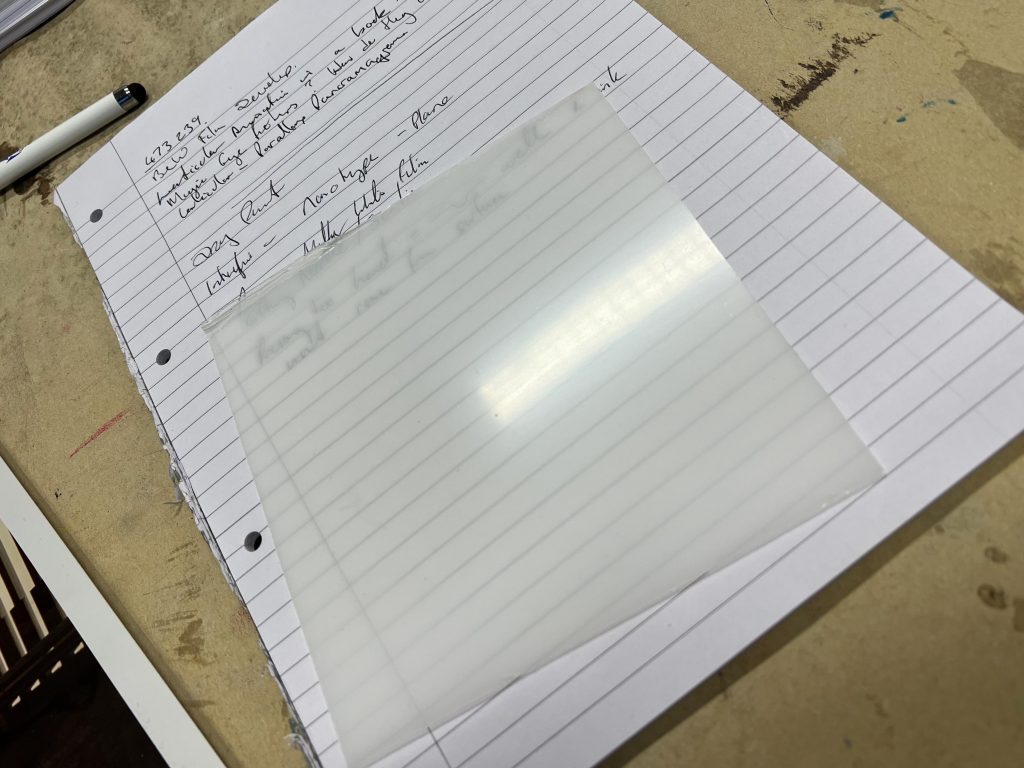
We were shown the piece of plexiglass that we would be working with along with an etching needle.
Laura removed the plastic cover from one side of the plexiglass so that etching marks made were directly on the surface.
These marks, made with the burin, or etching needle are called burrs, Burrs to me are rough edges on metal after a machining operation has removed material. It’s not so different when you think about it. Laura showed us that you can also use sand paper to scratch the surface finely too.
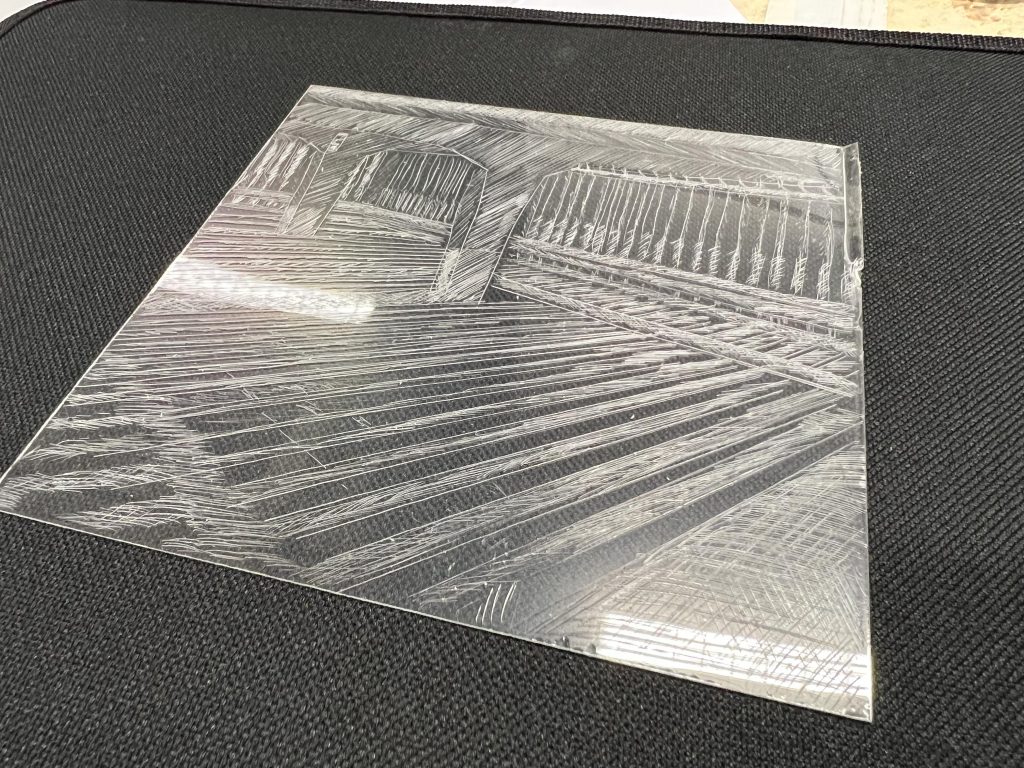
It was explained how marks made in the plate (plexiglass) with the scriber/etching needle are not necessarily made deeper to create darker lines in the print. Multiple parallel lines or cross-hatching of lines is what creates the darker appearance of some areas of these types of prints.

Pressing too hard may cause a “well” where ink pools into and cannot be pulled from during the press process.
It is easy to sketch out ideas on to the plate using the etching needle, or if like me, and one has difficulty drawing, you can trace over an image. Whether the image you choose is from a magazine, newspaper or a photograph is irrelevant.
Taping the plate over the image to trace allows you see through it and then scratch away to your hearts content on the surface of the plate.
Ink Time
Once the plate is scratched up enough that an image is visible and you want to print from it a process called Inking Up is required.
A splodge of ink was left on the glass table and then a squeegee offcut used to pick up some ink and wipe it across the surface of the plate to completely cover it.
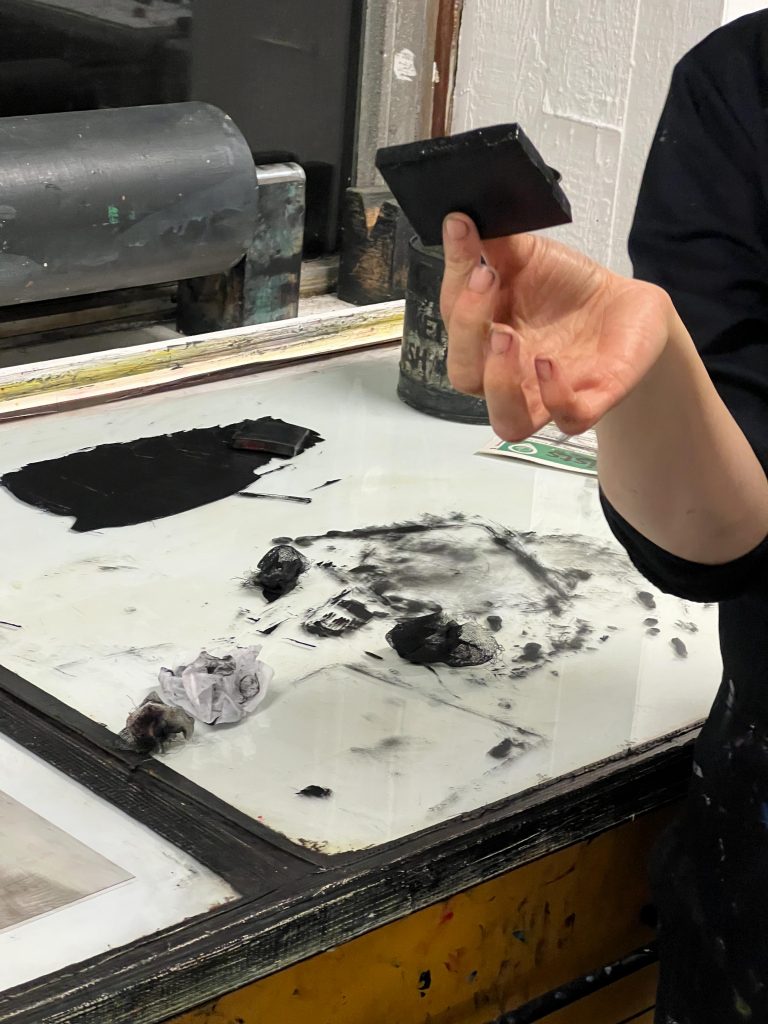
This coverage does not guarantee that ink is in the scratches so the next step is to use some “Scrim” and working from the centre of the plate outwards in a curved motion, the scrim is pushed down and ink moved from the plate to the glass table top.
Keep refolding the scrim to get an ink free side and repeat until almost all of the ink is slid off the plate.
Once this has been done, “Palming Off” can be done. This is so called due to Printers using the palm of their hands to do the operation. Tonight though we’re using thin tissue paper. to wipe excess ink away.
This palming off removes the ink we don’t want to pass from the untouched areas of the plate to the paper. Some ink can be left in areas if you want it to pass from flat areas to the paper too.
Once complete and the ink is left on the plate in the burrs and the plate face you can then place it on the registration plate of the roller press.
Wet Paper
With the paper pre-dampened and blotted then placed over the plate on the registration sheet, the tissue paper goes over the top, followed by the blankets and then a good bit of rollering to see the table pop out the other side.
The blankets are then lifted and tissue paper carefully removed before peeling back the print from the plate.
The print can then go on the side for drying over the next few days.
The plate can be re inked, in different ways and using different inks and palming off technique to get different prints. I doubt that two prints are ever the same out of this process.
Once this was demoed we then carried on with our etching onto the plexiglass, I chose a photo print of the Multi-Storey car park with lots of light and shadows.
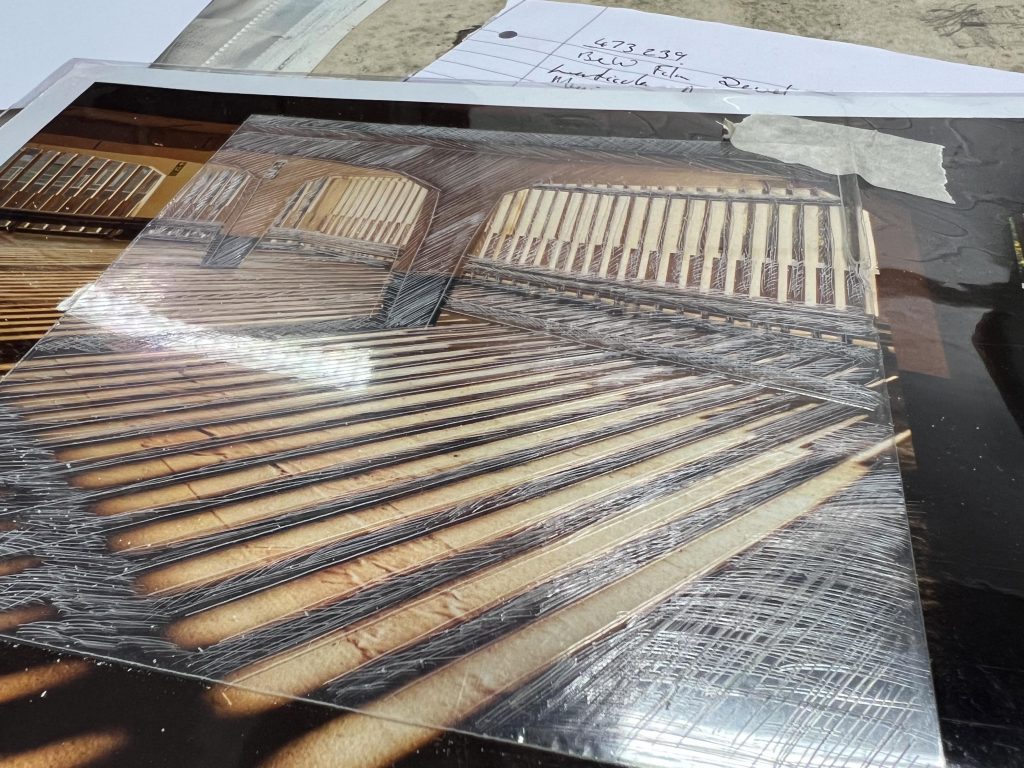
I traced over the lines and filled in areas with lines going different directions and also a bit of cross hatching too.
Once complete I had 30 mins to get the print done before we had to tidy up and get out of the print room.
Overall Impressions
My print came out ok as it happened and a little mark on the side was from where the paper lifted off the plate with the tissue and I had to catch it before it plummeted back onto the surface again to pick up more ink and ruin the image.
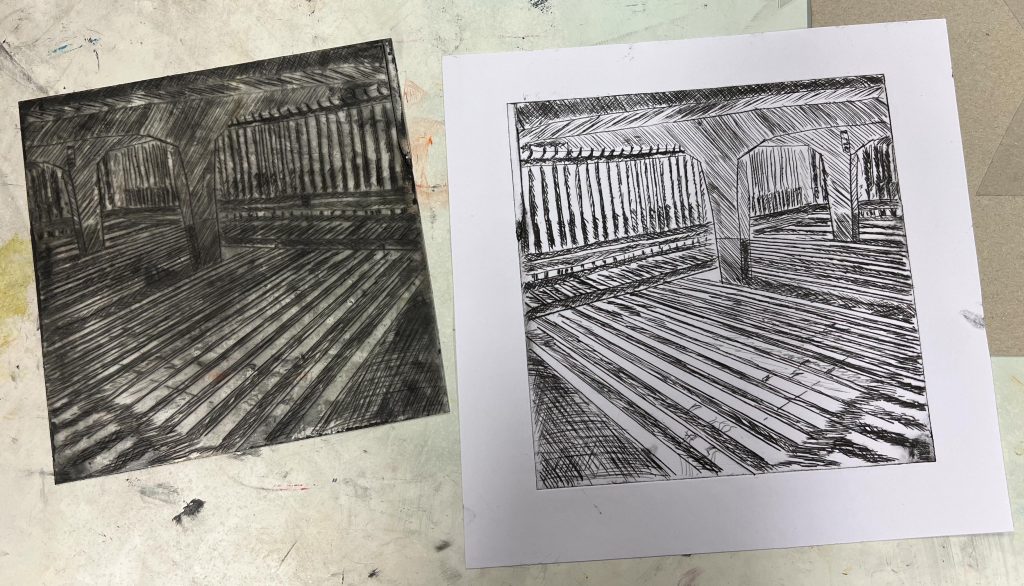
Overall, I was happy with my result, partially due to selecting a good high contrast image I think. The darker areas I think I could make darker with some further finer cross hatching so I may do this at next weeks print club. I can also see a bit in the bottom right hand corner of the print where I didn’t palm off enough ink so it smudged the paper up a little.
I’m thinking about other images I might want to etch into a plexiglass plate for next week too… What will I pick? Maybe you’ll find out on here next week…
Comments are closed.