No real fixed plan of work for today apart from tutorials and discussions around our shoots leading up to the Week 4 Review. Gavin and Euripides are in today and we have had a chat about getting some shoots done ahead of the review in Week 4. Some people haven’t completed any shoots and will need to get some done soon but i think I’ve got enough photos in the can at the moment,
Once the shoots are all in and Week 9 rolls around this will be a final group review to pick the shots that will be hung on the walls of the degree show.
The week after the review will be the one to one meetings where the final selection is agreed upon and then these will go forward for printing and framing before their inclusion in the exhibition.
Gavin and I had a brief tutorial where we discussed the photos that I had made at Shirehall and how it might continue into the rest of the project. I discussed how I’d spoken with a few of the people at the tour which consisted of politicians, surveyors, architects, the son of Ralph Crowe (the architect designer of Shirehall), BBC Reporter and councillors. I had discussed how art projects can help with these sort of projects and Gavin suggested that they might be missing a trick by concentrating purely on the demolition and future plans and not considering how the arts might help.
He liked a few of the photos that I had picked up in the process and I said that I felt like interior and exterior photos might not sit well together in a sequence but could be two parts of the same project.
Modifying Film
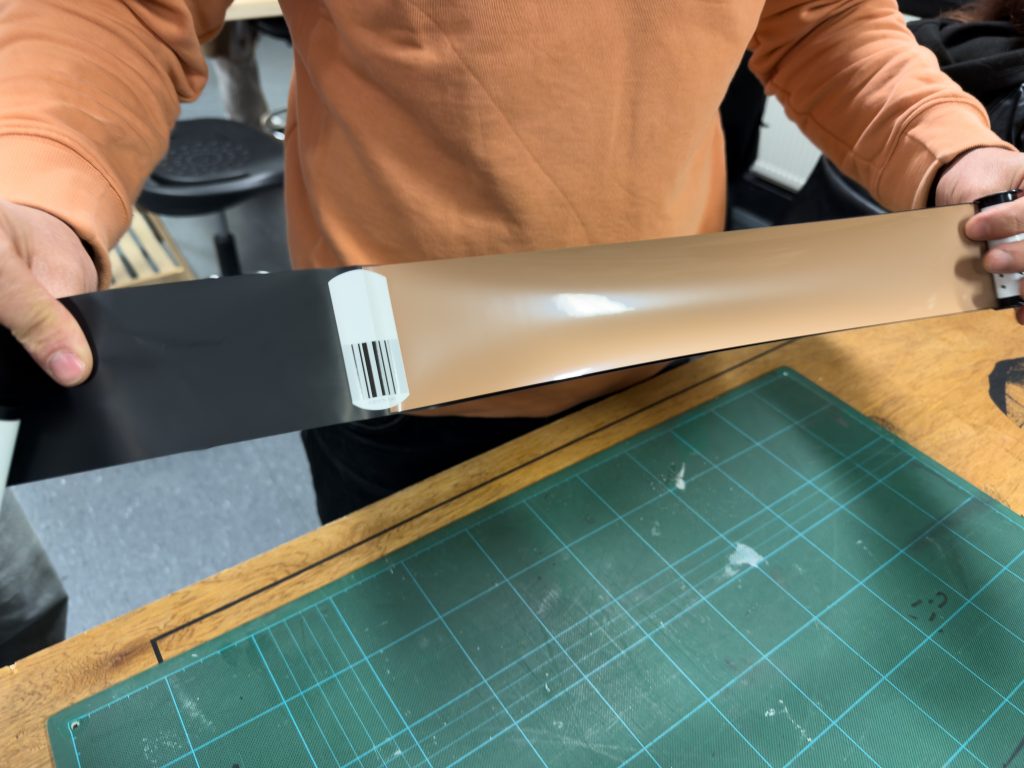
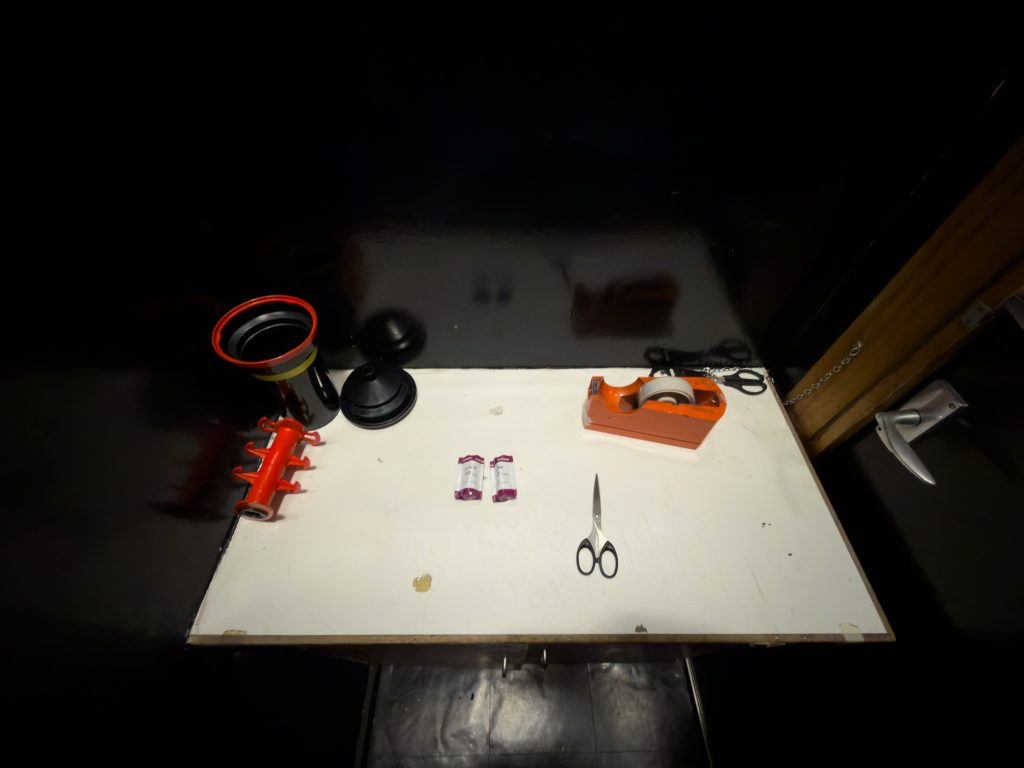
Euripides said last week that we might have time to change a 120 film into Redscale so he came and showed us with a roll of film that he sacrificed on the table in the studio workshop area.
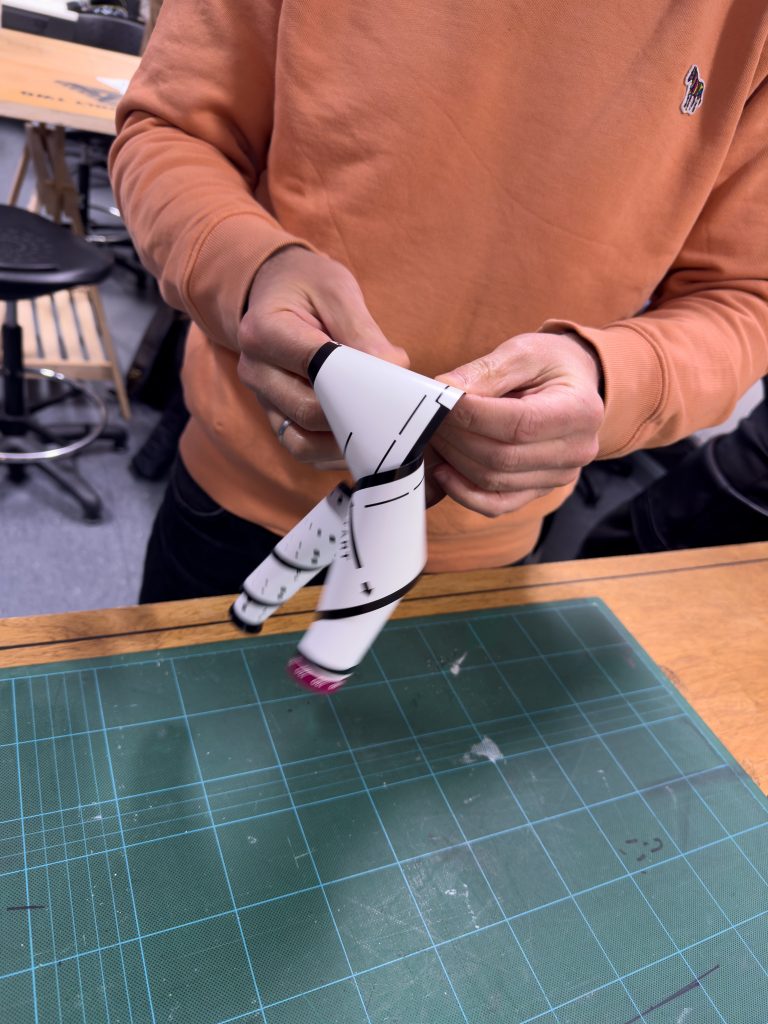
He showed us how you unroll the film backing paper until the tape and the beginning of the film appear. the position of this is noted by creasing it, or folding it over so you’ll be able to feel it in the dark.
Once at this point the rest of the film can dangle down off the end of the desk and be held lightly in place with legs or waist. The tape holding the film onto the backing paper can be unstuck and put somewhere safe. If it tears you can use masking tape or sellotape to join them.
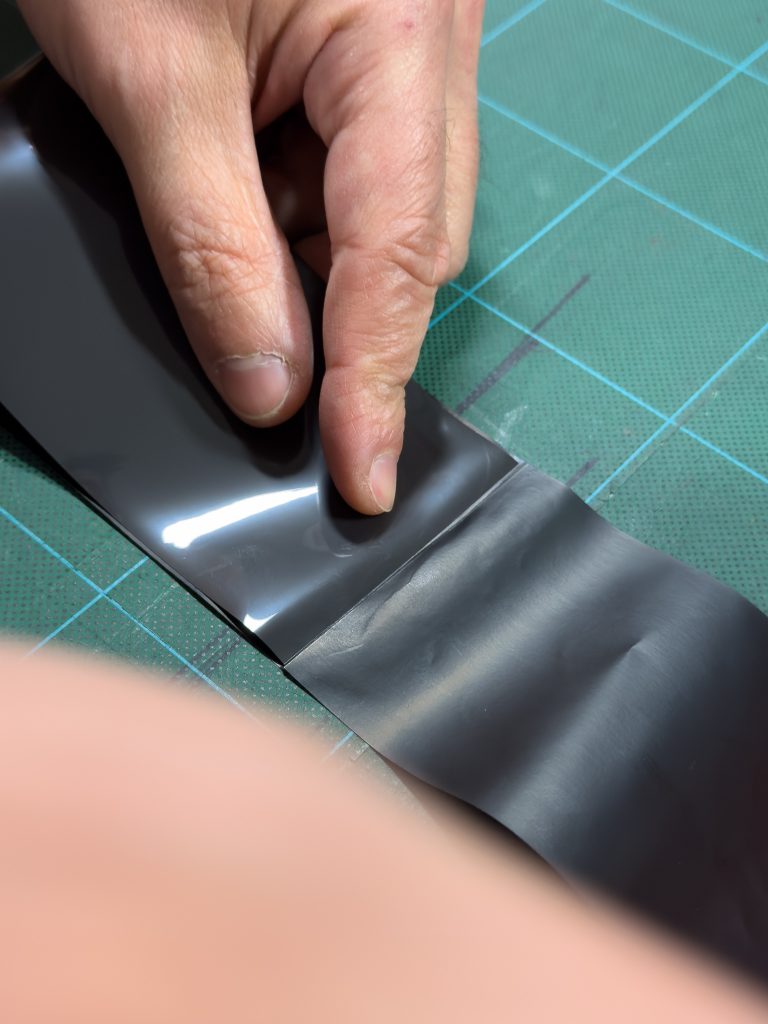
Now the film and tape are separate from the backing , you can turn over the film so that the emulsion faces the opposite way. I asked the question about touching the emulsion surface of the film as it looked like there was little care being paid to this, but Euripides said that this is not so much an issue on colour film, but don’t even think about touching the emulsion on a black and white film.
Now the film is flipped over, place the end of the film up against the creased point on the backing paper and refix with the moved tape or the new tape.
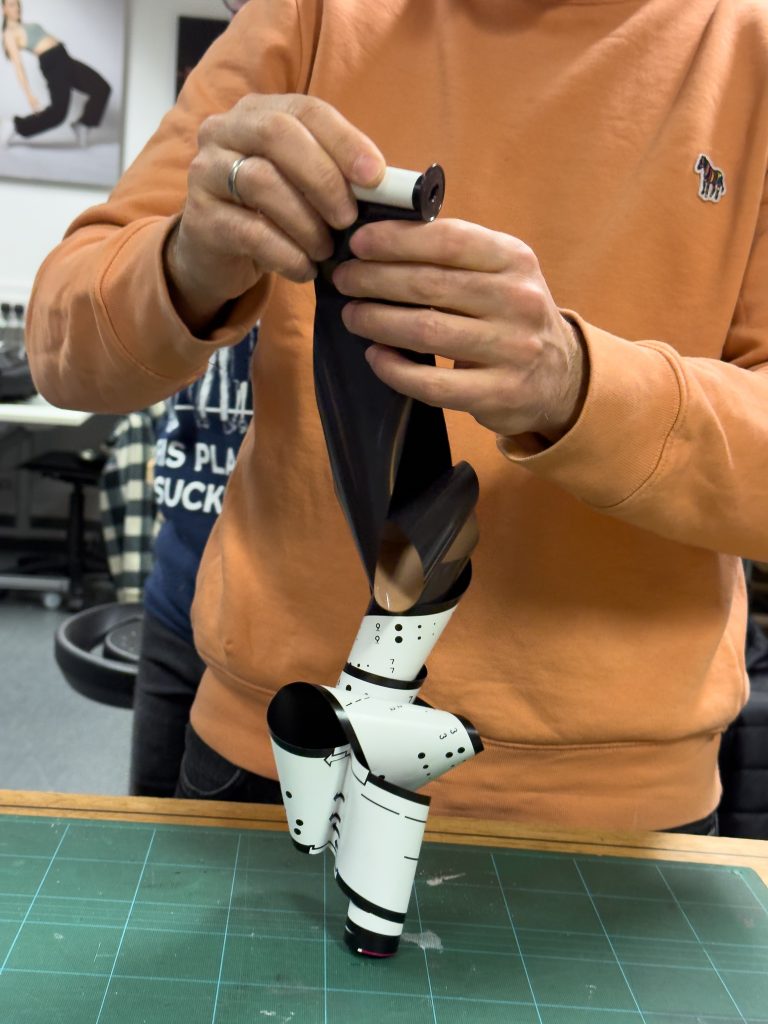
Once stuck down it is time to let the whole roll of film flip over and this is done by releasing it and letting it tumble downwards whilst holding the taped join.
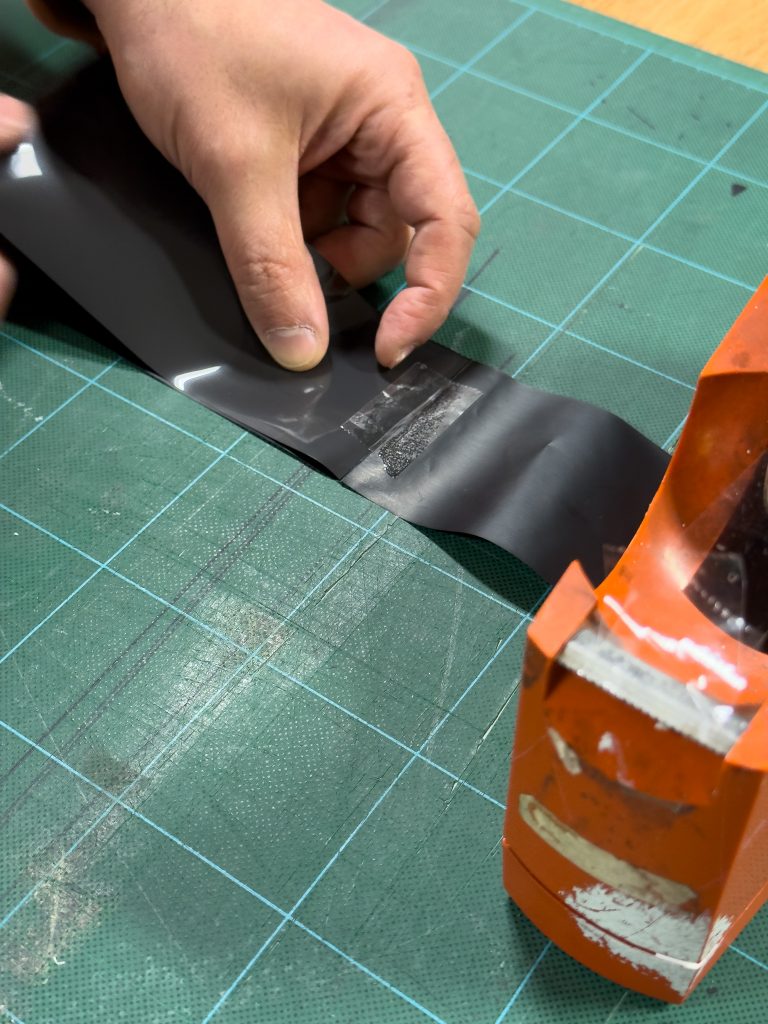
Then it is time to ensure that the film and backing paper are not twisted too badly, preventing them to be wrapped together again. This is done by holding the taped join in one hand and running the fingers of the other hand down the film and the backing paper keeping them together as best as possible.
Once at the end of the roll, where the film has ended but the backing continues the roll can begin to be rewound onto the spool. This is tricky as the film and backing are prone to twist and the winding back onto the spool needs to be kept tight to reduce risks of light leaks.
Unavoidably, once the roll is almost back to the beginning, nice and taut, the taped join approaches and is not now in the correct place. This has moved due to the film being wrapped into the backing not being exactly precise. The tape can now be unstuck and restuck into it’s new natural falling place.
The rest of the backing is then rolled back over and kept tight before a spot of tape is used to keep the backing paper closed, as if it was a new roll of film. Euripides then said to mark it with a big R for redscale thus reducing the risk of using it unintentionally.
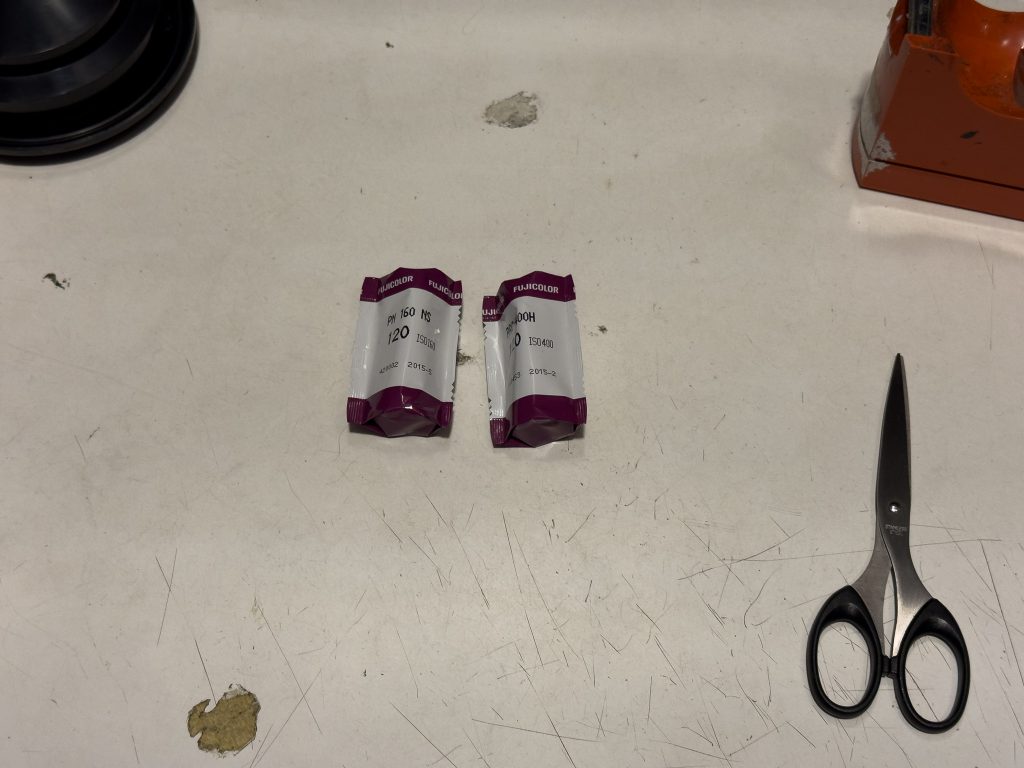
Euripides gave me two rolls of Fujifilm 120, one a ISO400 and the other ISO160 to try this out with. Upon giving it to me he explained that the film speed is affected by three or four stops due to shooting through the rear of the plastic backing. He explained that the ISO400 reduced by four stops is ISO200=1 stop, ISO100=2 stops, ISO50=3stops and ISO25=4 Stops.
The ISO 160 Film is reduced by four stops to ISO12. So these two speeds are what I should shoot these films at in order to get an approximately correct exposure. Obviously, these speeds are very slow and to shoot in any light at all would require a tripod to get a reasonable exposure with as little blurring as possible.
Euripides also explained that a bracketing approach to shooting might give me a better understanding of the correct way to use this film. He suggested 3 or 4 stops around the metered exposure so it might be a strategy to shoot a roll of film with a plan of that. If the meter demands a shutter or aperture to suit the ISO, then I can shoot it with alterations to the aperture and speed as per the exposure triangle.
This bracketing approach would give me a series of photos a little like a test strip that might be made in the dark room on an enlarger and would help with future films that I decide to alter.
The processing of the film will be a standard C41 colour developing process and there should be no changes needed to get it developed properly.
My Turn
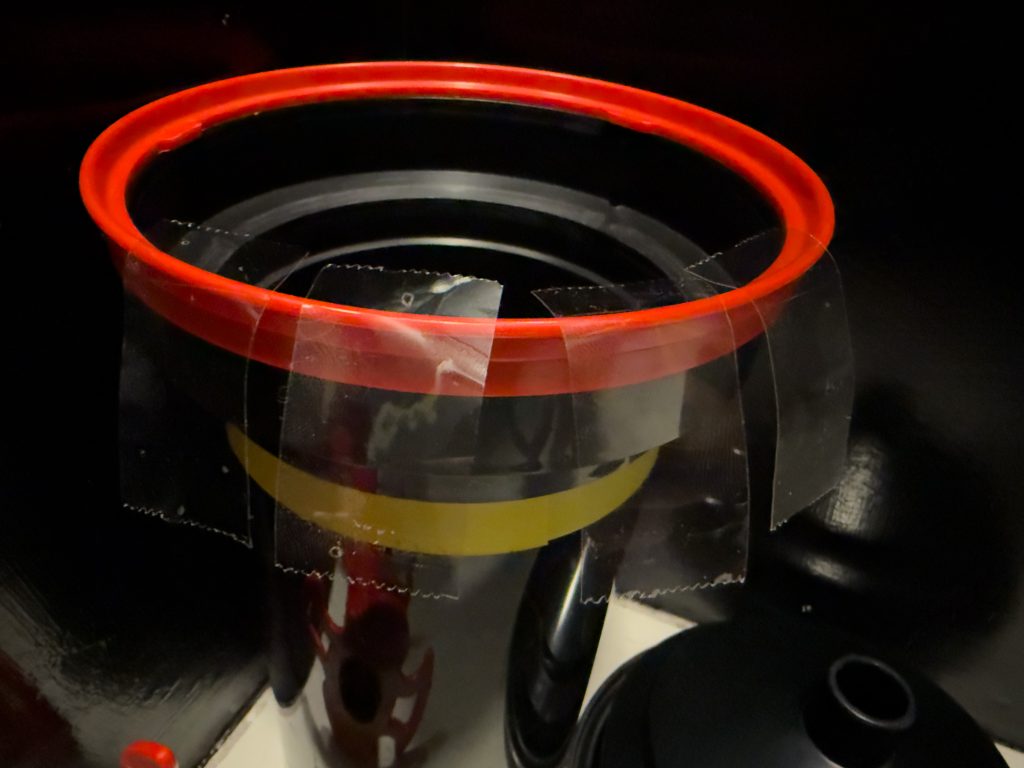
I had the two films and went and stood in the LOADING room, usually used for taking film from canisters and putting them into Paterson tanks for developing, I had brought in a double height Paterson tank, at Euripides’ suggestion in case I got stuck half way through and need to seek help.
Around the rim of this tank I cut off four strips of sellotape for use on the films. The scissors were in there too in case I needed them but didn’t foresee that.
I began by shutting the door, locking it, setting my phone to silent in my pocket and my apple watch to theatre mode so it didn’t light up and fog the film.
I followed the process that Euripides had demonstrated to about five of us, and found that I could remove the tape from the film and backing and reuse it again. The first film seemed to go smoothly until I got to the end of the winding back onto the spool, and I had a sudden panic that I’d wrapped it all back onto the spool in the wrong direction. It wasn’t and all was fine.
The second roll went pretty smoothly also until I got closer to the taped join again, the paper and film seemed to be tied up in knots and difficult to unravel, if I’d had the luxury of a light I might have been able to see the issue but I just had to twist the paper and film in each direction until it fell free and felt natural again. Once this was settled the roll was tightened up and hopefully light-tight.
The rolls were slid carefully into their foil wrappers again and then these labelled as Redscale and the appropriate ISO scribbled on them. These are ready for use in my Bronica ETRS as and when I next get the chance.
Conclusion
After the Tutorial and the demo by Euripides the film modification was a piece of challenging fun. I do like to be pushed, but I like to ensure that I understand the methods and reasons first before I blunder in on a job. This led to some success (I think) on the redscale mod and I’ll only truly know once the film is shot and developed.
The tutorials were valuable too as it helps me concentrate my mind on a possible path for the near future.
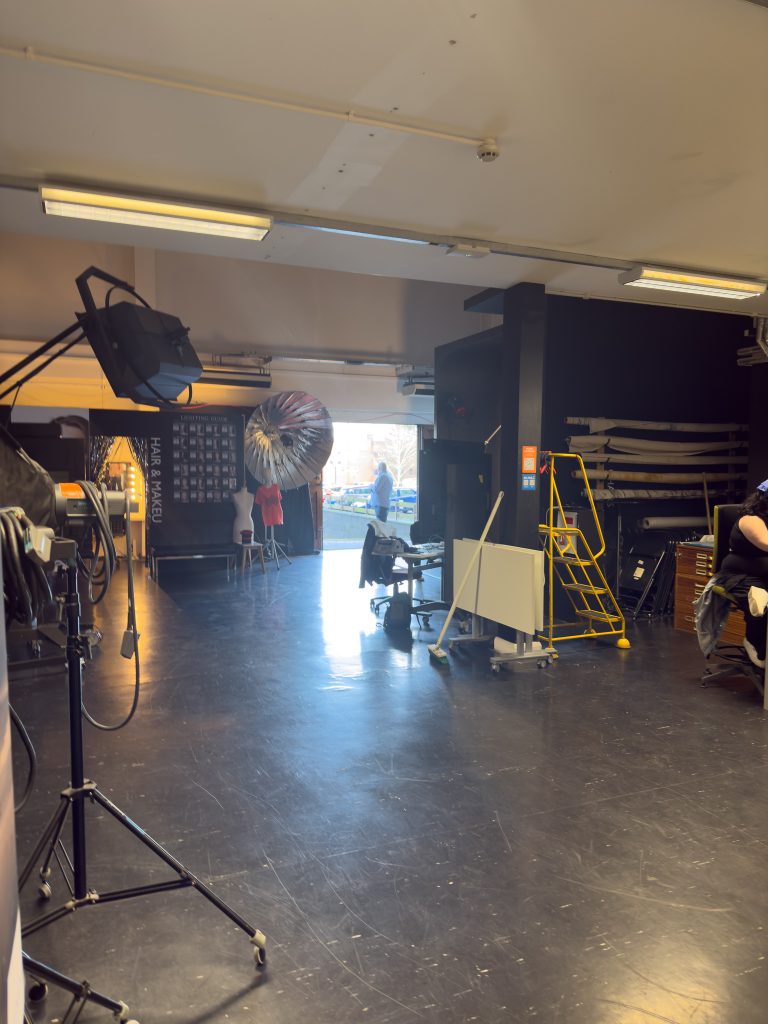
At one point Andy and Tom opened the huge sliding door to ensure it was working correctly as there is a shoot involving lawnmowers tomorrow and they’re too large to fit in the pedestrian door ways. Its also a good way to get a car into the studio and I think that Callum from Level 6 is planning on bringing in a car at some point.
Now it’s time to go for a drive to Sunbeam Street and launch the drone over the site of the huge fire two weeks ago.
Be First to Comment