Two groups of three, had ideas of some work to be getting on with today.
Angel In A Blue Kimono
We all got together around Angel’s vision of a painting of a mother cradling a new born baby, The Blue Kimono by Lilla Cabot Perry. Angel wore a kimono and held a “Reborn” doll that was a little uncanny valley and strange.
I stayed back and let their group of three do most of the work and chipped in when I could, if it was useful, like recommending adjustments of costume or pose.
Using the Pentax 645Z Digital camera and the Broncolor Head with the Broncolor pulsoflex EM large rectangular soft box, with the subject on a stool in front of a brown paper roll background.
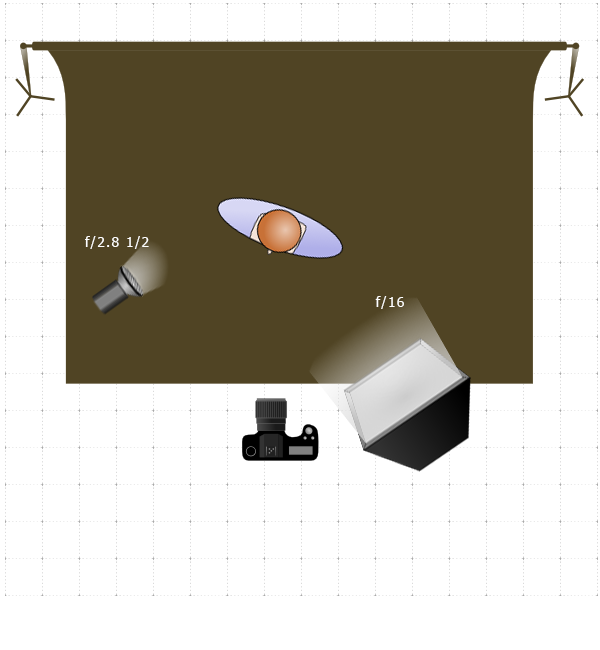
The camera was set to f/16 so lighting was also set to reflect this, it was examined on the lighting chart and a Key with a Far Away Soft Box was selected as the most representative of the painting.
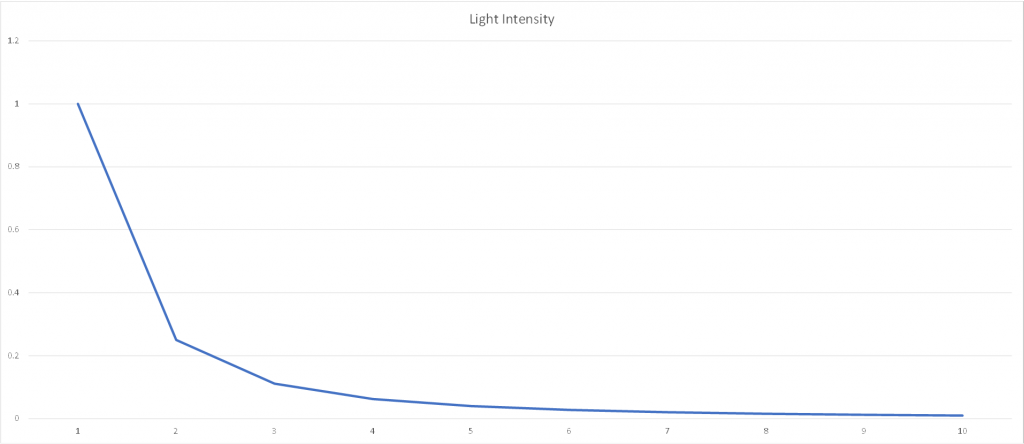
Dan explained the drop off in light from a flash is large nearer to the light than it is further away due to the inverse square law of light intensity. He explained that two people side by side one further away from the flash than the other would be lit considerably differently but the same two people stood side by side, further away from the light would be more closely lit.
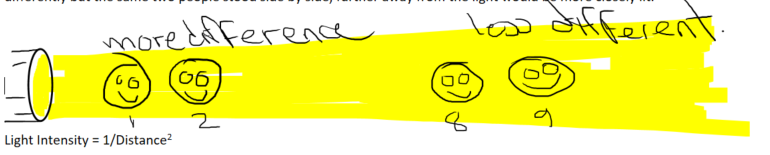
Moving the light further away from subject and background means more even light on subject and background, the closer the light the more the separation of the subject and the background..(i.e. Darker background)
Using the light meter to check for power, Angel’s nose was tuned to be f/16 and then the posing and corrections started to ensure her image was as similar to the painting as possible.
Once they were happy with the images they had, we swapped crews over.
Just Joshing
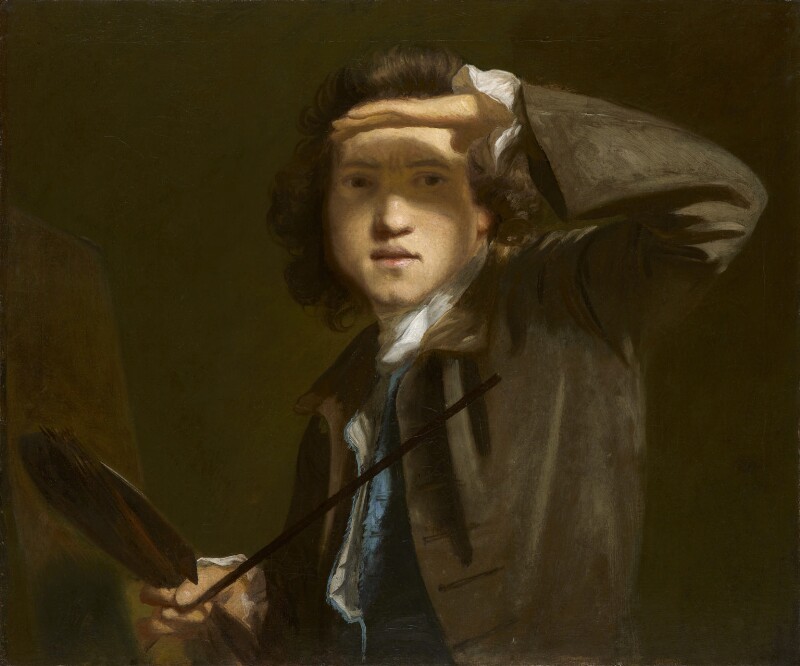
I volunteered myself as I’d prepared somewhat for my image of Sir Joshua Reynolds recreation / interpretation. I’d set myself up with a suit, waistcoat, wig, ties, and some props. As it happens I didn’t use the wig or need the tie either.
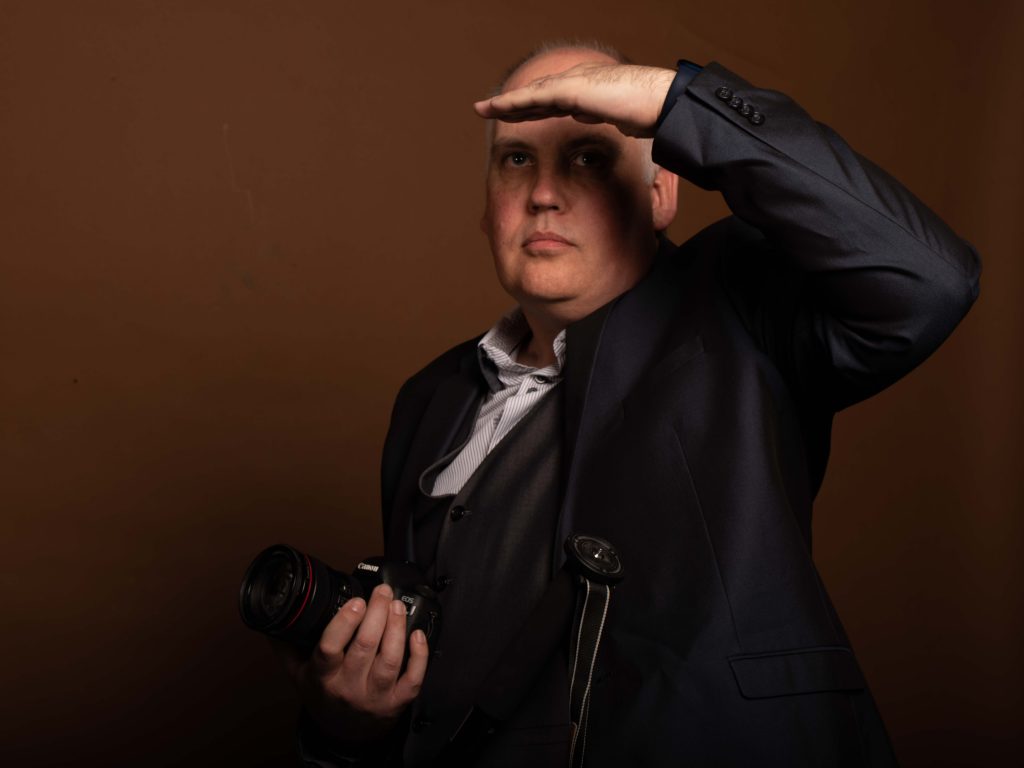
My intention is to create an image of a photographer advertising his skills, displaying the tools of the trade, much as Reynolds is seen to do in this portrait.
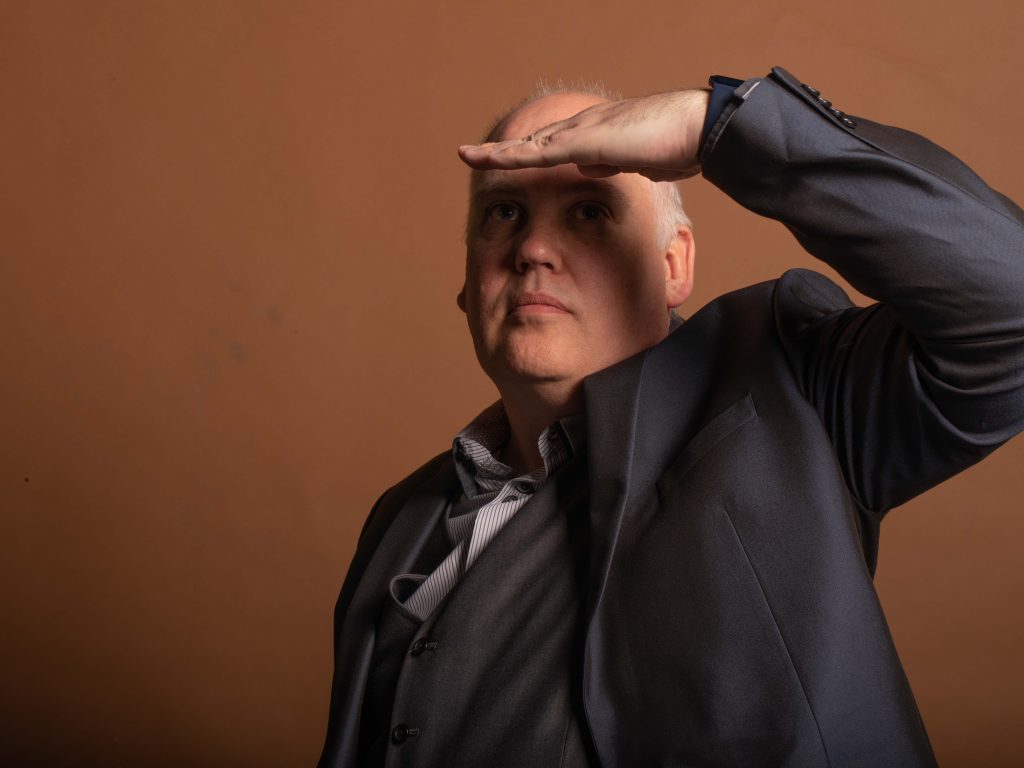
I changed into my shirt, waistcoat and suit jacket and prepared to hold my Canon 5D camera, some tongs and a flash umbrella in place of the paint pallete, brushes and mahl stick. The brolly was white which would have stood out so I asked Dan if I could use a black brolly, then he went off and came back with a Monopod for me to use.
Sit Down & Shut Up
After being told to sit down on the stool the team around me then set up the light using a Loop light configuration which was practically the same as the previous set up but the light was rotated more in front and moved up in the air a little for the shadow from the hand onto the eyes.
The main light was set to f/16 as per before using light meter and when the initial image was taken, it showed that my eyes were too dark so needed a pep up. Liberty was on the camera composing the shot and Chan was helping me pose and doing the light readings and checking the set ups. Angel was employed to hold a reflector to bounce back a little light up into the eyes to lighten them a bit but it was felt that it was impacting too much of my visage.
Dan picked out a small Bowens head with a small beauty dish and medium honeycomb modifier then tried to put a little light up into the eyes as it’s quite easy to target a particular area like this.
This light was placed on the floor as low as possible but was casting too much of a shadow on the nose apparently, I couldn’t see the shadow off my own nose.. They decided to raise it off the ground on a stand and were happier with the result.
Metering took place again and whilst the main light was still f/16 this smaller fill light was showing as f/2.8 + 1/2 so it was time to take a quick shot. Then when they were happy with the result on the screen of the camera we arranged the camera and monopod in the right hand to appropriate this part of the image but update the artists tools to be the tools of the photographer.
Setup Of Lighting
After some faffing and extending the monopod so I could rest it on the floor we took a last couple of pictures, a big challenge was getting my elbow high enough to align with the original painting. As I was wearing a very tight fitting suit jacket, (lockdown has shrunk my suit jacket), it was a challenge to twist my body around and then lift my arm up so the shadow of the arm wasn’t causing a shadow on my face, but only the hand did so.
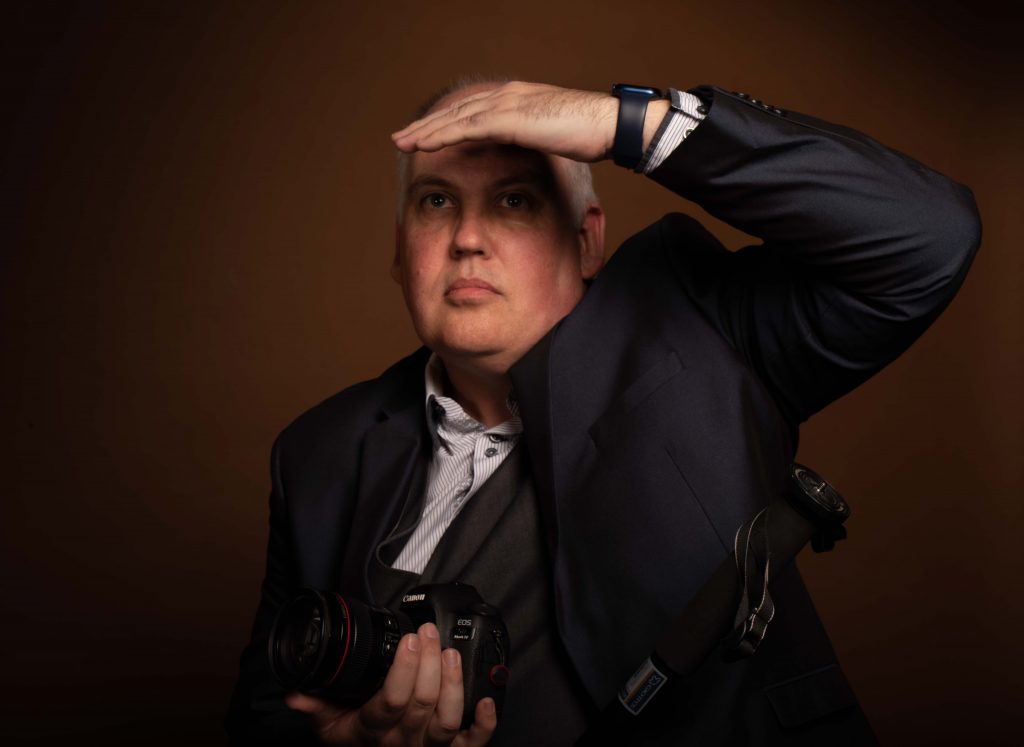
Final Shot
The camera was actuated and the final image captured, then it was time to have a look on the rear of the screen and it looked good, I thanked the team for getting this image sorted and then asked them to do it again with my Bronica ETRS on the tripod instead of the Pentax. Nothing else was changed so with the camera metering set to manual and the flash sync cable connected Euripides moved the tripod forward and backwards until the framing was improved, the telescopic zoom on the Pentax was set at around 100mm focal length but my Bronica is a 75mm lens, so it needed moving closer.
Analogue Extra
The first shot on Kodak Ektar (100 ISO) seemed to work correctly and then winding on it triggered the flash again and then a frame with no flash, but the third time was the charm and I think a fourth shot was taken. The aperture was set to f/16 on the lens and the shutter speed set to 1/125 even though it can sync with flash up to 1/500. Once we’d done these final few shots we crashed the set and put it all away ready for the afternoon.
Taking the memory card from the camera we downloaded and then copied the files up on to the OneDrive so they could be shared with the group later on.
ISO Want It To Be Right
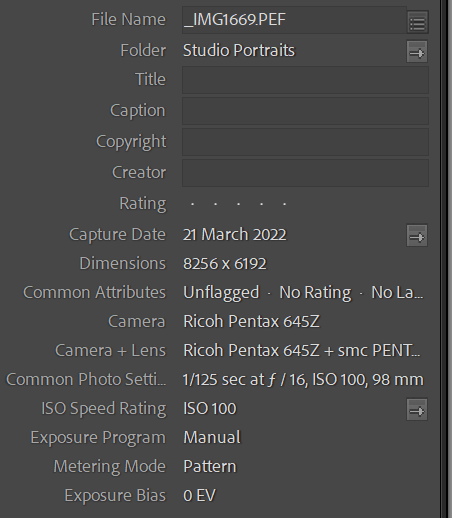
On my way home I had a panic as I wondered what the ISO of the Pentax had been set to, if it was set to 200 or 400 ISO then the lighting set up for f/16 and f/2.8 1/2 would not be correct for the 100 ISO Ektar film in the Bronica. I found out that the Pentax had been set to ISO 100 by looking at the metadata in Lightroom once I’d imported it into my catalogue.
Blurredy Hell
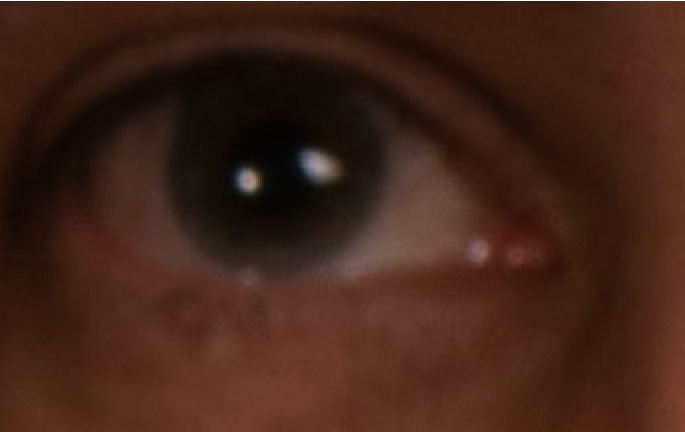
But looking in the Lightroom at the photos I had, I noticed that all but the first image were not sharp, in fact they were all blurry. I noticed as I was trying to have a look at the catchlights in my eyes to see how they looked.
There is very little detail in the eyes so I may have to resit for the photo again or try it again… Bit gutted but this is how we learn to check the focus of the output without relying on the little LCD screen on the rear of the camera. If I’d noticed before we crashed the set I could have redone the photo but it was too late. We’ll get another opportunity to do it again then I think1!
Lessons learned from today’s studio workshop
- Don’t compromise your image for the sake of not changing something.
- See something that needs changing, get it done.
- Check light readings every time lights or subject moved or modified
- Check ISO on cameras if changing between film and digital.
- Lighting intensity is less different further away from the source.
- Picking a pose with an arm in the air is exhausting after a while.
- Model should sit and have the rest of it done by the team.
Be First to Comment