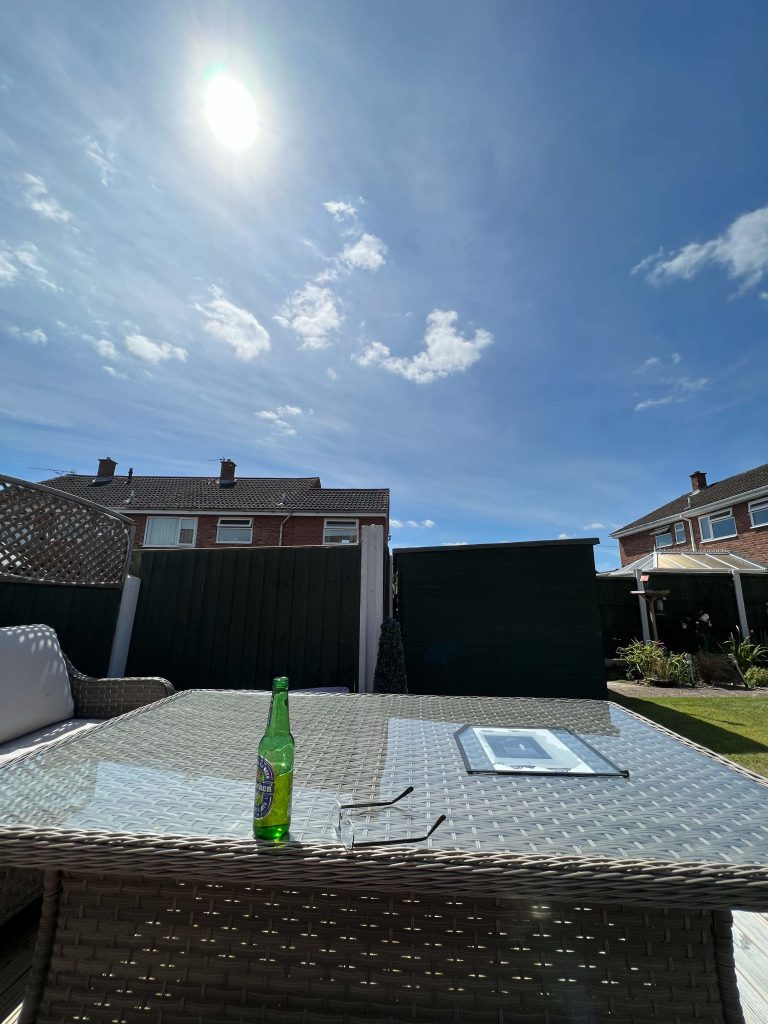
Heat wave in August 2022, what can you do on a really sunny day? Cut the grass, sit and have a beer on the decking, fill the paddling pool, go on hols or txry a Cyanotype in the bright sunshine?
One of the 3rd years on my BA Hons in Photography at the University of Wolverhampton, Richard gave me a pack of treated paper before we split up at the end of my first year and his last year.
I’d done a cyanotype in the university and it came out well and I was happy with it. It also garnered lots of nice compliments from people too. I thought I’d give it another go so I chose a photo that I’d taken in the Ikon Gallery in Birmingham during a trip there last week whilst Commonwealth Games fever was packing the city out.
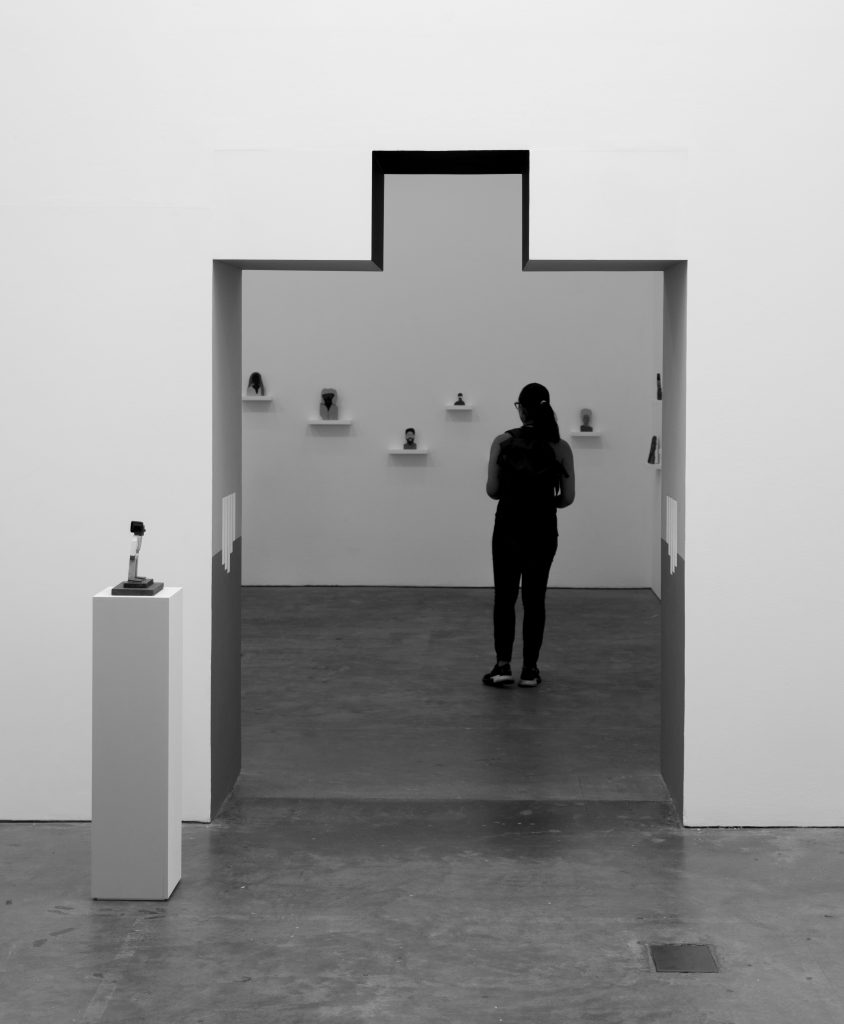
In line with my previous attempts at Cyanotype I felt like I wanted to add some comic book captions to it, you know to spice it up a little. It was a contrasty image which I felt should work well so I set to work.
First off I cropped the image to remove some confusing elements from the left and right side and then prepared to open it in Photoshop.
Once ready I could apply the Cyanotype Curve to it which I downloaded from https://www.alternativephotography.com/curve-corner-photoshop-curves/
This curve alters the contrast levels of the image to allow for a better cyanotype image, by smoothing the contrasts all the way through the picture rather than just big chunks of one tone and a more graduated appearance.
The curve applied, I used the comic book style font Domino Mask for free from https://www.cufonfonts.com/font/domino-mask as designed by Daniel Zadorozny
I chose some random but appropriate phrases and added them onto the image with a white background to appear like a callout in a comic.
Once happy with the appearance it was time to flatten the layers and then invert the image so black was white and white was black. This then was ready to print on transparencies through my laser printer. I chose to print it twice and staple them together exactly overlapped. This way it should have a good effect on the paper exposed to the UV, I’ve tried it before with one piece of transparency and it just burn the whole sheet.
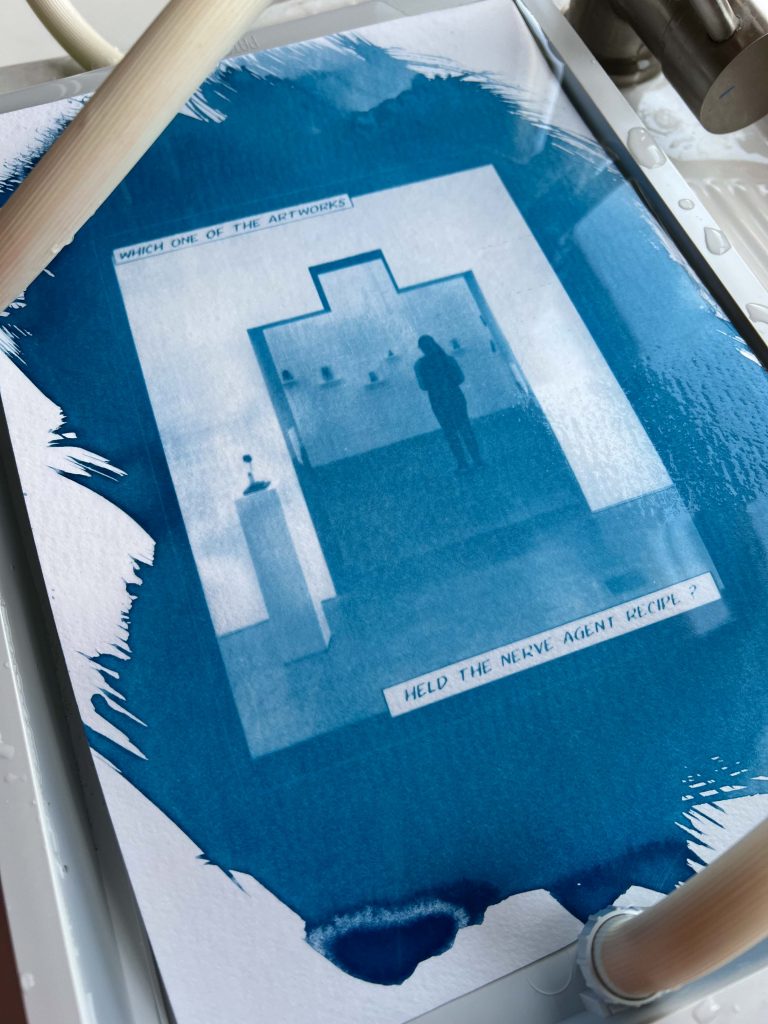
With the transparency, digital negatives in hand I grabbed a sheet of the Cyanotype prepared paper that Richard kindly gave me and headed out to the garden, on the patio decking table. I placed the treated paper on the table with the transparencies on top and then a sheet of picture frame glass to hold everything still and prevent unnecessary blurring.
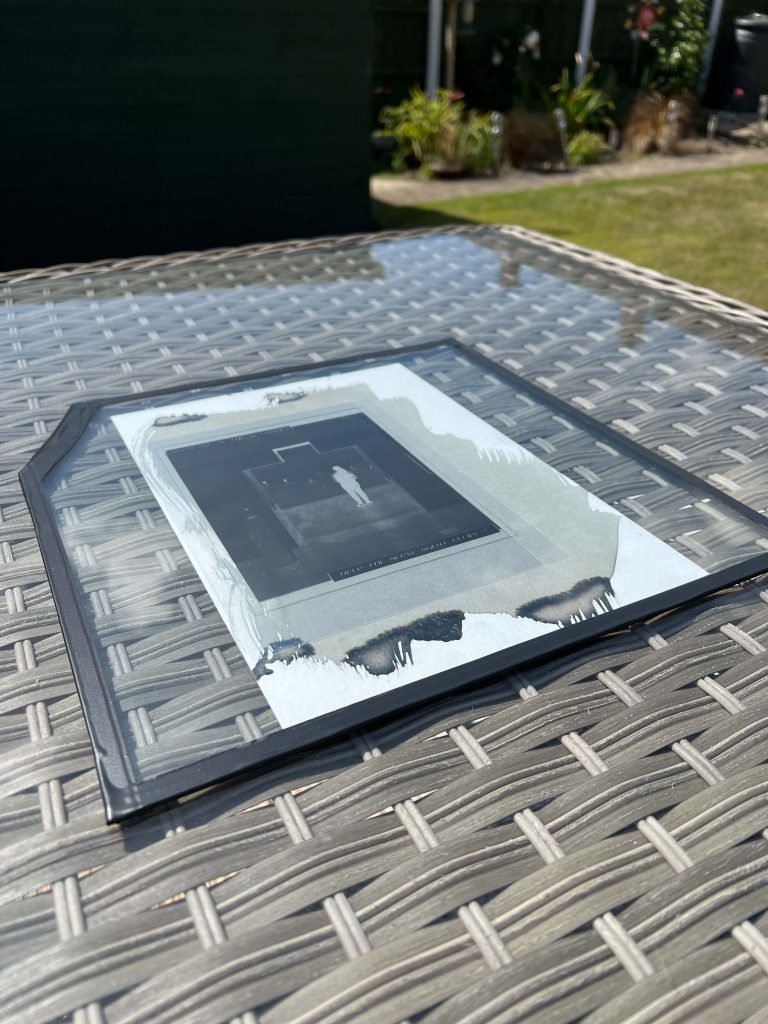

After leaving it for 10 minutes, I could see that the green coloured treatment was turning darker so called it and took it in to the kitchen for a wash in the cold water. I felt a little bad as it was during the heatwave and water is more scarce than usual but needs must.
Into the sink and a tap running I could see the unexposed areas washing away to leave a white or lighter area, it’s a marvellous process. really.
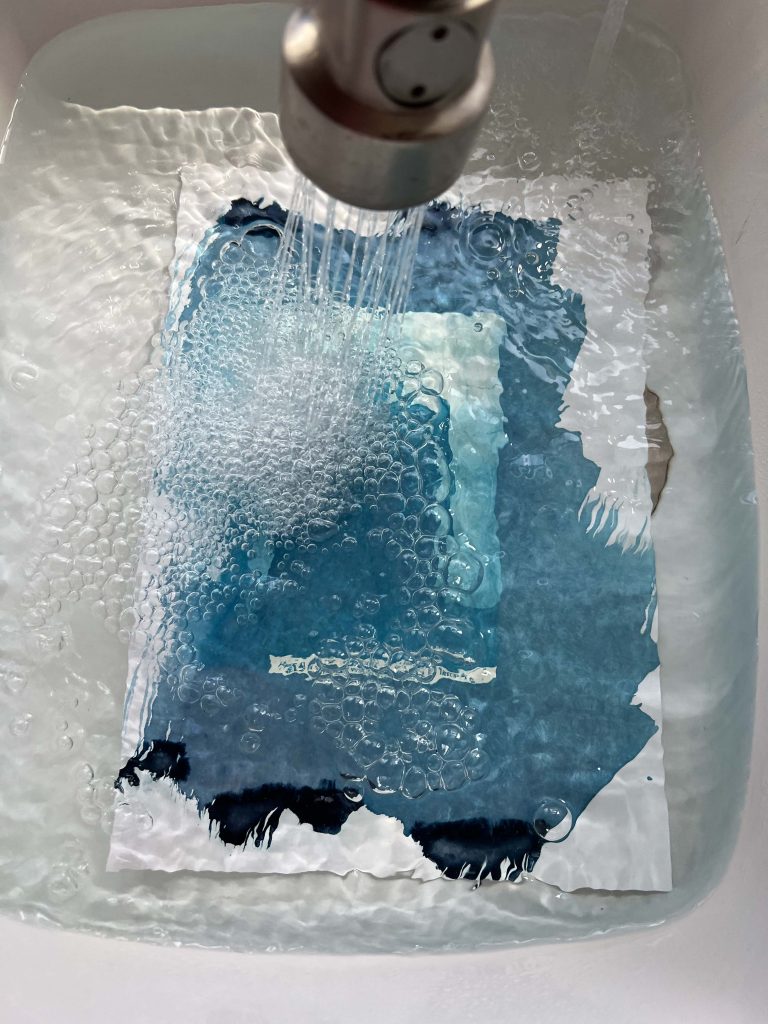
You can see from the image to the right above that it looks to have come out well, but the blue cyanotype image is so well known I wanted to repeat the toning exercise we did in the uni darkroom so I put the kettle on and made a pot of tea.
With a litre of boiling water and ten Ty-Phoo teabags brewing in it, the water soon took on the typical tea colour and I left it to turn it even more brown. Once it had cooled a little I removed the tea bags and poured the liquid over the piece of paper in a 10×8 developing dish.

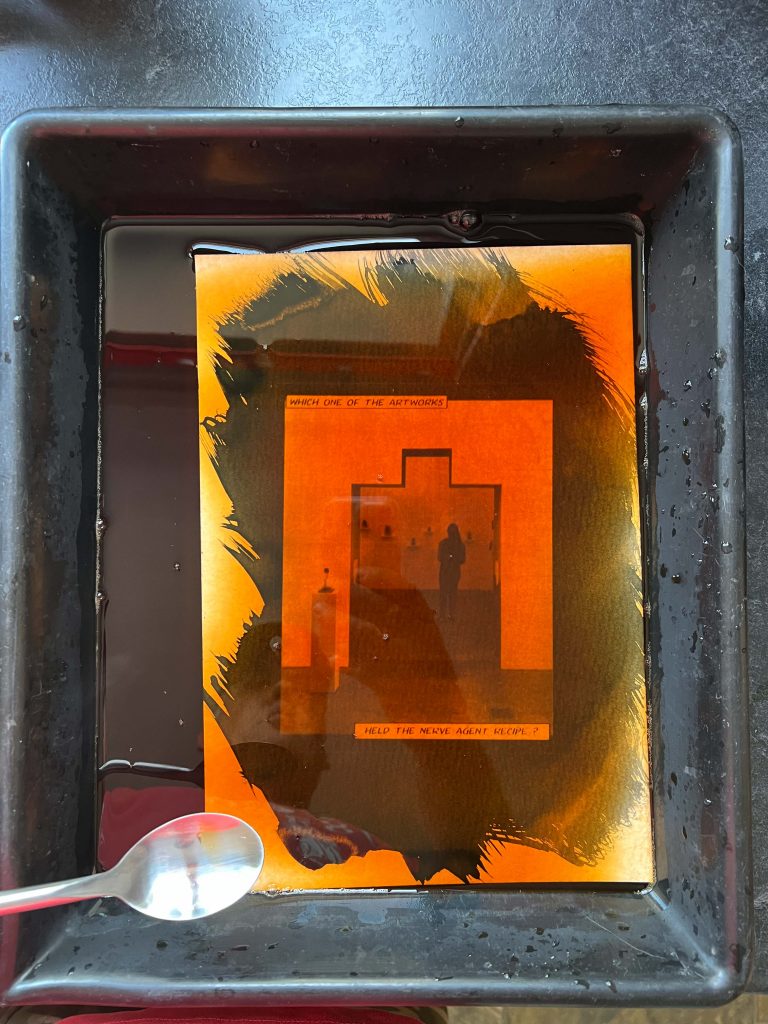
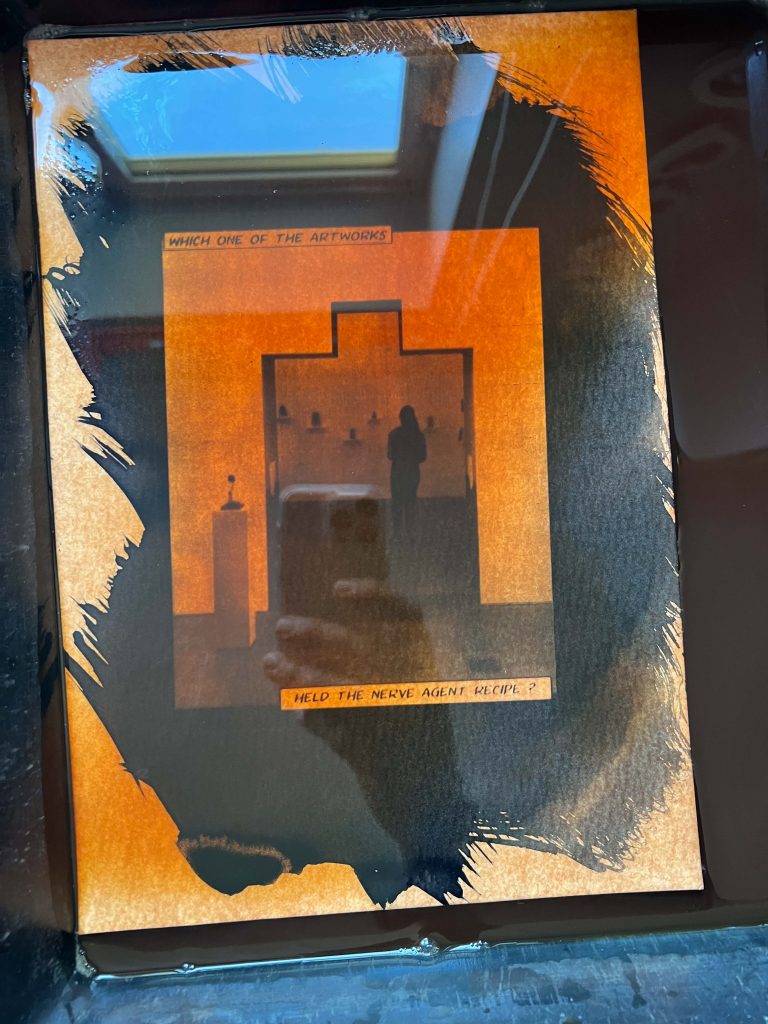
As you can see from the three photos above the tea did it’s job with the usual efficacy I’ve seen and the blue of the image changed to black and the lighter blue and white areas picked up the lightest of yellowy oranges. I left the tea and paper in the dish for a solid 30 minutes before removing it and washing it under the tap again for another 5 minutes.
After a wash it was time to hang it out to dry on the washing line and await the final image. I’d also done another version of the same image without the tea-tone so they both ended up on the line together.
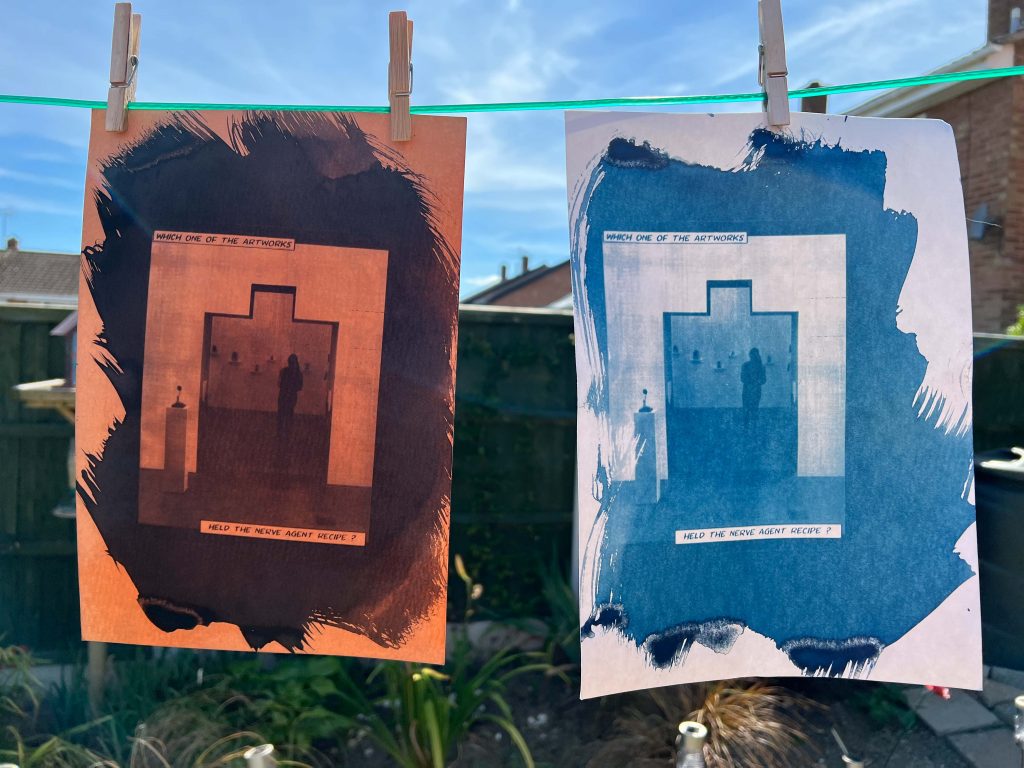
Which is your favourite of the two?
For some reason the Blue and white image looks half finished to me and the blacker tones of the tea treated image seems more complete to me. I was happy with both of the outcomes and whilst I prefer a cup of coffee to tea, I think Ty-Phoo Toning wins this round.
I also think that the comic book elements fit quite well into the whole image and could see myself producing a series of these. Not with a consistent story across the series but randomly selected phrases.
Or should I create a series of images that does tell a continuous story? Nah, it seems a bit too on the nose to m, if I choose a dramatic sentence for each unlinked image then they automatically become part of a story. One with the boring parts missing out of the middle.
I think that this might be a good time to revisit some of my favourite Batman Trade Paperbacks (Graphic Novels) to see how they use dramatic images to convey the heft of a story… As if I need an excuse to dig back into those books….
The next post is likely to be the result of a trip to Birmingham as mentioned at the top of this post, and I’ve also had trips to Llandudno and Lake Vyrnwy too. Stay tuned, same bat time and same bat channel..
Be First to Comment