This month someone at my work submitted a recognition notice for me. He said that I’d gone out of my way and gone the extra mile to help the company succeed. I’d gone a few miles actually, I went to Peterborough, three hours there, 30 mins of work, then 3 hours back again.
I didn’t mind though, I was just doing my job and thought nothing of it. As part of picking up this “Recognising And Valuing Excellence (RAVE)” award I was also presented with a £15 Amazon voucher. I didn’t need anything but had a browse through and came across a Holga 120WPC Wide Pinhole Camera.
It was about £50 and with some other vouchers still left in there from birthday and Christmas I ordered it to see what I could use it for. I know as part of my Level 5 on the degree course at University Of Wolverhampton, they’ll have us make pinhole cameras from matchboxes or beer cans so thought this might be a good way to get to grips with the process ahead of that.
Delivery
It came this week so today I took it out for a spin after reading the instructions and watching a couple of YouTube videos.
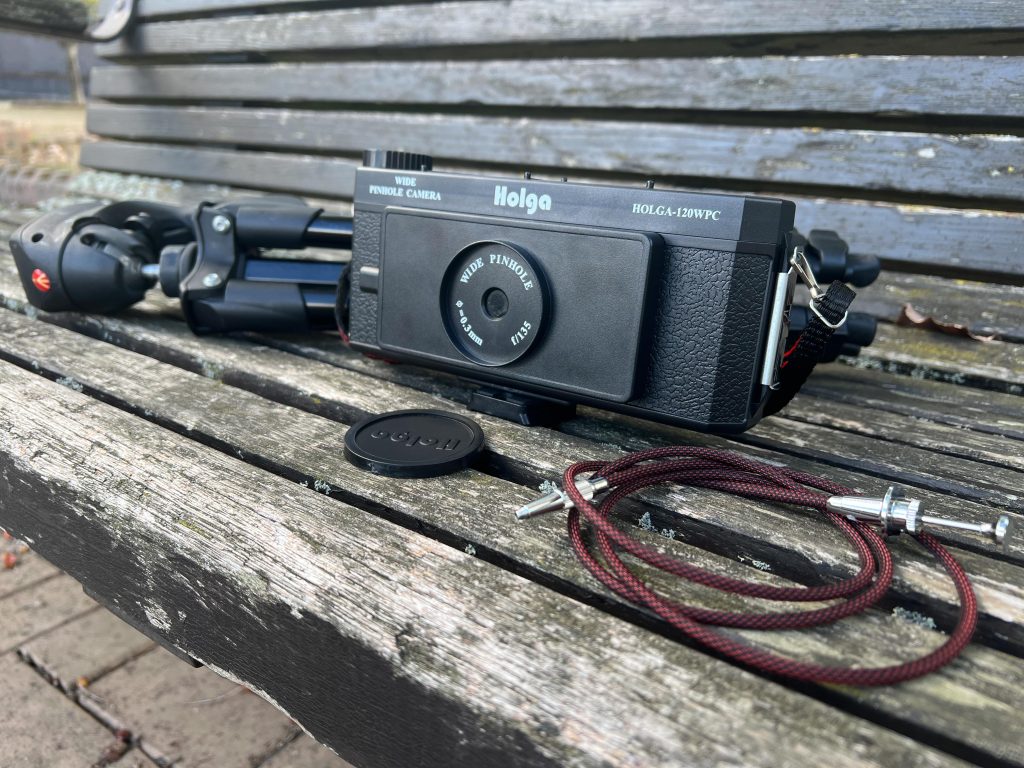
Before I left the house, I loaded a roll of 120 Ilford HP5+ 400ISO film into it and left the 6×9 insert in there, rather than use the 6×12 wider insert. The 6×9 allows me to get 8 pictures whilst the 6×12 would only get me 6 images from a roll of 120 film.
I drove to Shirehall in Shrewsbury as I was on the way to take my Mum her Saturday paper. I fixed the tripod mount to the base of the Holga and screwed in my shutter release cable, the same I use on my Bronica ETRS and my Canon A1.
Alternative View
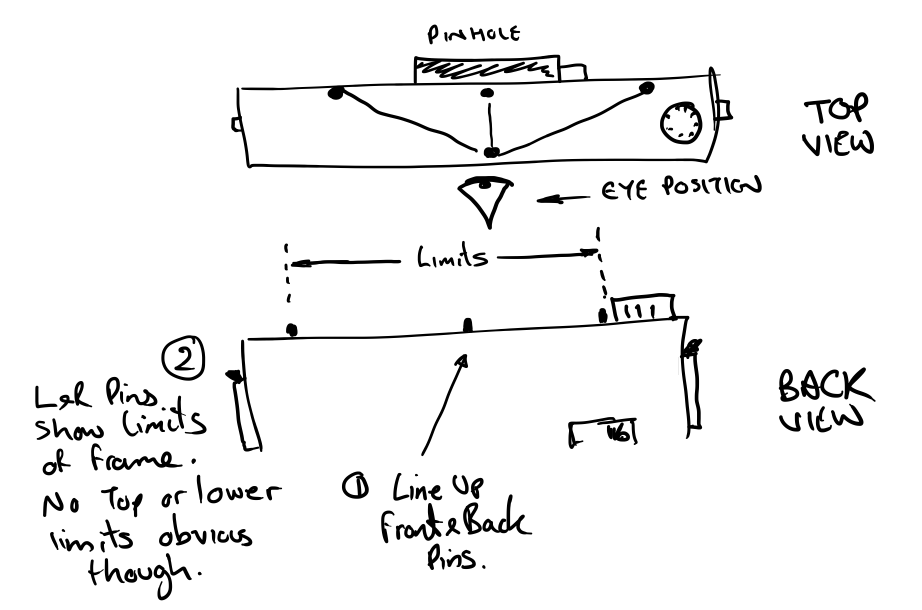
There is no viewfinder, rangefinder or even a hinged frame to aim through. There only seems to be a very simplistic device on the top that reminds me of the “distance to target” tool from the Dambusters movie. A couple of pegs in line front and back with pegs to the left and right of that. Lining up my eye with the two pegs and then seeing what was in between the left and right pins shows me the limits of what might be in the frame. This is how I think it works anyway…
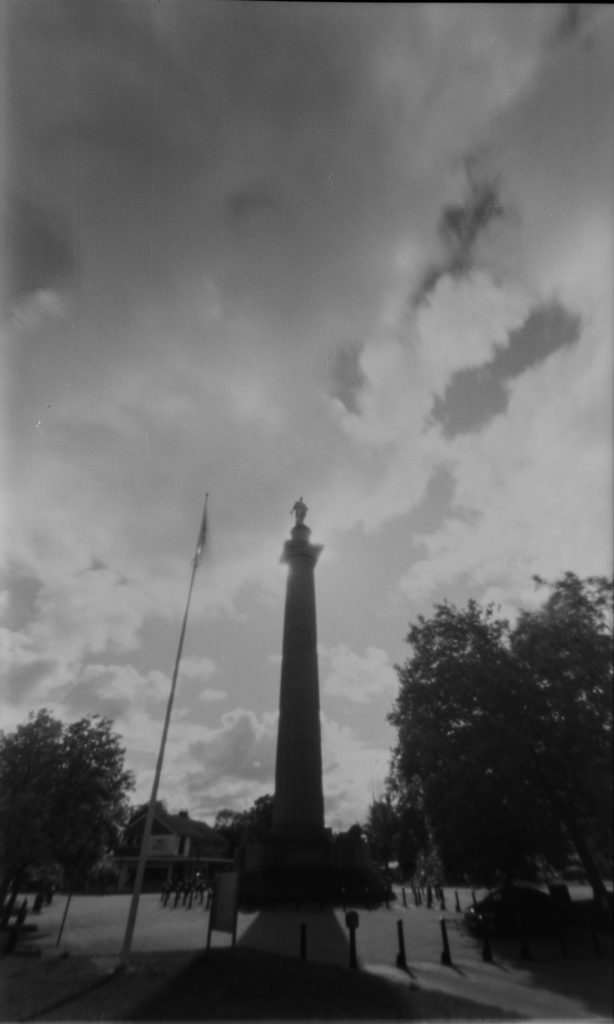
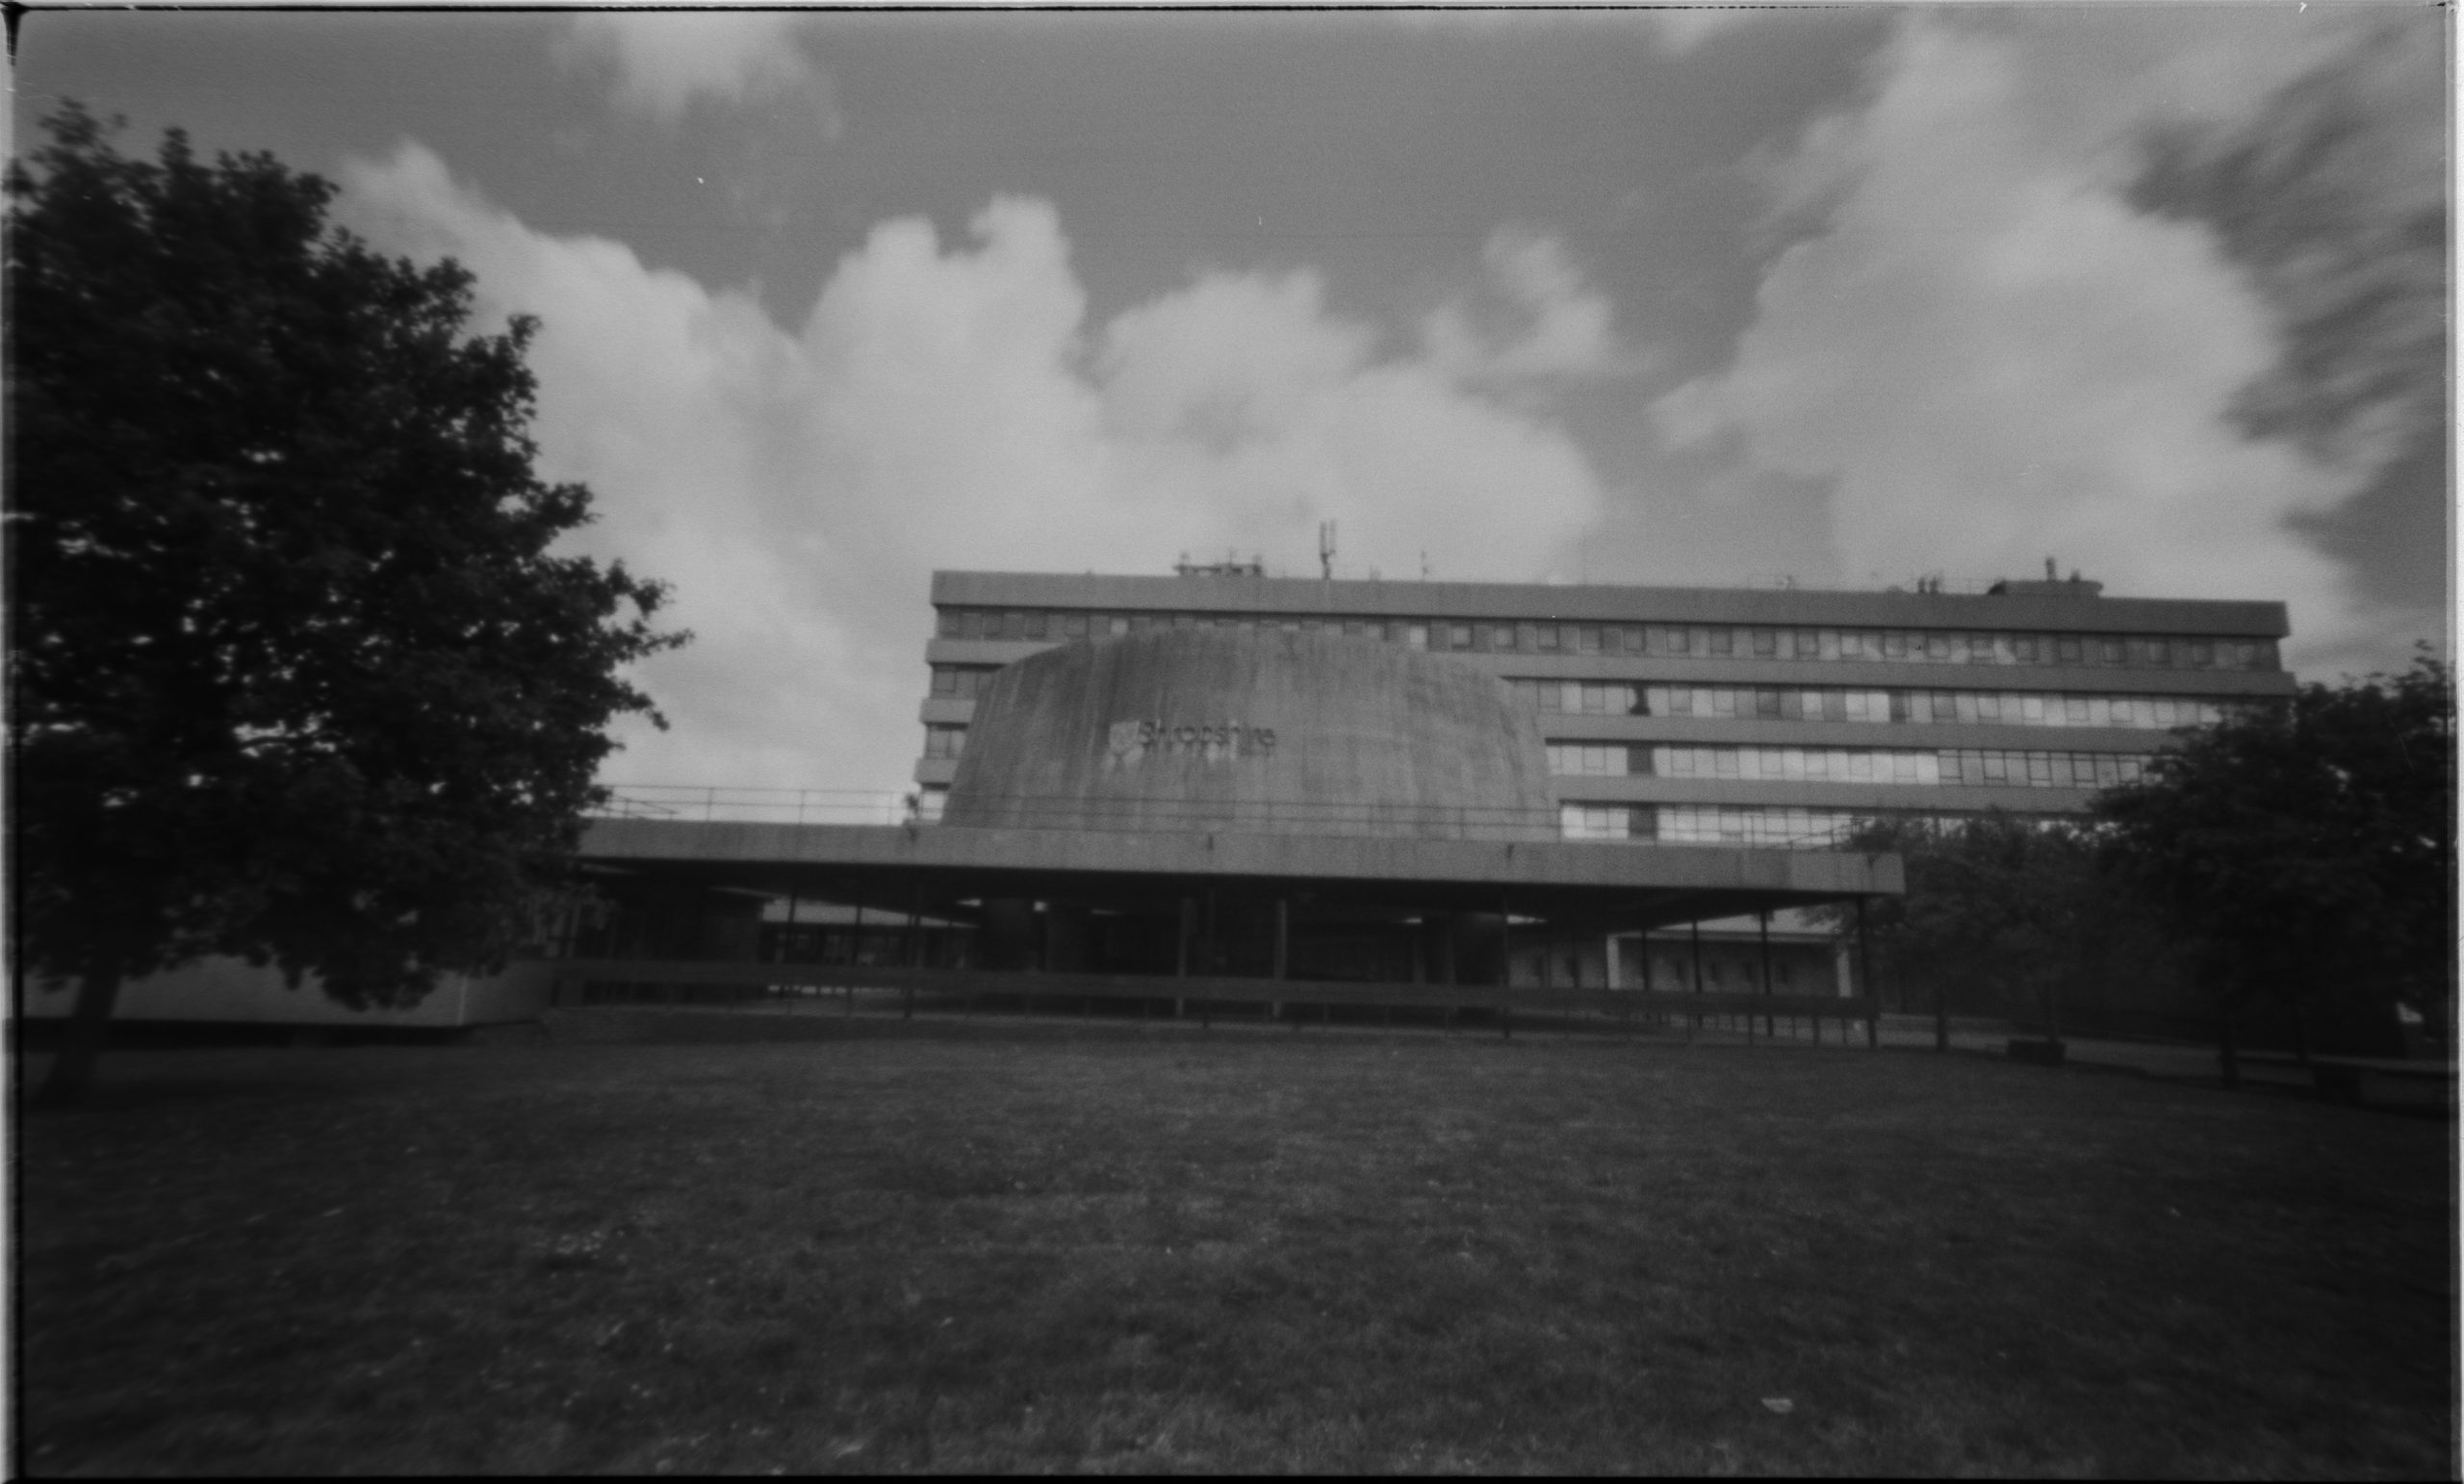
With the camera on the tripod and the frame lined up to take a photo of The Lord Hill’s Column I held the shutter release cable in for 6 seconds as it was sunny, I was shooting into the sun so figured that the guide of “Fine = 7-9 Seconds” on the rear of the camera would be too much if it was super sunny.
Whoops
I carried on, advanced the frame from number 1 in the film window, to 3 in the window as per the instructions and then took another two images. Whilst setting up for the fourth shot I held the camera and the back shifted in a weird way I wasn’t expecting. The strap on the camera is attached to the sliding clips on the sides of the Holga and it had got caught on a tripod nut, pulled the catches down and had started to come away from the camera body. I pushed it back together, slid the catches up to keep the back in position and hoped that there would not be too much of a light leak that it ruins the whole film with fogging.
Whoops II
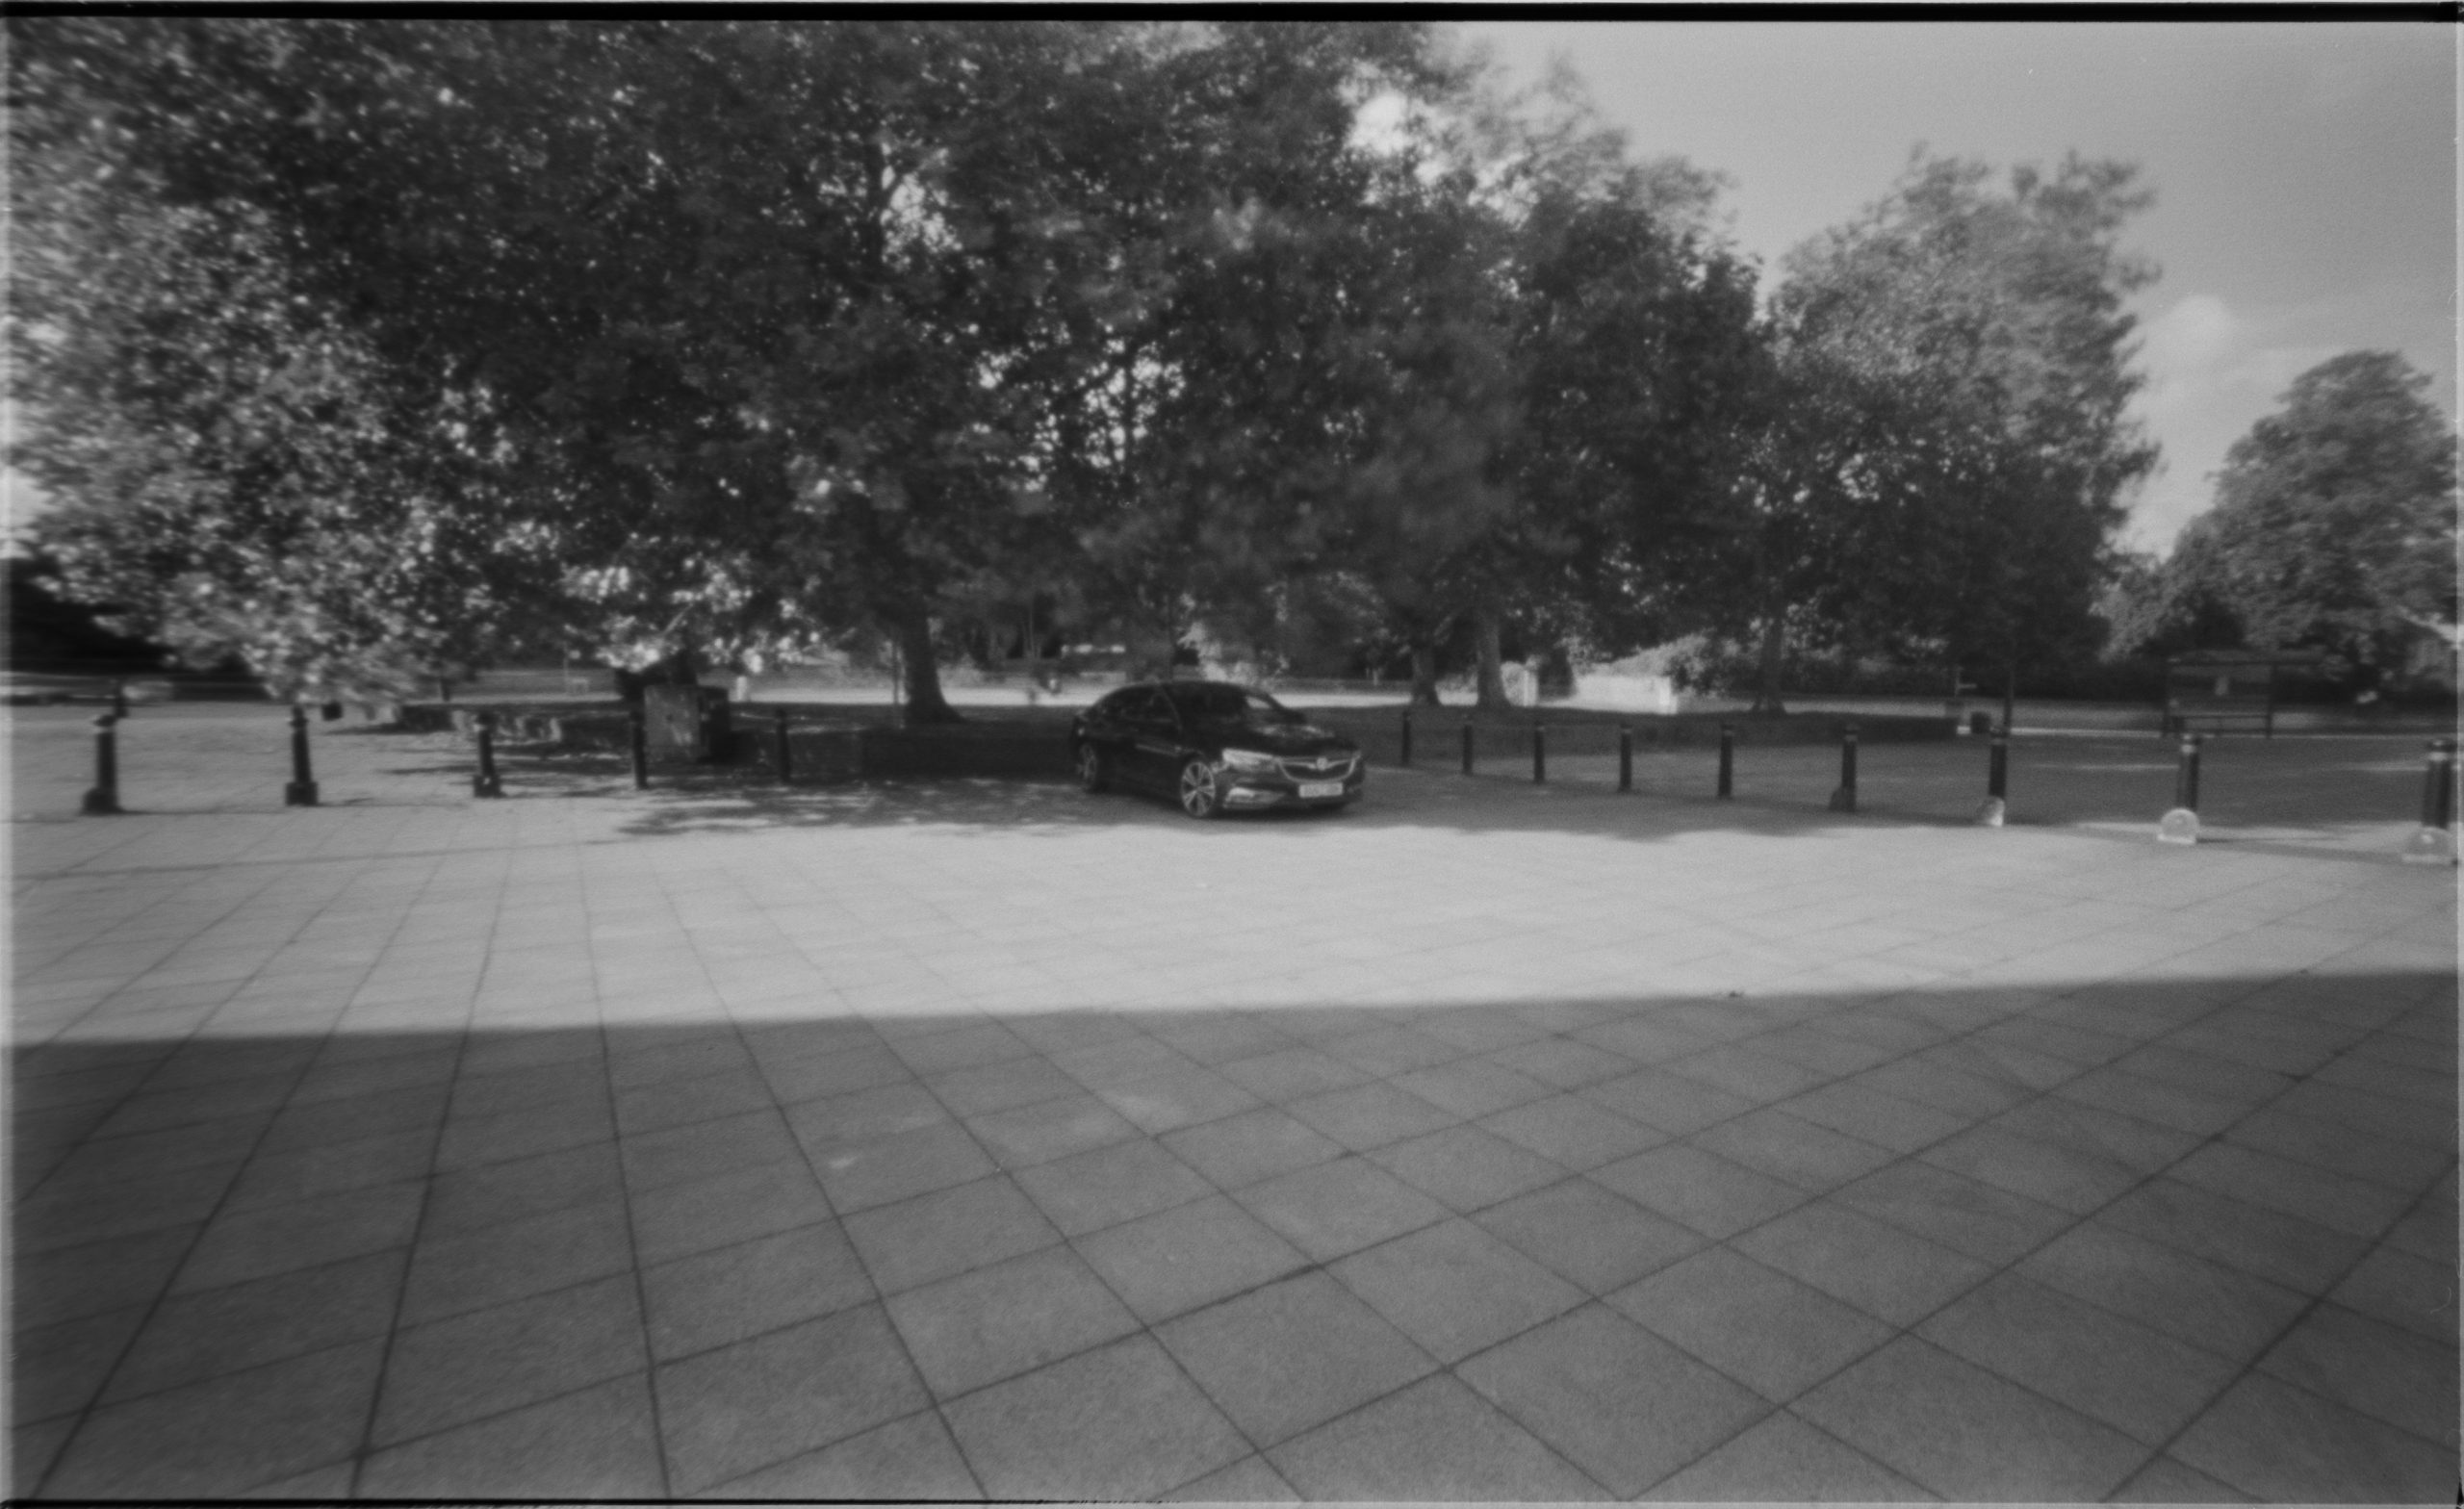
Time to carry on then and hope that something might come of the images. Three photos later I was aligning the camera up on the tripod to take a photo of my car under the trees, pressed the shutter release button and then as I allowed the shutter to block off the pinhole, I noticed that the guide for exposure on the rear cover was for ASA100. Oh damn as they say in Brooklyn 99. I was using an ISO 400 film so it mean that the images would most likely be over exposed.

A quick calculation told me that ISO 400 is two stops faster than 100. The steps for ISO are 100,200,400,800,1600, etc. This means that ISO 400 film is two stops away from the guide times of ISO100. Therefore if the ISO100 film needed 8 secs exposure in Fine conditions then ISO200 would need 4 secs (half) and ISO400 would need 2 secs, (half again).
Adjusted Exposures
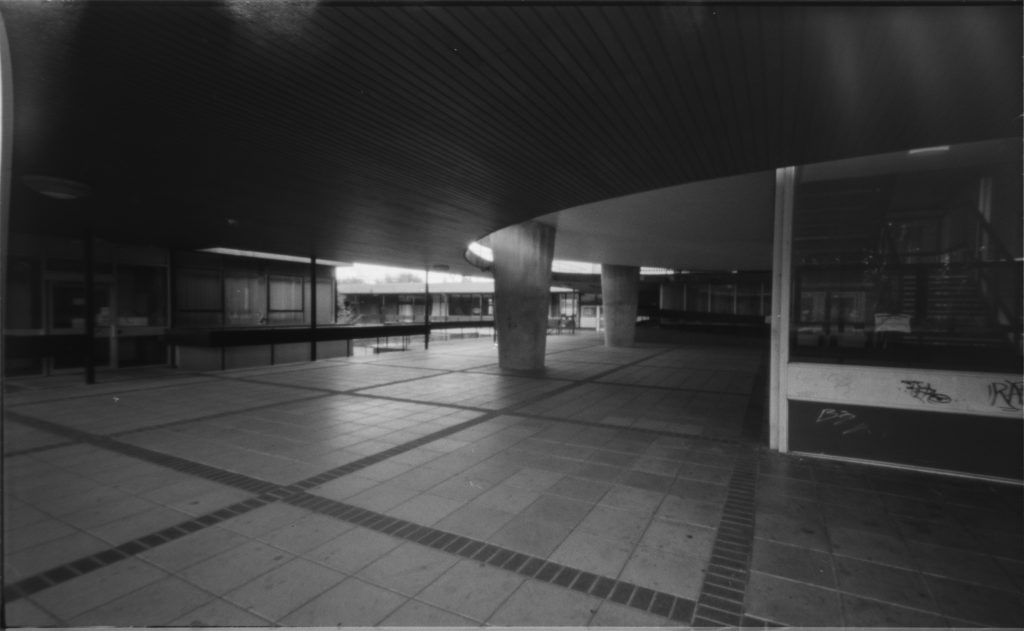
The next few photos I used the changed exposure calculations and hoped that this would prove to be the winning method.
The end of the film came around after the 8 frames and I wound it in completely to the take up roll before putting the camera in my bag and then going about the day’s business.
Developing My Skills and Stills
On getting home I took the 120 roll from the Holga, sat in the dark of the downstairs loo and loaded the film into a paterson tank and reel. Making sure the top was on tight to keep any more light leaks from fogging the film I turned the light back on and then prepared the chemistry for the development.
I used Ilford Universal PQ at a 1-19 ratio for 500 ml of dev to go in the Paterson tank for 4 mins 30 secs. With inversions happening regularly, the 4:30 soon expired and I tipped the dev away for the next step, the Stop solution. IlfoStop was poured into the tank and agitated for one minute before this was returned to it’s black bottle.
The Stop complete it was time for the Fix. 5 minutes with the Fix in the tank and regular inversions was soon over and then this fluid was returned to the accordion bottle for the next use. The little hose was connected to the paterson tank and the tap switched on to give the film in the reel a fifteen minute wash.
After the quarter of an hour I removed the 120 Film from the tank and reel and then used the film squeegee to remove as much water as possible before hanging up to dry in the shower cubicle.
Digitiser
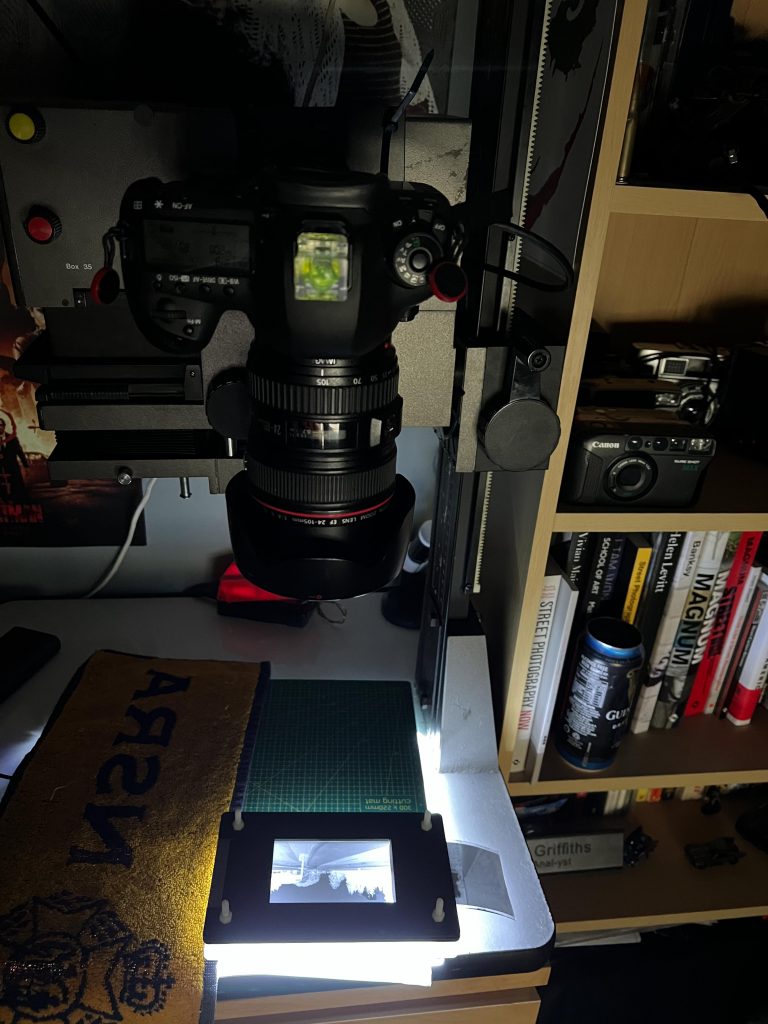
The negatives didn’t look all bad, some of the earlier ones were truly over exposed and the latter images exposed in a better fashion. The quick way to see if the images are any good was to bang them into a film holder over a lightbox and take DSLR pictures of them. To do this I used Lightroom in tethered mode and apply a B&W invert preset after the image is captured.
First Film Gallery
The gallery of all eight images can be seen here:


Looking at the images on the computer screen I can see that there is some good information in there, but I do need to use an extension tube or a better macro lens to get closer to the negative. The viewfinder is ok to use and I found that the height of the image fits in way more than I thought. If it’s in landscape then it encompasses way more real estate than I thought.
I think that if I find a place to play with this Holga again soon, I may choose to play with the 6×12 insert and possibly even using a roll of colour film. We’ll see.
After this initial introduction to Pinhole FIlm photography, I’m still not experienced enough to go and guarantee any shots. I’ve researched a bit online too and have remembered after a prompt that I have an app on my phone that I can set the ISO to match the film, set the aperture of f/135 which this pinhole is and it will then suggest the recommended shutter speed.
I’ll be sure to try a beer can pin hole camera with a piece of Ilford light sensitive paper in it, and see if I can capture a solargraph.. Experimentation ahead!!
Be First to Comment