This week we finished off our work with Jim in the Print Hub to get our heads around how Risographs are created and actually produce one of our very own.
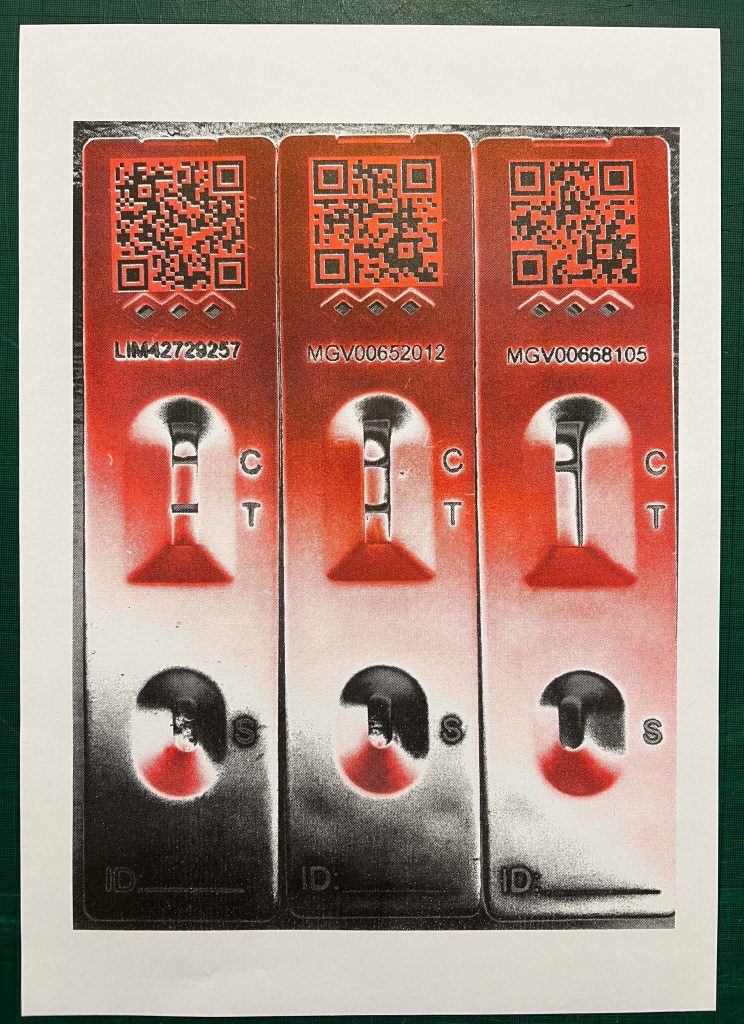
You might recall that in the last post about the first part of the Riso sessions that I chose an image to work with on this final half of the work. I’d selected the image, converted it to grayscale, then resized it, converted it to a duotone image and then played around with the two channels to select a Red & Green colour pallette as Jim previously mentioned that he had seven colours. the final step of converting this duotone image into two grayscale images capable of acting like the separate colours in the Riso Printer, eluded me until Jim elaborated on it. I’d missed the step of converting it back to MultiChannel image which then allows us to select all of the image (one channel at a time) then copy and paste it into separate images. These two images (for two colour prints) are then printed as grayscale images which are then scanned into the Riso Printer to create the Master for each colour.
My image was set to be Red & Fluro Green but one of my colleagues came back and said there was no Green so I converted it to a Red and Black image.
Once complete I saved it back to my onedrive which Jim had the link to so we could grab it once we got upstairs at 12:30.
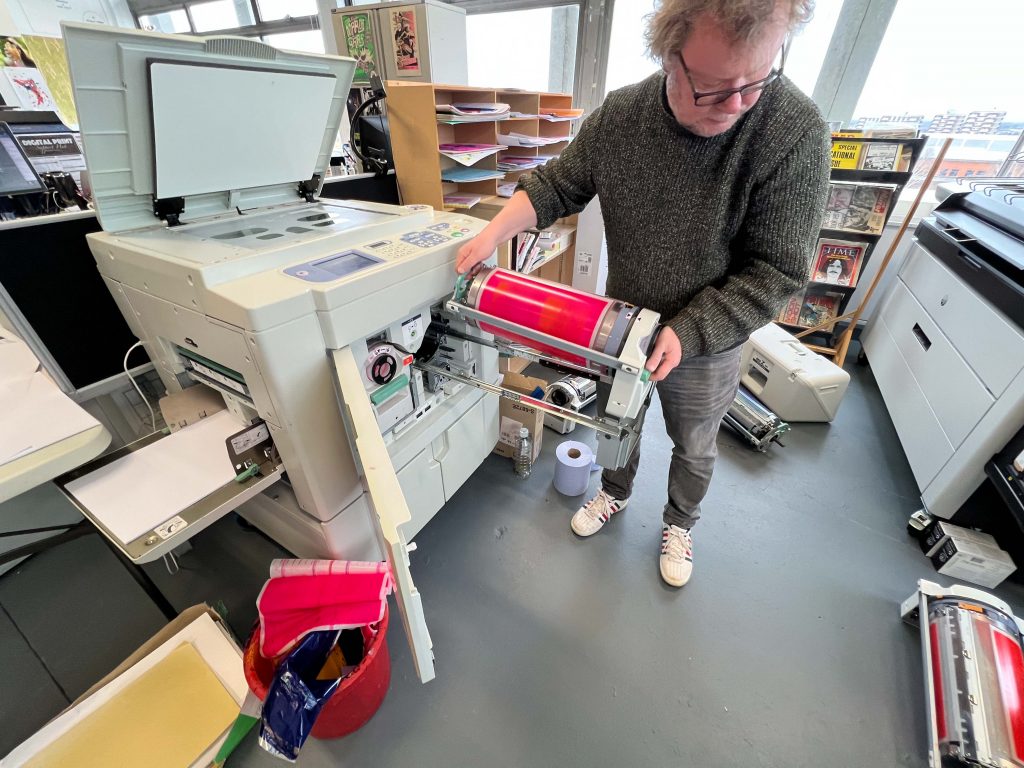
When it was our turn, Noah, Gin and I went to meet Jim and learn how to complete the process of producing a Risograph.
Jim picked my image first so he showed us how to convert it to the grayscale and then printed out the pair of images, one for the Red and the other for the Black.
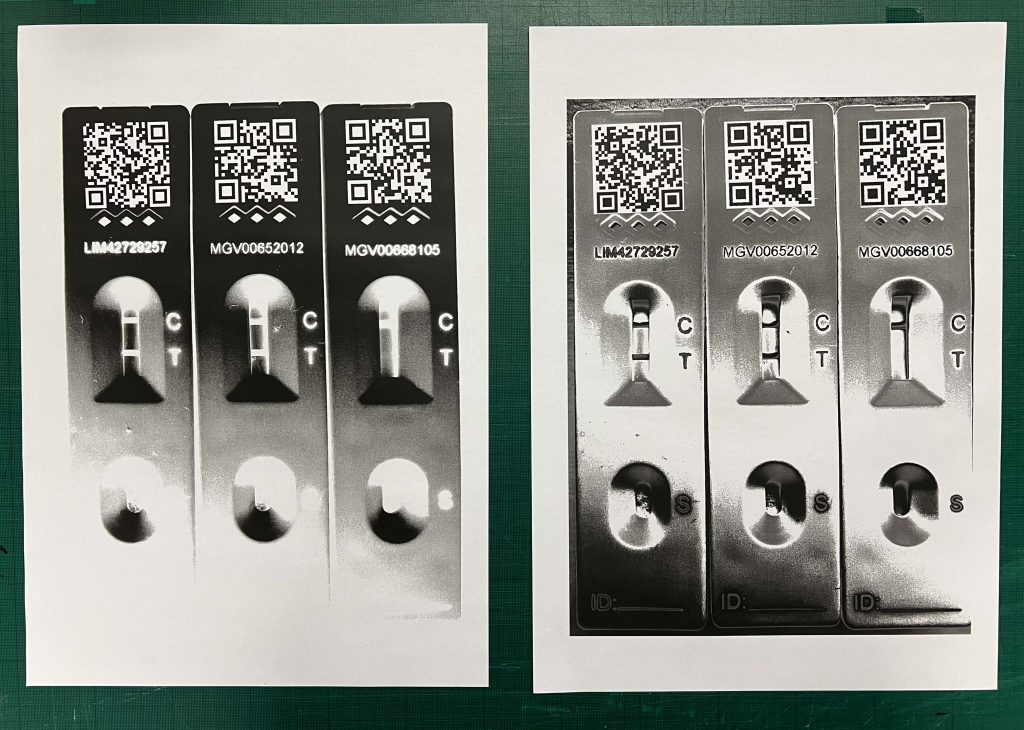
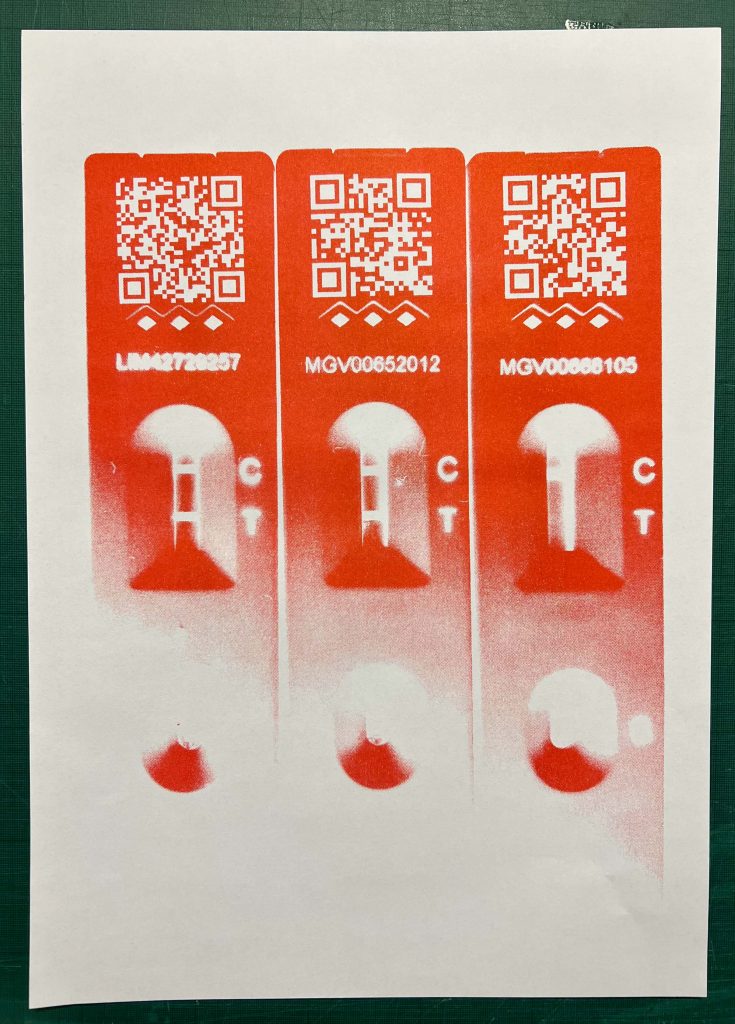
Once the first image was scanned it created a Red master and a proof was spat out of the output.
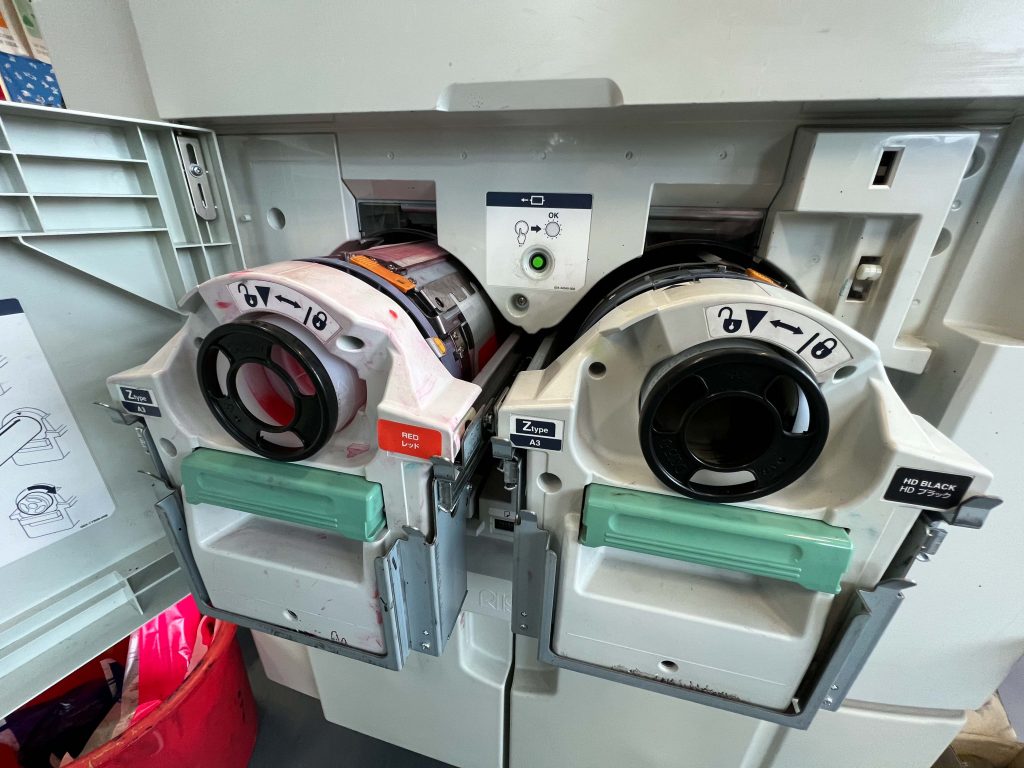
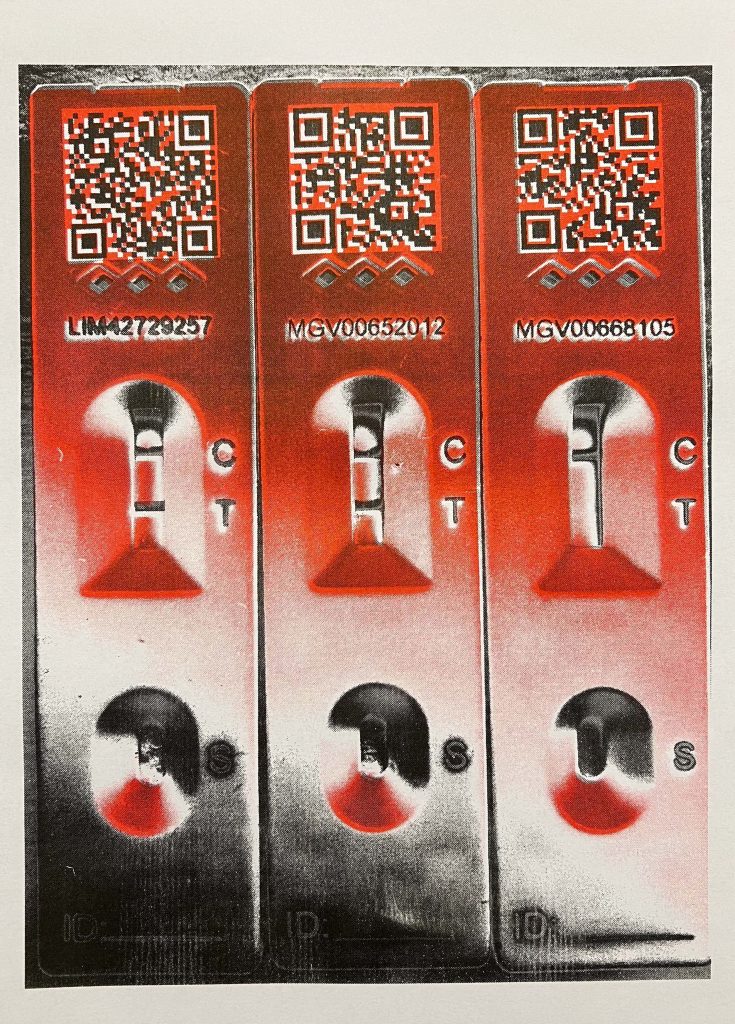
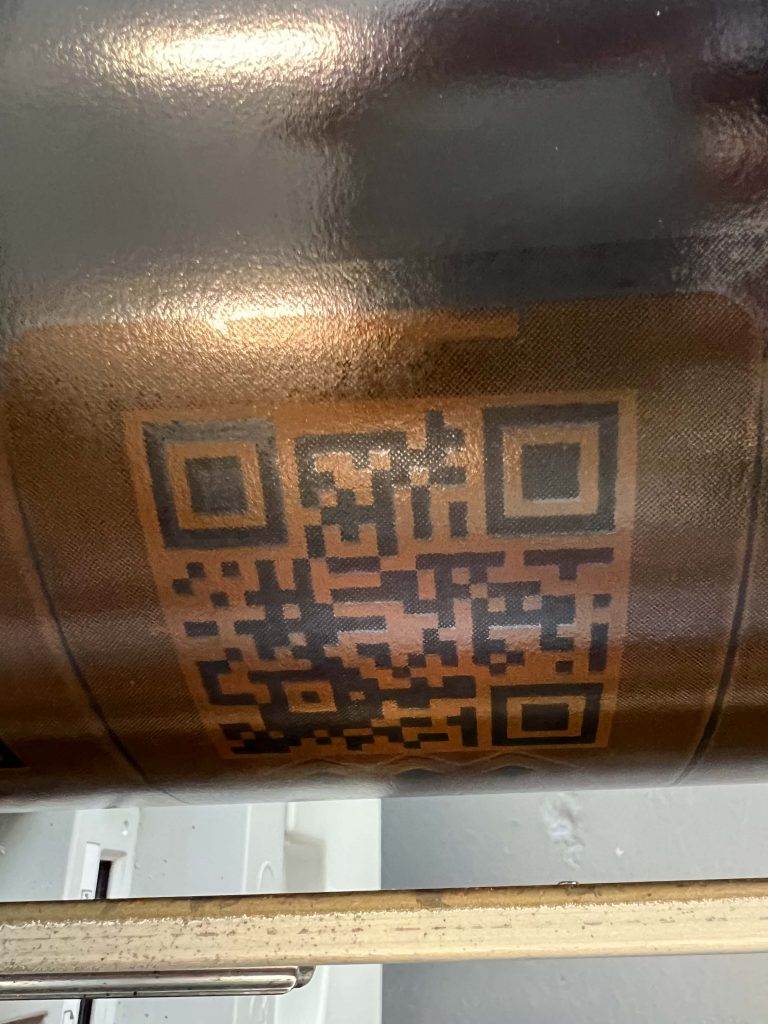
Then the Black image was made into a master and a print done to combine the two colours. The first one was out of alignment so Jim, with his experience, knew to move the one image three steps up and left to better align the two and this would help the Covid 19 Test QR Codes appear more accurately. The images on the master allow the ink from the centre of the drum to come through, or block areas to prevent transfer. This is similar in the way to silk screen printing works.
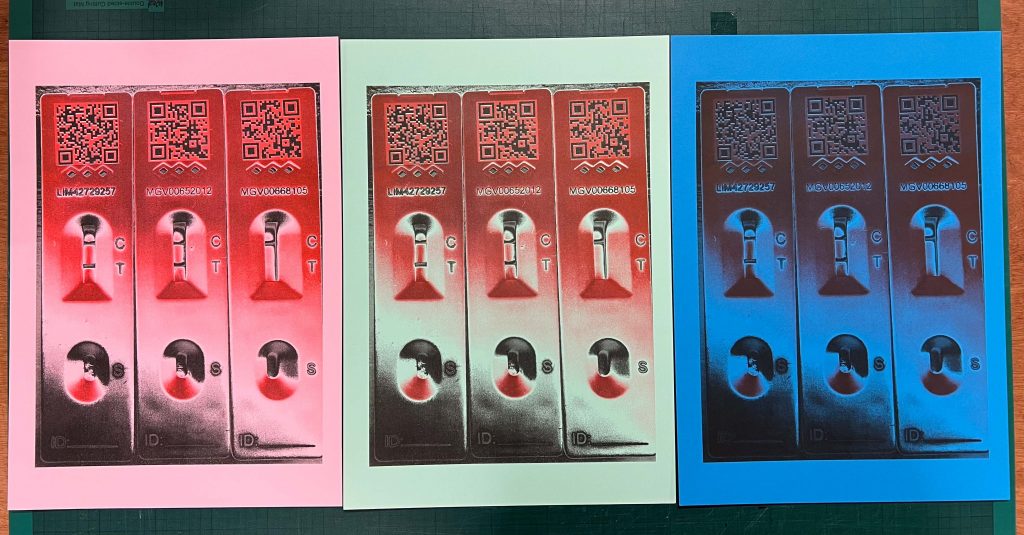
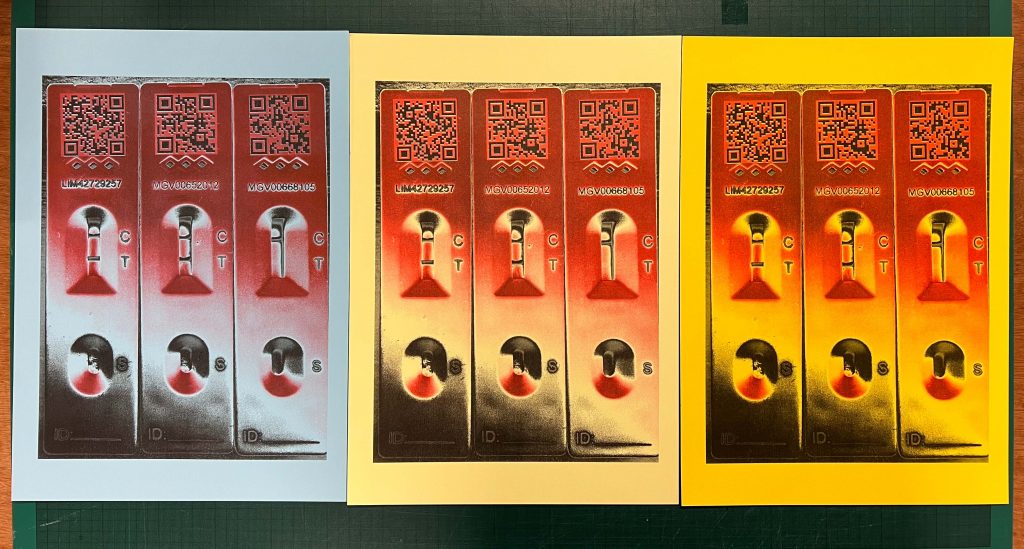
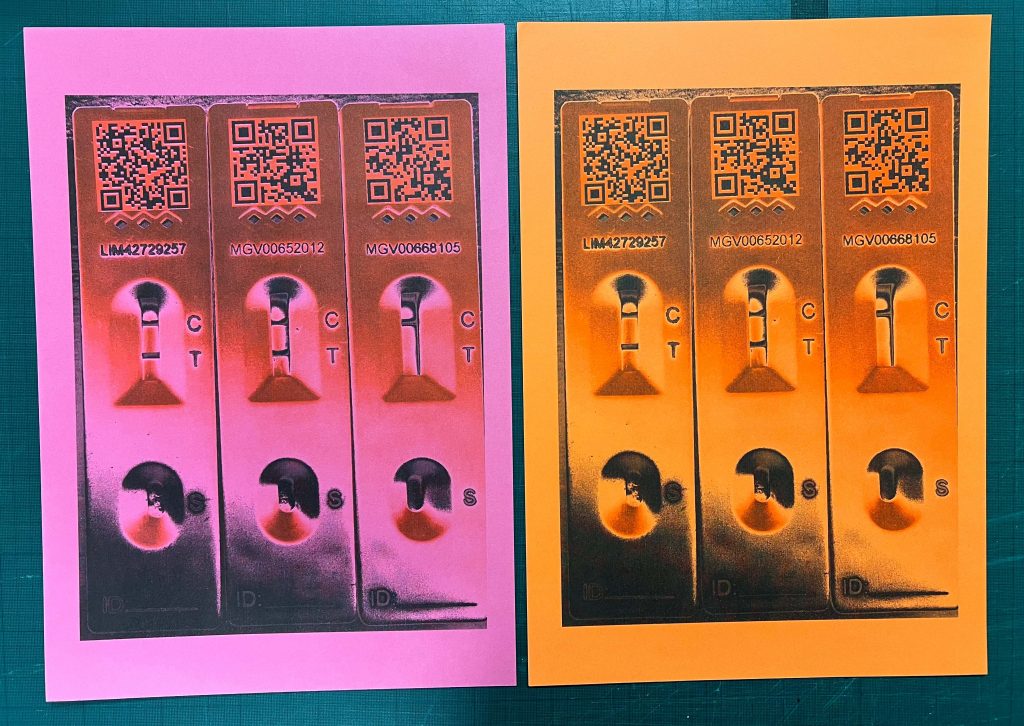
Once Jim was happy that this was set up sufficiently well enough for our purposes I was invited to select a few pieces of paper from the table and then we’d print to them.
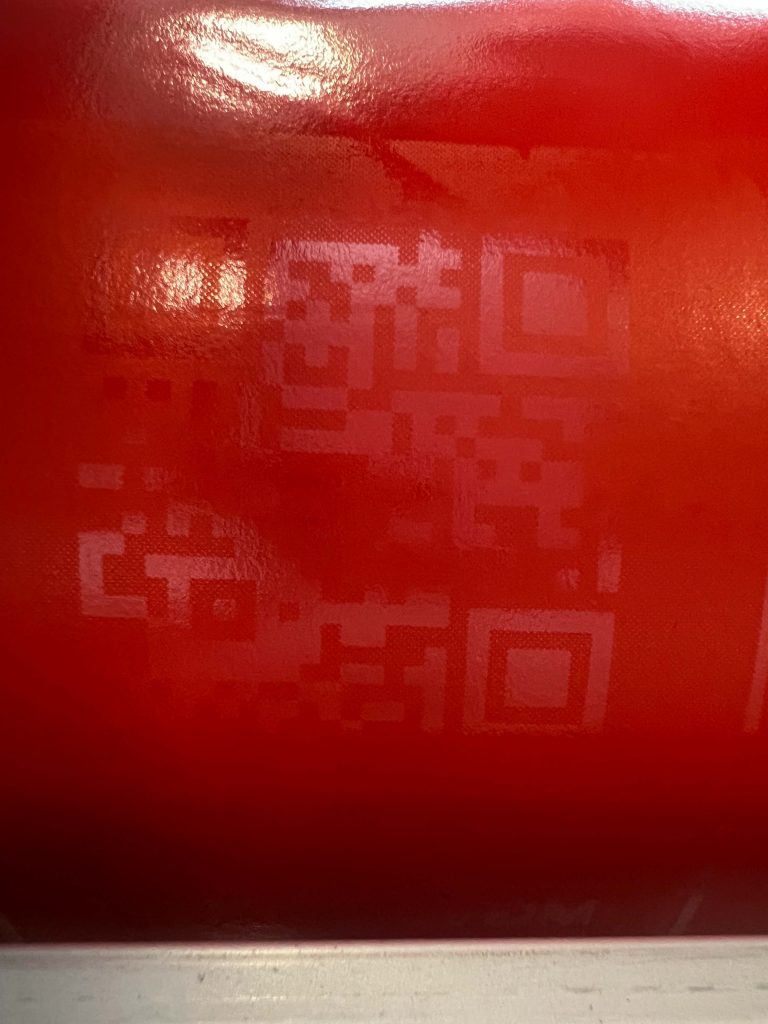
You can see from the images below that I had eight images printed onto different coloured paper and the ones that stood out for me were the light blue and the light yellow papers. the orange and green versions were considered to be ok too by the others in the room at the time. The use of the paper colours was novel to me and it made the image look like it was a three colour print. Effective selection of the two colours (or more) and the paper could make for a very well produced result.
With my prints safely ensconced in my art folder I stood and watched Noah and Gin’s work being printed out too.
Noah had a photo of a Birmingham building that particularly lent itself well to the Riso process and it came out amazingly well. The different colours really helped too and Jim even grabbed some of the random papers from the box of delights and a version of Noah’s image on a piece of old purply paper came out superbly. It was fantastic and I was insanely jealous.
Gin was next up and Jim printed out a photograph of a tree lined street that Gin had prepared but it perhaps didn’t work brilliantly with the Riso process, as the contrast was a bit fine across the whole image. Some of it was a tree and the photograph shows amazing detail but the Riso kind of lost that and it all blended into one.
I did set up a second image in case there was a problem with the first one, bit it wasn’t needed but I kind of regret not at least trying it out.
Gibbs’ Reflective Cycle On Riso
As a result of this investigation and experimentation into Risograph production we are to complete a reflection exercise. My notes that I generally write up contain good and bad things that I recall from the time but we’ve been asked to use the format of Gibbs’ Reflection Cycle to analyse the events of the Riso workshops so this is documented below using the suggested headings. Apologies if some of this is a repeat of sections from above.
Description: we were tasked with learning about and practice the production of Risographs printed from our own images manipulated by ourselves in order to get a suitable resulting product. We worked in groups, the first week as a group of about six, the second week in pairs. We were supported and instructed by Jim in the Print Support hub. We had our images printed onto grayscale images, made into masters in the Riso printer and then printed out onto different coloured papers.
Feelings: Excitement was one feeling I had for Riso printing, it’s not something I’d done before. It reminded me of the process for duplicating documents when I was at primary school, a spirit duplicator or Banda machine. Setting up the image was also an interesting exercise and it kept me busy trying to select an image. I love to learn new things and like to see behind the scenes of processes so I was looking forward to it completely. Now it’s over I’m feeling interested to find other images similar to Noah’s building that worked so effectively and maybe add some text.
Evaluation: Overall the experience was a positive one for me. I worked with Jim and got to ask him a few questions to clarify anything I didn’t quite understand. I found that my notes I’d written helped me to create the image sufficiently but others in the initial groups did not make notes and as such we had to leverage our notes in the Instagram group chat. I noticed that others in the groups don’t feel comfortable asking questions and will stand there and not fully understand what they need to do. I try and provide a good example of helping them to get information by acting as a devils advocate if there is a point that maybe needs clarifying somewhat.
Analysis: the learning of making Risograph prints with Jim worked well as it was pretty well organised with time slots made available. There were a couple of jiggles made to the timetable to allow for a couple of latecomers and technical issues but it generally went smoothly. Before the events I studied the information that Jim shares on the Matterport guide to the Print Hub as well as information on the web from Brighton University that explains the process clearly. Some of my fellow photographers may not have been as into it as me and appeared to have not done as much reading into the processes. Again the lack of note taking made it difficult for some of the group to work through the process, not only in the younger members. It was pretty last minute requests in the group chat for info on how to prep a digital image for use on the Riso printer. We got there in the end and the results were worthwhile with some of my classmates not really enjoying it and some showing some huge enthusiasm for it. The use of the different coloured paper was an eye opener that I hadn’t come across in the online reading up I’d done.
Conclusions: With the issue I had coming up with the two grayscale images I could have asked Jim beforehand how it was done or asked him for a handout of information. I thought at the time it wasn’t important enough as we would be spending time with him so we could go through it at the time. It would have made his morning easier had we all been prepared fully. It was also evident that some people hadn’t considered the image to be printed correctly and chosen images of low contrast so it might be useful if we were all to share our images before the day and offer advice to each other.
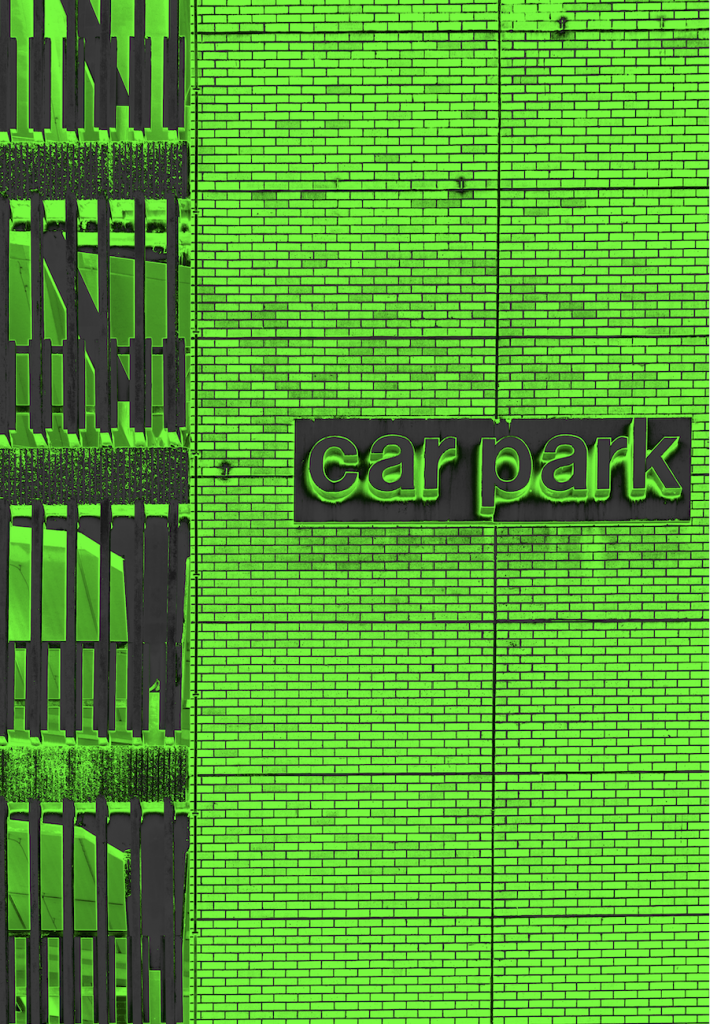
Action Planning: If we get the opportunity to do this again I’d be more prepared with the digital image and also offer to help others check that their images are tuned for the best possible output. My image selection wasn’t great but I chose to have something graphic with high levels of contrast and I think that this helped. Architectural shots like the car park, Barbican etc would make for excellent images so it might be something I choose to create as part of something to sell or even as a spin off from the year long project. I’d also not wait until the session to ask all of the questions fo the instructor as it might distract and create a wasted section of the event, I’d be tempted to arrange an hour appointment or even an email to discuss my queries. I think that this work will also help me with Print Club and selection of ideas for use in the screen printing and Intaglio workshops that we take part in.
[…] Once the emulsion has been allied and dried it can now be exposed to the UV light. A transparency mask is prepared digitally or even using manual materials that prevents UV light getting to the emulsion in the areas you want ink to pass through later. This is much the same as how the Masters work in Riso printing, discussed in this earlier post. […]
[…] blend these photographs in with the book binding workshop and also see if I could make use of the Riso Printing Workshop we’d done earlier this academic year with Jim in the Print Support […]