Book binding
Alice said that this workshop should be pretty straightforward and not too much theory involved, don’t need to use your brain as much it’s a physical and practical skill that we’ll learn as it can be used to present our work in a different format to just a standard print etc..
Alice shared with us a couple of the zines that she has purchased in the past so we could see how they had been hand stitches and presented. It was interesting to see the quality of them and the precision of the work even if it had been hand made.
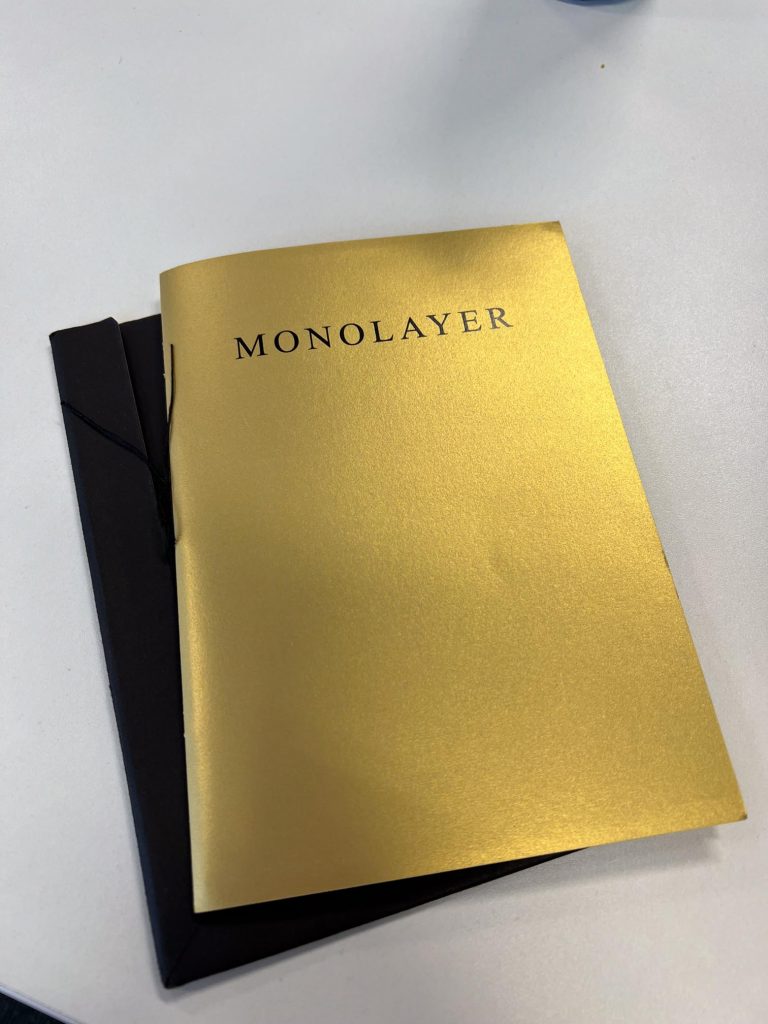
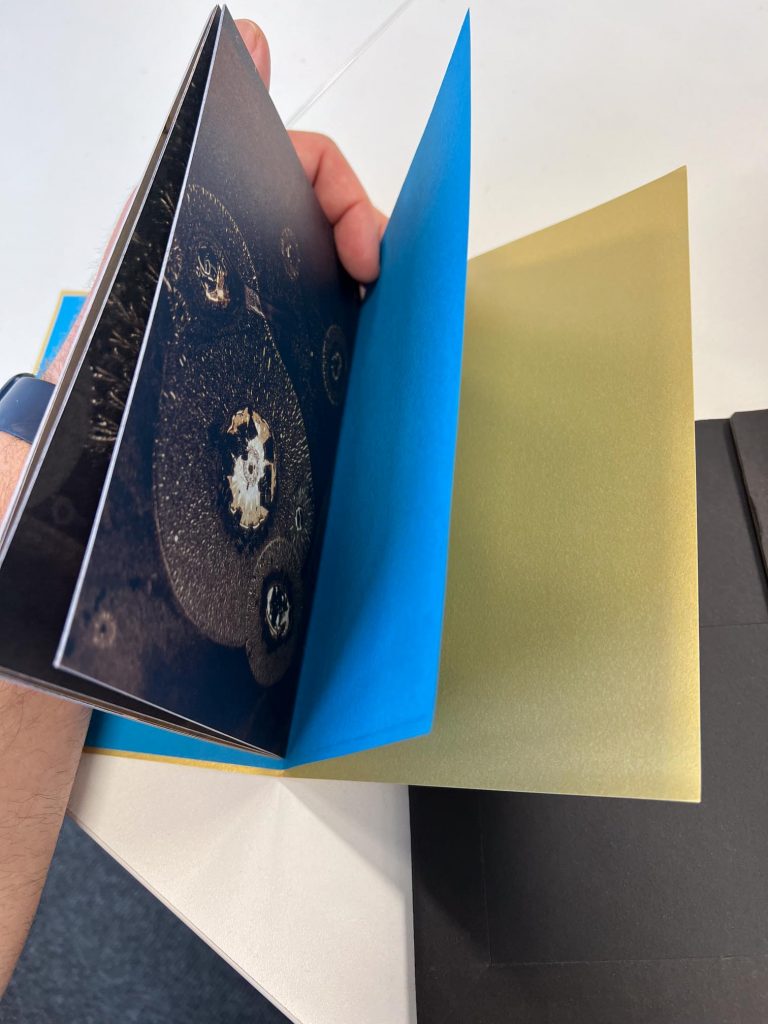
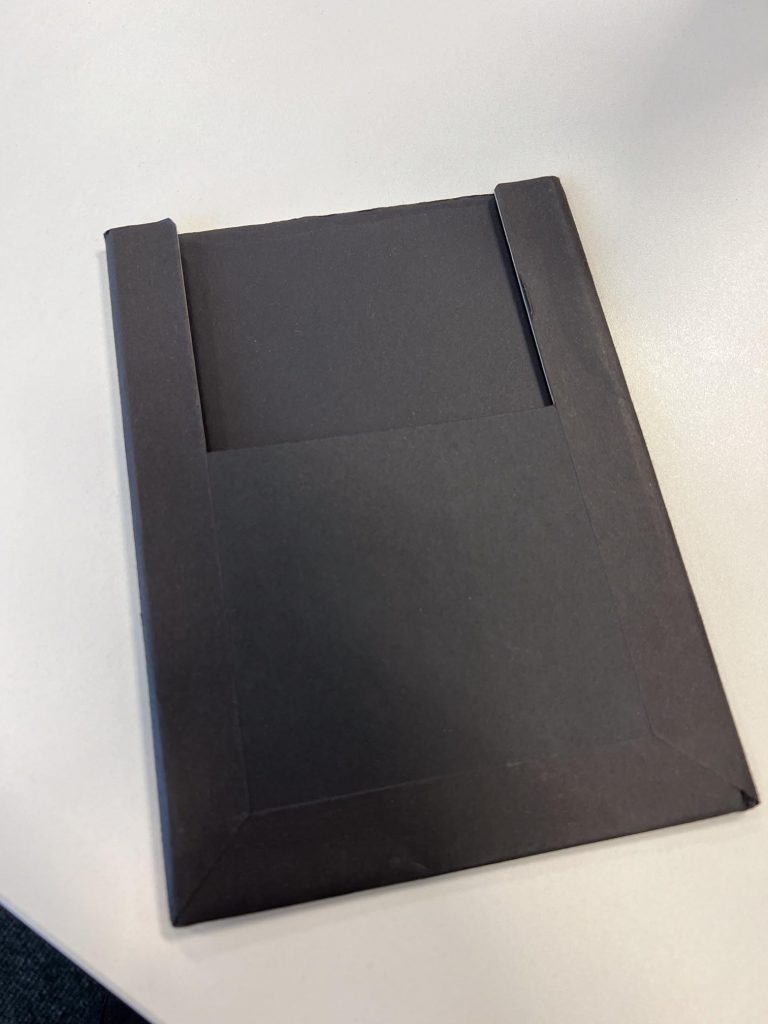
One was called Monolayer by Russell Burden and showed images of photo-microscopy. The cover was a lovely metallic gold colour and it came in a black card sleeve. The printing was lovely and the spine was hand stitched. It was a wonderful little book to look at and I felt awkward touching it as it was Alice’s and I didn’t want to bend, fold or crease it in any way.
the second was called The Thirty-Nine Steps which was photographs made by exposing photo paper to Hitchcock’s movie of the same name in 39 stages, the movement was captured and these are then printed again into this lovely hand stitched photo book. It too comes in a little sleeve and the cover is plain but larger than the dimensions of the pages within.
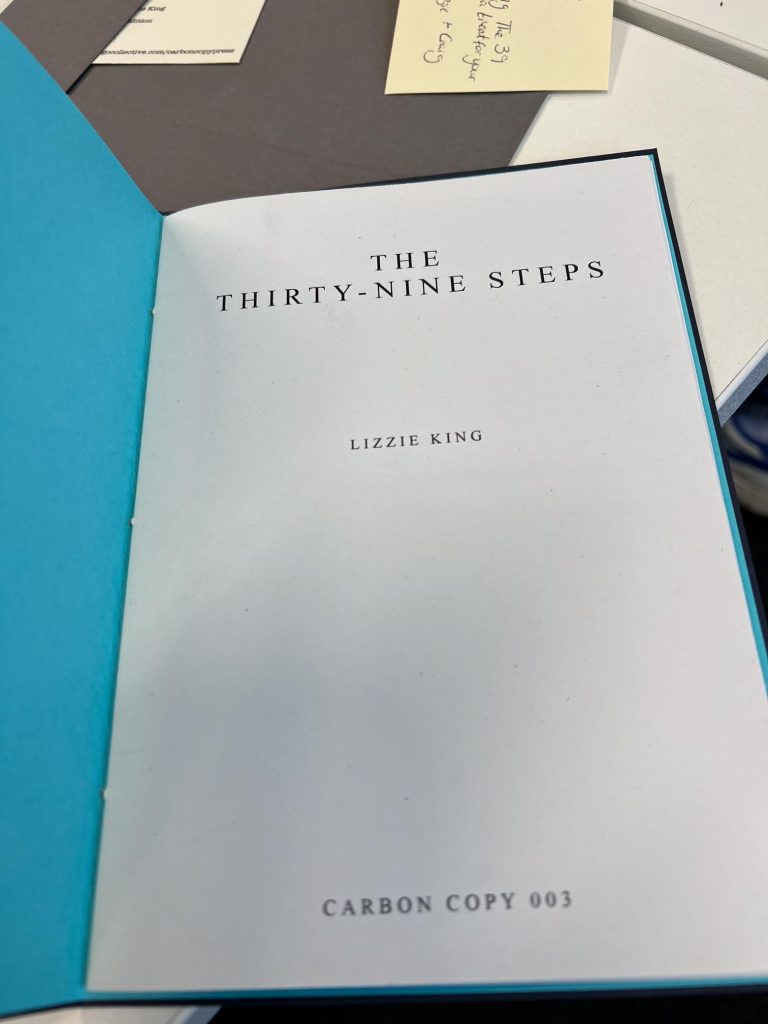

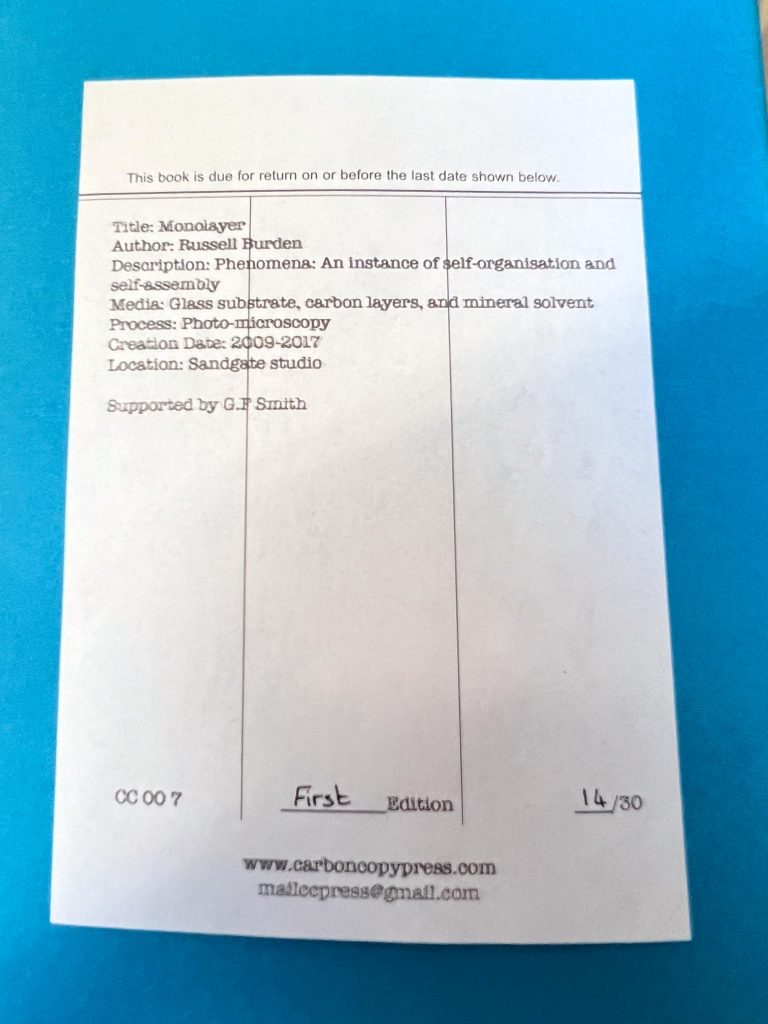
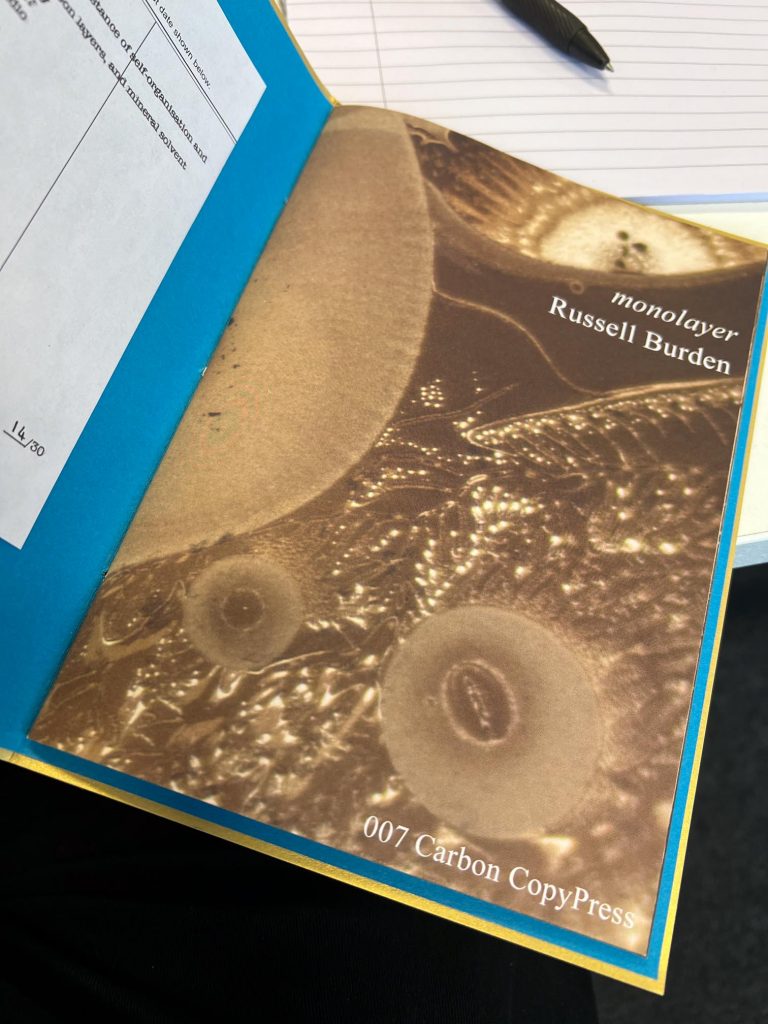
Carbon copy press work with artists to create hand finished works of art in booklet form. The inside cover also holds a Library Loan Record as you’d normally see in a school/uni/public library book where the details of the book are noted.
In a bind
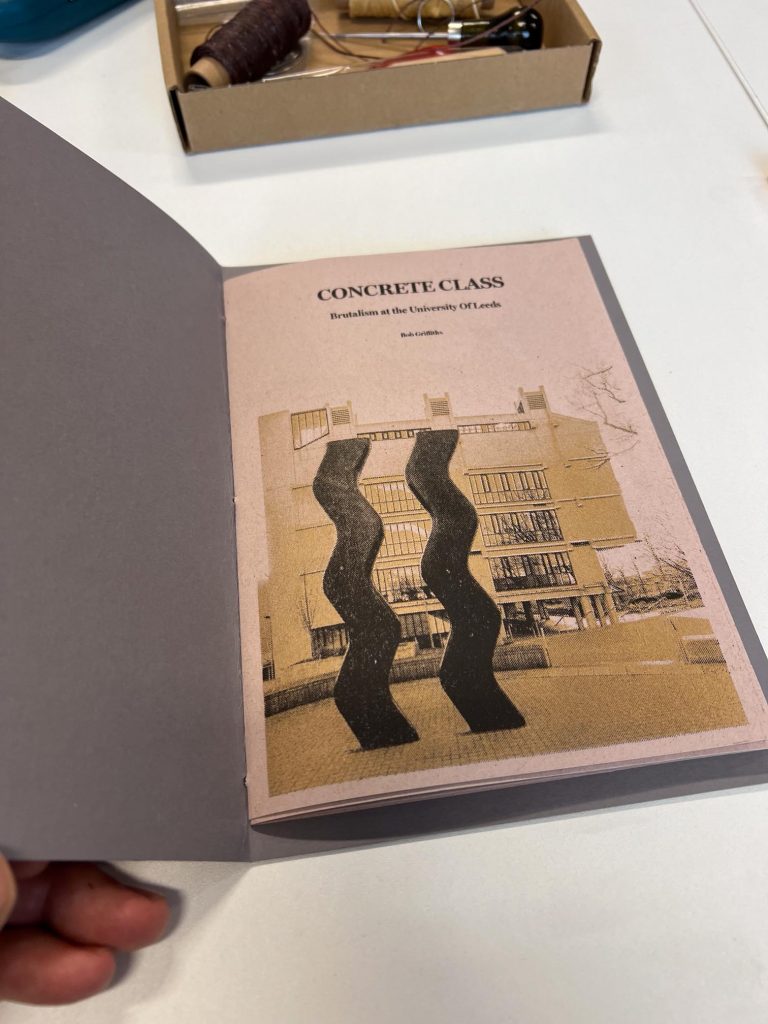
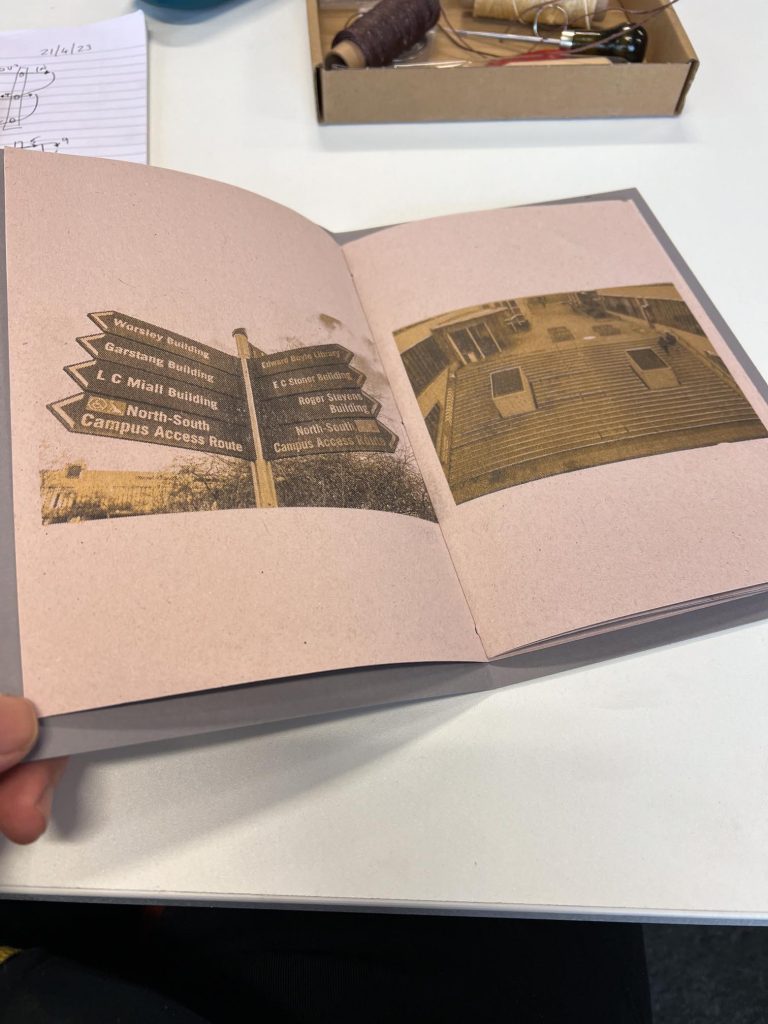
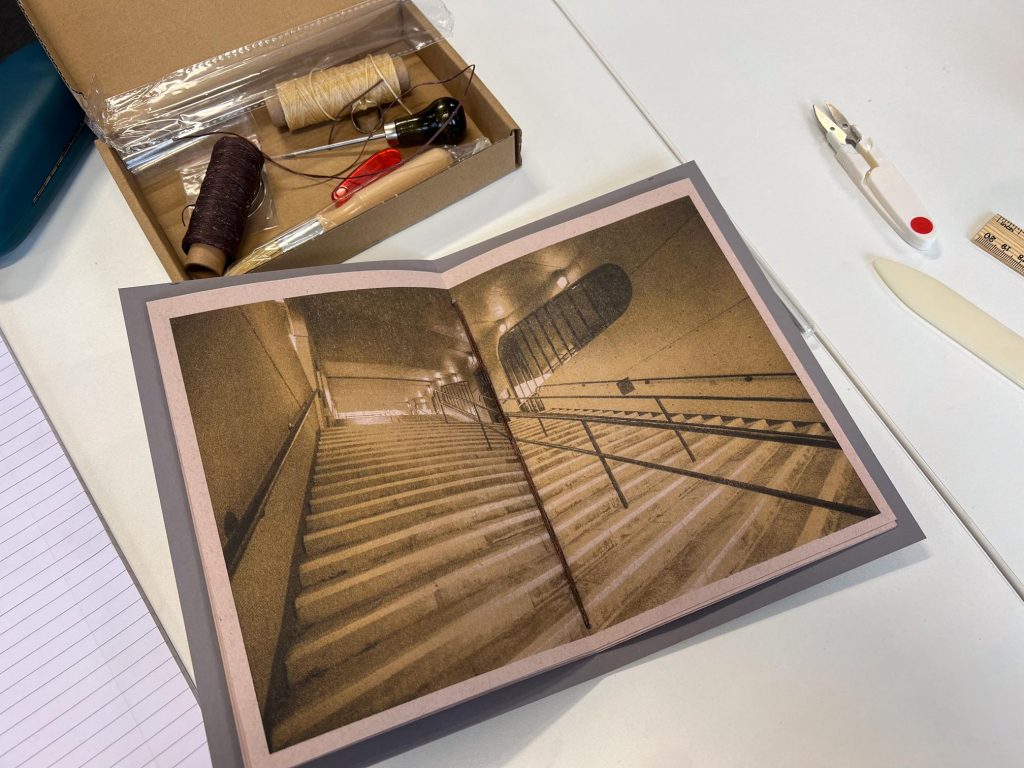
Alice gave everyone 5 sheets of A4 paper which were folded in half to create a ten page A5 booklet. As I’m a swot and wanted to make something for myself as part of this I’d already created a xine called Concrete Class, which contains images of Uni of Leeds Campus, Riso Printed on to thickish paper. The details of this exercise can be read in this post.
Step 1 was to prepare paper block, folding over the A5 sheets and flattening the spine as much as possible for a tight creased fold. Alice suggested that the Single Stitch we’re using is not suitable for anything heavier than the five sheets of A$ folded. Anything heavier can use Stab Stitch.
Step 2 was to cut the cover piece to size. For this we were using a piece of card and we were to add 10mm around each edge so we made the cover 20mm wider and longer than the paper. Cutting it out left us with a piece of card that we then folded in half.
Step 3, with all of the pages safely ensconced in the cover and tight to the spine, we can use a bulldog clip to hold them in the right position.
Step 4 was to mark out positions of the holes to stitch through. one hole 1 cm from the top edge of the page, another 1cm from the bottom and then one in the middle of these two holes.
Step 5 was to push a bradawl through each of these three holes to ensure that there was enough room for the thread to pass through a couple of times.
Step 6 was to start stitching, a needle was threaded with the waxy thread that we bought as part of the Book Binding kit from Amazon. The order of stitches is copied from Alice’s presentation so I don’t get it wrong The thread was chosen to be eight times the length of the spine of the book to allow for the correct number of stitches and a tail if required.
Stitch One
• Up through the centre – COVER SIDE
• Down to the right hole – PAGE SIDE
• Across and up through the left hole – COVER SIDE
• Down through the centre – PAGE SIDE
Stitch Two
• Up through the left hole (COVER SIDE)
• Across and down through the right hole (PAGE SIDE)
• Up and through the centre (COVER SIDE)
Stitch Three
• Down through the right hole – PAGE SIDE
• Across and up through the left hole – COVER SIDE
• Down through the centre – PAGE SIDE
My diagram as we were doing this is seen here:

Step 7 is tying off the tails. Once the last stitch was completed it left two pieces of thread sticking outwards from the centre hole. This should then be tied together four times and can either be left hanging or cut back to the not, depending on your preference.
Step 8 was to test the book opens and that the thread has been pulled tight enough during the manufacturing process. If it wasn’t kept taut it might be floppy and the pages could be loose.
Stab Stitch was interesting to mention so I’ve had a look at a few videos on Youtube which give tutorials in using punch tools or electric drills and then doing a more complex pattern of holes and stitches but it looks cool. They are traditional Japanese book stitching methods which I now know about and if I choose to make a handmade book in the future, even if it’s a one off for an exhibition it’ll be within my knowledge. This is a typical video and proves useful when looking up how to do this further. https://www.youtube.com/watch?v=zIhoKudQQFo
How did my zine get on then? Well it looked ok, there is no title on the outer cover which I think I’d prefer to have on there but the binding worked a treat and held the pages tightly together. I can see why these style of zines are changing hands for more money than others produced in automated printing processes such as my car park zine. You can almost feel the work that someone has put into the zine.
Presenting Work Task
Alice gave us a task to investigate presentation strategies for displaying photographs in an exhibition or elsewhere but this must have been mentioned last week as I’d already done it and it can be read here.
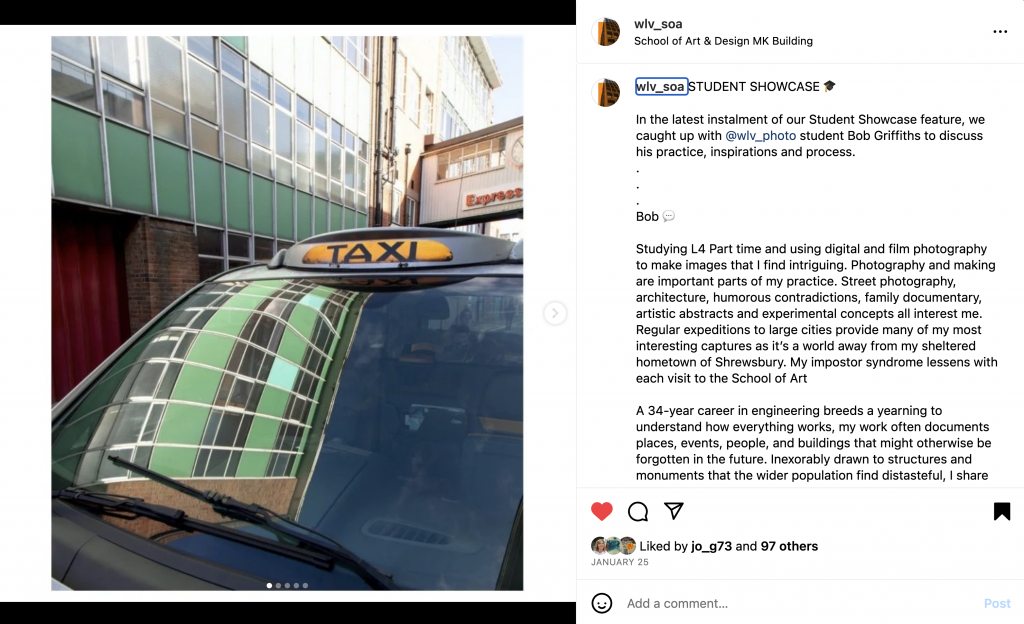
As part of presenting our work we might be required to submit an artist’s statement to support the work. I have done this already for when the @wlv_soa did a student showcase with some of my work appearing in it on instagram. That original can be seen below the work we did in this class to discuss what the contents should consist of.. I also included a similar artist’s statement on the work for the FABSS Voice Magazine which I contributed to, the magazine can be seen here.
What is an artist’s statement for?
We discussed that they’re to enable the viewer/reader to see information about the artist and the work involved in the exhibition/book. It enables people to choose whether they want to see more or less work by the artist, find out more about them or capture their attention further. It gets across information as to the purpose of the works, why they’re important to the artist and what their perception of their work is.
Where would you find an artist’s statement?
You might find one in the blurb of a book, next to a series of works on a wall, added to the foot of an online article, or used in a review.
What would you expect to read in an artist’s statement
We discussed as a group this question and came up with. materials, time,date,context,meaning,name,location. It should be as much information as is required for the audience without being too verbose and boring.
Gilda Williams in her book How To Write About Contemporary Art states her top ten pitfalls.
- They all sound alike
- They are boring
- They sound phoney
- They have nothing to say
- The read ok but don’t actually get to the core of the art
- They are indecipherable
- They’re too long
- They fail to communicate what the reader wants to know
- They sound megalomaniacal
- Artists communicate better in images than words.
Alice then gave us some prompts to consider writing about when thinking of our year long project work.
Explaining the what
What do you do?
Film and digital photography including video and drone
What materials methods processes do you use?
Darkroom prints, digital prints, zines, digital portfolios and also intaglio and Riso printing
What themes of concern does your work tackle?
Dereliction, memory, change, reconstruction, understanding and common sense agreement
What do you want your work to achieve?
Show the beauty in the scenery considered as ugly, everyday ordinariness as something to behold. Seeing what’s in front of you with your eyes and mind wide open
Explaining the why?
Why do you make what you make?
I make it to enjoy capturing, documenting and sharing history to allow others to see their environment from a different angle.
Why is it important?
People often miss everyday events as well as monumental changes in landscapes and I like to remind people to look around, look up, look behind you and see what is there today, what was there yesterday and what might be there tomorrow. The tomorrow question could lead into thought processes around climate change crisis and consumerism.
An artist’s statement needs to be:
- Clear
- Concise
- Compelling
- Avoid empty sentences
- Use absolutes and not “I fell that my work does”
Should it be written in first or third person ?
- 3rd if a professional submission or application
- 1st if it’s a more personal response
Write an Artist’s Statement Task
Alice then gave us a task to create an artist statement for our year long project
500 word limit with the following outline to assist with construction.
First: What do you make and how?
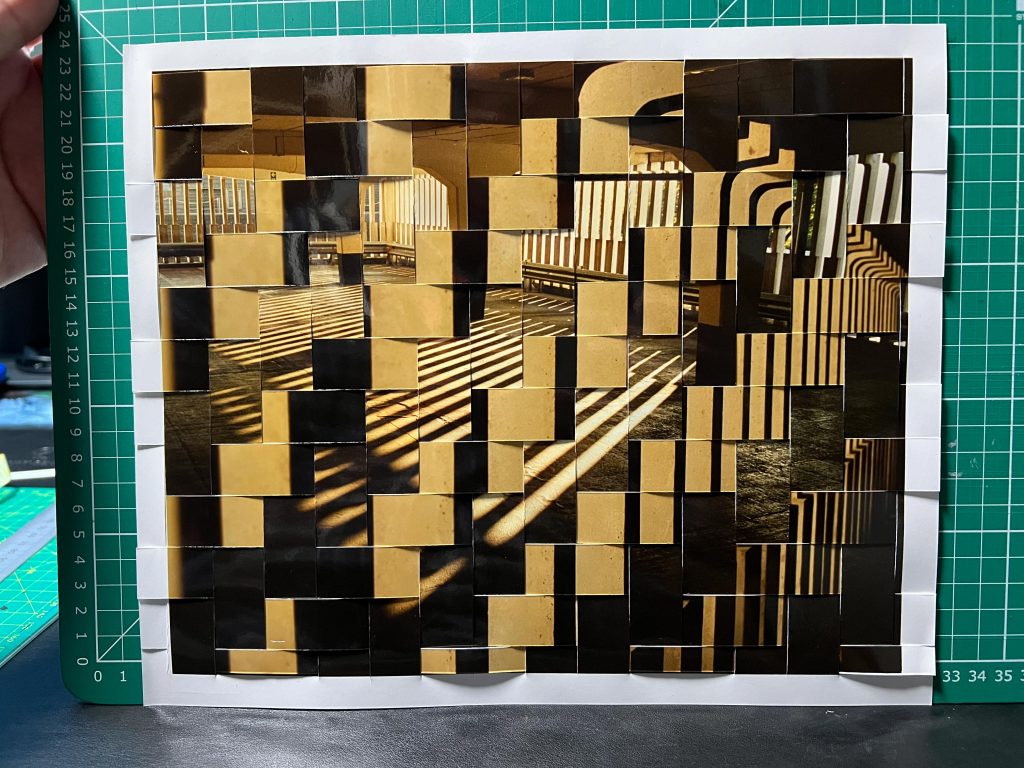
Using digital and film cameras I create photographs that are then woven together with other printed photographs of related topics or scenes. Typically the deconstruction, understanding the components and then the reassembly of them into a single image.
Second: What are the key inspiration/ideas/questions you have? Does it relate to anything else?
Ideas and themes featured in my practice relate to family, memory, history, dereliction, dilapidation and reminiscence.
Third: What do the materials/processes you use relate/explore your ideas above?
Using mainly photographic paper or digital file manipulation I weave together images of related content to show a difference between the two.
Fourth: Why do you make this work? What affect or relationship do you want to develop with the audience.
the work is made to meet my desire to make sense of history and locations that exist today in old photos or documents. The obfuscation of content and merging act like a metaphorical wormhole connecting both together.
Fifth: Discuss your contextual task artwork.
The final works from this series contain woven images that help me make sense of the past. They’re painstakingly constructed using manual processes to embody physical effort in the final piece..
The statement after some basic editing:
Bob Griffiths uses digital and film cameras to create photographs that are then woven
together with other photographs of related topics or scenes. Practicing the deconstruction, understanding the components and then the reassembly of them into a single image ties into the themes of family, memory, history, dereliction, dilapidation, reconstruction and reminiscence.
Using photographic paper or digital file manipulation to weave together images of related content shows the apparent differences between the two. The work helps Griffiths’ to make sense of history and locations that exist today in old photos or documents. The obfuscation and merging of content act like a metaphorical wormhole connecting both together in space/time.
The final works from this series contain woven images that help me make sense of the past. They’re painstakingly constructed using manual processes to ensure that the viewer can sense the physical effort in each piece.
(144 Words)
Artists Statement from the Instagram Student Showcase and FABBS Magazine
Studying L4 Part time and using digital and film photography to make images that I find intriguing. Photography and making are important parts of my practice. Street photography, architecture, humorous contradictions, family documentary, artistic abstracts and experimental concepts all interest me. Regular expeditions to large cities provide many of my most interesting captures as it’s a world away from my sheltered home town of Shrewsbury. My impostor syndrome lessens with each visit to the School Of Art
A 34 year career in engineering breeds a yearning to understand how everything works, my work often documents places, events, people, and buildings that might otherwise be forgotten in the future. Inexorably drawn to structures and monuments that the wider population find distasteful, I share their mostly undiscovered beauty as if a defence barrister in the court of artistic appreciation.
The hidden beauty in ugliness is my quiet protest against what constitutes “pretty” by the vacuous reality tv shows and false portrayals forced upon the public. Death and decay are sources of beauty that I’m drawn to as they represent the finality of life and act as a memento-mori to remind us of our insignificance in the universe.
Currently looking to curate images of Shrewsbury’s multi-storey car park to produce a zine. I share images on my Instagram, maintain a blog and host a YouTube channel containing a diverse range of videos. More detail can be found at http://bobgriffiths.uk
Blog/Journal: http://bobgriffiths.uk/
Instagram: https://www.instagram.com/batbob/
YouTube: https://www.youtube.com/unibatbob
(236 Words)
Reflection
Not the reflection in the windscreen above. A look back at the contents of this post and lecture that it came from.
It was good to practice the book binding and has given me some basic skills that I can brush up on to improve in the future if I need them. It drove me to create 20 copies of the Concrete Class zine which I will work on assembling once my work is submitted for this academic year, it’ll keep me occupied in the summer.
The artists statement discussions are also helpful as I find it difficult to talk about myself in a positive manner without slipping into self-deprecation. The contents of the statement are important and as Alice suggested it does make you think about the practice you’re working on currently and how it all fits together, and also how it pieces together with your overall practice and set of themes.
I have some more skills in this field now and also know about Gilda Williams book which has helped with my essay and exhibition review as well as other future writings required in Levels 5 and 6.
Comments are closed.