This tuesday saw me arrive at the University School Of Art after some hassle getting parked, as there was a Wolves v Crystal Palace match on in the evening. I parked and paid before walking over to the George Wallis building (MK Building) not the city centre pub of the same name…
It was a hive of activity so I spoke to Sam to tell him what I was up to and that I was going to be ducking into the black and white darkroom to make some prints. He wished me well.
Setting up in the darkroom with the red safe lights on, there was also a tungsten (white) light on as Sharon was setting up for some cyanotype printing later in the day.
Once I’d set up the enlarger, negatives in the holder, easel configured, focus set, water on, dryer on, covers off the stop and fix it was time to get printing. Sharon had left so I knocked off the white light and got on with the job in hand.
Library Time
First up was a black and white Ilford HP5 Plus 400 ISO 35mm film that I’d shot in my charity shop Nikon Zoom 600 point and shoot camera around the centre of Birmingham whilst my family were getting slaughtered at bottomless brunch in the nearby Turtle Bay. I don’t drink so it would be pointless me paying the £35 and sitting there drinking pepsi so I had wandered the city with my Leica Q2 (new to me camera) and the Nikon.
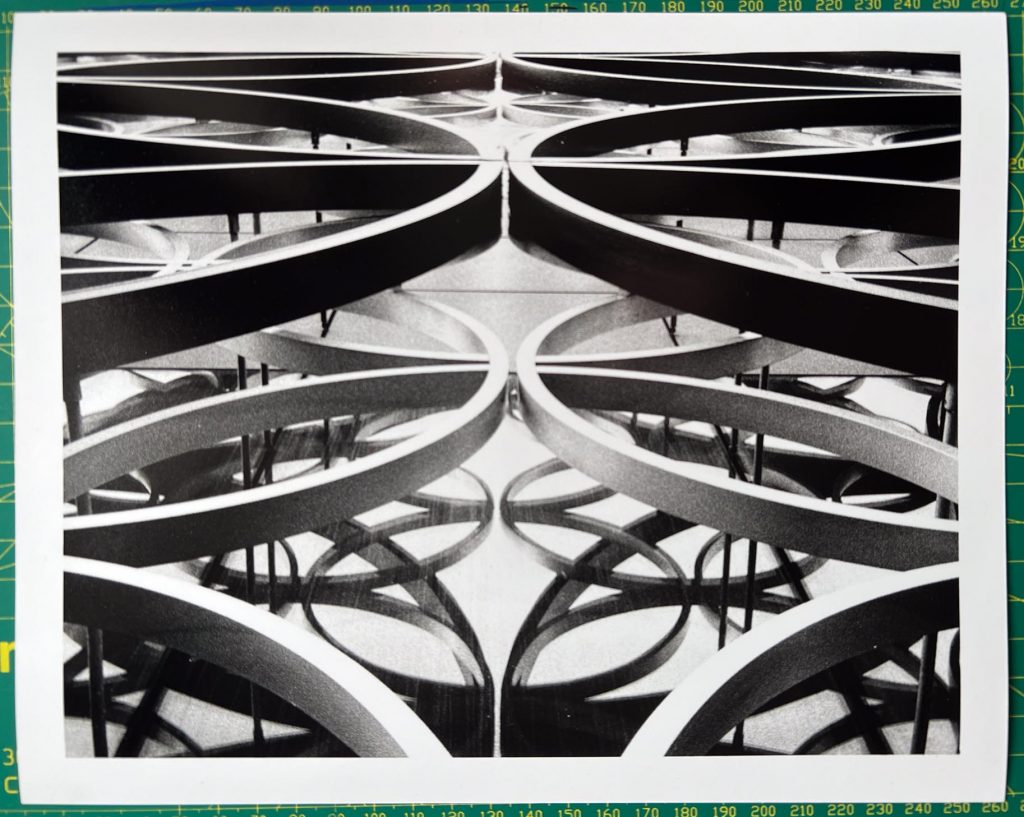
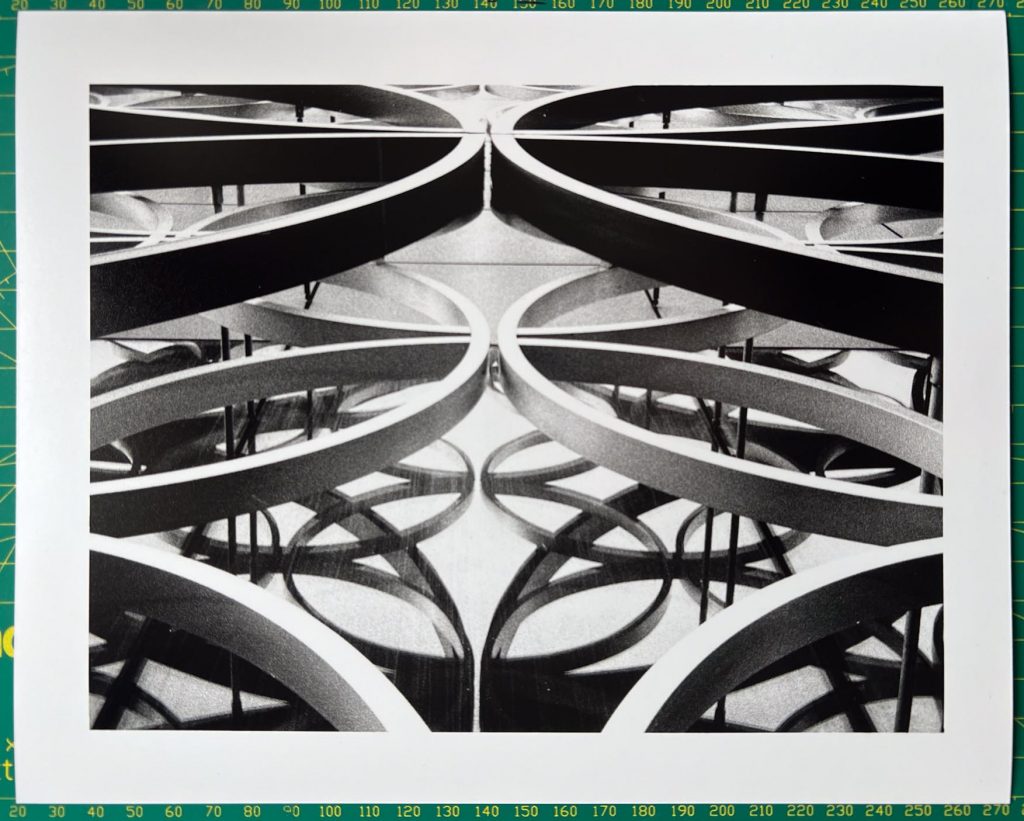
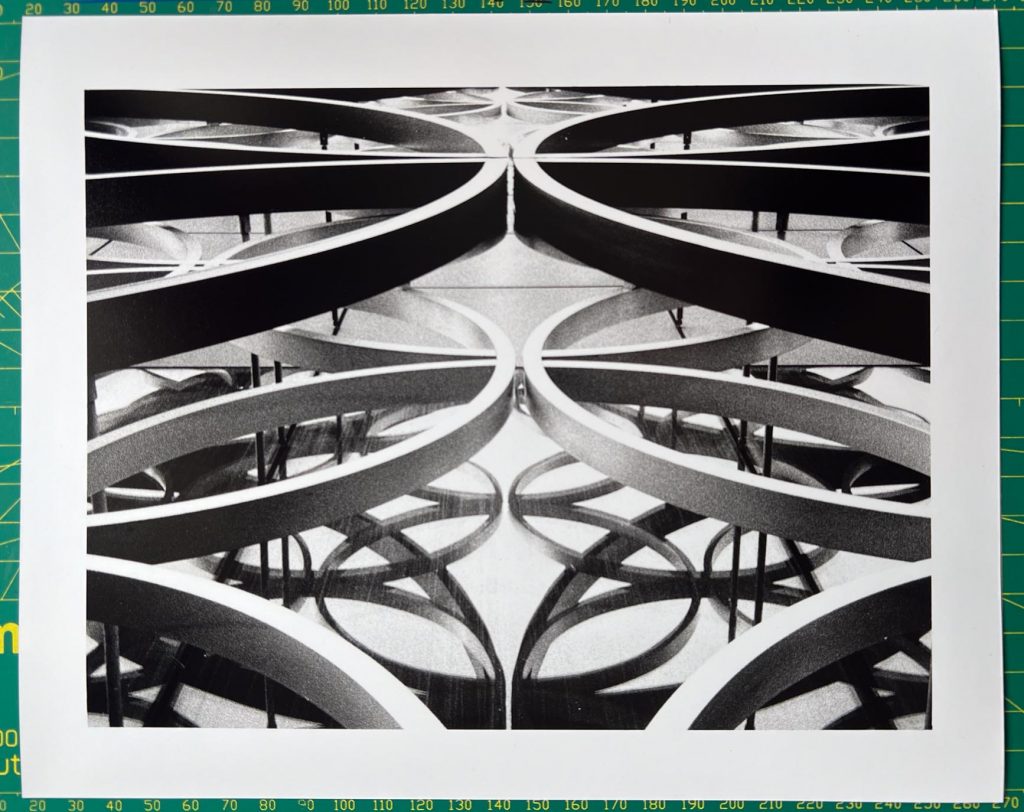
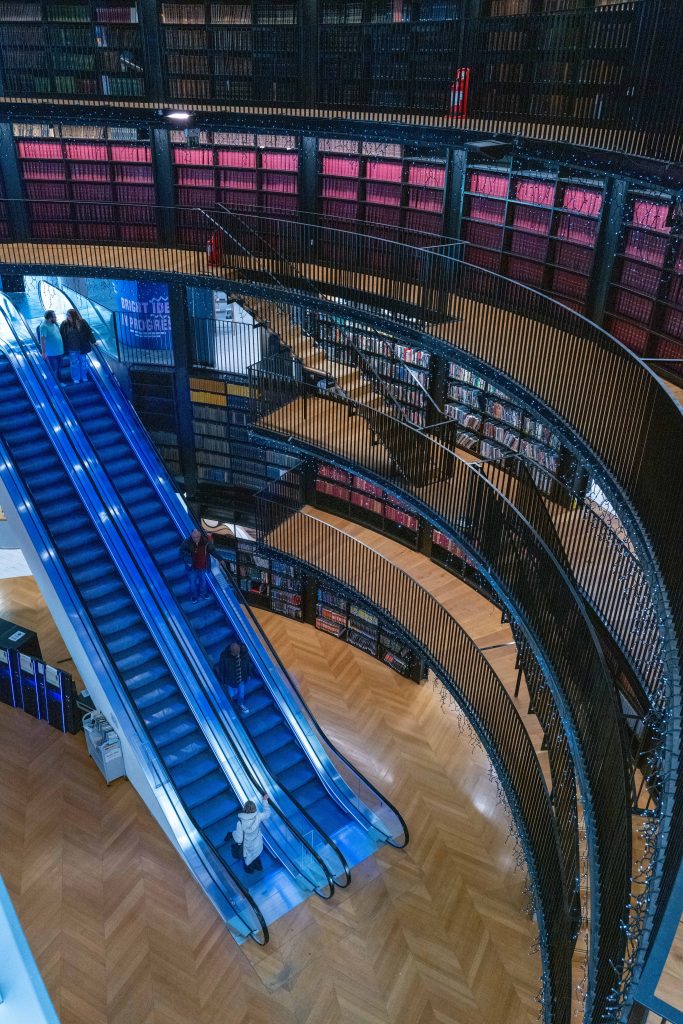
The first negative in the enlarger was of the Birmingham Library, I’d been up on the secret garden looking down between the wall and the circular motif decoration and loved the reflections.

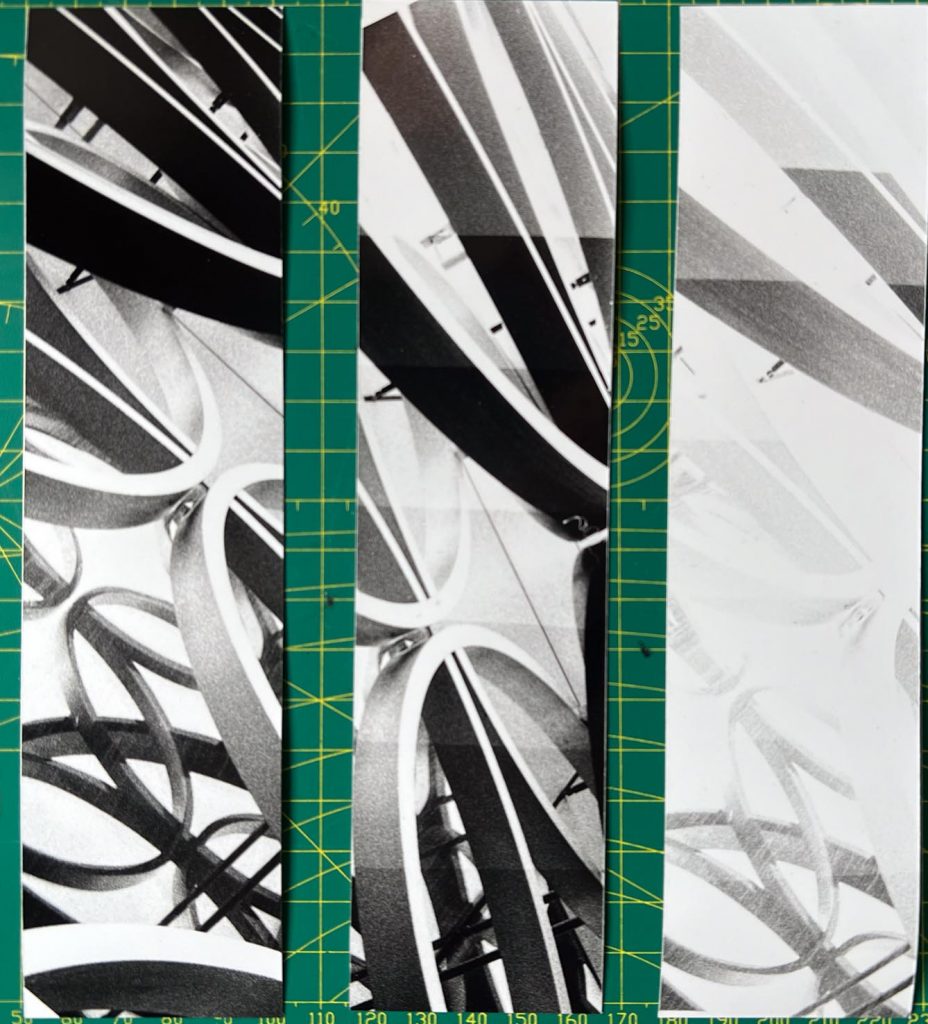
Before I had done the first test strip, I realised that I had forgotten to book out the Multigrade Filters so I went to see Dan the Tech who helped me get sorted, top bloke.
The test strip came out really light at first but I opened the lens aperture up to f/5.6 from f/8 and it did help a bit. I carried on experimenting but found that there were some weird smeary marks in the image, after wondering about water stains on the negs I realised it was actually jsut the dirty streaky windows of the library. I also started off with 1/2″ borders around the print but this year I’ve been composing for a 3/4″ border so had to reset the easel. I did a print and then realised I hadn’t recentred the image, for the symmetry, after the border change. I re-centred the image on the easel and then printed. I also printed out a few duplicates as it’s easier to do it now than coming back to it again. I only generally do this if I like the print. I also noted that the detail was blown out as you can see in the top of the images above, the detail above the two blackest circles in the top centre of the page is a bit blown out so if I were to do this again I’d likely burn that area for a second or two to pull that detail back.
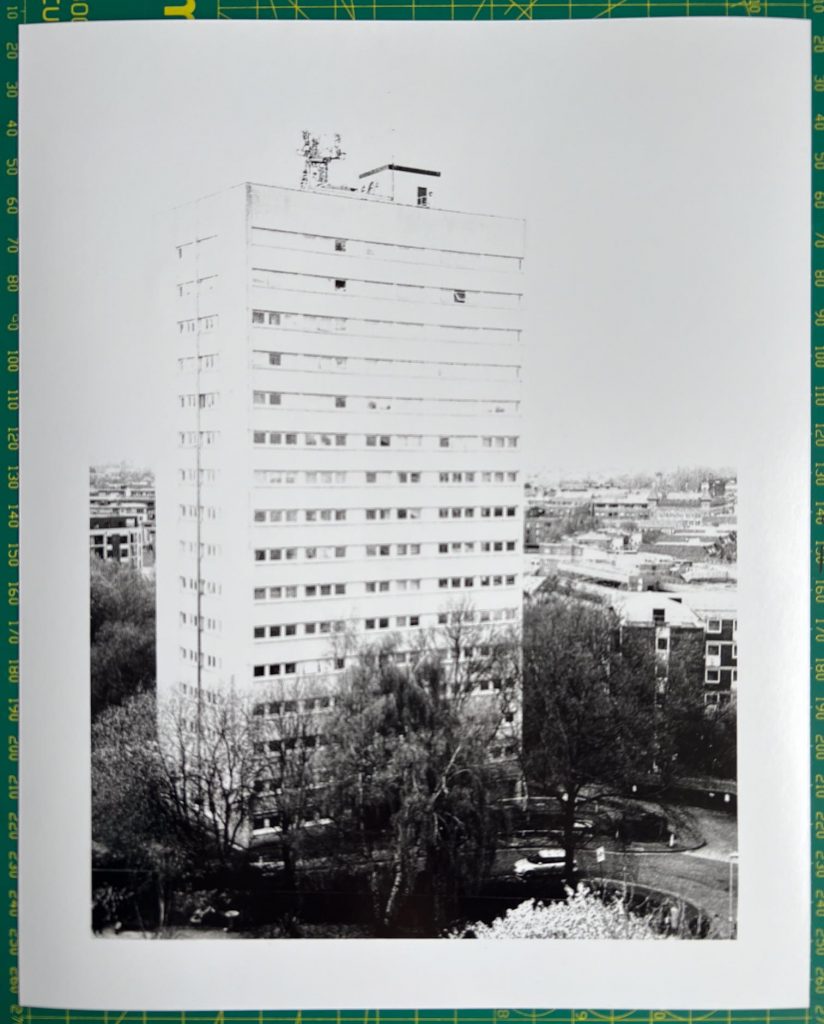
Load Of Blocks
Then it was time for a negative on the same camera from the same roof top but over the back way.

You can see in the notes above that I wasn’t that happy with the print, it was exposed ok at the bottom but blown out/underexposed at the top so it would likely need some split toning. I may have done the split toning if I’d liked the image more but I moved on to the next.
Moving Steps
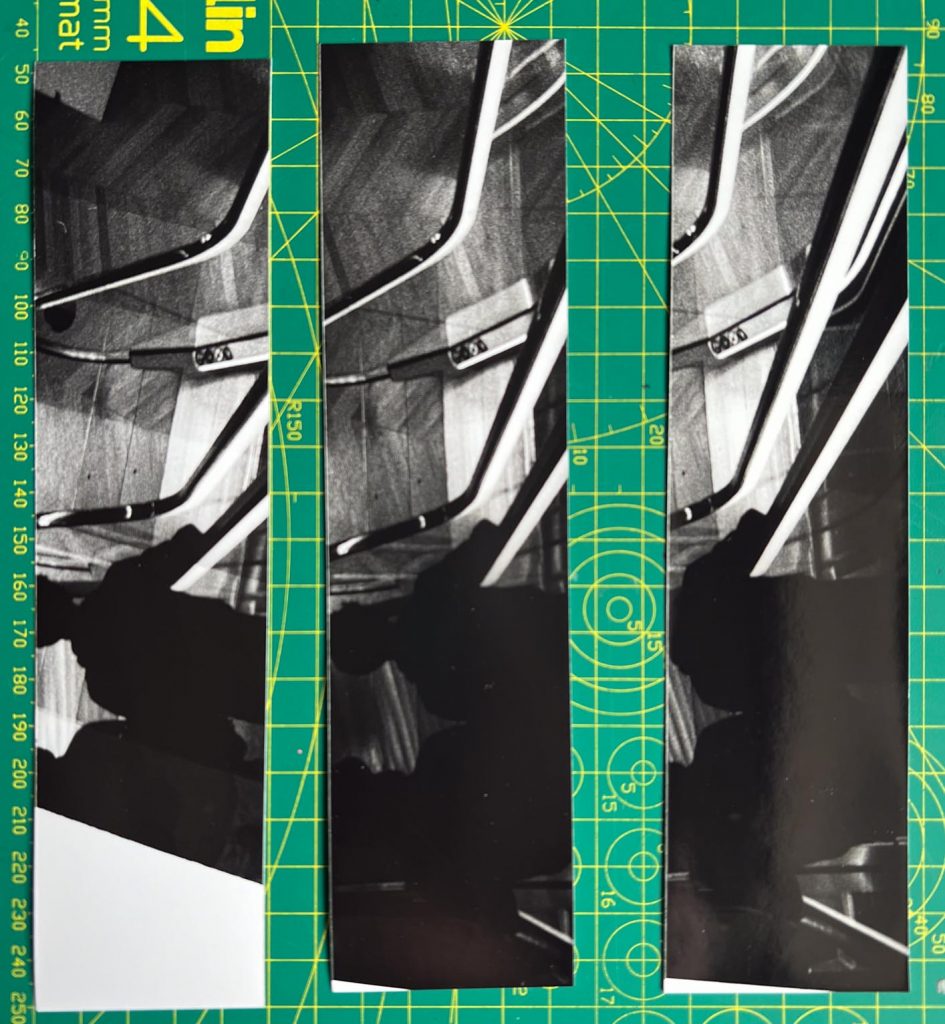
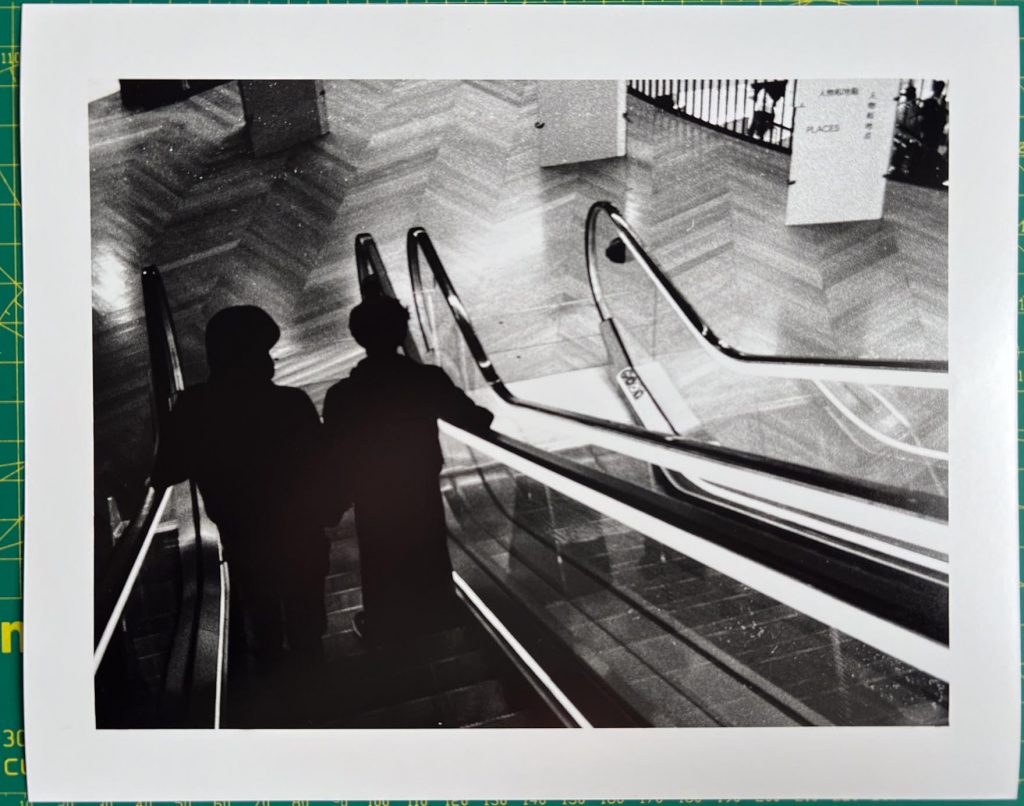
Inside the Birmingham Library there are a number of escalators with lovely LEDs on them that twinkle along with the little fairy lights all around the shelves but I wanted to capture the silhouettes of the patrons of the space on their way around the building.
I walked on the escalator behind a couple of interesting people, one wearing a full Russian style wooly hat with the ear coverings, and noticed the opportunity to grab the image, the first one went off with a flash but I redid the image and it appears to have worked when I looked at the negative.

The notes on this printing show that the test strips and full strips show a darker than desired overall image but I found that if I were to lighten it too much the floor pattern wouldn’t appear in the reflections of the lights, thus being blown out. I also made a couple of duplicates of this image too as I like the mystery over the people who are in the photo. the real issue I had though is the top left corner where a light area sits tight to the corner and the border becomes unclear. On the last print I did burn it a lot but nothing appeared, that must be blown out on the negative. I guess I could crop the image to remove it but I might lose some of the left side of the escalator which i feel is more important.
Victorian Attitudes
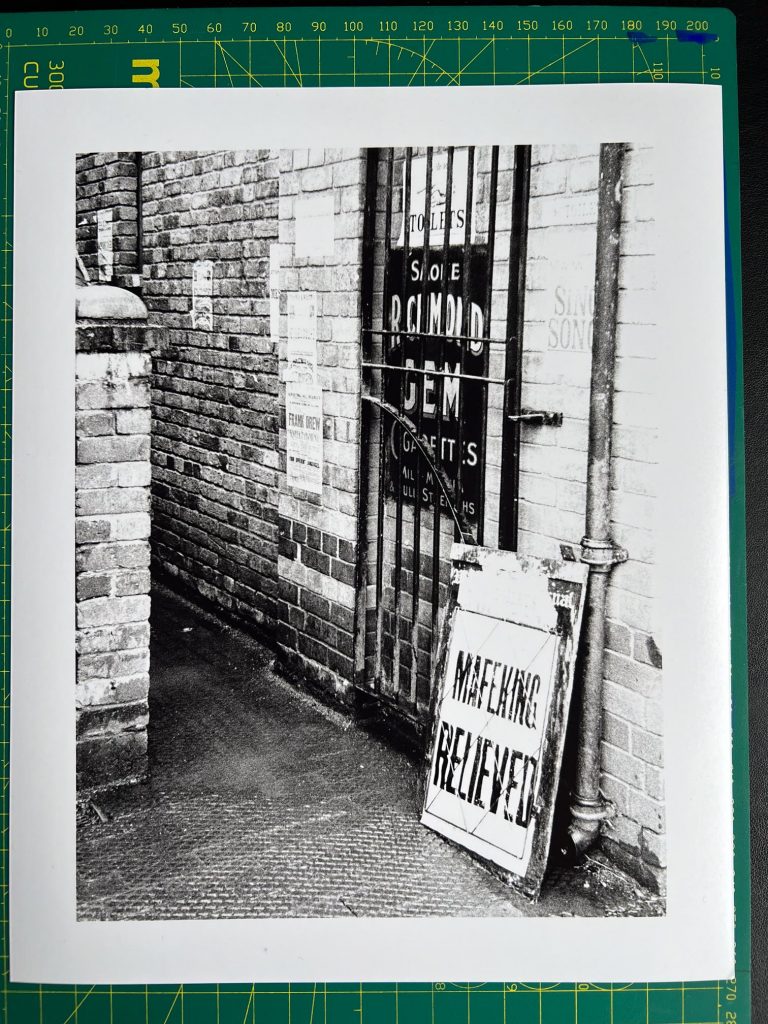
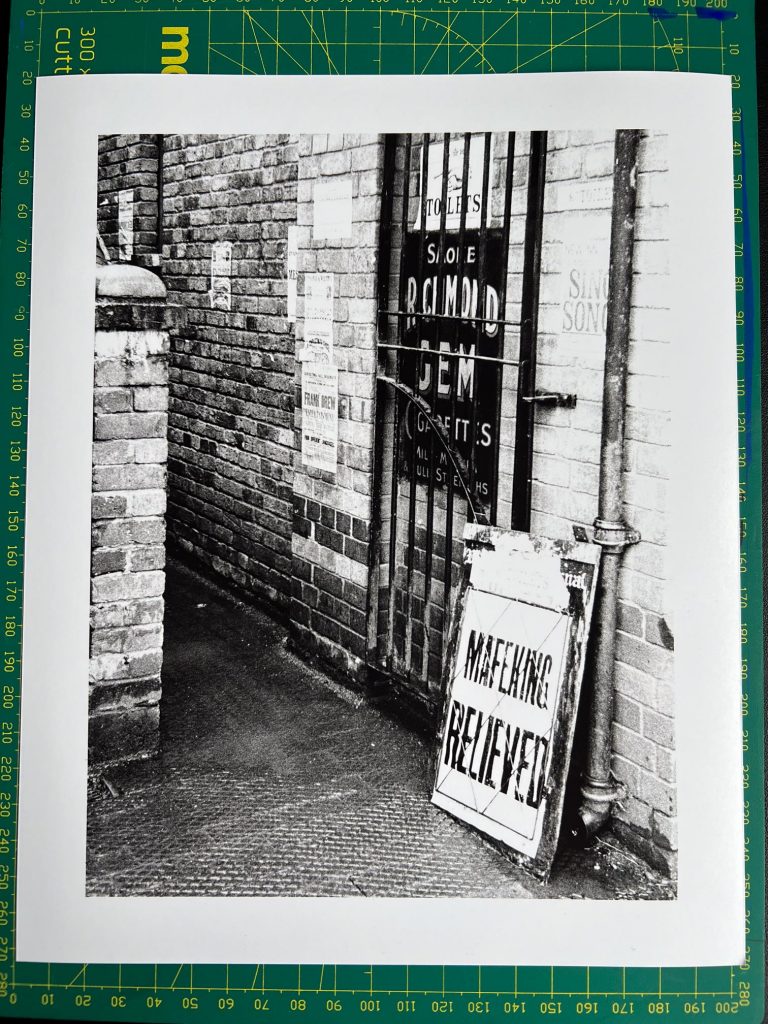
Changing on to another film now, still Ilford HP5Plus shot in the same Nikon 600 Zoom, but this one at Blists Hill Victorian Museum in Coalbrookdale area of Telford, near the world famous Ironbridge.
Taking my digital Q2 and the nikon I thought I might be able to grab some images of moody Victorian areas and I found a couple, one of which is seen in the prints below.

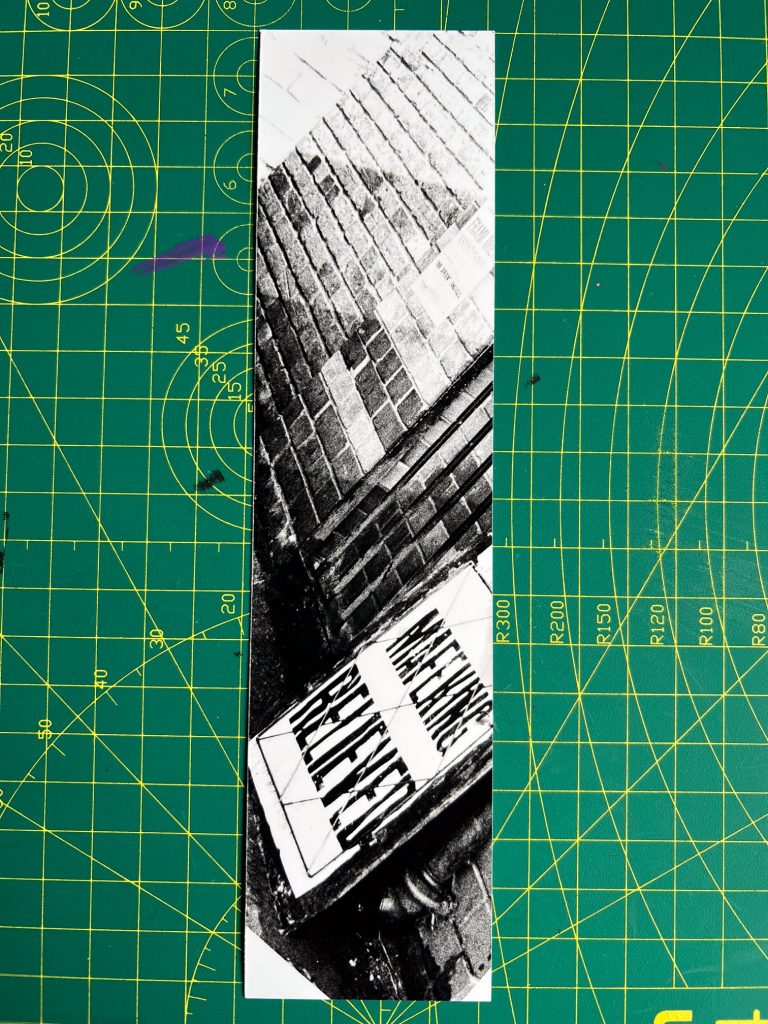
I did two prints after this but the first had an issue whereby the light coloured painted bricks on the right hand side were not seperating from the border so there was no clear distinctive line. I redid the enlargement with an extra second of exposure and a little burning using a waved piece of card down that side. It worked as expected and came out alright I was happy with this and then it was time to tidy up and prepare for the closing down of the darkroom for the day.
The settings for all of the images worked on today are all safely stored in my spreadsheet and you can see the overview here:

The YMC columns are for when I am printing in the Colour darkroom to record the colour filter settings and can be ignored here as it’s purely Black and white.
Next post will be the Friday session this week in which we talk about assessments, hand in, submission, marking, and next steps.
Comments are closed.