Colour Darkroom Fun & Games
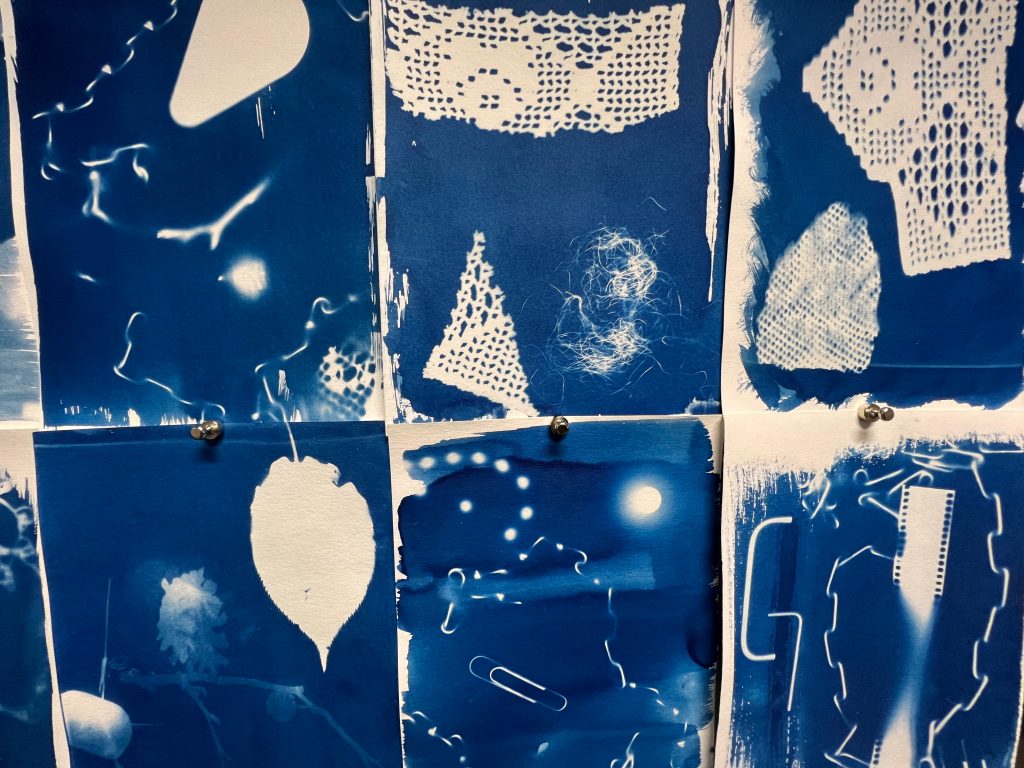
Went to the university of Wolverhampton’s School Of Art basement on Tuesday for our next session on the Experimentation & Dialogues module with Niki and Dean. On the crit wall were some awesome cyanotype photograms, featuring some excellent patterns and materials that looked freaky and interesting.
There were loads of level 4s and 6s in the same space so us being the L4s split into two groups and us novices were directed into the darkrooms. Some venturing into the Black and White darkroom that they’d been introduced to that morning and the remainder opting to try colour printing for the first time.
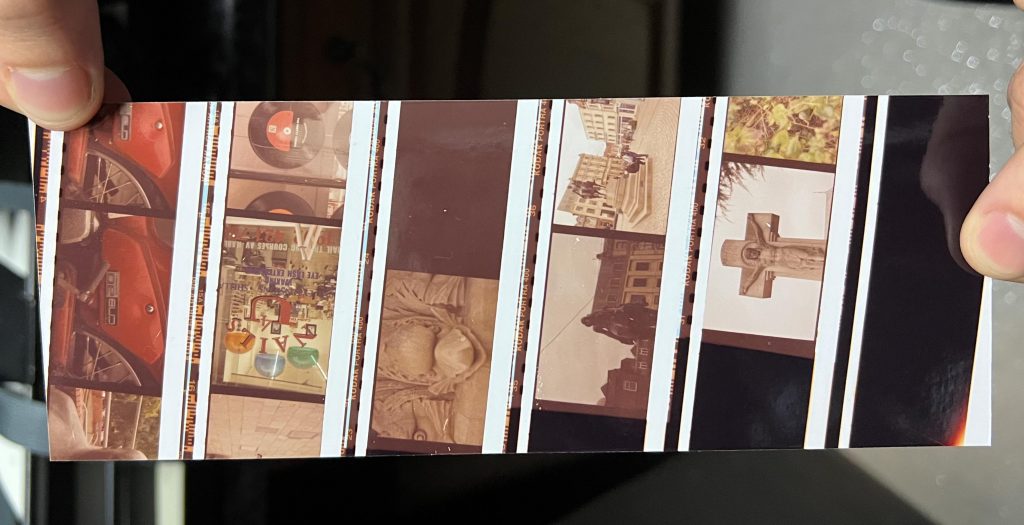
Gin and Noah had our 35mm roll of Portra 400 that we had used previously in Wolverhampton so we went into the colour darkrooms to use the enlargers and Colenta processing machine.
Setting Up
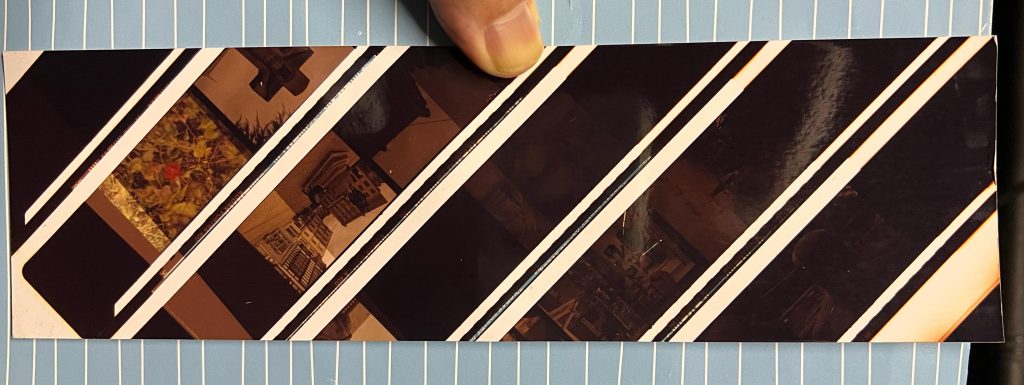
First up Noah placed the Negatives into the contact printer and with Dean’s guidance set everything on the enlarger to the initial starting settings.
Yellow and Magenta filters were set to 50 as per standard and the Cyan was left at 0. The higher the number on the individual filters the more of that colour is filtered out from reaching the paper.
The timer was set at 3 seconds, a piece of card provided by Dean and then two black bags, one containing four test strips and a sheet of 10×8 Fujifilm colour paper, these were stored in the drawer as advised by Dean. The enlarger head was hoisted up to a position whereby the light covered the contact printer.
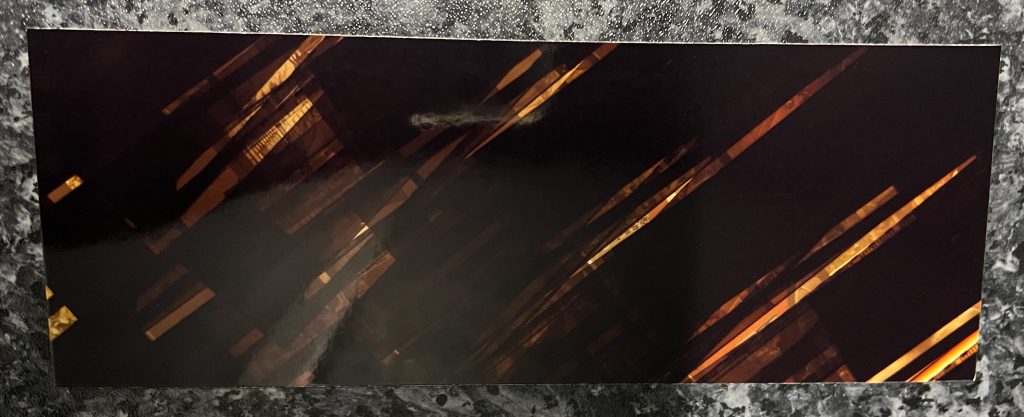
Noah and Gin entered the room, switched off the light and then put a test strip in the contact printer before using the card to gradually uncover a section every three seconds. The result was a test strip that came out too dark and a really strong red cast to it. (#1 – f/5.6, 3sec intervals Y50,M50,C0)
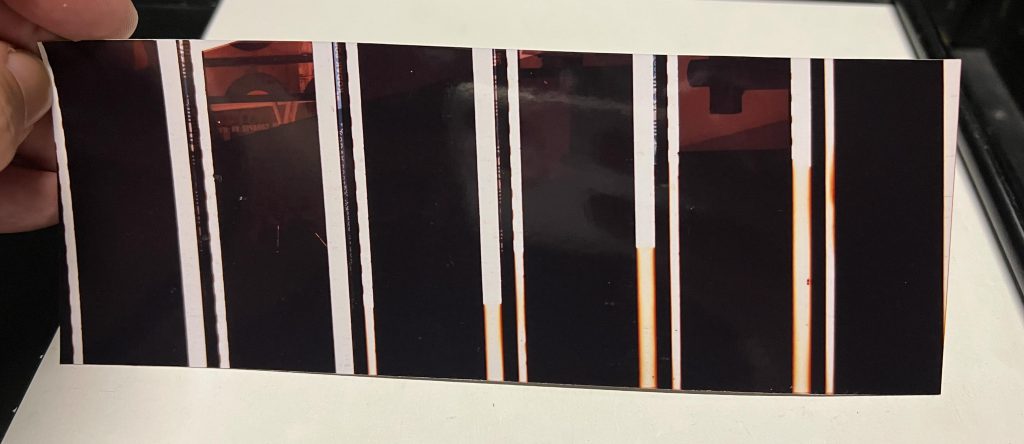
Dean looked at the contact test strip and suggested that they drop it a stop to stop so much light hitting the paper. I explained to them what this meant in that the aperture of the enlarger lens needed to be changed one stop from the current f/5.6 to f/8. Gin and Noah re-entered the enlarger cubicle and ran it again. It had helped but the strong red cast was still evident. (f/8, 3 sec intervals, Y50,M50,C0)
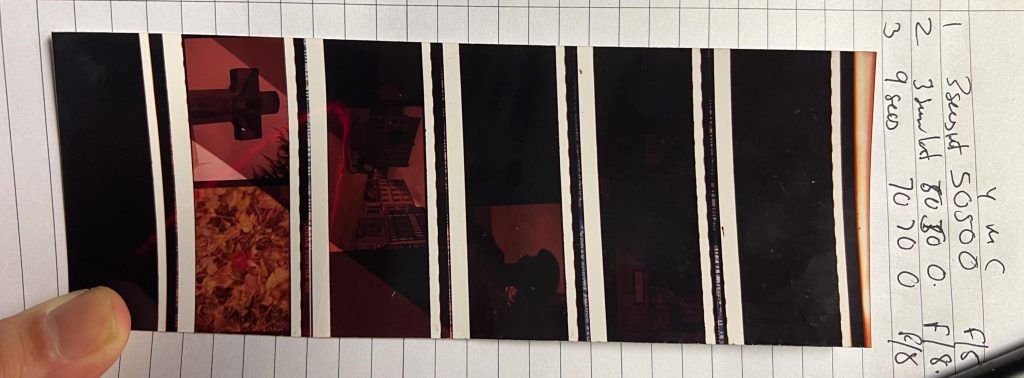
Dean showed Noah and Gin the Colour Cast chart on the wall and suggested that they increase the Yellow and Magenta filters by 20 each to filter out some of the red cast. Dean looked at the strip and suggested they try a strip at 9 seconds with the same settings on filters and aperture. Again the result after feeding it into the Colenta machine was incredibly dark so Dean looked at the enlarger and changed something that Noah said was “the filters were stuck or something”
It may have been that the white light lever was still in place from Dean’s earlier demo so by altering this we were set to try it again. This time the test strip came out better but a bit light and still a moderate red cast so we upped the Y & M filters to 85 each whilst leaving the Cyan well alone.
A test strip was produced but came out really dark/overexposed and it looked like the paper had moved part way through. Without being in the room to see what happened I don’t really know, but from something I saw on a later image printing I suspect that the guys turned on the enlarger lamp to reposition the paper in the contact printer and then exposed it for the three second intervals.
Noah and I went into the enlarger room to try it out again and I drove the process this time. We did 3 second intervals on f/8 with Y85,M85,C0 and as I uncovered the paper with the card every 3 secs Noah said that he realised he hadn’t been using the card on the last one. The test strip came out and although there was a yellow cast to it, the exposure looked a little more like logical timed steps.
The sweet spot on the test strip looked to be about 4 secs and with an increase of yellow filter to 95 we entered the room to try again. Noah was in front of the enlarger and we didn’t have any test strips left in the bag, Dan was letting us know we were close to the end of the session so we popped a full sheet on the contact printer. Noah changed the timer to 4 secs and we readied to start. Then Noah lifted the button on the enlarger timer, moved the contact printer frame into the light which took about three seconds and then shut the enlarger off before finally pressing the button for the 4 secs of exposure. As a result of these additional few seconds the print was overexposed and too dark. Dean suggested that we cut some more Test Strips and try it again with less time on the timer.

We went into the other enlarger cubicle where the roto trim was and Noah chopped it into a few strips in the pitch black after I gave him a few tips on what to do. Once we had the strips in the black bag we went back to our enlarger and Noah put the strip on the contact printer in the dark before correctly exposing it for 4 seconds. Once it was back in the bag, the lights were turned on and then Noah went to the Colenta machine and loaded it for it’s processing. Whilst we were in this room Gin had told us that he’d now learned that you put the strips in narrow end first and not in wide side first. I’m not sure whether the print got stuck or whether he got lucky as I’ve seen them get stuck in the baths when put in this way.
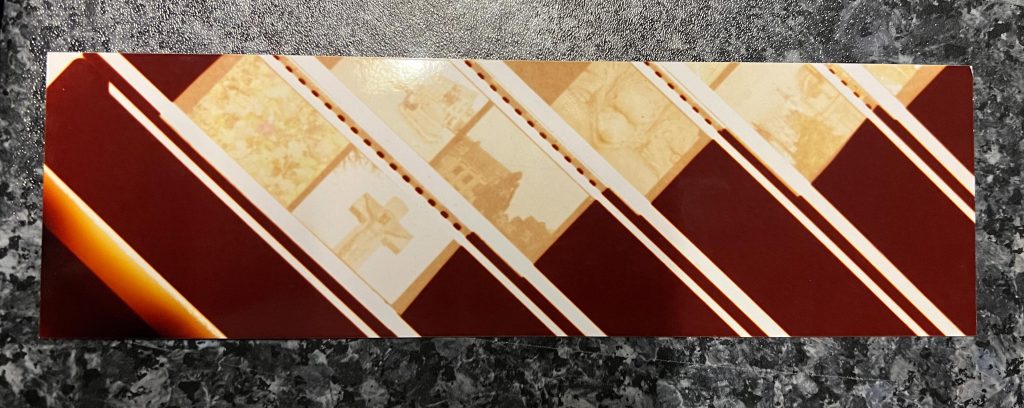
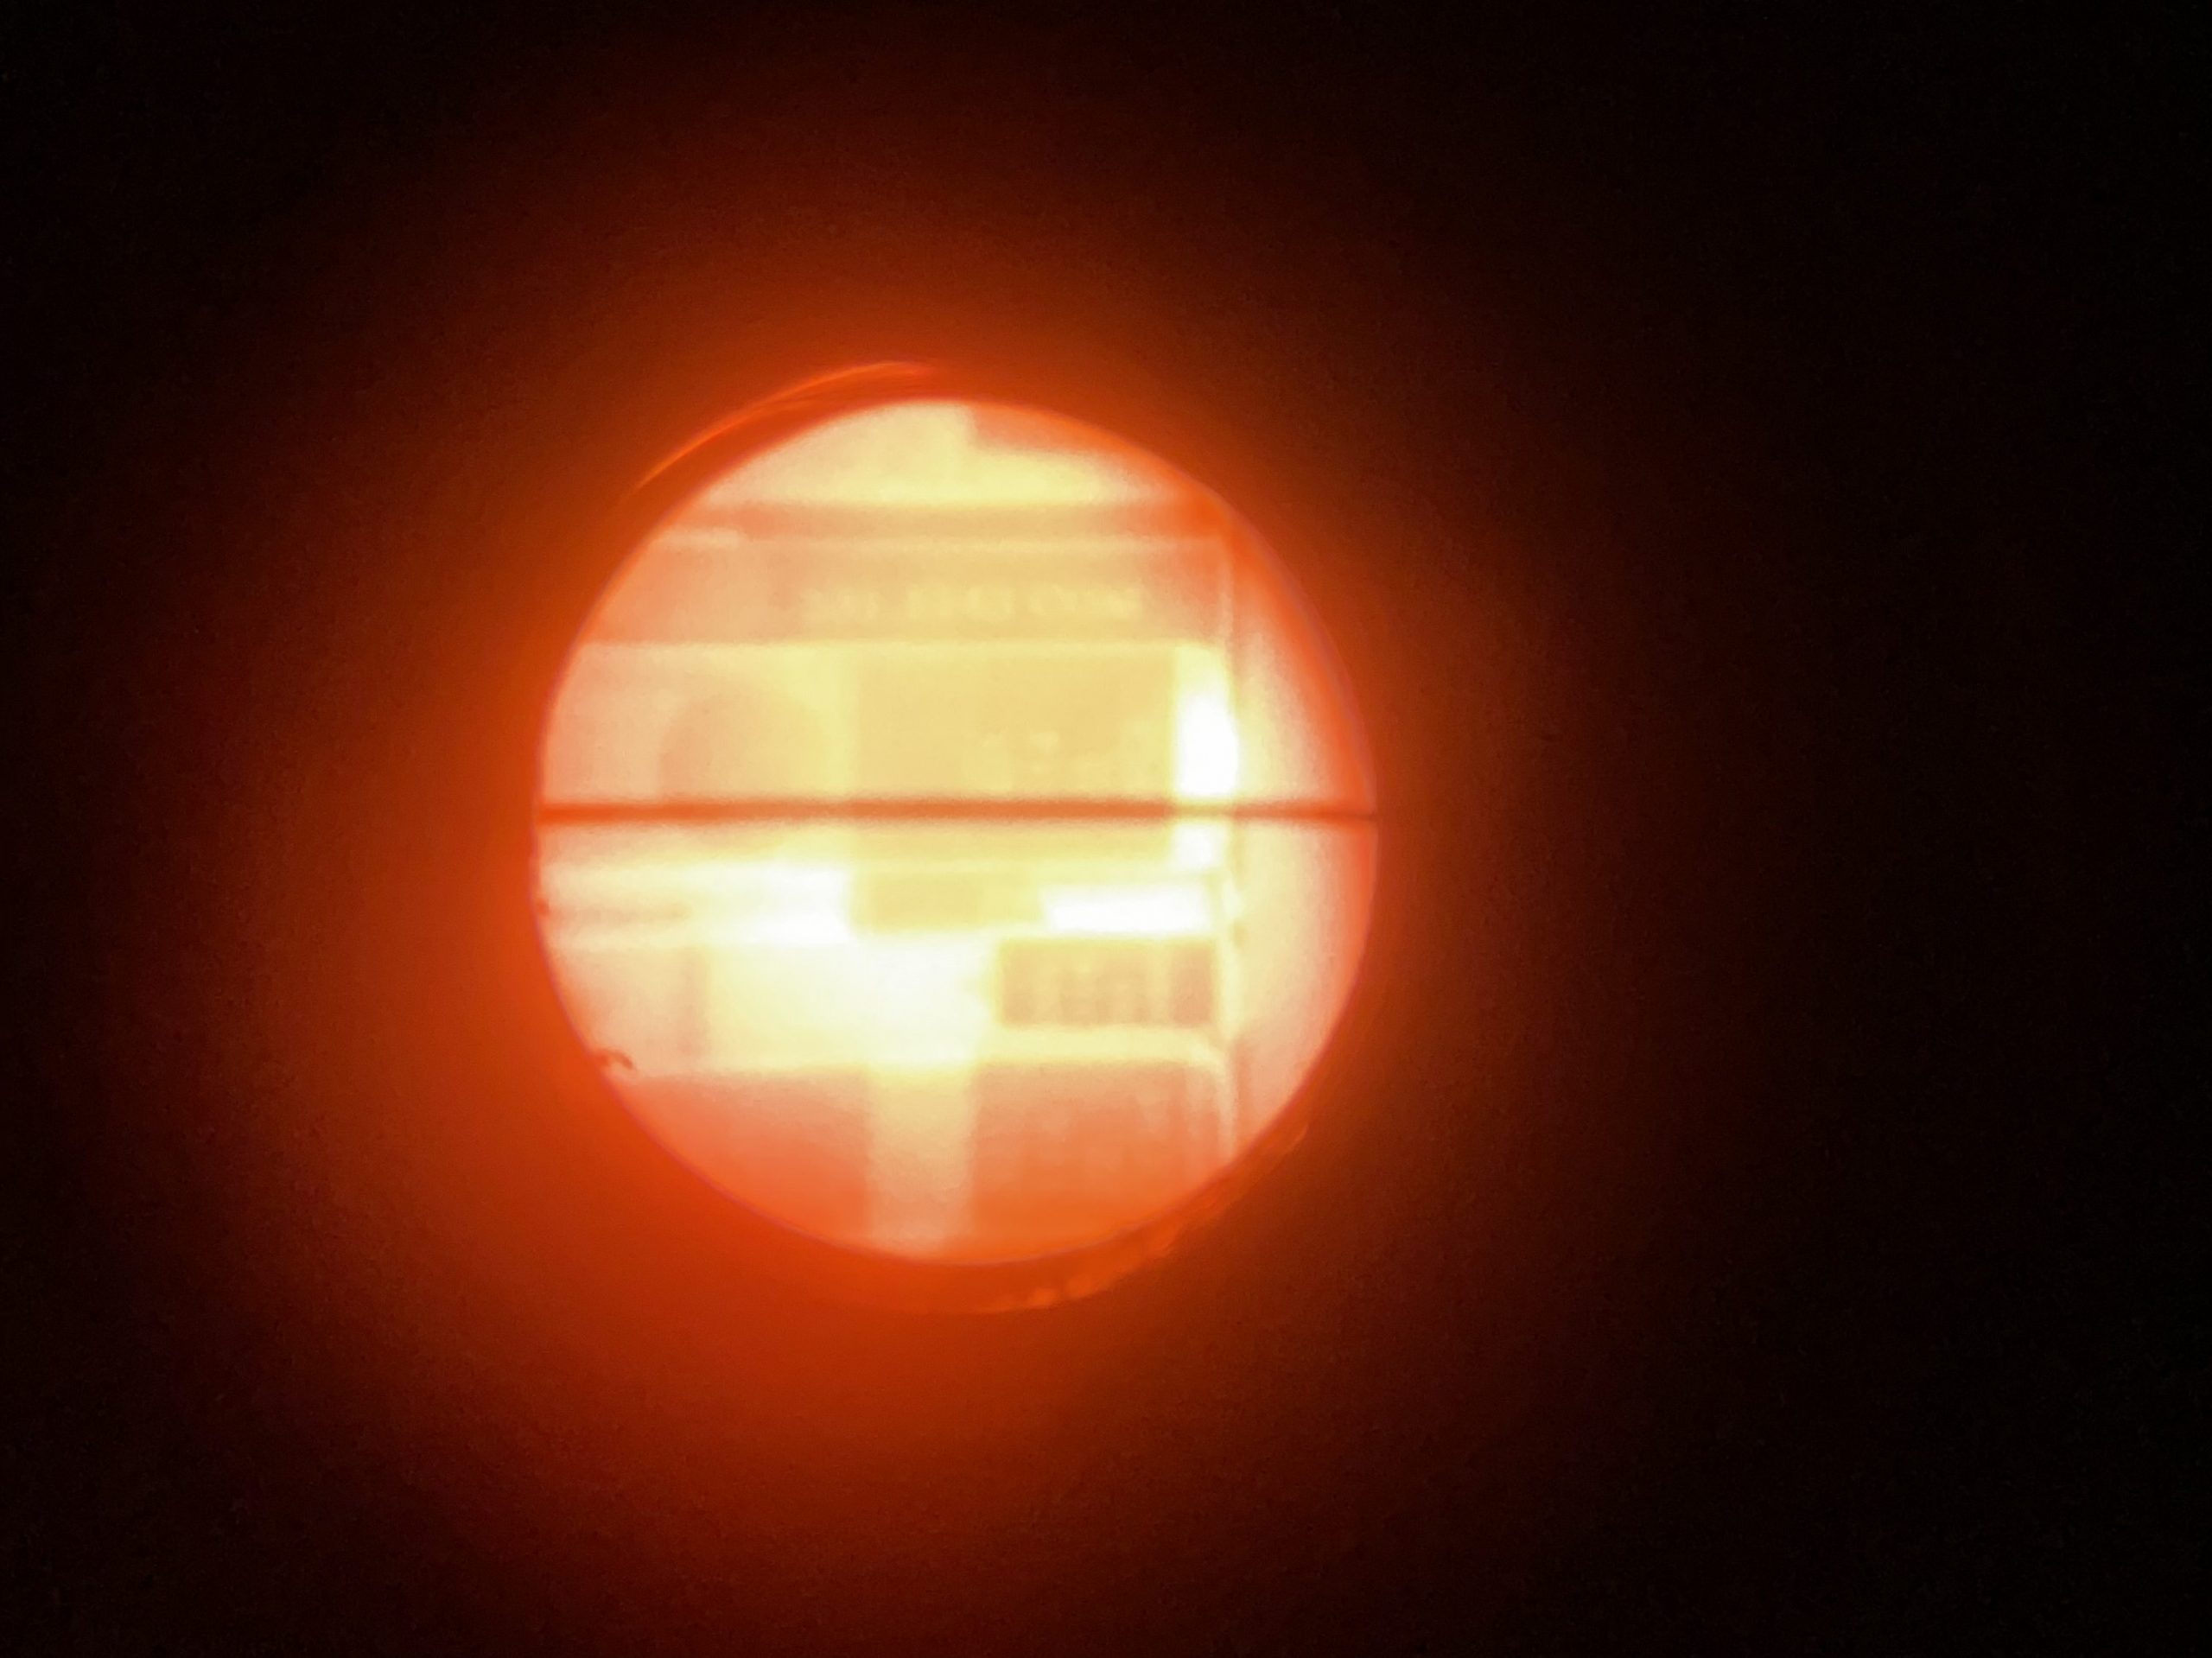
The print came out about 4 mins later of the test strip and it looked to be very close. The settings on the final full strip were Y95,M85,C0 with an f/8 aperture for 4 seconds. If we had time I’d have done it for 4.5 seconds.
We ran out of time then and it would have been great to get the full contact sheet produced but we chose to do it another day. Noah stored all the negatives in the sleeves for next time and then we turned everything off and got ready for the drive home.
Mature Mates
I popped into the B&W darkroom before leaving and saw a couple of my mature course mates pulling some great prints out of the wash bath and was impressed by their progress. One of them was having difficulties focussing their image on the easel so I showed her how to use the focus finder and she soon found the grain on the easel.
The issue she was having was the same I had last year, I just didn’t know how to use the focus finder. In the end I worked out that the line in the eyepiece needed to be sharp and then locked off to tune the tool into your eye. Once this is sharp you can put the focus finder on the easel in a central area of the print where there is a bit of a contrast difference or dark line etc then move the focus knob on the enlarger until it looks in focus and you can see the grain through the eyepiece.
Summary
Looking back on this session, I tried to sit back and let Noah and Gin learn from their mistakes as I had last year. In the end just being in the room earlier might have flagged up issues but then we’d never learn. I try not to be the “I’ve done this before see how I do it” as I still make mistakes and I had someone last year that said he knew how to do it all just before I saw him open his black bag in the middle of the brightly lit room. If people ask me for help and I feel confident to help I might offer an opinion but at the end of the day they need to learn themselves.
If I’d known it was just going to be a learning session in the Colour darkroom I may have excused myself from the session and stayed at work for the afternoon but as it was I got to spend some more time with my new course mates and learn something about the way they worked and their work ethic.
Next week we find out the brief for the full year project which Niki said was a pretty open brief and I’m looking forward to getting stuck into it and spending some time out with the camera and then in the post production as well as filling my sketchbook up with all of the ideas and junk that will no doubt fill my head over the next few months.
Be First to Comment