In four weeks time, Week 10 of semester two we are taking part in a book binding workshop in which we will be taught how to combine pages of a book together using thread and the required tools.
Tooled Up
To be ready, we must get hold of a Book Binding Tool Kit, or at least the Awl or Bradawl. This is just a pointy metal stick with a wooden handle to allow us to force it through multiple sheets of paper.
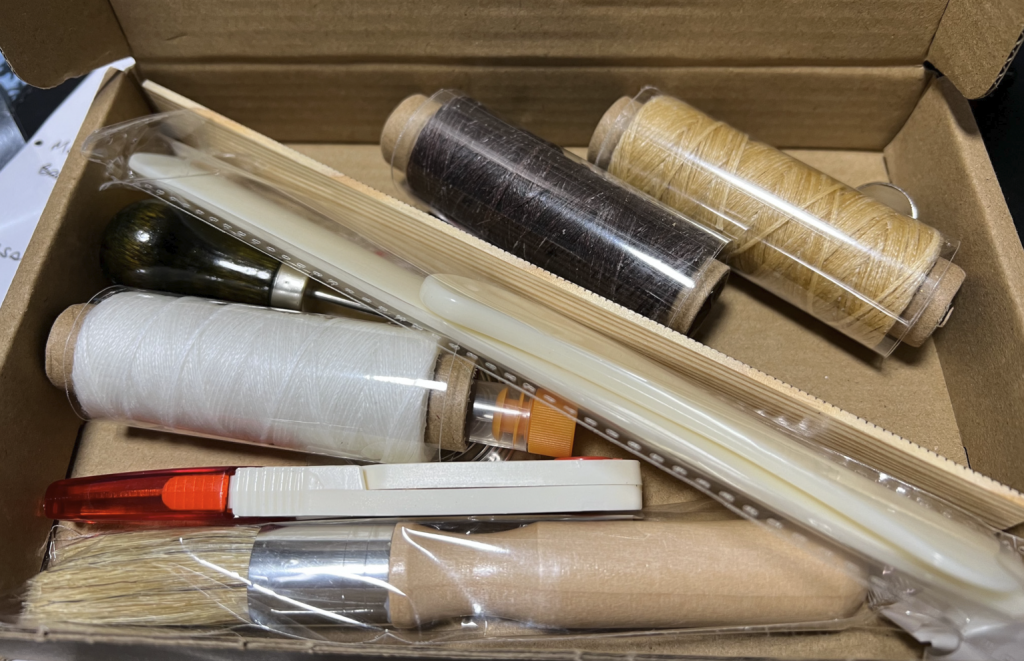
I looked on Amazon as Alice suggested in Friday’s seminar and found a kit for £8.99 that included the tools you can see in the image below. There are some plastic “bone” tools that help make creases etc, a ruler, some thread, some needles, an awl, a brush and some thread cutters. This should hopefully be useful when it comes time to do the workshop.
Blank Book?
In the seminar I asked Alice what we might be binding together, would it be blank pages etc? I was thinking about this as I’d recently completed my car park zine and thought I might do something similar. Alice said we could try and prepare something if we had time so I went home and thought about a series of photos that might make an interesting zine if printed out on Riso and then made into a book by binding it.
I came up with a series of images from a day trip or two to the University Of Leeds and some photos of the Brutalist buildings on the campus. I selected a few of them in Lightroom by creating a “Collection” and then hitting B when I found one that was a possible. A collection of about 30 photos was the result so I then had to figure out how many I needed.
Alice suggested that 5 sheets of A4 folded into an A5 booklet would be enough for the book binding workshop so I made a maquette out of some notepad pages.
I cut five small pieces of the end of the pages to represent an A4 size, then folded each in half, interleaved them and then wrote on them in sharpie marker which page was which.
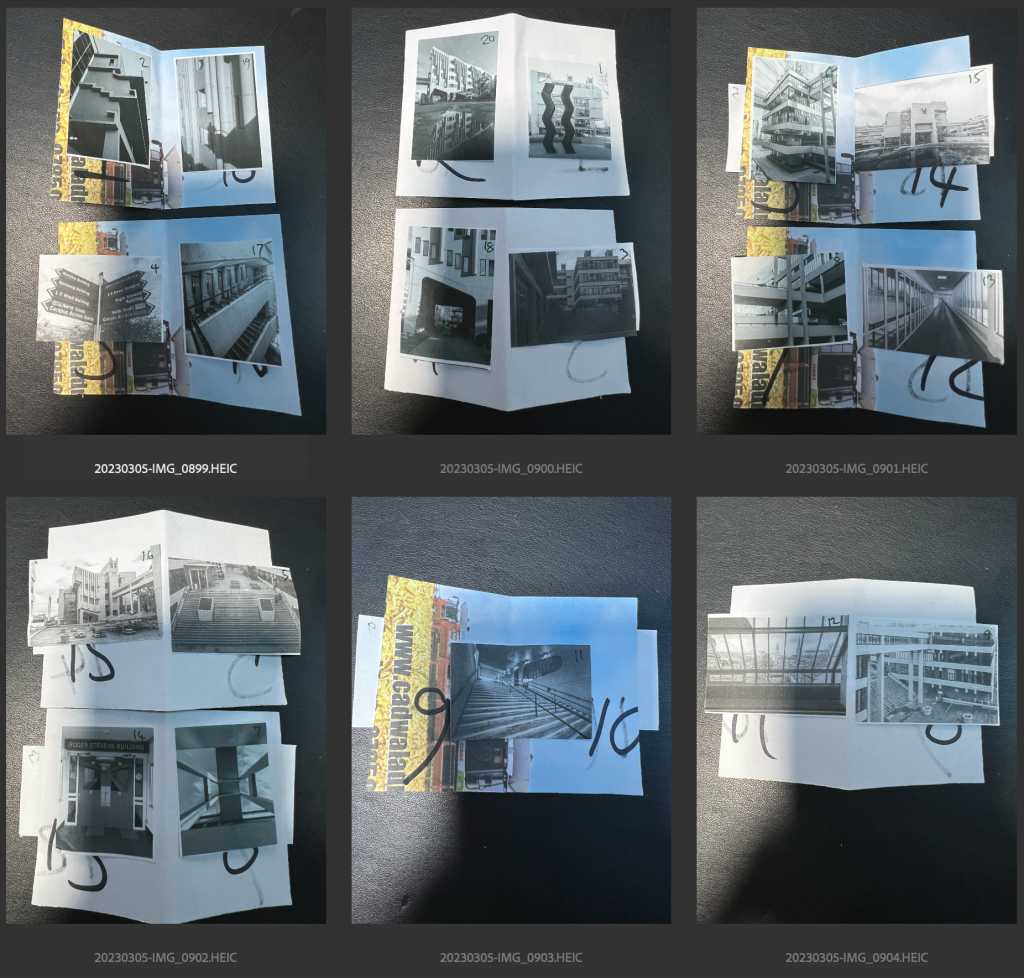
You can see in the image below that the book looked like a set of folded bits of paper but when unfolded and laid out flat the numbering was a bit strange. Front and Rear would need printing Rear and Front and on the other side of them it would be pages 1 and 18.
The same strangeness was evident with 3 & 16 and 17 & 2 as can be seen below.

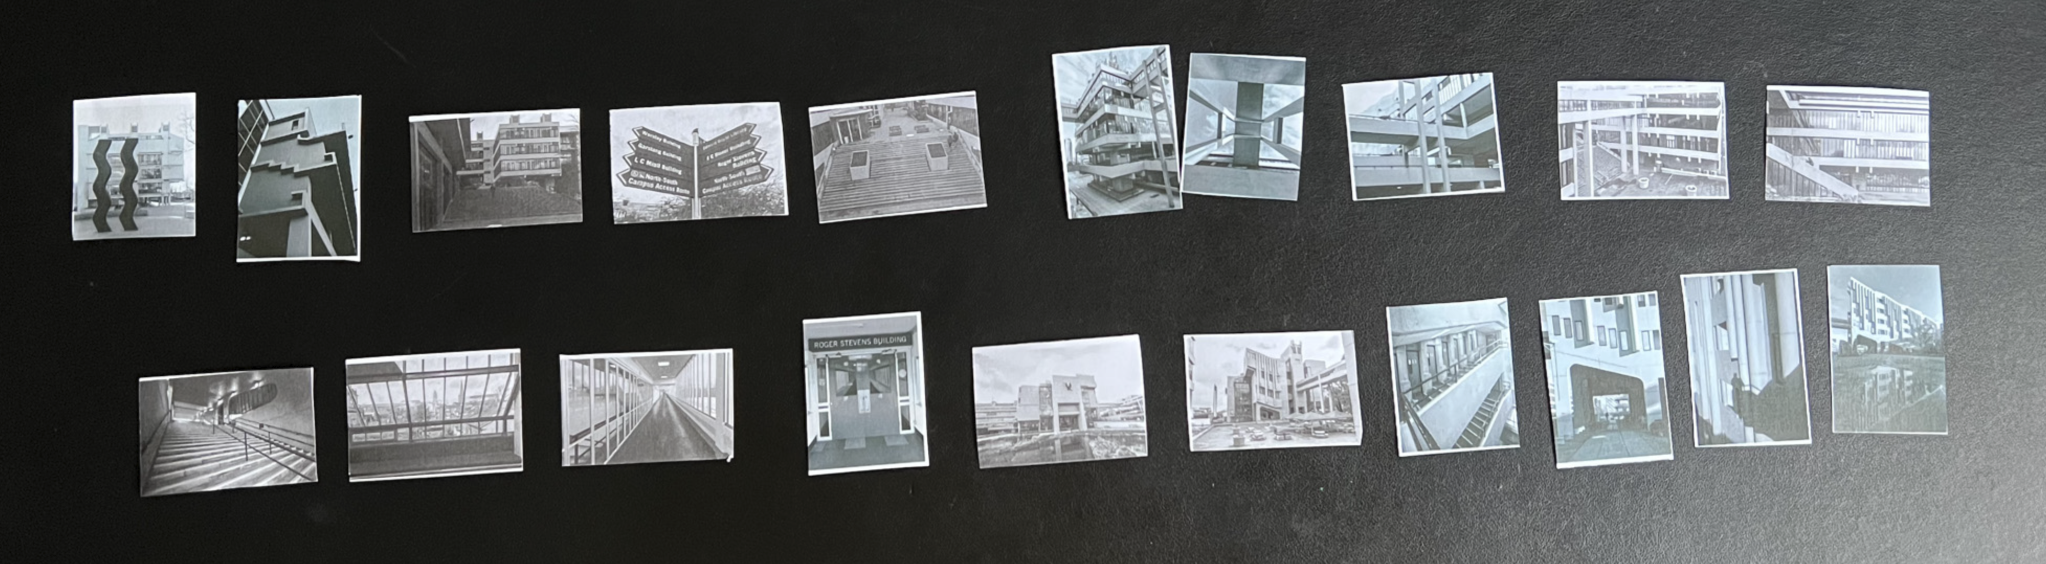
Once I had an idea of how many pages were available I printed out the images in inch wide models that I could cut up and layout in different ways. Below shows the sequence I wanted to put the images in the book/zine. There were twenty in total and at one point I changed pages 9&10 to be a double spread of a big staircase. as I thought it would suite the centre pages well.
You can see here some of the pages with the images stuck on and the reverse side with the images on too, I did this and put it all together to see how it looked. Then I had to work out how I was going to arrange the prints on the pages of the Riso printer.
Saving Paper
The booklet would be A5, or a folded piece of A4. The Riso Printer usually prints A3 so I figured I’d be better having two sheets of A4 worth on the A3 sheet.. Then I had to work out that as It needs to be double sided I can’t print opposite sides on the same piece of paper and calculated it by laying the sheets of the “maquette” out in an order on my desk. You can see in this table below that the first sheet of A3 should have two A4 sheets on, one containing Rear & Front and 17-2 (pages 17 and 2), with the other side have pages 1 & 18 with pages 3 & 16. This organisation would see the Rear Front being printed on the opposite side of the page from 1&18, along with 17&2 being opposite to 3&16.
The table below shows in Green Highlighter the pages that need to be printed first with Black and Gold ink, then once dried, flipped over and reinserted for the Orange Highlighted pages to be printed on the reverse.
Order, Order
With the duotoning complete and the images now in A4 sheets, and then doubled up onto A3 sheets it was time to try a print, even though I’ve not yet split the images up into gold and black channels yet.
Bleeding Obvious
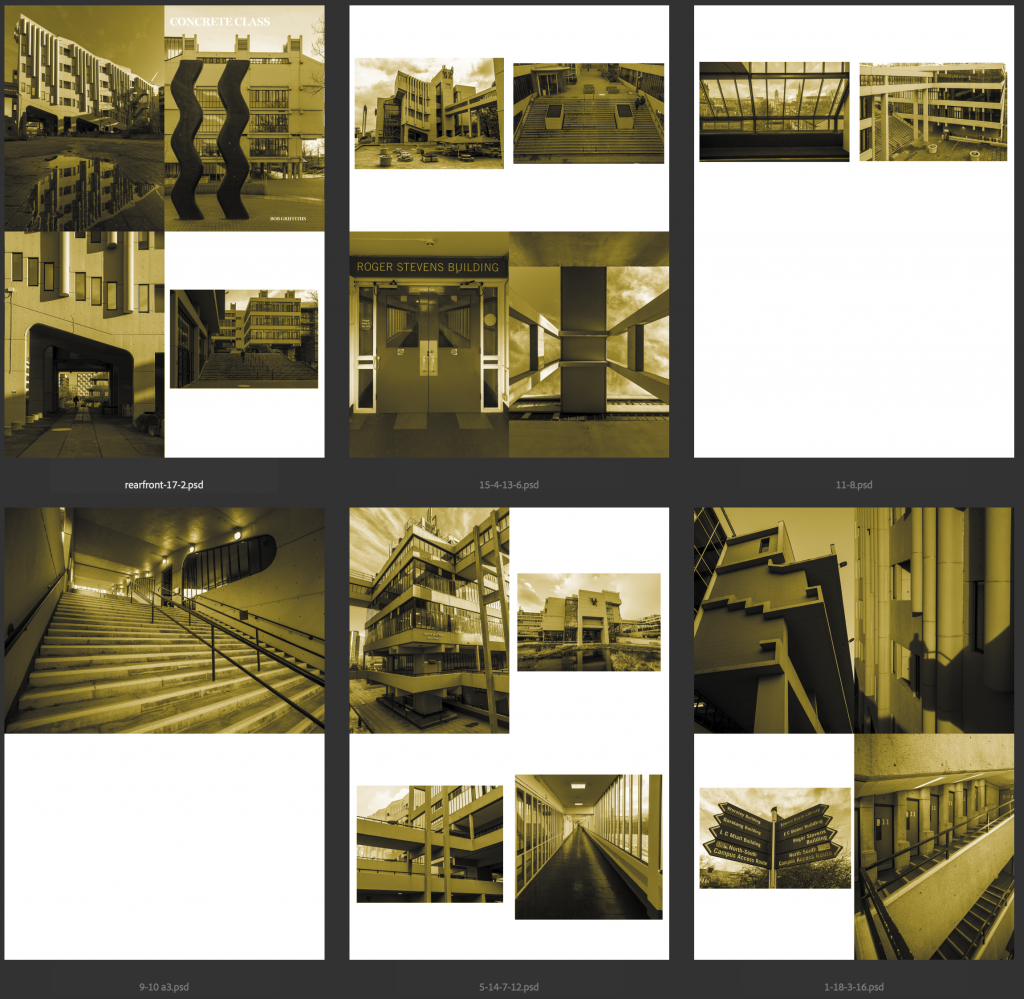
The above screenshot shows the images in photoshop files prepared for the test print and when I printed it out single sided and stuck it all together with pritt stick I noticed an issue. The problem spotted pertained to the Riso Printer having an unprintable area of approx 5mm around the edges, I hadn’t considered this to be an issue until I saw that the images I’d gone full bleed on would lose their 5 mm around the edges but in the centre between the two pieces of A4 that would be cut apart from each other from the A3 sheet there would be no bottom or top border, it would look odd. This post it note I made to remind myself to sort it out documents the issue.
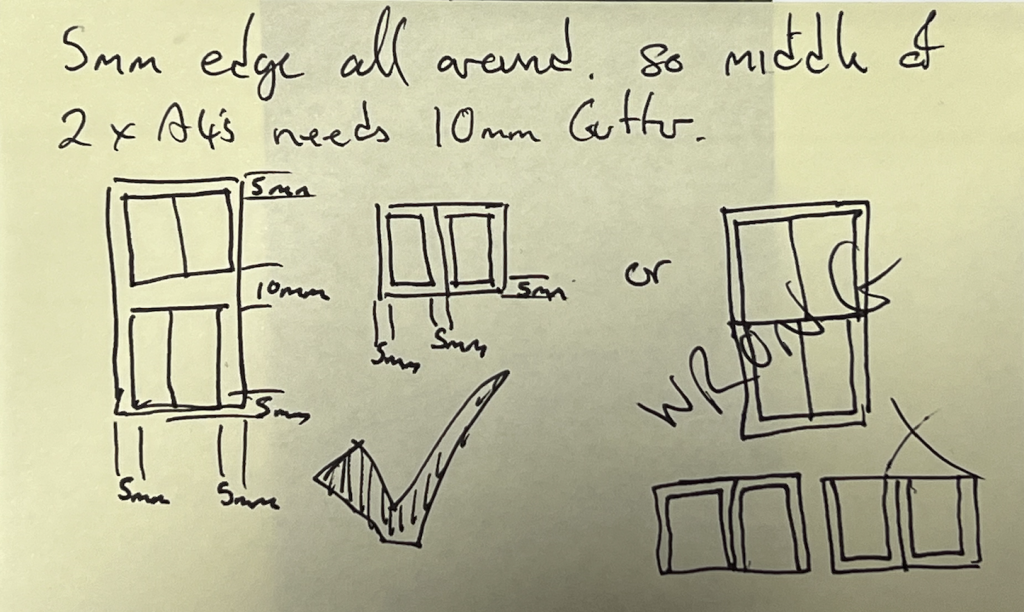
I would therefore need to go into each of the A4 pages and create some white space around the images so that the cut in the centre would not appear too odd when compared to the sides.
Mock Up
I printed the sheets out again, this time pretending that an A4 sheet was actually A3 so that it would end up in an A6 size book.
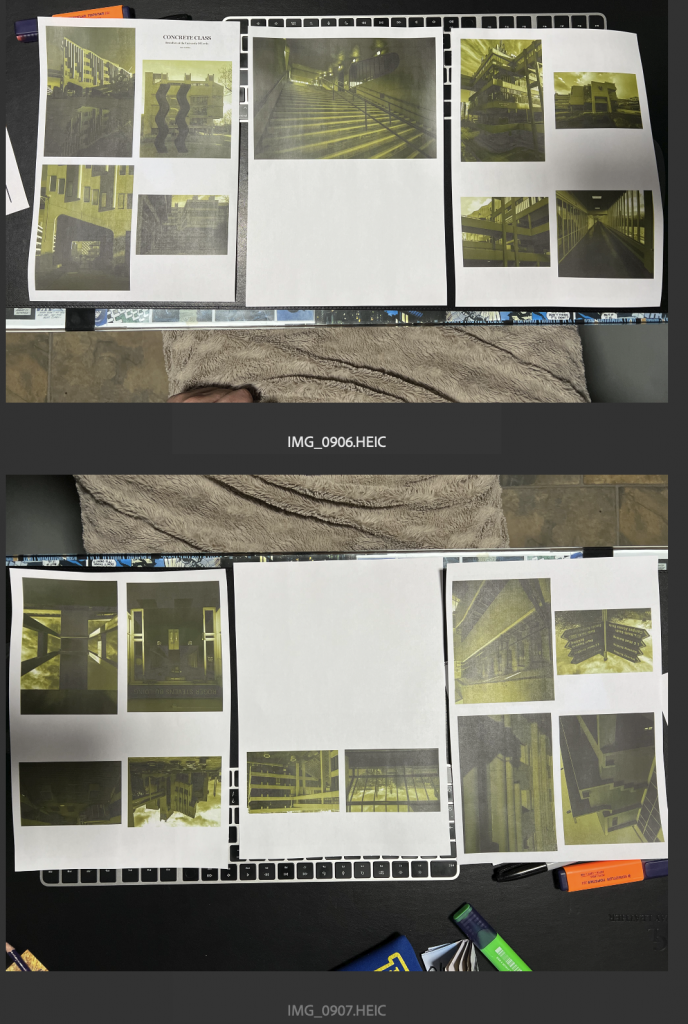
The print doesn’t look that nice as it’s on a laser printer and the colours don’t get represented that well so I’ll excuse it that much. I printed each of the Green Highlighted pages, then reinserted the paper for an orange highlighted page so I wouldn’t need to stick blank sides together then chopped the A4 in the centre leaving two A5’s that would be folded into the A6 test size maquette.
Entitled
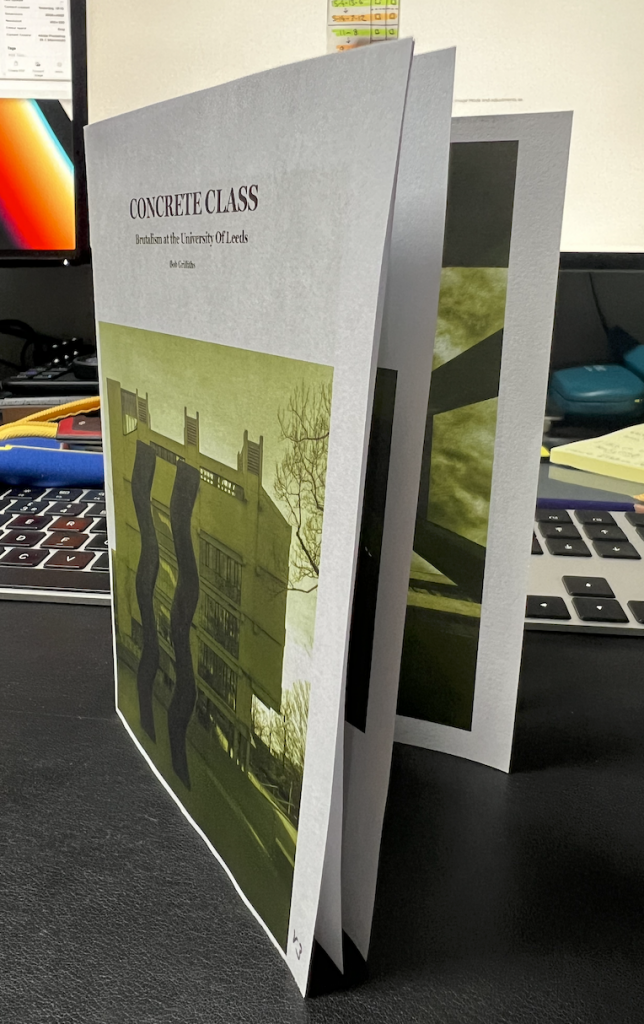
You can see from this test print that I chose to add text to the front, in the form of a title. Concrete Class which can have multiple meanings. Concrete Class might mean a concrete classroom or the class of people that go to this university, or that “class” means “good”
I chose the typeface Miller Display Bold as it was a serif font with feet, this was selected due to the closeness of it’s appearance to the Typeface used on the front of many of the buildings in the Uni of Leeds campus.
Once I’d folded all the pages and stapled in the centre, I checked it out for any obvious mistakes and then went to the final steps.
Changing from Duotone images to Multichannel gave me a Gold and Black channel that I could then export as different grayscale images. Each of the A3 pages would need a Gold and Black greyscale file to create a master for, this is seen in the handwritten table so I could keep a track on what was left to do.
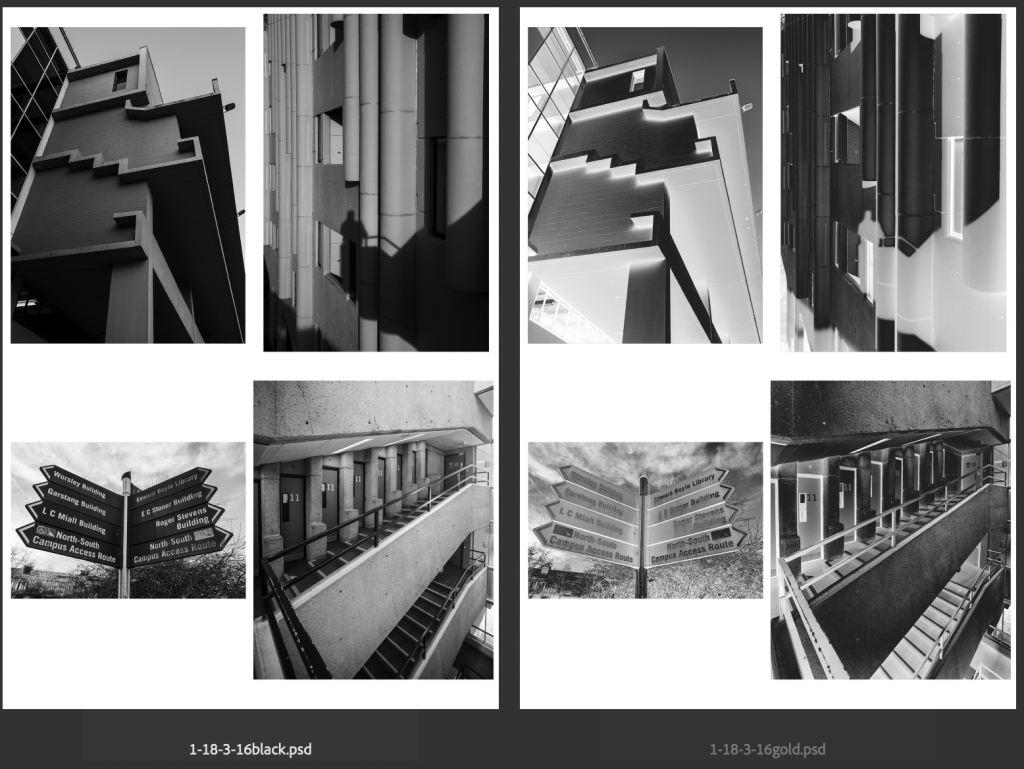
I saved out the images as the two different coloured files ready for the creation of the Riso masters with the help of Jim in the Print Hub. You can see these two files in the screenshot below. Black is on the left and the Gold is on the right.
Whatever contains black ink in these images will be used to lay down the colours as designed.
I’ve shared all of these 12 files with Jim to make sure I’m not doing something stupid and will work with him next week to see if I can get it created on the Riso printer.
I’ve worked out the costs as you can see below based upon printing out 25 copies of the 5 double sided sheets.
- 12 masters at £1 each = £12.00
- PLUS
- 25 times 6 sheets of A3 paper at £0.05 each = £7.50
- PLUS
- 25 inkings of 6 x A3 sheets (Black & gold together) at £0.05 each = £7.50
- Total of £27.00 (if black & gold is 5p together per print) (£1.08 per zine)
- Or
- 25 inkings of 12 x A3 sheets (6 black and 6 gold) at £0.05 each = £15.00
- Total of £34.50 (if black is 5p and gold is 5p per print) (£1.38 per zine)
Once we have them printed out, I’ll take one of them along with me to the book binding workshop and learn how to create the stitched together zine, before returning home and finishing the others and then maybe sell them on eBay or etsy.
The results will be in a separate post at some point in the near future!!
Comments are closed.