Plan Undone
On the off chance that there was no tutorial or group review session this afternoon I’d taken my Fujifilm Crystal Colour paper to create some contact sheets in the dark room. When I got to the studio basement I noted that there were no tutorials happening as all of my classmates were in the scoops and studios catching up on the 4FP017 module and the lecturer Sam was being super helpful.
With no tutorials or reviews I set off to the colour darkrooms but the Colenta machine was turned off and Dan confirmed that it wasn’t set up and ready as nobody had been using it recently. He suggested that I try out the new scanners as I wouldn’t ever need the colour darkrooms again once we’d mastered the scanners.
A Scanner Lightly
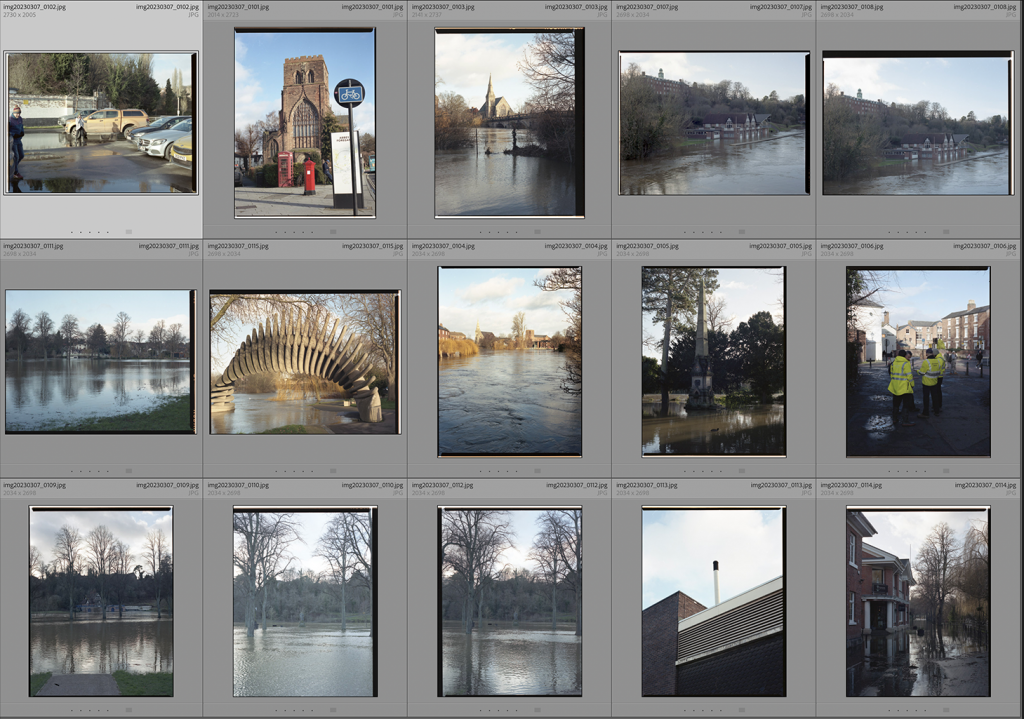
I had taken a 120 film and a 135 film with me to produce the contact sheets for so set up the Epson scanner with the transparency attachment and ran through the preview of the scanner. Dan was helping me with the process as the first time I tried to scan them, the images came out at 25kB each which is way too tiddly. It had scanned the 35mm negatives in at 1-1 scale and with 300dpi the picture was a bit blocky when zoomed in, obviously.
After a bit of playing around and choosing a selection of the preview, zooming by 400% and then copying the selection and moving over the next negative I did the same. Copying two selections and pasting them gave me four and another paste gave me six for one row of negs, there were another two rows too. Copying the six selection boxes, I pasted them into the other two rows of negs and then set about scanning the 18 images.
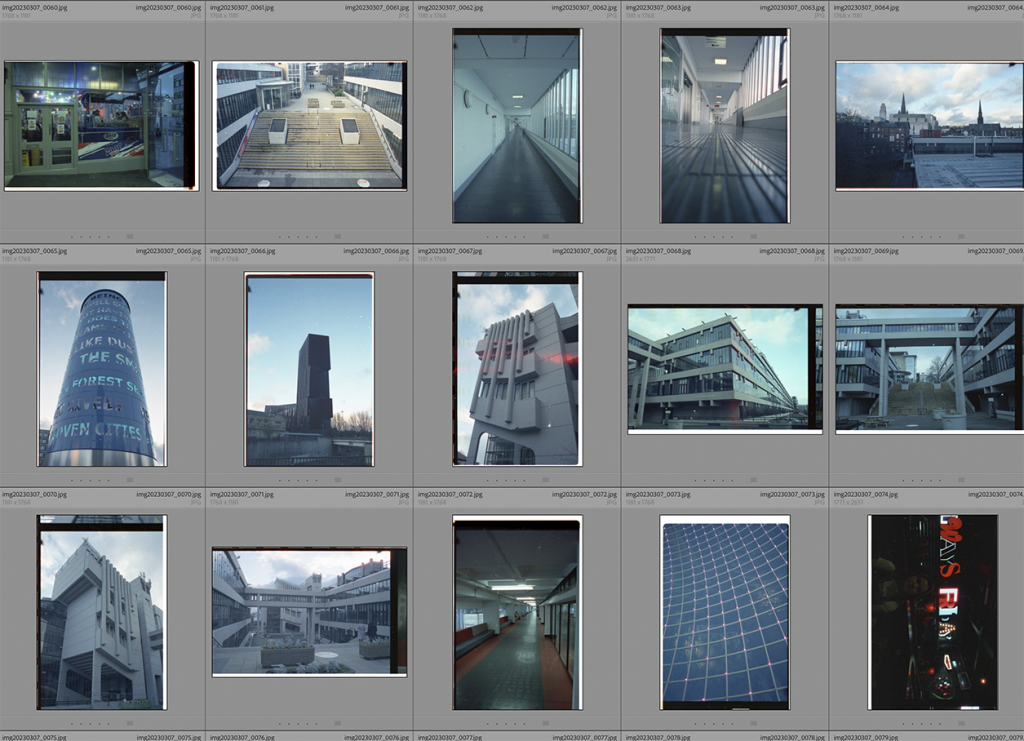

Once complete and happier with the new file size and dimensions I swapped the attachment for the 120 film negs and then proceeded to repeat the process on the 6×4.5 images made in my Bronica ETRS camera.
Sam Talk
After this I went to grab Sam and ask him for some time, when he could fit me on to talk about my year long project, as he is the person doing the tutorials for the remainder of the year and I thought I’d spend some time talking him through my progress and seeing if he had any advice. Unfortunately he was tied up with the studio work and then had a meeting so I guess I’ll catch up with him next week. This took me up to 4:15pm and by the time I’d tidied up and got ready it was almost time for Print Club.
Lino Cut
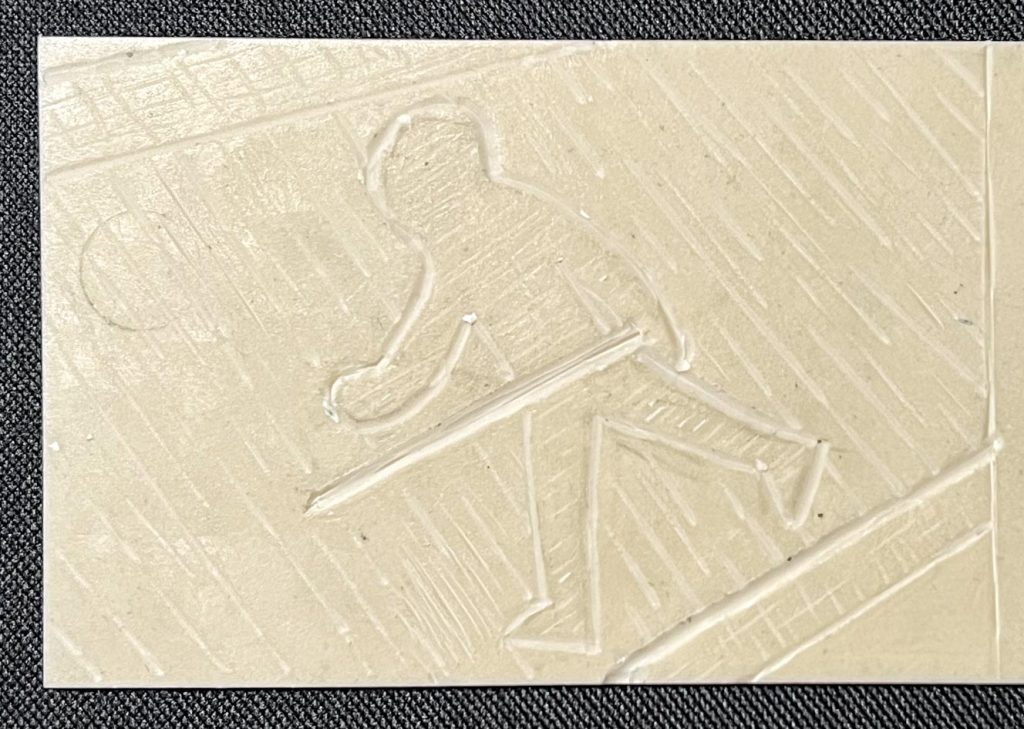
Print Club tonight saw the introduction of Linocut and once we’d sat down , Simon gave us a piece of lino and some tools to get busy with. I’m not very good at mark making or sketching so I used an image out of my car park zine, an image of a pedestrian walkway with the reflection of a light in a puddle.

Using the special wooden rest to give me a ledge to push against I used the gouging tool on the end of my piece of lino to test how much force I needed. Not that much, but it was easier if I held it at a shallower angle. Holding it up higher forces the blade to delve deeper into the lino and create a bigger cut. This isn’t required as the print will only take the ink off the top most layer, the part that remains untouched.
By the time I got done cutting into the lino it was time to pack up and get off home, so I will have a go at inking it up and getting a print off it next week.
Comments are closed.