Today was a visit to the university to take part in tutorials and mine was at 4:30pm so it was 3 hours of printing in the colour dark rooms before the chat with Niki, the tutor.
Into The Dark
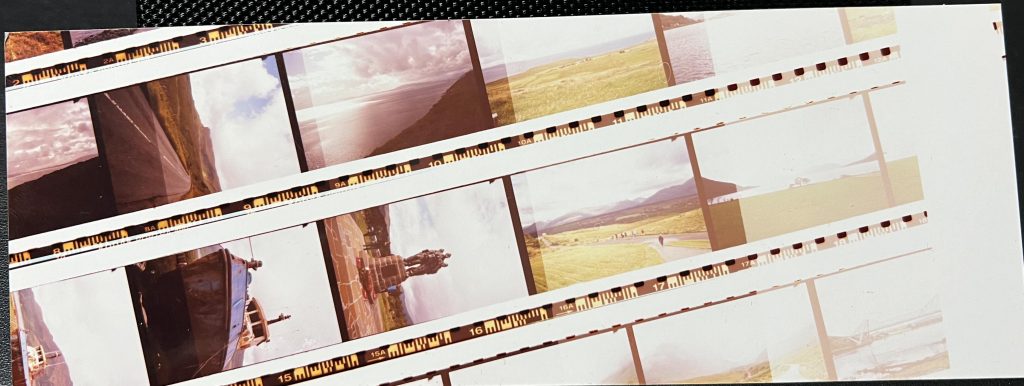
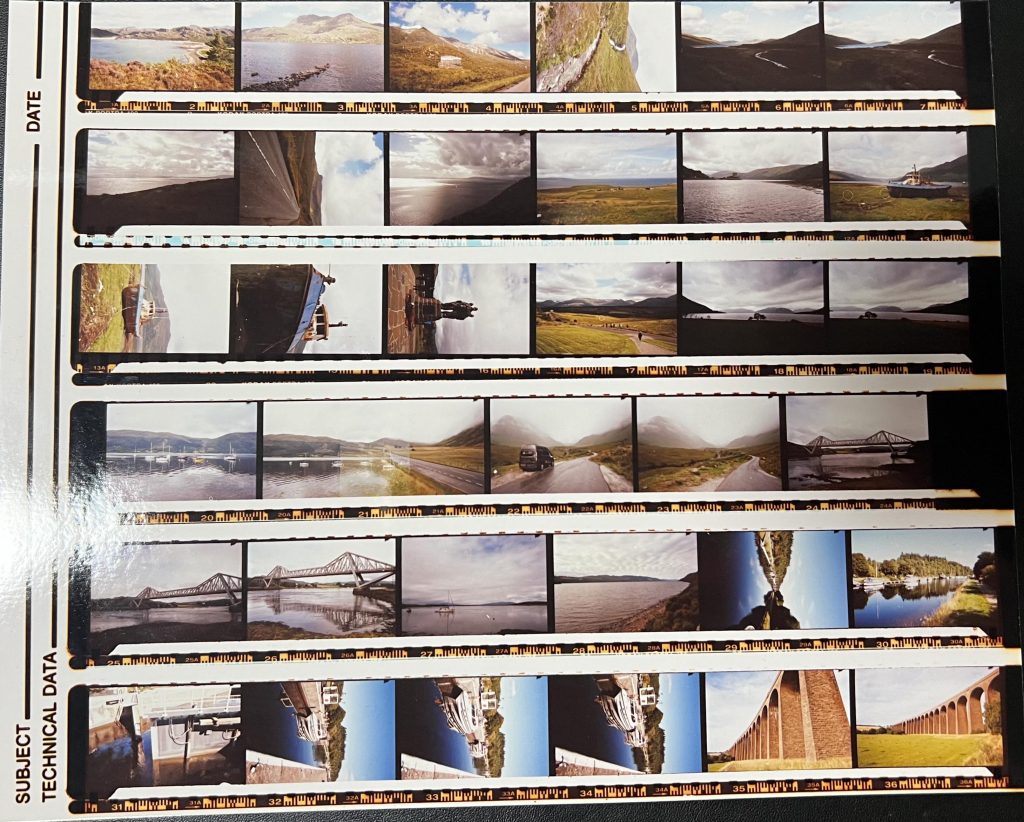
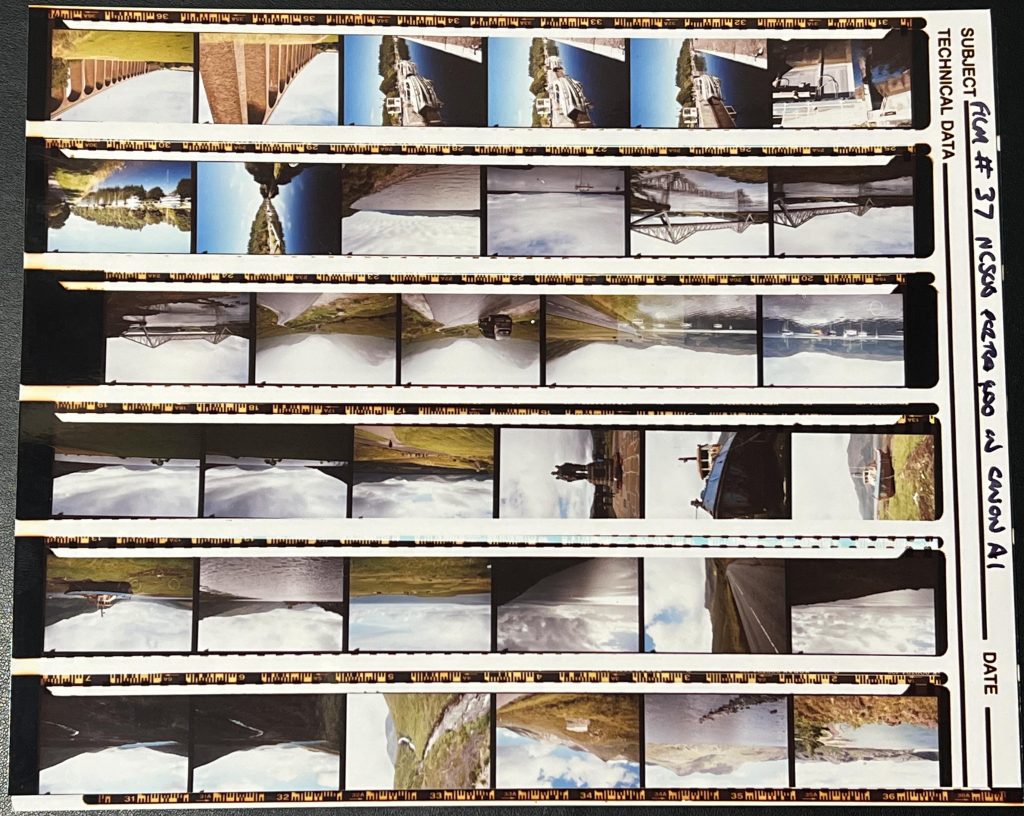
Into the Colour Dark rooms with my box of freshly purchased FujiFilm 10×8 paper and three sets of colour negatives from a journey around Scotland’s NC500 in August. When I had these negs bak from AG they gave me a small little contact sheet with the 7×5 prints and I wanted to create larger versions that would be more useful.
Starting with Film #37, Portra 400 shot in my Canon A1 35mm SLR in August, I set up the negs in the Contact Printer, set the enlarger up high enough to spread the light from the lamp and lens over the full piece of paper and negatives.
All the enlarger settings were set to the standard starting point, Y50,M50,C0 on f/8 and I set the timer to 2 seconds so that I could create a test strip of 2 second sections.
The door was locked, lights went off, the paper was grabbed from the black bag in the drawer and placed carefully on the contact printer before closing the lid and grabbing my piece of card.
The card went over the majority of the sheet of glass, the timer flicked on for 2 seconds and when darkness arrived again I moved the card a bit further, uncovering some more of the negatives over the paper. Then I repeated this a few times, until the original section had received 12 seconds worth of light. The paper was removed from the contact printer frame and put in an empty black bag and sealed from any light that might fog the paper when I then put the lights on in the room again.
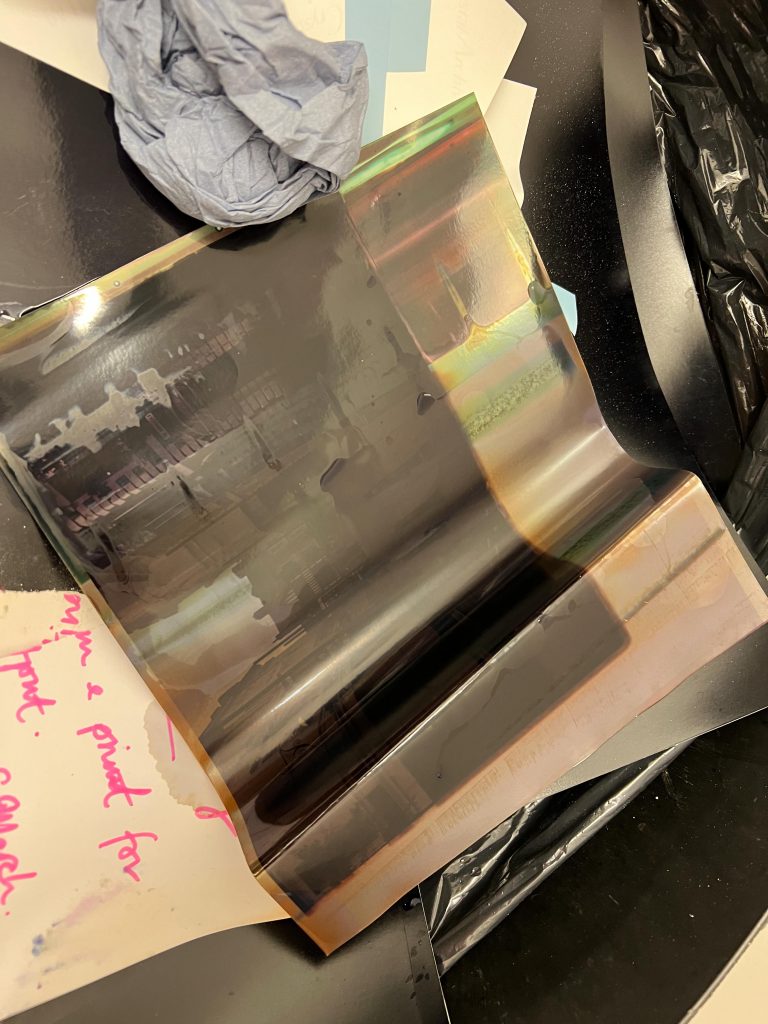
Carrying the piece of paper in the black bag to the mouth of the colenta machine I was excited to see what had happened. The door shut and catch set to Engaged before removing the paper from the black bag in this new pitch black space, and then fed carefully into the rollers of the machine. A few seconds later the beep was sounded which meant that the paper was no longer at risk of fogging, as it was all inside the light tight machine.
Then it was time to leave the dark confines and wait for 4 minutes or so for it to leave the machine as a dry print.
As you can see it was a little affected by a Red cast so I went back to the dark room with the idea to up the Yellow and Magenta by 10. I also looked at the exposure of this and thought 8-10 seconds looked ok so I chose to do the next strip in 3 sec increments.
Turning lights off, locking door and then repeating the test strip I finished and then realised I’d not altered the filters so I chose to do another straight away that had the filters set to Y60,M60,C0. Upon completing this I chucked it in the black bag and headed to the Colenta processor only to find some drama taking place. One of my coursemates had got a print stuck in the machine and we couldn’t get anything in there in case it also got stuck.
We’re Jamming
Dan the technician is off this week so we had to wait for another guy to come and open it and remove the stuck prints. There were two prints and a half test strip which had been ruined so the person would have to redo those.. Once it was cleaned out I went and waited for another person to have success before putting in my test strips.
They both came out well but the upped filters provided better colour balance.
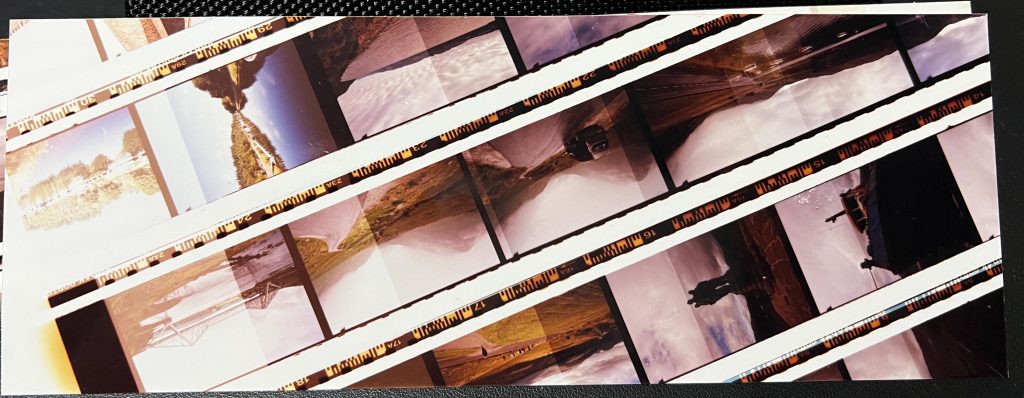
I was happy enough that I thought I could put a full 10×8 sheet in for the next attempt with a slight up to 65 on Y and M.
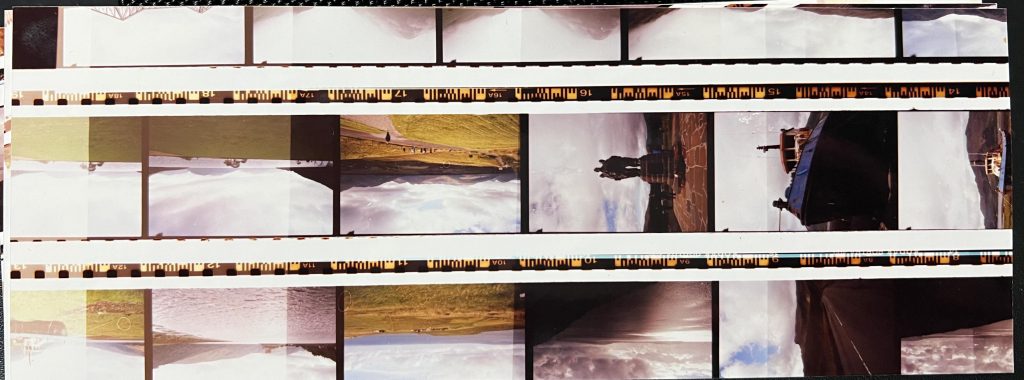
The contact print came out quite well but when I looked at it under the good light in the corridor I could see a smidgen of red cast to the image so went back in to repeat with Y and M set to 70
Getting close to the time I needed to go for my tutorial I chose a negative to try a full print. I selected the image of a boat on the land, with a loch in the background. Then set it up with the focus finder on the easel before using another test strip to test for timing and colour cast in case moving the enlarger head had altered it significantly.
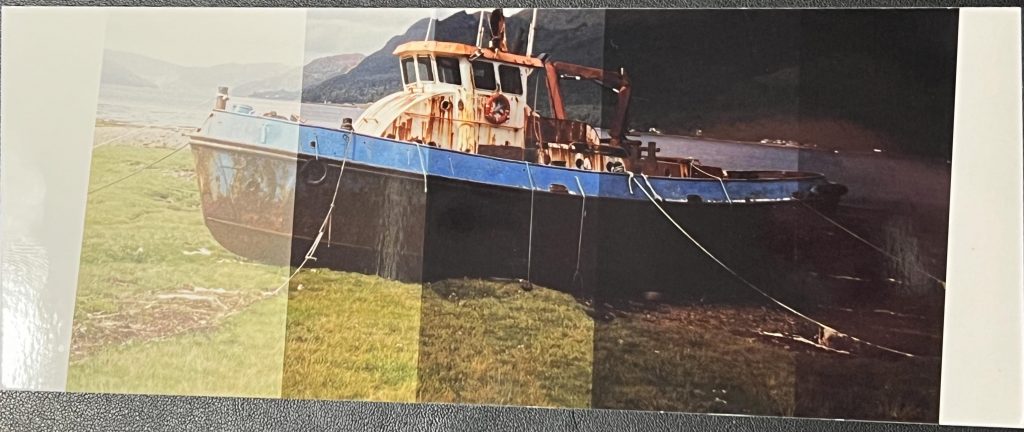
I was happy with this and the sections 6 seconds and 9 seconds were closest to the best exposure, I thought that closer to 6 than 9 might be better so set the timer to 7 seconds,
I placed a 10×8 in the easel and set off the timer, then waited for it to emerge from the colour processor.
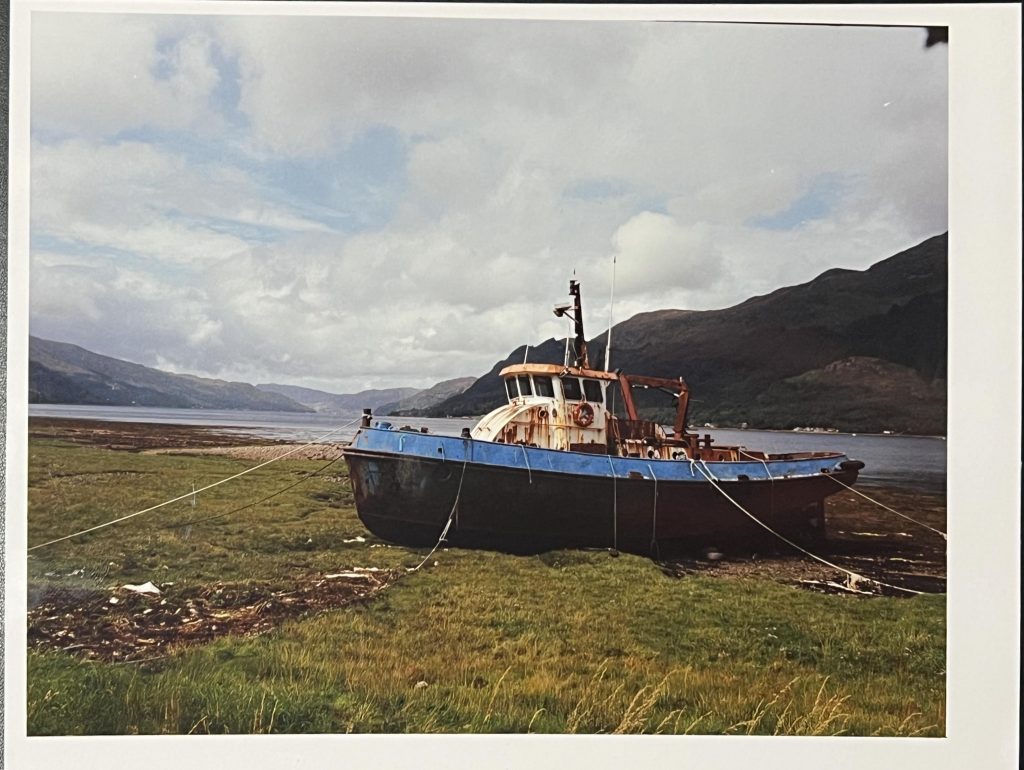
It was when it emerged from the machine that I noticed I’d screwed up the borders, I usually liek a 1/2″ border and hadn’t set the metal inserts correctly. There was also a strange black mark int he top right but thought it might have been a tree or something.
Running short on time I swapped the negative for another from the same film and tried a full print using the same settings of a scene in Glen Etive, Scotland with the camper van I’d hired in August.
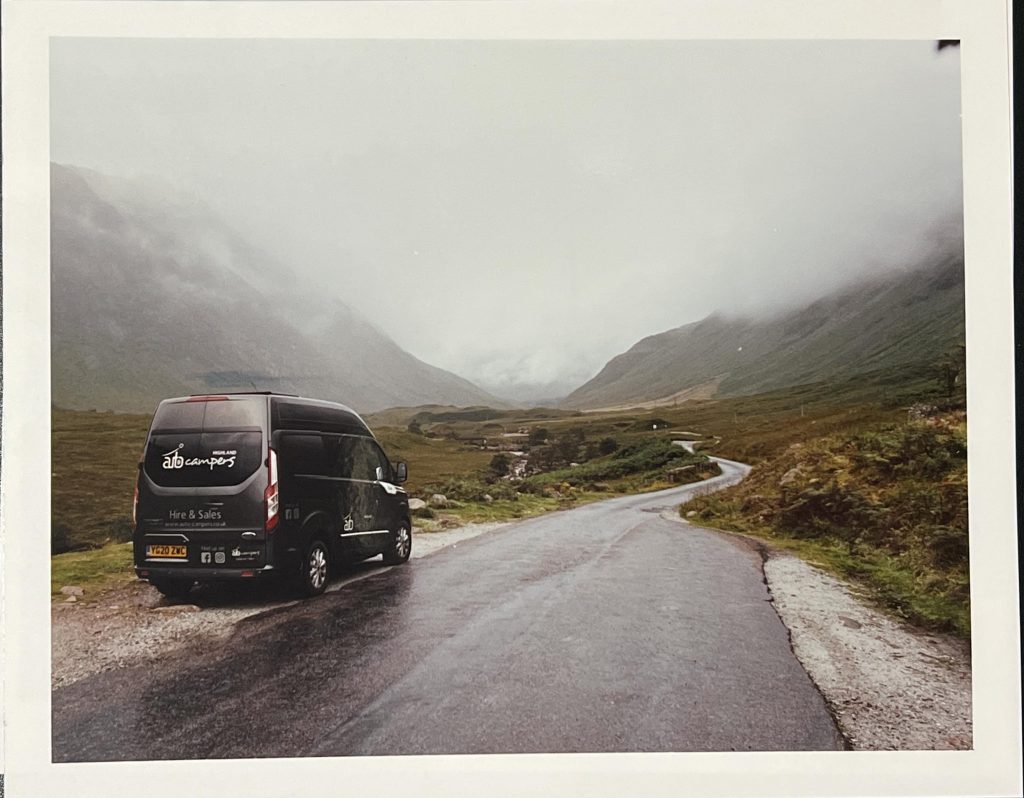
THis came out really nicely, with the colours looking nice and accurate. The exposure was good too, borders ok but the big black splodge was in the top corner again, it looks like it might be a light leak in the negative carrier to me, its definitely a piece of paper getting too much light from the enlarger so I suspect it’s a leak around the negative in the holder. I’ll check this out next time I’m in that room.
Tute Time
Once I’d packed up all my gear and tidied everythign up in the dark room I headed into the basement studio for my meeting with Niki to discuss my Full Year Project ideas.
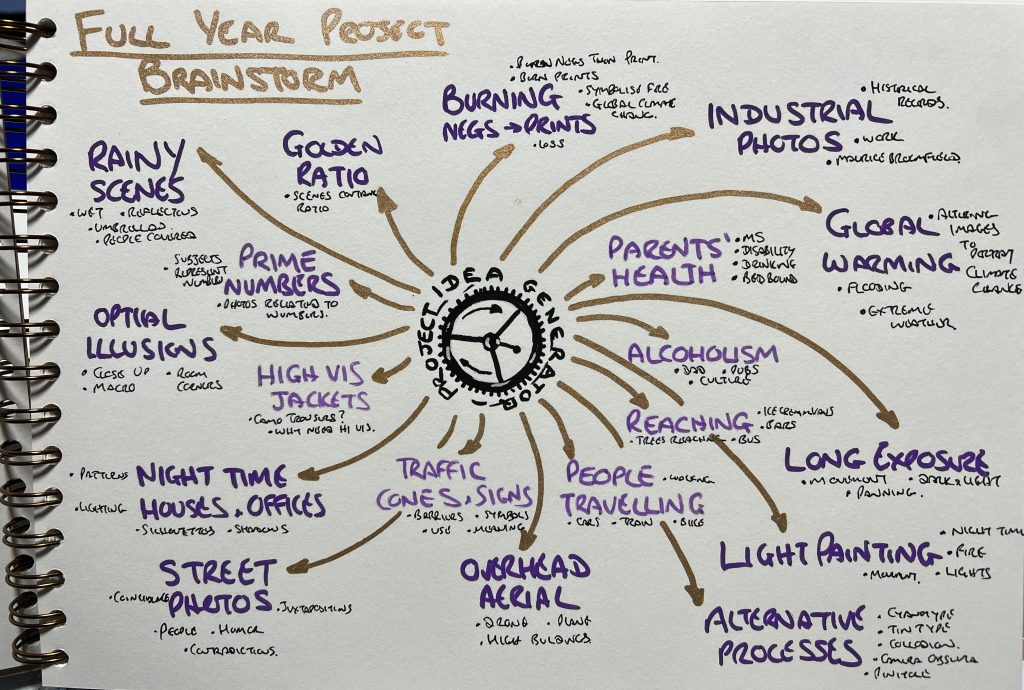
We started off discussing something I’d seen the previous week on a trip to London, an exhibition in the V&A of Maurice Broomfield and that I might like to try some industrial images like his in the factory where I work but I’m not sure on the health and safety aspects of it. Broomfields images are spectacular and I’ll be writing up my experience of visiting the exhibition in a future post.
I explained that I liked Street Photography too and Niki was aware of this from my Instagram account, and then we moved on to the idea highest on the page. Burning Negatives or prints.
Distressing
This had come about as in the Tate Modern in June I’d seen a piece of art by Ku-lim Kim, Death Of Sun I, 1964 which consisted of plastic and oil paint, burnt to become charred. I wondered if I could do something with photography with destruction of a negative or a print using fire/heat.
Niki suggested that I have a look at Seung-Hwan Oh‘s work which consists of destruction of prints by introducing bacteria to the surface and watching the effect it has on the image. He has made a long form piece of work called Impermanence which according to a Time Magazine 2014 article had provided 15 satisfactory images over the course of four years to that point. The project ran from 2012 to 2015 before starting another called Impermance_unknown which started in 2017.
It’s interesting work and the introduction of a living organism is thought provoking and an arresting vision when it works out as the artist likes it.
In the book Experimental Photography: A handbook of techniques pages 92 and 93 are set aside for Distressing Negatives and Film and they suggest scratching the surface in many ways and burning also. There was me thinking in the Tate that I’d had an original idea. Doh. Never mind I think I should have a try of doing something in this space.
Rather than immediately going straight into destroying or distressing some negatives I wondered whether I could use an intact neg and then damage the paper before it goes under the enlarger.
My initial idea is to rip the sheet of photo paper up, place it in a random order under the enlarger, expose it with the set up negative and then piece it back together in the right form afterwards to see what happens to the image when it’s ripped apart and spun around before being stuck together.
I figure that I’d mark the back of the paper with a cross before tearing it so I know easily which piece needs to be reassembled where. The cross might consist of one line going from top right to bottom left and a double line going the other way.
Puzzling
What about a jigsaw? We’re able to print photos onto Jigsaws now in commonly used photo labs like Max Spielmann, but what if I was to mix up the puzzle pieces and then print on them before reassembling it so that the image made no sense?
Searching for further info on these I came across an artist called Tim Klein who uses jigsaws with the same die cut and joins them together to make interesting mash ups. This could be something I did with two digital photos into jigsaws and transpose some sections from one to the other.
I think for now I’ll choose a negative in black and white and trial a print in the dark room tomorrow (Friday) after we finish in the seminar. I’ll need to select an image that suits the torn up and reassembled look, so it is not just a complete mess but can be imagined to be something else, or a take on what it originally was.
Prepare to see what comes out of this experimentation in a future post.
Jigsaw?
Comments are closed.